The Nuclear Option (Minutemen) Walkthrough
This is a walkthrough of The Nuclear Option Minutemen Faction Quest in Fallout 4 (FO4). Read on for a full The Nuclear Option Minutemen walkthrough and learn The Nuclear Option location and rewards.
| Previous Quest | Next Quest |
|---|---|
| Defend the Castle | With Our Powers Combined |
The Nuclear Option (Minutemen) Quest Summary
| The Nuclear Option Overview | |
|---|---|
| "Take revenge for the Minutemen and destroy the Institute for good." | |
| Faction | The Minutemen |
| Quest Giver | Preston Garvey |
| Quest ID | 0010C64A |
| Rewards | ・ XP: 1963 ・ Short Automatic Laser Musket |
The Nuclear Option (Minutemen) Walkthrough
The Nuclear Option (Minutemen) Objectives
- Talk to Sturges
- Find the Public Works Maintenance Area
- Activate the Keypad
- Navigate Through the Pipes
- Hack the Locked Door
- Teleport the Minutemen to the Institute
- Go to the Bioscience Department
- Enter the Main Square of the Institute
- Disable the Security of the Institute
- Issue an Evacuation Order (Optional)
- Place the Fusion Pulse Charge on the Reactor
- Talk to Shaun and Sturges
- Detonate the Reactor
- Talk to Preston after Destroying the Institute
Talk to Sturges
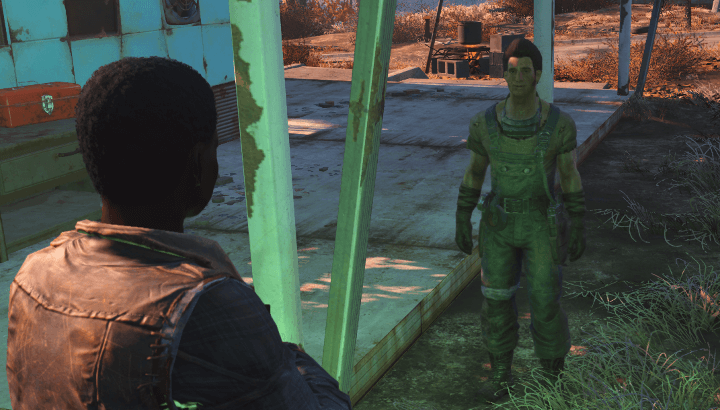
After receiving the quest from Preston Garvey, head back to Sanctuary (or to whichever settlement you assigned Sturges to) and talk to Sturges. He will inform you about a secret passage that could help the Minutemen enter the Institute.
Find the Public Works Maintenance Area
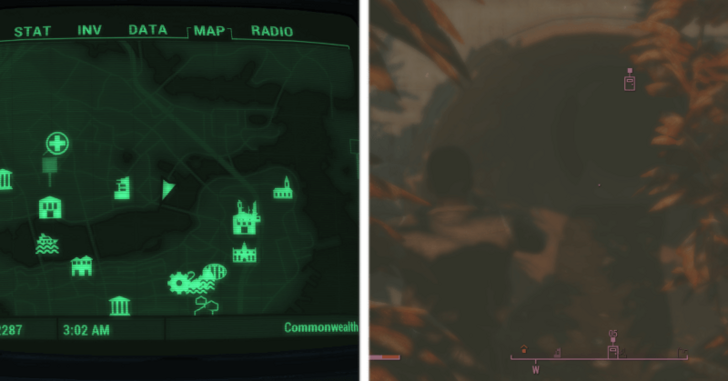
The secret entrance to the Institute can be found in the Public Works Maintenance Area, located in Cambridge. To locate it, you'll need to dive down east of the bridge and navigate through the kelps until you find an opening in the walls.
Activate the Keypad
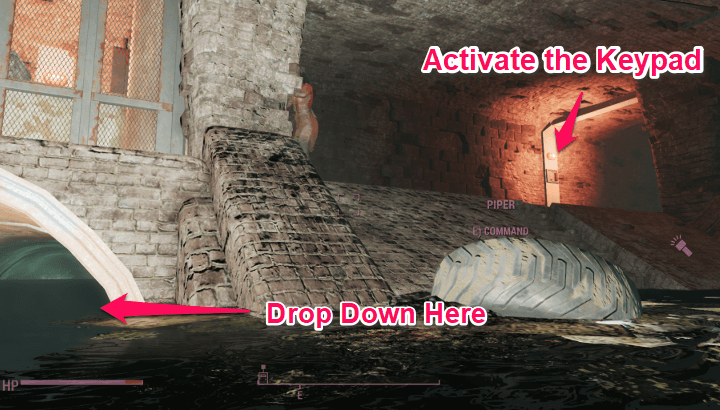
After entering the Public Works Maintenance Area, be sure to activate the keypad on the right before descending down the pipe on the left.
Navigate Through the Pipes
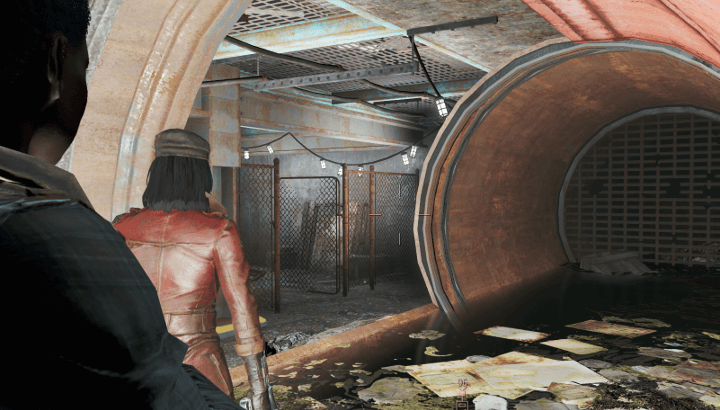
After dropping down from the pipes, continue navigating the tunnel to the right until you reach an open pipe. At the end of this pipe, there will be an opening leading to another path and exit from there.
Hack the Locked Door
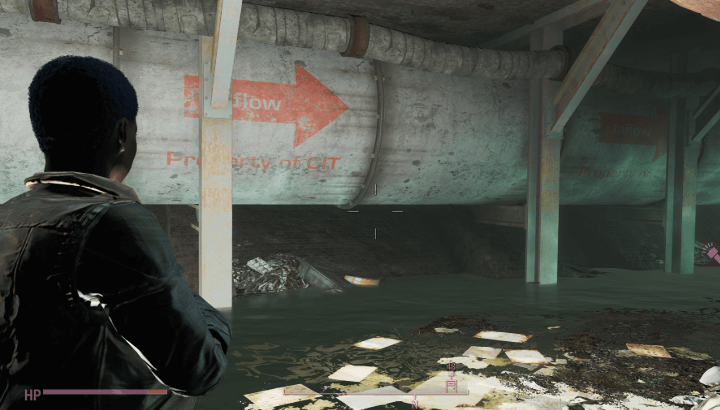
From this path, follow the arrows on the pipes until you reach a locked door that needs hacking to unlock.
Behind this door, you'll find an office with two Synths inside the room to the left. Defeat them, then enter the pipe below the platform to access the Institute.
Hacking Explained: How to Hack Terminals
Teleport the Minutemen to the Institute
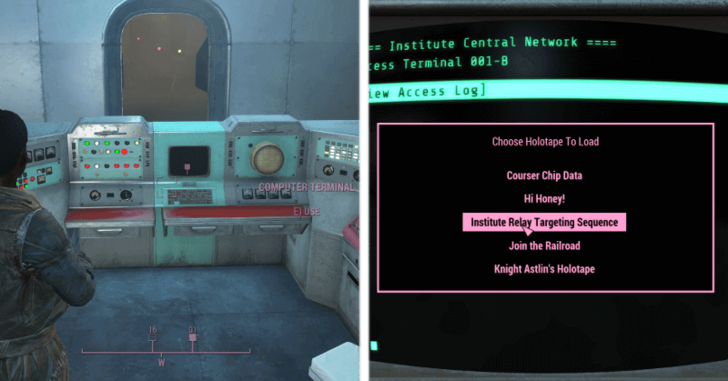
Next, teleport Preston Garvey and the Minutemen using the terminal. To do this, load the Institute Relay Targeting Sequence Holotape and simply wait for them to arrive. Once they're all present, speak to Preston Garvey before proceeding.
Go to the Bioscience Department
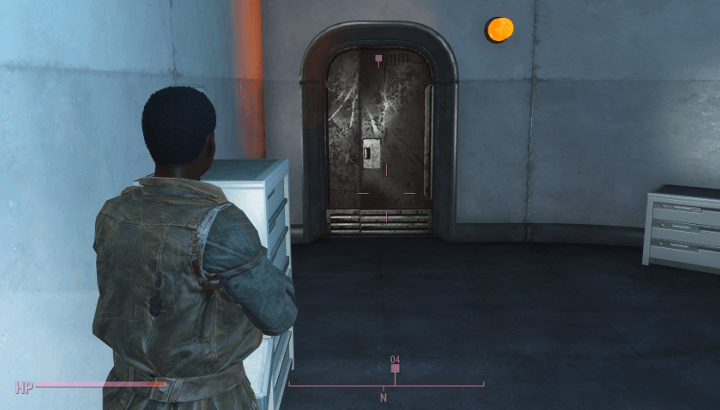
To get to the Bioscience Department, head to the main square of the Institute, then into an old laboratory in the Robotics section. Afterward, open the hatch and drop down to the Bioscience department.
Enter the Main Square of the Institute
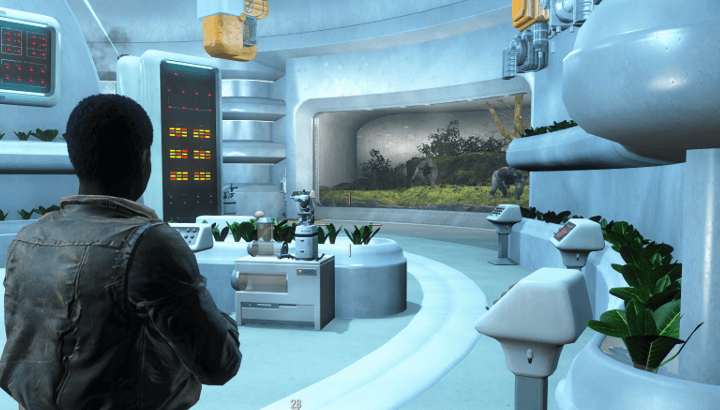
When you reach the Bioscience Department, take the path to the right until you see a Gorilla enclosure. Move to the left of the enclosure to find a small hallway that will lead you to the main square of the Institute. Exit the department from here.
Disable the Security of the Institute
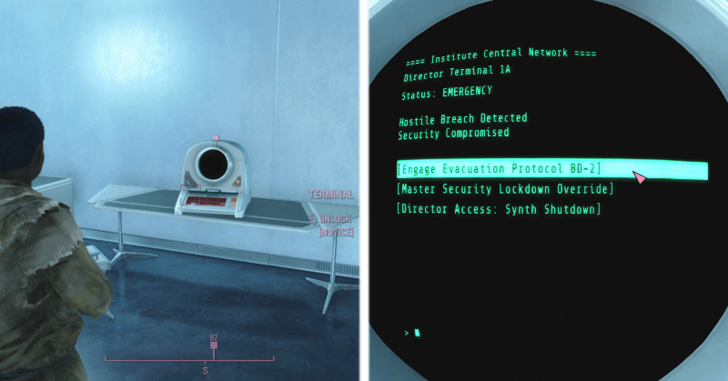
Once you're in the main square, defeat all the enemies, including the Courser, to freely use the elevator in the middle. This will take you to the Father's room, where you can access his terminal to disable the security of the entire Institute. You can find this terminal on the second floor of his room.
Issue an Evacuation Order (Optional)

While you're at it, you can also issue an evacuation from the same terminal used to disable the maximum security. Simply select the first option to complete this objective.
Once you're done using the terminal, all doors should be unlocked. However, this also means more Synths will be deployed to attack you.
Place the Fusion Pulse Charge on the Reactor
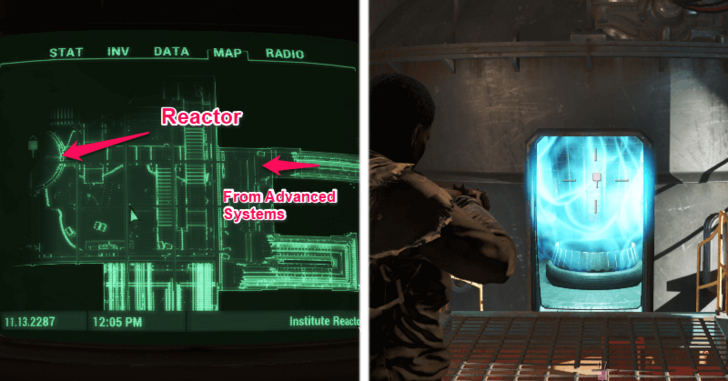
Head to the Advanced Systems Department to find the reactor. The path towards the reactor is straightforward, and you won't need to take any turns, but it will be filled with turrets and Synths, so approach with caution.
At the very end of the path, you'll find the Reactor in a large room. Defeat all the Synths and Coursers here to safely approach the reactor. Once ready, plant the Fusion Pulse Charge and then find Preston Garvey immediately to teleport back to the circular room.
Talk to Shaun and Sturges
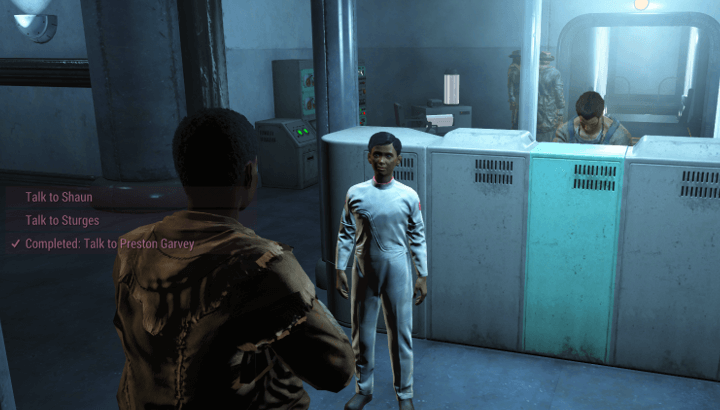
Once you return to the Circular Room, speak with Shaun and Sturges before teleporting outside to the detonator.
Detonate the Reactor
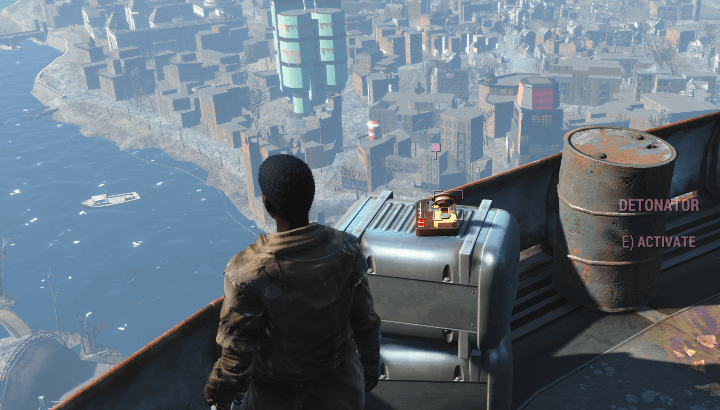
Once you're outside of the Institute, you and the rest of the Minutemen will be teleported to a nearby building with the detonator. Press the button to finally destroy the Institute.
Talk to Preston after Destroying the Institute
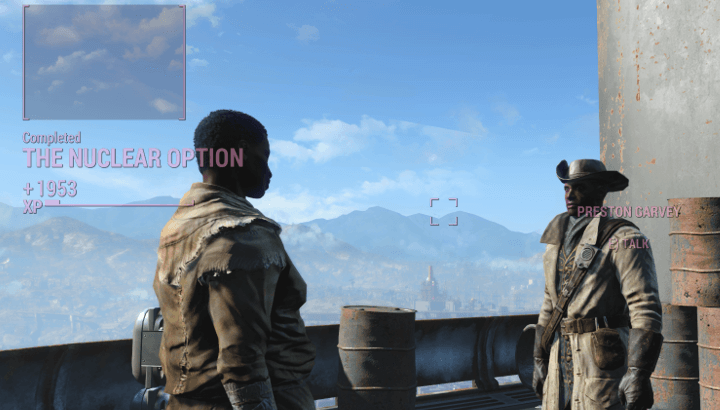
After the cutscene, speak to Preston Garvey again to complete the quest. You can also visit Sturges after this quest, and he'll reward you with the Short Automatic Laser Musket for helping the Minutemen take down the Institute.
| Previous Quest | Next Quest |
|---|---|
| Defend the Castle | With Our Powers Combined |
The Nuclear Option (Minutemen) Location
Where to Start The Nuclear Option (Minutemen)
| Map View | 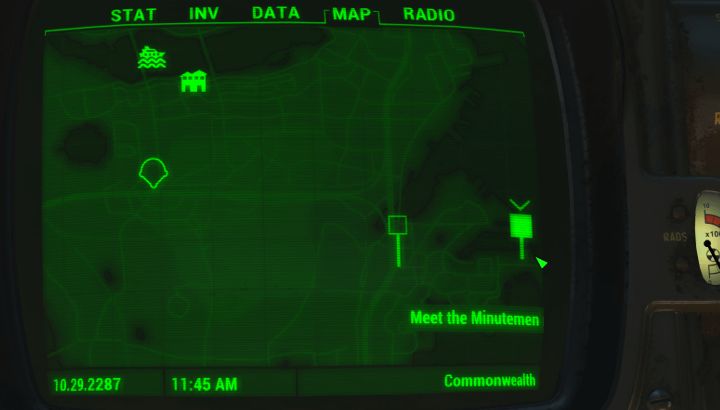 The Castle |
|---|---|
| Quest Giver | 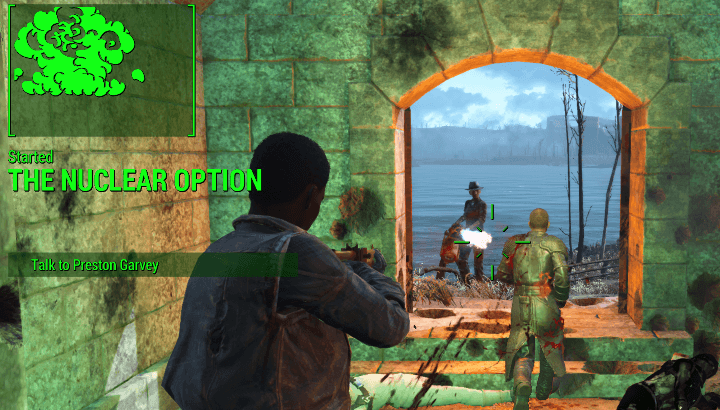 Preston Garvey |
Fallout 4 Related Guides

List of All Factions
| All Joinable Factions | |
|---|---|
| Minutemen | Brotherhood of Steel |
| The Railroad | The Institute |
Full Minutemen Questline
| The Minutemen Quests | |
|---|---|
| 1 | When Freedom Calls |
| 2 | Sanctuary |
| 3 | Taking Independence |
| 4 | Old Guns |
| 5 | Inside Job |
| 6 | Form Ranks |
| 7 | Defend the Castle |
| 8 | The Nuclear Option |
| 9 | With Our Powers Combined |
Author
The Nuclear Option (Minutemen) Walkthrough
improvement survey
04/2026
improving Game8's site?

Your answers will help us to improve our website.
Note: Please be sure not to enter any kind of personal information into your response.

We hope you continue to make use of Game8.
Rankings
- We could not find the message board you were looking for.
Gaming News
Popular Games

Genshin Impact Walkthrough & Guides Wiki

Crimson Desert Walkthrough & Guides Wiki

Umamusume: Pretty Derby Walkthrough & Guides Wiki

Honkai: Star Rail Walkthrough & Guides Wiki

Monster Hunter Stories 3: Twisted Reflection Walkthrough & Guides Wiki

Wuthering Waves Walkthrough & Guides Wiki

The Seven Deadly Sins: Origin Walkthrough & Guides Wiki

Pokemon TCG Pocket (PTCGP) Strategies & Guides Wiki

Pokemon Pokopia Walkthrough & Guides Wiki

Zenless Zone Zero Walkthrough & Guides Wiki
Recommended Games

Monster Hunter World Walkthrough & Guides Wiki

Fire Emblem Heroes (FEH) Walkthrough & Guides Wiki

Pokemon Brilliant Diamond and Shining Pearl (BDSP) Walkthrough & Guides Wiki

Super Smash Bros. Ultimate Walkthrough & Guides Wiki

Diablo 4: Vessel of Hatred Walkthrough & Guides Wiki

Cyberpunk 2077: Ultimate Edition Walkthrough & Guides Wiki

Yu-Gi-Oh! Master Duel Walkthrough & Guides Wiki

Elden Ring Shadow of the Erdtree Walkthrough & Guides Wiki

The Legend of Zelda: Tears of the Kingdom Walkthrough & Guides Wiki

Persona 3 Reload Walkthrough & Guides Wiki
All rights reserved
© 2024 ZeniMax Media Inc. All Rights Reserved.
The copyrights of videos of games used in our content and other intellectual property rights belong to the provider of the game.
The contents we provide on this site were created personally by members of the Game8 editorial department.
We refuse the right to reuse or repost content taken without our permission such as data or images to other sites.


![Forza Horizon 6 Review [Preview] | Beautiful Roads With a Whole Lot of Oversteer](https://img.game8.co/4460981/a7254c24945c43fbdf6ad9bea52b5ce9.png/thumb)


I can't get to Garvey and it keeps wanting me to return to the reactor