This survey will take about 1 minute.
Your answers will help us to improve our website.
Outer Worlds 2
A Cause Worth Killing For Walkthrough
This is a walkthrough for A Cause Worth Killing For, the first main quest in Outer Worlds 2. Read on for a complete A Cause Worth Killing For walkthrough, including the best choices and the rewards for completing the first mission of the game.
| ◀ Previous Mission | Next Mission ▶ |
|---|---|
| - | Recalling the Score |
List of Contents
A Cause Worth Killing For Walkthrough
Contact de Vries for the Mission Briefing
| # | Walkthrough |
|---|---|
| 1 | 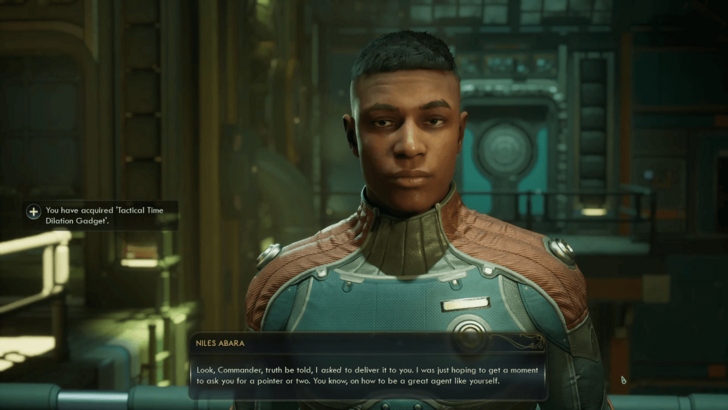 Exit the room and speak with Niles Abara to obtain the Tactical Time Dilation Gadget. |
| 2 | 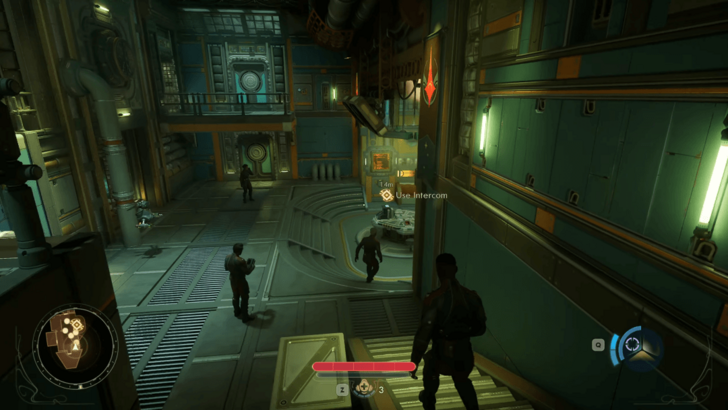 Go down the stairs to your right then use the Intercom. |
| 3 | 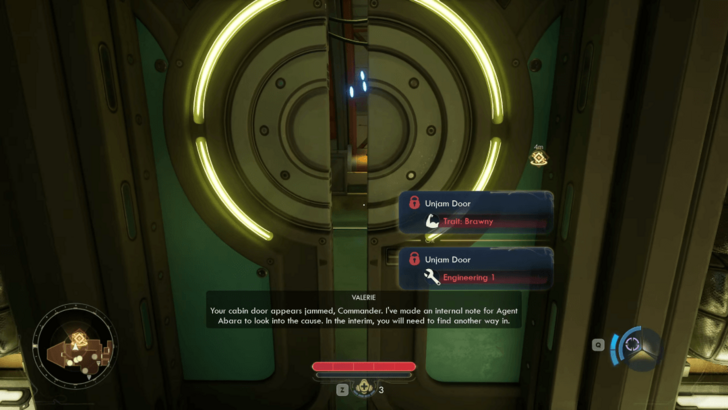 Before you can use the Intercom, you'll first need to retrieve your credentials. You can find them inside the room with a jammed door. If you have the |
| 4 | 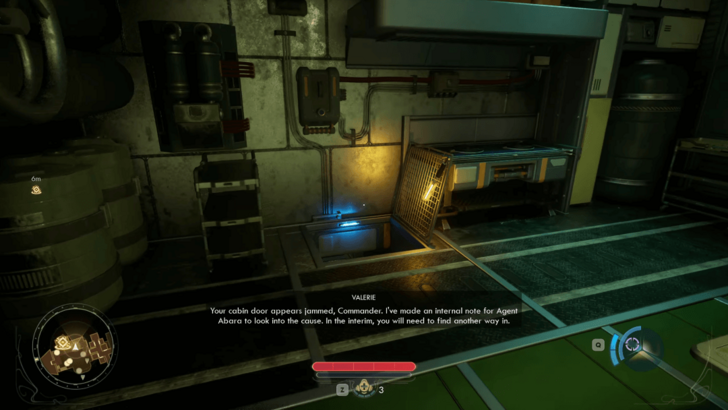 Inside this small mess area and kitchen, you'll find an open vent that leads down into the floor. Hop inside and follow it to reach the room that was blocked by the jammed door. You'll find items in this path. |
| 5 | 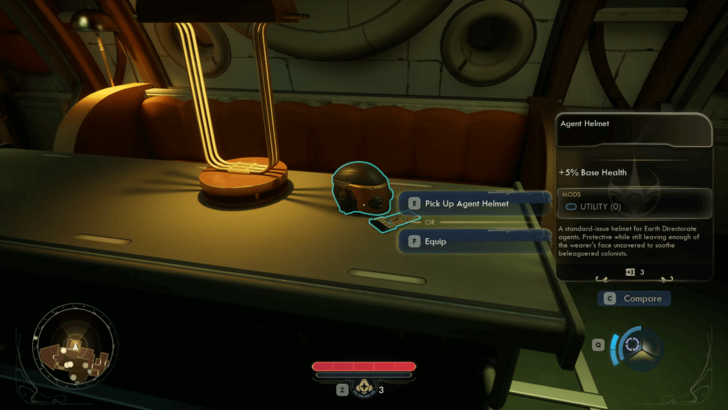 Once you're inside the cabin, pick up the Credentials along with the Agent Helmet on the table. Then, exit through the door by interacting with the lever on the left side. |
| 6 | 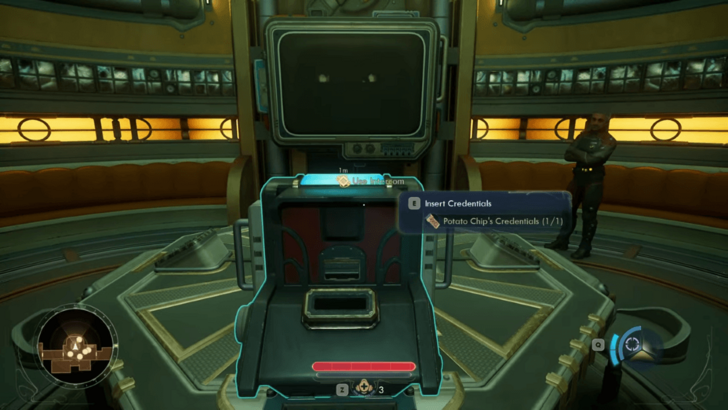 Return to the Intercom and insert the Credentials on it to contact de Vries for the mission briefing. |
| 7 | 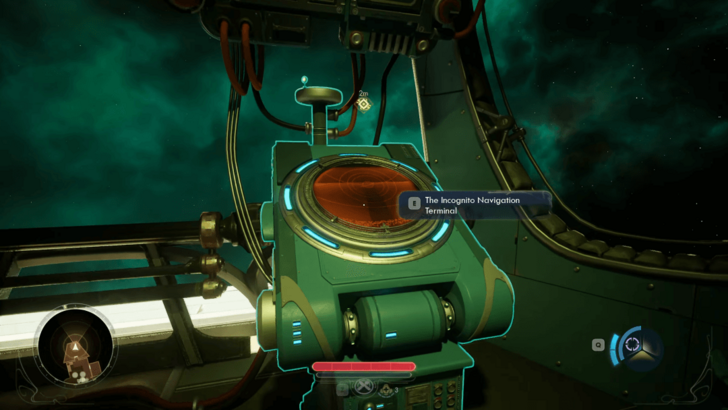 After the briefing, head back to the cockpit. Use the Navigator and click on Horizon Point Station. |
Infiltrate Horizon Point

Once you arrive at the Landing Pad, follow your team into the nearby building. Head upstairs and pick up the Power Fuse and Mechanist Badge. Slot the Power Fuse into the nearby console to power up the landing pad.
With power comes an active security system. You'll have 3 different ways to deal with the station's security system based on your character's starting skills:
| How to Deal with the Security Bots | ||
|---|---|---|
| Method 1 |
Method 2 |
Method 3 Guns Blazing |
Method 1: Lie to Corbin by Impersonating Cadet Mowry
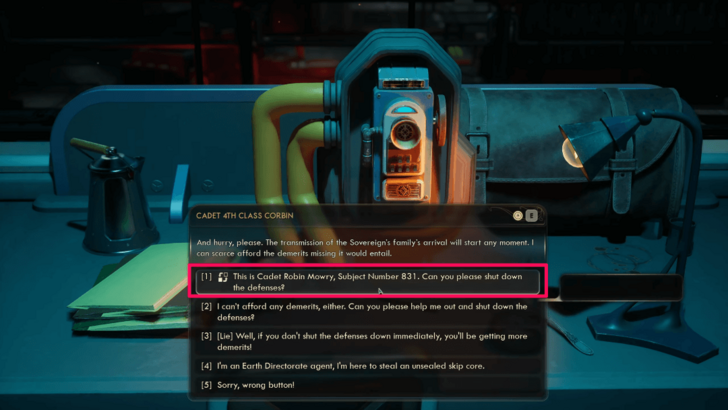
If you picked up the Mechanist Badge, you can use the intercom in the first floor and choose the dialogue option where you pretend to be Cadet Mowry.
Next, select the dialogue that Speech 1 unlocks, which asks cadet Corbin on the other line to turn off the automechanicals. Afterwards, proceed into the Sector to infiltrate Horizon Point.
Method 2: Use Hack 1 to Disable the Drones and Turrets
Alternatively, if you're running a build with at least Hack 1, then you can look to disable the defenses yourself via the nearby access point. Niles will comment on how you should do it but his route requires Lockpick 1 as well.
You can either be sneaky and use the vent system to reach the access point (requires Lockpick 1), or simply book it to the access point and bypass it to summarily shut off the drones and turrets (even if they aggro).
Method 3: Destroy the Drones and Turrets
If you do not have the required skills for the other methods, the only way to go is guns blazing. It's also a perfectly valid strategy. The drones are pretty squishy, and the turrets are easy to deal with. Don't worry about ammo since you'll find a lot of it in the level.
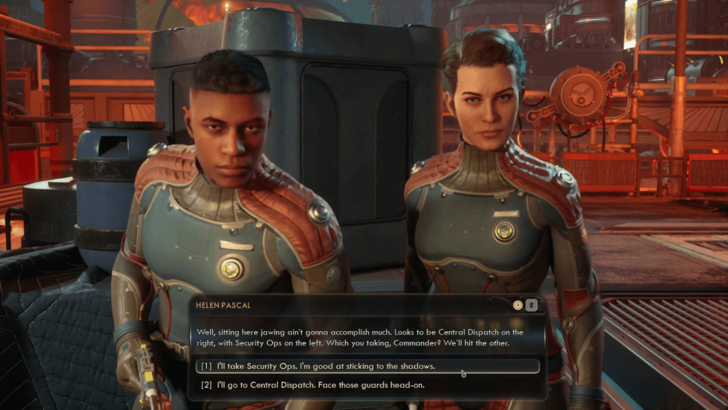
Choose to Go Through Security Ops or Central Dispatch
 |
|
| Differences of Each Route | |
|---|---|
| 1 | Go through Security Ops ・Prioritizes Stealth over combat. ・Chance to get Pumping Station Keycard without having to kill Corbin. |
| 2 | Go through Central Dispatch ・Prioritizes Combat over stealth. ・Unlocks a unique interaction with Niles later in the mission. |
After you reach the next junction, you'll have to choose between go through Security Ops or through Central Dispatch. If you prefer to learn about stealth, go through Security Ops. If you prefer Combat, go through Central Dispatch.
Disable Defenses at Security Ops
| # | Walkthrough |
|---|---|
| 1 | 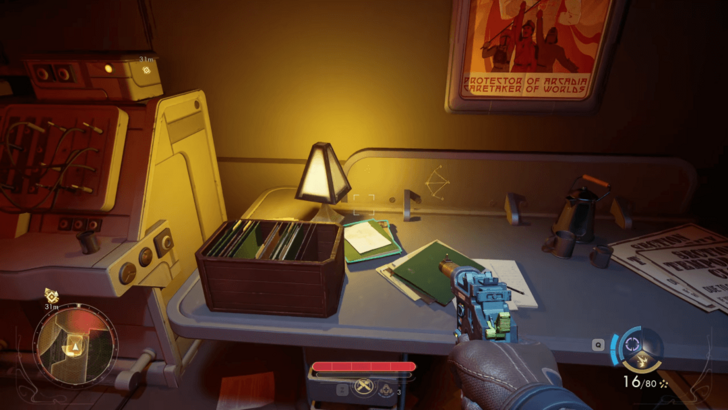 Head straight into the maintenance shack and examine the green folder on the desk to get a security map and the Security Ops Maintenance Key. Make sure to pick up the items from the Locker before leaving the shack. |
| 2 | 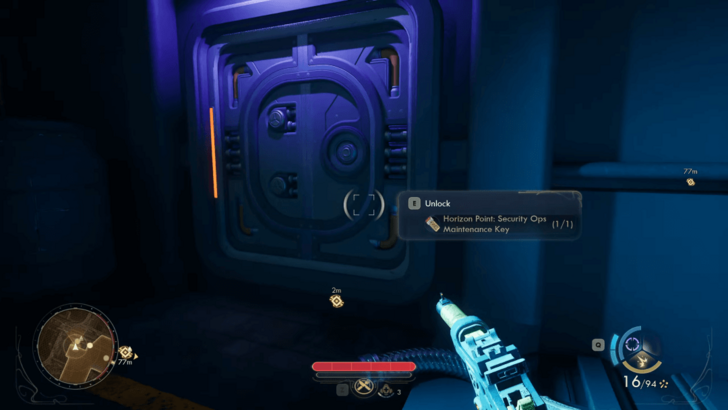 Exit the shack then enter the door of the maintenance route. Follow the path and collect the items along the way. |
| 3 | 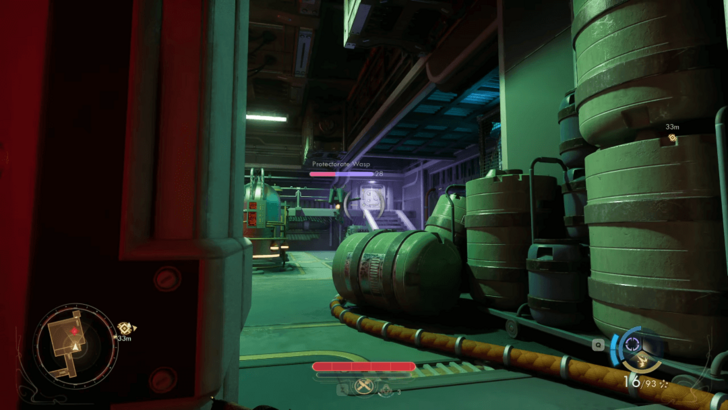 On the third room, there will be a Protectorate Wasp patrolling the area. Wait for it to go to the westernmost part of the room before proceeding. |
| 4 | 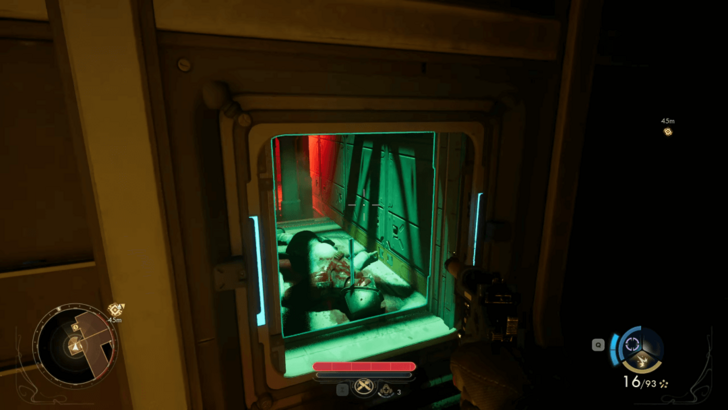 Continue forward and ignore the Protectorate Neophyte for now. Open the hatch and take the Sentry Blade from the corpse. Afterwards, pick up the Bypass Shunt and the Pitchball Card: Nathan Lawter from the open locker. Note: There is a Locker in this room that you can unlock if you have the |
| 5 | 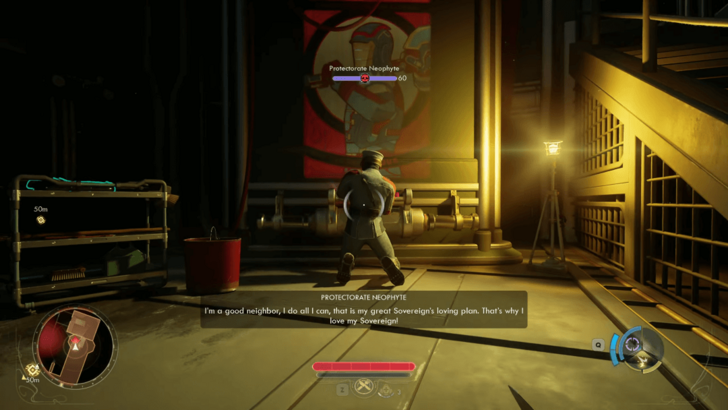 Equip the Sentry Blade then head out of the small room. Stealthily approach the busy Protectorate Neophyte and eliminate him with a sneak attack. |
| 6 | 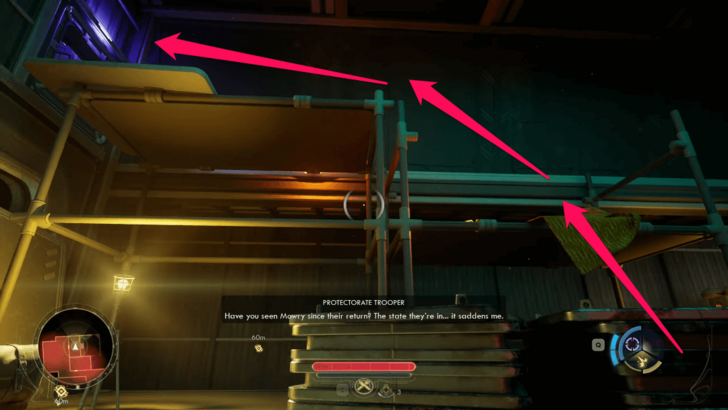 Proceed until you see a door with a scaffolding to the right. Climb the scaffolding and go through the air vent to reach the next area stealthily. You will find two enemies there, which you can also take out with sneak attacks. |
| 7 | 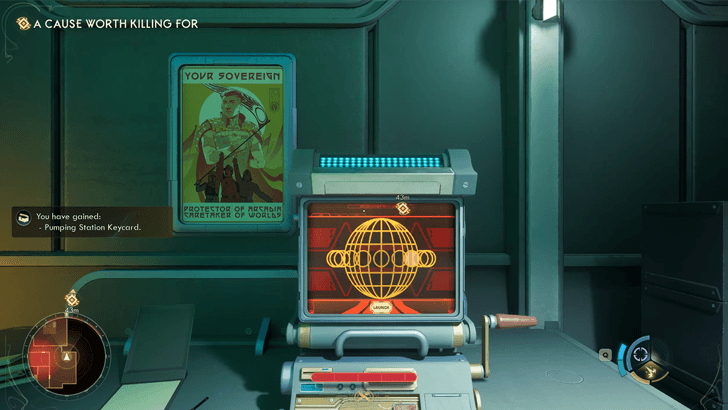 Optional (Hack 1 Required) After exiting the vent and taking out the two guards, use the terminal in this area. Select Eject Pumping Station Access Keycard, then Decrypt Access Code. You need Hack 1 skill to be able to decrypt the keycard and print it. Note: This keycard is needed if you want to go through the Pumping Station path later in the game and you don't have the Lockpick 1 skill. |
| 8 | 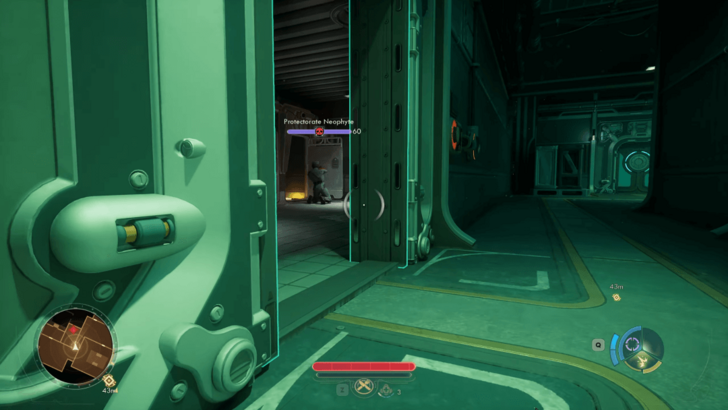 Move forward towards the hallway and carefully enter the first room to the left. There is a Protectorate Neophyte inside. After grabbing all the loot, continue following the path and check the next room and area for items. |
| 9 | 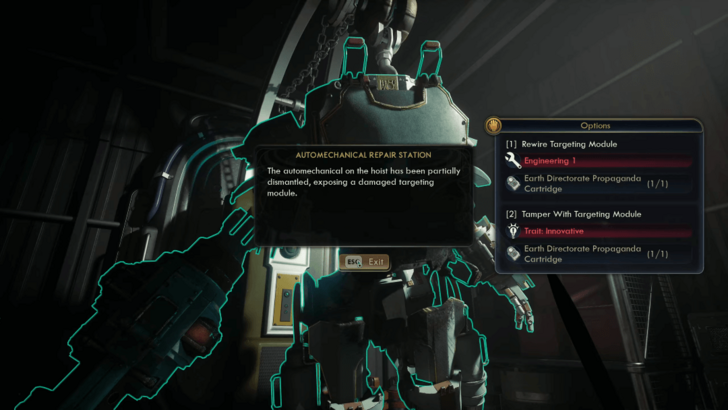 Optional (Engineering 1 or Innovative Required) The second room on the left from the hallway has an interactable wrecked automech that allows you to take a Targeting Module, if you pass the skill or trait check. This allows you to alter the targets of the dragoons and wasps in the base in a later section. |
| 10 | 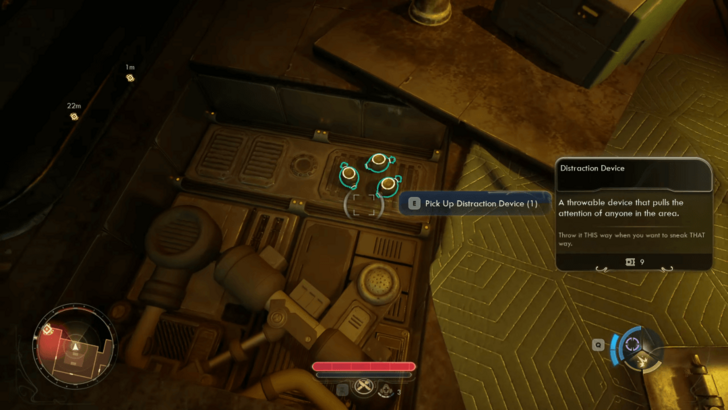 Inside the room at the end of the hall, pick up the Distraction Device from the floor panel. |
| 11 | 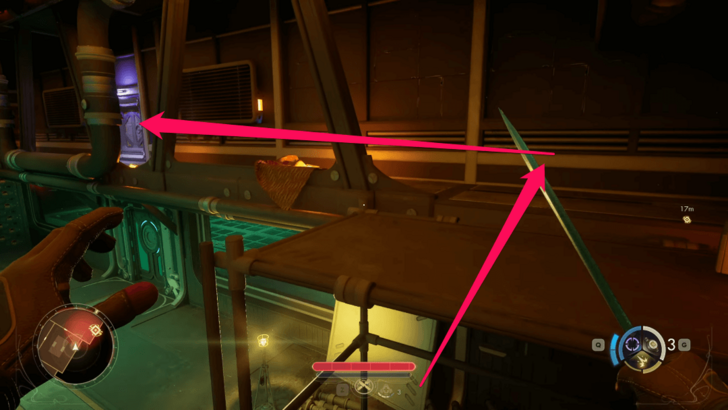 Climb up the scaffolding to sneak into the security main control room, then kill the two guards. |
| 12 | 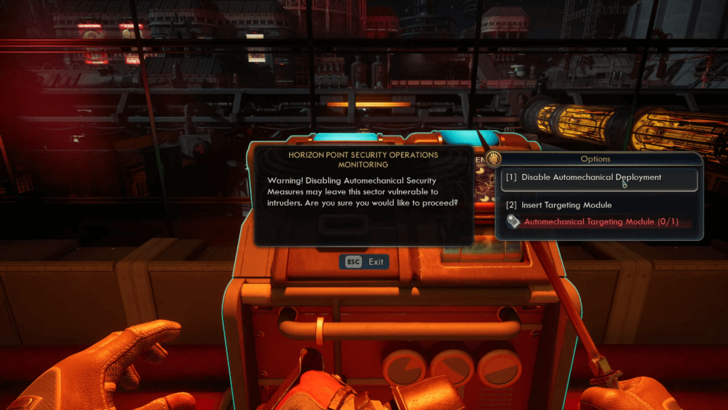 After dealing with the guards, examine the console and choose to disable Automechannical Deployment. If you got the Targeting Module, you'll be able to alter the automechanicals to target the Protectorates as enemies. |
Disable Communications at Central Dispatch
| # | Walkthrough |
|---|---|
| 1 |  |
| 2 | 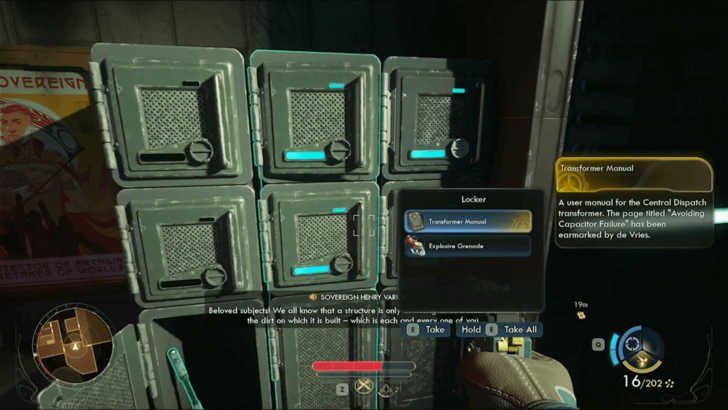 Take the Transformer Manual from the locker. Then, pick up the Pitchball Card: Nathan Lawter from the open compartment below. Note: You won't need the manual if you have the Engineering 1 skill. |
| 3 | 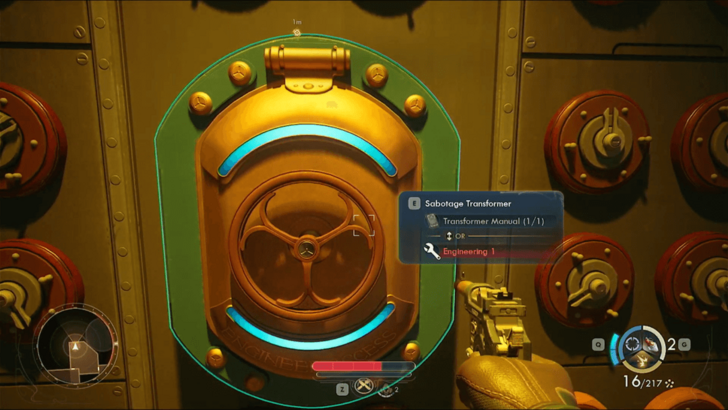 Sabotage the Transformer. |
| 4 | 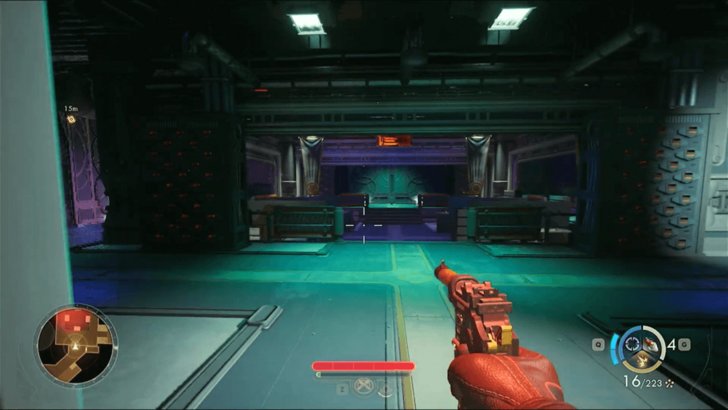 Proceed to the next areas until you reach the control room. Be careful as there will be several enemies you will encounter along the way. |
| 5 | 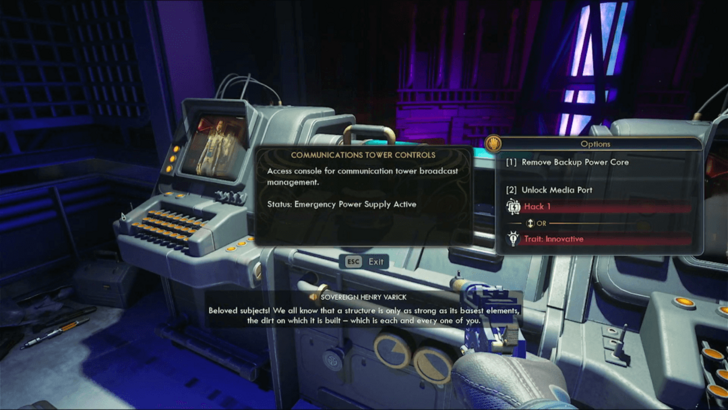 Remove the Backup Power Core from the communications console to deactivate its emergency power supply. Note: You can unlock its Media Port if you have the |
Regroup With Your Crewmates
| # | Walkthrough |
|---|---|
| 1 | Use the elevator to go down. Tip: You can use the AutoDoc on the wall to heal before exiting out of the room where the elevator is. |
| 2 | 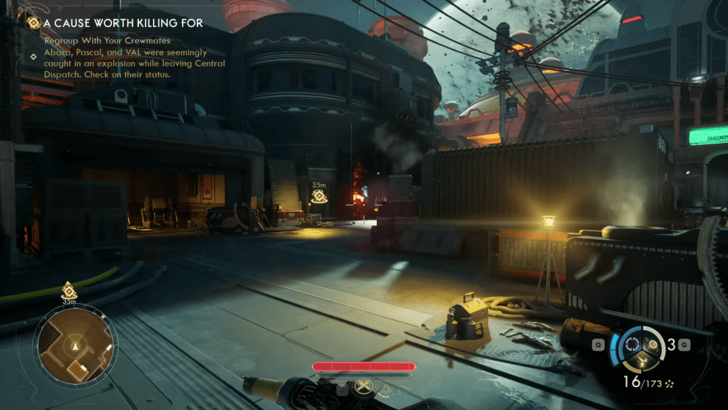 Before approaching the blown-out door, make sure to go over all the rooms in the area for items. |
| 3 | 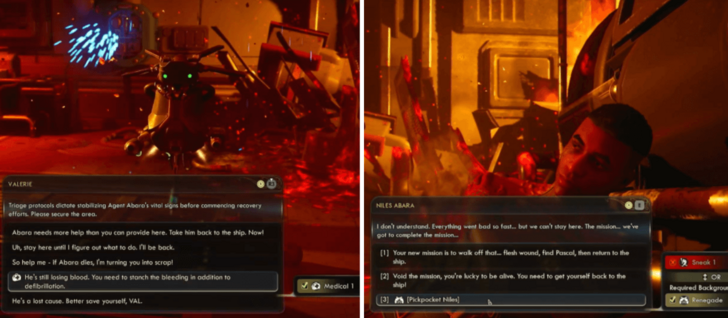 Once you reach the rally point, you will enter into a dialogue with either Valerie or Niles depending on which route (Security Ops or Central Dispatch) you took. Skill/Trait-Based Options: ・In the dialogue with Valerie, you can choose the "stanch bleeding" option if you have the
・In the dialogue with Niles, you can pickpocket him if you have the
Tip: Valerie will give you Niles' equipment so pickpocketing him is not really necessary. Additonally, no matter what you select in this dialogue, Niles will survive. |
Can You Save Pascal?
Unfortunately, this entire sequence is scripted. There is no way to save Pascal during A Cause Worth Killing For, just as there isn't a way to prevent Niles' injury during the mission.
Gain Access to the Skip Labs
 |
|
| Differences of Each Route | |
|---|---|
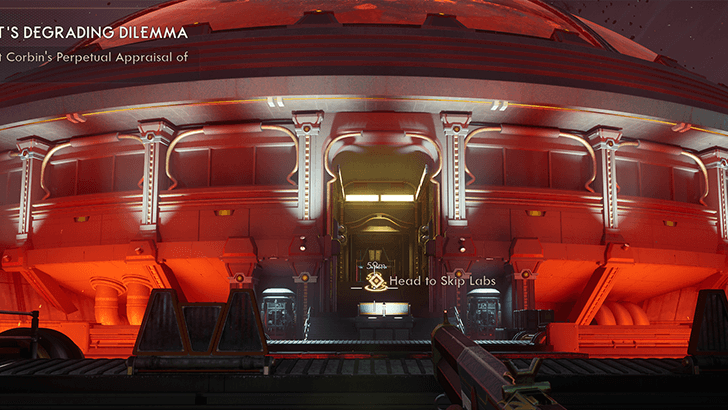
| 1 | Cross the Skip Labs Bridge ・If you can convince Corbin to let you cross, you'll get a missable task called the Cadet's Degrading Dilemma. ・If you can't convince Corbin, combat will be triggered and you'll have to fight an assortment of mechs and troopers. |
| 2 | Go through the Pumping Station ・Requires that you have either the Pumping Station Keycard or Lockpick 1. ・Nets you a a tidy sum of Bits if you have Hack 1. |
Upon reaching the Skip Labs bridge, you'll have 2 options when it comes to crossing. You can either strike a deal with Corbin or go through the Pumping Station.
If you don't have the Pumping Station Keycard from the Security Lab or Lockpick 1, then you're better off trying to cross the bridge.
Go Through the Bridge to Reach Skip Labs
| # | Walkthrough |
|---|---|
| 1 | 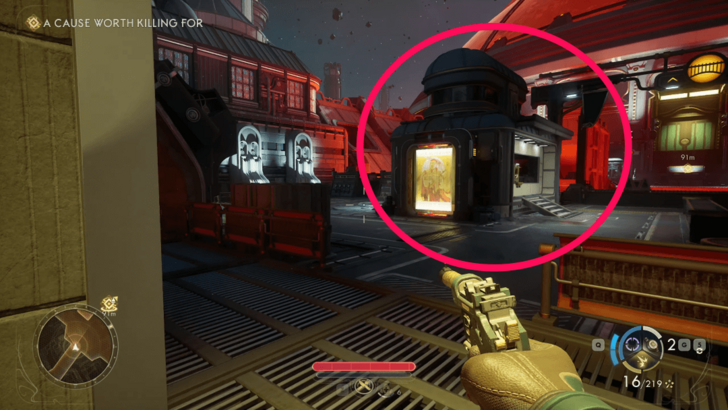 If you meet at least 1 of the following criteria, then you should be good to cross the bridge: ① Have at least Speech 1. ② Inserted the Targeting Module during your Security Ops run. ③ Inserted Earth Directorate Media during your Central Dispatch run. ④ Just want to fight enemies. ⑤ Want to kill Cadet Corbin. To start, head over to the nearby booth and speak to Cadet Corbin. |
| 2 | 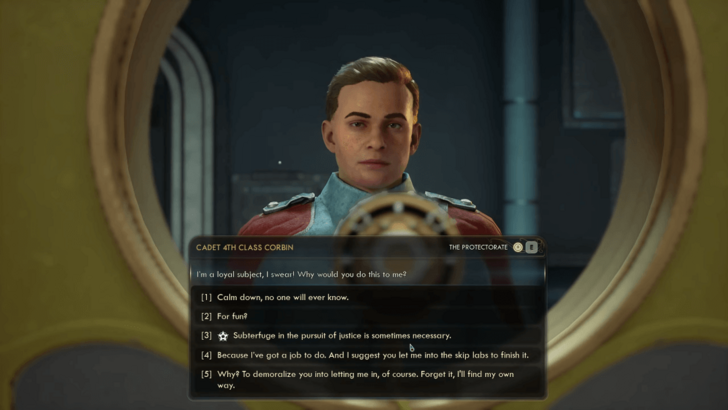 This conversation can end in two ways: either Corbin strikes a deal with you or he lowers the bridge and calls in the cavalry. If you have Speech 1 (Story difficulty), you can strike a deal with Corbin and get a hidden task called The Cadet's Degrading Dilemma. However, if you fail to strike a deal with Corbin, he'll lower the bridge and sic the Protectorate on you. The enemies you face will depend on your earlier decisions: ① If you powered through Security Ops or Central Dispatch, then you'll have to face down an army of mechs and troops. ② If you inserted the Targeting Module during Security Ops, having the guards called on you will result in the mechs fighting for you. ③ If you inserted the Earth Directorate Media during Central Dispatch, the troopers will not spawn, and you'll only have to fight the robots. |
Go Through the Pumping Station to Reach Skip Labs
This route requires you to have either the Pumping Station Keycard or access to a Mag-Pick and Lockpick 1. If you don't have either, then you won't be able to use this route.
| # | Walkthrough |
|---|---|
| 1 | 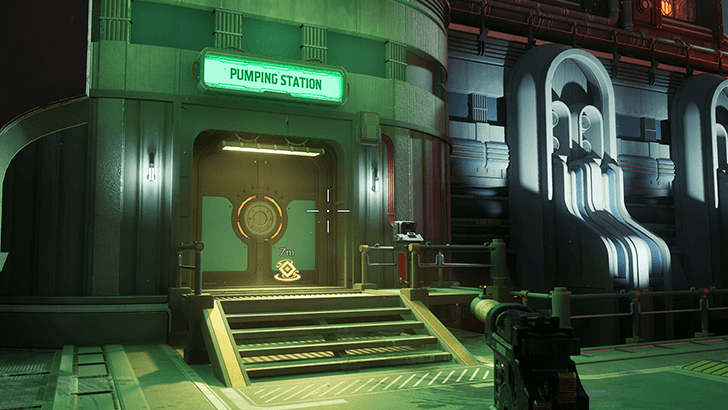 Instead of heading towards Corbin's booth, turn left and head towards the Pumping Station. Use your Pumping Station Keycard or Lockpick 1 to enter. |
| 2 | 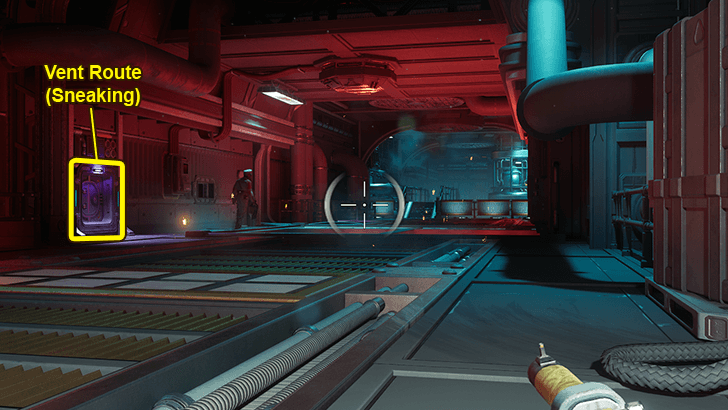 Go up the stairs to find a long corridor patrolled by guards. Here, you'll have the option to gun everyone down or go through the nearby vents and let the turrets take care of the troops. Regardless of your choice, the goal is to reach the end of the hallway. |
| 3 | 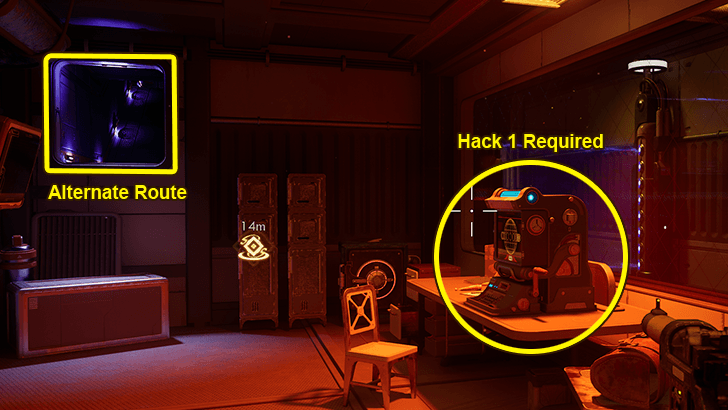 The final obstacle blocking your path will be an energy field. If you have Hack 1, use a bypass shunt on the nearby terminal to lower the energy field. If you don't have Hack 1, go through the nearby vent to enter the Skip Labs. |
Rendezvous With de Vries at the Skip Labs
| # | Walkthrough |
|---|---|
| 1 | 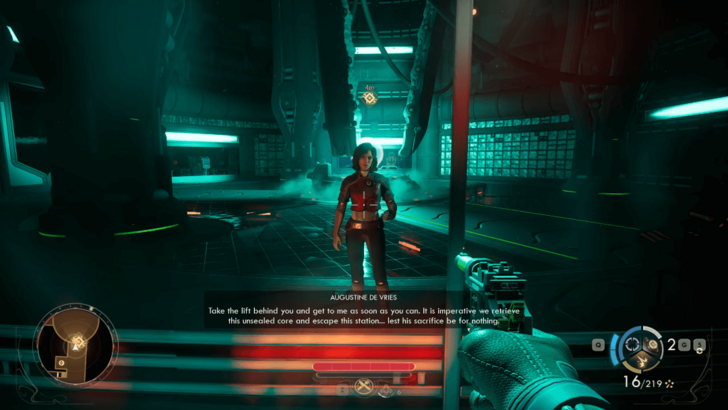 Once you reach Skip Labs, continue up ahead to see de Vries. |
| 2 | 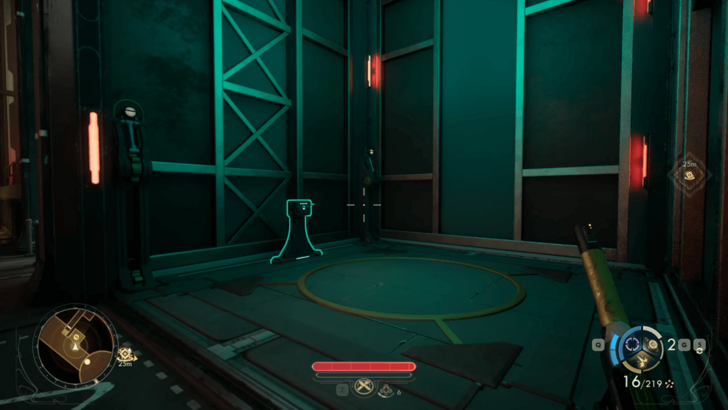 Take the lift and continue forward. Be careful as you will encounter enemies on the top floor. |
| 3 | 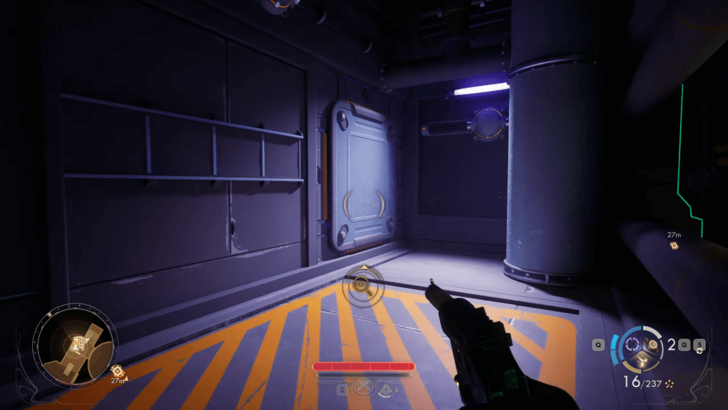 When you get to the stairs, head down until you see the Vending Machine. There is a vent maintenance door in the corner in the small area behind it. Crouch and approach the door, then use Observation to open it. Note: If you don't have the Observation skill unlocked, proceed to the regular door at the end of the path from the stairs. This will lead you to the same room as the vent, except that you won't be able to trigger the electric current on a part of the floor. |
| 4 | 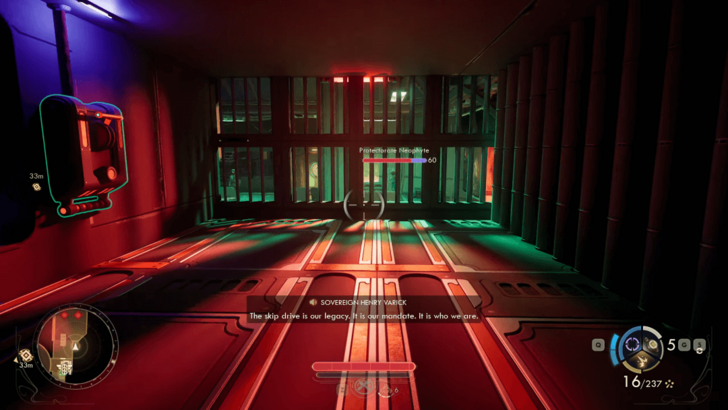 Enter the corner door and follow the path until you reach the other side. |
| 5 | 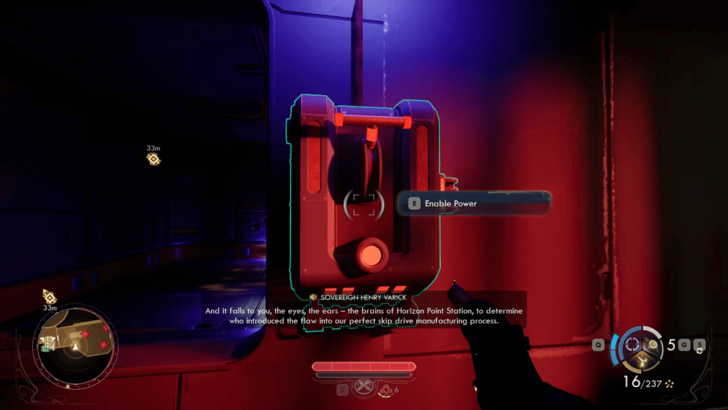 Pull the lever to enable the power in the next room where you can see several enemies across the bars. |
| 6 | 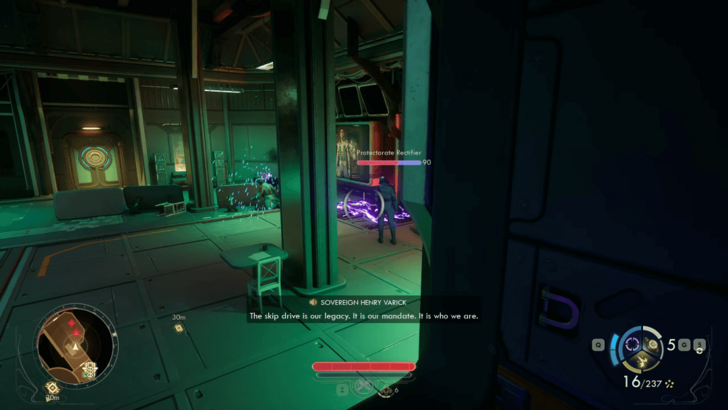 Do not go inside the next room yet. Enabling the power will activate an electric current on the floor in a particular area of the room, which will eliminate most of the enemies. Exit the tunnel when there is only one guard left, whom you can easily kill in his stunned state. |
| 7 | 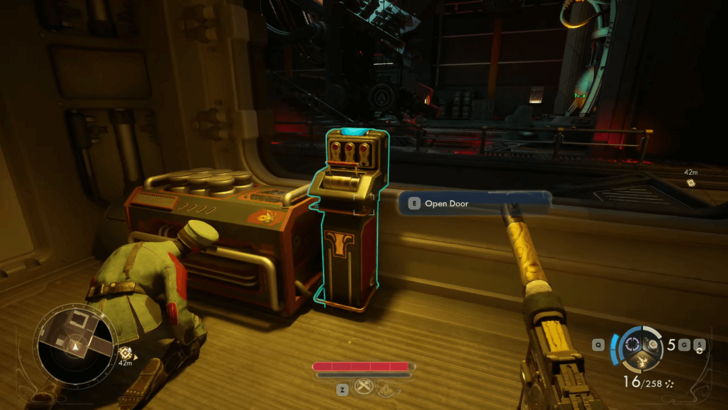 Proceed to the next area and kill all the guards there. Afterwards, pull the lever on the lock control to open the door. |
| 8 | Meet up with de Vries. After the scene, continue on to the next main quest Recalling the Score. |
Recalling the Score Walkthrough
A Cause Worth Killing For Missables
| Missable | How to Get |
|---|---|
| The Cadet's Degrading Dilemma Task |
Speech 1 Required (Story Difficulty) When convincing Cadet Corbin to lower the bridge to Skip Labs, offer to help him with his demerits. |
A Cause Worth Killing For Choices
| Choice | Effect/Condition |
|---|---|
| Go Through Security Ops | ・Locks you out of the unique interaction with Niles during the Regroup with Your Crewmates objective. |
| Go Through Central Dispatch | ・Unlocks a unique interaction with Niles during the Regroup With Your Crewmates objective. |
| Promise to Help Cadet Corbin with His Demerits (Conditional) |
・Unlocks Corbin's task: The Cadet's Degrading Dilemma. Locked behind a Skill check: Hack 1 and Speech 1 or Speech 1 only |
| Fail to Convince Corbin to Help You |
・Automatically makes Corbin hostile. ・You'll be drawn into combat against automechs. ・Locks you out of The Cadet's Degrading Dilemma task. |
List of Choices and Consequences
A Cause Worth Killing For Rewards
| Quest Completion Rewards | |
|---|---|
|
・3780 XP ・350 Bits ・Trauma Kit |
A Cause Worth Killing For Info
| A Cause Worth Killing For Info | |||||
|---|---|---|---|---|---|
| Type | Main Quest | ||||
| Location | Horizon Point Station | ||||
| How to Start | |||||
| Starts as soon as you finish creating your character. | |||||
The Outer Worlds 2 Related Guides

All Main Quests
| # | Main Quests |
|---|---|
| 1 | A Cause Worth Killing For |
| 2 | Recalling the Score |
| 3 | The Saboteur of Paradise |
| 4 | On the Trail of the Traitor ┗ Discrete Mathematics |
| 5 | Fiends in High Places |
| 6 | An Instrument to Unfold Space & Time |
| 7 | A Complication with the Computronic Cerebrum |
| 8 | Sins of the Past on the Precipice of the Future |
Comment
Author

A Cause Worth Killing For Walkthrough
Please participate in our site
improvement survey
04/2026
improvement survey
04/2026
Would you assist in
improving Game8's site?
improving Game8's site?

×
We are listening to our users' valuable opinions and discussing how to act on them.
The information collected through this survey will be used for the purpose of improving our services. In addition, the information will only be disclosed a part of a statistic in a format that will not allow identification of personal information.
Begin Survey
Not Now
×
Please rate each item regarding Game8.co's Advertisements.
Amount of Ads
Very Dissatisfied
Somewhat Dissatisfied
Fine
Somewhat Satisfied
Highly Satisfied
Placement of Ads
Timing of Ad Display
Ad Loading Speed
Safeness of Ads
Content of Ads
×
Please rate each item regarding Game8.co's Quality of Articles.
Amount of information
Very Dissatisfied
Somewhat Dissatisfied
Fine
Somewhat Satisfied
Highly Satisfied
Frequency of updates
Speed of new information
Accuracy of articles
Understandibility of articles
Readability of sentences
×
Please rate each item regarding Game8.co's Usability of the Site.
Ease of finding information
Very Dissatisfied
Somewhat Dissatisfied
Fine
Somewhat Satisfied
Highly Satisfied
Loading Speed
Use of Color
Font Size
Visibility of Images
Easy to Understand Layout
×
Please rate each item regarding Game8.co's Message Boards, Comments.
Ease of Writing
Very Dissatisfied
Somewhat Dissatisfied
Fine
Somewhat Satisfied
Highly Satisfied
Readability
Ease in Finding Information
Comment Quality
Comment Quantity
Admin Response
×
Please rate each item regarding Game8.co's Site's new design.
Please rate our site's new design
Very Dissatisfied
Somewhat Dissatisfied
Fine
Somewhat Satisfied
Highly Satisfied
Do you think that the website's design change makes the site easier to use?
Has the new design made it easier for you to find information on the site?
Has the new design improved the overall visual appeal of the site?
How would you rate your overall satisfaction with the new design of the site?
×
How likely are you to recommend Game8 to someone you know?
Very Unlikely
0
1
2
3
4
5
6
7
8
9
10
Very Likely
If you have other opinions regarding potential improvement to the website, please share them with us. We would appreciate your honest opinion.
Note: This is a free response section, so you can proceed without entering anything.
Note: Please be sure not to enter any kind of personal information into your response.
Note: Please be sure not to enter any kind of personal information into your response.
×
Thank You
×
Thank you for participating in our survey! Your answers will help us to improve the quality of our website and services.
We hope you continue to make use of Game8.
We hope you continue to make use of Game8.
Close
Rankings
- We could not find the message board you were looking for.
Gaming News

![Forza Horizon 6 Review [Preview] | Beautiful Roads With a Whole Lot of Oversteer](https://img.game8.co/4460981/a7254c24945c43fbdf6ad9bea52b5ce9.png/show)

![Forza Horizon 6 Review [Preview] | Beautiful Roads With a Whole Lot of Oversteer](https://img.game8.co/4460981/a7254c24945c43fbdf6ad9bea52b5ce9.png/thumb)
![Borderlands Mobile Review [Playtest] | The Same Borderlands Made Easy](https://img.game8.co/4465500/aac0c880a39ec5cd46073e49d18f3ed5.png/thumb)
Popular Games

Genshin Impact Walkthrough & Guides Wiki
Crimson Desert Walkthrough & Guides Wiki
Umamusume: Pretty Derby Walkthrough & Guides Wiki
Honkai: Star Rail Walkthrough & Guides Wiki
Monster Hunter Stories 3: Twisted Reflection Walkthrough & Guides Wiki
Wuthering Waves Walkthrough & Guides Wiki
The Seven Deadly Sins: Origin Walkthrough & Guides Wiki
Pokemon TCG Pocket (PTCGP) Strategies & Guides Wiki
Pokemon Pokopia Walkthrough & Guides Wiki
Zenless Zone Zero Walkthrough & Guides Wiki


Recommended Games
Fire Emblem Heroes (FEH) Walkthrough & Guides Wiki
Pokemon Brilliant Diamond and Shining Pearl (BDSP) Walkthrough & Guides Wiki
Super Smash Bros. Ultimate Walkthrough & Guides Wiki
Diablo 4: Vessel of Hatred Walkthrough & Guides Wiki
Cyberpunk 2077: Ultimate Edition Walkthrough & Guides Wiki
Yu-Gi-Oh! Master Duel Walkthrough & Guides Wiki
Elden Ring Shadow of the Erdtree Walkthrough & Guides Wiki
Monster Hunter World Walkthrough & Guides Wiki
The Legend of Zelda: Tears of the Kingdom Walkthrough & Guides Wiki
Persona 3 Reload Walkthrough & Guides Wiki


All rights reserved
© 2025 Obsidian Entertainment, Inc. Obsidian Entertainment, the Obsidian Entertainment logo, The Outer Worlds 2, and The Outer Worlds 2 logos are trademarks or registered trademarks of Obsidian Entertainment, Inc. All rights reserved.
The copyrights of videos of games used in our content and other intellectual property rights belong to the provider of the game.
The contents we provide on this site were created personally by members of the Game8 editorial department.
We refuse the right to reuse or repost content taken without our permission such as data or images to other sites.