Shiyu Defense Ambush Node 2 Guide
☆ New: Tier List Maker & Co-Op Board!
★ Upcoming: Version 2.7, Nangong Yu & Cissia
☆ 2.6 Phase 1: Sunna & Yixuan
★ 2.6 Phase 2: Aria & Yuzuha
☆ Tier Lists: Agents | W-Engines | Bangboos | Teams
★ Redeem Codes for free Polychromes!
Ambush Node 2 is a Shiyu Defense stage in Zenless Zone Zero (ZZZ). We've got the best teams, recommended characters, and rewards for Ambush Node 2 here.
List of Contents
Ambush Node 2 Information
Stage Details
| Objectives | |
|---|---|
| Frontier Effects | |
| • Dodge Counter DMG increases by 150%. | |
| Recommended Attributes | |
| First Half |
Second Half |
Ambush Node 2 Best Teams
Ambush Node 2 First Half
| Mono-Electric Team | |||
|---|---|---|---|
|
|
|
|
|
| Shock Team | |||
|
|
|
|
|
| Ether Team | |||
|
|
|
|
|
| Assault Team | |||
|
|
|
|
|
| F2P Team | |||
|
|
|
|
|
The two halves of Ambush Node 2 have the weakness and resistance flipped. In this half, you will be up against machines that are weak to Electric but resistant to Fire.
Bringing along a Shock Team or a Mono-Electric Team is a great option for cancelling incoming attacks, incapacitating enemies, and breaking shields instantly. You can use an Ether Team for more variety.
Ambush Node 2 Second Half
| Mono-Fire Team | |||
|---|---|---|---|
|
|
|
|
|
| Mono-Calydon Team | |||
|
|
|
|
|
| F2P Team | |||
|
|
|
|
|
As for the second half, you will be up against one enemy that is weak to Fire but resistant to Electric. A Mono-Fire Team is the way to go, with Soldier 11 being replaceable with Zhu Yuan for more variety.
You can also opt for the Physical route with Caesar providing Daze and Shield capabilities. You can opt for a Mono-Calydon Team with Lucy being replaceable with Jane for an Assault Team!
Ambush Node 2 Enemies
First Half Enemies
| Enemies | Weakness | Resistance |
|---|---|---|
Second Half Enemies
| Enemies | Weakness | Resistance |
|---|---|---|
How to Beat Ambush Node 2
Ambush Node 2 First Half
Target the Lightfoot Rover First
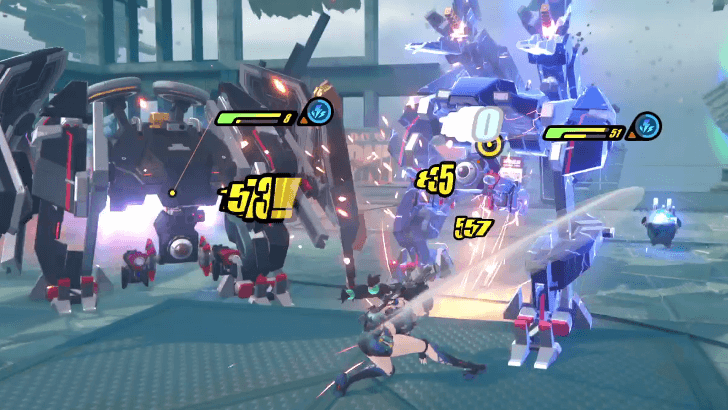
The more dangerous enemy in this half is the Heavy Striker, so eliminating any distractions before eliminating it will make for a much easier and less deadly encounter.
The Lightfoot Rover will send out drones and fire projectiles at you from afar that will deal great DMG if you let them hit you. Eradicate it first, then move onto the Heavy Striker, which has attack patterns that are much easier to predict.
Inflict Shock Often
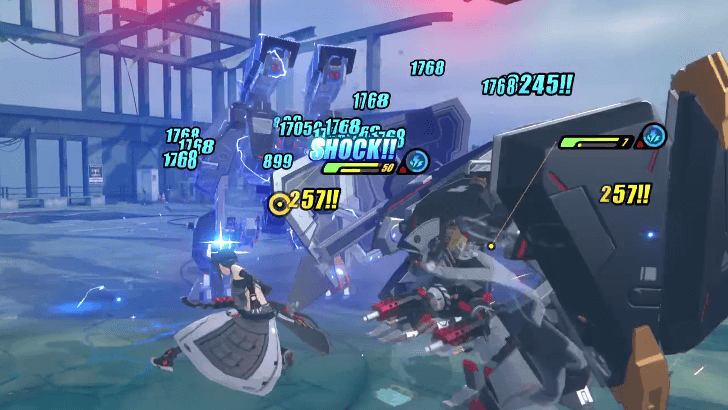
To further negate as much DMG as possible, it would be wise to inflict Shock often to the machines you're up against.
Not only will it interrupt their actions and effectively cancel any incoming attacks, it will also incapacitate them for a short time, presenting you with opportunities for your own attacks!
Ambush Node 2 Second Half
Use Dodge Counters Often
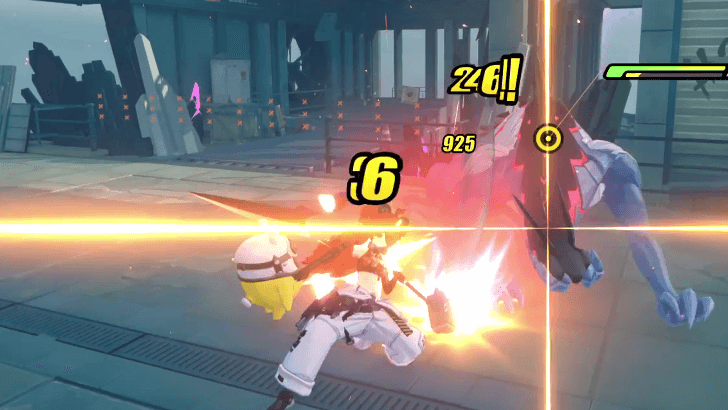
Taking into account this stage's effect and the Hati Pack Leader's relatively easy-to-predict attack patterns, Dodge Counters are your key to success.
Watch out for attack cues, dodge accordingly, and initiate Dodge Counters as often as you can! In no time, you'll be able to stun the Pack Leader and really dish out massive DMG! Don't forget to use your Perfect Assists whenever necessary!
Ambush Node 2 Rewards
| Rank | Rewards |
|---|---|

|
|

|
|

|
Zenless Zone Zero Related Guides

Stable Node Guides
| All Stable Node Stages | ||||
|---|---|---|---|---|
| Frontier 1 | Frontier 2 | Frontier 3 | Frontier 4 | Frontier 5 |
| Frontier 6 | Frontier 7 | Frontier 8 | Frontier 9 | Frontier 10 |
Disputed Node Guides
| All Disputed Node Stages | |||
|---|---|---|---|
| Frontier 1 | Frontier 2 | Frontier 3 | Frontier 4 |
| Frontier 5 | Frontier 6 | Frontier 7 | Frontier 8 |
Critical Node Guides
| All Critical Node Stages | ||||
|---|---|---|---|---|
| Frontier 1 | Frontier 2 | Frontier 3 | ||
| Frontier 4 | Frontier 5 | |||
Ambush Node Guides
| All Ambush Node Stages | ||||
|---|---|---|---|---|
| Frontier 1 | Frontier 2 | Frontier 3 | ||
| Frontier 4 | Frontier 5 | |||
Comment
Author
Shiyu Defense Ambush Node 2 Guide
improvement survey
03/2026
improving Game8's site?

Your answers will help us to improve our website.
Note: Please be sure not to enter any kind of personal information into your response.

We hope you continue to make use of Game8.
Rankings
- We could not find the message board you were looking for.
Gaming News
Popular Games

Genshin Impact Walkthrough & Guides Wiki

Honkai: Star Rail Walkthrough & Guides Wiki

Umamusume: Pretty Derby Walkthrough & Guides Wiki

Pokemon Pokopia Walkthrough & Guides Wiki

Resident Evil Requiem (RE9) Walkthrough & Guides Wiki

Monster Hunter Wilds Walkthrough & Guides Wiki

Wuthering Waves Walkthrough & Guides Wiki

Arknights: Endfield Walkthrough & Guides Wiki

Pokemon FireRed and LeafGreen (FRLG) Walkthrough & Guides Wiki

Pokemon TCG Pocket (PTCGP) Strategies & Guides Wiki
Recommended Games

Fire Emblem Heroes (FEH) Walkthrough & Guides Wiki

Diablo 4: Vessel of Hatred Walkthrough & Guides Wiki

Yu-Gi-Oh! Master Duel Walkthrough & Guides Wiki

Super Smash Bros. Ultimate Walkthrough & Guides Wiki

Pokemon Brilliant Diamond and Shining Pearl (BDSP) Walkthrough & Guides Wiki

Elden Ring Shadow of the Erdtree Walkthrough & Guides Wiki

Monster Hunter World Walkthrough & Guides Wiki

The Legend of Zelda: Tears of the Kingdom Walkthrough & Guides Wiki

Persona 3 Reload Walkthrough & Guides Wiki

Cyberpunk 2077: Ultimate Edition Walkthrough & Guides Wiki
All rights reserved
Copyright © 2024 HoYoverse, COGNOSPHERE. All Rights Reserved.
The copyrights of videos of games used in our content and other intellectual property rights belong to the provider of the game.
The contents we provide on this site were created personally by members of the Game8 editorial department.
We refuse the right to reuse or repost content taken without our permission such as data or images to other sites.


