How to Beat the Reaper
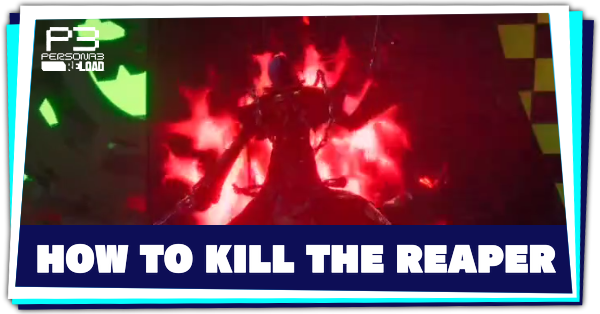
The Reaper is an optional super boss in Persona 3 Reload that can be fought in Tartarus or the Abyss of Time. Read on to learn how to defeat the Reaper, its spawn time, rewards, weaknesses, and resistances, as well as how to cheese it, along with the recommended party and Personas for the fight.
List of Contents
Reaper Boss Overview and Spawn Time
| Boss Overview |
|---|
|
Floor: All Random Floors Block: All Blocks Recommended Level: 70+ Boss Type: Optional |
Appears in All Dungeons
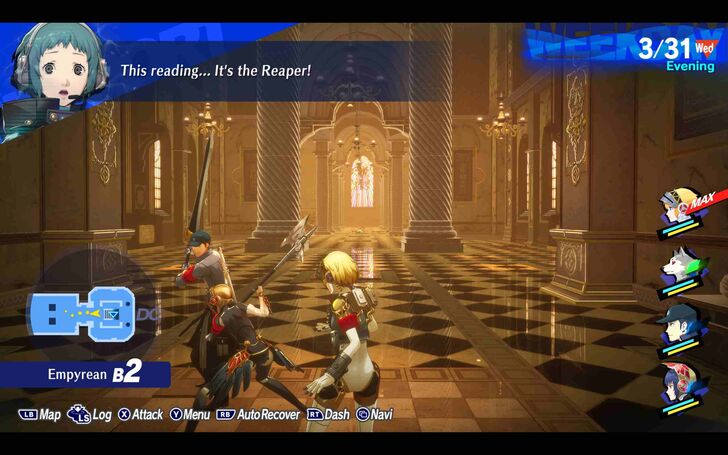
The Reaper appears in any dungeon in Persona 3 Reload if your party stays on a dungeon floor for too long. Its arrival is announced by Fuuka before he appears your minimap.
 |
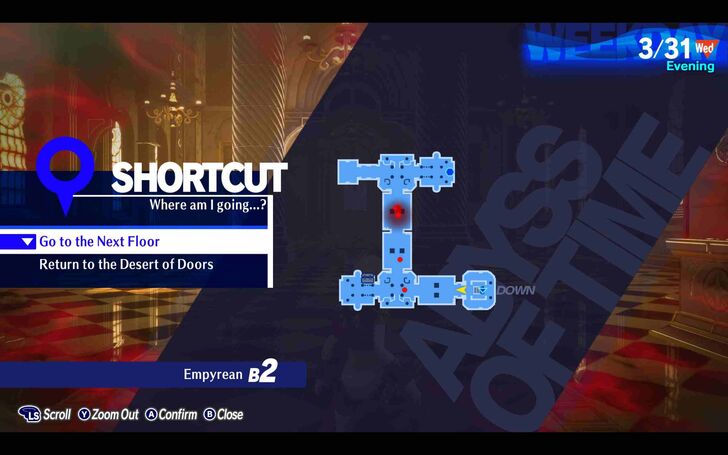 |
When he's on the same floor as you, your screen's borders will start glowing red and you will hear chains rattling as it approaches closer.
You can avoid this encounter by moving to the next floor before he catches you, or by using a teleporter if available.
Spawns Every 3-4 Minutes
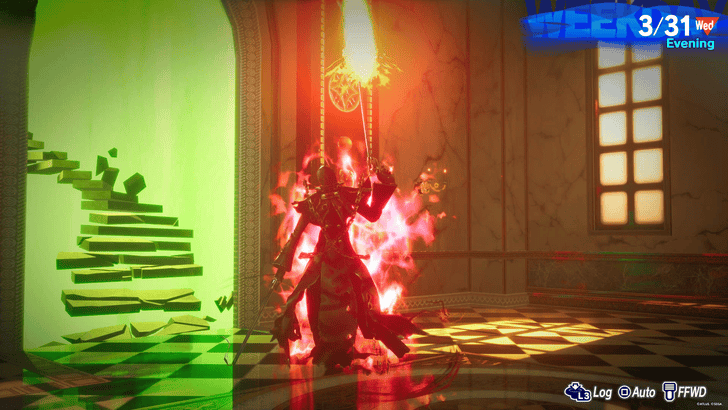
The Reaper has a spawn time of 3-4 minutes. This applies to all floors, including those in Abyss of Time, except checkpoints!
Spawns Faster in Dark Floors
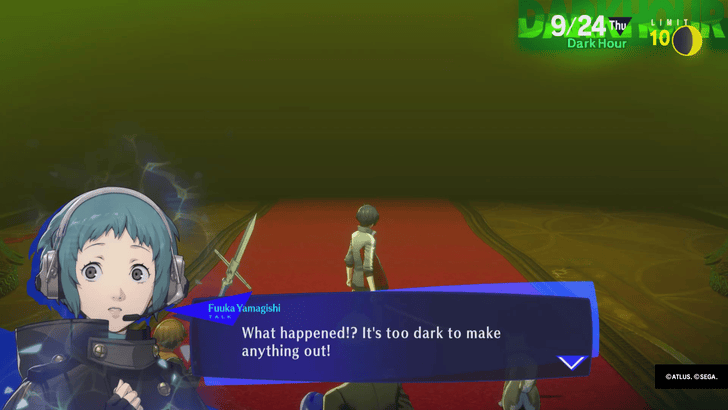
On dark floors, the Reaper will spawn much quicker compared to normal floors, taking just a minute or two to appear.
Follows You to the Next Floor
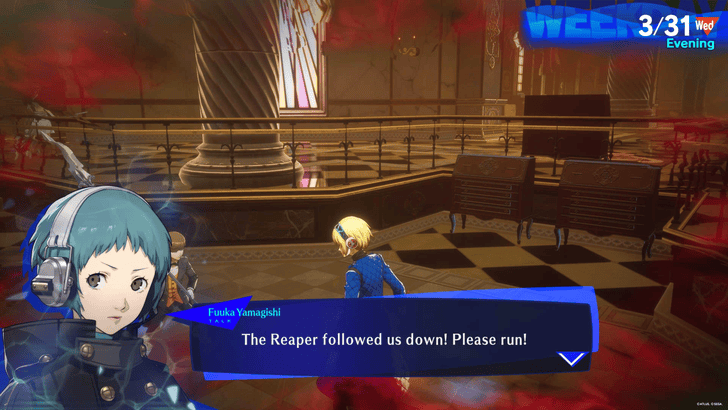
The Reaper will also spawn immediately if you ignored it on the previous floor. It will follow you to the next floor and can appear after at least a minute as you navigate.
Reaper Weaknesses and Resistances
Reaper Has No Weaknesses
 Slash Slash |
 Strike Strike |
 Pierce Pierce |
|||||||||
|---|---|---|---|---|---|---|---|---|---|---|---|
 Fire Fire |
 Ice Ice |
 Electricity Electricity |
 Wind Wind |
||||||||
 Light Light |
 Dark Dark |
||||||||||
Unfortunately, the Reaper has no weaknesses, but it also doesn't have any resistances or immunities. As long as you keep your party alive and hit it with your strongest attacks you'll be sure to win the fight.
Reaper Recommended Party Setup
Ken, Koromaru, and Akihiko
| Character | Best Skills |
|---|---|
 Protagonist Protagonist
 Aigis Aigis
|
・Panta Rhei ・Thunder Reign ・Black Viper ・Brave Blade ・God's Hand ・Primal Force ・Diamond Dust ・Charge ・Inferno ・Concentrate |
|
・The main character depending if you're playing the base game or the Episode Aigis DLC. ・Has access to the strongest attacks and passives, making them the primary DPS. ・Only needs one of the skills listed above and their corresponding double damage buff. |
|
 Ken Ken
|
・Mediarahan ・Tetrakarn ・Makarakarn ・Heat Riser |
|
・Primary support of the party that should prioritize healing and buffing. ・Divine Intervention is an amazing emergency button if you're struggling to stay alive. ・Only attack with Ken if he can't heal or cast buffs on the party. |
|
 Koromaru Koromaru
|
・Maragidyne ・Masukukaja ・Rebellion ・Fire Amp ・Maeigaon ・Dark Amp ・Debilitate |
|
・Secondary support of the team that prioritizes on debuffing Reaper with Debilitate. ・Also has Rebellion and Masukukaja to further support the party. ・Can use Maragidyne or Maeigaon if no buffs or debuffs need to be applied. |
|
 Akihiko Akihiko
|
・Ziodyne ・Diarahan ・God's Hand |
|
・Secondary damage dealer with powerful Skills and Characteristics Buffs. ・Has Diarahan in case Ken can't heal the party. ・Can be replaced with other Attackers, like Metis, Mitsuru or Junpei, if you don't need the extra heals. |
|
Mitsuru, Junpei, Metis or Yukari as Alternatives
| Character | Best Skills |
|---|---|
 Mitsuru Mitsuru
Replaces Akihiko |
・Ice Boost ・Ailment Boost ・Freeze Boost ・Diamond Dust ・Concentrate |
|
・Potentially weaker damage than other attackers, but she has a good chance to Freeze the Reaper. ・If the Reaper gets Frozen, any physical will guarantee a critical hit and a knock down. |
|
 Junpei Junpei
Replaces Akihiko |
・Marakukaja ・Brave Blade ・High Counter |
|
・Strong physical attacker that also has a chance to repel any Physical attacks back at the Reaper. ・His Characteristcs also give him an higher chance to land critical hits. ・Also has Marakukaja to help increase the party's Defense. |
|
 Yukari Yukari
Replaces Ken |
・Garudyne ・Mediarahan ・Samarecarm ・Wind Amp ・Amrita Shower |
|
・Uses significantly less SP when healing thanks to her Characteristics. ・Can also use Amrita Shower to remove any negative status effects. ・Better at healing than Ken, but has worse supporting skills. |
|
 Metis Metis
Replaces Akihiko |
・Matarukaja ・Dekaja ・Brave Blade ・Charge |
|
・Metis is only available in the Episode Aigis DLC, so make sure to get the DLC if you plan on using her! ・Metis does not have any weaknesses so she has less of a chance to get knocked down by the Reaper. ・She has both Dekaja, which can dispel debuffs, and Matarukaja, which boosts party member's Attack. Both are very helpful during the fight. ・The only downside is that she might repel her own Physical attacks against the Reaper. |
|
Reaper Recommended Personas
Strong Attack and Defense Personas
| Persona | Best Skills |
|---|---|
| Satan |
・Black Viper ・Concentrate ・Almighty Boost ・Almighty Amp |
|
・For people without the Persona 5 DLC, this is the strongest single-target Persona in the game. ・Almighty Amp can only be obtained through Skill Mutations, but it's amazing to have if you can get it. ・Can be replaced with other strong single-target Personas, like Gabriel, if you're too low level. |
|
| Arahabaki |
・Repel Strike ・Repel Dark ・Any Attack Skill |
|
・Very strong defensive Persona that resists or repels multiple elements. ・Doesn't naturally learn a way to remove its Ice weakness. ・Requires you to finish the Hermit Social Link. |
|
| Messiah |
・Salvation ・Megidolaon ・Enduring Soul ・Null Phys |
|
・One of the best defensive Personas in the game. ・Can flex between an attacker and support. ・Hard to get since it's a super late game Persona. |
|
| Vishnu |
・Panta Rhei ・Salvation ・Concentrate ・Ali Dance |
|
・Can flex roles similar to Messiah, but is much easier to obtain. ・Ali Dance helps the user dodge attacks more frequently. ・Jack of all trades, but master of none. |
|
| Cendrillon |
・Brave Blade ・Slash Boost ・Charge ・Slash Amp ・Slash Driver |
|
・One of strongest Personas in the game, but requires the Persona 5 DLC. ・For the Base Game, her Slash buffs also apply to the Scarlet Havoc Theurgy. ・Can be replaced with any of the other Persona 5 DLC Personas with a Driver Passive. |
|
| Milady |
・Primal Force ・Pierce Boost ・Charge ・Pierce Amp ・Pierce Driver |
|
・One of strongest Personas in the game, but requires the Persona 5 DLC. ・For the Episode Aigis DLC, her Pierce buffs also apply to the Shadow Hound Theurgy. ・Can be replaced with any of the other Persona 5 DLC Personas with a Drive Passive. |
|
How to Cheese the Reaper
Use Armageddon Fusion Skill
In later stages, you can also use Armageddon to cheese the Reaper, at the expense of losing HP/SP. To unlock this fusion skill, complete the Star Social Link first to unlock Helel, the other required persona along with Satan.
Once unlocked, simply run around the floor you want, engaging with as many roaming shadows as possible to charge your Theurgy gauge. If it's still not enough, move to the next floor to continue charging. After that, stay in one place, wait for the Reaper, and immediately use Armageddon to cheese the fight.
All Fusion Equipment and Required Materials
Change Difficulty to Peaceful

Changing your difficulty settings to Peaceful can also help you cheese the Reaper. This saves you time from engaging it longer, while still getting a good amount of EXP after.
Difficulty Differences and Best Difficulty Settings
How to Defeat the Reaper
The Reaper behaves differently depending on how low its HP is. Here's what you can do in combat for each phase.
First Phase

During the first phase of the battle, the Reaper will focus on exploiting you or your teammates' weaknesses with single-target attacks. It will also use a variety of these and will frequently follow up with a physical attack to eliminate your teammate or bring them to critically low HP.
Additionally, it will try to inflict status ailment using skills such as Tentarafoo and Evil Smile, but with a 40% hit rate, these will be easy to evade.
Analyze Which Teammate It Targets
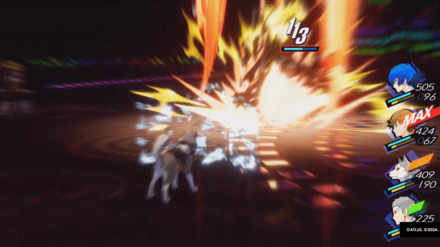
During the first phase of the fight, the Reaper will always focus on one teammate's weakness and target that same character for the rest of the combat. To protect this character, use Makarakarn on them to shield them from the Reaper's attack and prevent it from gaining another action. If you don't have this skill, then make sure to use Rakukaja skills instead to boost their defenses.
Use Jack Brothers Fusion Skill
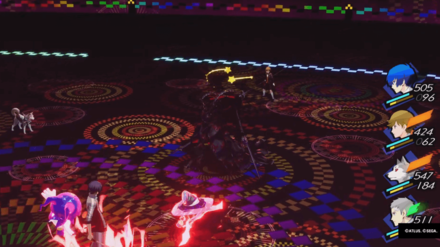
Jack Brothers is an early fusion skill that can be used to down the Reaper, providing you with the opportunity to perform an All-Out Attack and deal even greater damage to the Reaper. This is particularly helpful because dealing as much damage as possible during the first phase of the battle is highly recommended, as you'll need all your defenses once you enter the second phase.
Part of what makes the battle long is how the Reaper can easily dodge any incoming attacks, even with the effects of Sukunda skills. Therefore, having an opening for an All-Out Attack can help you deal more damage, not to mention the innate power of the Theurgy skill itself.
Counter the Reaper's Heat Riser with Debilitate
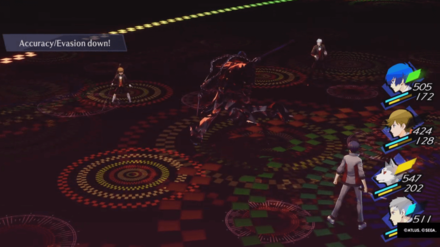
During the first phase, the Reaper will frequently use Heat Riser as its first action, then Debilitate on the next. This makes it necessary to do the same: nullify all of its buffs with Debilitate and remove your debuffs with Heat Riser.
If low on SP, use Dekaja and Dekunda as these skills can help you nullify stat changes without consuming too much of your SP, making them particularly helpful when conserving SP.
Avoid Using Instakill Skills

Instakill skills like Mudo and Hama will always miss when used against the Reaper, even after applying evasion penalties. Divine Judgment and Demonic Decree also fall under this category, so don't expect it to hit if you try using it. Save your SP for better skills that can hit, preferably offensive ones during this phase.
Second Phase
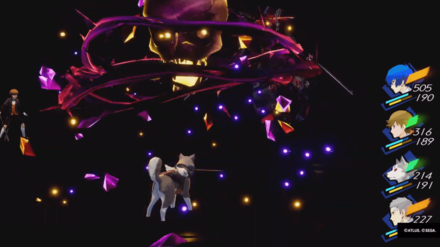
Once the Reaper's HP drops to 50% HP, it will change its attacking behavior and start using instakill skills like Hamaon and Mudoon. Additionally, it will also begin using the Concentrate and Megidolaon combo, making it necessary for you to go all-out on your defenses during this phase.
Look Out for AoE Magic Attacks
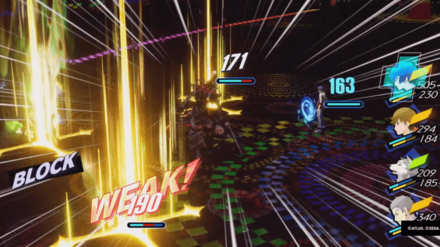
During the second phase, instead of using heavy elemental damage on one target, the Reaper will start using the AoE version of it. If you have two teammates sharing the same weakness, such as Yukari and Aigis, both of whom are weak to Electricity, you're risking having two downed enemies in one turn.
This also applies to you, so consider using other personas with different weaknesses to its target. There's a high chance that during this phase, the Reaper will continue to target its chosen foe. In our experience, the Reaper chose to target Koromaru's weakness throughout the battle, and during this phase, it began using Makougaon instead of Kougaon.
Use Ken's Divine Intervention to Deflect Attacks
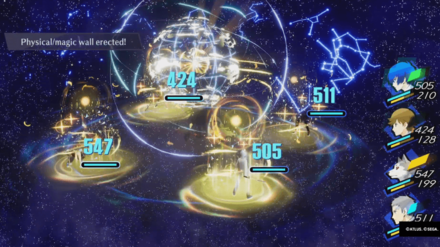
Ken's Divine Intervention is a powerful Theurgy that can help set up two deflecting shields on all your teammates, one for physical and one for magic.
Once available, make sure to use this before the Reaper takes its turn. There's a high chance that it will start with an elemental AoE skill as its first action, so deflecting it collectively will help you inflict more damage. Additionally, it will also attempt to use an AoE instakill skill, and this is one way to survive it as a team.
Expect Megidolaon with Every Makarakarn Set Up
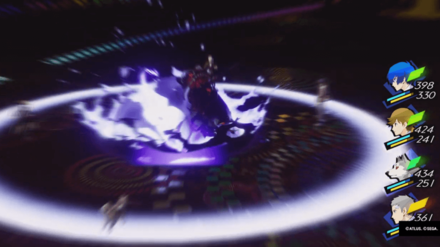
If you have Makarakarn active, the Reaper has an increased chance of using its Concentrate and Megidolaon combo until your shield breaks. There are no other ways to counter this heavy doubled damage, as Makarakarn will not deflect the damage. What you can do is lessen the incoming damage by either lowering its attack with Tarunda skills or boosting your defenses with Rakukaja skills.
Be sure to do this more frequently, as even without the shield, the Reaper will still randomly use this combo, especially during this phase.
Use Fuuka's Revelation

Revelation can help you recover all the missing HP/SP. This is particularly helpful in later stages of the fight where you might find yourself low on SP. However, keep in mind that Revelation is random. There's a chance that you might get the free Charge/Concentrate instead, which is still helpful either way.
Use Drain Skills on Low HP/SP
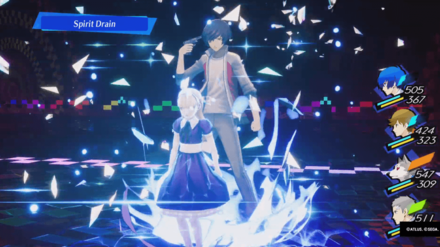
When low on HP/SP, use drain skills such as Life Drain and Spirit Drain to recover missing HP and SP. Only use these skills during desperate times when you're running low on recovery items or when both HP and SP are critically low, as these skills aren't really powerful if used for offense.
All Reaper Skills
Reaper's Moveset
| Skill | Effect | Triggers |
|---|---|---|
| Heat Riser | Increases the Reaper's attack, defense, accuracy, and evasion for 3 turns. | • Can trigger after a stat debuff neutralizes. • Can also trigger if you apply debuffs on the Reaper. |
| Debilitate | Decreases an ally's attack, defense, accuracy, and evasion for 3 turns. | • Follows after Heat Riser. |
| Virus Breath | Deals almighty damage and Poisons all allies. (25% of current HP / 75% chance) | • Can trigger if all teammates are healthy and free of status ailments. |
| Megidolaon | Deals massive Almighty damage on all allies. | • Follows up after Virus Breath. • Can also follow-up after a Concentrate. |
| Charge Concentrate |
Next physical or magic attack deals more damage. | • Can trigger if you don't neutralize Debilitate. |
| Tentarafoo | Makes all allies Panic. (40% chance) | • Can trigger if all teammates are healthy and free of status ailments. |
| Evil Smile | Instills Fear in all allies. (40% chance) | • Can trigger if all teammates are healthy and free of status ailments. |
| Brave Blade | Deals severe Slash damage to one foe. | • Follows after hitting a weakness. (Has a chance to hit other teammates instead) |
| Primal Force | Deals severe pierce damage to one foe. | • Follows after hitting a weakness. (Has a chance to hit other teammates instead) • Can also hit downed allies, incapacitating them for one turn. |
| God's Hand | Deals severe strike damage to one foe. | • Follows after hitting a weakness. (Has a chance to hit other teammates instead) • Can also hit downed allies, incapacitating them for one turn. |
| Agidyne Bufudyne Ziodyne Garudyne Eigaon Kougaon |
Deals heavy magic damage to one foe. | • Triggers if you or your ally has it as your weakness • Becomes AoE upon entering the second phase. |
| Mudoon Hamaon |
40% chance Darkness/Light insta-kill on a single target. | • Triggers mostly during the second phase. • Can become AoE. |
Reaper Rewards and Drops
Bloody Button
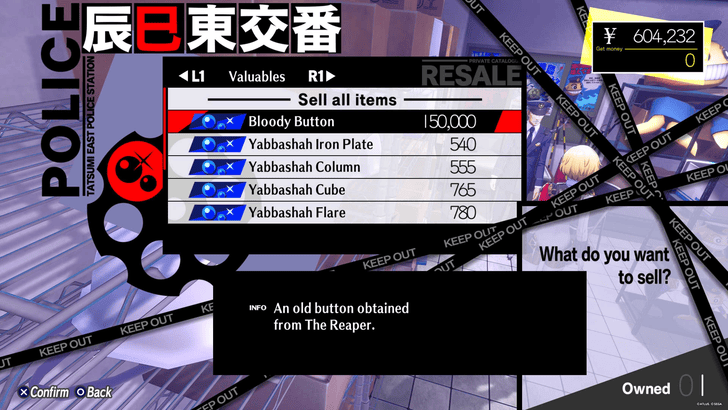
Defeating the Reaper earns you a Bloody Button, which you can use to complete Elizabeth's request for the item. This request is available in both the base game and Episode Aigis, so make sure to defeat the Reaper in the DLC as well!
If you've defeated the Reaper multiple times, you can also sell the Bloody Button for a huge ¥150,000 per piece.
Massive EXP Gain

In addition to the Bloody Button, you also gain a huge amount of EXP per battle. You can earn around 200,000+ EXP, which can be boosted to 500,000+ if you choose the EXP card during Shuffle Time.
Tips on How to Defeat the Reaper
Here are the best tips to help you defeat the Reaper:
- Equip Heart Items Accessories
- Purchase the Soul Fortune
- Ambush the Reaper if Possible
- Use Sylphid Aura
- Focus on Defense and Evasion
- Use Sutras on Low SP
- Use Rebellion to Increase Crit Rate
- Bring Curing Items to Remove Status Ailments
Equip Heart Items Accessories

Heart Item accessories are the best to equip in this fight, especially since many can remove your party's weaknesses. Accessories like the Ring of Darkness and Radiant Halo are great for Ken and Koromaru, as they eliminate their elemental weaknesses and help them survive instant-kill skills. Make sure to equip these, as the Reaper will always try to exploit your teammates' weaknesses.
Other accessories are also great to equip here, especially the Unbreakable Cage, as the Reaper can use Tentarafoo to inflict confuse.
Purchase the Soul Fortune
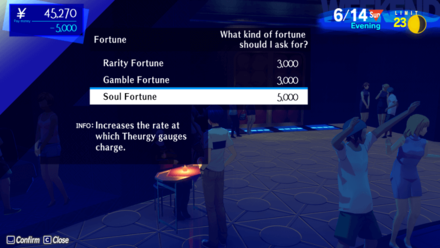
Before you challenge the Reaper, try purchasing the Soul Fortune from the Fortune Teller first. This fortune will help you charge up your Theurgy faster, allowing you to use it more frequently during combat.
Fortune Teller Services and How to Unlock
Ambush the Reaper if Possible

The Reaper isn't as fast as the normal shadows. If timed and positioned correctly, you can ambush it from behind to gain an advantage.
One way to do this is to loop it once it starts following you. Some paths in Arqa and Yabbashah are excellent spots to execute this strategy if you're planning to engage it in combat.
Use Sylphid Aura
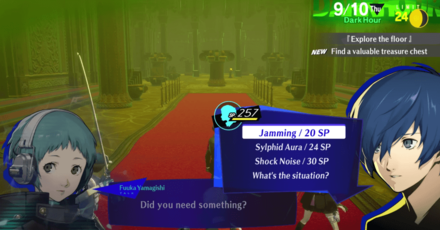
Use Fuuka's Sylphid Aura to increase your speed and defense in your next battle. Strong defenses are crucial during the early stages of the fight against the Reaper, especially with its persistent attempt to target a weakness.
Focus on Defense and Evasion

In combat, the Reaper will always target a weakness, making it necessary to set up defenses with Rakukaja skills and boost the team's evasion with Sukukaja skills. If possible, try setting up Tetrakarn or Makarakarn skills too, to deflect any of its attempts to knock out your teammates.
Take Advantage of Extra Actions

If you manage to crit the Reaper, use the extra action to set up these skills. This is a great way to ensure your safety on the following turns, especially considering how the Reaper will always try to knock you out by targeting weaknesses.
Use Sutras on Low SP
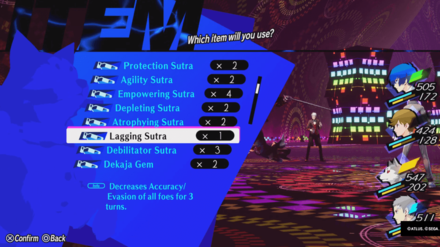
If you're also running low on SP, Sutras can help you cast these buff and debuff skills without using SP. You can find a variety of these sutras from chests when exploring Tartarus.
Tartarus Exploration Guide and Tips
Use Rebellion to Increase Crit Rate
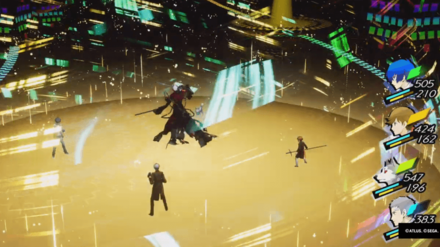
Make sure to also use Rebellion if you plan to take on the Reaper using physical attacks. Junpei, Aigis, and Akihiko will greatly benefit from the increased critical rate, which will also help you gain an extra action once you knock out the Reaper with their physical skills.
Bring Curing Items to Remove Status Ailments
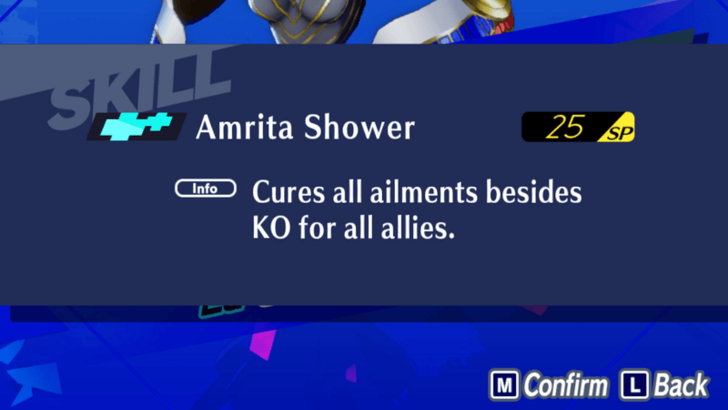
As mentioned, the Reaper can use several skills to inflict status ailments. It’s essential to bring Me Patra Gems, Baisudi Gems, or Amrita Sodas to cure these ailments.
If you don't have any of these items, you can bring Personas with Me Patra, Mabaisudi, or Amrita Shower instead.
Persona 3 Reload Related Guides
All Episode Aigis Bosses
List of Episode Aigis DLC Bosses
All Story Bosses
| Story Bosses | ||
|---|---|---|
| Priestess | Emperor & Empress | Hierophant |
| Lovers | Chariot & Justice | Hermit |
| Strength & Fortune | Jin & Takaya | Hanged Man |
| Chidori Yoshino | Jin Shirato | Takaya Sakaki |
| Nyx Avatar | ||
All Guardian Bosses
All Superbosses
| Superbosses | |
|---|---|
| Reaper | Elizabeth |
All Monad Bosses
Author
How to Beat the Reaper
Rankings
- We could not find the message board you were looking for.
Gaming News
Popular Games

Genshin Impact Walkthrough & Guides Wiki

Umamusume: Pretty Derby Walkthrough & Guides Wiki

Pokemon Pokopia Walkthrough & Guides Wiki

Honkai: Star Rail Walkthrough & Guides Wiki

Monster Hunter Stories 3: Twisted Reflection Walkthrough & Guides Wiki

Arknights: Endfield Walkthrough & Guides Wiki

Wuthering Waves Walkthrough & Guides Wiki

Zenless Zone Zero Walkthrough & Guides Wiki

Pokemon TCG Pocket (PTCGP) Strategies & Guides Wiki

Monster Hunter Wilds Walkthrough & Guides Wiki
Recommended Games

Fire Emblem Heroes (FEH) Walkthrough & Guides Wiki

Diablo 4: Vessel of Hatred Walkthrough & Guides Wiki

Cyberpunk 2077: Ultimate Edition Walkthrough & Guides Wiki

Yu-Gi-Oh! Master Duel Walkthrough & Guides Wiki

Super Smash Bros. Ultimate Walkthrough & Guides Wiki

Pokemon Brilliant Diamond and Shining Pearl (BDSP) Walkthrough & Guides Wiki

Elden Ring Shadow of the Erdtree Walkthrough & Guides Wiki

Monster Hunter World Walkthrough & Guides Wiki

The Legend of Zelda: Tears of the Kingdom Walkthrough & Guides Wiki

Persona 3 Reload Walkthrough & Guides Wiki
All rights reserved
©ATLUS. ©SEGA. All rights reserved.
The copyrights of videos of games used in our content and other intellectual property rights belong to the provider of the game.
The contents we provide on this site were created personally by members of the Game8 editorial department.
We refuse the right to reuse or repost content taken without our permission such as data or images to other sites.


![Monster Hunter Stories 3 Review [First Impressions] | Simply Rejuvenating](https://img.game8.co/4438641/2a31b7702bd70e78ec8efd24661dacda.jpeg/show)
![Monster Hunter Stories 3 Review [First Impressions] | Simply Rejuvenating](https://img.game8.co/4438641/2a31b7702bd70e78ec8efd24661dacda.jpeg/thumb)
![The Seven Deadly Sins: Origin [First Impressions] | A Promising Start](https://img.game8.co/4440581/584e0bfb87908f12c4eab6e846eb1afd.png/thumb)


When I went to change my koromaru's moves I couldn't find rebellion just revolution. Is it just a typo or is something up with my game?