Procella Sylph & Sylph Zloa Boss Guide: Recommended Setup and How to Beat
☆ Earn bonuses before you start the DLC.
★ Clear campaign & sub-quests | Get max lvl
☆ Learn all the ingredients in this new Gourmet Saga!
★ Get all Beyond the Dawn Trophies with these guides:
☆ Ryugola Weapons | All Portraits | Hero of the Summit
This is a guide on how to beat Procella Sylph & Sylph Zloa in Tales of Arise! Learn more about Procella Sylph & Sylph Zloa's stats, weaknesses, attack patterns, and the best party setup including Artes and Equipment for this boss fight!
List of Contents
Procella Sylph & Sylph Zloa Stats and General Info
Procella Sylph & Sylph Zloa Location
| Map | Actual Location |
|---|---|
 |
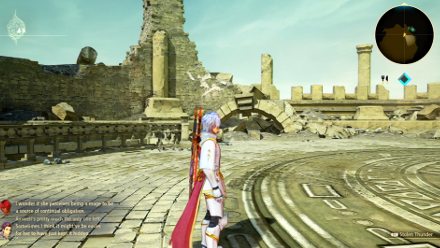 |
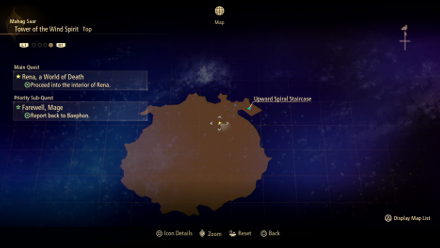
Both Procella Sylph and Sylph Zloa can both be found at the top of the Tower of the Wind Spirit during the Sub-Quest Farewell, Mage. The battle with these two will also feature numerous regular enemies.
Farewell, Mage Sub-Quest Walkthrough: Rewards and How to Clear
Procella Sylph Stats
| Recommended Level: 65 | |||
|---|---|---|---|
 HP: ???? |
|||
| Attack | 3407 | Defense | 1616 |
| Elemental Attack | 3748 | Elemental Defense | 1886 |
| Penetration | 3639 | Resistance | 3831 |
| Weakness | Resistance | ||
Sylph Zloa Stats
| Recommended Level: 65 | |||
|---|---|---|---|
 HP: 263150 |
|||
| Attack | 3645 | Defense | 1657 |
| Elemental Attack | 3314 | Elemental Defense | 1569 |
| Penetration | 3522 | Resistance | 3708 |
| Weakness | Resistance | ||
Item to Drop
| No items to display. |
How to Beat Procella Sylph & Sylph Zloa
| Tips |
|---|
Use Earth-based Artes
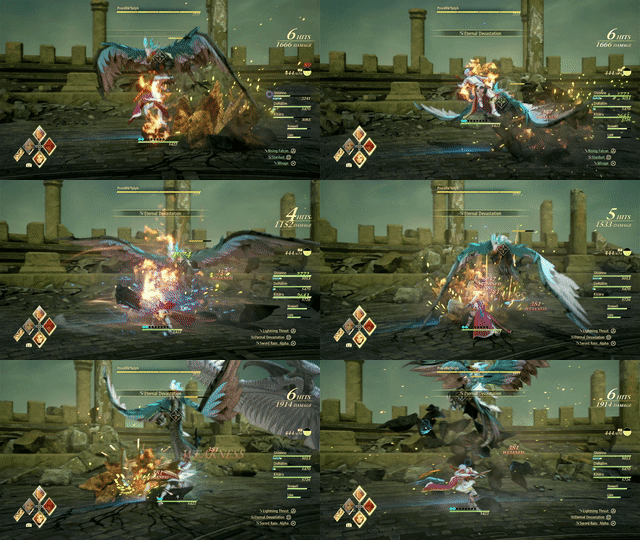
All of the enemies that will appear throughout this fight are all vulnerable to any Earth-based Artes from your party. Your group should at most have 3 party members capable of inflicting Earth-based elemental damage, so make sure to place them in your party and equip the appropriate Artes before climbing up the tower.
Focus on the Regular Enemies
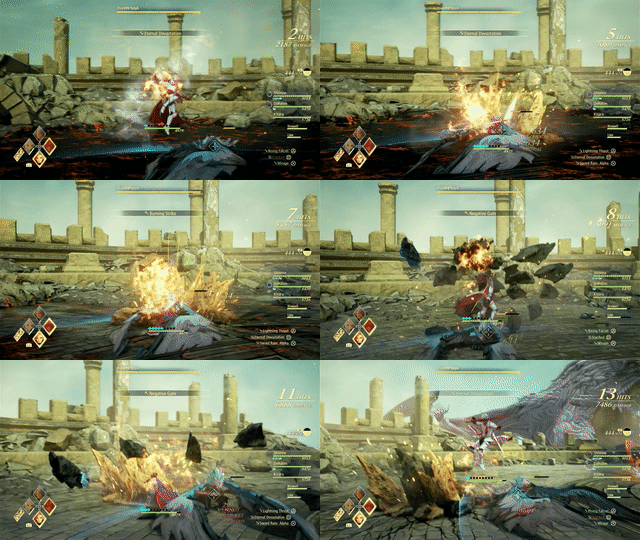
During the opening phase, halfway through Sylph Zloa's HP, and towards the end of the fight, regular enemies will spawn. It is best to focus all attacks on these enemies first before trying to go for the main targets in this fight, as they will be able to cause your party significant damage should they be left unchecked.
Allow Mass-type Enemies to Cast Their Artes
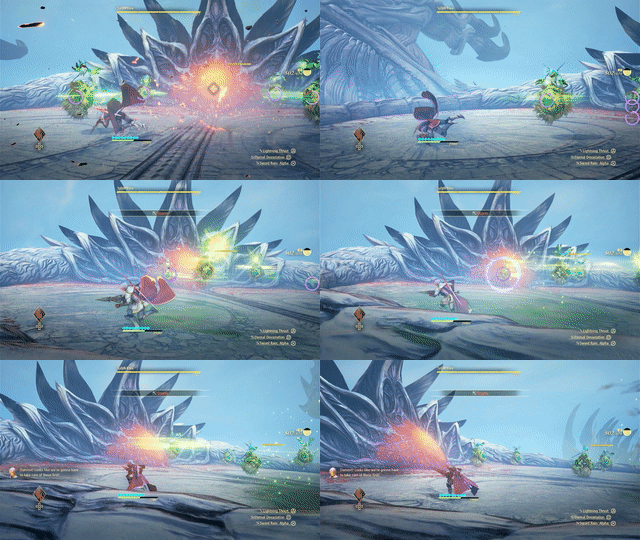
At the final phase of the fight, when Alphen will remain alone on top of Procella Sylph, several Mass-type enemies will spawn. Before attacking them, let them finish their casting, which will spawn a cyclone wherever you stand. This is so that you can freely attack them without worrying about their attacks since you will be unable to cancel out their Artes unless you use a Boost Strike.
Spam An Arte
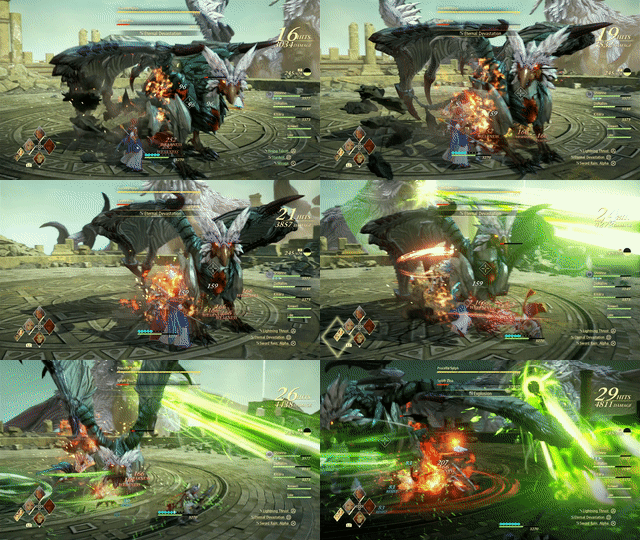
Sylph Zloa, which is the primary enemy you engage with throughout the fight, can recover quickly from anything that you throw at it. As such, quick but powerful attacks are what you should aim to do – namely, Artes such as Alphen's Eternal Devastation can cause fast and significant damage against the creature.
Recommended Party Setup for Procella Sylph & Sylph Zloa
Party Members
| Leader | Members | ||
|---|---|---|---|
 Alphen Alphen
Lv.65 |
 Shionne Shionne
Lv.65 |
 Dohalim Dohalim
Lv.65 |
 Kisara Kisara
Lv.65 |
Be Ready to Swap Characters
Although Sylph Zloa is a manageable enemy that can easily be defeated on its own, much of your attention will be drawn towards it and not on Procella Sylph, which can also perform its powerful attacks against you. Specifically, its Wind Beam attack can easily K.O. any of your characters, so if you have no healers left nor any items to recover your HP from, be ready to swap out characters when needed.
Alphen Equipment and Artes
 Alphen Alphen
Lv.65 |
Equipment |
|---|---|
| El Vahf | |
| Gahm Arthalys | |
| Protect Ring | |
| Ground Artes | Aerial Artes |
| First Set | |
| Lightning Thrust | Rising Falcon |
| Eternal Devastation | Stardust |
| Sword Rain: Alpha | Mirage |
| Second Set | |
| Swallow Blade | Luna Rondo |
| Demon Fang | Devastation |
| Vacuum Blades | Soaring Light Spear |
Primary Attacker
Although Alphen is not the most powerful attacker when it comes to Earth-based Artes, his primary focus in this fight is to be a distraction, allowing enough time for characters such as Dohalim to finish their Artes casting that will bring out more powerful attacks against your enemies.
Shionne Equipment and Artes
 Shionne Shionne
Lv.65 |
Equipment |
|---|---|
| Caritas Bouquet | |
| L'Aze Phiarquis | |
| Magic Emblem | |
| Ground Artes | Aerial Artes |
| First Set | |
| Burning Strike | Displode |
| Flare Tornado | Scorched Earth |
| Explosion | Aqueous Impact |
| Second Set | |
| Healing Circle | Toxicity |
| Spread | Spear Sweep |
| Flare Tornado | Glacio Celestra |
Use Boost Attacks to Bring Enemies Down
Most of the enemies you will encounter throughout the fight are bird-like creatures. This makes them easy targets for Shionne's Boost Attacks – using it against them will bring them down to the ground in a stunned state, which they stay in for a long time, allowing you to cause them further damage on the ground.
Dohalim Equipment and Artes
 Dohalim Dohalim
Lv.65 |
Equipment |
|---|---|
| Deus Aurora | |
| Elemental Cape | |
| Magic Emblem | |
| Ground Artes | Aerial Artes |
| First Set | |
| Negative Gate | Demon's Lance |
| Elusive Deity | Tornado Drive |
| Bloody Howling | Soaring Blast |
| Second Set | |
| Seismic Rupture | Eagle Rage |
| Air Pressure | Rotating Piledriver |
| Ground Dasher | - |
Protect for Powerful Attacks
With Alphen distracting enemies by being the tip of your attack against them, all you need to do now is to protect Dohalim enough to allow him to finish casting his Artes. If you have disabled any other Artes on his Artes List apart from any Earth-based ones, this will cause him to frequently cast them against your foes.
Kisara Equipment and Artes
 Kisara Kisara
Lv.65 |
Equipment |
|---|---|
| Adamas Regina | |
| Rare Plate | |
| Impact Ring | |
| Ground Artes | Aerial Artes |
| First Set | |
| Crescent Moon | Beast Assault |
| Lunar Arc | Blizzard Bloom |
| Guardian Field | - |
| Second Set | |
| Lion's Howl | - |
| Tiger Blade | - |
| Rolling Thunder | - |
Replaceable With Another Character
Although Kisara fits the role of another character with Earth-based Artes that can be used against the different enemies you encounter in the fight. However, you can easily replace her with Law if you need an additional distraction to better allow either Shionne or Dohalim to finish their casting.
Procella Sylph & Sylph Zloa Attack Patterns
Wind Attacks
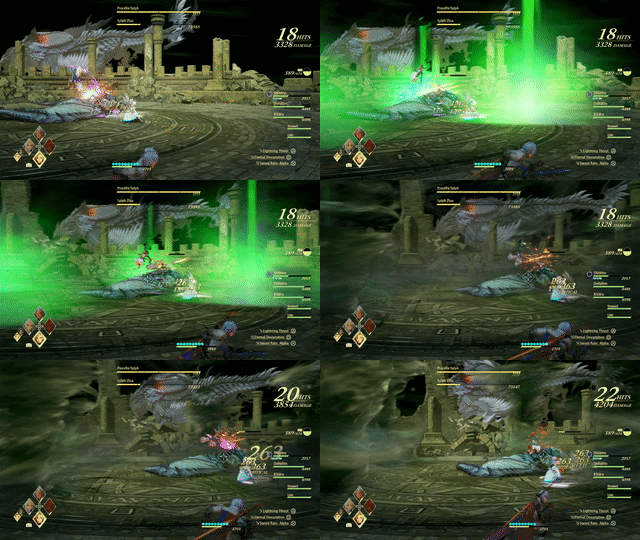
Both Procella Sylph and Sylph Zloa both make use of Wind attacks as their primary means of dealing damage against your party. These attacks have multiple variations, such as:
- A Wind Beam used by Procella Sylph, which it moves from side to side, and;
- Cyclones that will circle Sylph Zloa, moving around it in a circle;
In addition to this, Sylph Zloa will be able to use its talons to swipe at you and your party members, as well as spew fire from its mouth.
Tales of Arise Related Guides
Beyond the Dawn DLC Bosses
Beyond the Dawn Story Bosses
| Story Bosses | |
|---|---|
 Nimus Pandemonium Nimus Pandemonium |
 Venoflage Venoflage |
 Nazamil Nazamil |
 Nazamil Nether Nazamil Nether
|
 Ooze Hive Ooze Hive |
 Nazamil Nether Nazamil Nether (2nd Encounter) |
 Nazamil Nether Nazamil Nether (3rd Encounter) |
 Captive Nazamil Captive Nazamil |
 Oppressor Oppressor |
 Emergence Suppressor Emergence Suppressor |
Beyond the Dawn Optional Bosses
| Optional Bosses | ||
|---|---|---|
 Ruthless Ruthless
|
 Boisterous Roper Boisterous Roper
|
 Cruel Keeper Cruel Keeper |
 Megawrecker Megawrecker |
 Ghoulish Arms Ghoulish Arms |
 Nimus Juggernaut Nimus Juggernaut |
 Grinymuk Grinymuk |
 Mother Boomy Mother Boomy |
- |
Story Bosses
Optional Bosses
Author
Procella Sylph & Sylph Zloa Boss Guide: Recommended Setup and How to Beat
improvement survey
03/2026
improving Game8's site?

Your answers will help us to improve our website.
Note: Please be sure not to enter any kind of personal information into your response.

We hope you continue to make use of Game8.
Rankings
- We could not find the message board you were looking for.
Gaming News
Popular Games

Genshin Impact Walkthrough & Guides Wiki

Honkai: Star Rail Walkthrough & Guides Wiki

Umamusume: Pretty Derby Walkthrough & Guides Wiki

Pokemon Pokopia Walkthrough & Guides Wiki

Resident Evil Requiem (RE9) Walkthrough & Guides Wiki

Monster Hunter Wilds Walkthrough & Guides Wiki

Wuthering Waves Walkthrough & Guides Wiki

Arknights: Endfield Walkthrough & Guides Wiki

Pokemon FireRed and LeafGreen (FRLG) Walkthrough & Guides Wiki

Pokemon TCG Pocket (PTCGP) Strategies & Guides Wiki
Recommended Games

Diablo 4: Vessel of Hatred Walkthrough & Guides Wiki

Fire Emblem Heroes (FEH) Walkthrough & Guides Wiki

Yu-Gi-Oh! Master Duel Walkthrough & Guides Wiki

Super Smash Bros. Ultimate Walkthrough & Guides Wiki

Pokemon Brilliant Diamond and Shining Pearl (BDSP) Walkthrough & Guides Wiki

Elden Ring Shadow of the Erdtree Walkthrough & Guides Wiki

Monster Hunter World Walkthrough & Guides Wiki

The Legend of Zelda: Tears of the Kingdom Walkthrough & Guides Wiki

Persona 3 Reload Walkthrough & Guides Wiki

Cyberpunk 2077: Ultimate Edition Walkthrough & Guides Wiki
All rights reserved
© BANDAI NAMCO Entertainment America Inc. All third party content, brands, names, and logos are used under license and remain property of their respective owners. All rights reserved.
The copyrights of videos of games used in our content and other intellectual property rights belong to the provider of the game.
The contents we provide on this site were created personally by members of the Game8 editorial department.
We refuse the right to reuse or repost content taken without our permission such as data or images to other sites.

 Balseph
 Ice Wolf Leader
 Ooze Hive
 Lord Ganabelt
 Zacarania
 Kisara
 Dohalim
 Venoflage
 Temararus
 Grinymuk
 Almeidrea & Mesmald
 Meria Phein
 Kalmarzel & Kaldinzel
 Vholran
 Eljarania
 Efreet
 Tormented Limbs
 Red Woman
 Valclynimus
 Great Astral Spirit
 Subsumer
 Vholran (Final Boss)
 Toxidillo
 Boisterous Roper
 Polycephus
 Great Dragon
 Relentless Charger
 Flamewrecker
 Alpha Reaper
 Stormbringer
 Elemental
 Regent Bee
 Agony Keeper
 Mother Boomy
 Ruthless
 Thunderite
 Mantis
 Calamity Arms
 Meneiys
 Ezamamuk
 Sword Dancer
 Undine Drop
 Luo Undine
 Grand Gnome & Vas Phein
 Masher Mare & Masher Bull
 Mesmald
 Edna
Edna Nimus Origin
 Eizen
Eizen Edna & Eizen
 Chronos
 Dulneiys, Maleiys, & Vasneiys


![Everwind Review [Early Access] | The Shaky First Step to A Very Long Journey](https://img.game8.co/4440226/ab079b1153298a042633dd1ef51e878e.png/thumb)

![Monster Hunter Stories 3 Review [First Impressions] | Simply Rejuvenating](https://img.game8.co/4438641/2a31b7702bd70e78ec8efd24661dacda.jpeg/thumb)


