Masher Mare and Masher Bull Boss Guide: Recommended Setup and How to Beat
☆ Earn bonuses before you start the DLC.
★ Clear campaign & sub-quests | Get max lvl
☆ Learn all the ingredients in this new Gourmet Saga!
★ Get all Beyond the Dawn Trophies with these guides:
☆ Ryugola Weapons | All Portraits | Hero of the Summit
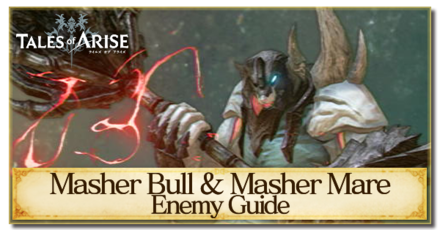
This is a guide on how to beat Masher Mare and Masher Bull in Tales of Arise! Learn more about Masher Mare and Masher Bull's stats, weaknesses, attack patterns, and the best party setup including Artes and Equipment for this boss fight!
List of Contents
Masher Mare and Masher Bull Stats and General Info
Masher Mare and Masher Bull Location
| Map | Actual Location |
|---|---|
 |
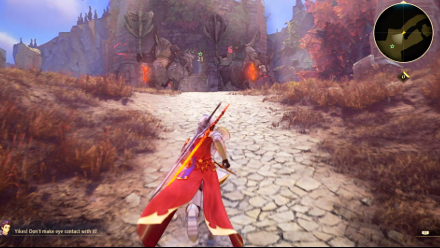 |
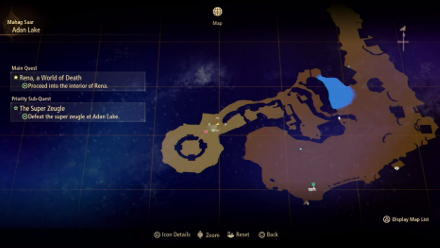
The location where these two beasts are located in can be found in Adan Lake on Mahag Saar. They will only appear in the location during the Sub-Quest The Super Zeugle.
The Super Zeugle Sub-Quest Walkthrough: Rewards and How to Clear
Masher Bull Stats
| Recommended Level: 48 | |||
|---|---|---|---|
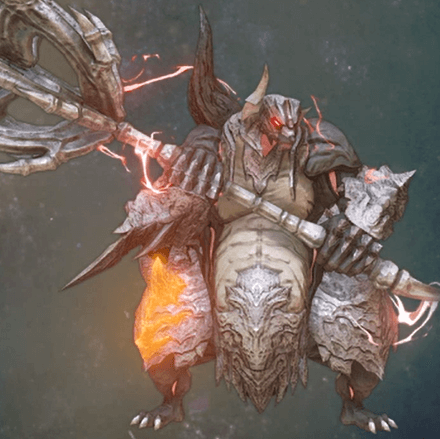 HP: 266380 |
|||
| Attack | 2948 | Defense | 944 |
| Elemental Attack | 2527 | Elemental Defense | 839 |
| Penetration | 2442 | Resistance | 2571 |
| Weakness | Resistance | ||
Masher Mare Stats
| Recommended Level: 48 | |||
|---|---|---|---|
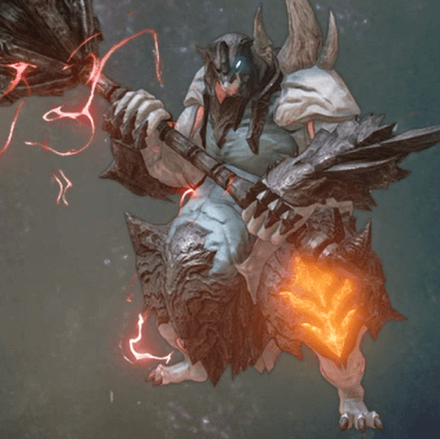 HP: 266380 |
|||
| Attack | 2948 | Defense | 944 |
| Elemental Attack | 2527 | Elemental Defense | 839 |
| Penetration | 2442 | Resistance | 2571 |
| Weakness | Resistance | ||
Item to Drop
| Astral Flower | Megafauna Bone (2) |
| Indomitable Gargantubone (5) |
How to Beat Masher Mare and Masher Bull
| Tips |
|---|
Attack Their Weak Points
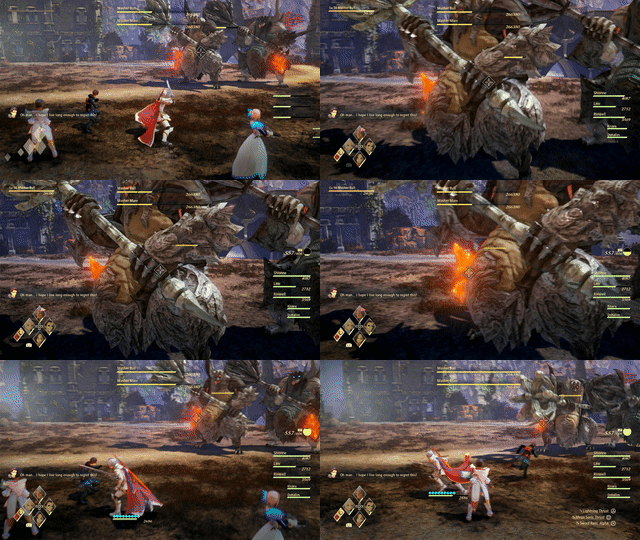
Both Masher Bull and Masher Mare will have Weak Points located along their legs. Seeing as neither creature has any weaknesses to any element, you can instead focus all of your attacks on their Weak Points as an alternative to land critical hits against them.
Focus on One
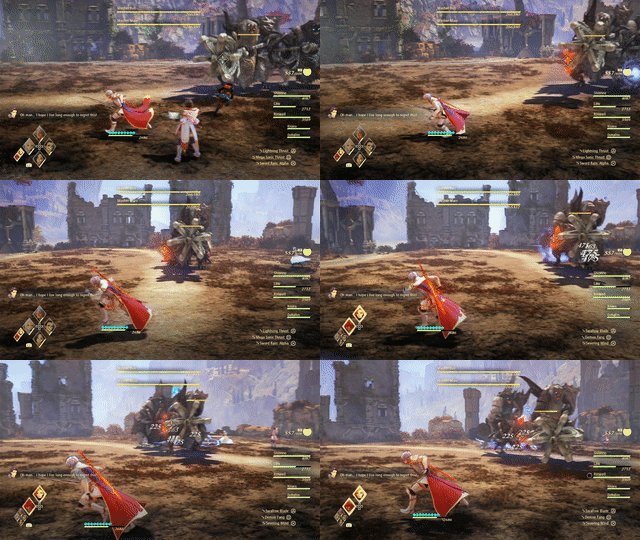
Both attackers are strong and difficult beasts to fight against – with both of them having large HP pools, it will be difficult to manage the fight by dealing with both creatures at the same time. Instead, focus on just one of them to better focus and direct your attacks, eliminating the one you focus on and freeing you up to better strategize against the remaining one.
Recommended Party Setup for Masher Mare and Masher Bull
Party Members
| Leader | Members | ||
|---|---|---|---|
 Alphen Alphen
Lv.55 |
 Shionne Shionne
Lv.55 |
 Rinwell Rinwell
Lv.55 |
 Law Law
Lv.55 |
Bring Healing Items
So long as both creatures are still active and capable of attacking your party, it is recommended that you switch to making use of healing items to recover the lost HP of your party members. While Shionne, Dohalim, or even some of Kisara's recovery Artes offer more powerful recoveries, their slow cast time makes them vulnerable to enemy attacks.
Even if they manage to dodge out of the way of such attacks, it still takes away from the valuable time any healing could be delivered to your party members.
Alphen Equipment and Artes
 Alphen Alphen
Lv.55 |
Equipment |
|---|---|
| El Vahf | |
| Gahm Arthalys | |
| Protect Ring | |
| Ground Artes | Aerial Artes |
| First Set | |
| Lightning Thrust | Rising Falcon |
| Mega Sonic Thrust | Stardust |
| Sword Rain: Alpha | Mirage |
| Second Set | |
| Swallow Blade | Soaring Light Spear |
| Vacuum Blades | Luna Rondo |
| Severing Wind | - |
Use Boost Attacks For Crowd Control
When focusing on just one creature throughout the fight, it might be difficult to properly see or defend against some of the attacks that the other remaining creature can do against your party when its focus is not on it.
To slow the pace of the fight down and provide some much needed time to restrategize the way your party fights, make use of Alphen's Boost Attack to temporarily stun one of the creatures, allowing you time to re-think your strategy moving forward.
Shionne Equipment and Artes
 Shionne Shionne
Lv.55 |
Equipment |
|---|---|
| Caritas Bouquet | |
| L'Aze Phiarquis | |
| Magic Emblem | |
| Ground Artes | Aerial Artes |
| First Set | |
| Burning Strike | Displode |
| Flare Tornado | Scorched Earth |
| Explosion | Tres Ventos |
| Second Set | |
| Healing Circle | Spear Sweep |
| Burning Strike | Aqueous Impact |
| Flare Tornado | - |
Focus on Attacking
Due to the slow casting times of her healing Artes, it might be better to switch over to item use throughout the battle. In light of this, you can now freely make use of Shionne to freely attack one of the creatures. Her long-range attacks, similar to Rinwell's, allows her to cause damage from a distance.
Rinwell Equipment and Artes
 Rinwell Rinwell
Lv.55 |
Equipment |
|---|---|
| Historia Rene | |
| Holy Cloak | |
| Pierce Emblem | |
| Ground Artes | Aerial Artes |
| First Set | |
| Holy Lance | Electric Discharge |
| Thunder Blade | Celestial Hammer |
| Photon Flash | Razor Cyclone |
| Second Set | |
| Lightning Orb | Subzero Confinement |
| Thunder Field | Placid Pool |
| Divine Saber | - |
Attack From a Distance
With both Alphen or Law being the center of focus for the creatures by attacking up-close, both Shionne and Rinwell can be allowed to freely attack from range. This allows them to relatively stay out of the way from the creatures' attacks, and offers them some time to maneuver around the area should either or both of the creatures choose to charge at them.
Law Equipment and Artes
 Law Law
Lv.55 |
Equipment |
|---|---|
| Divine Wrath | |
| Canine Vest | |
| Protect Ring | |
| Ground Artes | Aerial Artes |
| First Set | |
| Dragon Shot | Eagle Dive |
| Talon Storm | Eagle Assault |
| Fang Blast | Death Blossom |
| Second Set | |
| Super Swallow Dance | Glimmer Dragon |
| Talon Hurricane | Fang Bolero |
| - | - |
Use Boost Attacks on Weak Points
When you have chosen a particular creature to focus against, directly target its Weak Point for more focused attacks. When properly activated at an angle, you can have Law's Boost Attack directly impact its Weak Point, making it easier to shatter later on.
Masher Mare and Masher Bull Attack Patterns
Mace Attacks
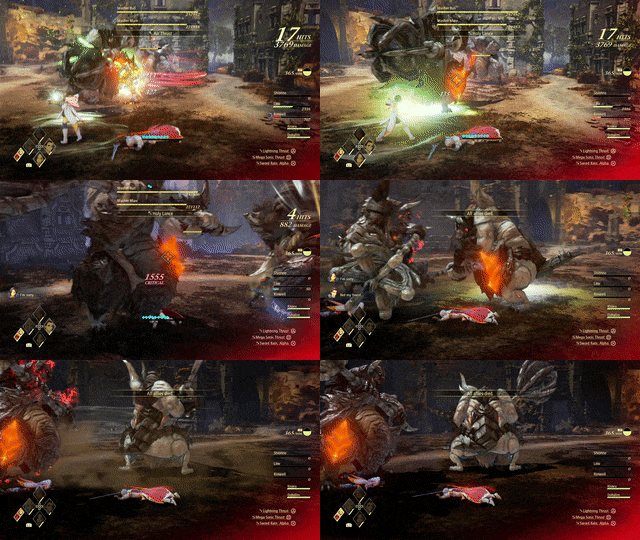
Both Masher Bull and Masher Mare have the same attack patterns, which they perform repeatedly throughout the fight. They will make use of their large weapons, which they swing around and slam down on the ground to hit you.
Getting hit by these attacks will be enough to either knock you on your back or cause you to pancake into the ground in a stunned state.
Mace Charges
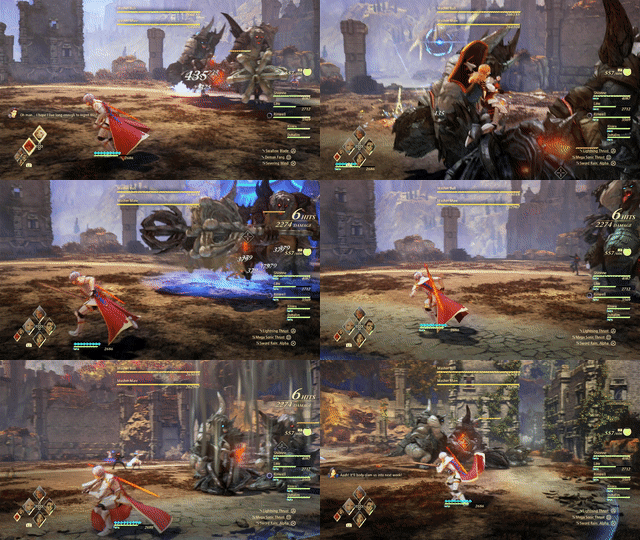
When it has enough room, either or both of the creatures will charge at you to slam their maces on top of you. These attacks are quite difficult to avoid, with Perfect Dodges being difficult to execute due to the small dodge window you have.
These are also impossible to block, even with the help of Kisara's Boost Attack. Instead, it is recommended that you watch for how they angle their mace in the air – dodge away from where the projected impact site of their maces will be to avoid getting hit. This, however, reduces the probability of you being able to execute a Perfect Dodge.
Tales of Arise Related Guides
Beyond the Dawn DLC Bosses
Beyond the Dawn Story Bosses
| Story Bosses | |
|---|---|
 Nimus Pandemonium Nimus Pandemonium |
 Venoflage Venoflage |
 Nazamil Nazamil |
 Nazamil Nether Nazamil Nether
|
 Ooze Hive Ooze Hive |
 Nazamil Nether Nazamil Nether (2nd Encounter) |
 Nazamil Nether Nazamil Nether (3rd Encounter) |
 Captive Nazamil Captive Nazamil |
 Oppressor Oppressor |
 Emergence Suppressor Emergence Suppressor |
Beyond the Dawn Optional Bosses
| Optional Bosses | ||
|---|---|---|
 Ruthless Ruthless
|
 Boisterous Roper Boisterous Roper
|
 Cruel Keeper Cruel Keeper |
 Megawrecker Megawrecker |
 Ghoulish Arms Ghoulish Arms |
 Nimus Juggernaut Nimus Juggernaut |
 Grinymuk Grinymuk |
 Mother Boomy Mother Boomy |
- |
Story Bosses
Optional Bosses
Author
Masher Mare and Masher Bull Boss Guide: Recommended Setup and How to Beat
improvement survey
03/2026
improving Game8's site?

Your answers will help us to improve our website.
Note: Please be sure not to enter any kind of personal information into your response.

We hope you continue to make use of Game8.
Rankings
- We could not find the message board you were looking for.
Gaming News
Popular Games

Genshin Impact Walkthrough & Guides Wiki

Honkai: Star Rail Walkthrough & Guides Wiki

Umamusume: Pretty Derby Walkthrough & Guides Wiki

Pokemon Pokopia Walkthrough & Guides Wiki

Resident Evil Requiem (RE9) Walkthrough & Guides Wiki

Monster Hunter Wilds Walkthrough & Guides Wiki

Wuthering Waves Walkthrough & Guides Wiki

Arknights: Endfield Walkthrough & Guides Wiki

Pokemon FireRed and LeafGreen (FRLG) Walkthrough & Guides Wiki

Pokemon TCG Pocket (PTCGP) Strategies & Guides Wiki
Recommended Games

Diablo 4: Vessel of Hatred Walkthrough & Guides Wiki

Fire Emblem Heroes (FEH) Walkthrough & Guides Wiki

Yu-Gi-Oh! Master Duel Walkthrough & Guides Wiki

Super Smash Bros. Ultimate Walkthrough & Guides Wiki

Pokemon Brilliant Diamond and Shining Pearl (BDSP) Walkthrough & Guides Wiki

Elden Ring Shadow of the Erdtree Walkthrough & Guides Wiki

Monster Hunter World Walkthrough & Guides Wiki

The Legend of Zelda: Tears of the Kingdom Walkthrough & Guides Wiki

Persona 3 Reload Walkthrough & Guides Wiki

Cyberpunk 2077: Ultimate Edition Walkthrough & Guides Wiki
All rights reserved
© BANDAI NAMCO Entertainment America Inc. All third party content, brands, names, and logos are used under license and remain property of their respective owners. All rights reserved.
The copyrights of videos of games used in our content and other intellectual property rights belong to the provider of the game.
The contents we provide on this site were created personally by members of the Game8 editorial department.
We refuse the right to reuse or repost content taken without our permission such as data or images to other sites.

 Balseph
 Ice Wolf Leader
 Ooze Hive
 Lord Ganabelt
 Zacarania
 Kisara
 Dohalim
 Venoflage
 Temararus
 Grinymuk
 Almeidrea & Mesmald
 Meria Phein
 Kalmarzel & Kaldinzel
 Vholran
 Eljarania
 Efreet
 Tormented Limbs
 Red Woman
 Valclynimus
 Great Astral Spirit
 Subsumer
 Vholran (Final Boss)
 Toxidillo
 Boisterous Roper
 Polycephus
 Great Dragon
 Relentless Charger
 Flamewrecker
 Alpha Reaper
 Stormbringer
 Elemental
 Regent Bee
 Agony Keeper
 Mother Boomy
 Ruthless
 Thunderite
 Mantis
 Calamity Arms
 Meneiys
 Ezamamuk
 Sword Dancer
 Undine Drop
 Luo Undine
 Grand Gnome & Vas Phein
 Masher Mare & Masher Bull
 Procella Sylph & Sylph Zloa
 Mesmald
 Edna
Edna Nimus Origin
 Eizen
Eizen Edna & Eizen
 Chronos
 Dulneiys, Maleiys, & Vasneiys


![Everwind Review [Early Access] | The Shaky First Step to A Very Long Journey](https://img.game8.co/4440226/ab079b1153298a042633dd1ef51e878e.png/thumb)

![Monster Hunter Stories 3 Review [First Impressions] | Simply Rejuvenating](https://img.game8.co/4438641/2a31b7702bd70e78ec8efd24661dacda.jpeg/thumb)


