Efreet Malum Boss Guide: Recommended Setup and How to Beat
☆ Earn bonuses before you start the DLC.
★ Clear campaign & sub-quests | Get max lvl
☆ Learn all the ingredients in this new Gourmet Saga!
★ Get all Beyond the Dawn Trophies with these guides:
☆ Ryugola Weapons | All Portraits | Hero of the Summit
Efreet Malum is a boss you fight in the Tales of Arise (Beyond the Dawn)! Read on to learn more about tips on how to beat Efreet Malum, as well as stats, weaknesses, attack patterns, and the best party setup including Artes and Equipment in this boss guide!
List of Contents
Efreet Malum Stats and General Info
| Recommended Level: 43 | |||
|---|---|---|---|
 HP: ???? |
|||
| Attack | 1277 | Defense | 800 |
| Elemental Attack | 1150 | Elemental Defense | 711 |
| Penetration | 2165 | Resistance | 2279 |
| Weakness | Resistance | ||
How to Beat Efreet Malum
To aid in your battle against Efreet Malum, here are some tips that you can utilize in your fight.
Prepare For Waves of Enemies
The fight against Efreet is not a traditional boss fight compared to other boss fights in-game. With this fight, instead of directly going up against Efreet, you will have to fight your way through waves of enemies until you can trigger a special attack to end and win in the battle.
Use Rinwell's Boost Attacks
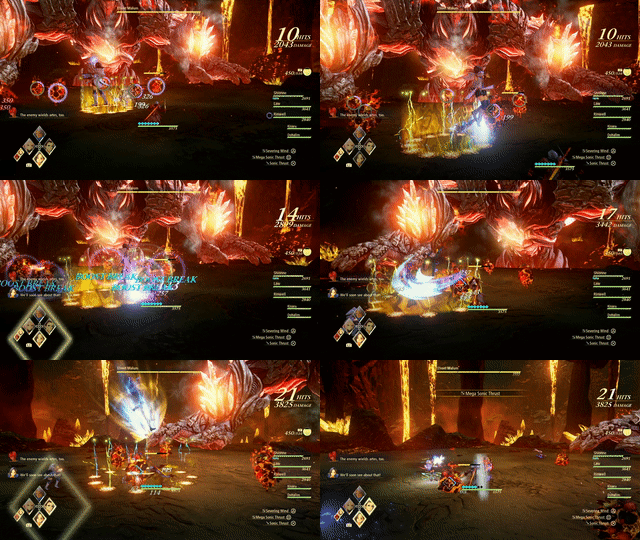
The second and third waves of this fight will consist of Fire Mass enemies, which can cast fire-type Artes that can cause significant damage, especially since there are so many of them .
Use Rinwell's Boost Attack to interrupt the Fire Masses' attempt to cast an Arte, granting you more time to attack and eliminate them.
Wait for the Trigger
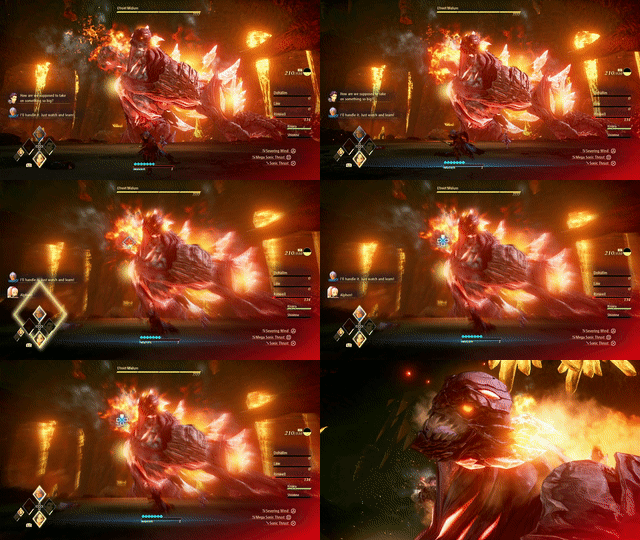
Once all enemy waves have been completed, the only task remaining for you to do will be to survive against some of Efreet's direct attacks against you and wait for the special attack trigger that you can press to finish off the battle.
Recommended Party Setup for Efreet Malum
Party Members
| Leader | Members | ||
|---|---|---|---|
 Alphen Alphen
Lv.40 |
 Shionne Shionne
Lv.40 |
 Rinwell Rinwell
Lv.40 |
 Law Law
Lv.40 |
Equip Water-based Attacks
All of the enemies that you'll encounter in this fight will be Fire-based Zeugles that have a particular weakness to any Water-based attacks. By arming your party with the appropriate Artes, you can increase the chances of defeating any of the enemies in every wave faster than normal.
Alphen Equipment and Artes
 Alphen Alphen
Lv.40 |
Equipment |
|---|---|
| Atonement Edge | |
| Absolute | |
| Protect RIng | |
| Ground Artes | Aerial Artes |
| First Set | |
| Severing Wind | Rising Falcon |
| Mega Sonic Thrust | Stardust |
| Sonic Thrust | Mirage |
| Second Set | |
| Swallow Blade | - |
| Demon Fang | - |
| Severing Wind | - |
Use His Boost Attacks
Alphen comes at a small disadvantage in this fight due to his special attacks being primarily fire-based. Nonetheless, his Boost Attacks make him difficult to remove from the active party as his Boost Attack can stagger any enemy.
Use his Boost Attacks against the Fire Masses during the second and third waves to interrupt their attempts to cast an Arte if Rinwell's Boost Attack is not available.
Shionne Equipment and Artes
 Shionne Shionne
Lv.40 |
Equipment |
|---|---|
| Supreme Blackthorn | |
| Gothic Dress | |
| Magic Emblem | |
| Ground Artes | Aerial Artes |
| First Set | |
| Gravitas Field | Toxicity |
| Gemini Aqua | Spear Sweep |
| Freeze Lancer | - |
| Second Set | |
| Spread | Displode |
| Resurrection | - |
| Healing Circle | - |
Use Water Attacks
Shionne has several water-based Artes that are useful against the enemies in this fight. It may be difficult to persistently use them however due to the healing needs of the party. A possible way you could remedy this is by replacing anyone else in your active party with Dohalim to lift the pressure of healing off of Shionne.
Rinwell Equipment and Artes
 Rinwell Rinwell
Lv.40 |
Equipment |
|---|---|
| Nature's Beauty: 3rd Ed. | |
| Mystic Cloak | |
| Pierce Emblem | |
| Ground Artes | Aerial Artes |
| First Set | |
| Spread | Razor Cyclone |
| Freeze Lancer | Swallow's Flight |
| Air Thrust | - |
| Second Set | |
| - | - |
| - | - |
| - | - |
Additional Water Damage
Although Rinwell does not have as an extensive arsenal of water attacks as Shionne does, Rinwell still has enough to be useful, at least as a backup for whenever Shionne is preoccupied with healing and you need to cause water damage to enemies.
Law Equipment and Artes
 Law Law
Lv.40 |
Equipment |
|---|---|
| Tyrant Fists | |
| Kingly Vest | |
| Protect Ring | |
| Ground Artes | Aerial Artes |
| First Set | |
| Whirlwind Snap | Eagle Dive |
| Swallow Dance | Eagle Assault |
| Dragon Shot | Death Blossom |
| Second Set | |
| Super Swallow Dance | Glimmer Dragon |
| Talon Hurricane | Fang Bolero |
| Dragon Shot | - |
Use For Staggering Magmalems
Law's Boost Attack can immediately stagger Magmalems if the attack connects. This is a good attack to have in situations where you need to slow the Magmalems down to attack the Fire Masses in the last two waves that will hit you during the fight.
Efreet Malum Attack Patterns
Efreet Attacks
Fireballs

An attack with two variants that the boss commonly uses against you, these Fireballs can take the form of a slowly descending ball of fire that quickly explodes outwards or chunks of fiery rock that Efreet will shower over the arena.
Melee Attacks
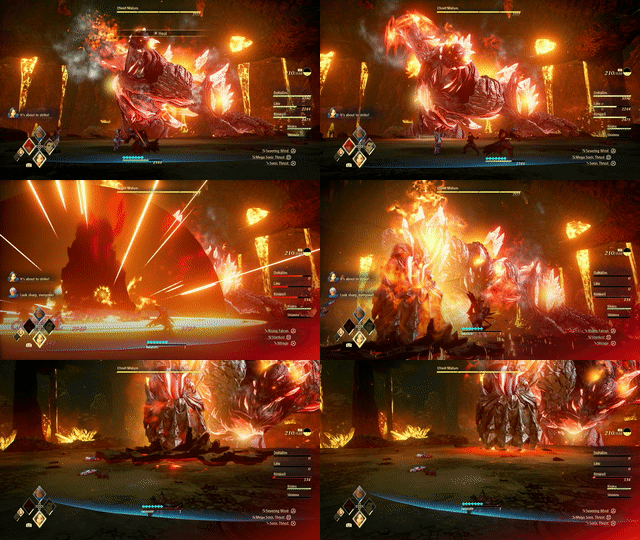
Efreet can performa a horizontal swipe with its hands, which is easy to dodge due to its slow movement, however it deals heavy damage if caught by it.
The second melee attack in Efreet's moveset is a punch straight into the ground that causes an AoE explosion followed by a shockwave along the ground . This can be much more difficult to avoid, and can easily K.O. party members within the blast radius.
Enemy Waves
First Wave
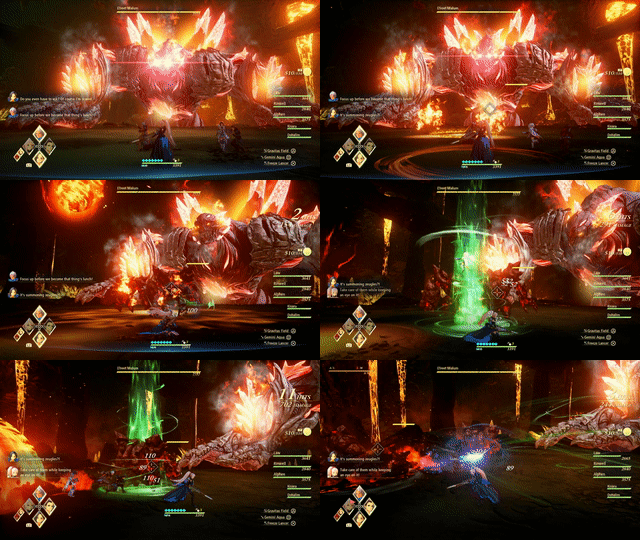
The first wave of enemies that will come after you as soon as you begin the fight against Efreet will be composed of two Magmalem – extremely tough and damage-spongey opponents that can be quite difficult to take down, even if armed with water-based Artes.
Target their Weak Points located behind their backs to make the process of eliminating them run more smoothly.
Second Wave
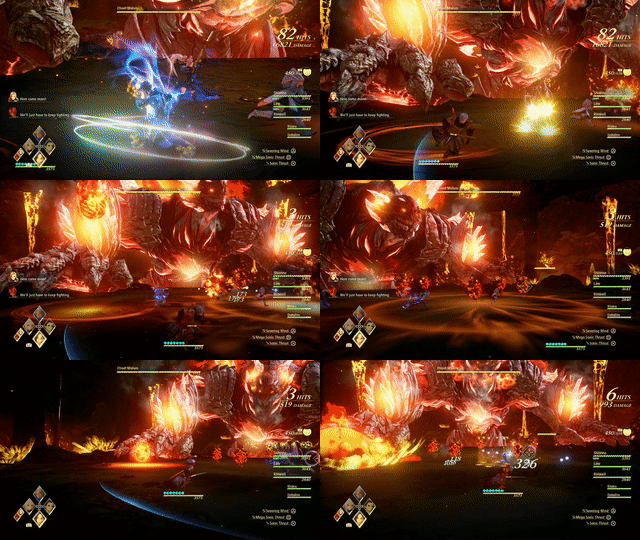
After disposing of the two Magmalem, several Fire Masses will now appear – comparatively, they are much trickier to deal with due to their ability to cast Astral Artes. While you have Rinwell to prevent them from casting, the Fire Masses do not always cast at the same time, nor do your allies attack the same enemy you are.
The best way to deal with them is to try and group them together before unleashing Alphen's Boost Attack on them, which can stagger them for some time.
Third Wave
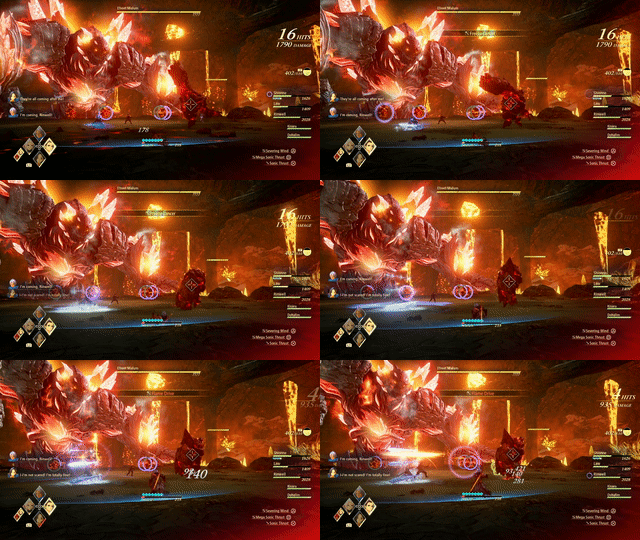
The third and final wave in the fight will feature both Fire Masses and Magmalems. It is recommended that you take care of all the Fire Masses first, as the Magmalem's slow-moving nature leaves you with enough time to eliminate the Fire Masses and their much more troublesome Fire-based attacks.
Tales of Arise Related Guides
Beyond the Dawn DLC Bosses
Beyond the Dawn Story Bosses
| Story Bosses | |
|---|---|
 Nimus Pandemonium Nimus Pandemonium |
 Venoflage Venoflage |
 Nazamil Nazamil |
 Nazamil Nether Nazamil Nether
|
 Ooze Hive Ooze Hive |
 Nazamil Nether Nazamil Nether (2nd Encounter) |
 Nazamil Nether Nazamil Nether (3rd Encounter) |
 Captive Nazamil Captive Nazamil |
 Oppressor Oppressor |
 Emergence Suppressor Emergence Suppressor |
Beyond the Dawn Optional Bosses
| Optional Bosses | ||
|---|---|---|
 Ruthless Ruthless
|
 Boisterous Roper Boisterous Roper
|
 Cruel Keeper Cruel Keeper |
 Megawrecker Megawrecker |
 Ghoulish Arms Ghoulish Arms |
 Nimus Juggernaut Nimus Juggernaut |
 Grinymuk Grinymuk |
 Mother Boomy Mother Boomy |
- |
Story Bosses
Optional Bosses
Author
Efreet Malum Boss Guide: Recommended Setup and How to Beat
improvement survey
03/2026
improving Game8's site?

Your answers will help us to improve our website.
Note: Please be sure not to enter any kind of personal information into your response.

We hope you continue to make use of Game8.
Rankings
- We could not find the message board you were looking for.
Gaming News
Popular Games

Genshin Impact Walkthrough & Guides Wiki

Honkai: Star Rail Walkthrough & Guides Wiki

Umamusume: Pretty Derby Walkthrough & Guides Wiki

Pokemon Pokopia Walkthrough & Guides Wiki

Resident Evil Requiem (RE9) Walkthrough & Guides Wiki

Monster Hunter Wilds Walkthrough & Guides Wiki

Wuthering Waves Walkthrough & Guides Wiki

Arknights: Endfield Walkthrough & Guides Wiki

Pokemon FireRed and LeafGreen (FRLG) Walkthrough & Guides Wiki

Pokemon TCG Pocket (PTCGP) Strategies & Guides Wiki
Recommended Games

Diablo 4: Vessel of Hatred Walkthrough & Guides Wiki

Cyberpunk 2077: Ultimate Edition Walkthrough & Guides Wiki

Fire Emblem Heroes (FEH) Walkthrough & Guides Wiki

Yu-Gi-Oh! Master Duel Walkthrough & Guides Wiki

Super Smash Bros. Ultimate Walkthrough & Guides Wiki

Pokemon Brilliant Diamond and Shining Pearl (BDSP) Walkthrough & Guides Wiki

Elden Ring Shadow of the Erdtree Walkthrough & Guides Wiki

Monster Hunter World Walkthrough & Guides Wiki

The Legend of Zelda: Tears of the Kingdom Walkthrough & Guides Wiki

Persona 3 Reload Walkthrough & Guides Wiki
All rights reserved
© BANDAI NAMCO Entertainment America Inc. All third party content, brands, names, and logos are used under license and remain property of their respective owners. All rights reserved.
The copyrights of videos of games used in our content and other intellectual property rights belong to the provider of the game.
The contents we provide on this site were created personally by members of the Game8 editorial department.
We refuse the right to reuse or repost content taken without our permission such as data or images to other sites.

 Balseph
 Ice Wolf Leader
 Ooze Hive
 Lord Ganabelt
 Zacarania
 Kisara
 Dohalim
 Venoflage
 Temararus
 Grinymuk
 Almeidrea & Mesmald
 Meria Phein
 Kalmarzel & Kaldinzel
 Vholran
 Eljarania
 Efreet
 Tormented Limbs
 Red Woman
 Valclynimus
 Great Astral Spirit
 Subsumer
 Vholran (Final Boss)
 Toxidillo
 Boisterous Roper
 Polycephus
 Great Dragon
 Relentless Charger
 Flamewrecker
 Alpha Reaper
 Stormbringer
 Elemental
 Regent Bee
 Agony Keeper
 Mother Boomy
 Ruthless
 Thunderite
 Mantis
 Calamity Arms
 Meneiys
 Ezamamuk
 Sword Dancer
 Undine Drop
 Luo Undine
 Grand Gnome & Vas Phein
 Masher Mare & Masher Bull
 Procella Sylph & Sylph Zloa
 Mesmald
 Edna
Edna Nimus Origin
 Eizen
Eizen Edna & Eizen
 Chronos
 Dulneiys, Maleiys, & Vasneiys


![Monster Hunter Stories 3 Review [First Impressions] | Simply Rejuvenating](https://img.game8.co/4438641/2a31b7702bd70e78ec8efd24661dacda.jpeg/thumb)


