Sword Dancer Boss Guide: Recommended Setup and How to Beat
☆ Earn bonuses before you start the DLC.
★ Clear campaign & sub-quests | Get max lvl
☆ Learn all the ingredients in this new Gourmet Saga!
★ Get all Beyond the Dawn Trophies with these guides:
☆ Ryugola Weapons | All Portraits | Hero of the Summit
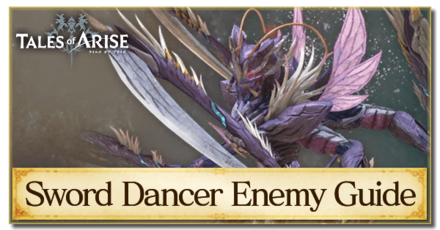
This is a guide on how to beat Sword Dancer in Tales of Arise! Learn more about Sword Dancer's stats, weaknesses, attack patterns, and the best party setup including Artes and Equipment for this boss fight!
List of Contents
Sword Dancer Stats and General Info
Sword Dancer Location
| Map | Actual Location |
|---|---|
 |
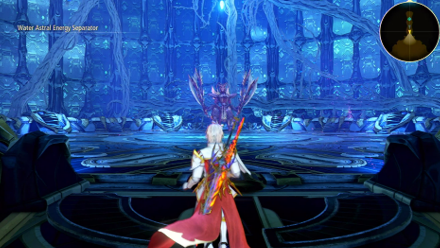 |
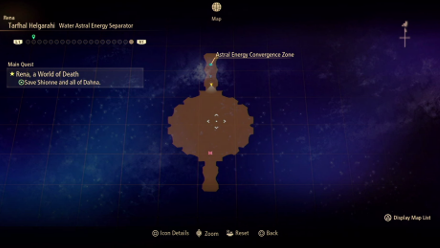
Sword Dancer can be found in the Water Astral Energy Separator in the Astral Energy Convergence Zone on Rena.
Rena Walkthrough: Sub-Quests, Owl Locations, and Boss Strategy
Sword Dancer Stats
| Recommended Level: 55 | |||
|---|---|---|---|
 HP: 180070 |
|||
| Attack | 2409 | Defense | 519 |
| Elemental Attack | 2190 | Elemental Defense | 491 |
| Penetration | 2539 | Resistance | 2673 |
| Weakness | Resistance | ||
Item to Drop
| Astral Flower |
How to Beat Sword Dancer
| Tips |
|---|
Attack the Weak Points
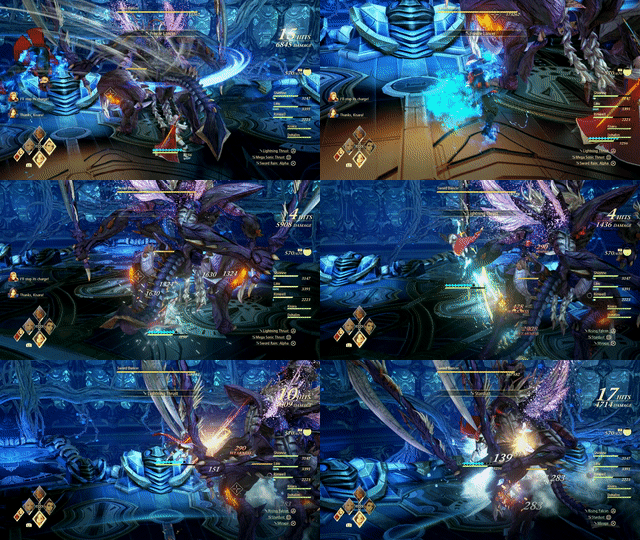
Only present during the first phase of the battle, when Sword Dancer will have its swords still, there will be two Weak Points available for you to target, located just to the sides of its knees. Target these points, which can break easily with enough persistent hits.
Use Light-based Artes
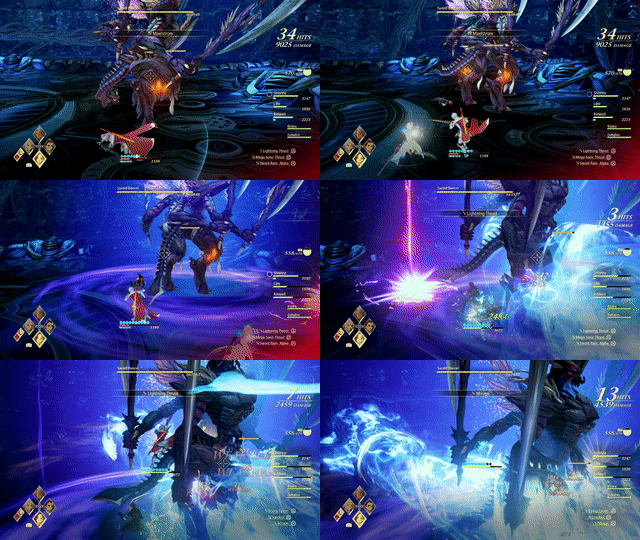
As a creature that makes use of the dark to power its attacks, Sword Dancer is particularly weak to any light-based Artes Attacks, which can easily give you strong elemental-based damage or criticals. Applying these attacks to its Weak Points will allow you to break them more easily with enough attacks.
Use Kisara's Boost Attack When it Transforms
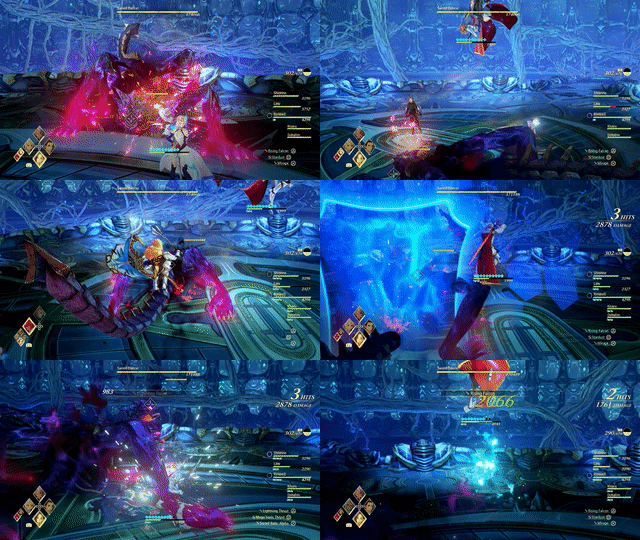
Once it transforms into a creature that walks on all of its limbs, its attack patterns will change. Its primary means of attacking at this stage would be to attack you with Charges. These attacks can be blocked by making use of Kisara's Boost Attack, which will cause it to drop down to the ground in a stunned state.
Recommended Party Setup for Sword Dancer
Party Members
| Leader | Members | ||
|---|---|---|---|
 Alphen Alphen
Lv.55 |
 Shionne Shionne
Lv.55 |
 Rinwell Rinwell
Lv.55 |
 Law Law
Lv.55 |
Equip Light Attack Enhancing Accessories
Many of the creatures that can be fought in Rena are all resistant to Dark-based attacks. By making use of any Light-based Artes, the potency of which is enhanced by accessories that increase their effectiveness, you'll be able to better deal with Sword Dancer in both of its forms.
Alphen Equipment and Artes
 Alphen Alphen
Lv.55 |
Equipment |
|---|---|
| El Vahf | |
| Gahm Arthalys | |
| Protect Ring | |
| Ground Artes | Aerial Artes |
| First Set | |
| Lightning Thrust | Rising Falcon |
| Mega Sonic Thrust | Stardust |
| Sword Rain: Alpha | Mirage |
| Second Set | |
| Swallow Blade | Soaring Light Spear |
| Vacuum Blades | Luna Rondo |
| Severing Wind | - |
Use Boost Attacks to Disrupt its Attacks
Most effective during its first form, you can disrupt any of Sword Dancer's fast sword attacks by using Alphen's Boost Attack, which will also cause the creature to be staggered and fall to the ground.
Shionne Equipment and Artes
 Shionne Shionne
Lv.55 |
Equipment |
|---|---|
| Caritas Bouquet | |
| L'Aze Phiarquis | |
| Magic Emblem | |
| Ground Artes | Aerial Artes |
| First Set | |
| Burning Strike | Displode |
| Flare Tornado | Scorched Earth |
| Explosion | Tres Ventos |
| Second Set | |
| Healing Circle | Spear Sweep |
| Burning Strike | Aqueous Impact |
| Flare Tornado | - |
Keep Out of Combat
Sword Dancer is a very fast and deadly attacker. Keeping Shionne anywhere near where the main part of the fight takes place exposes her to many of Sword Dancer's fast attacks, which can easily take away the primary healer of your group. You can swap her out with Dohalim later on, but you may have reduced healing capabilities available for your party.
Rinwell Equipment and Artes
 Rinwell Rinwell
Lv.55 |
Equipment |
|---|---|
| Historia Rene | |
| Holy Cloak | |
| Pierce Emblem | |
| Ground Artes | Aerial Artes |
| First Set | |
| Holy Lance | Electric Discharge |
| Thunder Blade | Celestial Hammer |
| Photon Flash | Razor Cyclone |
| Second Set | |
| Lightning Orb | Subzero Confinement |
| Thunder Field | Placid Pool |
| Divine Saber | - |
Free-roaming Attacker
Rinwell has several Artes that she can effectively use freely during the fight. With both Alphen and Law distracting Sword Dancer with their close-ranged attacks, this will free up Rinwell to cast her own Artes as your team assaults the creature.
Law Equipment and Artes
 Law Law
Lv.55 |
Equipment |
|---|---|
| Divine Wrath | |
| Canine Vest | |
| Protect Ring | |
| Ground Artes | Aerial Artes |
| First Set | |
| Dragon Shot | Eagle Dive |
| Talon Storm | Eagle Assault |
| Fang Blast | Death Blossom |
| Second Set | |
| Super Swallow Dance | Glimmer Dragon |
| Talon Hurricane | Fang Bolero |
| - | - |
Use Boost Attacks to Strike at Weak Points
Despite having two Weak Points on its body during its first form, these points will prove to be difficult to break – use Law's Boost Attacks to cause significant damage on these points, allowing you to more easily break them later on.
Sword Dancer Attack Patterns
Sword Attacks
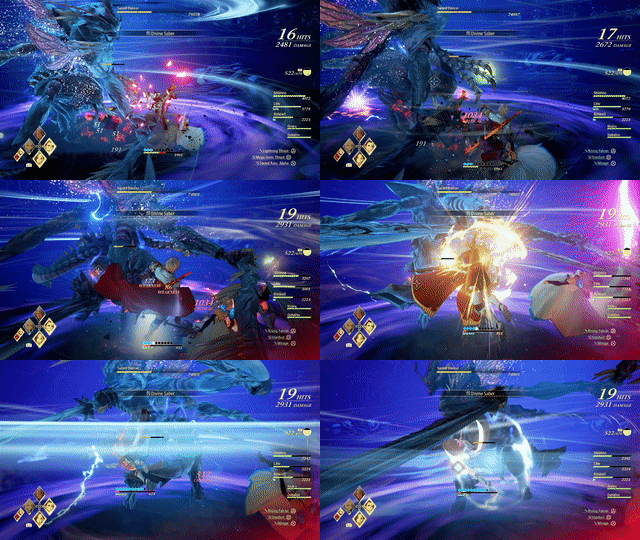
During the first phase of the fight, where Sword Dancer will still have its swords in its hands, it will rely heavily on these weapons to assault you. There are multiple variations for its attacks using swords, with these being:
- Sword slashes that send out a short-ranged slice of energy;
- A charge attack where it will slam its swords down to the ground, and;
- A spinning sword attack, often done when it enters its Over Limit mode.
Crawling Charge
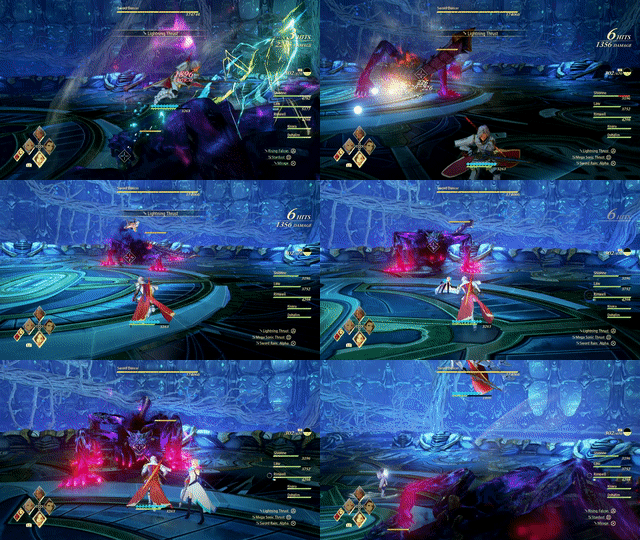
Once it transforms into a creature that walks using all of its limbs. Its primary means of attack during this transformed state will be to quickly charge at you, pushing you away as it makes its move. This attack can easily be disrupted by the use of either Alphen or Kisara's Boost Attack, which will leave it vulnerable to your attacks once it drops to the ground, stunned.
Dark Beam
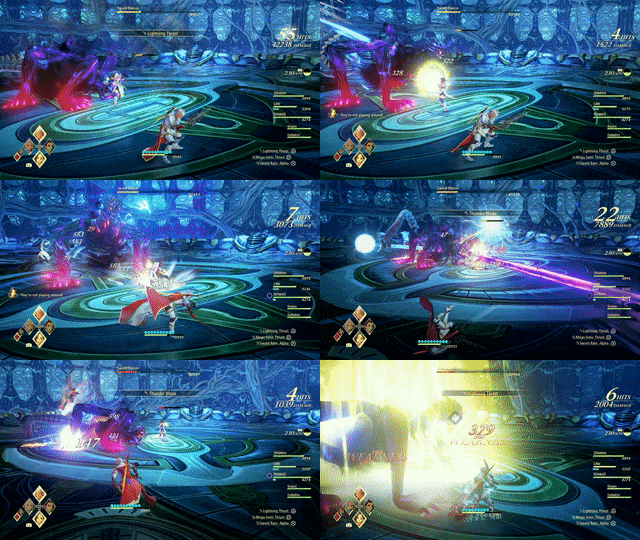
Once this transformed version of Sword Dancer enters its Over Limit state, it can send a beam of dark energy towards you through its mouth. This can be easily dodged, but does have the potential to cause significant damage against you should you be hit by this attack.
Tales of Arise Related Guides
Beyond the Dawn DLC Bosses
Beyond the Dawn Story Bosses
| Story Bosses | |
|---|---|
 Nimus Pandemonium Nimus Pandemonium |
 Venoflage Venoflage |
 Nazamil Nazamil |
 Nazamil Nether Nazamil Nether
|
 Ooze Hive Ooze Hive |
 Nazamil Nether Nazamil Nether (2nd Encounter) |
 Nazamil Nether Nazamil Nether (3rd Encounter) |
 Captive Nazamil Captive Nazamil |
 Oppressor Oppressor |
 Emergence Suppressor Emergence Suppressor |
Beyond the Dawn Optional Bosses
| Optional Bosses | ||
|---|---|---|
 Ruthless Ruthless
|
 Boisterous Roper Boisterous Roper
|
 Cruel Keeper Cruel Keeper |
 Megawrecker Megawrecker |
 Ghoulish Arms Ghoulish Arms |
 Nimus Juggernaut Nimus Juggernaut |
 Grinymuk Grinymuk |
 Mother Boomy Mother Boomy |
- |
Story Bosses
Optional Bosses
Author
Sword Dancer Boss Guide: Recommended Setup and How to Beat
improvement survey
03/2026
improving Game8's site?

Your answers will help us to improve our website.
Note: Please be sure not to enter any kind of personal information into your response.

We hope you continue to make use of Game8.
Rankings
- We could not find the message board you were looking for.
Gaming News
Popular Games

Genshin Impact Walkthrough & Guides Wiki

Honkai: Star Rail Walkthrough & Guides Wiki

Umamusume: Pretty Derby Walkthrough & Guides Wiki

Pokemon Pokopia Walkthrough & Guides Wiki

Resident Evil Requiem (RE9) Walkthrough & Guides Wiki

Monster Hunter Wilds Walkthrough & Guides Wiki

Wuthering Waves Walkthrough & Guides Wiki

Arknights: Endfield Walkthrough & Guides Wiki

Pokemon FireRed and LeafGreen (FRLG) Walkthrough & Guides Wiki

Pokemon TCG Pocket (PTCGP) Strategies & Guides Wiki
Recommended Games

Diablo 4: Vessel of Hatred Walkthrough & Guides Wiki

Cyberpunk 2077: Ultimate Edition Walkthrough & Guides Wiki

Fire Emblem Heroes (FEH) Walkthrough & Guides Wiki

Yu-Gi-Oh! Master Duel Walkthrough & Guides Wiki

Super Smash Bros. Ultimate Walkthrough & Guides Wiki

Pokemon Brilliant Diamond and Shining Pearl (BDSP) Walkthrough & Guides Wiki

Elden Ring Shadow of the Erdtree Walkthrough & Guides Wiki

Monster Hunter World Walkthrough & Guides Wiki

The Legend of Zelda: Tears of the Kingdom Walkthrough & Guides Wiki

Persona 3 Reload Walkthrough & Guides Wiki
All rights reserved
© BANDAI NAMCO Entertainment America Inc. All third party content, brands, names, and logos are used under license and remain property of their respective owners. All rights reserved.
The copyrights of videos of games used in our content and other intellectual property rights belong to the provider of the game.
The contents we provide on this site were created personally by members of the Game8 editorial department.
We refuse the right to reuse or repost content taken without our permission such as data or images to other sites.

 Balseph
 Ice Wolf Leader
 Ooze Hive
 Lord Ganabelt
 Zacarania
 Kisara
 Dohalim
 Venoflage
 Temararus
 Grinymuk
 Almeidrea & Mesmald
 Meria Phein
 Kalmarzel & Kaldinzel
 Vholran
 Eljarania
 Efreet
 Tormented Limbs
 Red Woman
 Valclynimus
 Great Astral Spirit
 Subsumer
 Vholran (Final Boss)
 Toxidillo
 Boisterous Roper
 Polycephus
 Great Dragon
 Relentless Charger
 Flamewrecker
 Alpha Reaper
 Stormbringer
 Elemental
 Regent Bee
 Agony Keeper
 Mother Boomy
 Ruthless
 Thunderite
 Mantis
 Calamity Arms
 Meneiys
 Ezamamuk
 Undine Drop
 Luo Undine
 Grand Gnome & Vas Phein
 Masher Mare & Masher Bull
 Procella Sylph & Sylph Zloa
 Mesmald
 Edna
Edna Nimus Origin
 Eizen
Eizen Edna & Eizen
 Chronos
 Dulneiys, Maleiys, & Vasneiys


![Monster Hunter Stories 3 Review [First Impressions] | Simply Rejuvenating](https://img.game8.co/4438641/2a31b7702bd70e78ec8efd24661dacda.jpeg/thumb)


