Alpha Reaper Boss Guide: Recommended Setup and How to Beat
☆ Earn bonuses before you start the DLC.
★ Clear campaign & sub-quests | Get max lvl
☆ Learn all the ingredients in this new Gourmet Saga!
★ Get all Beyond the Dawn Trophies with these guides:
☆ Ryugola Weapons | All Portraits | Hero of the Summit
This is a guide on how to beat Alpha Reaper in Tales of Arise! Learn more about Alpha Reaper's stats, weaknesses, attack patterns, and the best party setup including Artes and Equipment for this boss fight!
List of Contents
Alpha Reaper Stats and General Info
Alpha Reaper Location
| Map | Actual Location |
|---|---|
 |
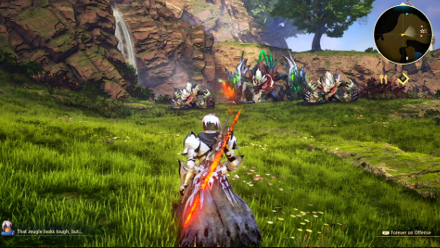 |
Alpha Reaper can be found in the northern edges of the map, across the bridge leading into the village in front of Viscint's gates. From where you get the Sub-Quest Dohalim, Big Game Hunter, move across the bridge and head north where you'll find the simian zeugle alongside other Apes.
Dohalim, Big Game Hunter Sub-Quest Walkthrough: Rewards and How to Clear
Alpha Reaper Stats
| Recommended Level: 25 | |||
|---|---|---|---|
 HP: 74390 |
|||
| Attack | 657 | Defense | 346 |
| Elemental Attack | 563 | Elemental Defense | 307 |
| Penetration | 983 | Resistance | 1035 |
| Weakness | Resistance | ||
Item to Drop
| Astral Flower | Titanium Vambrace (2) |
| Sturdy Megabone (3) |
How to Beat Alpha Reaper
| Tips |
|---|
Use Earth-based Attacks
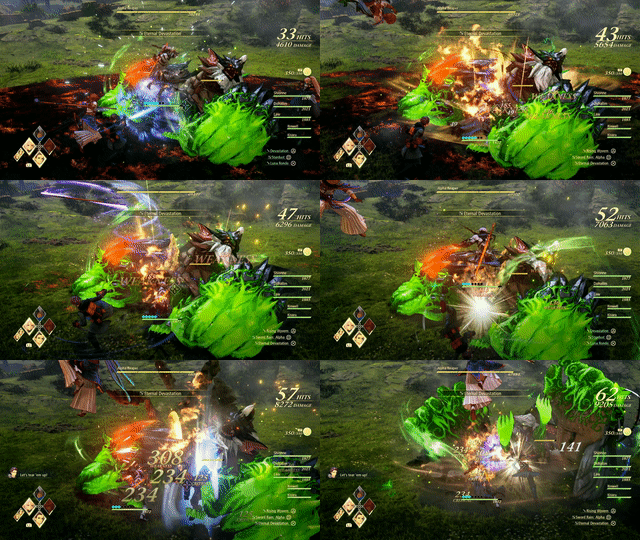
Unlike the Apes it's surrounded by when you encounter it, Alpha Reaper is particularly weak to any Earth-based Artes that you may have. By using this weakness against it, you can focus your attacks onto its vulnerable right arm, which is where its Weak Point is.
With persistent elemental attacks, you can more easily break its Weak Point open, which will leave it stunned and vulnerable to further attacks.
Use Dohalim's Boost Attacks
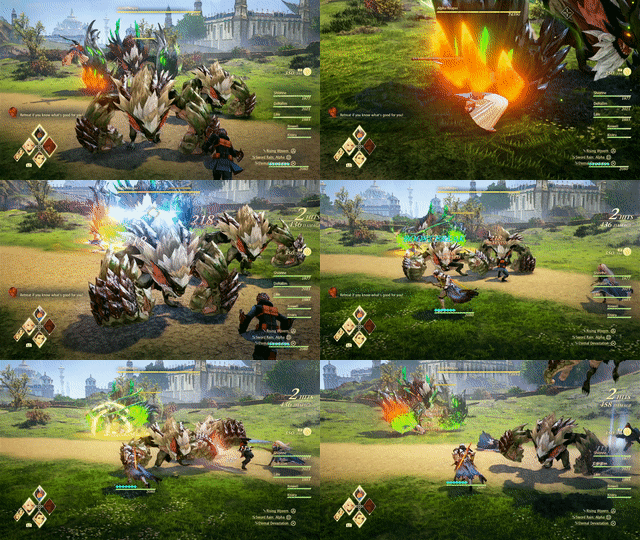
As a fast-moving zeugle, you can slow down Alpha Reaper's attacks by making use of Dohalim's Boost Attack, which will prevent it from being able to jump around the area you fight it in consistently. Be sure, however, to re-use the attack whenever it becomes available as it wears off and could allow the zeugle to attack you with more speed.
Take Out the Apes First
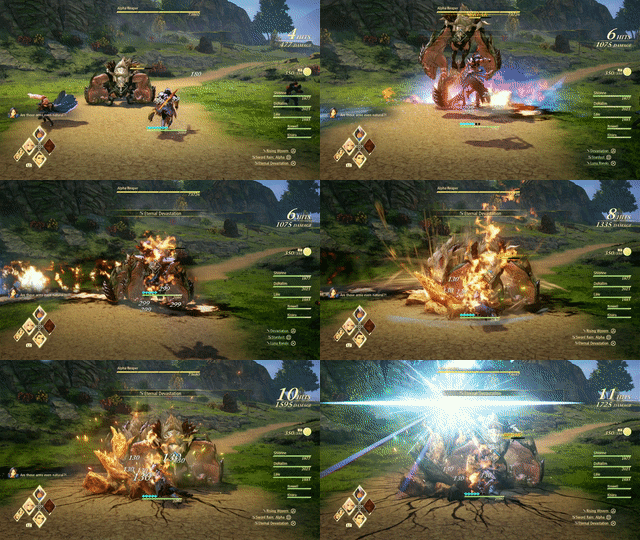
When you first encounter Alpha Reaper, it will be surrounded by two other Apes. Throughout the fight, if you do not eliminate them first, they will be able to do much of the same attacks that Alpha Reaper can do, which can complicate the battle as you will have three enemies capable of performing Jump Attacks to deal with.
Eliminate the Apes immediately for your party to be able to better focus on attacking Alpha Reaper itself.
Recommended Party Setup for Alpha Reaper
Party Members
| Leader | Members | ||
|---|---|---|---|
 Alphen Alphen
Lv.25 |
 Shionne Shionne
Lv.25 |
 Dohalim Dohalim
Lv.25 |
 Law Law
Lv.25 |
Equip Attack Increasing Accessories
Alpha Reaper has decent defences that it uses to block out most of your attacks. By equipping your party with Accessories that can increase your Penetration or Attack Parameters, you can better cause damage against the Gigant.
Alphen Equipment and Artes
 Alphen Alphen
Lv.25 |
Equipment |
|---|---|
| Flare Claw | |
| Topaz Mail | |
| Warrior Emblem | |
| Ground Artes | Aerial Artes |
| Rising Wyvern | Devastation |
| Sword Rain: Alpha | Stardust |
| Eternal Devastation | Luna Rondo |
Use Boost Attacks to Stagger
Outside of Dohalim's Boost Attack, you can also utilize Alphen's attack to cause Alpha Reaper to collapse to the ground in a stunned state. From here, you can make use of Alphen's Eternal Devastation Artes to cause the creature elemental damage – targeting the Weak Point during this will help to break it easier later on.
Shionne Equipment and Artes
 Shionne Shionne
Lv.25 |
Equipment |
|---|---|
| Innocent Lily | |
| Middy Blouse | |
| Pierce Emblem | |
| Ground Artes | Aerial Artes |
| Healing Circle | Toxicity |
| Spread | Glacio Celestra |
| Freeze Lancer | - |
Primary Healer
Have Shionne focus on keeping the party alive. Many of Alpha Reaper's attacks can take a significant portion of your HP away, so be sure to have Shionne focus more on healing than attacking.
Be careful of making use of her Healing Circle Artes however, particularly when Alpha Reaper is not affected by Dohlaim's Boost Attack, as it can allow your entire party to get hit by its attack when it jumps.
Dohalim Equipment and Artes
 Dohalim Dohalim
Lv.25 |
Equipment |
|---|---|
| Pulque Shaft | |
| il Qaras Traditional Attire | |
| PIerce Emblem | |
| Ground Artes | Aerial Artes |
| Stalagmite | Tornado Drive |
| Elusive Deity | - |
| Lionheart | - |
Allow to Freely Attack
Dohalim comes with several Earth-based Artes when he joins your party – you can leave him to conduct his attacks on his own with little input. For Dohalim to not be the focus of Alpha Reaper's attacks, you can use Alphen to distract it long enough for Dohalim's Artes casts to finish.
Law Equipment and Artes
 Law Law
Lv.25 |
Equipment |
|---|---|
| Flaming Knights | |
| Zeugle Shell Vest | |
| Warrior Emblem | |
| Ground Artes | Aerial Artes |
| Talon Storm | Eagle Dive |
| Steel | - |
| Fang Blast | - |
Interchangeable With Other Party Members
The benefit of having Law in your party is that he can cause significant damage against Alpha Reaper, particularly against its Weak Point. The trade-off, however, is that Law can be easily knocked out due to the nature of how he attacks – you may wish to use Items instead of your CP to heal or revive him in these instances, or swap him out for either Rinwell or Kisara for more firepower or defense respectively.
Alpha Reaper Attack Patterns
Physical Attacks
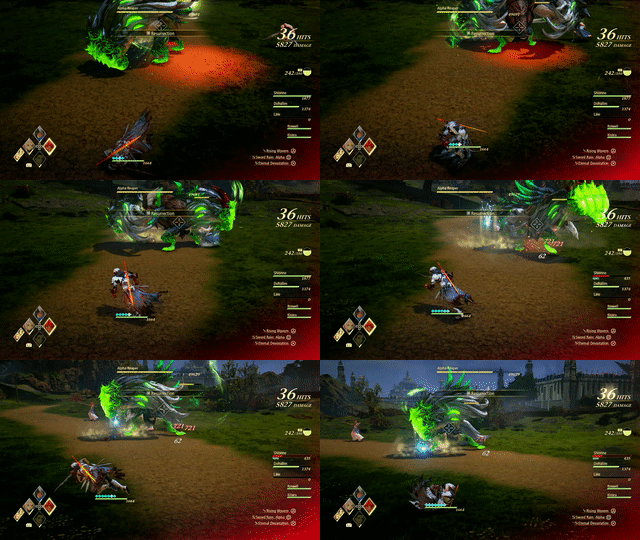
When attacked, Alpha Reaper will use its arms to inflict damage to any attacking character surrounding it. Even if you're attacking from behind, the Gigant can quickly spin on its feet, hitting anything around it that can knock them out in one hit, or drastically reduce their HP.
Jump Attacks
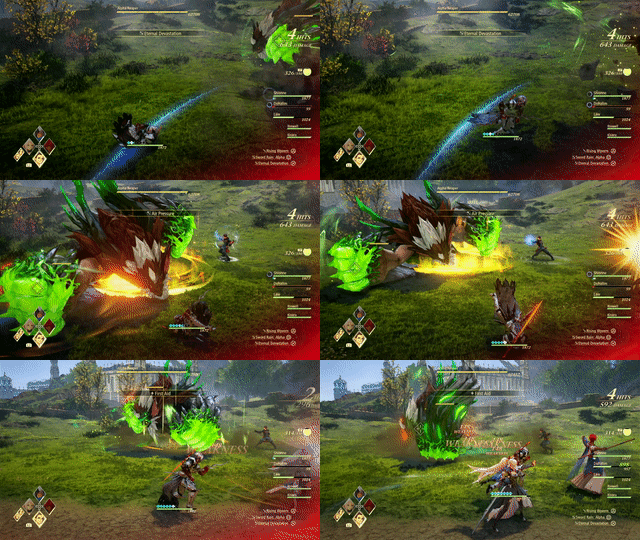
Dohalim's Boost Attack, while it slows the Gigant down, only stops its ability to perform fast and long-ranged jump attacks that are difficult to avoid. Either way, its Jump Attacks consist of it jumping up from its position before landing directly on top of you – performing Perfect Dodges to avoid these attacks is difficult, but is your only defense from them.
You can stop the process of its jump by hitting it with either Dohalim or Alphen's Boost Attack, or by breaking its Weak Point.
Tales of Arise Related Guides
Beyond the Dawn DLC Bosses
Beyond the Dawn Story Bosses
| Story Bosses | |
|---|---|
 Nimus Pandemonium Nimus Pandemonium |
 Venoflage Venoflage |
 Nazamil Nazamil |
 Nazamil Nether Nazamil Nether
|
 Ooze Hive Ooze Hive |
 Nazamil Nether Nazamil Nether (2nd Encounter) |
 Nazamil Nether Nazamil Nether (3rd Encounter) |
 Captive Nazamil Captive Nazamil |
 Oppressor Oppressor |
 Emergence Suppressor Emergence Suppressor |
Beyond the Dawn Optional Bosses
| Optional Bosses | ||
|---|---|---|
 Ruthless Ruthless
|
 Boisterous Roper Boisterous Roper
|
 Cruel Keeper Cruel Keeper |
 Megawrecker Megawrecker |
 Ghoulish Arms Ghoulish Arms |
 Nimus Juggernaut Nimus Juggernaut |
 Grinymuk Grinymuk |
 Mother Boomy Mother Boomy |
- |
Story Bosses
Optional Bosses
Author
Alpha Reaper Boss Guide: Recommended Setup and How to Beat
improvement survey
03/2026
improving Game8's site?

Your answers will help us to improve our website.
Note: Please be sure not to enter any kind of personal information into your response.

We hope you continue to make use of Game8.
Rankings
- We could not find the message board you were looking for.
Gaming News
Popular Games

Genshin Impact Walkthrough & Guides Wiki

Honkai: Star Rail Walkthrough & Guides Wiki

Umamusume: Pretty Derby Walkthrough & Guides Wiki

Pokemon Pokopia Walkthrough & Guides Wiki

Resident Evil Requiem (RE9) Walkthrough & Guides Wiki

Monster Hunter Wilds Walkthrough & Guides Wiki

Wuthering Waves Walkthrough & Guides Wiki

Arknights: Endfield Walkthrough & Guides Wiki

Pokemon FireRed and LeafGreen (FRLG) Walkthrough & Guides Wiki

Pokemon TCG Pocket (PTCGP) Strategies & Guides Wiki
Recommended Games

Diablo 4: Vessel of Hatred Walkthrough & Guides Wiki

Fire Emblem Heroes (FEH) Walkthrough & Guides Wiki

Yu-Gi-Oh! Master Duel Walkthrough & Guides Wiki

Super Smash Bros. Ultimate Walkthrough & Guides Wiki

Pokemon Brilliant Diamond and Shining Pearl (BDSP) Walkthrough & Guides Wiki

Elden Ring Shadow of the Erdtree Walkthrough & Guides Wiki

Monster Hunter World Walkthrough & Guides Wiki

The Legend of Zelda: Tears of the Kingdom Walkthrough & Guides Wiki

Persona 3 Reload Walkthrough & Guides Wiki

Cyberpunk 2077: Ultimate Edition Walkthrough & Guides Wiki
All rights reserved
© BANDAI NAMCO Entertainment America Inc. All third party content, brands, names, and logos are used under license and remain property of their respective owners. All rights reserved.
The copyrights of videos of games used in our content and other intellectual property rights belong to the provider of the game.
The contents we provide on this site were created personally by members of the Game8 editorial department.
We refuse the right to reuse or repost content taken without our permission such as data or images to other sites.

 Balseph
 Ice Wolf Leader
 Ooze Hive
 Lord Ganabelt
 Zacarania
 Kisara
 Dohalim
 Venoflage
 Temararus
 Grinymuk
 Almeidrea & Mesmald
 Meria Phein
 Kalmarzel & Kaldinzel
 Vholran
 Eljarania
 Efreet
 Tormented Limbs
 Red Woman
 Valclynimus
 Great Astral Spirit
 Subsumer
 Vholran (Final Boss)
 Toxidillo
 Boisterous Roper
 Polycephus
 Great Dragon
 Relentless Charger
 Flamewrecker
 Stormbringer
 Elemental
 Regent Bee
 Agony Keeper
 Mother Boomy
 Ruthless
 Thunderite
 Mantis
 Calamity Arms
 Meneiys
 Ezamamuk
 Sword Dancer
 Undine Drop
 Luo Undine
 Grand Gnome & Vas Phein
 Masher Mare & Masher Bull
 Procella Sylph & Sylph Zloa
 Mesmald
 Edna
Edna Nimus Origin
 Eizen
Eizen Edna & Eizen
 Chronos
 Dulneiys, Maleiys, & Vasneiys


![Everwind Review [Early Access] | The Shaky First Step to A Very Long Journey](https://img.game8.co/4440226/ab079b1153298a042633dd1ef51e878e.png/thumb)

![Monster Hunter Stories 3 Review [First Impressions] | Simply Rejuvenating](https://img.game8.co/4438641/2a31b7702bd70e78ec8efd24661dacda.jpeg/thumb)


