Dohalim Boss Guide: Recommended Setup and How to Beat
☆ Earn bonuses before you start the DLC.
★ Clear campaign & sub-quests | Get max lvl
☆ Learn all the ingredients in this new Gourmet Saga!
★ Get all Beyond the Dawn Trophies with these guides:
☆ Ryugola Weapons | All Portraits | Hero of the Summit
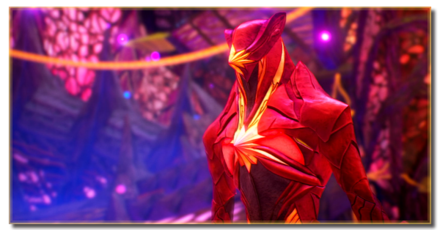
Dohalim is a boss you fight in the Tales of Arise (Beyond the Dawn)! Read on to learn more about tips on how to beat Dohalim, as well as stats, weaknesses, attack patterns, and the best party setup including Artes and Equipment in this boss guide!
List of Contents
Dohalim Stats and General Info
| Recommended Level: 22 | |||
|---|---|---|---|
 HP: 89290 |
|||
| Attack | 536 | Defense | 342 |
| Elemental Attack | 483 | Elemental Defense | 304 |
| Penetration | 831 | Resistance | 875 |
| Weakness | Resistance | ||
How to Beat Dohalim
To aid in your battle against Dohalim, here are some tips that you can utilize in your fight.
Avoid His Rod Twirls
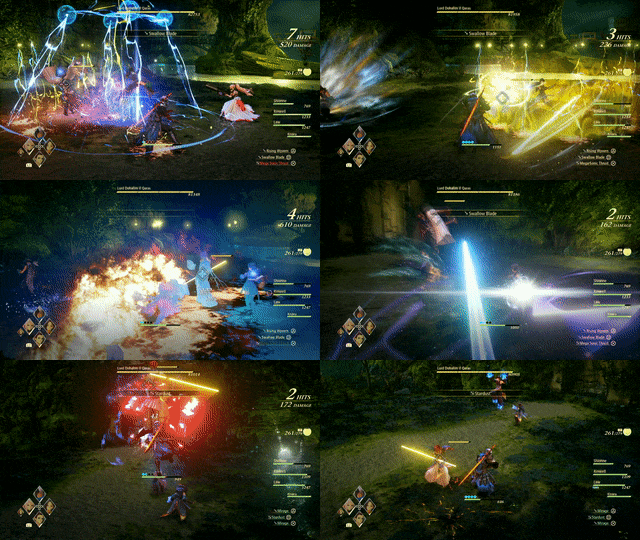
While all of Dohalim's other attacks are devastating if you are hit by them, his attacks using his Rods can be the most difficult attack to manage.
Although it causes little harm per hit received, you may find yourself spending resources recovering from this attack that is more than necessary, so simply trying to avoid this kind of attack will help save resources and CP.
Attack When He Rests
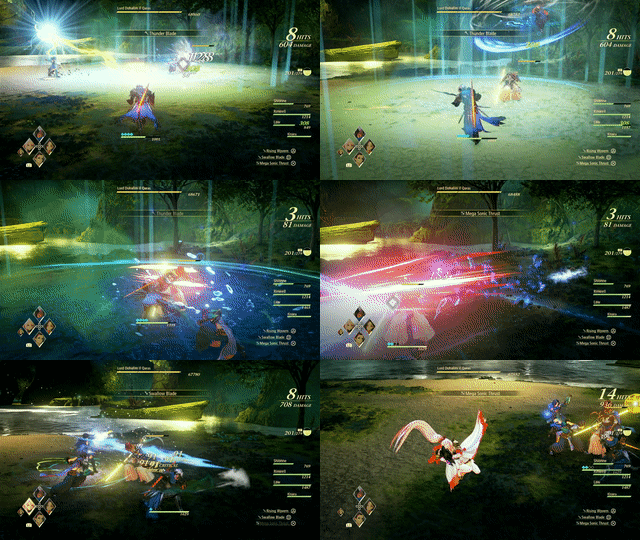
After finishing a barrage of attacks against your party, Dohalim will slump his shoulders and seemingly "rest". This is the time to unleash a string of attacks and combos against him.
Unleashing a Boost Attack against him outside of his rest can force him to enter into one, particularly if you use Law's or Alphen's.
Use Kisara's Boost Attack to Stop His Charges
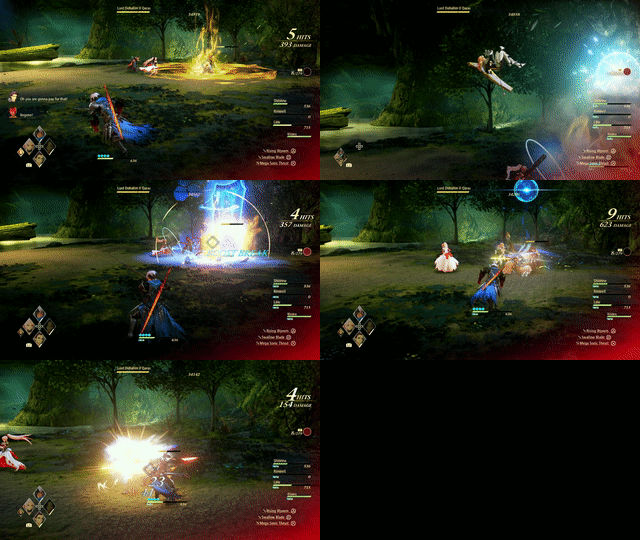
In the second phase of the fight, Dohalim will be able to charge at you, which can instantly K.O. you or reduce your HP drastically. These can be stopped immediately by using Kisara's Boost Attack, which also forces Dohalim to kneel and rest.
Recommended Party Setup for Dohalim
Party Members
| Leader | Members | ||
|---|---|---|---|
 Kisara Kisara
Lv.22 |
 Shionne Shionne
Lv.22 |
 Alphen Alphen
Lv.22 |
 Law Law
Lv.22 |
Make Heavy Use of Kisara
The newcomer to the group, Kisara can more than adequately serve the role of a tank in your party. Use her "guard" to reduce the effects of Dohalim's attacks – you can even stop his Charge Attacks by executing a perfect block as soon as he comes near Kisara.
Kisara Equipment and Artes
 Kisara Kisara
Lv.22 |
Equipment |
|---|---|
| Imperial Shield | |
| Topaz Guard | |
| Grit Emblem | |
| Ground Artes | Aerial Artes |
| Crescent Moon | - |
| Tiger Blade | - |
| Guardian Field | - |
Use Guardian Field In Place of Healing Circle
In place of using Shionne's Healing Circle, you can instead make use of Kisara's Guardian Field. This casts a smaller circle that can heal your allies, all while causing damage. It also has a lower CP cost, allowing you more flexibility with how you make use of Shionne's healing abilities.
Use to Tank Hits
As the character in your party that has the highest stat for Defense, she is the best candidate to be the center of Dohalim's attention. Simply keep her healed when receiving major damage to sustain her durability.
Shionne Equipment and Artes
 Shionne Shionne
Lv.22 |
Equipment |
|---|---|
| Innocent Lily | |
| Topaz One Piece | |
| Alexandrite | |
| Ground Artes | Aerial Artes |
| Healing Circle | Toxicity |
| Gravitas Field | Glacio Celestra |
| Tonitus Celestra | Spear Sweep |
Keep in Healer Role
Shionne is an effective character to have due to her range, as she can remain outside of Dohalim's immediate vicinity whenever he attacks. Keep her at a safe distance from where the main part of the fight is happening and have her do small attacks. Her primary focus, however, should be on healing the party or resurrecting any fallen allies.
Alphen Equipment and Artes
 Alphen Alphen
Lv.22 |
Equipment |
|---|---|
| Topaz Mail | |
| Flare Claw | |
| Pierce Emblem | |
| Ground Artes | Aerial Artes |
| Destruction | Mirage |
| Shockwave Slash | Stardust |
| Eternal Devastation | Rising Falcon |
Use His Boost Attacks Frequently
Although Fire is not a weakness of Dohalim, he can still be effectively be forced to "rest" by making use of Alphen's Boost Attack. Alternating between Alphen and Kisara can allow you to control Dohalim's focus of attention as well as when you can force him into a vulnerable state.
Law Equipment and Artes
 Law Law
Lv.22 |
Equipment |
|---|---|
| Flaming Knights | |
| Zeugle Shell Vest | |
| Grit Emblem | |
| Ground Artes | Aerial Artes |
| Talon Storm | Eagle Dive |
| Tectonic Punch | Eagle Assault |
| Fang Blast | Death Blossom |
Use As Distraction
Law is effective in a role that sees him actively going after the group's enemy. In this case, while alternating between Kisara and Alphen for the main roles of this battle, you can leave Law to conduct his attacks independently.
During times when Alphen and Kisara are low on HP, you can have them move away from Dohalim, who then can focus on attacking Law and thus leaving you enough time to recover.
Dohalim Attack Patterns
Rod Twirl
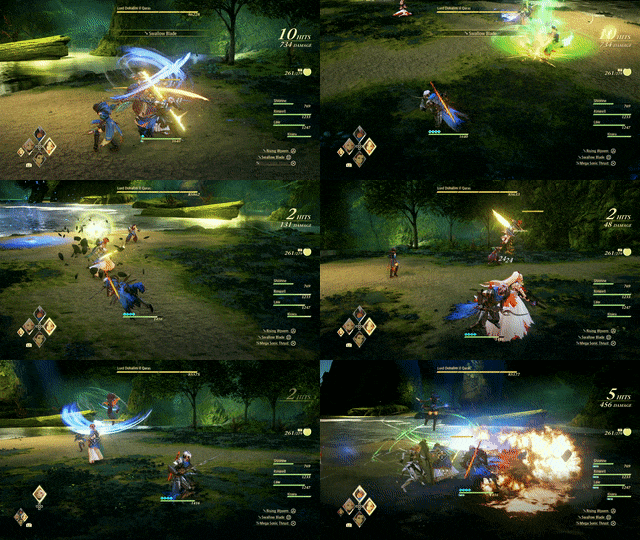
A speedy attack that can cause multiple hits and damage against your characters if you aren't careful. There are several variants of this attack, the most devastating of which is when Dohalim decides to do a combo that can blast you into the air where he will hit you some more before slamming you back down to the ground.
Charge Attack
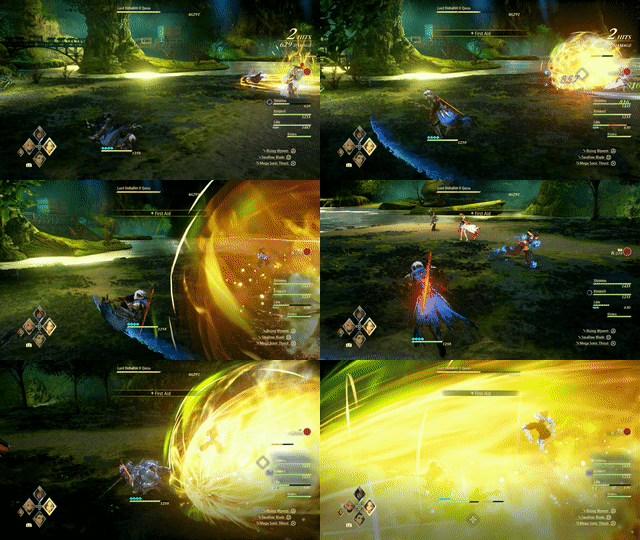
In the second phase of the battle, Dohalim will begin to have a golden aura surround him, before blasting forwards straight towards any one of your characters. These attacks will bite off huge portions of your HP at a time or even completely K.O. you in one hit. These attacks can be blocked using Kisara's Boost Attack.
This attack can also be performed one after the other, homing in on your character until he eventually ceases or is stopped by Kisara.
B Naturae
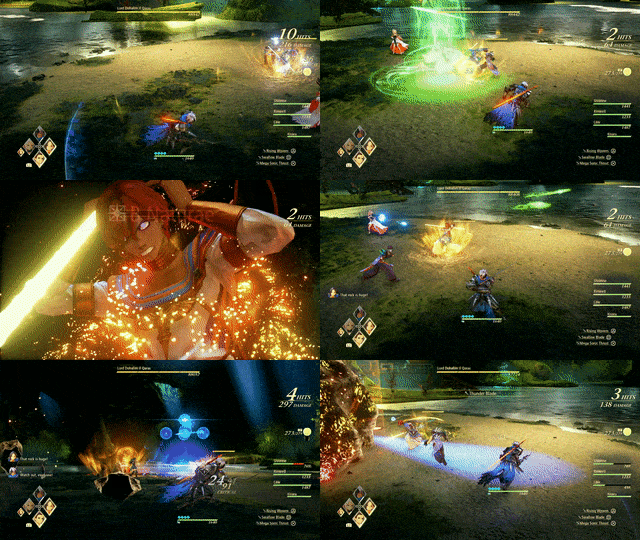
Similar in appearance to his Charge Attack, Dohalim can perform B Naturae. This attackraises chunks of rocks from the ground that he then allows to fall down to the ground. There will be a larger rock that falls in front of him after all others have fallen, which can instantly K.O. any party member standing there or nearby. This attack is done repeatedly by Dohalim when he is nearing death.
Stalagmite
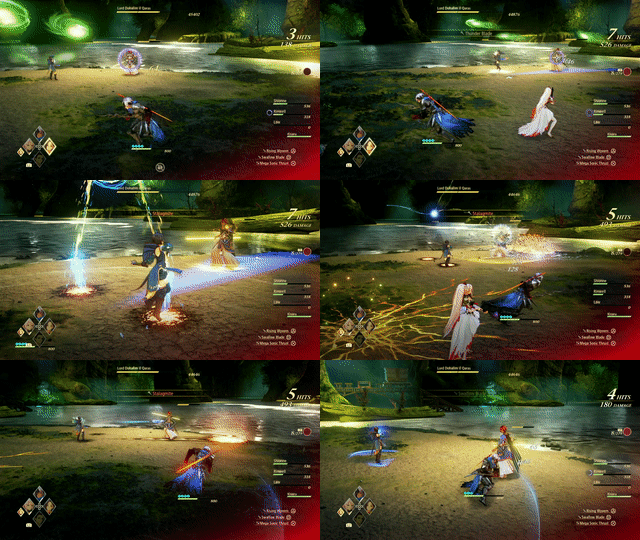
A rare attack that he does, where pillars of stone will rise up beneath the ground where a yellow-tinted crack will form. This attack can easily knock you to the ground, leaving you vulnerable to his Rod Twirls.
Tales of Arise Related Guides
Beyond the Dawn DLC Bosses
Beyond the Dawn Story Bosses
| Story Bosses | |
|---|---|
 Nimus Pandemonium Nimus Pandemonium |
 Venoflage Venoflage |
 Nazamil Nazamil |
 Nazamil Nether Nazamil Nether
|
 Ooze Hive Ooze Hive |
 Nazamil Nether Nazamil Nether (2nd Encounter) |
 Nazamil Nether Nazamil Nether (3rd Encounter) |
 Captive Nazamil Captive Nazamil |
 Oppressor Oppressor |
 Emergence Suppressor Emergence Suppressor |
Beyond the Dawn Optional Bosses
| Optional Bosses | ||
|---|---|---|
 Ruthless Ruthless
|
 Boisterous Roper Boisterous Roper
|
 Cruel Keeper Cruel Keeper |
 Megawrecker Megawrecker |
 Ghoulish Arms Ghoulish Arms |
 Nimus Juggernaut Nimus Juggernaut |
 Grinymuk Grinymuk |
 Mother Boomy Mother Boomy |
- |
Story Bosses
Optional Bosses
Author
Dohalim Boss Guide: Recommended Setup and How to Beat
improvement survey
03/2026
improving Game8's site?

Your answers will help us to improve our website.
Note: Please be sure not to enter any kind of personal information into your response.

We hope you continue to make use of Game8.
Rankings
- We could not find the message board you were looking for.
Gaming News
Popular Games

Genshin Impact Walkthrough & Guides Wiki

Honkai: Star Rail Walkthrough & Guides Wiki

Umamusume: Pretty Derby Walkthrough & Guides Wiki

Pokemon Pokopia Walkthrough & Guides Wiki

Resident Evil Requiem (RE9) Walkthrough & Guides Wiki

Monster Hunter Wilds Walkthrough & Guides Wiki

Wuthering Waves Walkthrough & Guides Wiki

Arknights: Endfield Walkthrough & Guides Wiki

Pokemon FireRed and LeafGreen (FRLG) Walkthrough & Guides Wiki

Pokemon TCG Pocket (PTCGP) Strategies & Guides Wiki
Recommended Games

Fire Emblem Heroes (FEH) Walkthrough & Guides Wiki

Diablo 4: Vessel of Hatred Walkthrough & Guides Wiki

Yu-Gi-Oh! Master Duel Walkthrough & Guides Wiki

Super Smash Bros. Ultimate Walkthrough & Guides Wiki

Pokemon Brilliant Diamond and Shining Pearl (BDSP) Walkthrough & Guides Wiki

Elden Ring Shadow of the Erdtree Walkthrough & Guides Wiki

Monster Hunter World Walkthrough & Guides Wiki

The Legend of Zelda: Tears of the Kingdom Walkthrough & Guides Wiki

Persona 3 Reload Walkthrough & Guides Wiki

Cyberpunk 2077: Ultimate Edition Walkthrough & Guides Wiki
All rights reserved
© BANDAI NAMCO Entertainment America Inc. All third party content, brands, names, and logos are used under license and remain property of their respective owners. All rights reserved.
The copyrights of videos of games used in our content and other intellectual property rights belong to the provider of the game.
The contents we provide on this site were created personally by members of the Game8 editorial department.
We refuse the right to reuse or repost content taken without our permission such as data or images to other sites.

 Balseph
 Ice Wolf Leader
 Ooze Hive
 Lord Ganabelt
 Zacarania
 Kisara
 Dohalim
 Venoflage
 Temararus
 Grinymuk
 Almeidrea & Mesmald
 Meria Phein
 Kalmarzel & Kaldinzel
 Vholran
 Eljarania
 Efreet
 Tormented Limbs
 Red Woman
 Valclynimus
 Great Astral Spirit
 Subsumer
 Vholran (Final Boss)
 Toxidillo
 Boisterous Roper
 Polycephus
 Great Dragon
 Relentless Charger
 Flamewrecker
 Alpha Reaper
 Stormbringer
 Elemental
 Regent Bee
 Agony Keeper
 Mother Boomy
 Ruthless
 Thunderite
 Mantis
 Calamity Arms
 Meneiys
 Ezamamuk
 Sword Dancer
 Undine Drop
 Luo Undine
 Grand Gnome & Vas Phein
 Masher Mare & Masher Bull
 Procella Sylph & Sylph Zloa
 Mesmald
 Edna
Edna Nimus Origin
 Eizen
Eizen Edna & Eizen
 Chronos
 Dulneiys, Maleiys, & Vasneiys


![Slay the Spire 2 Review [Early Access] | Still the Deckbuilder to Beat](https://img.game8.co/4433115/44e19e1fb0b4755466b9e516ec7ffb1e.png/thumb)

![Resident Evil Village Review [Switch 2] | Almost Flawless Port](https://img.game8.co/4432790/e1859f64830960ce4248d898f8cd38d9.jpeg/thumb)


