
 Balseph
 Ice Wolf Leader
 Ooze Hive
 Lord Ganabelt
 Zacarania
 Kisara
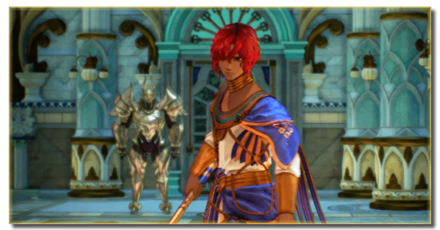 Dohalim
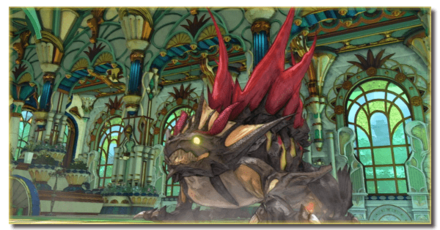 Venoflage
 Temararus
 Grinymuk
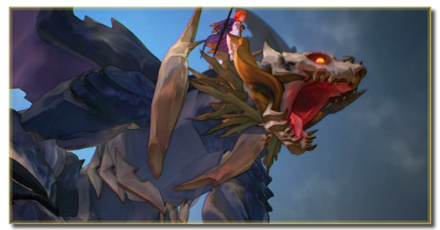 Almeidrea & Mesmald
 Meria Phein
 Kalmarzel & Kaldinzel
 Vholran
 Eljarania
 Efreet
 Tormented Limbs
 Red Woman
 Valclynimus
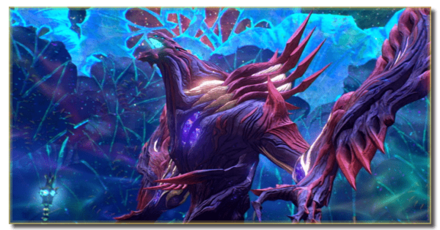 Great Astral Spirit
 Subsumer
 Vholran (Final Boss)
 Toxidillo
 Boisterous Roper
 Polycephus
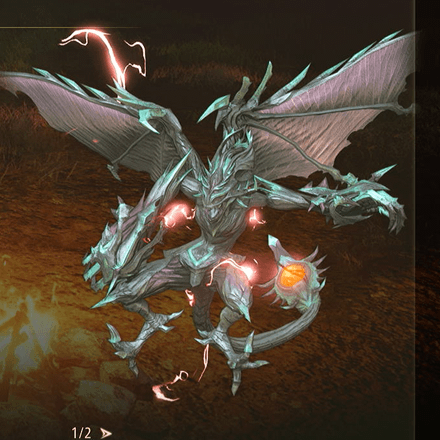
 Great Dragon
 Relentless Charger
 Flamewrecker
 Alpha Reaper
 Stormbringer
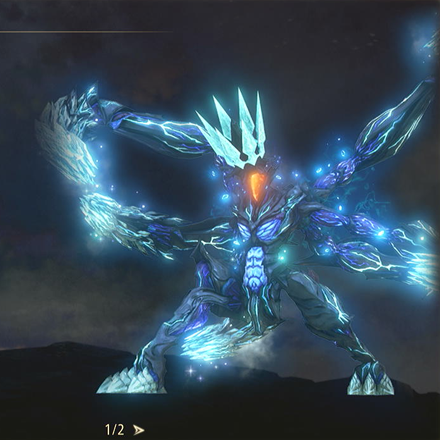
 Elemental
 Regent Bee
 Agony Keeper
 Mother Boomy
 Ruthless
 Thunderite
 Mantis
 Calamity Arms
 Meneiys
 Ezamamuk
 Sword Dancer
 Undine Drop
 Luo Undine
 Grand Gnome & Vas Phein
 Masher Mare & Masher Bull
 Procella Sylph & Sylph Zloa
 Mesmald
 Edna
Edna Nimus Origin
 Eizen
Eizen Edna & Eizen
 Chronos
 Dulneiys, Maleiys, & Vasneiys
This survey will take about 1 minute.
Your answers will help us to improve our website.
Tales of Arise
Nimus Pandemonium Boss Guide
☆ Earn bonuses before you start the DLC.
★ Clear campaign & sub-quests | Get max lvl
☆ Learn all the ingredients in this new Gourmet Saga!
★ Get all Beyond the Dawn Trophies with these guides:
☆ Ryugola Weapons | All Portraits | Hero of the Summit

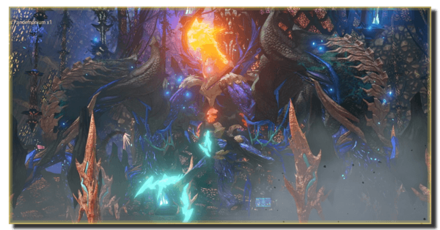
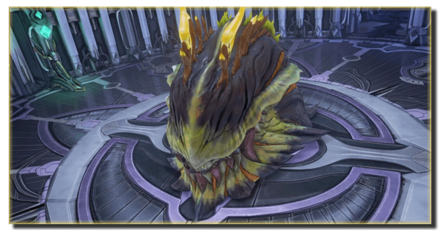
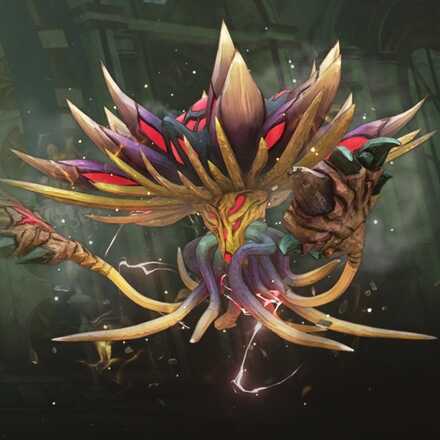
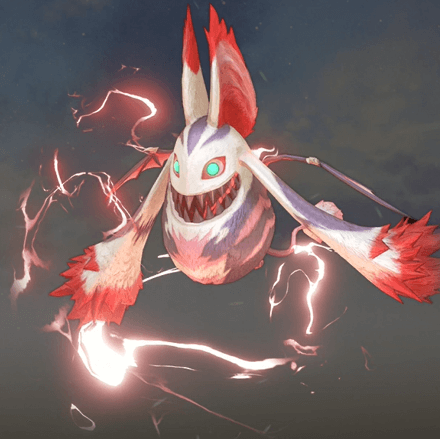
Nimus Pandemonium is a Unique Boss that you can fight in the Tales of Arise (Beyond the Dawn)! Read on to learn how to beat Nimus Pandemonium, as well as its stats, weaknesses, attack patterns, and the best party setup in this boss guide!
List of Contents
Nimus Pandemonium Stats and General Info
Nimus Pandemonium Location
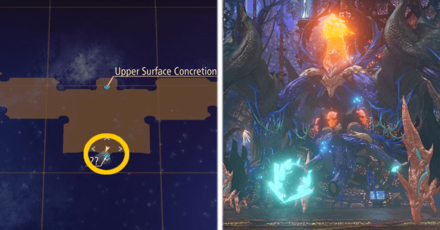
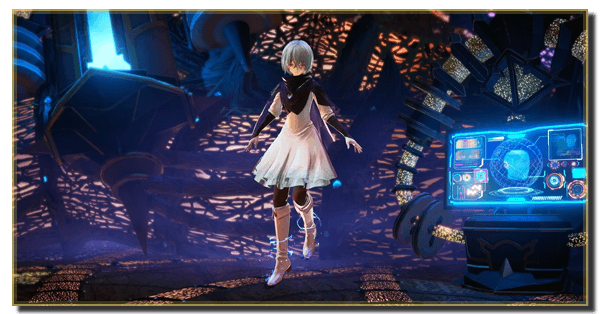
Nimus Pandemonium can be found in the control room where you find Nazamil after she disappears and runs off in the Mausoleum.
Nimus Pandemonium Stats
| Recommended Level: 72 | |||
|---|---|---|---|
 HP: 185094 |
|||
| Attack | 2687 | Defense | 975 |
| Elemental Attack | 2529 | Elemental Defense | 867 |
| Penetration | 2578 | Resistance | 1900 |
| Weakness | Resistance | ||
Loot and Drops
| This boss does not drop any loot upon defeat. |
How to Beat Nimus Pandemonium
To aid in your battle against Nimus Pandemonium, here are some tips that you can utilize in your fight.
Avoid its High Jump Attack
Whenever you see that Nimus Pandemonium is not in your field of vision, create as much space between yourself and the center of the fighting area. Nimus Pandemonium's Jump Attack is capable of taking out 80% of your health bar, easily one-hit KO-ing you and your party if they are struck.
Change Strategy to Focus on Healing

If you want to go straight ahead, make sure to change your strategy to focus on healing. Play as Alphen and make use of his spammable damaging Artes combo such as Lightning Thrust and Stardust.
Play as Alphen to get make more use of his Critical Attacks and try to Break Nimus Pandemonium as much as you can with successive attacks. Make sure to keep an eye on Shionne and Dohalim's HP as they will be your primary and secondary healers respectively as you charge into battle without fear of death.
Strategy Guide: How to Use and Customize Strategies
Overlevel or Change the Difficulty
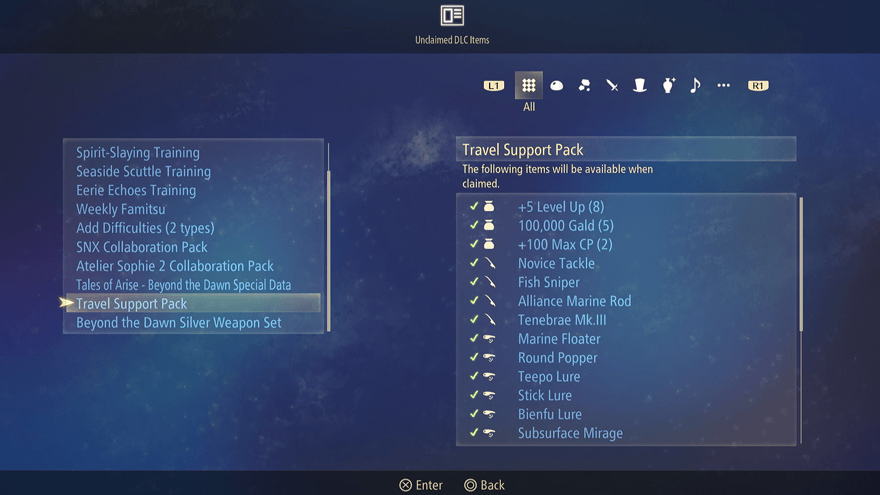
At the start of the Beyond the Dawn DLC, you will initially get pushed back to Level 65 if you have already finished the base game and surpassed Level 65. Alternatively, if you jump straight to the game without touching the base game, you will automatically start at Level 65.
You can get the Travel Support Pack to give yourself a bonus +5 levels to try and beat the level 69 Boss. You can also try to grind the enemies in the Mausoleum to farm for EXP and SP to give you a better chance. If all else fails, you can always lower the difficulty to Story, Easy, or even Very Easy.
Difficulty Mode Differences: Which Should You Choose?
Recommended Party Setup for Nimus Pandemonium
Party Members
| Leader | Members | ||
|---|---|---|---|
 Alphen Alphen
Lv. 70 |
 Shionne Shionne
Lv. 70 |
 Law Law
Lv. 70 |
 Rinwell Rinwell
Lv. 70 |
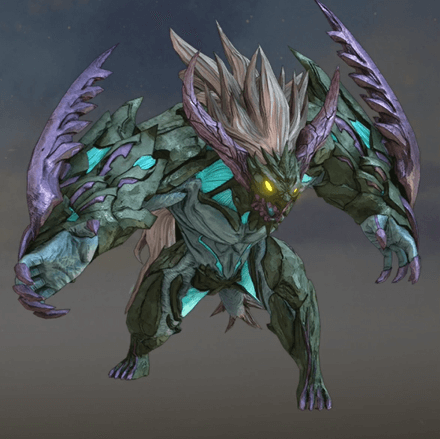
Take Advantage of Nimus Pandemonium's Low Defense and Elemental Defense
Nimus Pandemonium has the upper hand when it comes to brute force and attacking power. However, it has low Defense and Elemental Defense making the battle seem more like a patient game of cat and mouse. Deal as much damage as you can when the window of opportunity shows itself, and retreat to a safer distance when you notice it charging its attacks.
Alphen Equipment and Artes
|
Alphen
Lv. 70 |
Equipment |
|---|---|
| Gladius Rene | |
| Sincleaver Armor Revised | |
| Warrior Emblem | |
| Ground Artes | Aerial Artes |
| First Set | |
| Lightning Thrust | Mirage |
| Shockwave Slash | Luna Rondo |
| Double Demon Fang | Stardust |
| Second Set | |
| Swallow Blade | - |
| Sonic Thrust | - |
| Sword Rain: Alpha | - |
Spam Stardust When Enemy is Stationary
Launch yourself into the air with a Rising Attack Arte and then spam Stardust just to get in as much damage as you can before Nimus Pandemonium winds up for an attack.
Shionne Equipment and Artes
|
Shionne
Lv. 70 |
Equipment |
|---|---|
| Deep Red Noble Rose | |
| Noble Scarlet Revised | |
| - | |
| Ground Artes | Aerial Artes |
| First Set | |
| Healing Circle | Scorched Earth |
| Ignis Celestra | Toxicity |
| Gemini Aqua | Displode |
| Second Set | |
| Resurrection | Aranea Celestra |
| Flare Tornado | Tres Ventos |
| Burning Strike | Scorched Earth |
Equip Shionne with the neccessary healing and elemental artes
Shionne will be a support attacker, focusing more on keeping you and your allies and providing additional Elemental Damage alongside Rinwell.
Rinwell Equipment and Artes
|
Rinwell
Lv. 70 |
Equipment |
|---|---|
| Secrets of the Stars Variant Edition | |
| Inherited Coat Revised | |
| Magic Emblem | |
| Ground Artes | Aerial Artes |
| First Set | |
| Spread | Placid Pool |
| Holy Lance | Electric Discharge |
| Tempest Whirl | Swallow's Flight |
| Second Set | |
| Galeforce | Razor Cyclone |
| Thunder Field | Subzero Confinement |
| Divine Saber | Swallow's Flight |
Take Advantage of its weak Elemental Defense
Equip Rinwell with as much elemental damaging Artes as she will be your primary elemental attacker to partner with Alphen's physical attacks.
Law Equipment and Artes
|
Law
Lv. 70 |
Equipment |
|---|---|
| Battle-Hardened Iron Gauntlets | |
| Silver Wolf Vest Revised | |
| Grit Emblem | |
| Ground Artes | Aerial Artes |
| First Set | |
| Talon Hurricane | Eagle Dive |
| Tectonic Punch | Inferno Punch |
| Inspiration | Glimmer Dragon |
| Second Set | |
| Talon Storm | - |
| Swallow Dance | - |
| Fang Blast | - |
Provide support in dealing physical attacks
Law will be your secondary physical damage dealer. Use combos alongside Law to break Nimus Pandemonium to a stagger allowing for you to fight it while it's helpless.
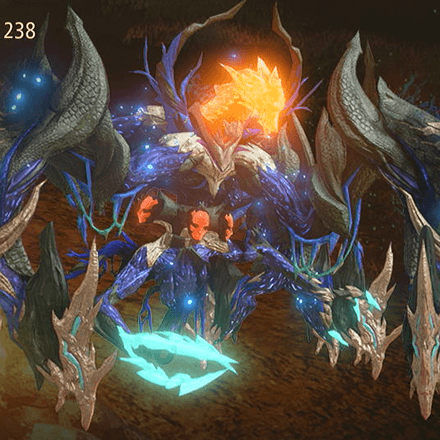
Nimus Pandemonium Attack Patterns
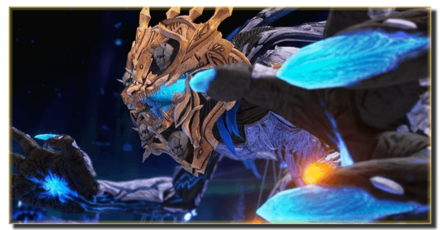
High Jump Attack
Nimus Pandemonium will jump high into the sky and then slam itself down dealing massive AoE damage across the field. Your only counter is to run away as the AoE is wide. Make sure that your healer can survive the impact as they will have to heal up most of the team if you are hit.
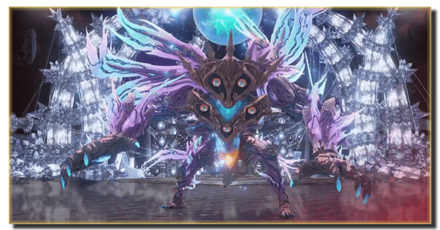
Stomp Barrage
One of Nimus Pandemonium's basic attacks is just to continuously stomp its four feet on the ground trampling nearby targets. Move away and let the attack pass or simply go directly underneath it as you will not take damage there. Be light on your feet though as Nimus Pandemonium could jump at a moment's notice KO-ing your team.
Tales of Arise Beyond the Dawn Related Guides
Beyond the Dawn DLC Bosses
Beyond the Dawn Story Bosses
| Story Bosses | |
|---|---|
 Nimus Pandemonium Nimus Pandemonium |
 Venoflage Venoflage |
 Nazamil Nazamil |
 Nazamil Nether Nazamil Nether
|
 Ooze Hive Ooze Hive |
Nazamil Nether (2nd Encounter) |
| Nazamil Nether (3rd Encounter) |
 Captive Nazamil Captive Nazamil |
 Oppressor Oppressor |
 Emergence Suppressor Emergence Suppressor |
Beyond the Dawn Optional Bosses
| Optional Bosses | ||
|---|---|---|
 Ruthless Ruthless
|
 Boisterous Roper Boisterous Roper
|
 Cruel Keeper Cruel Keeper |
 Megawrecker Megawrecker |
 Ghoulish Arms Ghoulish Arms |
Nimus Juggernaut |
 Grinymuk Grinymuk |
 Mother Boomy Mother Boomy |
- |
Story Bosses
Optional Bosses
Comment
Author
Nimus Pandemonium Boss Guide
Please participate in our site
improvement survey
03/2026
improvement survey
03/2026
Would you assist in
improving Game8's site?
improving Game8's site?

×
We are listening to our users' valuable opinions and discussing how to act on them.
The information collected through this survey will be used for the purpose of improving our services. In addition, the information will only be disclosed a part of a statistic in a format that will not allow identification of personal information.
Begin Survey
Not Now
×
Please rate each item regarding Game8.co's Advertisements.
Amount of Ads
Very Dissatisfied
Somewhat Dissatisfied
Fine
Somewhat Satisfied
Highly Satisfied
Placement of Ads
Timing of Ad Display
Ad Loading Speed
Safeness of Ads
Content of Ads
×
Please rate each item regarding Game8.co's Quality of Articles.
Amount of information
Very Dissatisfied
Somewhat Dissatisfied
Fine
Somewhat Satisfied
Highly Satisfied
Frequency of updates
Speed of new information
Accuracy of articles
Understandibility of articles
Readability of sentences
×
Please rate each item regarding Game8.co's Usability of the Site.
Ease of finding information
Very Dissatisfied
Somewhat Dissatisfied
Fine
Somewhat Satisfied
Highly Satisfied
Loading Speed
Use of Color
Font Size
Visibility of Images
Easy to Understand Layout
×
Please rate each item regarding Game8.co's Message Boards, Comments.
Ease of Writing
Very Dissatisfied
Somewhat Dissatisfied
Fine
Somewhat Satisfied
Highly Satisfied
Readability
Ease in Finding Information
Comment Quality
Comment Quantity
Admin Response
×
Please rate each item regarding Game8.co's Site's new design.
Please rate our site's new design
Very Dissatisfied
Somewhat Dissatisfied
Fine
Somewhat Satisfied
Highly Satisfied
Do you think that the website's design change makes the site easier to use?
Has the new design made it easier for you to find information on the site?
Has the new design improved the overall visual appeal of the site?
How would you rate your overall satisfaction with the new design of the site?
×
How likely are you to recommend Game8 to someone you know?
Very Unlikely
0
1
2
3
4
5
6
7
8
9
10
Very Likely
If you have other opinions regarding potential improvement to the website, please share them with us. We would appreciate your honest opinion.
Note: This is a free response section, so you can proceed without entering anything.
Note: Please be sure not to enter any kind of personal information into your response.
Note: Please be sure not to enter any kind of personal information into your response.
×
Thank You
×
Thank you for participating in our survey! Your answers will help us to improve the quality of our website and services.
We hope you continue to make use of Game8.
We hope you continue to make use of Game8.
Close
Rankings
- We could not find the message board you were looking for.
Gaming News


![Everwind Review [Early Access] | The Shaky First Step to A Very Long Journey](https://img.game8.co/4440226/ab079b1153298a042633dd1ef51e878e.png/thumb)

![Monster Hunter Stories 3 Review [First Impressions] | Simply Rejuvenating](https://img.game8.co/4438641/2a31b7702bd70e78ec8efd24661dacda.jpeg/thumb)
Popular Games

Genshin Impact Walkthrough & Guides Wiki
Honkai: Star Rail Walkthrough & Guides Wiki
Umamusume: Pretty Derby Walkthrough & Guides Wiki
Pokemon Pokopia Walkthrough & Guides Wiki
Resident Evil Requiem (RE9) Walkthrough & Guides Wiki
Monster Hunter Wilds Walkthrough & Guides Wiki
Wuthering Waves Walkthrough & Guides Wiki
Arknights: Endfield Walkthrough & Guides Wiki
Pokemon FireRed and LeafGreen (FRLG) Walkthrough & Guides Wiki
Pokemon TCG Pocket (PTCGP) Strategies & Guides Wiki


Recommended Games
Diablo 4: Vessel of Hatred Walkthrough & Guides Wiki
Fire Emblem Heroes (FEH) Walkthrough & Guides Wiki
Yu-Gi-Oh! Master Duel Walkthrough & Guides Wiki
Super Smash Bros. Ultimate Walkthrough & Guides Wiki
Pokemon Brilliant Diamond and Shining Pearl (BDSP) Walkthrough & Guides Wiki
Elden Ring Shadow of the Erdtree Walkthrough & Guides Wiki
Monster Hunter World Walkthrough & Guides Wiki
The Legend of Zelda: Tears of the Kingdom Walkthrough & Guides Wiki
Persona 3 Reload Walkthrough & Guides Wiki
Cyberpunk 2077: Ultimate Edition Walkthrough & Guides Wiki


All rights reserved
© BANDAI NAMCO Entertainment America Inc. All third party content, brands, names, and logos are used under license and remain property of their respective owners. All rights reserved.
The copyrights of videos of games used in our content and other intellectual property rights belong to the provider of the game.
The contents we provide on this site were created personally by members of the Game8 editorial department.
We refuse the right to reuse or repost content taken without our permission such as data or images to other sites.