List of All Bosses
☆ Earn bonuses before you start the DLC.
★ Clear campaign & sub-quests | Get max lvl
☆ Learn all the ingredients in this new Gourmet Saga!
★ Get all Beyond the Dawn Trophies with these guides:
☆ Ryugola Weapons | All Portraits | Hero of the Summit
This is a list of all bosses that can be fought in Tales of Arise, including the bosses for the Beyond The Dawn DLC for the PS4, PS5, XBOX One, XBOX One Series X/S, and PC platforms! Learn more about the attack patterns, weaknesses, and strategies on how to take these bosses down!
List of Contents
List of Bosses
Beyond the Dawn DLC Bosses
Story Bosses
| Story Bosses | Information |
|---|---|
 Nimus Pandemonium Nimus Pandemonium |
LOCATION: Helgal-Ryugola 238 WEAKNESS: None ・Avoid its high jump attacks ・Change Strategy to Focus on Healing ・Overlevel or Change the Difficulty |
 Venoflage Venoflage |
LOCATION: Traslida Highway WEAKNESS: Beneath the Tail ・Attack its weak spot ・Use Kisara's Boost Attack when Charging ・Use Alphen's Boost Attack for Staggering |
 Nazamil Nazamil |
LOCATION: Helgal-Ryugola 67 WEAKNESS: None ・Avoid Elemental Barrage Attack ・Use Rinwell's Boost Attack when Charging Artes ・Use Alphen's Boost Attack for Staggering |
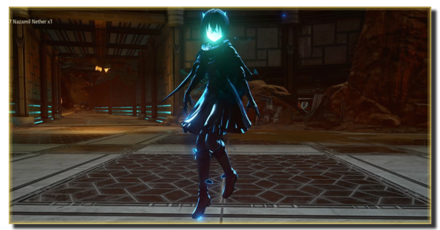 Nazamil Nether Nazamil Nether (1st Encounter) |
LOCATION: Keystone: Flame Palace WEAKNESS: None ・Focus on Megawrecker First ・Use Rinwell's Boost Attack when Charging Artes ・Use Alphen's Boost Attack for Staggering |
 Ooze Hive Ooze Hive
|
LOCATION: Keystone: Youthful Floor: Sloped Corridor WEAKNESS: Fire ・Aim at Its Weak Point ・Cancel Its Spell with Rinwell |
 Nazamil Nether Nazamil Nether (2nd Encounter) |
LOCATION: Keystone: Whirlpool Palace WEAKNESS: None ・Focus on Ghoulish Arms First ・Use Rinwell's Boost Attack when Charging Artes ・Use Alphen's Boost Attack for Staggering |
 Nazamil Nether Nazamil Nether (3rd Encounter) |
LOCATION: Keystone: Stone Palace WEAKNESS: None ・Focus on Megawrecker and Ghoulish Arms First ・Use Rinwell's Boost Attack when Charging Artes ・Use Alphen's Boost Attack for Staggering |
 Captive Nazamil Captive Nazamil |
LOCATION: Keystone: Bond Room WEAKNESS: None ・Use Rinwell's Boost Attack when Charging Artes ・Use Alphen's Boost Attack for Staggering |
 Oppressor Oppressor |
LOCATION: Keystone: Bond Room WEAKNESS: None ・Attack its Weak Points ・Use Kisara's Boost Attack When it Charges Forward ・Press Button Combo when Prompted |
 Emergence Suppressor Emergence Suppressor |
LOCATION: Keystone: Bond Room WEAKNESS: None ・Just Keep Attacking It ・Use the Power of Friendship |
Unique Bosses
| All Unique Enemies |
 Megawrecker Megawrecker
|
 Ghoulish Arms Ghoulish Arms
|
 Nimus Juggernaut Nimus Juggernaut
|
|---|---|---|
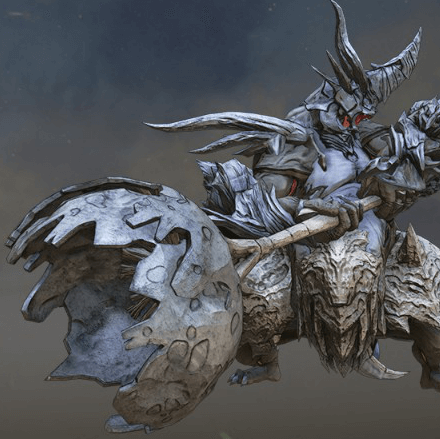 Armatus Bos Armatus Bos
|
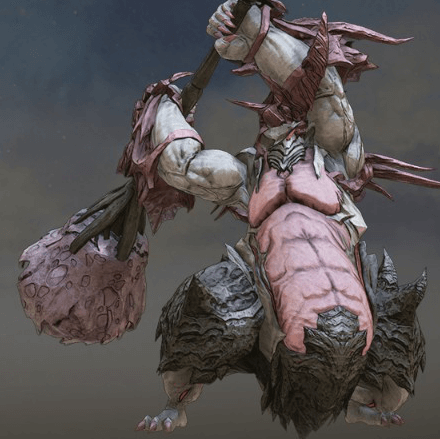 Armatus Equus Armatus Equus
|
|
Gigant Bosses
| Zeugle | Locations|Drops |
|---|---|
 Grinymuk Grinymuk
|
・Adan Lake
・Weakness: Earth ・Astral Flower |
 Cruel Keeper Cruel Keeper
|
・Helgal-Ryugola 238
・Weakness: Wind ・Astral Flower ・Rending Titanfang (5) ・Statue Heart (6) |
 Ruthless Ruthless
|
・Nevira Snowplains
・Weakness: None ・Astral Flower ・Large Demihuman Talon (6) |
 Boisterous Roper Boisterous Roper
|
・Traslida Highway
・Weakness: Wind ・Astral Flower ・Earth Seed (2) ・Mystical Luminacore (3) |
 Mother Boomy Mother Boomy
|
・Shinefall Woods
・Weakness: None ・Astral Flower ・Rending Titanfang (5) ・Spirit Tail (4) |
Main Story Bosses
| Story Bosses | Information |
|---|---|
 Balseph Balseph |
LOCATION: Glanymede Castle (Calaglia) WEAKNESS: None ・Avoid its charged axe attacks ・Play as Alphen ・Keep an eye on the fire avatar ・Disrupt his gathering of energy |
 Ice Wolf Leader Ice Wolf Leader |
LOCATION: Rudhir Forest (Cyslodia) WEAKNESS: Fire ・Be careful of its rush attacks ・Keep a safe distance from its ice breath ・Damage it by landing multiple combos |
 Ooze Hive Ooze Hive |
LOCATION: Underground Waterway (Cyslodia) WEAKNESS: Fire ・Aim at its weakpoint ・Cancel its spell with Rinwell ・Use Boost Strikes on other zeugles |
 Lord Ganabelt Lord Ganabelt |
LOCATION: Riville Prison Tower (Cyslodia) WEAKNESS: None ・Equip Alexandrite ・Focus more on dodging ・Use Boost Attacks efficiently ・Don't hesitate to use items |
 Zacarania Zacarania |
LOCATION: Gilanne Woodland (Elde Menancia) WEAKNESS: Wind ・Target its Appendages ・Use Wind Attacks ・Eliminate the Forest Ropers |
 Kisara Kisara |
LOCATION: Gold Dust Cats Hideout (Elde Menancia) WEAKNESS: None ・Use Alphen or Law's Boost Attacks ・Attack when she kneels |
 Dohalim Dohalim |
LOCATION: Razum Quarry (Elde Menancia) WEAKNESS: None ・Use Kisara to block his charge ・Avoid his basic attacks ・Use Boost Attacks to force him to kneel |
 Venoflage Venoflage |
LOCATION: Autelina Palace (Elde Menancia) WEAKNESS: Tail ・Use Kisara to block its charge ・Ignore the Bees ・Equip Poison Nullifying Accessories |
 Temararus Temararus |
LOCATION: Fortress Ruins (Mahag Saar) WEAKNESS: Tail ・Use Dohalim's Boost Attacks ・Equip Protect Rings |
 Grinymuk Grinymuk |
LOCATION: Niez (Mahag Saar) WEAKNESS: Tail ・Use Earth-based Attacks ・Avoid its Tail Attacks ・Attack its Weak Point |
 Almeidrea & Mesmald Almeidrea & Mesmald |
LOCATION: Mobile Fortress Gradia (Mahag Saar) WEAKNESS: Tail and Head ・Bring Plenty of Recovery Items ・Run Away During God's Breath ・Equip Elemental Defense Accessories |
 Meria Phein Meria Phein |
LOCATION: Aureum Falls (Ganath Haros) WEAKNESS: Chest ・Use Earth-based Artes ・Take Advantage of the Wide Space ・Break its Core |
 Kalmarzel & Kaldinzel Kalmarzel & Kaldinzel |
LOCATION: Del Fharis Castle (Ganath Haros) WEAKNESS: Right Arm and Left Arm ・Use Earth and Dark Type Artes ・Concentrate on Kalmarzel ・Overlevel |
 Vholran Vholran |
LOCATION: Del Fharis Castle (Ganath Haros) WEAKNESS: None ・Keep Moving ・Liberally Use Dohalim and Alphen's Boost Attacks ・Interrupt Him From Casting Artes ・Bring Recovery Resources as Backup |
 Eljarania Eljarania |
LOCATION: Central Core (The Wedge) WEAKNESS: Tail Tips ・Attack with Wind Attacks ・Attack Its Main Body |
 Efreet Efreet |
LOCATION: Central Core (Berg Volcano) WEAKNESS: None ・Prepare for Waves of Enemies ・Use Rinwell's Boost Attacks ・Wait for the Trigger |
 Tormented Limbs Tormented Limbs |
LOCATION: Forbidden Zone (Lenegis) WEAKNESS: Chest ・Attack With Light-based Artes ・Use Alphen's Boost Attack to Stagger ・Attack From Behind |
 Valclynimus Valclynimus |
LOCATION: Gegham Helgarahi (Rena) WEAKNESS: Head ・Use Light-based Attacks ・Use Alphen's Boost Attack ・Bring Plenty of Recovery Items |
 Great Astral Spirit Great Astral Spirit |
LOCATION: Tarfhal Helgarahi (Rena) WEAKNESS: None ・Use Light-based Attacks ・Attack From Behind ・Watch Out for the Elemental Balls |
 Subsumer Subsumer |
LOCATION: Tarfhal Helgarahi (Rena) WEAKNESS: Arms and Abdomen ・Use Light-based Attacks ・Attack its Arms ・Attack From a Distance |
 Vholran (Final Boss) Vholran (Final Boss) |
LOCATION: Tarfhal Helgarahi (Rena) WEAKNESS: None ・Use Boost Attacks ・Use Flaming Edge Attacks |
Unique Enemies
Gigants
Tales of Arise Related Guides

Tales of Arise Walkthrough Top Page
Beyond the Dawn DLC Guides
| All Beyond the Dawn DLC Guides | |
|---|---|
 Beyond the Dawn DLC Beyond the Dawn DLC |
|
Tales of Arise Guides
| All Tales of Arise Guides | |
|---|---|
 Story Walkthrough Story Walkthrough |
 Boss Guides Boss Guides |
 Characters Characters |
 Tips and Tricks Tips and Tricks |
 Sub-Quests Sub-Quests |
 EX Quests EX Quests
|
 Enemies Enemies |
 Items Items |
 Equipment Equipment |
 Titles Titles |
 Artifacts Artifacts |
 Message Boards Message Boards |
 News and Game Info News and Game Info |
- |
Author
List of All Bosses
improvement survey
03/2026
improving Game8's site?

Your answers will help us to improve our website.
Note: Please be sure not to enter any kind of personal information into your response.

We hope you continue to make use of Game8.
Rankings
- We could not find the message board you were looking for.
Gaming News
Popular Games

Genshin Impact Walkthrough & Guides Wiki

Honkai: Star Rail Walkthrough & Guides Wiki

Umamusume: Pretty Derby Walkthrough & Guides Wiki

Pokemon Pokopia Walkthrough & Guides Wiki

Resident Evil Requiem (RE9) Walkthrough & Guides Wiki

Monster Hunter Wilds Walkthrough & Guides Wiki

Wuthering Waves Walkthrough & Guides Wiki

Arknights: Endfield Walkthrough & Guides Wiki

Pokemon FireRed and LeafGreen (FRLG) Walkthrough & Guides Wiki

Pokemon TCG Pocket (PTCGP) Strategies & Guides Wiki
Recommended Games

Diablo 4: Vessel of Hatred Walkthrough & Guides Wiki

Fire Emblem Heroes (FEH) Walkthrough & Guides Wiki

Yu-Gi-Oh! Master Duel Walkthrough & Guides Wiki

Super Smash Bros. Ultimate Walkthrough & Guides Wiki

Pokemon Brilliant Diamond and Shining Pearl (BDSP) Walkthrough & Guides Wiki

Elden Ring Shadow of the Erdtree Walkthrough & Guides Wiki

Monster Hunter World Walkthrough & Guides Wiki

The Legend of Zelda: Tears of the Kingdom Walkthrough & Guides Wiki

Persona 3 Reload Walkthrough & Guides Wiki

Cyberpunk 2077: Ultimate Edition Walkthrough & Guides Wiki
All rights reserved
© BANDAI NAMCO Entertainment America Inc. All third party content, brands, names, and logos are used under license and remain property of their respective owners. All rights reserved.
The copyrights of videos of games used in our content and other intellectual property rights belong to the provider of the game.
The contents we provide on this site were created personally by members of the Game8 editorial department.
We refuse the right to reuse or repost content taken without our permission such as data or images to other sites.
 Lord Balseph
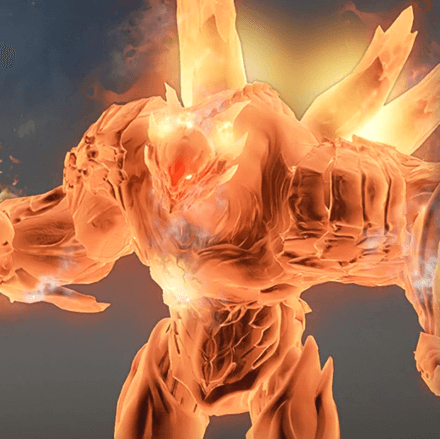 Fire Avatar
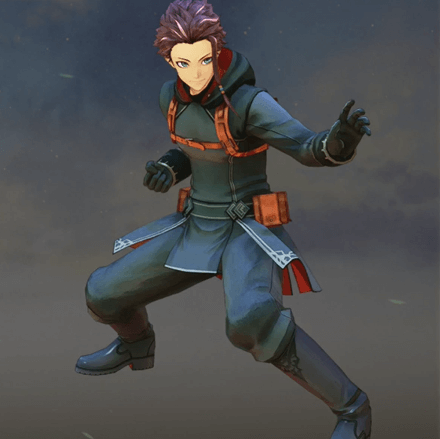 Bureau Agent Law
 Ice Wolf Leader
 Ooze Hive
 Lord Ganabelt Valkyris
 Zacarania
 Menancia Guard Captain Kisara
 Lord Dohalim il Qaras
 Venoflage
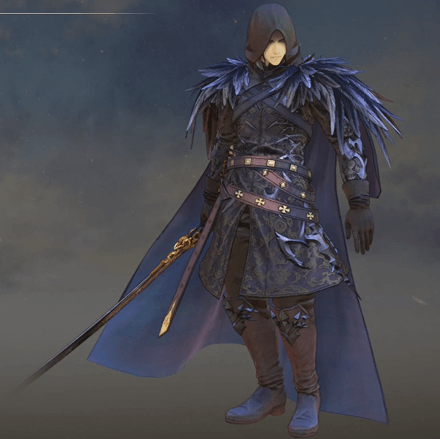 Mysterious Swordsman
 Temararus
 Grinymuk
 Lord Almeidrea & Mesmald
 Meria Phein
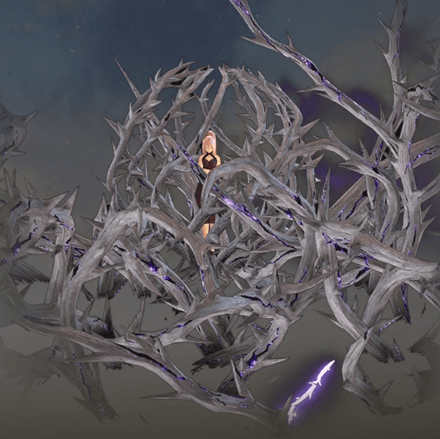 Thorns
 Kalmarzel
 Kaldinzel
 Lord Vholran Igniseri
 Sovereign Vholran Igniseri
 Eljarania
 Efreet Malum
 Tormented Limbs
 Red Woman
 Valclynimus
 Great Astral Spirit
 Subsumer
 Vholran Igniseri
 Meneiys
 Mesmald
 Undine Drop
 Luo Undine
  Vas Phein
 Grand Gnome
 Sylph Zloa
 Procella Sylph
 Edna
Edna Nimus Origin
 Dulneiys
 Maleiys
 Vasneiys
 Eizen
Eizen Chronos
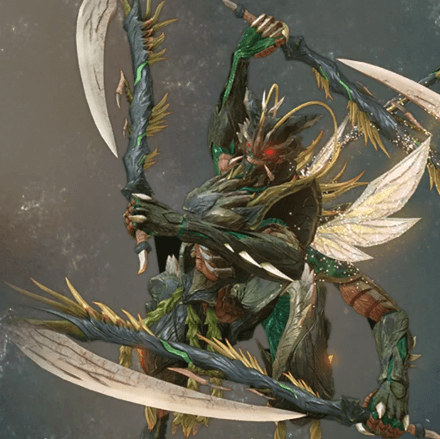 Sword Ranker
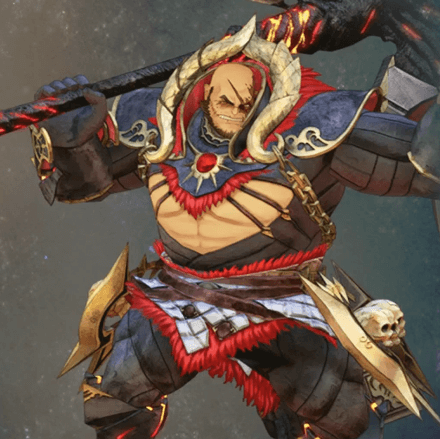 Phantom Balseph
 Phantom Fire Avatar
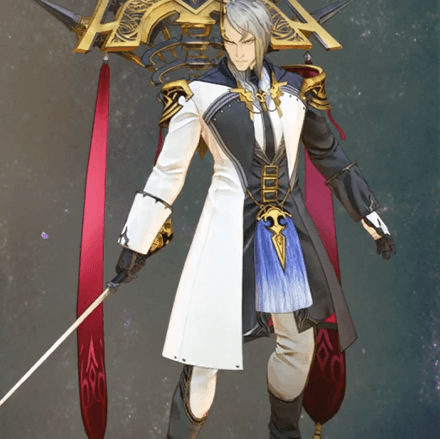 Phantom Ganabelt
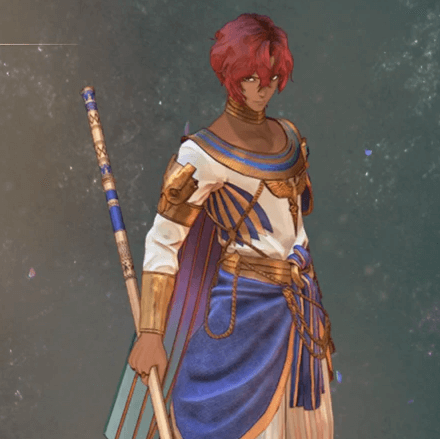 Phantom Dohalim
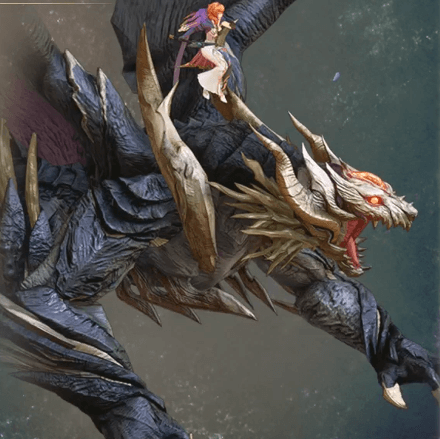 Phantom Almeidrea & Mesmald
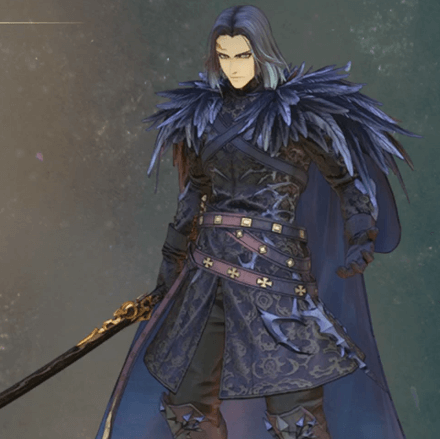 Phantom Vholran
 Phantom Zephyr
 Toxidillo
 Polycephus
 Great Dragon
 Flamewrecker
 Relentless Charger
 Alpha Reaper
 Stormbringer
 Elemental
 Regent Bee
 Agony Keeper
 Thunderite
 Mantis
 Calamity Arms
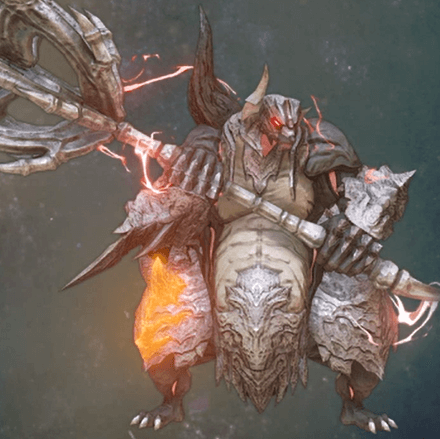 Masher Bull
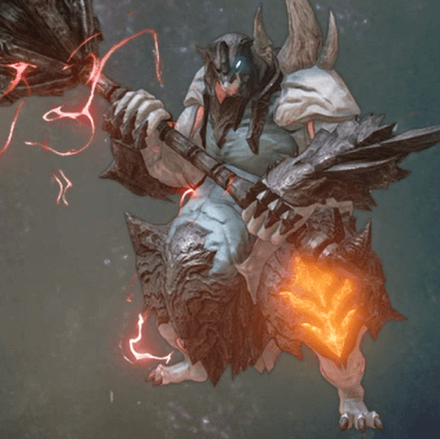 Masher Mare
 Ezamamuk
 Sword Dancer


