Toxidillo Boss Guide: Recommended Setup and How to Beat
☆ Earn bonuses before you start the DLC.
★ Clear campaign & sub-quests | Get max lvl
☆ Learn all the ingredients in this new Gourmet Saga!
★ Get all Beyond the Dawn Trophies with these guides:
☆ Ryugola Weapons | All Portraits | Hero of the Summit
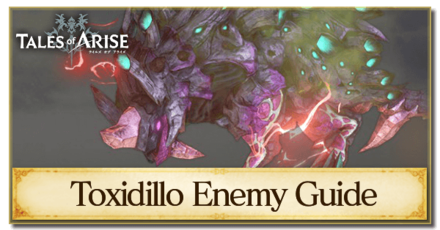
This is a guide on how to beat Toxidillo in Tales of Arise! Learn more about Toxidillo's stats, weaknesses, attack patterns, and the best party setup including Artes and Equipment for this boss fight!
List of Contents
Toxidillo Stats and General Info
Toxidillo Location
| Map | Actual Location |
|---|---|
 |
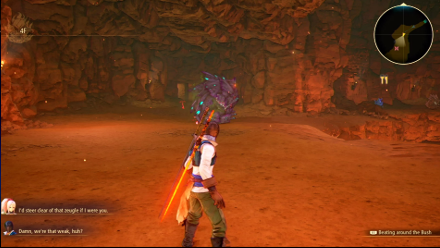 |
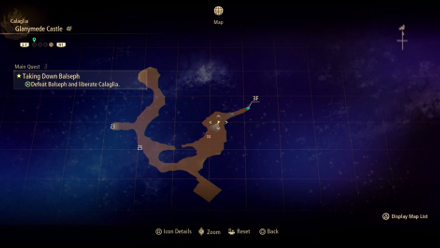
Toxidillo can be found within Glanymede Castle. It is the first low level Gigant you'll come across , and it is recommended that it be beaten during the attack on the castle on your way to defeat Balseph.
Toxidillo Stats
| Recommended Level: 9 | |||
|---|---|---|---|
 HP: 13370 |
|||
| Attack | 118 | Defense | 101 |
| Elemental Attack | 136 | Elemental Defense | 97 |
| Penetration | 229 | Resistance | 242 |
| Weakness | Resistance | ||
Item to Drop
| Spherical Shell (1) | Hard Bone (1) |
| Astral Flower |
How to Beat Toxidillo
| Tips |
|---|
Attack its Weak Point
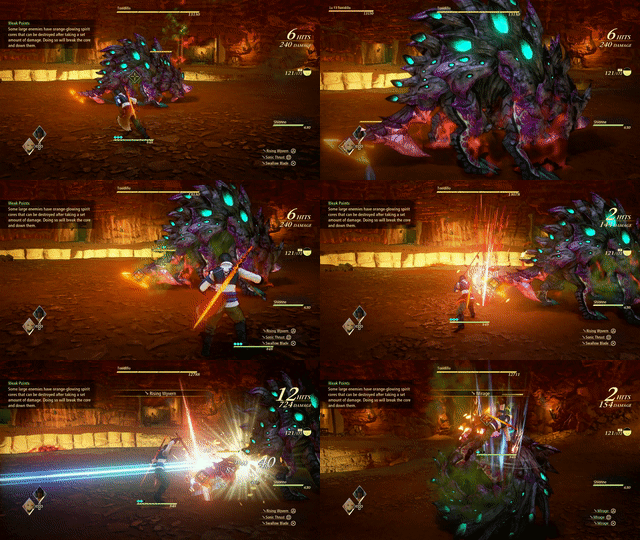
Toxidillo's Weak Point can easily be broken with persistent attacks. Directly target it and unleash all attacks against it – Alphen's Flaming Edge attacks are particularly effective here.
Use Alphen's Boost Attacks
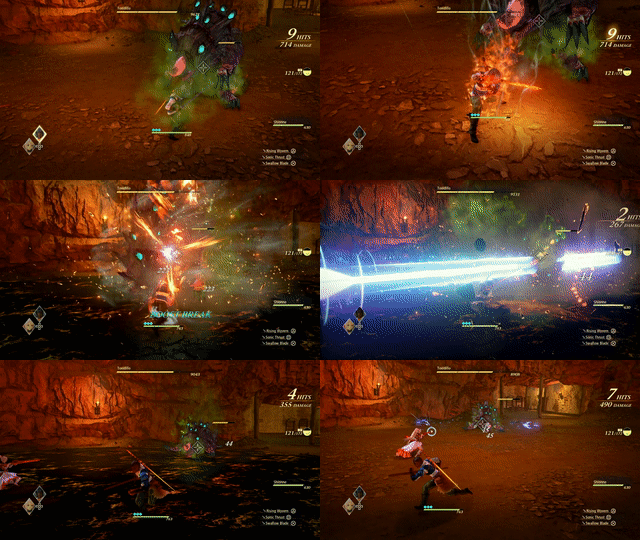
Alphen's Boost Attack is effective at staggering Toxidillo, which will prevent it from attacking, unless it enters its Over Limit. If the boss is in Over Limit, save your Boost Attack for when the boss returns to normal to ensure a stagger.
Recommended Party Setup for Toxidillo
Party Members
| Leader | Members |
|---|---|
 Alphen Alphen
Lv.9 |
 Shionne Shionne
Lv.9 |
Use Flaming Edge Attacks
Since your combat options are limited at this stage of the game, fighting against Toxidillo mostly revolves around staggering it and dealing enough damage when it's stunned to take it down. The best way to do this is to attack its Weak Point.
To make the process of breaking its core go faster, use Alphen's Flaming Edge attacks to deal damage to the Weak Point.
Alphen Equipment and Artes
 Alphen Alphen
Lv.9 |
Equipment |
|---|---|
| Long Sword | |
| Ocean Blue Battle Garb | |
| - | |
| Ground Artes | Aerial Artes |
| Rising Wyvern | Mirage |
| Swallow Blade | - |
| - | - |
Primary Attacker
As the only melee attacker in your party at the moment that can deal damage quickly, Alphen will be your main source of damage output in this fight. His primary focus should be on Toxidillo's Weak Point, as his attacks can easily break it with persistent hits.
Shionne Equipment and Artes
 Shionne Shionne
Lv.9 |
Equipment |
|---|---|
| Noble Rose | |
| Noble Scarlet | |
| - | |
| Ground Artes | Aerial Artes |
| First Aid | - |
| Magna Ray | - |
| - | - |
Attack From a Distance
It is best to keep Shionne out of the way of Toxidillo's attacks to avoid taking unnecessary damage. Conserve CP and recovery items as much as possible since you will need those resources as you progress further on in Glanymede Castle.
Shionne's ranged attacks can be useful if the field is covered in poison. Generally, switch to Shionne any time Alphen can't get within melee range.
Toxidillo Attack Patterns
Poison Blobs
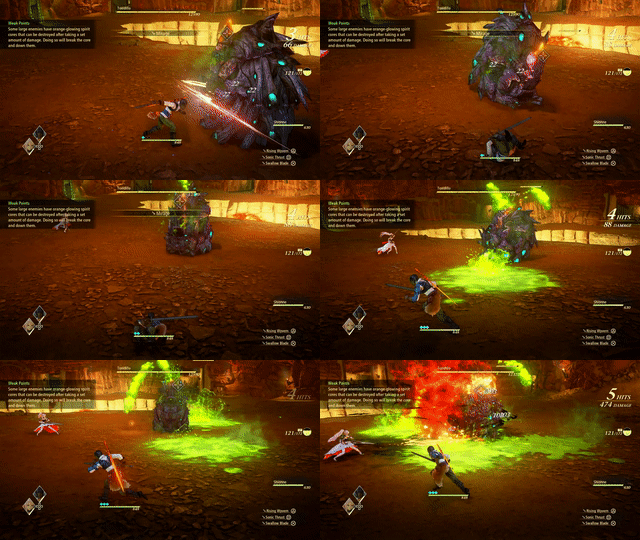
One of its more common attacks, Toxidillo will spin in place on its shell, spewing out poison that will splatter on the ground. Getting his by the blobs or stepping into the poison splatter may cause you to be inflicted with the Poison Physical Ailment.
Charge Attack
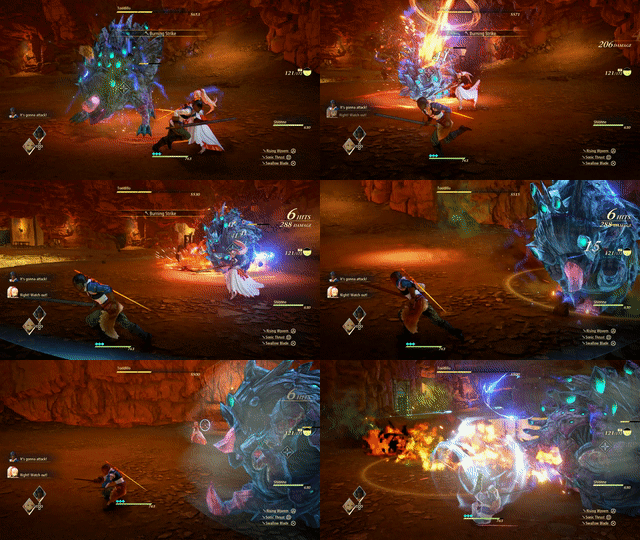
Like most other Zeugles of its type, Toxidillo can charge at you. In its Over Limit state, it can repeat its charge attack multiple times. It's best to avoid engaging with the boss while it is in Over Limit mode, and focus on evasion until the boss returns to normal.
Bounce Attacks
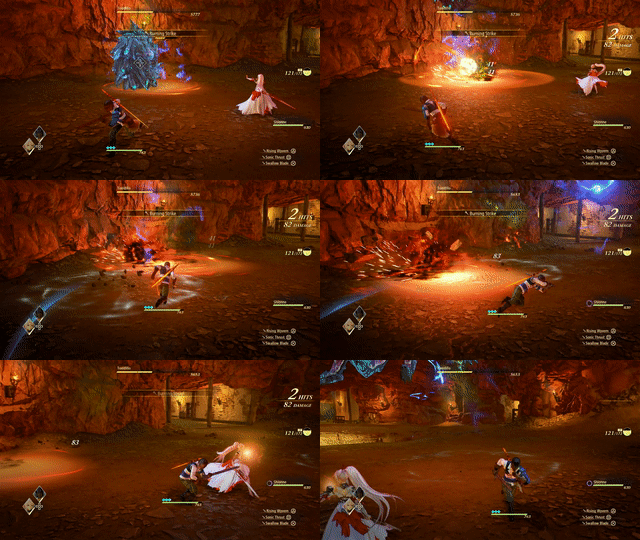
The start up animation of this attack looks similar to the boss' Charge Attack. However, in this attack the boss will begin bouncing around randomly, which can knock you back dealing high amounts of damage if you get hit by one of its bounces.
Generally, try to time your doges to the rhythm of the boss' bouncing pattern. If timed properly, even if the boss lands near you, there is a good chance you will perform a perfect dodge.
Tales of Arise Related Guides
Beyond the Dawn DLC Bosses
Beyond the Dawn Story Bosses
| Story Bosses | |
|---|---|
 Nimus Pandemonium Nimus Pandemonium |
 Venoflage Venoflage |
 Nazamil Nazamil |
 Nazamil Nether Nazamil Nether
|
 Ooze Hive Ooze Hive |
 Nazamil Nether Nazamil Nether (2nd Encounter) |
 Nazamil Nether Nazamil Nether (3rd Encounter) |
 Captive Nazamil Captive Nazamil |
 Oppressor Oppressor |
 Emergence Suppressor Emergence Suppressor |
Beyond the Dawn Optional Bosses
| Optional Bosses | ||
|---|---|---|
 Ruthless Ruthless
|
 Boisterous Roper Boisterous Roper
|
 Cruel Keeper Cruel Keeper |
 Megawrecker Megawrecker |
 Ghoulish Arms Ghoulish Arms |
 Nimus Juggernaut Nimus Juggernaut |
 Grinymuk Grinymuk |
 Mother Boomy Mother Boomy |
- |
Story Bosses
Optional Bosses
Author
Toxidillo Boss Guide: Recommended Setup and How to Beat
improvement survey
03/2026
improving Game8's site?

Your answers will help us to improve our website.
Note: Please be sure not to enter any kind of personal information into your response.

We hope you continue to make use of Game8.
Rankings
- We could not find the message board you were looking for.
Gaming News
Popular Games

Genshin Impact Walkthrough & Guides Wiki

Honkai: Star Rail Walkthrough & Guides Wiki

Umamusume: Pretty Derby Walkthrough & Guides Wiki

Pokemon Pokopia Walkthrough & Guides Wiki

Resident Evil Requiem (RE9) Walkthrough & Guides Wiki

Monster Hunter Wilds Walkthrough & Guides Wiki

Wuthering Waves Walkthrough & Guides Wiki

Arknights: Endfield Walkthrough & Guides Wiki

Pokemon FireRed and LeafGreen (FRLG) Walkthrough & Guides Wiki

Pokemon TCG Pocket (PTCGP) Strategies & Guides Wiki
Recommended Games

Diablo 4: Vessel of Hatred Walkthrough & Guides Wiki

Fire Emblem Heroes (FEH) Walkthrough & Guides Wiki

Yu-Gi-Oh! Master Duel Walkthrough & Guides Wiki

Super Smash Bros. Ultimate Walkthrough & Guides Wiki

Pokemon Brilliant Diamond and Shining Pearl (BDSP) Walkthrough & Guides Wiki

Elden Ring Shadow of the Erdtree Walkthrough & Guides Wiki

Monster Hunter World Walkthrough & Guides Wiki

The Legend of Zelda: Tears of the Kingdom Walkthrough & Guides Wiki

Persona 3 Reload Walkthrough & Guides Wiki

Cyberpunk 2077: Ultimate Edition Walkthrough & Guides Wiki
All rights reserved
© BANDAI NAMCO Entertainment America Inc. All third party content, brands, names, and logos are used under license and remain property of their respective owners. All rights reserved.
The copyrights of videos of games used in our content and other intellectual property rights belong to the provider of the game.
The contents we provide on this site were created personally by members of the Game8 editorial department.
We refuse the right to reuse or repost content taken without our permission such as data or images to other sites.

 Balseph
 Ice Wolf Leader
 Ooze Hive
 Lord Ganabelt
 Zacarania
 Kisara
 Dohalim
 Venoflage
 Temararus
 Grinymuk
 Almeidrea & Mesmald
 Meria Phein
 Kalmarzel & Kaldinzel
 Vholran
 Eljarania
 Efreet
 Tormented Limbs
 Red Woman
 Valclynimus
 Great Astral Spirit
 Subsumer
 Vholran (Final Boss)
 Boisterous Roper
 Polycephus
 Great Dragon
 Relentless Charger
 Flamewrecker
 Alpha Reaper
 Stormbringer
 Elemental
 Regent Bee
 Agony Keeper
 Mother Boomy
 Ruthless
 Thunderite
 Mantis
 Calamity Arms
 Meneiys
 Ezamamuk
 Sword Dancer
 Undine Drop
 Luo Undine
 Grand Gnome & Vas Phein
 Masher Mare & Masher Bull
 Procella Sylph & Sylph Zloa
 Mesmald
 Edna
Edna Nimus Origin
 Eizen
Eizen Edna & Eizen
 Chronos
 Dulneiys, Maleiys, & Vasneiys


![Everwind Review [Early Access] | The Shaky First Step to A Very Long Journey](https://img.game8.co/4440226/ab079b1153298a042633dd1ef51e878e.png/thumb)

![Monster Hunter Stories 3 Review [First Impressions] | Simply Rejuvenating](https://img.game8.co/4438641/2a31b7702bd70e78ec8efd24661dacda.jpeg/thumb)


