Final Boss Guide: Destroyer Charadrius
★ 100% Walkthrough Guide
☆ All 14 Follower Bond Guides
★ Dungeon Guides and Bosses
☆ Farming Guides: EXP, Money, MAG
★ Best Party, Tier Lists, and Builds
☆ New Game+ and How to Get All Endings
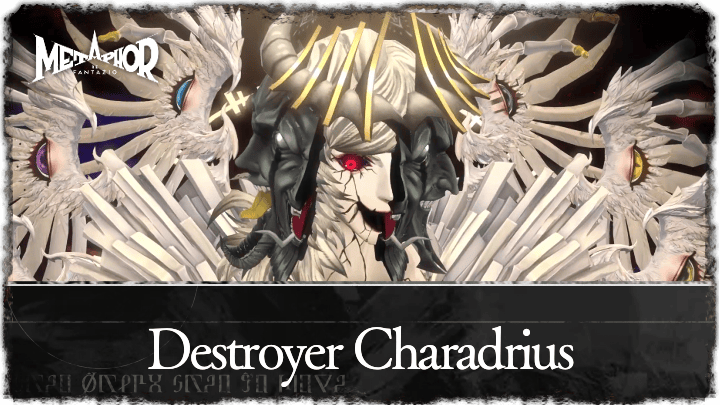
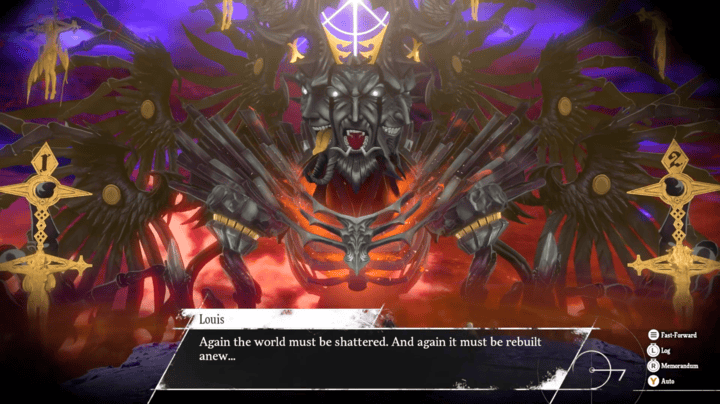
Destroyer Charadrius is the final boss of Metaphor: Refantazio, and can be fought during the Save the Country Quest. Read on to learn how to beat Destroyer Charadrius, their weaknesses, rewards, his secret form, as well as the recommended party setup and Archetypes to use against Destroyer Charadrius.
List of Contents
Destroyer Charadrius Overview and Rewards
Destroyer Charadrius Quest and Location
Phase 1 Overview
| Destroyer Charadrius Boss | ||
|---|---|---|
 |
||
| Quest | Level | Location |
| Save the Country | 82 | Tyrant's Star |
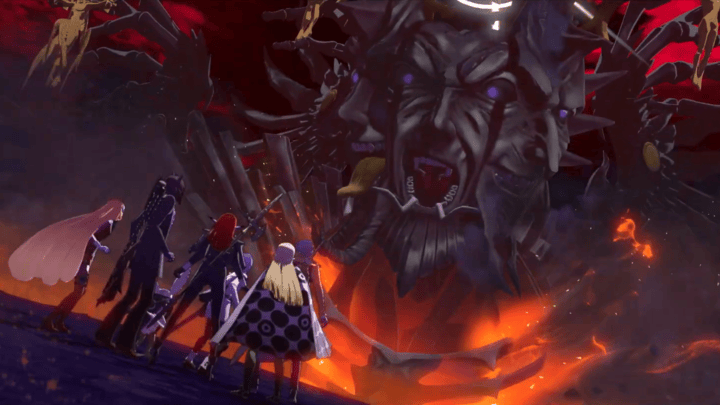
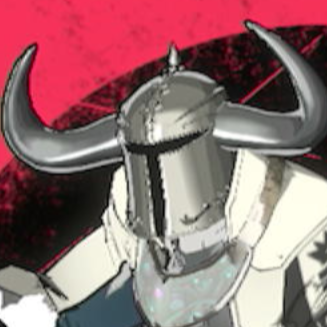
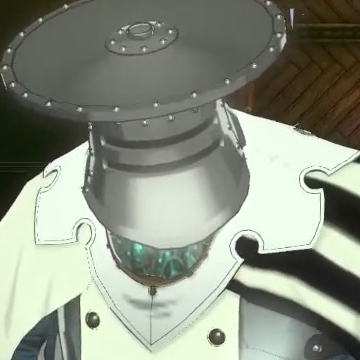
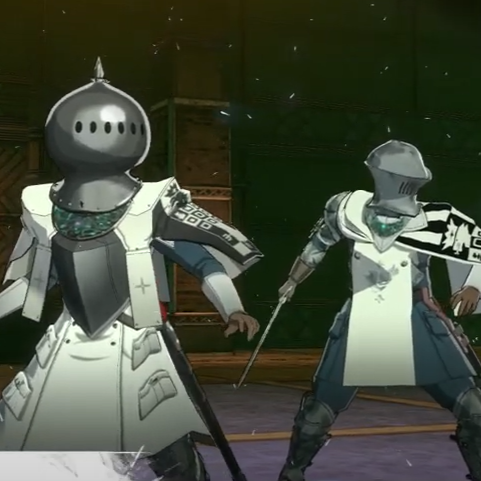
Phase 1 will be a battle with the three Masks, the Mask of Ire, Mask of Joy, and Mask of Mirth. After defeating them you will enter the second phase of the battle.
Phase 2 Overview
| Destroyer Charadrius Boss Unmasked | ||
|---|---|---|
 |
||
| Quest | Level | Location |
| Save the Country | 85 | Tyrant's Star |
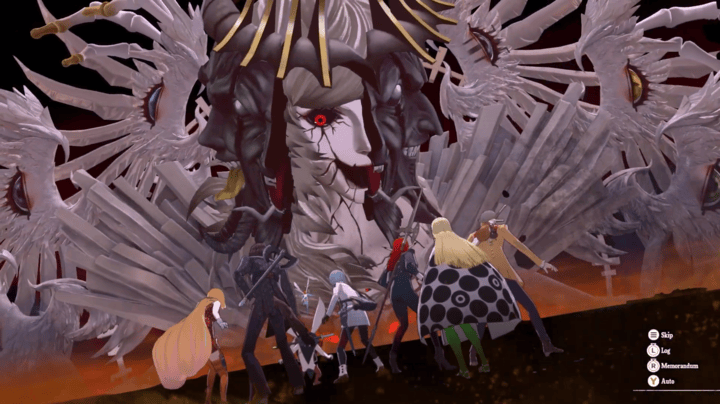
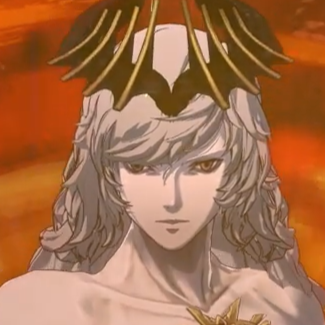
Upon defeat, the masks will split apart and reveal Louis' face. This will initiate the second and final phase of this battle.
Destroyer Charadrius Rewards
Since this is the final boss fight of the game there will be no rewards for this battle, as it will end in a cutscene after defeating Destroyer Charadrius.
Destroyer Charadrius Secret Form
Don't Destroy the Melancholia Crystals
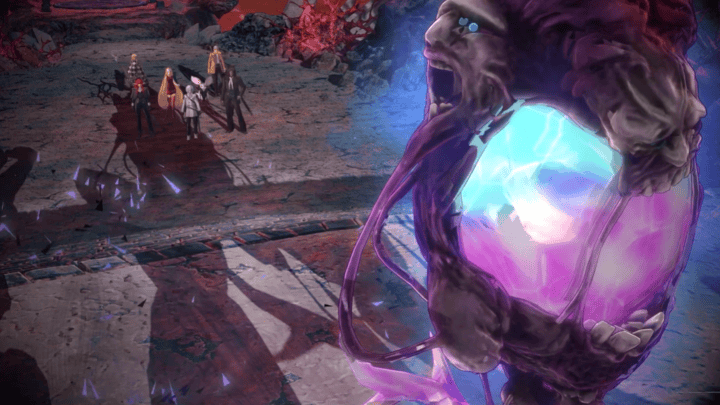
To unlock Destroyer Charadrius' secret form in the Tyrant's Star Dungeon, ignore all the Melancholia Crystals you encounter on each level. Even if Gallica urges you to approach them, simply continue heading to the elevators that lead to the upper floors, where you'll eventually meet Archdemon Louis.
The secret final boss is not a new enemy but an enhanced version of Destroyer Charadrius. While his appearance stays the same, he gains significant buffs including stronger attacks, increased health, and eight turn icons per round. He can also use Soul Scream to extend this to twelve turns in a single round. It's recommended to face this boss with a maxed-out party for the best chance of success.
Destroyer Charadrius Weakness and Resistances
All Elemental Weakness, Affinities and Resistances
|
|
|
|
|
|
|
|
|
|
|
|
|
|
|
|
|
|
|
|
Destroyer Charadrius will have the same stat block across all phases of the battle, including his Secret Boss form.
Recommended Party Setup Against Destroyer Charadrius
Best Characters to Choose
| Character | Explanation |
|---|---|
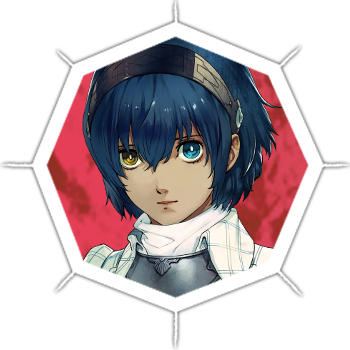 Protagonist Protagonist
|
The Protagonist will be taking up the Prince Archetype focusing on dealing as much almighty damage on Charadrius as possible. He can also use the Synthesis Skill Sable Dance to improve Heismay's dark damage. It is also recommended to inherit the Healer's Insight passive from Healer and the Almighty Boost passive from the Tycoon. |
 Junah Junah
|
Junah will be using the Royal Masked Dancer Archetype with the Trickster's Mask. She will be in charge of debuffing the enemy with Vidyartha, Debilitate, and removing buffs with Ruin's Flameflower. |
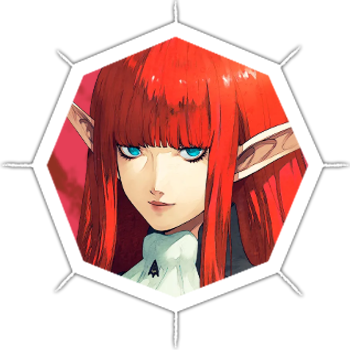 Hulkenberg Hulkenberg
|
Hulkenberrg will be acting as the Royal Knight Archetype for this battle and the party will be taking advantage of her support and passive's for defense. It is also recommended that she inherit the Formation of Vigor and the Front Boost passive from Warlord to further buff the party's attack power. |
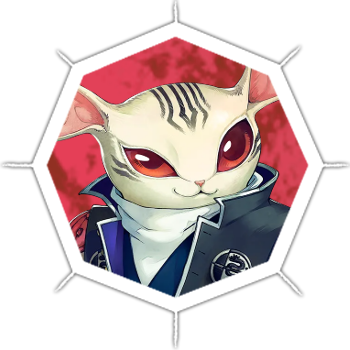 Heismay Heismay
|
Heismay will be using the Royal Thief Archetype. He will mostly be using the Adamant Nightblade to do dark damage and to decrease the enemy's Hit/Evasion and Godkiller. Heismay's Noble Thief's Soul passive is also a bonus since it depletes all of an enemy's Turn Icons if their attack is dodged. |
Recommended Archetypes Against Destroyer Charadrius
Best Archetypes to Equip
| Archetype | Recommended Skills |
|---|---|
|
Synthesis Skill: ・Sable Dance Inherited Skill: ・Healer's Insight ・Almighty Boost |
|
|
Trickster's Mask: ・ Vidyartha ・ Debilitate |
|
|
Inherited Skill: ・Formation of Vigor ・Front Boost ・ Mediline |
|
|
Synthesis Skill: ・Godkiller |
At the start of the battle have the Royal Masked Dancer apply the Vidyartha debuff on Charadrius. The Prince should also use Hero's Proving to improve his attack and the Warlord should use Formation of Vigor for the party. The first round is crucial to set up your party for attack and defense.
Charadrius will mostly do party-wide attacks to damage the entire party. This is where the Royal Knight's passives will come in handy as they have the chance to repel attacks. The Royal Thief will mostly be concerned with dealing damage.
Remember to conserve your MP since this battle will be split into two phases that follow the same format. The main thing to keep in mind with this long boss battle is to try your best to utilize your support skills and keep your health up.
All Archetypes and How to Unlock
How to Beat Destroyer Charadrius
| How to Beat Destroyer Charadrius |
|---|
|
|
Make Sure That Your Party Level is High Enough
Before taking on the final boss, make sure that your party is at a high enough level, this is usually around level 70. Rushing to fight the boss when you are unprepared and under-leveled will just lead to frustration from the player.
Make sure that your Equipment is also up to par for handling this fight. This is especially important if you are planning on taking on the Secret Boss Fight as well.
Support Skills Matter
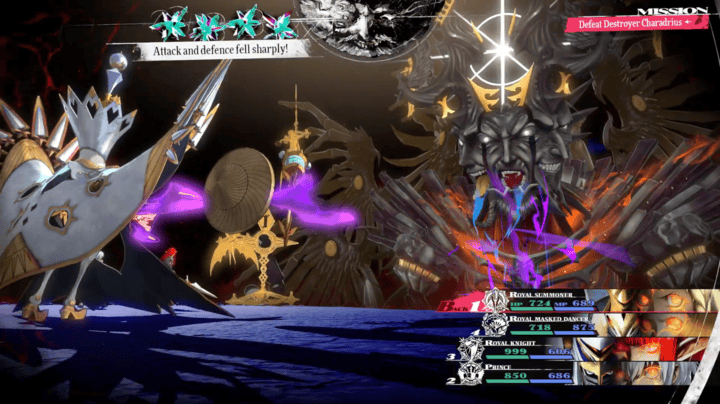
It cannot be stressed enough that support skills matter as much as your active skills in this battle. Destroyer Charadius is tanky and hits hard.
Take advantage of everything in your arsenal to increase your party's stats or to debuff the enemy. You should also take into account that this boss will prioritize clearing debuffs on him and buffs from the party, forcing him to do this is a good strategy for wasting his turn icons.
List of All Support Skills
Keep an Eye on Your Health and MP
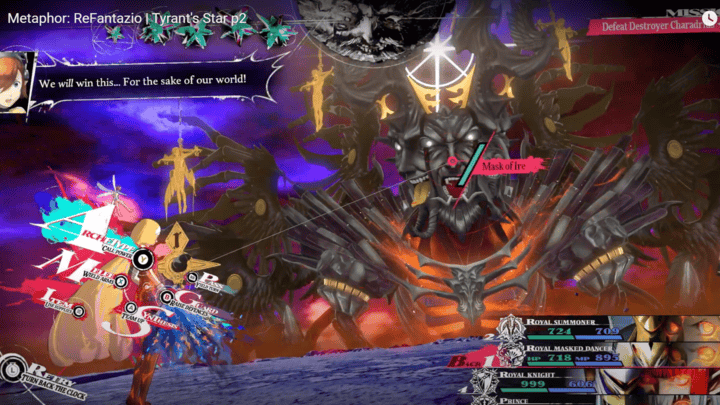
This is a long battle for both phases in normal mode and even longer when you take on the secret boss. Make sure to keep an eye on your health and MP and use recovery skills and items when you need to.
Boost Your Attack and Create Weaknessess
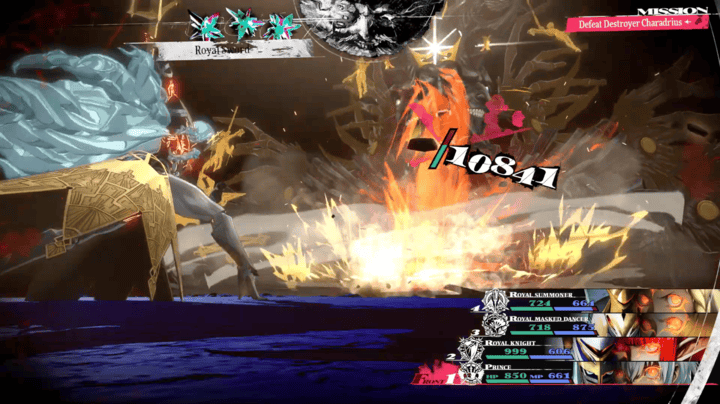
Destroyer Charadrius does not have any weakness in any form that he takes. The best way to overcome this is to boost your own attacks with bufff skills like Hero's Proving and Formation of Vigor.
You should also take the chance to inflict weakness on him so you can extend your turn, a good example of this is using Sable Dance to improve the Royal Thief's attacks.
Swap Out Party Members if You Need To
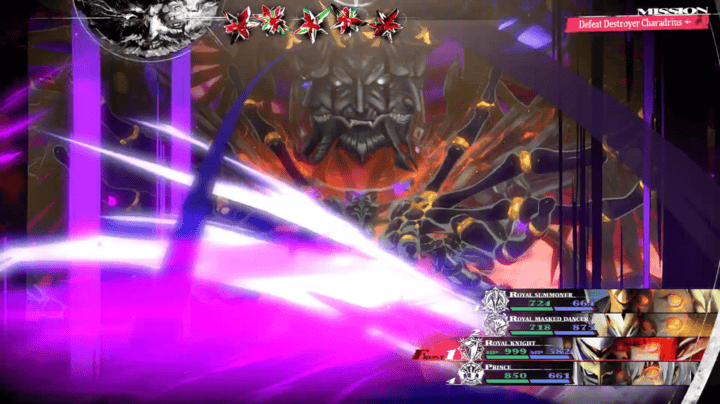
An often-forgotten feature of the game is that you can actually swap out party members mid-game in exchange for a turn icon. Since this is a long battle don't be afraid to swap out party members if you think that you will need them for the later half of the battle.
Just make sure that your reserve party members are ready to battle as well.
Take Stock of Your Inventory
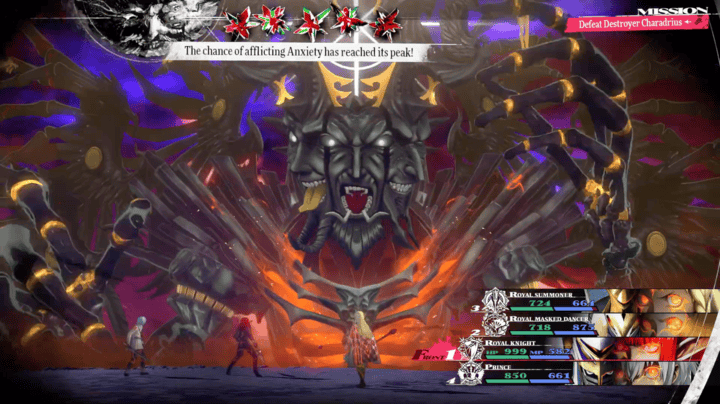
A large part of the battle is keeping track of your resources. Don't waste all your MP on the first half of the game and use items when you can to conserve it.
There are a lot of items in the game that could, heal, buff, or attack your enemy if you use them right.
Metaphor: ReFantazio Related Guides

All Story Bosses
All Optional Bosses
Author
Final Boss Guide: Destroyer Charadrius
improvement survey
03/2026
improving Game8's site?

Your answers will help us to improve our website.
Note: Please be sure not to enter any kind of personal information into your response.

We hope you continue to make use of Game8.
Rankings
- We could not find the message board you were looking for.
Gaming News
Popular Games

Genshin Impact Walkthrough & Guides Wiki

Honkai: Star Rail Walkthrough & Guides Wiki

Umamusume: Pretty Derby Walkthrough & Guides Wiki

Pokemon Pokopia Walkthrough & Guides Wiki

Resident Evil Requiem (RE9) Walkthrough & Guides Wiki

Monster Hunter Wilds Walkthrough & Guides Wiki

Wuthering Waves Walkthrough & Guides Wiki

Arknights: Endfield Walkthrough & Guides Wiki

Pokemon FireRed and LeafGreen (FRLG) Walkthrough & Guides Wiki

Pokemon TCG Pocket (PTCGP) Strategies & Guides Wiki
Recommended Games

Diablo 4: Vessel of Hatred Walkthrough & Guides Wiki

Fire Emblem Heroes (FEH) Walkthrough & Guides Wiki

Yu-Gi-Oh! Master Duel Walkthrough & Guides Wiki

Super Smash Bros. Ultimate Walkthrough & Guides Wiki

Pokemon Brilliant Diamond and Shining Pearl (BDSP) Walkthrough & Guides Wiki

Elden Ring Shadow of the Erdtree Walkthrough & Guides Wiki

Monster Hunter World Walkthrough & Guides Wiki

The Legend of Zelda: Tears of the Kingdom Walkthrough & Guides Wiki

Persona 3 Reload Walkthrough & Guides Wiki

Cyberpunk 2077: Ultimate Edition Walkthrough & Guides Wiki
All rights reserved
©ATLUS. ©SEGA. All rights reserved.
The copyrights of videos of games used in our content and other intellectual property rights belong to the provider of the game.
The contents we provide on this site were created personally by members of the Game8 editorial department.
We refuse the right to reuse or repost content taken without our permission such as data or images to other sites.
 Homo Gorleo
 Captain Klinger
 Homo Fulquilo
 Undead Grius
 Zorba
Zorba Homo Avades
 Monk Captain Gideaux
 Greatworm Homo Butera
 Heismay
 Homo Jaluzo
 Sergeant Xanth
 Maintenance Chief Ceiba
 Master Sergeant Glechom
 Helmsman Cabio and Grand Chief Salva
 Glodell
 Sea Horror Homo Sabara
 Treebeast Alento
 Malvirta Drako Eht
 Homo Margo
 Louis Guiabern
 Sogne the Icebound
 Homo Gorleo (Second Fight)
 Melancholia Zorba
 Diabolus Gorleo
 Diabolus Avades
 Diabolus Butera
 Diabolus Jaluzo
 Diabolus Sabara
 Diabolus Margo
 Archdemon Louis Charadrius
 More
More Destroyer Charadrius
 Fire Dragon Mauna
 Grotesque Guptauros
 Maneater Manjula
 Catherina the Bounty Queen
 Goborn King
 Demo Man Goddard
 Alpha Rockworm Valmo
 Kadablich
 Roger the Libertarian
 Lina the Machinist
 Trove Imitec
 Fatolich
 Kokasados
 Orgas
Orgas Kokasadors
 Homo Pento
 Psyocropos
 Leogron
 Milo the Adonis
 Rudolf the Roussainte Lion
 Icebeast Chimenzahn
 Ziocropos
 Ordemos
 Mad Sanctor Hyperic
 Jin the Charlatan
 Serial Killer Vinca
 Kokamordos
 Bandit Chief Cistus
 Homo Sondro
 Devourer of Nations
 Devourer of Stars
 Devourer of Flames
 Elegy of the Souls
 Redscale Apocalypse Dragon




![Everwind Review [Early Access] | The Shaky First Step to A Very Long Journey](https://img.game8.co/4440226/ab079b1153298a042633dd1ef51e878e.png/thumb)

![Monster Hunter Stories 3 Review [First Impressions] | Simply Rejuvenating](https://img.game8.co/4438641/2a31b7702bd70e78ec8efd24661dacda.jpeg/thumb)


