Obtain Drakodios Walkthrough Guide
★ 100% Walkthrough Guide
☆ All 14 Follower Bond Guides
★ Dungeon Guides and Bosses
☆ Farming Guides: EXP, Money, MAG
★ Best Party, Tier Lists, and Builds
☆ New Game+ and How to Get All Endings
Obtain Drakodios is an Operation Quest in Metaphor: ReFantazio. Check out an overview of Obtain Drakodios and how to complete this Main Quest here!
| ◀︎ Previous Quest | Next Quest ▶︎ |
|---|---|
| Infiltrate the Charadrius | Eliminate Virga Island’s Threat |
List of Contents
Obtain Drakodios Overview
Quest Details, Deadline, and Rewards
| Obtain Drakodios | |||
|---|---|---|---|
| I need to head to the Dragon Temple and acquire the divine relic Drakodios for Louis. At the same time, I must fulfil my promise to Edeni to save the island's priestess. | |||
| Type | Main Quest - Operation | ||
| Unlock | Progress the story to 08/19. | ||
| Start Date | 08/19 | Deadline | 09/05 |
| Rank | ◆◆◆◆◆◆◇◇◇◇ | ||
Obtain Drakodios Walkthrough
| Jump to Section | |
|---|---|
| 1 | Before the Dragon Temple |
| 2 | Dragon Temple |
| 2 | Drakongrace Shinjuku |
Before the Dragon Temple
| Before Dragon Temple Guide | |
|---|---|
| 1 | 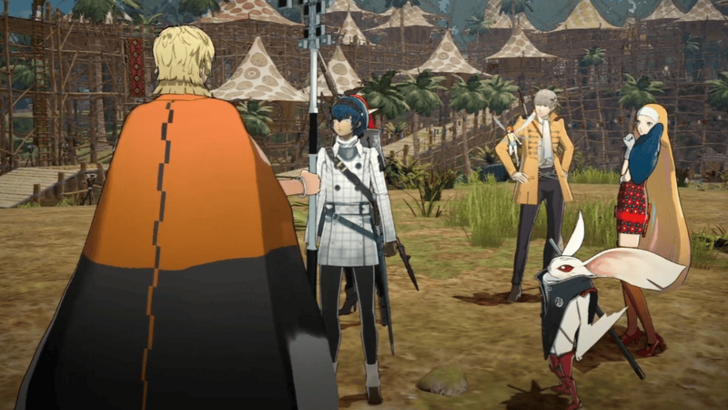 Before you're able to enter the Dragon Temple, you'll first need to get the Potion of Blight by completing the Ancestral Solution Side Quest. Once the quest has been completed, you'll be able to remove the tree blocking the entrance. ▶︎ How to Complete Ancestral Solution |
| 2 | 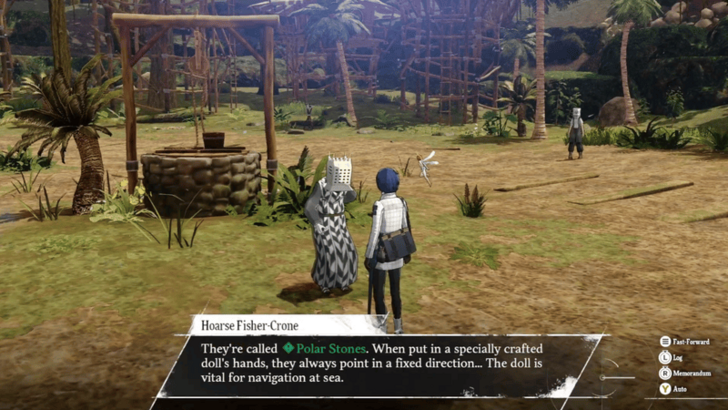 Make sure that you also have A Guiding Gift accepted so that you can collect the three Polar Stones while you're in the temple. ▶︎ A Guiding Gift Quest Guide |
Dragon Temple
| Dragon Temple Guide | |
|---|---|
| 1 | 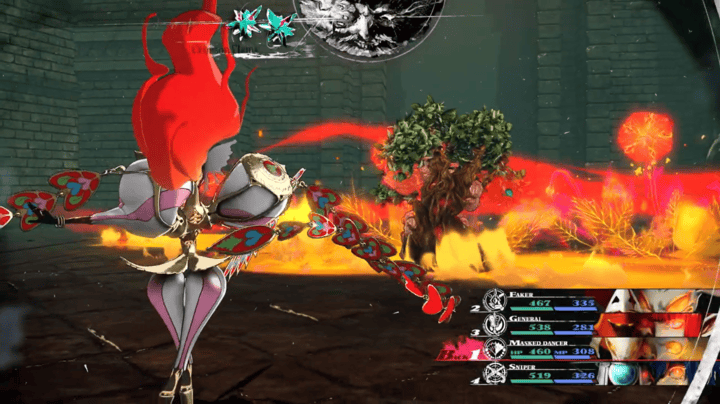 When you're ready, head to the Gauntlet Runner and travel to the Dragon Temple. Once you reach the entrance, head to the tree and use the Potion of Blight to start a fight with a Treebeast Alento. Make sure you bring Fire Skills with you so that you can quickly take down this enemy. ►Treebeast Alento Boss Guide |
| * | ►Dragon Temple Dungeon Walkthrough |
| 2 | 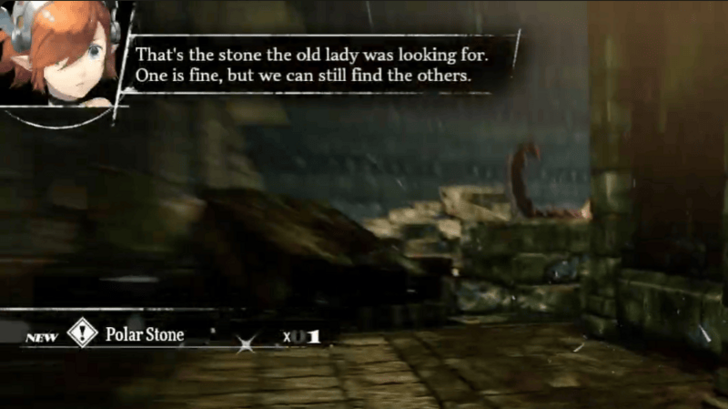 Enter the temple and pick up items on the ground. Some of these will be the Polar Stones needed to complete A Guiding Gift. Once you're done, move on to the next area. |
| 3 | 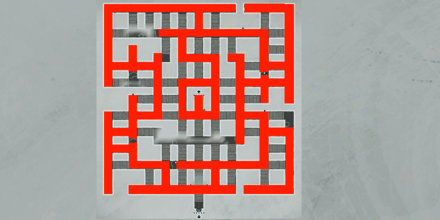 This area has a gimmick where there will be a thick fog, and you'll get teleported back, whenever you're going the wrong way. There are also Spectres and Gargoyles in this area so make sure you're always on high alert. If you look up the right path will also have a gold line on the ceiling that you can follow. |
| * | 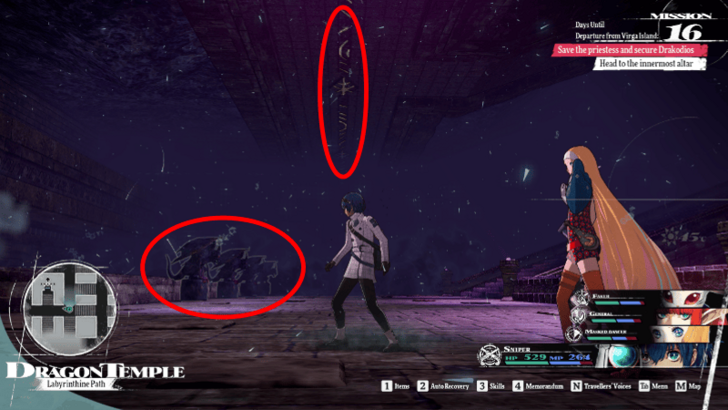 The best way to navigate this area is to use Fae Sight to see outlines around Gargoyles and to look at the ceiling so you can follow the yellow line that leads you on the right path. |
| 4 | 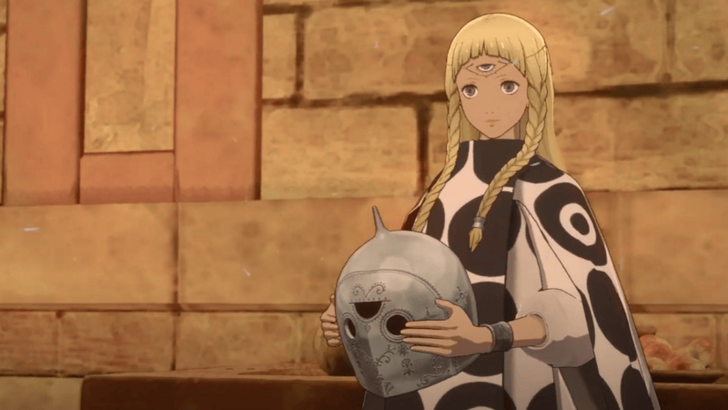 Once you reach the center, head through the door to the next area. A cutscene will then play where you'll meet Eupha. ▶︎ Eupha Profile, Archetype, and Voice Actor |
| 5 | After the cutscene, make a save at the Plateau Mirage. From there, follow the linear path downwards to the next area, dodging any birds diving down from overhead on the way. When you get to the bottom, head through the door for a cutscene and a surprising revelation. |
Drakongrace Shinjuku
| Drakongrace Shinjuku Guide | |
|---|---|
| * | This area of the dungeon is extremely long, with Magla Hollows only being available at the start and the end. It's recommended to use Archetypes that can conserve their MP over multiple battles or to leave and return at a later date if you're low on resources. |
| 1 | 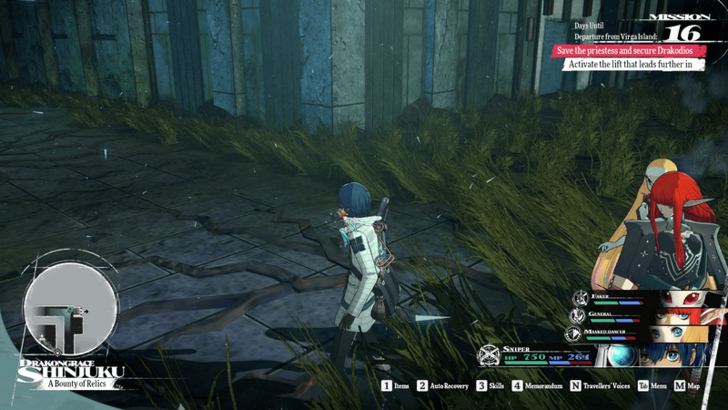 Once the cutscene ends, follow the path with no grass on the floor to reach a Magla Hollow. Make a save and continue on your way. The fastest way to clear this section is to follow the path on the ground. However, there are a lot of items and chests off the beaten path so make sure you explore the area as well. |
| 2 | Continue on until you reach a cutscene introducing some elevators. Remember these once you get to the lower floors since you'll need to take an elevator back up to return to this floor if you wish to save. |
| 3 | 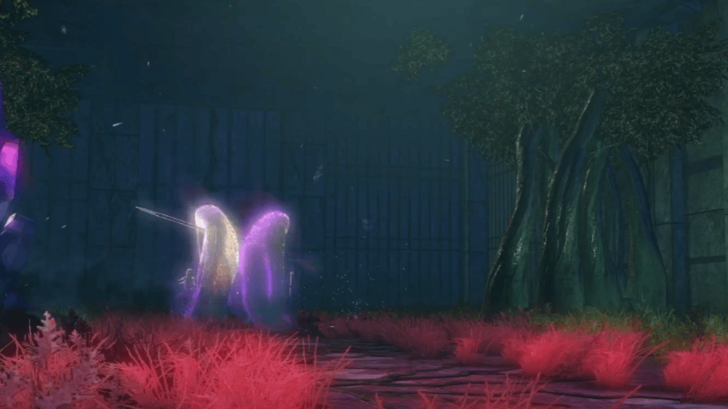 After that, continue on until you reach another cutscene introducing the Human boss of this area. The gimmick here is that it will move whenever you move, so you'll need to force it into a position where you can slip by without having to fight it. |
| * | 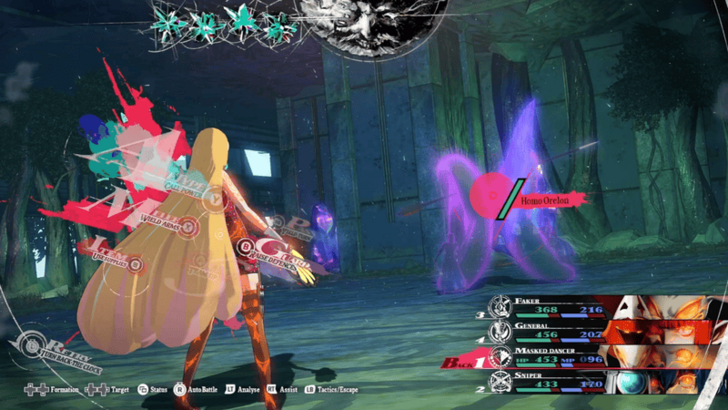 It should be noted that you can fight it, and it's not too difficult. However, it's not recommended since this is a long dungeon and you'll want to conserve your resources. |
| 4 | Contine you until you reach another cutscene where Eupha tells you that you'll need to restore power to the elevator. If you wish to reach the end of this dungeon as soon as possible, take the number four elevator to the second floor. It's recommended to fully explore the dungeon instead of taking the elevator down so you can grab all the items in here and you can farm enough EXP for this area's boss. |
| * | If you wish to take the elevator and skip ahead, you can go to step fifteen. |
| 5 | Once you're ready to proceed, head down the northeastern stairs to the next floor. Continue on until you'll need to open up a shutter door to give the Human extra room to move, allowing you to bypass it. |
| 6 | 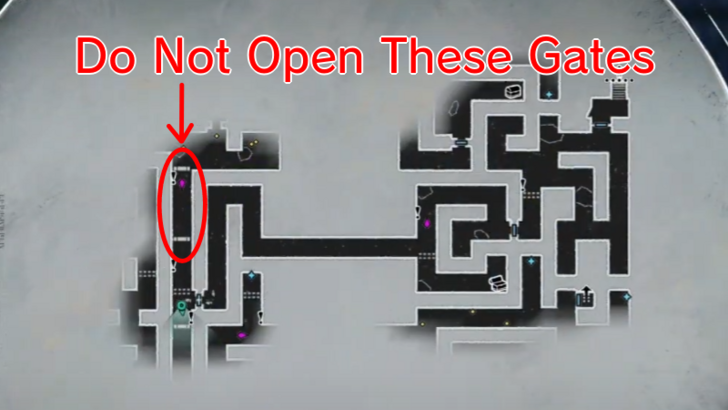 Cross the bridge to the other side and you'll come across two shutter gates to the north and south. Open up the south one and continue on so that you don't have to deal with the Human behind the north gate. |
| 7 | 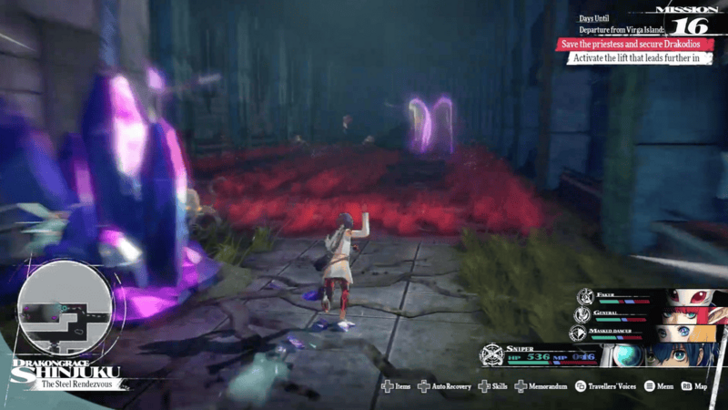 Keep pressing forward until you reach two Humans walking around in a line. Slip past the two and follow the path to reach the stairs leading down to the third floor. Just be careful since it can look like they're walking back and forth when in reality they're circling around. |
| 8 | 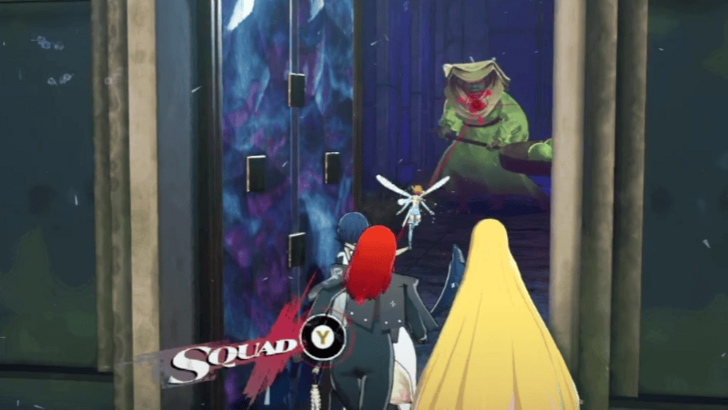 This floor has harder non-boss Human enemies around so you'll want to take the number one elevator back up to make a save at the Magla Hollow. After saving, head back down and continue your journey forward. |
| 9 | 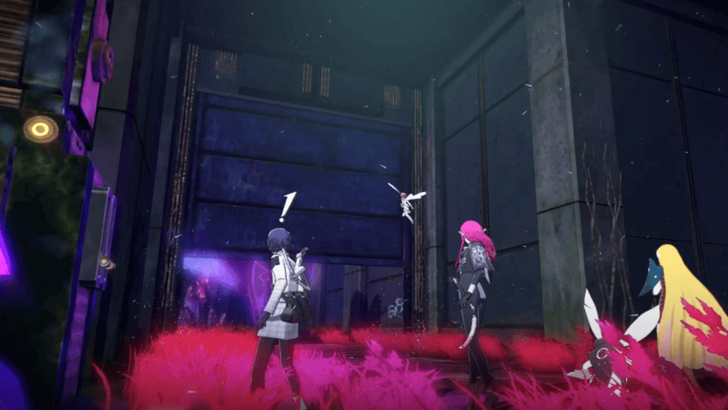 Continue on until you reach another set of shutter doors. To proceed forward, you'll need to activate the switch which opens up both gates, allowing the Human to roam free. |
| 10 | After heading through the southern gate, keep going until you reach an area with two more Humans moving in a circle. Walk between the two so you can activate the switch to open up the path to even more shutters. |
| 11 | 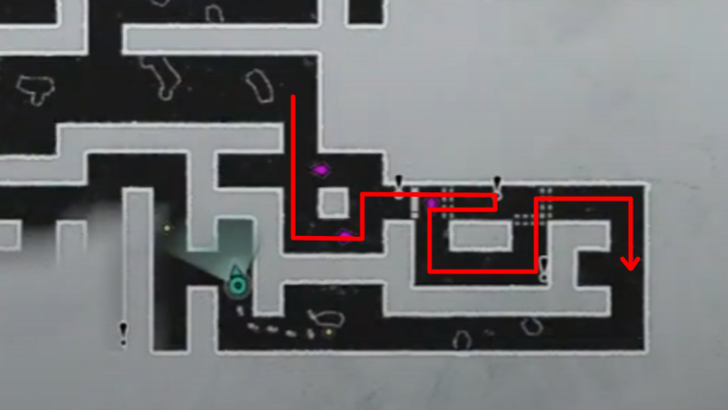 For the next set of gates, all you need to do is activate the top switch followed by the bottom one. Just be careful because as soon as you activate the top switch, the Human will start walking towards you. |
| 12 | 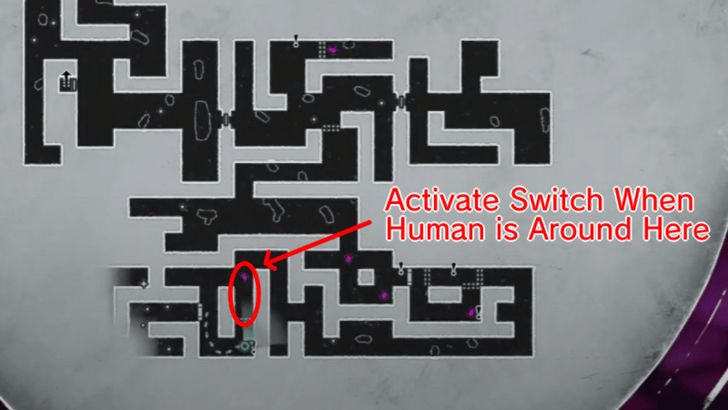 Unlike the last few areas, this one is a bit more tricky since you'll need to time it where you can activate the switch and pass the Human before it blocks off your path. Make sure to close the gate before the Human reaches the north side of the circle so you have enough time to get past it. |
| 13 | Once that's done, you can proceed forward and up the stairs back to the second floor. You'll now be at the bottom half of the area, so explore first until you're ready to move on. |
| 14 | 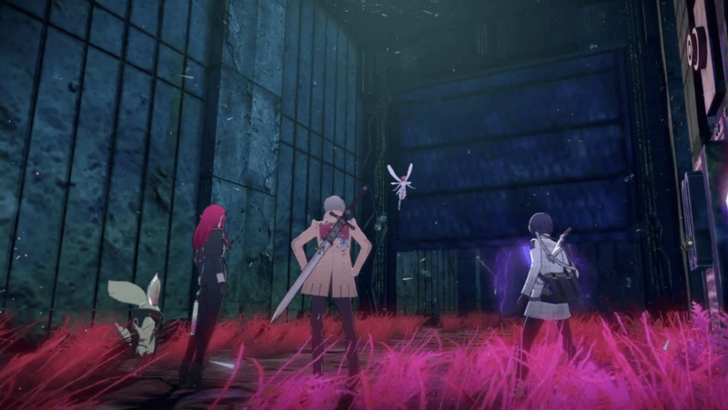 The first major hurdle you'll come across here is a set of shutter gates where you'll need to trap the Human behind the north gate to safely get past through the eastern one. The Ruby behind the north gate is hard to get without fighting the enemy since the timing window to pass the Human is extremely tight. |
| 15 | Once you're past that, you'll eventually come across the number four elevator that you could've taken earlier. From here, follow the path where the human isn't to get to the southeastern stairs that lead back up to the first floor. |
| 16 | After picking up more items, continue on until you power the number two elevator and start a cutscene where Humans are blocking the switch for the number three elevator. To remove the Humans, you'll need to take the number two elevator down to defeat the real Human and stop its clones from spawning. |
| 17 | 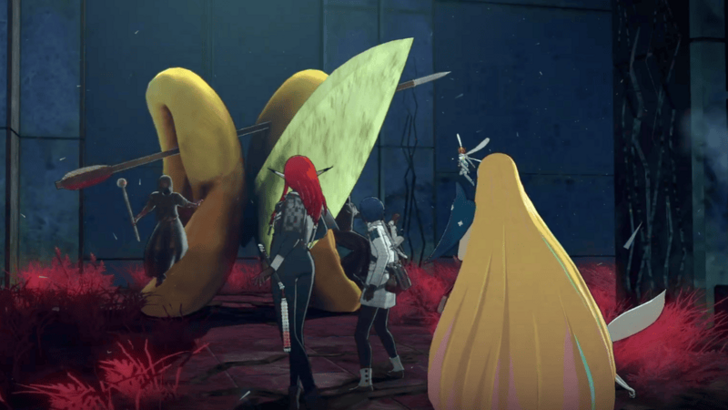 Open the gate and make a save in the Magla Hollow. Once you've done that, take the elevator down to fight the real Human. To fight Homo Flaemo, you'll simply need to close all three shutters and approach it once it's trapped on either end of the room. |
| 18 | 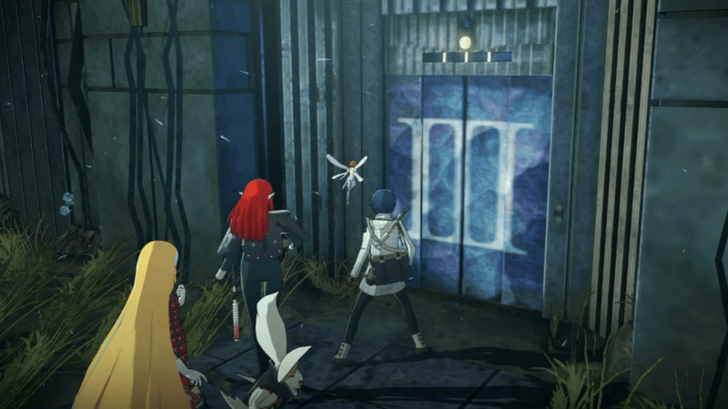 Once the boss has been defeated, make your way back to where all the clones were to get some more items and activate the switch for the number three elevator. Make another save at the Magla Hollow and, when you're ready, take the elevator down to the next area. |
| 19 | 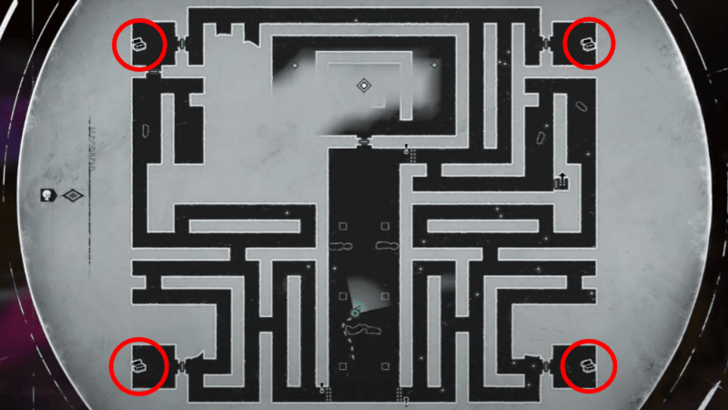 Before proceeding to the center of this floor, make sure to grab the chests in the corners of this area for some useful equipment and a Sumptuous Magla Feast. Just be careful of the two southern chests as they're both mimics. |
| 20 | After opening the four chests, head to the room in the center for a cutscene. Once that ends, pick up the items on the sides of the room and make your way down for another cutscene. |
| 21 | Once the cutscene ends, make a save in the Magla Hollow and prepare yourself for the incoming boss fights. You'll be facing back-to-back boss fights so make sure that you're fully prepared before proceeding forward. Eupha will join your party for these fights, so you'll only need to prepare the Protagonist and two other party members. |
| * | As a note, you'll be able to swap out party members between fights. This means you can prepare one team to fight Eht while the other team is prepared to fight Homo Margo. If you have Soul Hacker unlocked, equip it on the Protagonist as it will be extremely useful for both fights. |
| 22 | 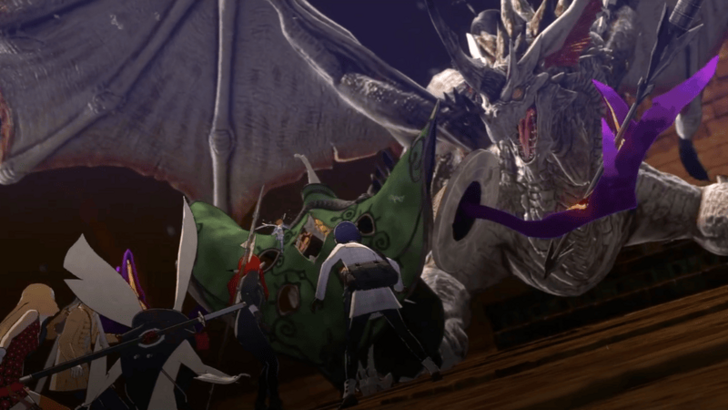 When you're ready, head through the door and go to the altar to start a cutscene and the fight with Malvirta Drako Eht. Target the Human on its back first with Eupha's Wind Skills. Once they've been defeated, take down the Dragon with any Skills besides Light or Dark. ▶︎ Malvirta Drako Eht Boss Guide |
| 23 | Once the boss goes down, a few cutscenes will play and you'll complete this quest. However, you'll be immediately thrown into the next Main Quest, Eliminate Virga Island’s Threat. |
Metaphor: ReFantazio Related Guides

List of All Main Quest Walkthroughs
All Main Quests
Comment
Author
Obtain Drakodios Walkthrough Guide
improvement survey
03/2026
improving Game8's site?

Your answers will help us to improve our website.
Note: Please be sure not to enter any kind of personal information into your response.

We hope you continue to make use of Game8.
Rankings
- We could not find the message board you were looking for.
Gaming News
Popular Games

Genshin Impact Walkthrough & Guides Wiki

Honkai: Star Rail Walkthrough & Guides Wiki

Umamusume: Pretty Derby Walkthrough & Guides Wiki

Pokemon Pokopia Walkthrough & Guides Wiki

Resident Evil Requiem (RE9) Walkthrough & Guides Wiki

Monster Hunter Wilds Walkthrough & Guides Wiki

Wuthering Waves Walkthrough & Guides Wiki

Arknights: Endfield Walkthrough & Guides Wiki

Pokemon FireRed and LeafGreen (FRLG) Walkthrough & Guides Wiki

Pokemon TCG Pocket (PTCGP) Strategies & Guides Wiki
Recommended Games

Diablo 4: Vessel of Hatred Walkthrough & Guides Wiki

Fire Emblem Heroes (FEH) Walkthrough & Guides Wiki

Yu-Gi-Oh! Master Duel Walkthrough & Guides Wiki

Super Smash Bros. Ultimate Walkthrough & Guides Wiki

Pokemon Brilliant Diamond and Shining Pearl (BDSP) Walkthrough & Guides Wiki

Elden Ring Shadow of the Erdtree Walkthrough & Guides Wiki

Monster Hunter World Walkthrough & Guides Wiki

The Legend of Zelda: Tears of the Kingdom Walkthrough & Guides Wiki

Persona 3 Reload Walkthrough & Guides Wiki

Cyberpunk 2077: Ultimate Edition Walkthrough & Guides Wiki
All rights reserved
©ATLUS. ©SEGA. All rights reserved.
The copyrights of videos of games used in our content and other intellectual property rights belong to the provider of the game.
The contents we provide on this site were created personally by members of the Game8 editorial department.
We refuse the right to reuse or repost content taken without our permission such as data or images to other sites.
 Prologue
 Necromancer Takedown
 Thwart Zorba’s Plan
 Apprehend the Real Kidnapper
 Infiltrate the Charadrius
 Eliminate Virga Island’s Threat
 Prepare for the Final Battle
 Skybound Avatar Conquest
 Save the Country


![Everwind Review [Early Access] | The Shaky First Step to A Very Long Journey](https://img.game8.co/4440226/ab079b1153298a042633dd1ef51e878e.png/thumb)

![Monster Hunter Stories 3 Review [First Impressions] | Simply Rejuvenating](https://img.game8.co/4438641/2a31b7702bd70e78ec8efd24661dacda.jpeg/thumb)


