Saito Brothers Quest Walkthrough
★ 11/24: 1.100.000 Patch Notes ▶︎ NG+
☆ Undying Armor | Spider Lily
┣ Jubei | Snow Drift | Takezo | Black Dye
┗ Reliquary | Fox Puzzles | Riddles | Kubo
★ Armor | Weapons | Charms | Best Armor
┗ Walkthrough | Quests | Platinum | Map
This is a walkthrough for Saito Brothers's questline, one of Atsu's revenge targets in Ghost of Yotei. Learn more about Saito Brothers's objectives, boss, its rewards, and how to unlock it here!
| ◄ Previous Quest | Next Quest ▶ |
|---|---|
| The Kitsune | Call of the Hunt |
List of Contents
Saito Brothers Walkthrough
- Way of the Odachi
- Ghosts of the Past
- The Storm Breaks
- Echoes of the Storm
- To Catch a Spider
- A Wolf's Pack
- The Reckoning
Part 1: Way of the Odachi
| Way of the Odachi Objectives |
|---|
|
1. Reach the Dojo Near the Horosaru Falls 2. Practice the Odachi with Master Yoshida 3. Defend the Dojo Against Saito's Men 4. Hunt the Rest of Saito's Men Up the Mountain 5. Progress to Chapter 2 |
1. Reach the Dojo Near the Horosaru Falls
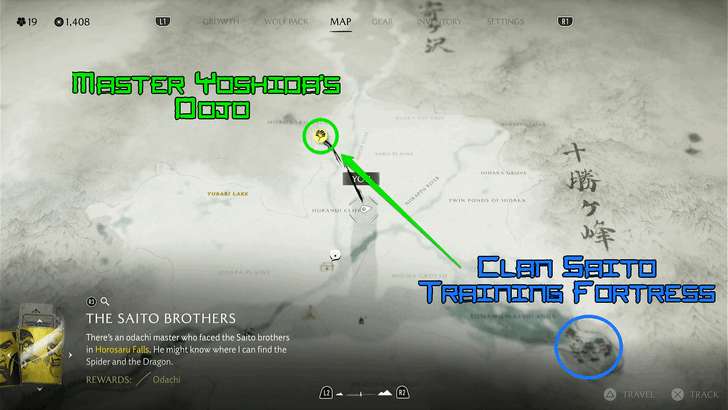
From the Clain Saiyo Training Fortress where the events of the Saito quest took place, head northwest to reach Master Yoshida's Dojo near Horosaru Falls.
If you've managed to interrogate a Ronin during the Yotei Six quest and have chosen to ask about the Saito Brothers, a gold Ginko Leaf will show up on the map on top of the Dojo. Track it and follow the guiding wind to reach the area.
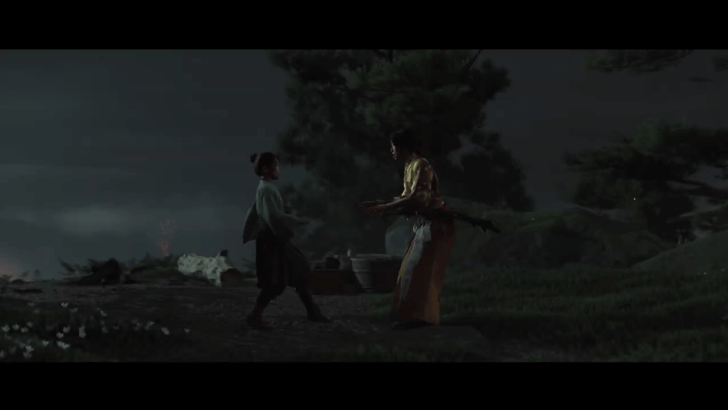
2. Practice the Odachi with Master Yoshida
| 2.1 | Speak with Master Yoshida |
|---|---|
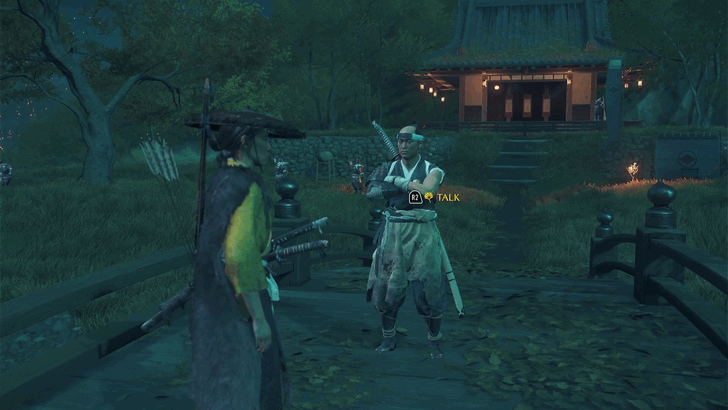 Approach Master Yoshida by the small bridge leading to the dojo and engage in a conversation. Afterwards, follow him and pick up the Odachi. |
|
| 2.2 | Execute Blocks and Attacks with the Odachi |
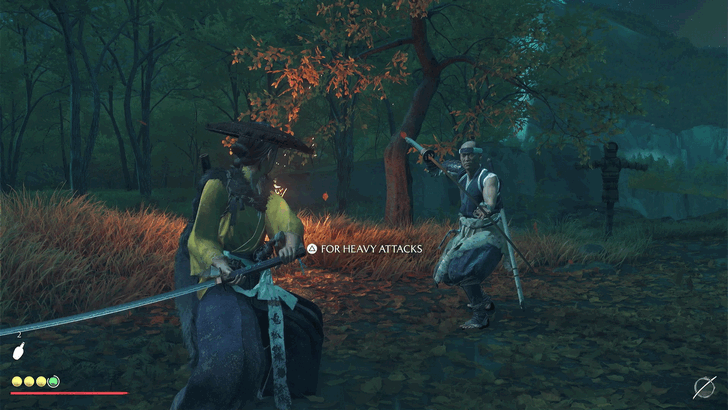 Follow Master Yoshida to the training area and practice using the Odachi with him. During this sequence of events, you'll learn the basic block, normal attack, and heavy attack of the Odachi, to get the feel of how the weapon will be used in battle. A cutscene will trigger afterwards, where you'll begin sparring with the other dojo members until daytime. |
3. Defend the Dojo Against Saito's Men
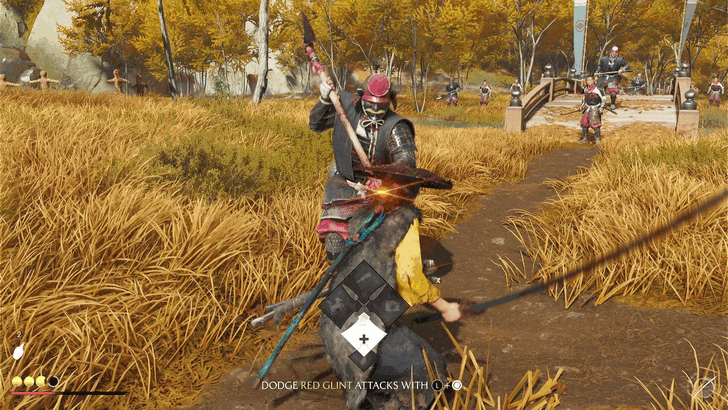
Speak with Master Yoshida after the cutscene, and practice switching your weapons in the loadout. Saito's men will approach the dojo, and this will be the first time you'll use the Odachi in battle. Luckily, it'll just be one giant enemy you'll face for you to practice using the Odachi in real combat.
After the duel, more of Saito's forces will join the battle. The students at the dojo will join as well. Defeat Saito's men and it will trigger a cutscene afterwards.
4. Hunt the Rest of Saito's Men Up the Mountain
| 4.1 | Follow Master Yoshida to the Mountain Edge |
|---|---|
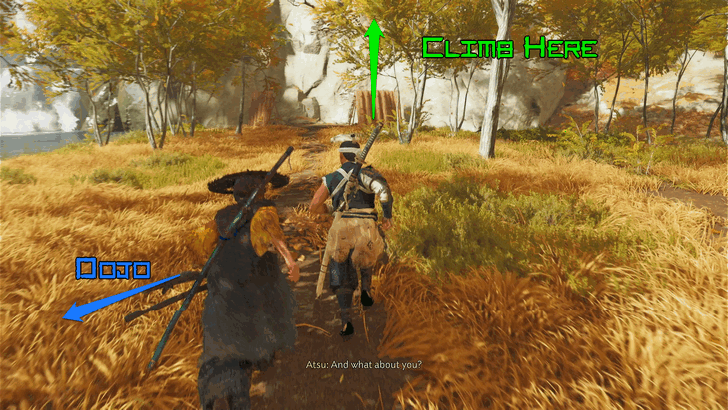 Follow Master Yoshida on foot. From the dojo, get past the bridge and turn left towards the mountain's edge. Climb to the top using the hand and foot holds. |
|
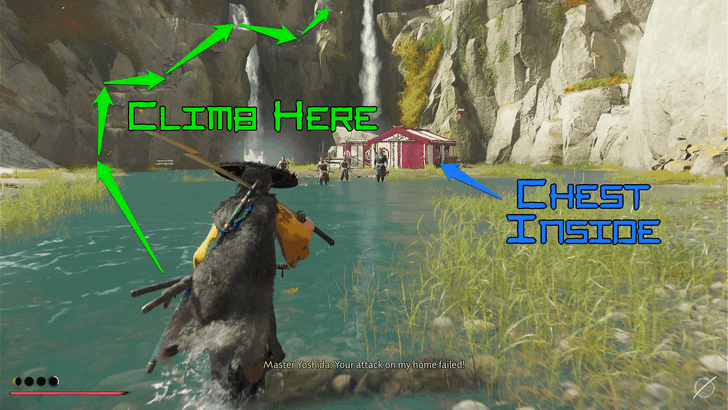
| 4.2 | Cross the Wooden Platform |
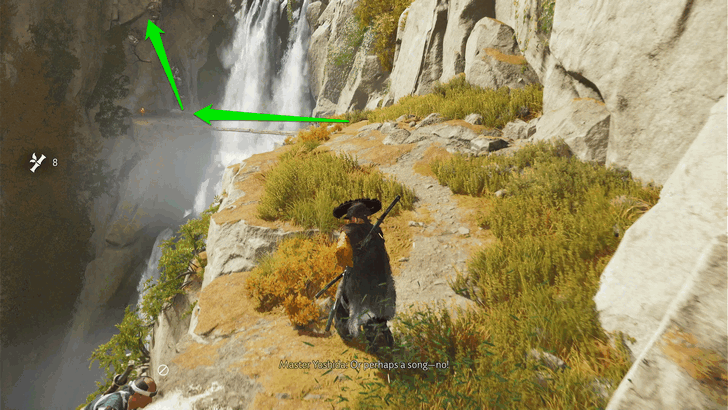 Cross the wooden platform to get to the other side of the waterfall, and climb the mountain again. You'll encounter a camp filled with Saito's men at the top. |
|
| 4.3 | Defeat the Enemies and Continue Climbing |
 Clear the area of Saito's men before proceeding the climb. Aim to take out the musketeers first, as they deal high damage if you get shot. It's better to execute this with a ranged weapon like the bow, since you won't have to go past the melee soldiers to reach the musketeers. |
|
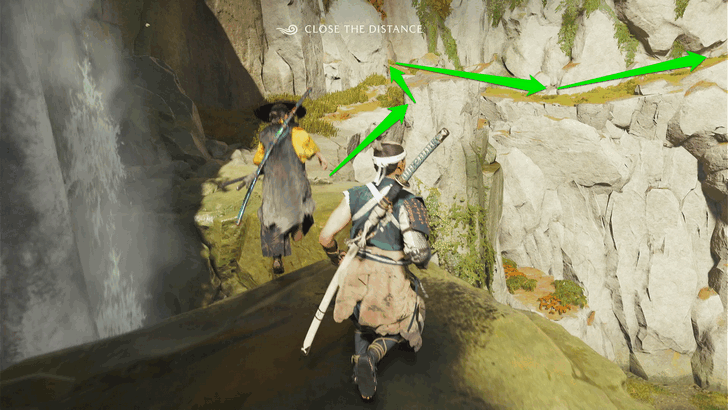
| 4.4 | Rush Towards the Bo-Hiya Gunner |
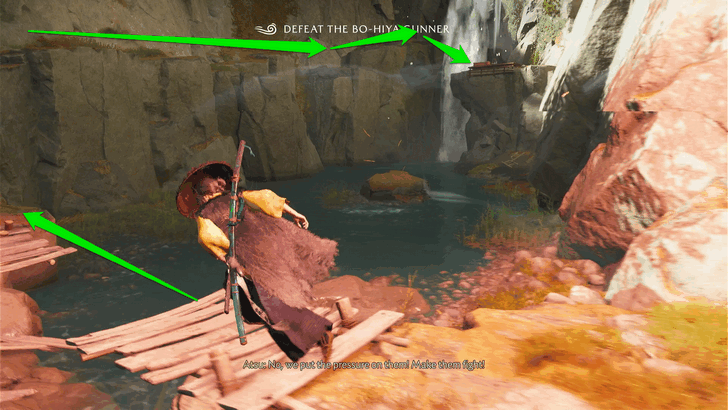 Climb the cliff by the mini waterfall after defeating the enemies, and you'll encounter a Bo-Hiya Gunner. Run and cross the ledges to reach the gunner and defeat him. You can't hit him with arrows, since he's covered in armor. |
|
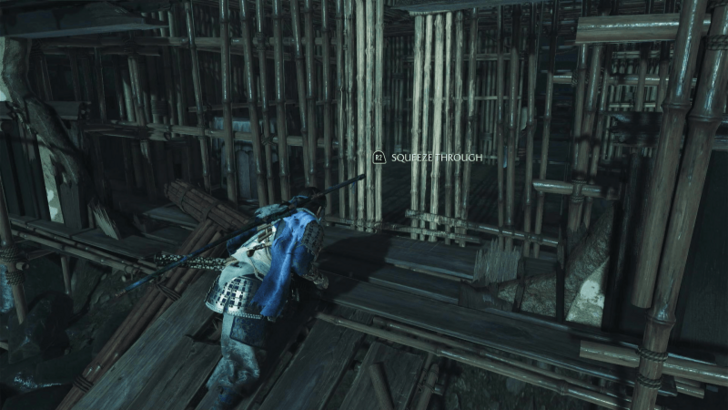
| 4.5 | Open the Blockade |
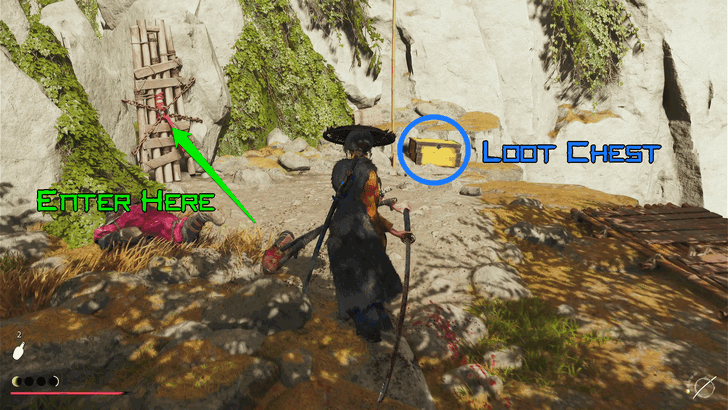 Use the Odachi to defeat the Bo-Hiya Gunner. You can also open the yellow chest nearby to loot resources. Afterwards, interact with the blockade by holding R2, then pointing the L-stick downward once prompted. This will destroy the blockade, allowing you to squeeze through the other side. |
|
| 4.6 | Clear the Area and Continue the Climb |
 Climb another set of foot holds until you reach the top. Master Yoshida will teach you another mechanic of the Odachi, where you can knock opponents off-balance by holding the triangle button and releasing it after a moment. This makes the Odachi useful even against enemies that aren't giant brutes. Defeat the rest of the enemies in the area, while focusing on taking out the musketeers. Climb the mountain again from the left side of the area. |
|
| 4.7 | Reach the Final Saito Camp |
 Once you get past the first waterfall, traverse through the ledges until you reach the final camp of Saito's men in the mountain while avoiding the explosives fired by them. |
|
| 4.8 | Defeat All of the Enemies |
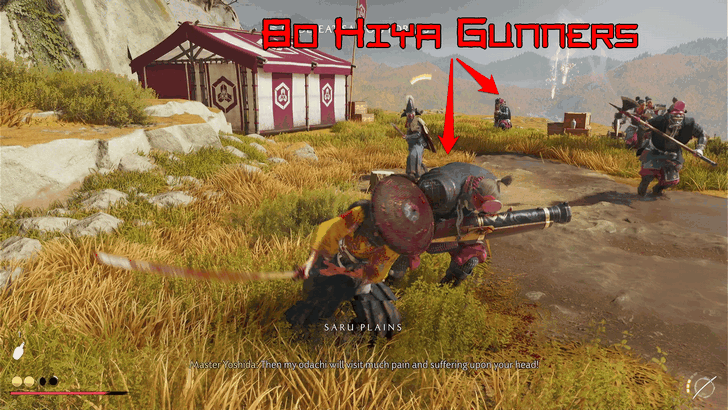 Defeat all of the enemies in the area while focusing on the Bo-Hiya gunners first. A cutscene will ensue after the fight, and ends the quest after. You can proceed with following Master Yoshida to continue the Way of the Odachi. |
5. Eliminate the Oni and the Kitsune
| Chapter 1 Yotei Six Members | |
|---|---|
| The Oni | The Kitsune |
The next questline for the Saito Brothers won't be accessible until the start of Chapter 2 in Atsu's Journey. In the meantime, it would be wise to go after the Oni and the Kitsune to dwindle the numbers and influence of the Yotei Six.
Part 2: Ghosts of the Past
| Ghosts of the Past Objectives |
|---|
|
1. Reminisce with Jubei 2. Meet Jubei at the Oshima Coast Gatehouse |
1. Reminisce with Jubei

Return home to find Jubei standing by the cenral tree. Speak to him to watch the flashbacks form that fateful night with the Yotei Six. Continue following him around your home, looking out over hills and even playing zeni kajiki with him.
The final cutscene in this sequence will be introducing Oyuki to him, to which he will react violently. The Saito Brothers will be on the move to attack Matsumae Castle, and he will rush there to help.
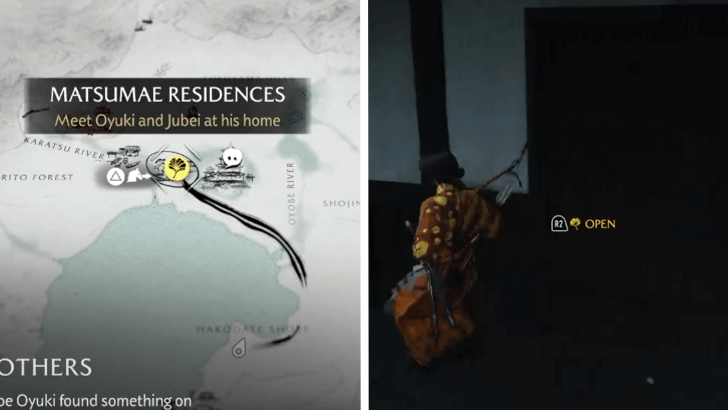
2. Meet Jubei at the Oshima Coast Gatehouse
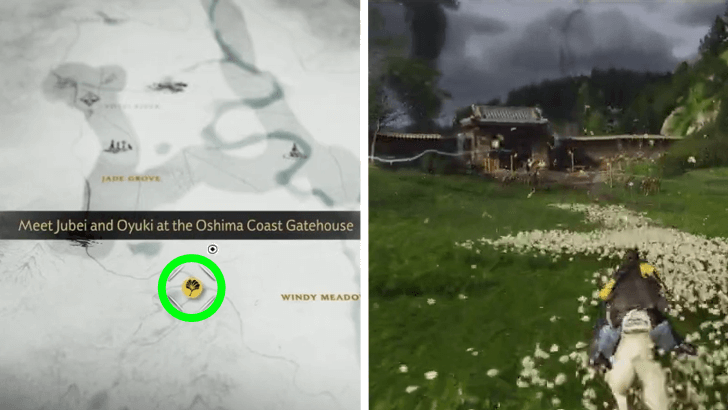
Ride to the Oshima Coast Gatehouse to meet up with Jubei and offer him assistance. Oyuki will already be there so open the gate together and find Matsumae corpses scattered about. You need to find your brother, and fast.
Part 3: The Storm Breaks
| The Storm Breaks Objectives |
|---|
|
1. Assist Jubei and Charge Through Saito's Men 2. Kill the Gunners and Next Wave of Enemies 3. Proceed into the Battlefield Proper 4. Reach the Gate 5. Shoot the Barrels and Kill the Outlaws |
1. Assist Jubei and Charge Through Saito's Men
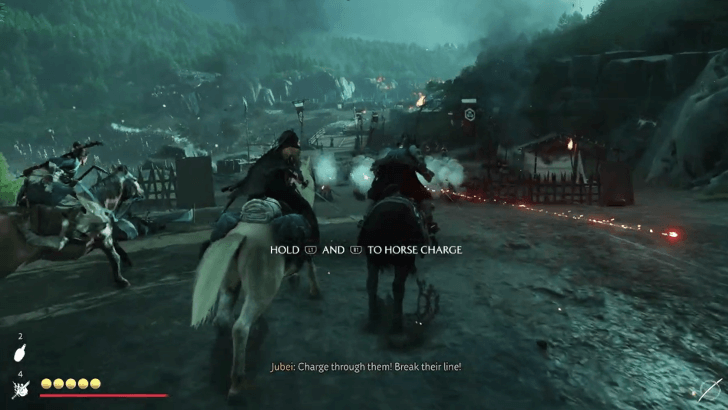
You and Oyuki will rush to meet Jubei at a ruined village and he will brief you of the situation. Ride with him and his infantry to confront Saito's outlaws.
Use the Horse Charge ability by pressing L1 and R1 simultaneously to charge through the wall of gunners in your path. Afterwards, cut down all the remaining enemies.
2. Kill the Gunners and Next Wave of Enemies
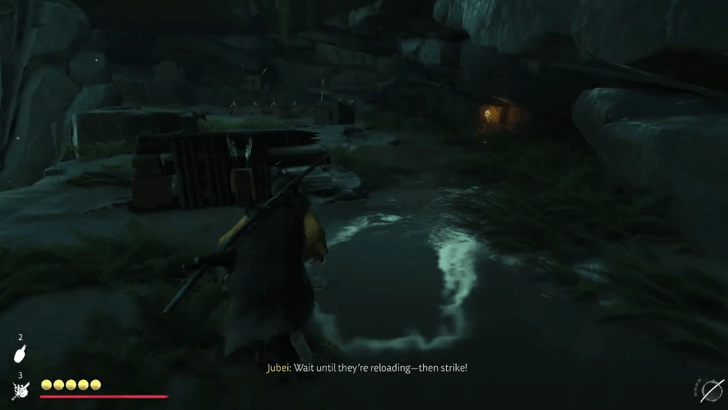
After the initial wave of enemies, continue onward until you reach a cliffside manned by shield gunners.
Use the covers provided and wait until the gunners reload, then either move from cover to cover until you reach them to dispose of them, or use your bow to kill them from a distance. Backup will soon arrive, so cut them down as well.
3. Proceed into the Battlefield Proper
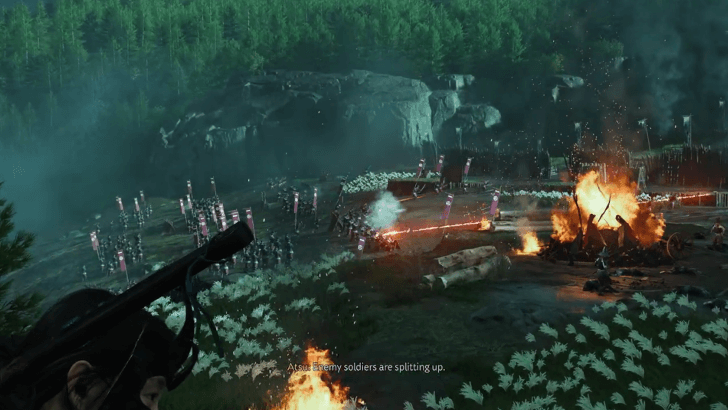
Once the wave of enemies has been dealt with, follow the path until you reach a gap in the wall you can squeeze through to the battlefield proper.
Use this opportunity to observe the battlefield's point of interests and strategize your approach before storming the Saito Brothers' armies.
4. Reach the Gate
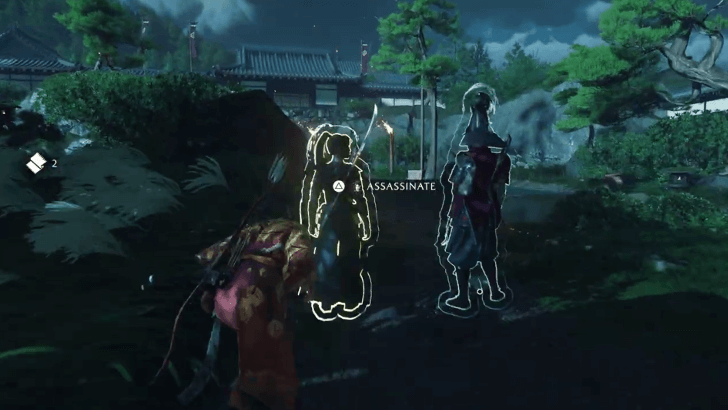
The group will ultimately decide to use the cover of night to reach the gate. You can fight them head-on or follow the plan and reach the gate covertly.
Try to assassinate with Oyuki or use the Chain Assassination technique to kill multiple enemies at once. You can follow the steps below for the stealth playthrough.
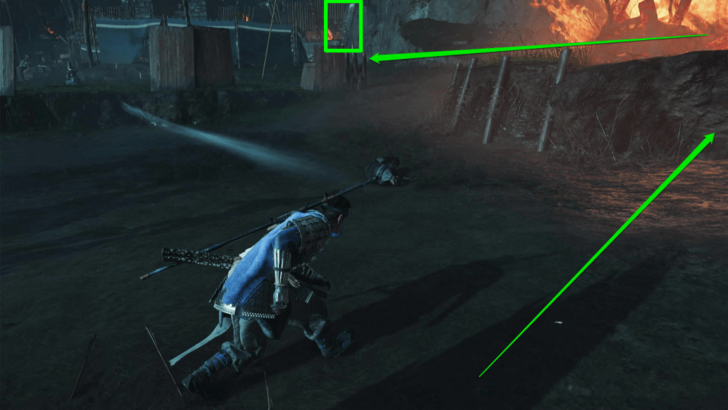
| 4.1 | Pass Through the Wall on the Right |
|---|---|
 Sneak to the right while keeping hidden and try to scale slowly to the wall with a cart. Use the cart to go past the first wall without being seen or taking anyone out. |
|
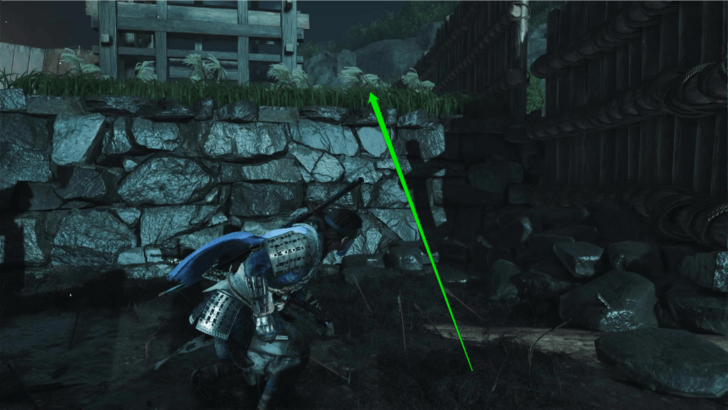
| 4.2 | Reach the Scalable Cliff on the Right |
 Continue your path on the right until you reach the climbable cliff next to the tall grass. Again, do it slowly to avoid getting seen. |
|
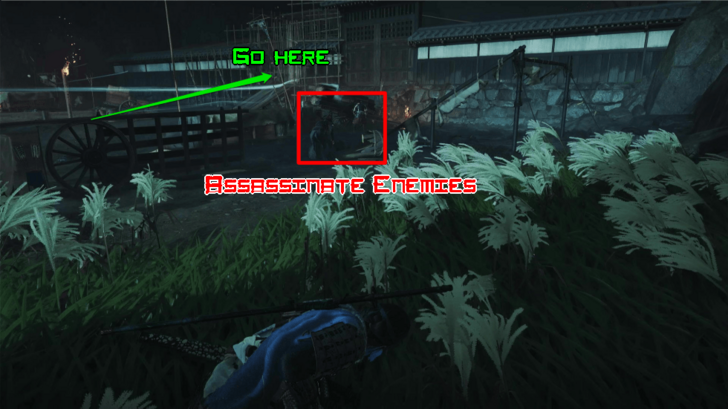
| 4.2 | Climb and Assassinate the Outlaws |
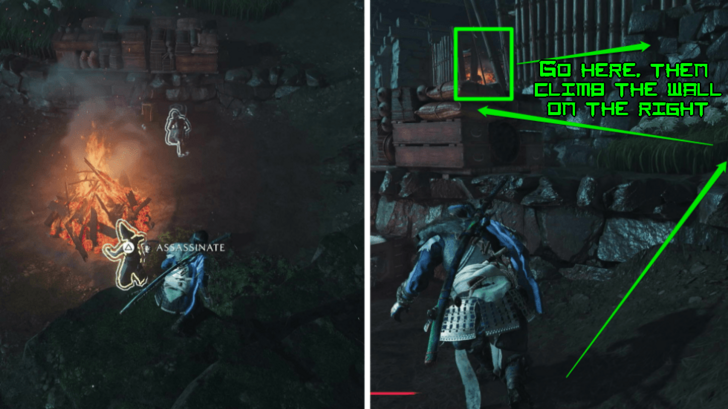 Cllimb the wall and assassinate the Outlaws camping below. After that, head to the broken wall near one of the main gates. |
|
| 4.3 | Pass Through the Broken Wall |
 Climb on the wall on the right after passing through the wall. Stay and observe the two outlaws before making any move. |
|
| 4.4 | Head to the Scaffolding |
 Take out two outlaws in the way and slowly walk towards the scaffolding next to the gate. This should get you to the other side and progress to the next sequence. |
5. Shoot the Barrels and Kill the Outlaws
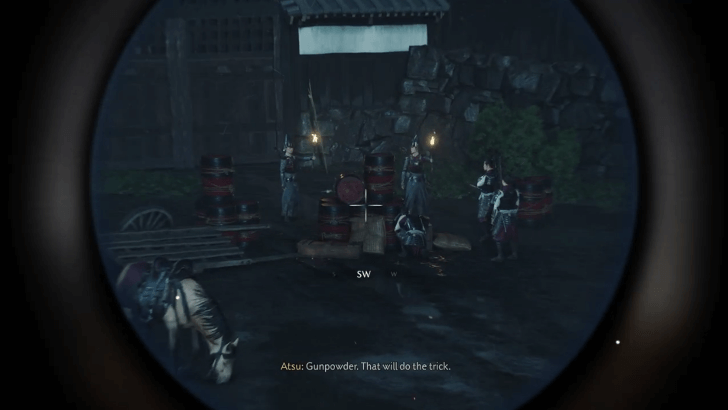
Jubei will ask you to cover for him and give you the Tanegashima. Perched on the roof, wait for Jubei to approach the soldiers then scope out the explosive barrels in the distance to temporarily distract your enemies.
Keep providing support from the above using the Tanegashima to take out the enemies. It should only take them one or two shots to kill them.
Part 4: Echoes of the Storm
| Echoes of the Storm Objectives |
|---|
|
1. Meet the Matsumae at Benten Port and Walk With Kiku 2. Get to Know Kiku 3. Infiltrate the Armory 4. Acquire the Medicine 5. Follow the Matsumae Soldier and Speak to Commander Wada 6. Seize the Hadokate Lighthouse 7. Pursue the Dragon |
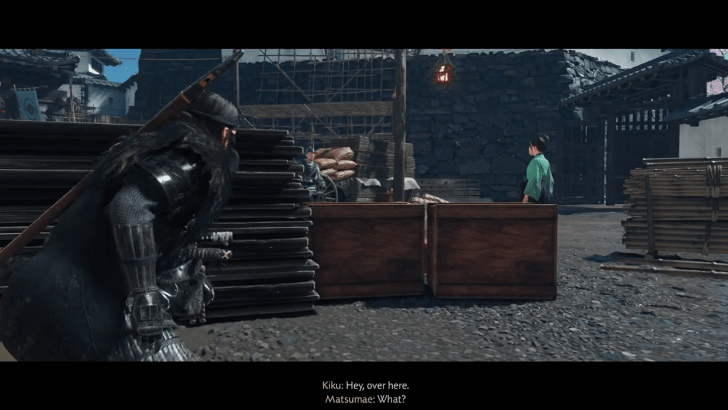
1. Meet the Matsumae at Benten Port and Walk With Kiku
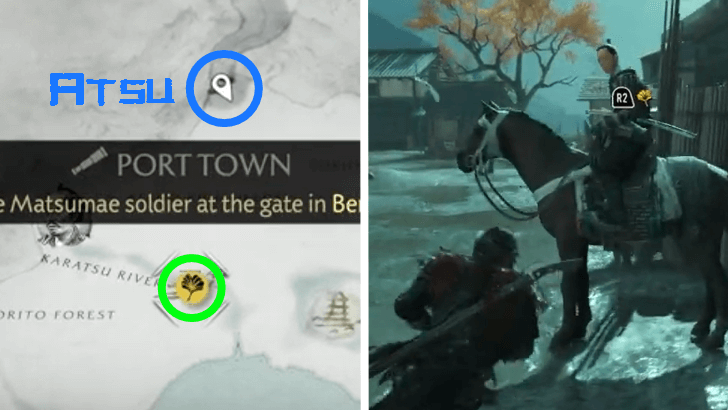
Go to Benten Port and speak to the Matsumae on the horse to start the quest. He'll escort you to Matsumae Castle where Jubei and Kiku are waiting for you. As Jubei reports to his commander, Kiku will ask for your help in picking flowers for her arrangement.
2. Get to Know Kiku
Your walk with Kiku will prove to be a fruitful one. Check the surrounding flowers and help pick some for Kiku's flower arrangement, paying attention to what each symbolizes. Once you pick three, place them in the vase.
Kiku will then ask you to follow her to a horse that she helped save. She'll then lead you to the armory's entrance where people are flocking, demanding medicine. Kiku will ask for your help in breaking into the armory to acquire medicine for those in need.
3. Infiltrate the Armory
Follow Kiku into the armory's entrance where she'll distract the guards and send them away. Attempt to open the large gate to the armory to find it locked, prompting you and Kiku to find another way around.
4. Acquire the Medicine
| 4.1 | Grapple onto the Slackline and Cross |
|---|---|
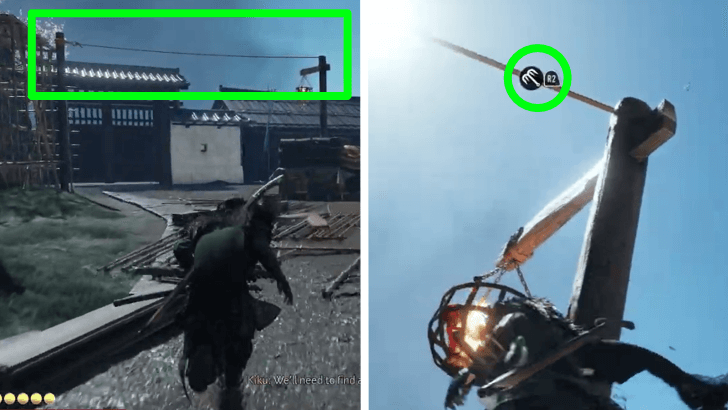 Turn around to find a slackline you can grapple onto. Do so and use it to get to the wooden scaffolding ahead. |
|
| 4.2 | Grapple onto the Second Slackline and Cross |
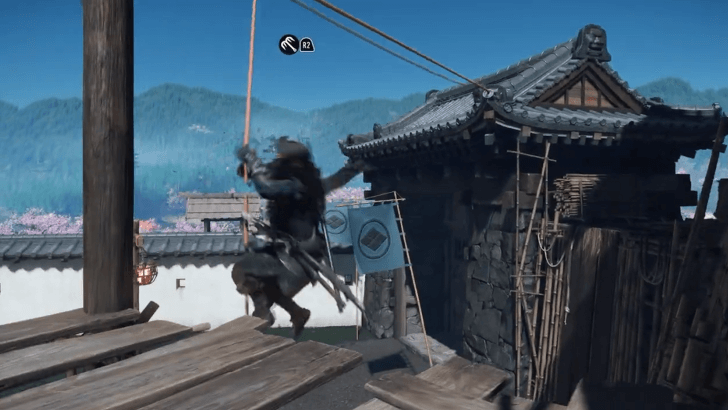 Grapple onto the second slackline and cross over to the roof ahead. |
|
| 4.3 | Drop Down and Pick Kiku Up |
 Drop down onto the platform below and pick Kiku up. |
|
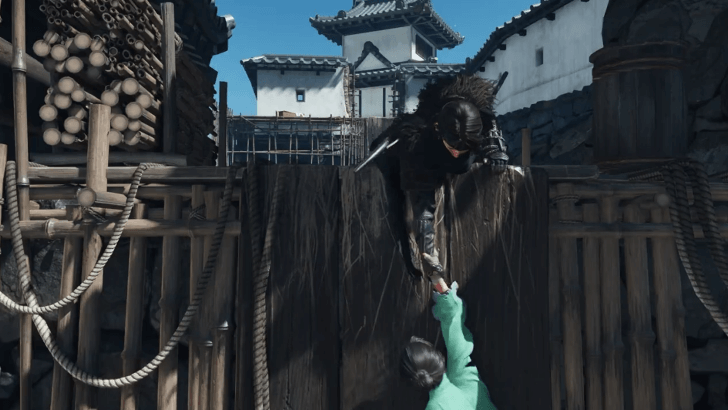
| 4.4 | Boost Kiku into the Storage Room |
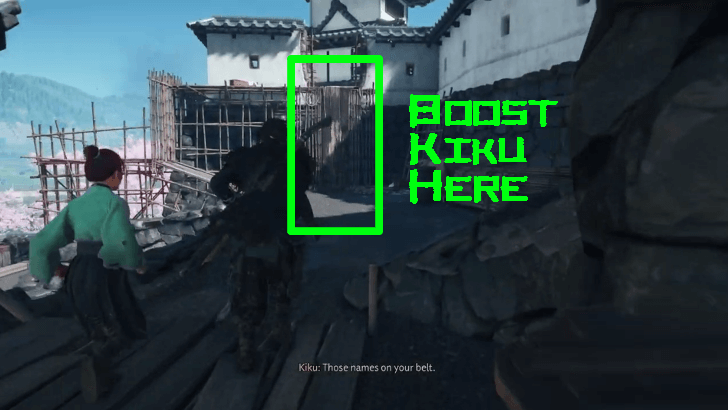 Spot the frayed wooden wall in front of you. Boost Kiku up to the storage room area, but you'll be too heavy for her to pick up. You'll have to find another way around. |
|
| 4.5 | Squeeze Through the Barricade |
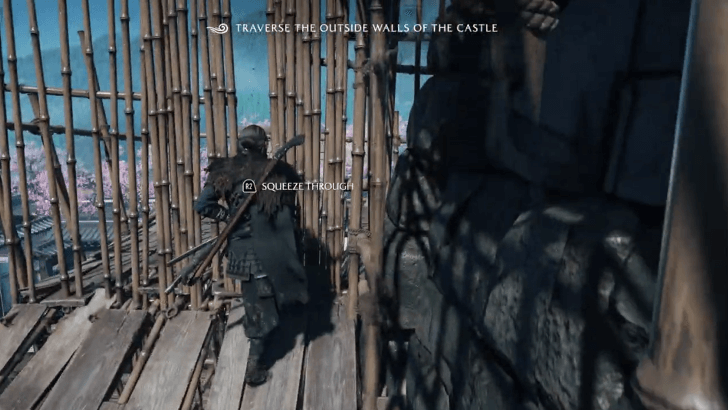 Look to the left and spot a bamboo barricade with a gap you can squeeze through, so do so. |
|
| 4.6 | Grapple Your Way Across the Gap |
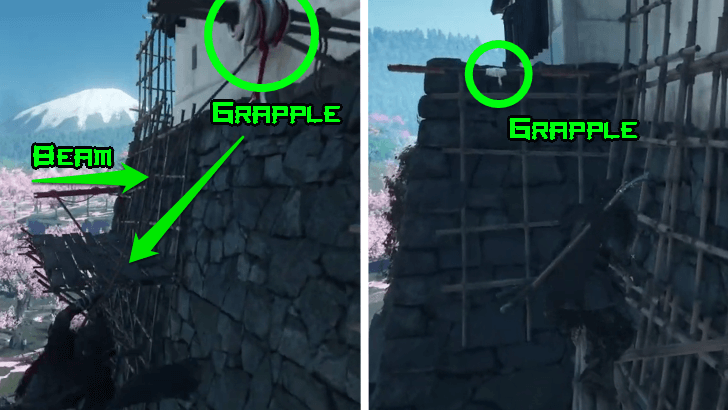 Look to your right and spot a grapple point. Swing across to the wodden scaffolding and hop onto the beam just ahead. Cross the beam and spot another grapple point at the cup of the ledge ahead. Latch onto it and climb up. |
|
| 4.7 | Use the Handholds to Go Around the Storage |
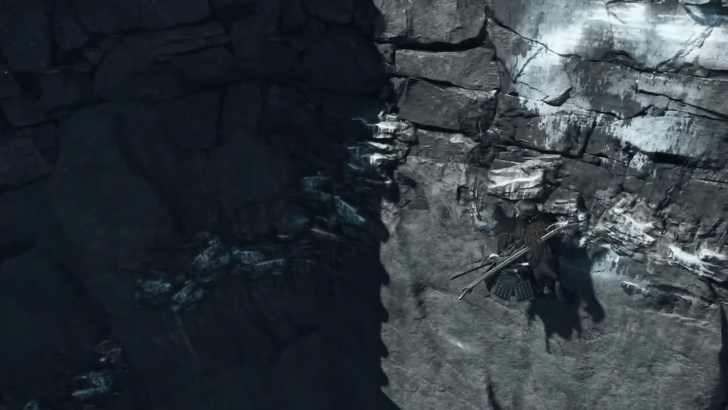 Go around the storage room, speaking to Kiku if you wish, then drop down and use the handholds by the side of the cliff face to get to the entrance of the storage room. Pull up and enter once you're there. |
|
| 4.8 | Enter the Storage Room and Acquire the Medicine |
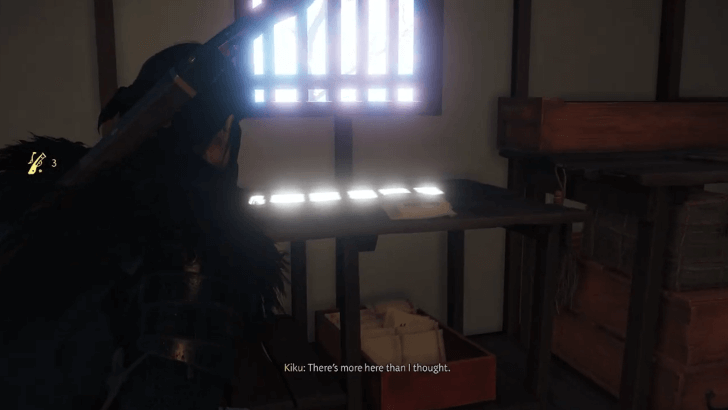 Enter the storage room with Kiku, climb the second floor, and grab the medicine. |
5. Follow the Matsumae Soldier and Speak to Commander Wada
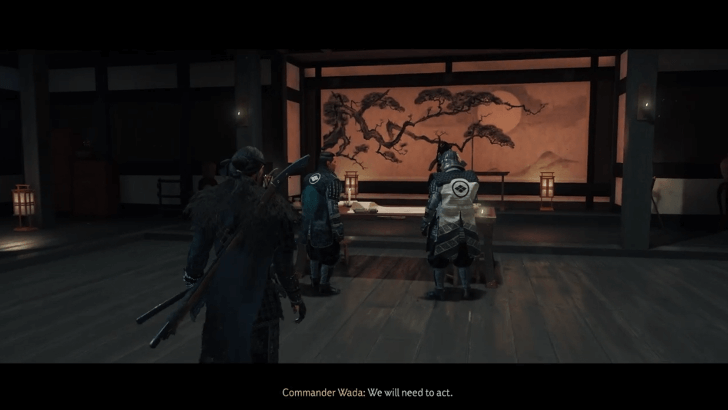
You'll eventually be caught red-handed, but the soldiers will let it slide, thanks to Kiku. You will be informed that Commander Wada wishes to speak to you in the keep, so follow the soldier there.
You will then be briefed on the plan to take back the Hadokate Lighthouse and take the Dragon's head.
6. Seize the Hadokate Lighthouse
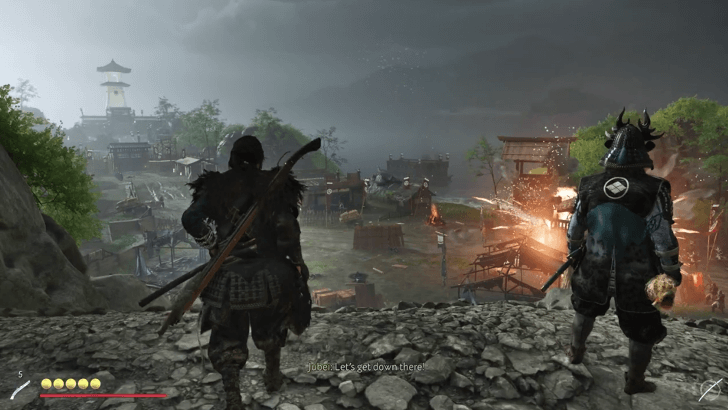
Ride with Jubei to the Hadokate Lighthouse. He'll tell the Matsumae to position themselves by the entrance while he leads you to an overlook to the left. Climb the rocks with him and observe the lighthouse compound with your spyglass.
After finding the Dragon, the assault will begin. Slide down and cut down any enemy that stands in your way.
7. Pursue the Dragon
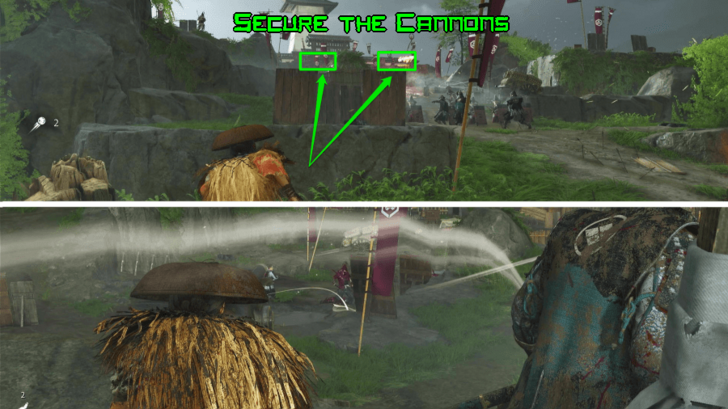
Defeat alll enemies and pursue the Dragon beyond the gate. The best way to clear this area quickly is to secure the Cannons (Bo-Hiya) near the gate. You can ignore the gunners but make sure to use the cover while going for the cannons. Watch out for the firing command before moving to avoid getting hit.
Watch the brief cutscene, then rush to the lighthouse. Make sure to dodge away from the Dragon's bullet, then pursue him into the lighthouse. You'll clash but he'll escape, leaving the lighthouse to the Matsumae. This will conclude the subquest.
Part 5: To Catch a Spider
| To Catch a Spider Objectives |
|---|
|
1. Meet with Jubei and Oyuki 2. Meet Oyuki Near the Tamura Estate 3. Follow Kiku 4. Make Your Way to the Guesthouse 5. Defeat the Spider |
1. Meet with Jubei and Oyuki
Travel to Matsumae Castle and enter Jubei's house where you will all convene about the next steps to taking down the Saito Brothers.
A way to lure out the Dragon is by seizing the Spider at the Tamura Estate, now turned drug den and brothel. Speak to Jubei outside if you wish, then ride to the gardens near the estate and meet Oyuki.
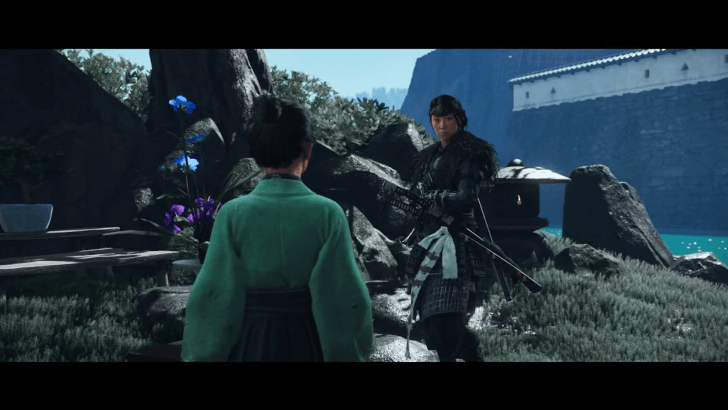
2. Meet Oyuki Near the Tamura Estate
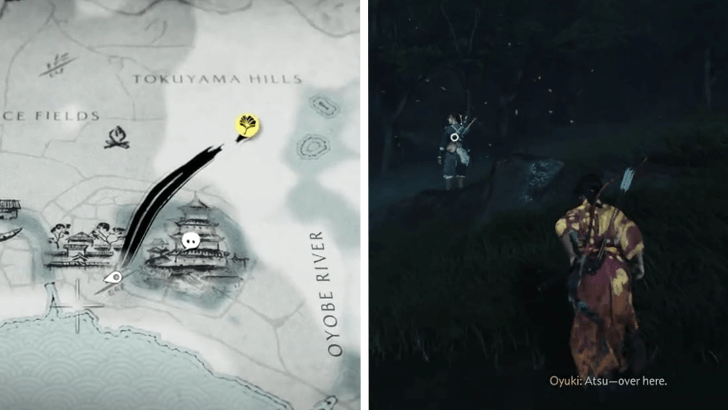
Meet with Oyuki at the forest near the Tamura Estate. She'll brief you on the situation, then mount your horse again and ride with her to the front of the estate. Kiku will show up and offer to help you get inside.
3. Follow Kiku
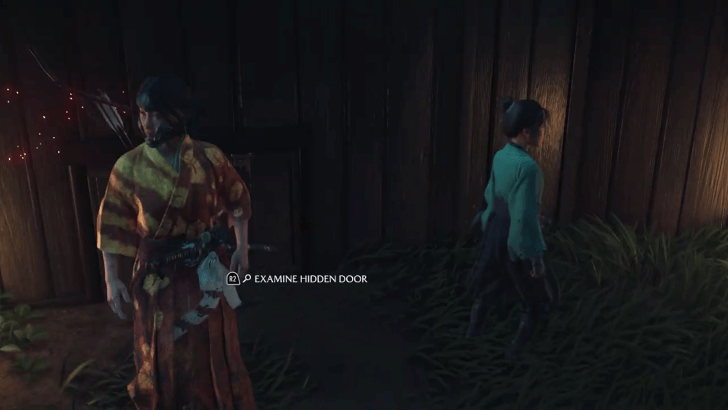
Follow Kiku to an overlook and use your spyglass to determine your next steps. You can infiltrate the estate via the servants' quarters.
Then go through the dark gardens to get to the guesthouse, then disguise yourself as a masked performer and get close to the Spider, who is in the main house. Keep following Kiku until you reach a hidden entrance.
4. Make Your Way to the Guesthouse
Once you're inside, either sneak past the soldiers or assassinate them with the help of Oyuki. The path is quite straightforward, save for the soldiers crawling all over the place.
Once you reach the final camp, look to the shrine and boost Oyuki up the ledge so she can pull you up. Enter the guesthouse for a cutscene.
5. Defeat the Spider
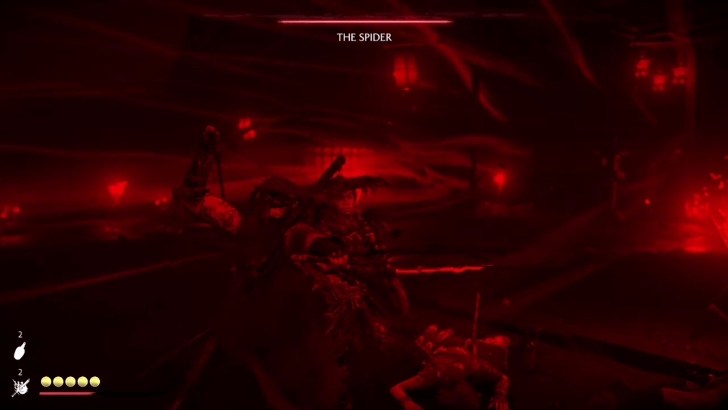
Face the Spider in battle and defeat him. This also becomes your introduction to the Ghost Stance which you should use right off the bat. Try to damage The Spider using the Ghost Stance instead of taking out the outlaws with it to finish the fight quickly.
Recharge your Ghost Stance by killing the outlaws and use it again on the Spider. Be sure not to get hit to prevent your Ghost Stance meter from resetting.
Part 6: A Wolf's Pack
| A Wolf's Pack Objectives |
|---|
|
1. Speak to the Spider back at Matsumae Castle 2. Spar with Kiku 3. Go to the Temple Overlook and Create a Map 4. Spend Time with Kiku 5. Spend Time with Your Family |
1. Speak to the Spider back at Matsumae Castle
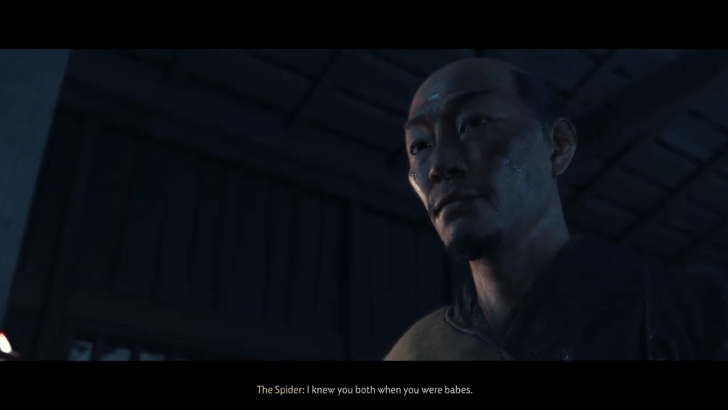
With the Spider in custody, go to his cell at Matsumae Castle and speak to him after the cutscenes. After that, go to the stables to speak to Kiku, then ride for Orito Forest.
2. Spar with Kiku
Meet Jubei, Oyuki and Kiku at the Weeping Sakura Graveyard in the Orito Forest. Before ascending the mountain, Jubei will suggest sparring with Kiku to teach her how to fight.
During the duel, it would be best to opt for defense and counterattack to win it since Kiku's attack patterns are pretty easy to predict.
3. Go to the Temple Overlook and Create a Map
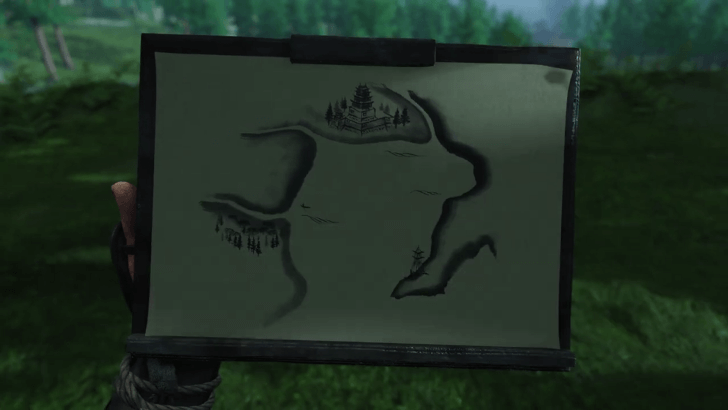
Travel with Jubei and Kiku to an overlook near the Seianji Temple where Oyuki is waiting. From the outlook, use your spyglass to observe Matsumae Castle, the lighthouse you liberated from the Dragon, and Oiso Fishing Village.
Oyuki will then instruct you to make a map using these landmarks. Use the touchpad to draw the map and complete this objective.
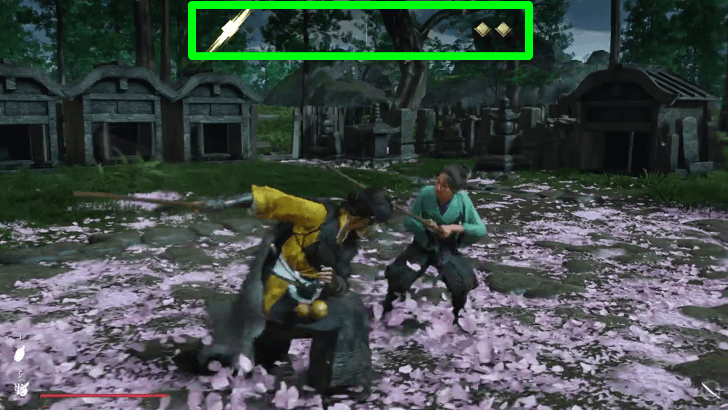
4. Spend Time with Kiku
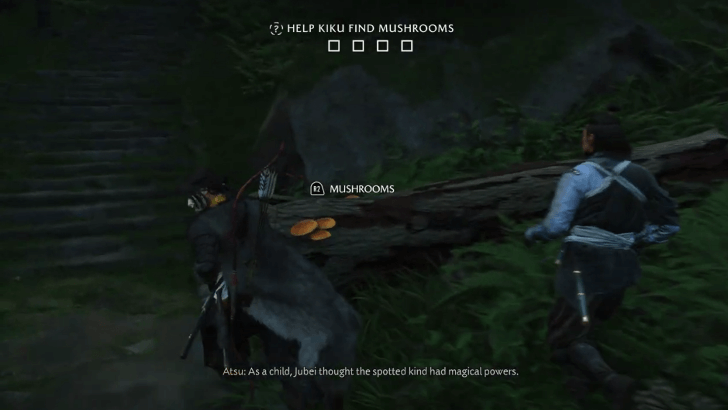
Now that the sun is about to set, it's time for dinner. Help Kiku forage for mushrooms. Keep an eye on the meter on top of the screen to check your progress. Afterwards, return to the temple.
On your way back, you'll encounter the wolf that's been tailing Atsu all throughout her journey. Follow it with Kiku to a hidden barricaded clearing. Watch the cutscene, follow the path forward back to Oyuki and Jubei, then make your way to Seianji Temple.
5. Spend Time with Your Family
The group will settle around a campfire for the night. Start a fire, cook some food, and write a song with your family on this rare, peaceful occasion.
Part 7: The Reckoning
| A Wolf's Pack Objectives |
|---|
|
1. Stage the Spider's Execution 2. Defeat the Dragon 3. Find Your Family |
1. Stage the Spider's Execution
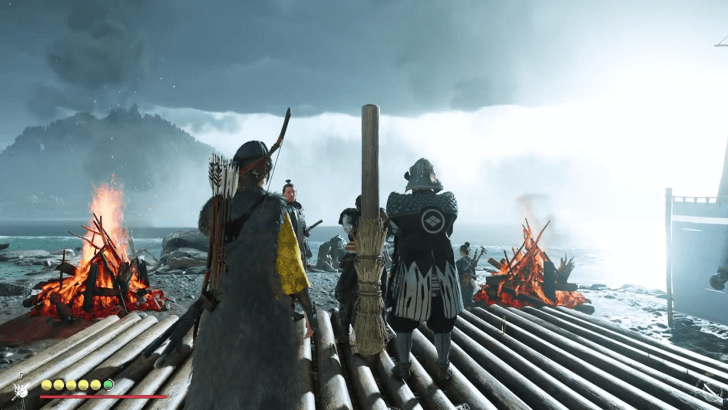
Meet Jubei and Commander Wada at the Matsumae Castle Keep and begin staging the Spider's execution to draw out the Dragon. Walk with the group until you get to the execution stage at the beach.
2. Defeat the Dragon
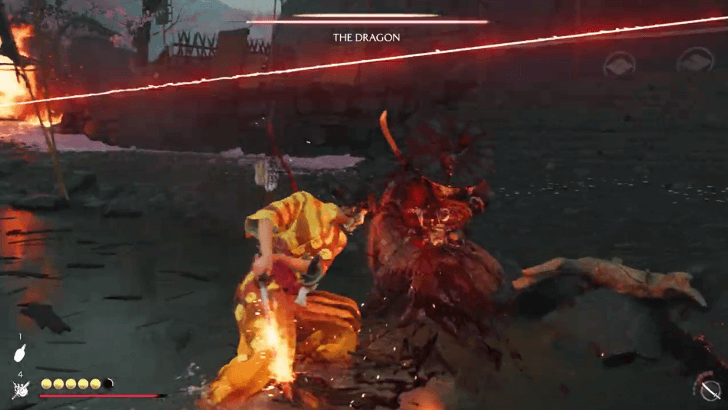
As one would expect, the plan works, albeit with heavy consequences. After the cutscene and assault on Matsumae Castle, the Dragon will come out of hiding and face you in battle. Kill him.
3. Find Your Family
Race to Matsumae Castle and go after the Spider. Kill the soldier in your way and make a beeline for the keep. Watch the cutscenes once you reach it.
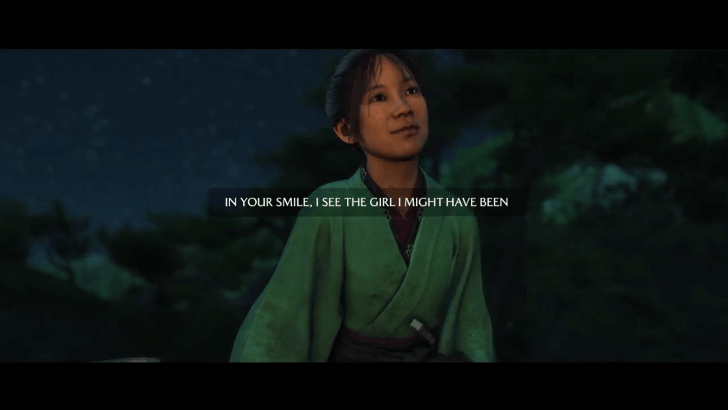
Afterwards, Atsu will automatically be at Seianji Temple. Rush ahead and follow the path to look for your family. Upon reaching the temple, only Kiku will be there, so speak to her. Once the next set of cutscenes are done, ride home with Kiku.
Atsu will then tell the entire story of her family to Kiku and come to a realization about her revenge, which will mark the start of Chapter 3.
Saito Brothers Quest Rewards
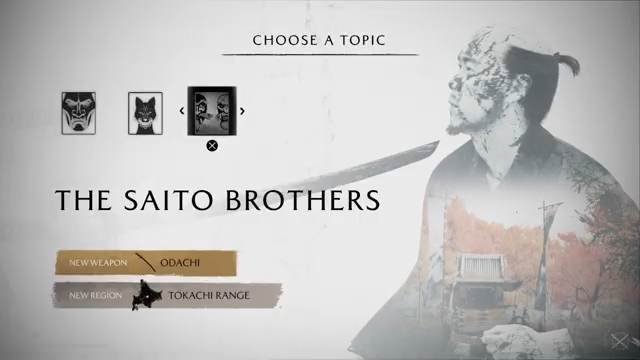
New Weapon: Odachi
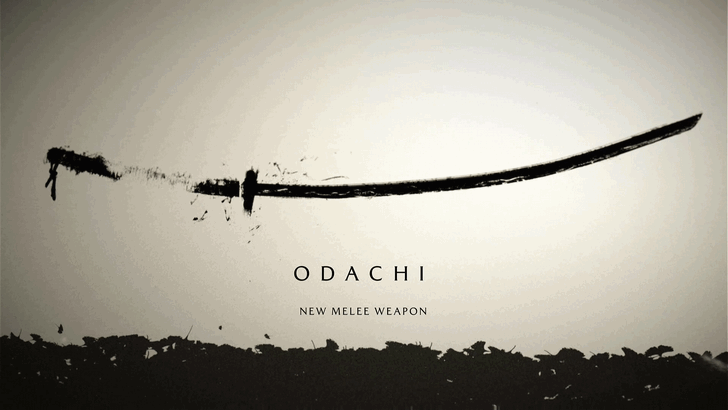
You'll be able to add the Odachi to your arsenal at the beginning of this quest in Master Yoshida's dojo.
New Weapon: Tanegashima
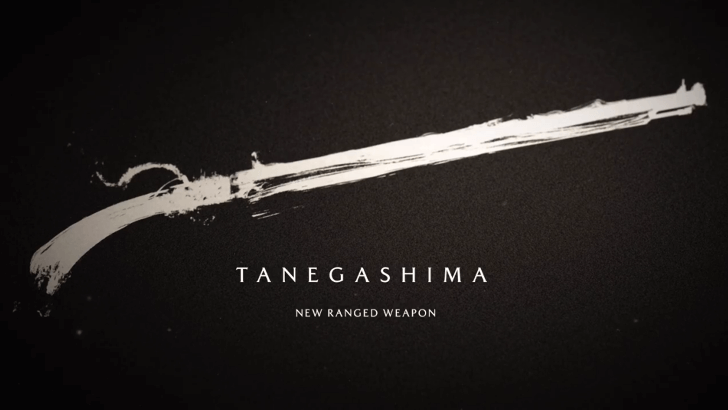
The Tanegashima is a new Quickfire ranged weapon that fires off powerful bullets but takes time to reload. Jubei will give this to you in Part 3 of the Saito Brothers questline.
How to Get the Tanegashima Matchlock
Ghost Stance
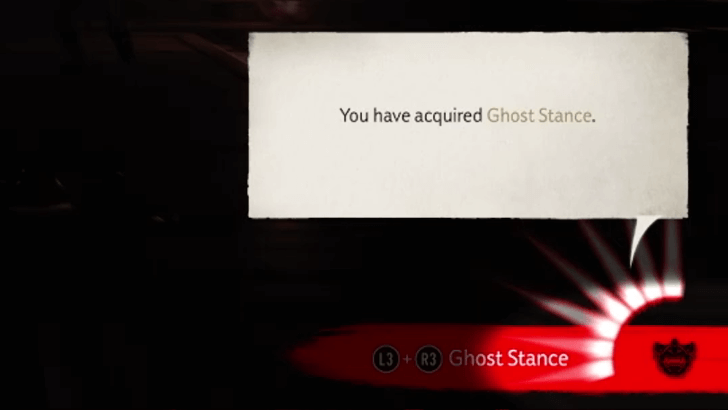
The classic Ghost Stance becomes unlocked the moment you face the Spider in Part 5 of the Saito Brothers questline, which, unlike the Onryo's Howl, allows you to instantly kill 3 enemies.
Onryo Armor Upgrade

Defeating the Spider will upgrade your Onryo Armor, increasing your chances of terrifying enemies. Your Wolf's Call ability will also improve.
Ashen Blood Mask
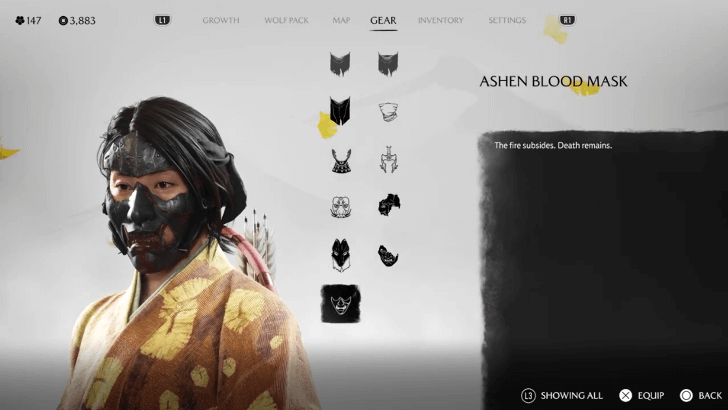
Defeating the Dragon will reward you with the Ashen Blood Mask vanity gear, which you can get by visiting the Gift Altar after Part 7 of the Saito Brothers questline.
The Dragon's Empire Dye
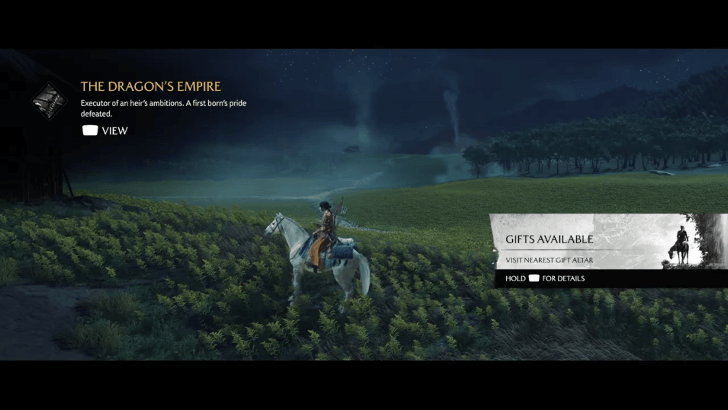
Defeating the Dragon will also reward you with the Dragon's Empire dye, which changes your outfit's overall color scheme.
How to Get The Dragon's Empire
Trophies and Achievements
| ✔️ | Trophy | Details |
|---|---|---|
|
|
Cut down the favored firstborn. | |
|
|
Relive the Night of the Burning Tree. |
How to Unlock Saito Brothers Questline
Interrogate Ronin During the Yotei Six Quest
After completing the Old Inn quest and receiving the clue cards about the Yotei Six from the Settler, you must defeat ronin groups and interrogate them to acquire leads about each member.
Ghost of Yotei Related Guides

| Chapter | Quests |
|---|---|
| Prologue | ① The Snake |
| Chapter 1 | ② The Old Inn
③ The Way of Dual Katana ④ Saito ⑤ The Yotei Six ⑥ The Oni ⑦ The Kitsune ⑧ The Saito Brothers (Part 1) |
| Chapter 2 | ⑨ The Saito Brothers (Part 2) |
| Chapter 3 | ⑩ Call of the Hunt ⑪ The Final Hunt of the Onryo |
Comment
Author

Saito Brothers Quest Walkthrough
Rankings
- We could not find the message board you were looking for.
Gaming News

![Star Savior Review [First Impressions] | Engaging, Entertaining, and Expensive](https://img.game8.co/4447603/8f500e9bf666bdb8adb1af478e9dfdbd.png/show)


Popular Games

Genshin Impact Walkthrough & Guides Wiki
Umamusume: Pretty Derby Walkthrough & Guides Wiki
Crimson Desert Walkthrough & Guides Wiki
Monster Hunter Stories 3: Twisted Reflection Walkthrough & Guides Wiki
Honkai: Star Rail Walkthrough & Guides Wiki
Pokemon Pokopia Walkthrough & Guides Wiki
The Seven Deadly Sins: Origin Walkthrough & Guides Wiki
Wuthering Waves Walkthrough & Guides Wiki
Zenless Zone Zero Walkthrough & Guides Wiki
Arknights: Endfield Walkthrough & Guides Wiki


Recommended Games
Fire Emblem Heroes (FEH) Walkthrough & Guides Wiki
Diablo 4: Vessel of Hatred Walkthrough & Guides Wiki
Cyberpunk 2077: Ultimate Edition Walkthrough & Guides Wiki
Yu-Gi-Oh! Master Duel Walkthrough & Guides Wiki
Super Smash Bros. Ultimate Walkthrough & Guides Wiki
Pokemon Brilliant Diamond and Shining Pearl (BDSP) Walkthrough & Guides Wiki
Elden Ring Shadow of the Erdtree Walkthrough & Guides Wiki
Monster Hunter World Walkthrough & Guides Wiki
The Legend of Zelda: Tears of the Kingdom Walkthrough & Guides Wiki
Persona 3 Reload Walkthrough & Guides Wiki


All rights reserved
©2025 Sony Interactive Entertainment LLC. Developed by Sucker Punch Productions.
The copyrights of videos of games used in our content and other intellectual property rights belong to the provider of the game.
The contents we provide on this site were created personally by members of the Game8 editorial department.
We refuse the right to reuse or repost content taken without our permission such as data or images to other sites.