The Village Finale Walkthrough and Maps
☆ The Resident Evil Requiem wiki is now live!
★ Best Weapons List
★ List of Bosses and Optional Bosses
★ List of Treasures
Here is the complete walkthrough for the finale of Resident Evil Village. Game8 has you covered for everything you need to know about the ending, including a guide on how to survive, weapon and item locations, treasure locations, enemies found in the area, and more!
| Previous | Current | Next |
|---|---|---|
| Heisenberg's Factory | Finale | DLC: Castle |
List of Contents
Finale Walkthrough
| Objectives | |
|---|---|
| 1 | Once you gain control as Chris, follow the path through the forest towards the Village. If you've been searching for every collectible, you should receive the Mapmatician trophy after speaking with the sniper. Continue on the path down to the Village, taking out the Lycans as you go. When you reach the care package in front of Luiza's house pick up all the ammo and head through the gate. |
| 2 | You will be attacked by two werewolves, gun them down and keep moving through the Village. Over at the Workshop is another set of supplies, so pick them up and move on. Your path will be blocked, go through the house next to the well and kill the Lycans. To your right are more supplies near where the path was blocked off. |
| 3 | 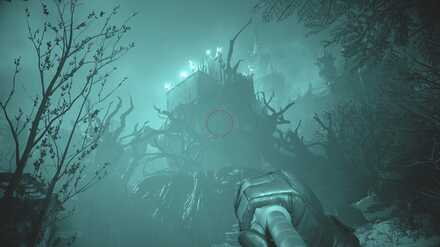 When you reach the square, use the Target Locator to mark the objective, then take down another wave of Lycans. After two more waves, call support fire again and prepare for more Lycans. After you call support fire three times, the target will blow up and you can proceed down into the newly created hole. |
| 4 | 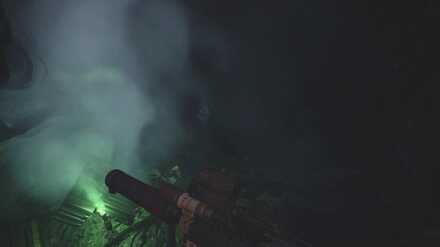 Pick up more supplies on your way down and get ready for a fight with Urias. This one is stronger and has armor on its head, so you'll need to wait until it jumps down and circle to its back. Shoot at the tentacles coming out until you can call support fire on it. Keep this up until Urias goes down, then pick up the Giant Crystal Mace it drops. |
| 5 | 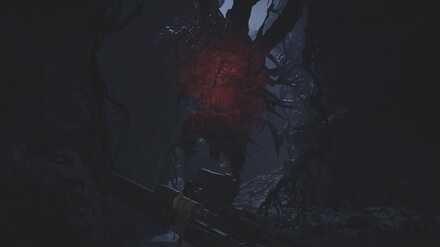 A new path will open up after Urias is defeated. Head down deeper into the cave. You'll come upon the Megamycete and a cutscene will trigger. After the scene, keep going and enter the lab. You'll come upon files on the table. Read them and break the lock on the door in the back to end this section. |
| 6 | 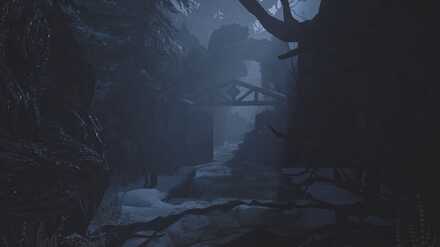 After the scene, walk straight ahead through the mist for another scene. When you gain control again, you'll be back at the Altar. Pick up the First Aid Med and ammo off the nearby crate, buy whatever you need from the Duke, and head to the Ceremony Site. |
| 7 | Now, it's time to fight Miranda in her true form. Aim for her head like any other enemy and avoid her attacks. As you deal damage, she will transform, first gaining 4 long spider-like legs, then growing wings. When she brings a large cluster of mold above her, shoot it to explode it and deal more damage. Everything will go dark and she will go under the ground. Keep an eye out for her. Shoot her when she comes up, bringing the lights back on. She will now go through each of her different forms. After dealing enough damage, she will grab you. You will be prompted to attack. Keep shooting at her, and she will finally go down. Sit back and watch the ending and get ready for New Game+. |
Fire Missiles with the Target Locator

Using the Target Locator, you can request a missile strike from your squad. The missiles will strike the location you were aiming at when the Target Locator's gauge finishes charging. Be careful, though, as if you get hit by any enemies while charging the gauge will reset and you will have to start over. Try and take care of the current wave of Lycans before using the Target Locator.
The Target Locator Can be Used on Urias Strajer
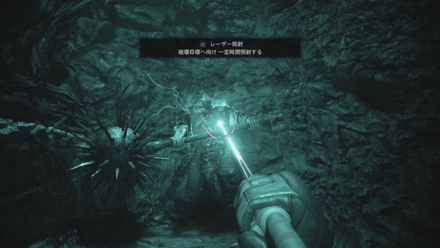
During the fight with Urias Strajer, if you wait about a minute or so, you will be able to hit him with the missiles as well. Aim at his back and wait around 30 seconds to fire off another bombardment. On Standard difficulty depending on how much you shoot at him with your regular weapons, it can take 3-4 shots from the missiles.
Can be done without missiles
This fight can also be done without calling any missiles if you wish. We started with a total of around 800 ammo and ended with 300ish. This is a pretty big waste of ammo, however, as you have access to the Target Locator. But if you're looking for a challenge, it's definitely possible.
Final Chance to Upgrade Weapons
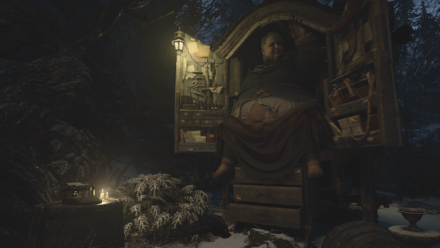
Once you head to the final boss fight, you will be unable to use the Duke's shop until you meet him again in a second playthrough. Use this chance to buy, sell, or upgrade anything you might need before going on the finish the game.
Finale Maps and Item Locations
Finale Maps and Treasure Locations
| 1F |
|---|
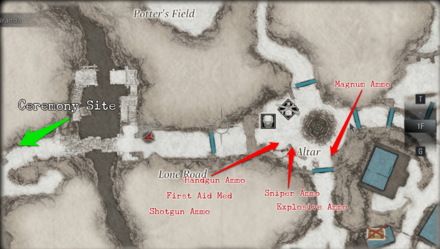 Altar |
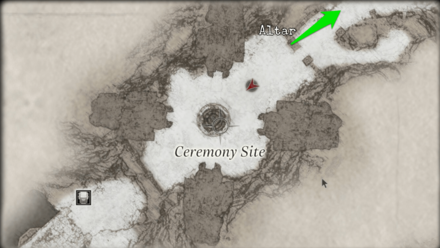 Ceremony Site |
Finale Supply Box Locations
| World View | Map View |
|---|---|
 |
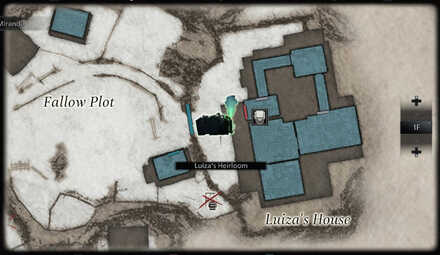 |
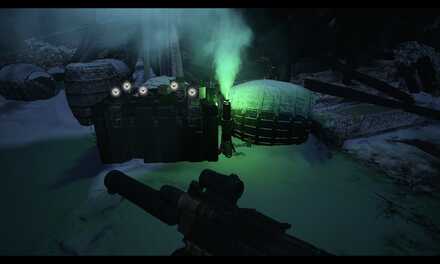
| The first supply box can be found as Chris descends into the Village. It is located in front of Luiza's house. Contents: Flash Grenade x2, Handgun Ammo x30, Rifle Ammo x200 |
|
 |
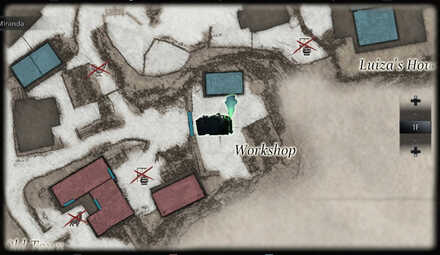 |
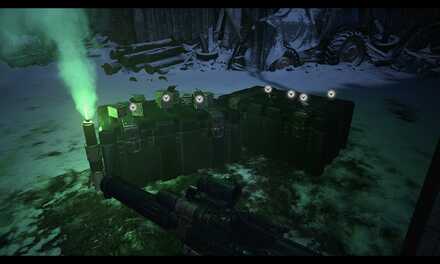
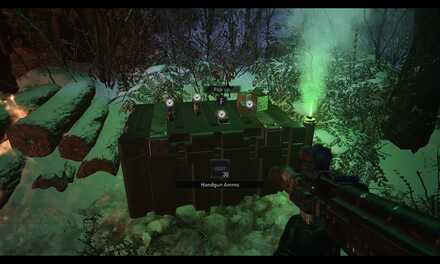
| The second supply box is found in the yard where you acquire the Jack Handle. Contents: Rifle Ammo x300, Handgun Ammo x60, Med Injector x1, Hand Grenade x1 |
|
 |
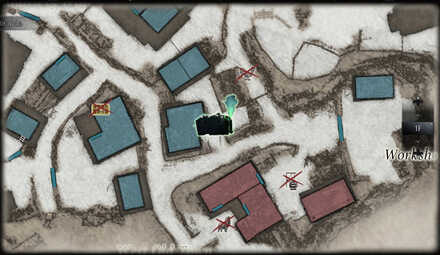 |
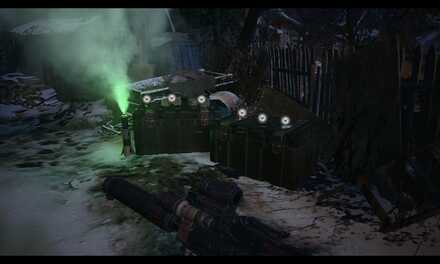
| The third supply box is found near where the truck you used the Jack Handle on used to be. Contents: Flash Grenade x2, Handgun Ammo x 30, Rifle Ammo x 200 |
|
 |
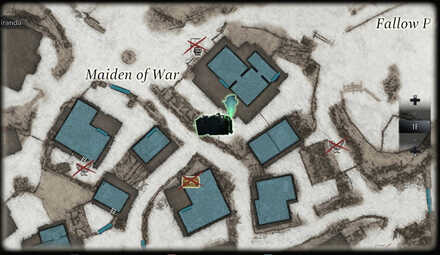 |
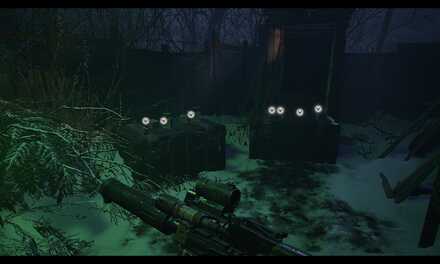
| The fourth supply box is in the yard of the house by the right of the Maiden of War. Contents: Rifle Ammo x200, Handgun Ammo x60, Med Injector x1, Hand Grenade x1 |
|
 |
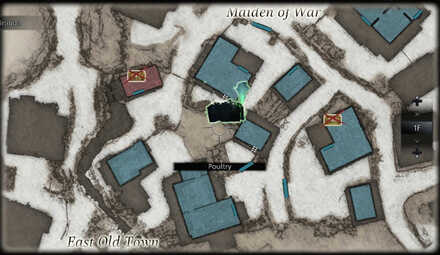 |
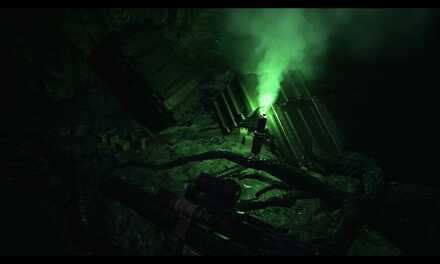
| The fifth supply box is located in the back of the house with the red chimney. Contents: Rifle Ammo x200, Handgun Ammo x60, Med Injector x1, Hand Grenade x1, Flash Grenade x1 |
|
 |
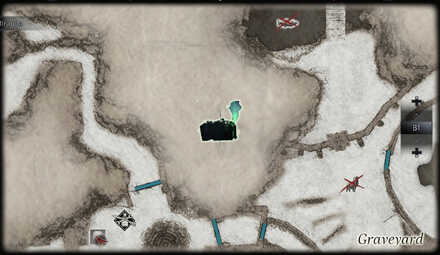 |
| The last supply box is found after destroying the Mold structure in the middle of the Village. Rifle Ammo x200, Handgun Ammo x60, Med Injector x2, Hand Grenade x3 |
|
Map Key
| Key | |
|---|---|
| Blue | Key Item |
| Green | Valuable |
| Purple | Weapon/Attachment |
| Red | Items |
| Breakable | |
| Goat | |
List of Items
| Treasures and Valuables | |
|---|---|
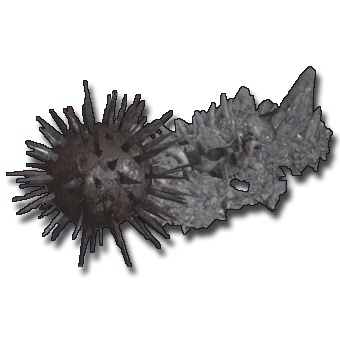 Giant Crystal Mace Giant Crystal Mace |
|
| Ammo | |
 Handgun Ammo Handgun Ammo |
 Shotgun Ammo Shotgun Ammo |
 Sniper Rifle Ammo Sniper Rifle Ammo |
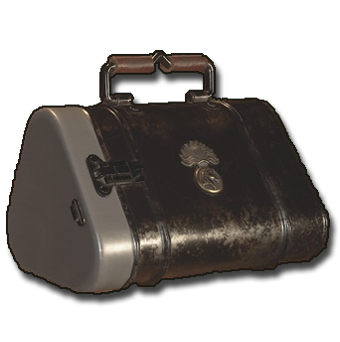 Explosive Rounds Explosive Rounds |
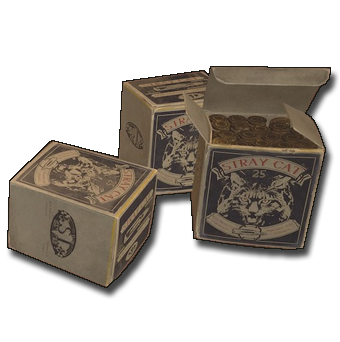 Rifle Ammo Rifle Ammo |
|
| Explosives | |
 Hand Grenade Hand Grenade |
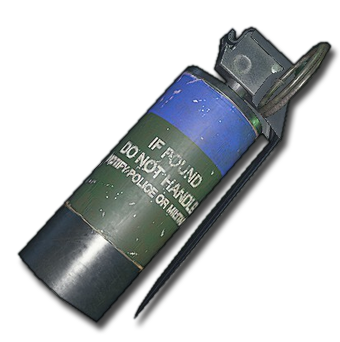 Flash Grenade Flash Grenade |
| Recovery items | |
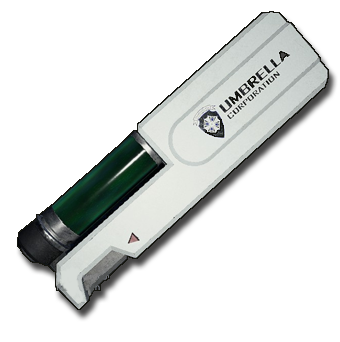 Med Injector Med Injector |
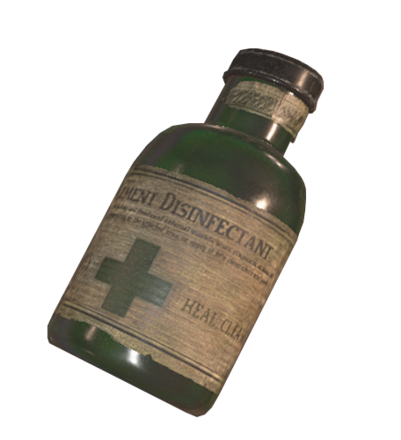 First Aid Med First Aid Med |
Finale Goats of Warding
Goat 20
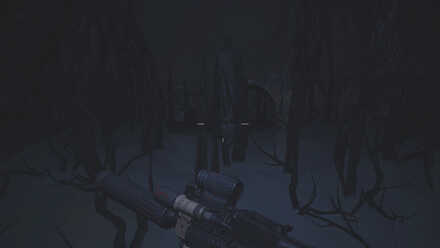 |
While you play as Chris Redfield, in the area where you meet face to face with the Megamycete, there is a noticeable statue to your right. The last Goat of Warding is by the foot of the monument.
List of All Goats of Warding and Where to Find Them
Finale Files and Locations
Moreau's Medical Report
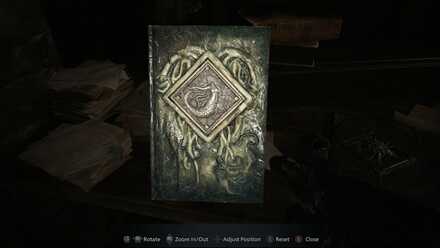 This file contains information about Moreau's evaluation as an unsuitable vessel for Eva. This file is in Miranda's Laboratory. |
Dimitrescu's Medical Report
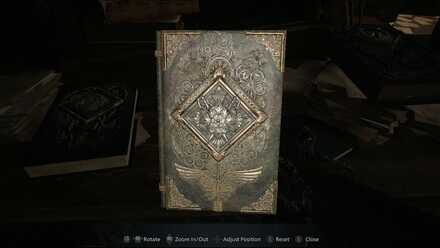 This file contains information about Lady Dimitrescu's evaluation as an unsuitable vessel for Eva. This file is in Miranda's Laboratory. |
Heisenberg's Medical Report
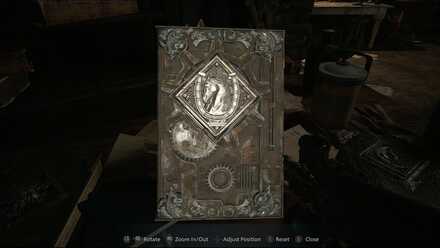 This file contains information about Heisenberg's evaluation as an unsuitable vessel for Eva. This file is in Miranda's Laboratory. |
Donna's Medical Report
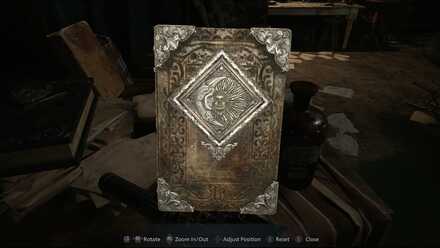 This file contains information about Donna Beneviento's evaluation as an unsuitable vessel for Eva. This file is in Miranda's Laboratory. |
Spencer's Letter
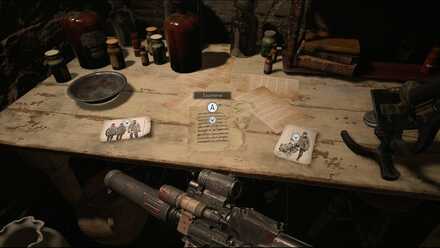 This file is a letter from Spencer about the "progenitor" in Africa. This file is in Miranda's Laboratory. |
Miranda's Diary
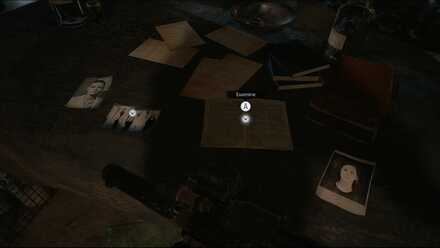 This file recalls the experience of Mother Miranda regarding the loss of her daughter, Eva. This file is in Miranda's Laboratory. |
List of All Files and Where to Find Them
Enemies Encountered in Finale
Regular Enemies
 Lycans Lycans |
 Armored Lycans Armored Lycans |
 Varcolacs Varcolacs |
Urias Strajer

Urias Strajer is the older brother of Urias, the giant werewolf you beat at the Stronghold. This Lycan is much stronger and durable than his younger brother. Use heavy gunfire to temporarily incapacitate him and deal heavy damage with the Target Locator.
How to Beat the Armored Urias Strajer
Mother Miranda

Mother Miranda is the final boss of the game. Her fight has three phases which can shift at a moment's notice to give her the upper hand. Her attack patterns are easy to study and manage but her overall resistance to damage is your biggest problem.
How to Beat Mother Miranda
Resident Evil Village Related Guides
Story Walkthroughs
| Story Guides | |
|---|---|
 Story and Plot Summary Story and Plot Summary |
 Megamycete Summary Megamycete Summary |
 Beginner's Guide Beginner's Guide |
|
| Main Story Walkthrough | |
 Prologue Prologue |
 Village Part 1 Village Part 1 |
 Mines Mines |
 Castle Dimitrescu Part 1 Castle Dimitrescu Part 1 |
 Castle Dimitrescu Part 2 Castle Dimitrescu Part 2 |
 Castle Dimitrescu Part 3 Castle Dimitrescu Part 3 |
 Castle Dimitrescu Part 4 Castle Dimitrescu Part 4 |
 Village Part 2 Village Part 2 |
 House Beneviento House Beneviento |
 Moreau's Reservoir Moreau's Reservoir |
 The Stronghold The Stronghold |
 Heisenberg's Factory Heisenberg's Factory |
 The Village Finale The Village Finale |
|
| Post Game Guides | |
| New Game Plus | Postgame Guide |
| DLC Walkthrough | |
 Castle Castle |
 House House |
 Deep Stratum Deep Stratum |
|
Demo Walkthroughs
| Demo Guides | ||
|---|---|---|
 Village Demo Village Demo |
 Castle Demo Castle Demo |
 Maiden Demo Maiden Demo |
Author
The Village Finale Walkthrough and Maps
Rankings
- We could not find the message board you were looking for.
Gaming News
Popular Games

Genshin Impact Walkthrough & Guides Wiki

Honkai: Star Rail Walkthrough & Guides Wiki

Umamusume: Pretty Derby Walkthrough & Guides Wiki

Pokemon Pokopia Walkthrough & Guides Wiki

Resident Evil Requiem (RE9) Walkthrough & Guides Wiki

Monster Hunter Wilds Walkthrough & Guides Wiki

Wuthering Waves Walkthrough & Guides Wiki

Arknights: Endfield Walkthrough & Guides Wiki

Pokemon FireRed and LeafGreen (FRLG) Walkthrough & Guides Wiki

Pokemon TCG Pocket (PTCGP) Strategies & Guides Wiki
Recommended Games

Diablo 4: Vessel of Hatred Walkthrough & Guides Wiki

Cyberpunk 2077: Ultimate Edition Walkthrough & Guides Wiki

Fire Emblem Heroes (FEH) Walkthrough & Guides Wiki

Yu-Gi-Oh! Master Duel Walkthrough & Guides Wiki

Super Smash Bros. Ultimate Walkthrough & Guides Wiki

Pokemon Brilliant Diamond and Shining Pearl (BDSP) Walkthrough & Guides Wiki

Elden Ring Shadow of the Erdtree Walkthrough & Guides Wiki

Monster Hunter World Walkthrough & Guides Wiki

The Legend of Zelda: Tears of the Kingdom Walkthrough & Guides Wiki

Persona 3 Reload Walkthrough & Guides Wiki
All rights reserved
All trademarks referenced herein are the properties of their respective owners.
©CAPCOM CO., LTD. ALL RIGHTS RESERVED.
The copyrights of videos of games used in our content and other intellectual property rights belong to the provider of the game.
The contents we provide on this site were created personally by members of the Game8 editorial department.
We refuse the right to reuse or repost content taken without our permission such as data or images to other sites.


![Monster Hunter Stories 3 Review [First Impressions] | Simply Rejuvenating](https://img.game8.co/4438641/2a31b7702bd70e78ec8efd24661dacda.jpeg/thumb)


