Castle Dimitrescu Part 4 Walkthrough and Maps
☆ The Resident Evil Requiem wiki is now live!
★ Best Weapons List
★ List of Bosses and Optional Bosses
★ List of Treasures
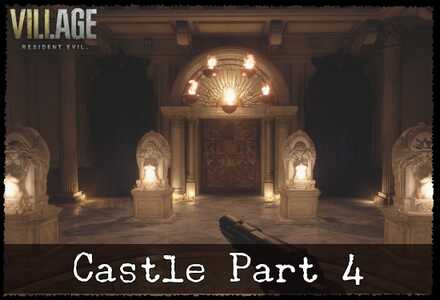
Here is the complete walkthrough for the final part of Castle Dimitrescu, an area located in Resident Evil Village. Game8 has you covered for everything you need to know about Castle Dimitrescu, including a guide on how to survive, weapon and item locations, treasure locations, enemies found in the area, and more!
| Previous | Current | Next |
|---|---|---|
| Castle Dimitrescu Part 3 |
Castle Dimitrescu Part 4 |
Village Part 2 |
List of Contents
Castle Dimitrescu Part 4 Walkthrough
| Objectives | |
|---|---|
| 1 | 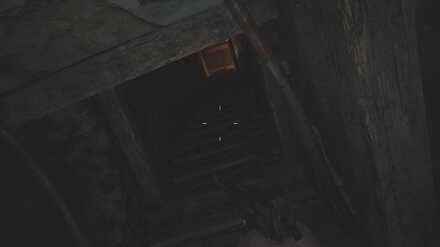 After solving the Bell Puzzle, enter the passageway and climb up the ladder into the Attic. |
| 2 | Pick up the Treasure Map from off the table . Examining it shows the location of the Treasure Room holding the Azure Eye. Move on to the next room to find the F2 Rifle. Go through the door and exit out to the Rooftops. |
| 3 | 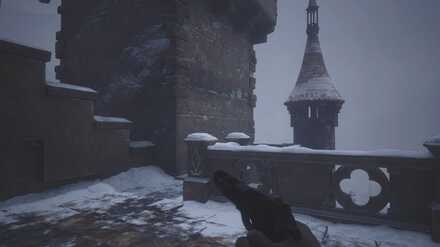 Cross to the south. You'll find an elevator that will return you to the Main Hall on the first floor. Be careful as Lady Dimitrescu may cross paths with you here. |
| 4 | Use the elevator to return downstairs to the Duke's Room and insert the Flower Swords Ball into the castle replica. Direct it to the shining light at the end to receive the Get the Ball Rolling trophy as well as a Crimson Skull. Feel free to save here before going out again |
| 5 | 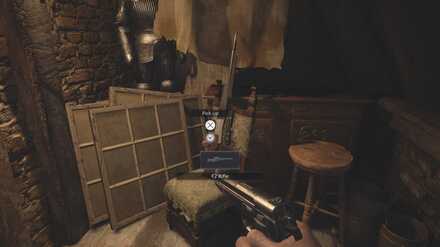 Backtrack to the elevator and return to the Rooftops. Take the southern path around to the eastern side then go up the staircase to the Belfry. |
| 8 | 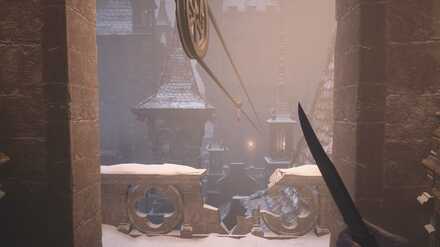 Use the zipline to cross to the Tower of Rage. |
| 9 | 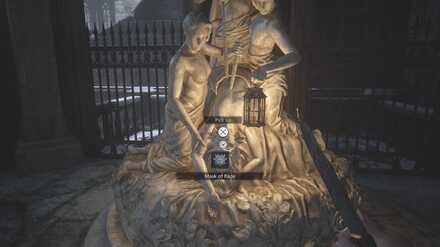 Pick up the Mask of Rage from the statue to complete your mask collection, then interact with the ladder nearby to return to the elevator. |
| 10 | 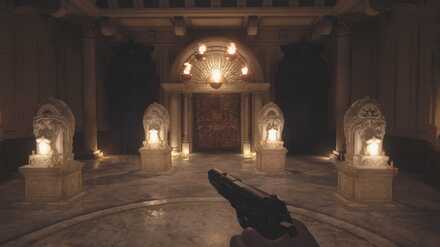 With all of the masks in hand, head back to the Hall of the Four. Place each mask in its respective statue to open the door. |
| 11 | Outside, proceed up the stairs and into the Tower of Worship. Keep in mind that this is a point of no return, and you won't be able to come back to the Castle for the rest of your playthrough, so make sure you have everything you need before continuing. |
| 12 | 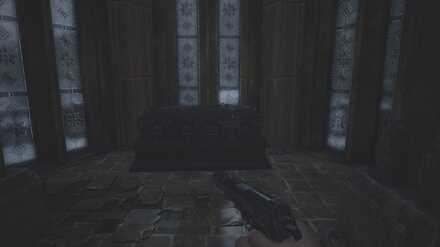 Interact with the coffin in the back and prepare to fight Lady Dimitrescu. After a cutscene, go up the stairs and enter the arena. Aim for Dimitrescu's head as much as possible with the weapon of your choosing. After a few shots, she'll go down momentarily. This makes her more open to headshots. After dealing a certain amount of damage,a short cutscene will play and you'll need to run up the stairs of the Tower. At the top is some more ammo. Some more good shots and Lady Dimitrescu will go down for good. For her defeat, you will receive a Crystal Dimitrescu. |
| 13 | 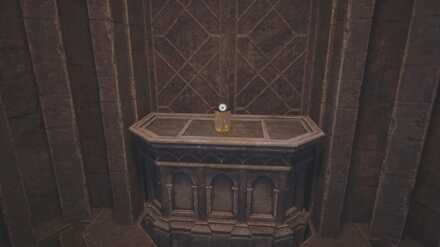 After dealing with her, you'll be below the Tower. Head to the back and pick up the Dirty Flask to open the door and finally escape Castle Dimitrescu. |
Easy to Miss Item on the Roof
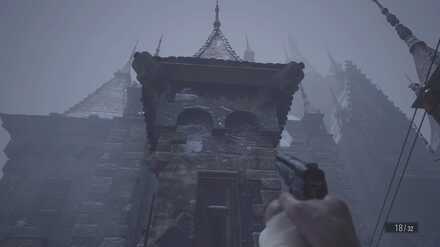
When you exit out onto the Roof, you'll be able to find 4 breakable pots as well as Gunpowder. However, those trying to fully explore the area may notice the Roof is still red on the map despite finding these items. In the middle of the area is a tower with a Crystal Fragment, so shoot it down to complete the area.
Access the Treasure Room
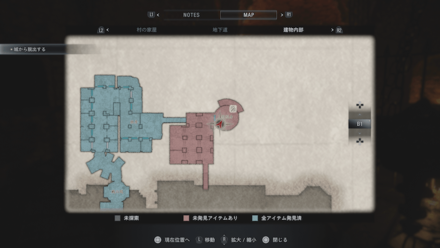
Behind the Locked Door in the Dungeon
The room the Treasure Map refers to can be found in the Dungeon you dropped into when running from Bela earlier behind an Iron Insignia Key door. Destroy the breakable wall with a Pipe Bomb and light all of the braziers to get Azure Eye.
How to Get the Azure Eye
How to Solve the Puzzle
| ① Break the Wall | ② Light the Brazier |
|---|---|
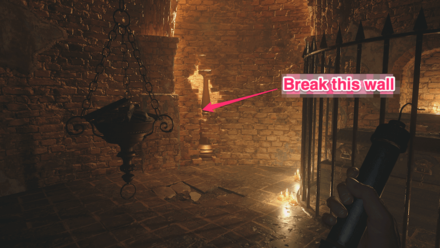 |
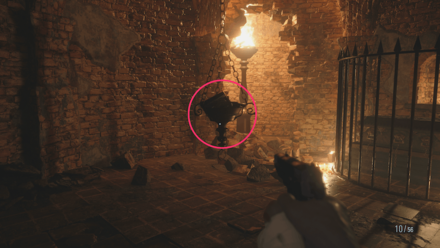 Shoot it with your handgun |
| ③ Light both Braziers | ④ Combine the Azure Eye with the Silver Ring |
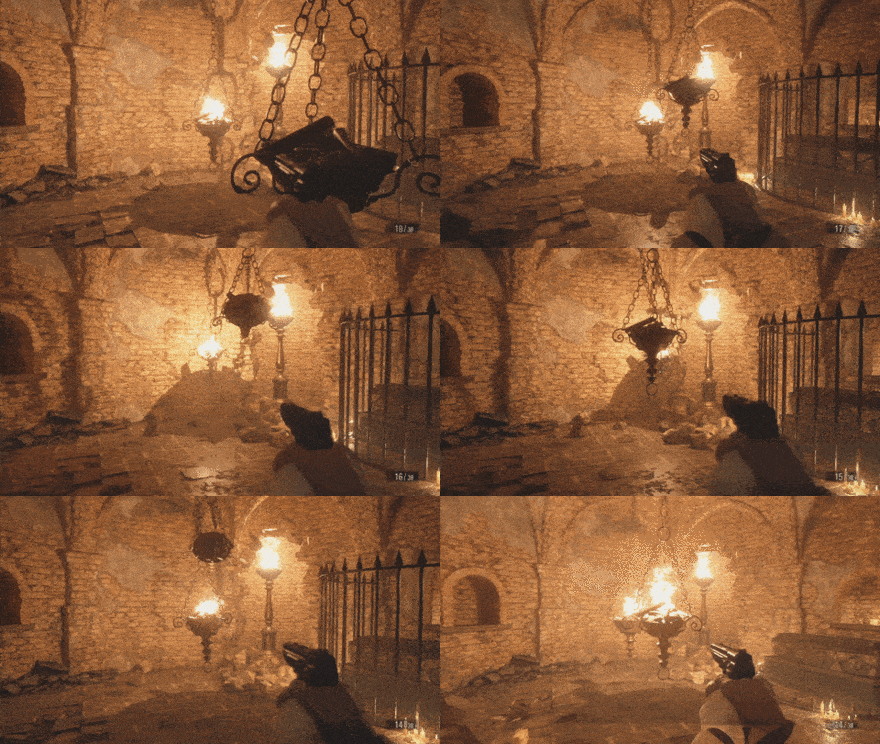 |
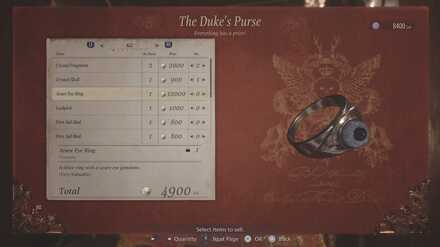 |
Sell the Combined Treasure for More Lei
If you combine the Silver Ring you found in the Hall of Pleasure with the Azure Eye you can sell it for 12000 Lei. If you sell them individually, you'll only get 3000 Lei so it's best to combine them.
List of All Combinable Treasure
Castle Dimitrescu Part 4 Maps and Item Locations
Castle Dimitrescu Part 4 Maps and Treasure Locations
| 1F | |
|---|---|
 Castle 1F |
|
| 2F | |
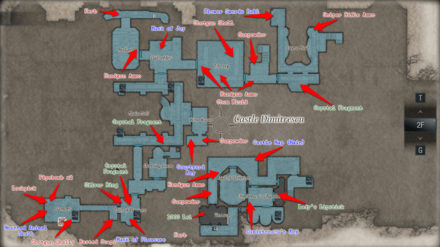 Castle 2F |
|
| B1 | |
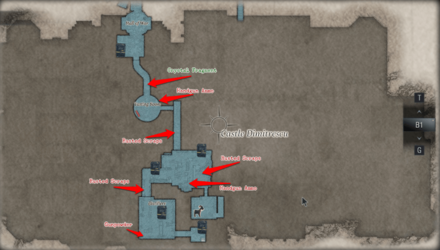 Castle B1 South |
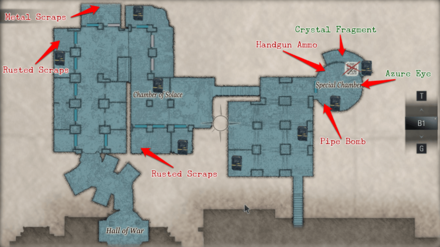 Castle B1 North |
| B1 | |
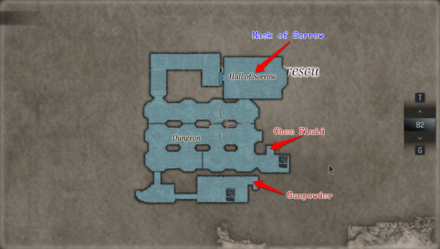 Castle B2 |
|
| RF | |
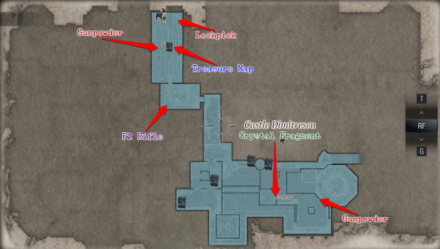 Castle RF East |
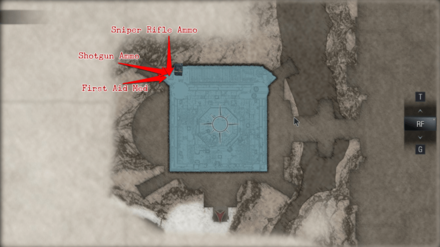 Castle RF West |
| PH | |
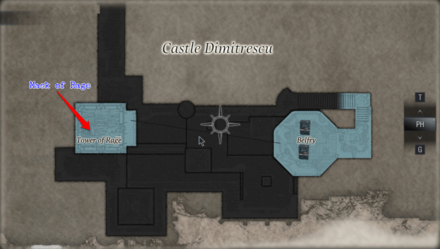 Castle PH |
|
| TWR | |
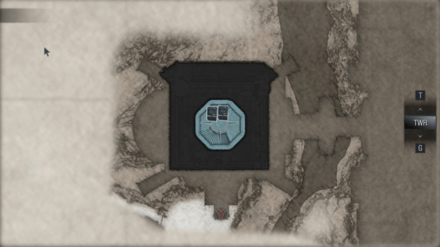 Castle Twr |
|
Map Key
| Key | |
|---|---|
| Blue | Key Item |
| Green | Valuable |
| Purple | Weapon/Attachment |
| Red | Items |
| Breakable | |
| Goat | |
List of Items
| Key Items | |
|---|---|
 Treasure Map Treasure Map |
 Mask of Rage Mask of Rage |
 Flower Swords Ball Flower Swords Ball |
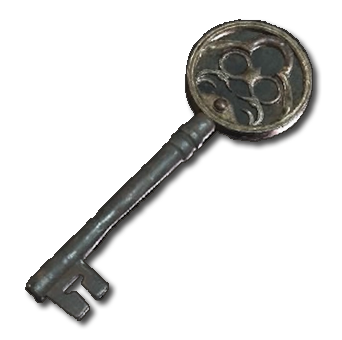 Iron Insignia Key Iron Insignia Key |
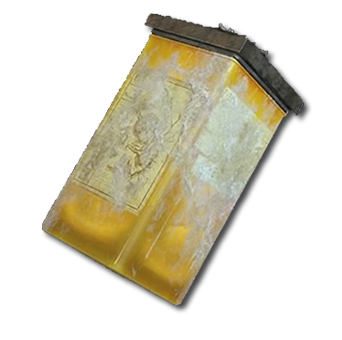 Dirty Flask Dirty Flask |
|
| Treasure and Valuables | |
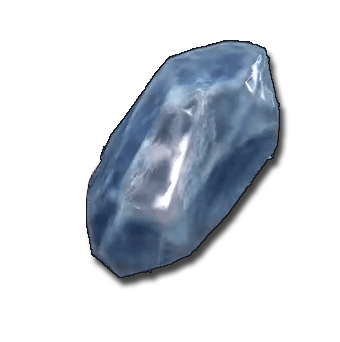 Crystal Fragment Crystal Fragment |
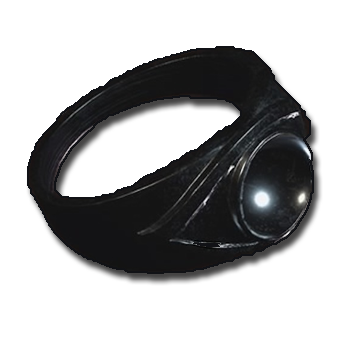 Silver Ring Silver Ring |
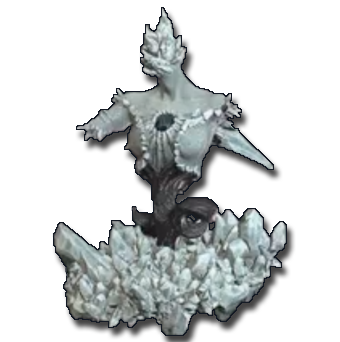 Crystal Torso Crystal Torso |
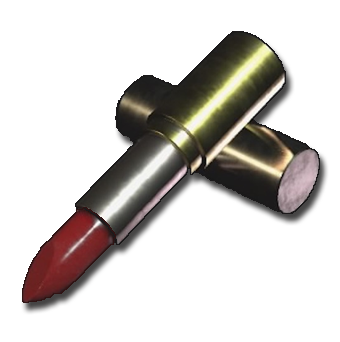 Lady's Lipstick Lady's Lipstick |
 Azure Eye Azure Eye |
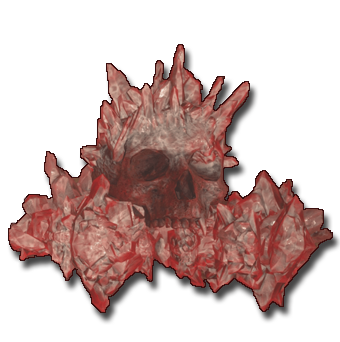 Crimson Skull Crimson Skull |
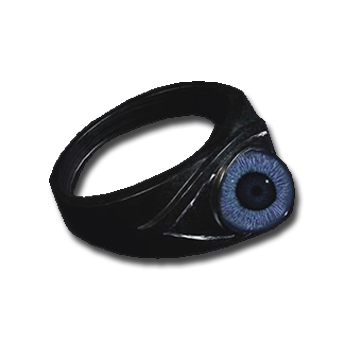 Azure Eye Ring Azure Eye Ring |
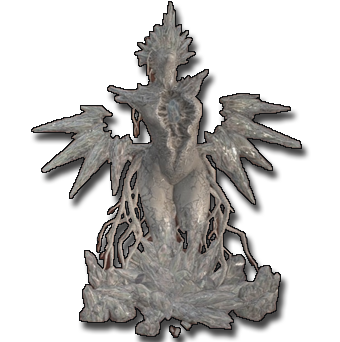 Crystal Dimitrescu Crystal Dimitrescu |
 Crystal Wing Crystal Wing |
|
| Weapons & Attachments | |
 Lemi - Recoil Compensator Lemi - Recoil Compensator |
 F2 Rifle F2 Rifle |
| Crafting Materials | |
 Rusted Scrap Rusted Scrap |
 Gunpowder Gunpowder |
 Herb Herb |
 Chem Fluid Chem Fluid |
 Metal Scrap Metal Scrap |
|
| Ammo | |
 Handgun Ammo Handgun Ammo |
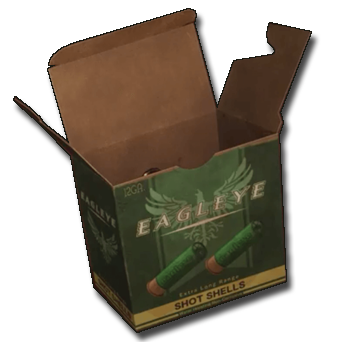 Shotgun Ammo Shotgun Ammo |
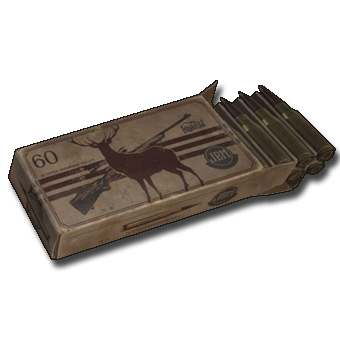 Sniper Rifle Ammo Sniper Rifle Ammo |
|
| Explosives | |
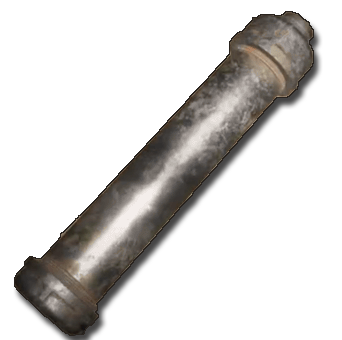 Pipe Bomb Pipe Bomb |
|
| Recovery Items | |
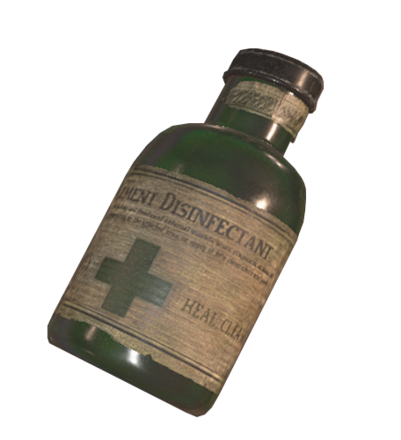 First Aid Med First Aid Med |
|
| Others | |
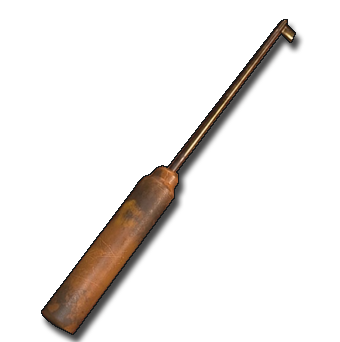 Lockpick Lockpick |
|
Castle Dimitrescu Part 4 Treasures
Azure Eye Ring
Treasure Components
| Treasures to Combine | Combined Treasure |
|---|---|
 Azure Eye (1200 Lei) Azure Eye (1200 Lei)  Silver Ring (1800 Lei) Silver Ring (1800 Lei) |
 Azure Eye Ring Azure Eye Ring (12000 Lei) |
Treasure Locations
| Azure Eye | |
|---|---|
| This treasure is in the Secret Chamber of Castle Dimitrescu. It will require the Iron Insignia Key. | 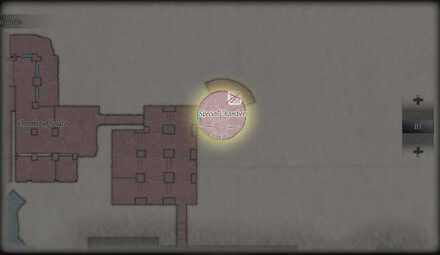 |
| Silver Ring | |
| This treasure is on the 2F of Castle Dimitrescu in the Hall of Pleasure. | 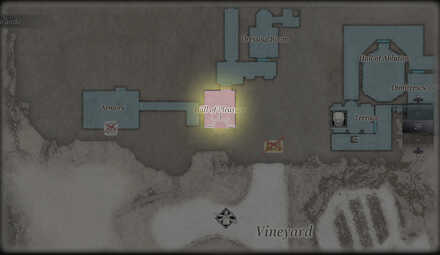 |
Crystal Dimitrescu

You receive this treasure upon defeating Lady Dimistrescu.
How to Get Crystal Dimitrescu
Castle Dimitrescu Part 4 Goats of Warding
Goat 6
Location
| World View | Map View |
|---|---|
 |
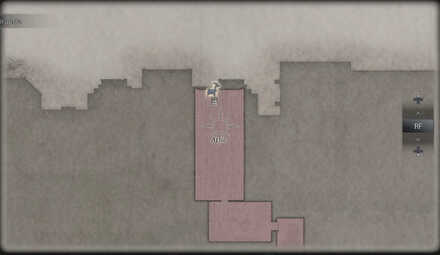 |
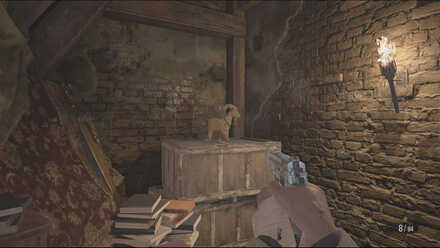
The sixth Goat of Warding is in the Attic. After climbing the ladder, turn around to see the Goat of Warding.
All Goats of Warding Locations
Castle Dimitrescu Part 4 Files and Locations
Rumors of a Dagger
| World View | Map View |
|---|---|
 |
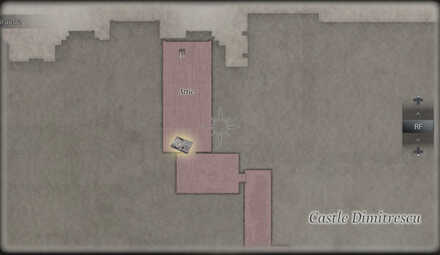 |
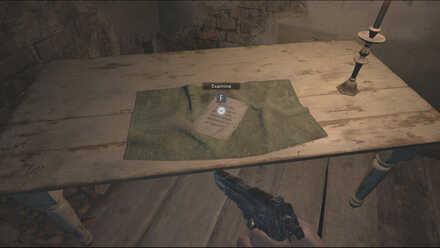
This note contains a rumor about a dagger capable of killing demons. This file is on a table in the Attic.
Enemies Encountered in Castle Dimitrescu Part 4
Lady Dimitrescu
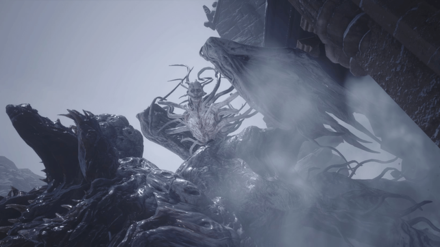
Your time in the Castle has been leading up to your final confrontation with the vampiress. While menacing, the fight itself remains relatively simple. Fire off a few shots at her with your pistol to send her down, then quickly switch to your sniper rifle or shotgun to deal some heavier damage when she's vulnerable. Repeat this until she crashes into the Tower. Shoot at her if you can, then run to the top as she follows. You'll be in a much tighter space, so if you have the ammo for it, switch back to your shotgun and fire at her main body until she comes crashing down.
Resident Evil Village Related Guides
Story Walkthroughs
| Story Guides | |
|---|---|
 Story and Plot Summary Story and Plot Summary |
 Megamycete Summary Megamycete Summary |
 Beginner's Guide Beginner's Guide |
|
| Main Story Walkthrough | |
 Prologue Prologue |
 Village Part 1 Village Part 1 |
 Mines Mines |
 Castle Dimitrescu Part 1 Castle Dimitrescu Part 1 |
 Castle Dimitrescu Part 2 Castle Dimitrescu Part 2 |
 Castle Dimitrescu Part 3 Castle Dimitrescu Part 3 |
 Castle Dimitrescu Part 4 Castle Dimitrescu Part 4 |
 Village Part 2 Village Part 2 |
 House Beneviento House Beneviento |
 Moreau's Reservoir Moreau's Reservoir |
 The Stronghold The Stronghold |
 Heisenberg's Factory Heisenberg's Factory |
 The Village Finale The Village Finale |
|
| Post Game Guides | |
| New Game Plus | Postgame Guide |
| DLC Walkthrough | |
 Castle Castle |
 House House |
 Deep Stratum Deep Stratum |
|
Demo Walkthroughs
| Demo Guides | ||
|---|---|---|
 Village Demo Village Demo |
 Castle Demo Castle Demo |
 Maiden Demo Maiden Demo |
Author
Castle Dimitrescu Part 4 Walkthrough and Maps
improvement survey
03/2026
improving Game8's site?

Your answers will help us to improve our website.
Note: Please be sure not to enter any kind of personal information into your response.

We hope you continue to make use of Game8.
Rankings
- We could not find the message board you were looking for.
Gaming News
Popular Games

Genshin Impact Walkthrough & Guides Wiki

Honkai: Star Rail Walkthrough & Guides Wiki

Umamusume: Pretty Derby Walkthrough & Guides Wiki

Pokemon Pokopia Walkthrough & Guides Wiki

Resident Evil Requiem (RE9) Walkthrough & Guides Wiki

Monster Hunter Wilds Walkthrough & Guides Wiki

Wuthering Waves Walkthrough & Guides Wiki

Arknights: Endfield Walkthrough & Guides Wiki

Pokemon FireRed and LeafGreen (FRLG) Walkthrough & Guides Wiki

Pokemon TCG Pocket (PTCGP) Strategies & Guides Wiki
Recommended Games

Diablo 4: Vessel of Hatred Walkthrough & Guides Wiki

Cyberpunk 2077: Ultimate Edition Walkthrough & Guides Wiki

Fire Emblem Heroes (FEH) Walkthrough & Guides Wiki

Yu-Gi-Oh! Master Duel Walkthrough & Guides Wiki

Super Smash Bros. Ultimate Walkthrough & Guides Wiki

Pokemon Brilliant Diamond and Shining Pearl (BDSP) Walkthrough & Guides Wiki

Elden Ring Shadow of the Erdtree Walkthrough & Guides Wiki

Monster Hunter World Walkthrough & Guides Wiki

The Legend of Zelda: Tears of the Kingdom Walkthrough & Guides Wiki

Persona 3 Reload Walkthrough & Guides Wiki
All rights reserved
All trademarks referenced herein are the properties of their respective owners.
©CAPCOM CO., LTD. ALL RIGHTS RESERVED.
The copyrights of videos of games used in our content and other intellectual property rights belong to the provider of the game.
The contents we provide on this site were created personally by members of the Game8 editorial department.
We refuse the right to reuse or repost content taken without our permission such as data or images to other sites.





![Monster Hunter Stories 3 Review [First Impressions] | Simply Rejuvenating](https://img.game8.co/4438641/2a31b7702bd70e78ec8efd24661dacda.jpeg/thumb)


