This survey will take about 1 minute.
Your answers will help us to improve our website.
Resident Evil Village (Resident Evil 8)
Prologue Walkthrough and Maps
☆ The Resident Evil Requiem wiki is now live!
★ Best Weapons List
★ List of Bosses and Optional Bosses
★ List of Treasures
Here is the complete walkthrough for the Prologue of Resident Evil Village. Game8 has you covered for everything you need to know about the intro, including a guide on how to survive, weapon and item locations, treasure locations, enemies found in the area, and more!
| Previous | Current | Next |
|---|---|---|
| - | Prologue | Village Part 1 |
List of Contents
Prologue Walkthrough
| Objectives | |
|---|---|
| 1 | After the cutscene, head upstairs and down the hall to the bedroom and put Rose to bed. Check the other rooms if you'd like to find various things to interact with. Return downstairs to Mia when you're ready. Severel cutscenes will play after. |
| 2 | Once you wake up from the crash, head down the path and into the cabin. |
| 3 | Go down the stairs in the back of the cabin. Open the armoire at the end to trigger the next event. |
| 4 | Return upstairs to find a newly-made exit and go through it. |
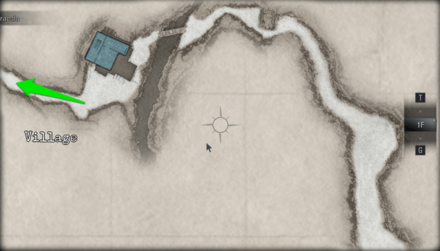
| 5 | Continue over the fence until you reach the village. |
| 6 | Go through the village until you reach a house with a lit brazier hanging outside and go inside. You're free to explore beforehand, but you won't find any items to collect. |
| 7 | 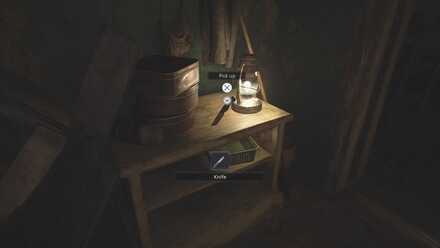 Once inside the house with the lit brazier, pick up the knife from the table. You can use it to break the box with yellow stripes for a First Aid Med. |
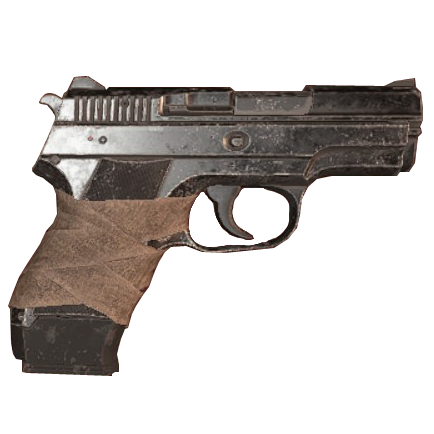
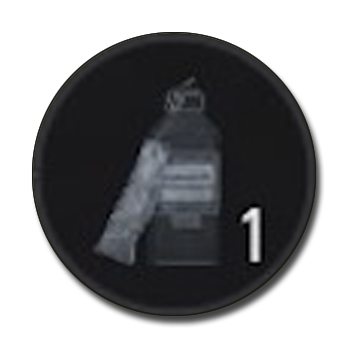
| 8 | In the back of the house, interact with the curtain to receive the LEMI semi-automatic pistol. |
| 9 | 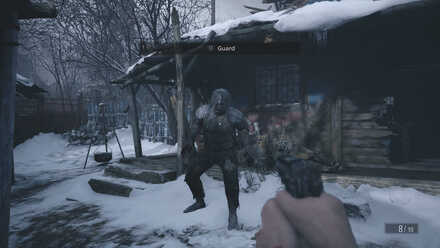
In the next area, interact with the dead body, then kill the Lycan that attacks you. |
| 10 | Reenter the house and go back to where you received the pistol to find Bolt Cutters. |
| 11 | In the other house nearby, you can find a Chem Fluid and an Herb you can use to craft First Aid Med. |
| 12 | 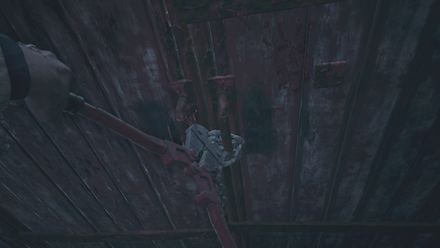 Go to the gate and use the Bolt Cutters on the chain to proceed. |
| 13 | Enter the next building and pick up the Handgun Ammo. Barricade the door first before going up upstairs. |
| 14 | Pick up the Chem Fluid and Handgun Ammo, then deal with the Lycans trying to get inside. |
| 15 | After you get rid of the Lycans, unbarricade the door and head down the new path that's opened up. |
| 16 | Before going near the house with the stairs, you can look up to find lycans that are ready to ambush you. They will only start attacking you once you enter the house or if you shoot at them. Break the box to collect the Handgun Ammo and head up the stairs. |
| 17 | 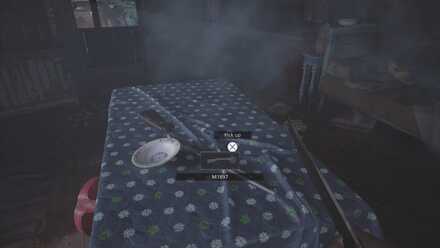
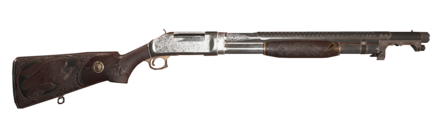
Enter the house and barricade the door. Get the M1897 shotgun on the table and, if you can, quickly collect the Gunpowder, Handgun ammo, and Herb. |
| 18 | Go down the ladder, grab the Rusted Scrap to the left, and head back outside. |
| 19 | At this point, you will be constantly pursued by lycans. You have to survive for a certain amount of time before you can proceed. Survive by being constantly on the move, utilizing flour sacks and red barrels, and using your ammo and First Aid Meds if necessary. Once you survive for long enough, a cutscene will happen. |
| 20 | After the cutscene, approach the red gates up the hill that are now open. Another cutscene will play out once you go through the gates. |
Unlock a Trophy for Kicking the Ball to the Study

If you kick the yellow ball on the ground in Ethan's bedroom over to the study in the room next door, you can clear the requirements for the Gooooaaal! Trophy and Challenge.
| Trophy and Achievements Guide | List of Challenges |
Get the Shotgun!
Inside the two-floor house with a ladder, you can find the M1897 Shotgun. It's a powerful weapon for the beginning of the game, so don't forget to grab it!
M1897 Weapon Stats and Upgrades
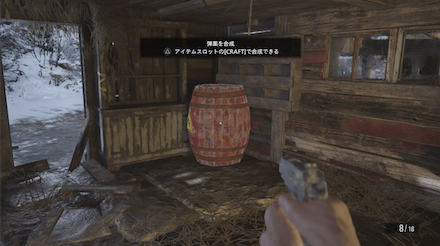
Make Use of the Explosive Barrels
During your fight with the Lycans, you will find red barrels in the area. Shoot these to blow them up and take out large groups of enemies with ease. As the Lycans won't stop coming, this will help you save ammo and give you more time to pick up other items in the area.
Clear Challenges for Killing Lycans
During the Lycan assault at the end of the Prologue, defeating 30 Lycans within 5 minutes awards you the Unstoppable Challenge. When Urias, the giant Lycan, shows up, defeating him will also earn you the Timber Challenge and Trophy. These can be difficult to do during a first playthrough, even on Casual difficulty, so you may be better off saving this for a second playthrough.
Prologue Maps and Item Locations
Prologue Maps and Treasure Locations
| Village - 1F |
|---|
 Village Outskirts |
 Village West |
Map Key
| Key | |
|---|---|
| Blue | Key Item |
| Green | Valuable |
| Purple | Weapon/Attachment |
| Red | Items |
| Breakable | |
| Goat | |
List of Items
| Key Items | |
|---|---|
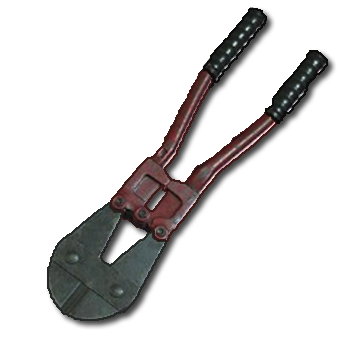 Bolt Cutters Bolt Cutters |
|
| Treasure and Valuables | |
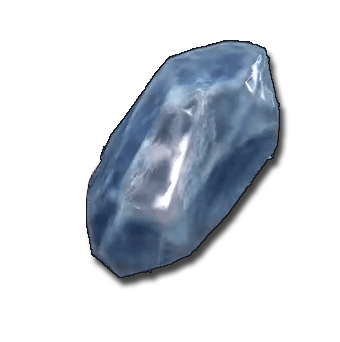 Crystal Fragment Crystal Fragment |
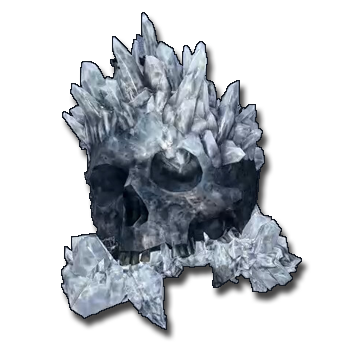 Crystal Skull Crystal Skull |
| Weapons & Attachments | |
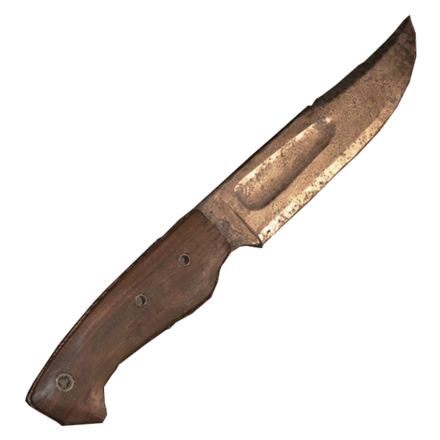 Knife Knife |
 LEMI LEMI |
 M1897 M1897 |
|
| Crafting Materials | |
 Rusted Scrap Rusted Scrap |
 Gunpowder Gunpowder |
 Herb Herb |
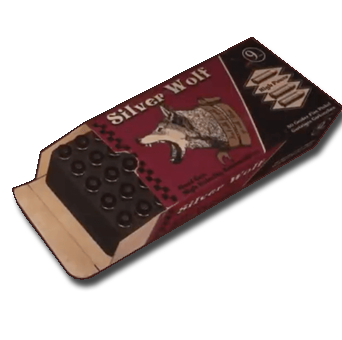
 Chem Fluid Chem Fluid |
| Ammo | |
 Handgun Ammo Handgun Ammo |
 Shotgun Ammo Shotgun Ammo |
| Recovery Item | |
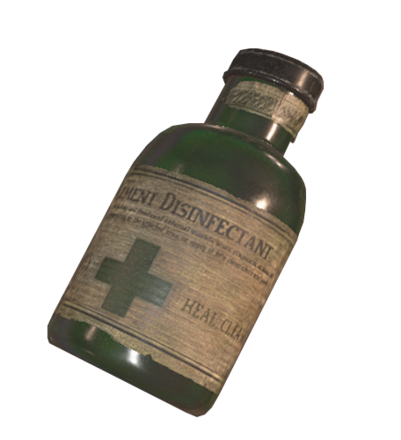 First Aid Med First Aid Med |
|
Prologue Files and Locations
Fridge Memo
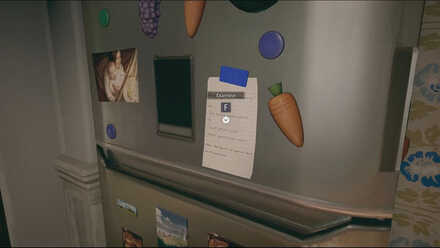
A meal plan for Rose. This file is the pinned note on the fridge in Ethan's home.
Old News Clipping

Newspaper clippings about the events in the past game that took place in Louisiana. This file is in the spare room of Ethan's house.
Ethan's Diary
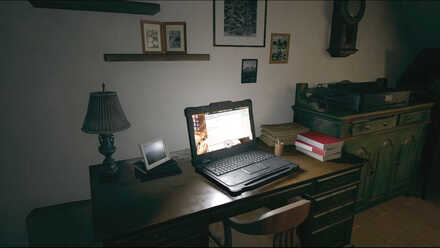
An entry about Ethan adjusting to his new life. This file is on Ethan's laptop.
Medical Checkup Report
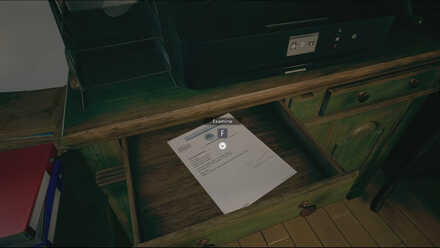
This file contains information about Rose's medical records. This file is inside the drawer beside Ethan's laptop.
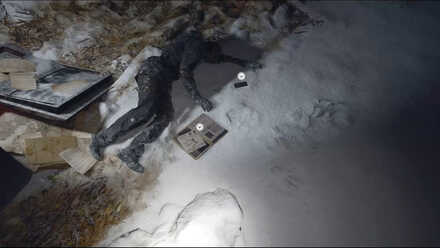
Mission Briefing
 |
 |
This file contains information about the mission to kill Mia and secure Ethan and Rose. This file is by the vehicle transporting you after it crashed.
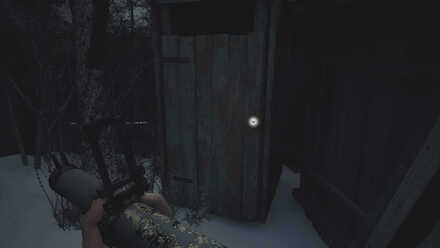
Prologue Outhouses and Locations
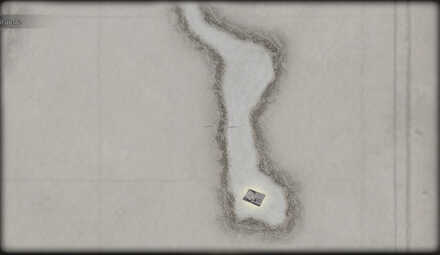
West Old Town
 |
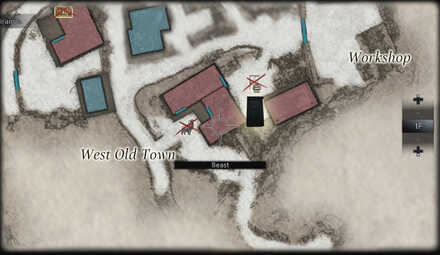 |
As soon as you enter The Village through West Old Town, the first Outhouse is in the area with the well once you exit the house.
Enemies Encountered in Prologue
Regular Enemies
 Lycans Lycans |
Urias

Near the end of the assault, a large Lycan with a hammer called Urias will appear to cause trouble. In a fresh playthrough, you'll want to avoid him as much as possible due to the amount of damage he's capable of dealing, but on a second or third playthrough, you may have the firepower to take him out during the opening of the game.
How to Beat Urias the Giant Werewolf
Resident Evil Village Related Guides
Story Walkthroughs
| Story Guides | |
|---|---|
 Story and Plot Summary Story and Plot Summary |
 Megamycete Summary Megamycete Summary |
 Beginner's Guide Beginner's Guide |
|
| Main Story Walkthrough | |
| Prologue |
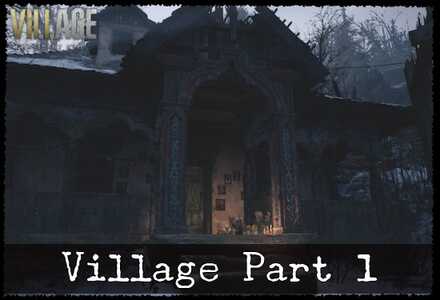 Village Part 1 Village Part 1 |
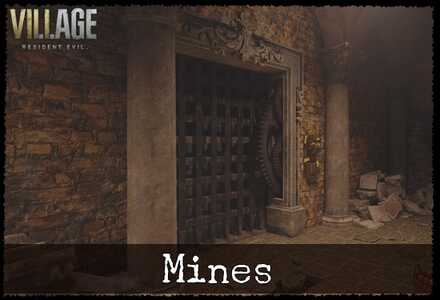 Mines Mines |
 Castle Dimitrescu Part 1 Castle Dimitrescu Part 1 |
 Castle Dimitrescu Part 2 Castle Dimitrescu Part 2 |
 Castle Dimitrescu Part 3 Castle Dimitrescu Part 3 |
 Castle Dimitrescu Part 4 Castle Dimitrescu Part 4 |
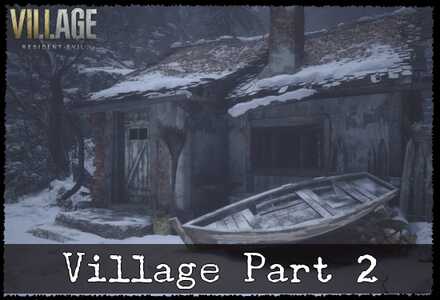 Village Part 2 Village Part 2 |
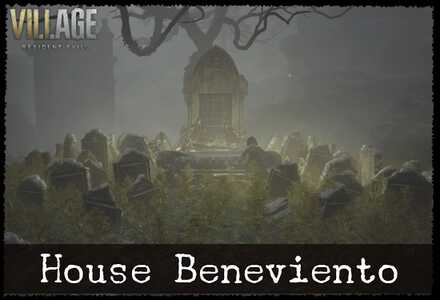 House Beneviento House Beneviento |
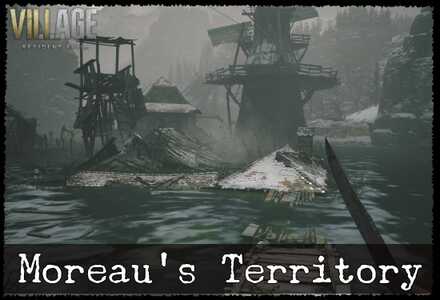 Moreau's Reservoir Moreau's Reservoir |
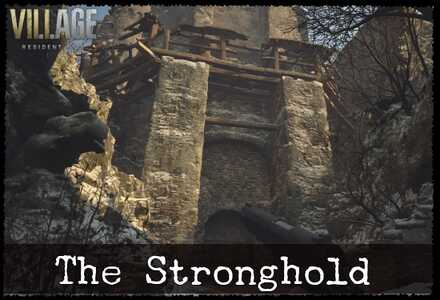 The Stronghold The Stronghold |
 Heisenberg's Factory Heisenberg's Factory |
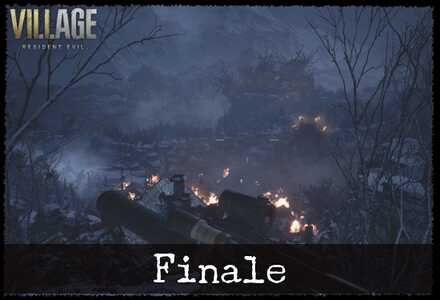 The Village Finale The Village Finale |
|
| Post Game Guides | |
| New Game Plus | Postgame Guide |
| DLC Walkthrough | |
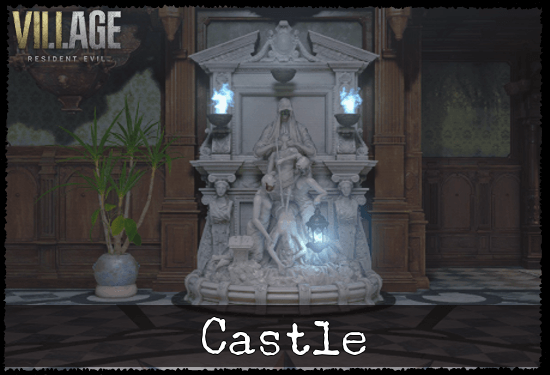 Castle Castle |
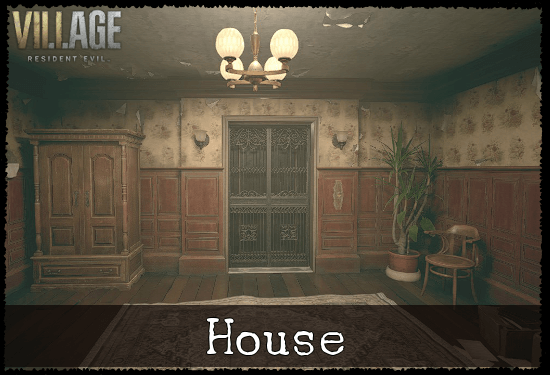 House House |
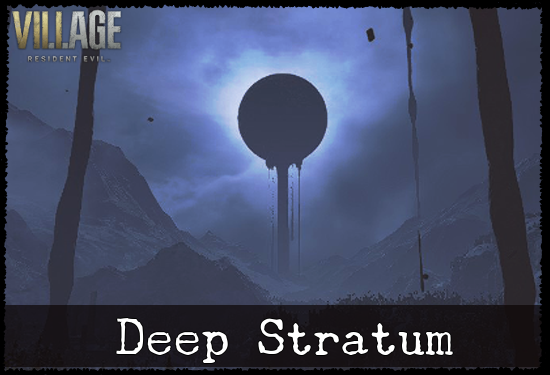 Deep Stratum Deep Stratum |
|
Demo Walkthroughs
| Demo Guides | ||
|---|---|---|
 Village Demo Village Demo |
 Castle Demo Castle Demo |
 Maiden Demo Maiden Demo |
Author

Prologue Walkthrough and Maps
Please participate in our site
improvement survey
03/2026
improvement survey
03/2026
Would you assist in
improving Game8's site?
improving Game8's site?

×
We are listening to our users' valuable opinions and discussing how to act on them.
The information collected through this survey will be used for the purpose of improving our services. In addition, the information will only be disclosed a part of a statistic in a format that will not allow identification of personal information.
Begin Survey
Not Now
×
Please rate each item regarding Game8.co's Advertisements.
Amount of Ads
Very Dissatisfied
Somewhat Dissatisfied
Fine
Somewhat Satisfied
Highly Satisfied
Placement of Ads
Timing of Ad Display
Ad Loading Speed
Safeness of Ads
Content of Ads
×
Please rate each item regarding Game8.co's Quality of Articles.
Amount of information
Very Dissatisfied
Somewhat Dissatisfied
Fine
Somewhat Satisfied
Highly Satisfied
Frequency of updates
Speed of new information
Accuracy of articles
Understandibility of articles
Readability of sentences
×
Please rate each item regarding Game8.co's Usability of the Site.
Ease of finding information
Very Dissatisfied
Somewhat Dissatisfied
Fine
Somewhat Satisfied
Highly Satisfied
Loading Speed
Use of Color
Font Size
Visibility of Images
Easy to Understand Layout
×
Please rate each item regarding Game8.co's Message Boards, Comments.
Ease of Writing
Very Dissatisfied
Somewhat Dissatisfied
Fine
Somewhat Satisfied
Highly Satisfied
Readability
Ease in Finding Information
Comment Quality
Comment Quantity
Admin Response
×
Please rate each item regarding Game8.co's Site's new design.
Please rate our site's new design
Very Dissatisfied
Somewhat Dissatisfied
Fine
Somewhat Satisfied
Highly Satisfied
Do you think that the website's design change makes the site easier to use?
Has the new design made it easier for you to find information on the site?
Has the new design improved the overall visual appeal of the site?
How would you rate your overall satisfaction with the new design of the site?
×
How likely are you to recommend Game8 to someone you know?
Very Unlikely
0
1
2
3
4
5
6
7
8
9
10
Very Likely
If you have other opinions regarding potential improvement to the website, please share them with us. We would appreciate your honest opinion.
Note: This is a free response section, so you can proceed without entering anything.
Note: Please be sure not to enter any kind of personal information into your response.
Note: Please be sure not to enter any kind of personal information into your response.
×
Thank You
×
Thank you for participating in our survey! Your answers will help us to improve the quality of our website and services.
We hope you continue to make use of Game8.
We hope you continue to make use of Game8.
Close
Rankings
- We could not find the message board you were looking for.
Gaming News


![Monster Hunter Stories 3 Review [First Impressions] | Simply Rejuvenating](https://img.game8.co/4438641/2a31b7702bd70e78ec8efd24661dacda.jpeg/thumb)
Popular Games

Genshin Impact Walkthrough & Guides Wiki
Honkai: Star Rail Walkthrough & Guides Wiki
Umamusume: Pretty Derby Walkthrough & Guides Wiki
Pokemon Pokopia Walkthrough & Guides Wiki
Resident Evil Requiem (RE9) Walkthrough & Guides Wiki
Monster Hunter Wilds Walkthrough & Guides Wiki
Wuthering Waves Walkthrough & Guides Wiki
Arknights: Endfield Walkthrough & Guides Wiki
Pokemon FireRed and LeafGreen (FRLG) Walkthrough & Guides Wiki
Pokemon TCG Pocket (PTCGP) Strategies & Guides Wiki


Recommended Games
Diablo 4: Vessel of Hatred Walkthrough & Guides Wiki
Cyberpunk 2077: Ultimate Edition Walkthrough & Guides Wiki
Fire Emblem Heroes (FEH) Walkthrough & Guides Wiki
Yu-Gi-Oh! Master Duel Walkthrough & Guides Wiki
Super Smash Bros. Ultimate Walkthrough & Guides Wiki
Pokemon Brilliant Diamond and Shining Pearl (BDSP) Walkthrough & Guides Wiki
Elden Ring Shadow of the Erdtree Walkthrough & Guides Wiki
Monster Hunter World Walkthrough & Guides Wiki
The Legend of Zelda: Tears of the Kingdom Walkthrough & Guides Wiki
Persona 3 Reload Walkthrough & Guides Wiki


All rights reserved
All trademarks referenced herein are the properties of their respective owners.
©CAPCOM CO., LTD. ALL RIGHTS RESERVED.
The copyrights of videos of games used in our content and other intellectual property rights belong to the provider of the game.
The contents we provide on this site were created personally by members of the Game8 editorial department.
We refuse the right to reuse or repost content taken without our permission such as data or images to other sites.