Chapter 2: Twilight Act 1 Story Walkthrough and Guide
★ Tier Lists: Characters | Weapons | Demon Wedges
★ Builds: Kezhou | Fushu | Fina | Lynn | Psyche
★ Version 1.2 Summary | Characters: Zhiliu | Yuming
┗ Mechanics: Mount | Gifting | Reputation | Accessory Customization
★ How to Get Characters | Mystic Maze | Redeem Codes
This is a walkthrough guide for Chapter 2: Twilight Act 1 in Duet Night Abyss. Read on to learn how to complete Chapter 2: Twilight Act 1, its quest rewards and objectives, dialogue impressions, and boss fights!
| ◄ Previous Chapter | Next Chapter ▶ |
|---|---|
| Noctoyager Act 1 | Noctoyager Act 2 |
Chapter 2: Twilight Act 1 Story Walkthrough
Beyond the Sands
| Beyond the Sands Objectives | |
|---|---|
| 1 | 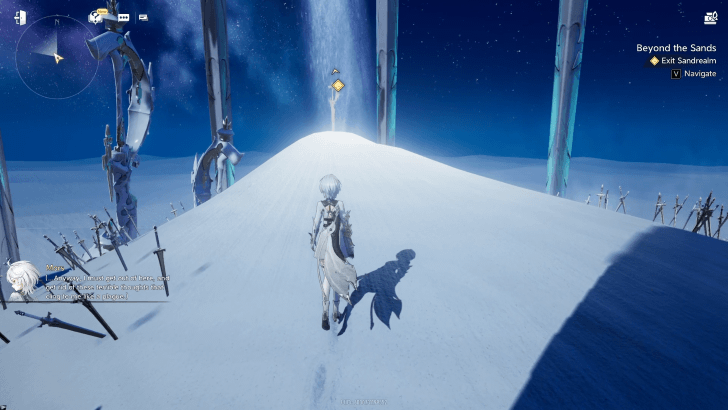 Exit Sandrealm Walk toward the sword and interact with it to wake up. Prepare to clear 2 quick time events (QTE) to fend off the Filthoid's attacks. |
| 2 | 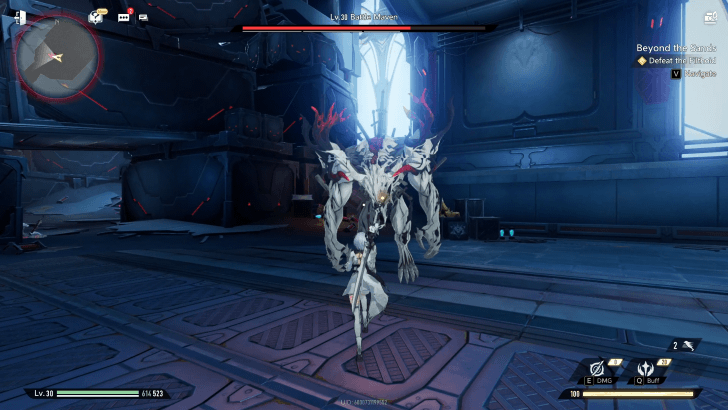 Boss Fight: Battle Maven Defeat the Battle Maven. The Battle Maven is a story boss in the Beyond the Sands subquest. Use your newly-learned Perfect Dodge to avoid its heavy close-range hits and long-range target attacks and deal damage. ▶ How to Beat Battle Maven |
| 3 |
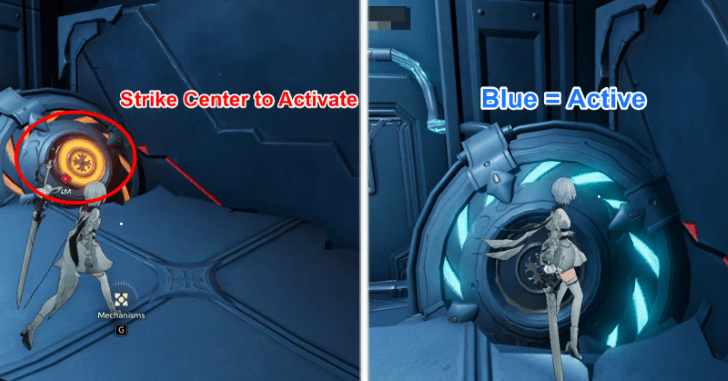 Proceed to the Emergency Aid Station The Captain will set off to meet up with the rest of their squad. 3.1 Follow the quest marker to the emergency aid station. 3.2 Open the gate by striking the center of the Phoxynamo mechanism. 3.3 Open the next gate by striking its corresponding Phoxynamo mechanism. |
| 4 | 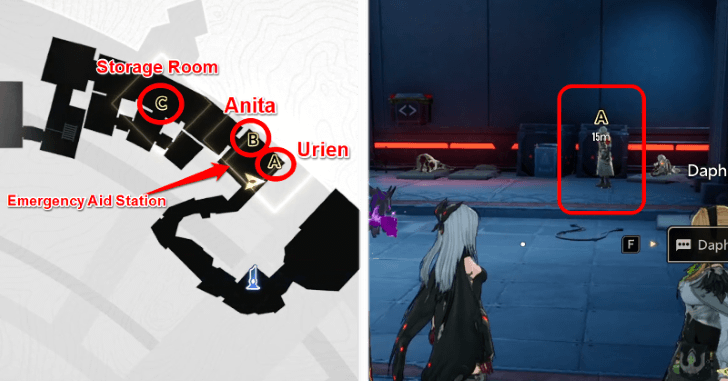 Check on the Injured Go through the second gate and meet up with Daphne. Check on Urien first, then Anita who can be found in the same room. |
| 5 | 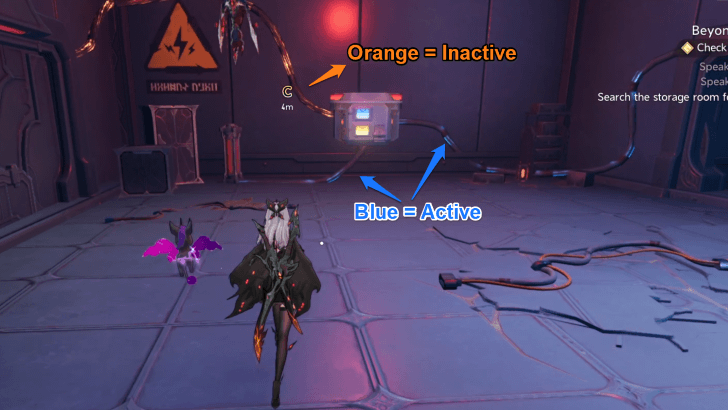 Search for a First Aid Kit Leave the emergency room and go to the storage room. Interact with the transformer on the wall to unlock the door to the storage room. Go inside and retrieve the first aid kit, then pull the switch on the transformer again to unlock the doors that go back to the hall. |
| 6 | Deliver the Medicine to Daphne Go back to the emergency aid station and give the medicine to Daphne. |
| 7 | Defend the Gate and Fend Off the Filthoids Fight off the first wave of Filthoids. Stay close to the gate and make sure they don't attack it. Avar will join you as a support unit during the next phase of the battle. |
| 8 |  Speak with Daphne Go back to Daphne and talk to her. |
Beyond the Sands Story Walkthrough and Guide
Beyond the Sands Full Dialogue
| Prompt 1 | ||
|---|---|---|
| Damn those friggin' rotters! | ||
| Response | Impression | Points |
| Are you okay? | TBA | TBA |
| I failed to protect you. I'm sorry. | Morality | +3 |
| Who are you cursing at? | Chaos | +3 |
| Prompt 2 | ||
| Doctor... Dr. Daphne... We're stuck in this bloody dump. Please, Dr Daphne, if I don't make it, do me a favour and bury me ... | ||
| Response | Impression | Points |
| Don't be discouraged. It'll worsen your wounds. | Morality | +3 |
| Right, keep raising your voice to attract the Filthoids. | Chaos | +3 |
Beyond the Sands Rewards
| Obtainable Rewards |
|
|
|
|---|---|---|
|
|
||
A Vibrant Heart
| A Vibrant Heart Objectives | |
|---|---|
| 1 |  Advance Deeper Into the Fortress 1 Go to the end of the corridor and turn left until you reach another room. |
| 2 | Repel the Filthoids Defeat the Filthoids until the vent closes. |
| 3 | 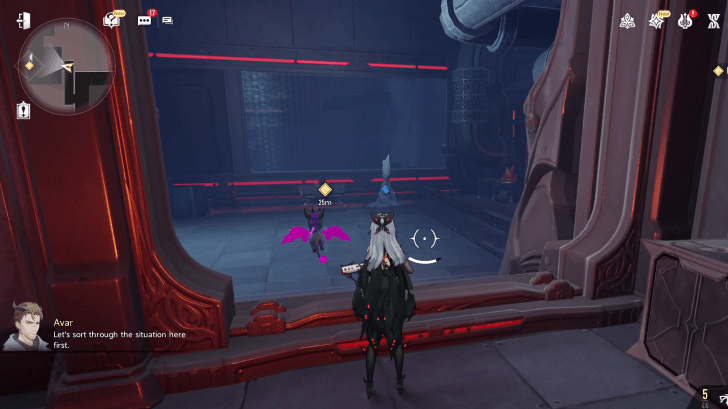 Head to the Engine Room Go through the door in the next room. Shoot the wall-mounted turrets with your ranged weapon. Go straight down the stairs, turn right, and then turn left, until you reach the door to the engine room. |
| 4 | 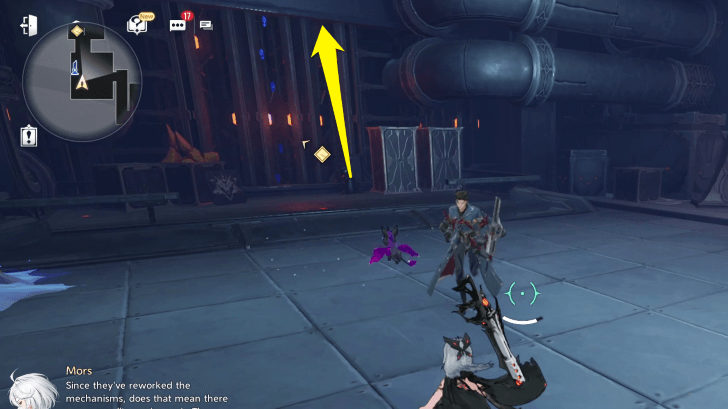 Enter the Engine Room Turn right and jump over the wall to proceed. Run straight until you encounter the Veloci Filthoid - Blast. Turn to the door on the left and keep going until you enter the corridor. Enter the first door on the left and then left again to reach the Engine Room's control panels. |
| 5 | Disarm the Mechanism Shoot the mechanism's button. |
| 6 | 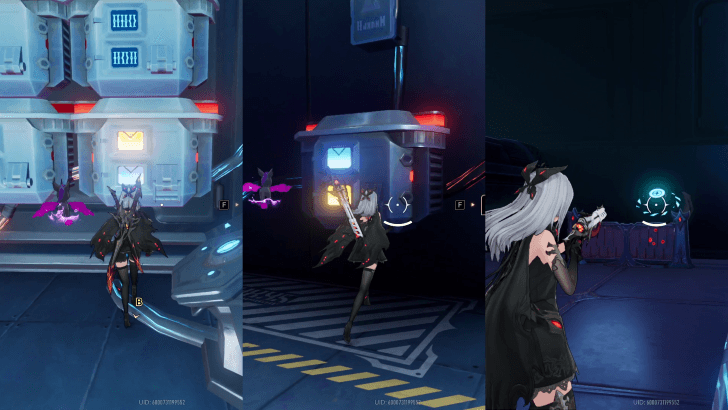 Locate and Shut Down the Active Phoxynamo Wheel Follow the quest markers to the three switch locations. Follow the blue-lit cables on the ground to help find the switches. A. Interact with the device panel. B. Interact with the device panel. C. Shoot the button. Optional. Find Vic near the Phoxynamo Wheel C. |
| 7 | Examine the Phoxichor Tank Go to the Phoxichor tank at the center of the engine room. |
| 8 | 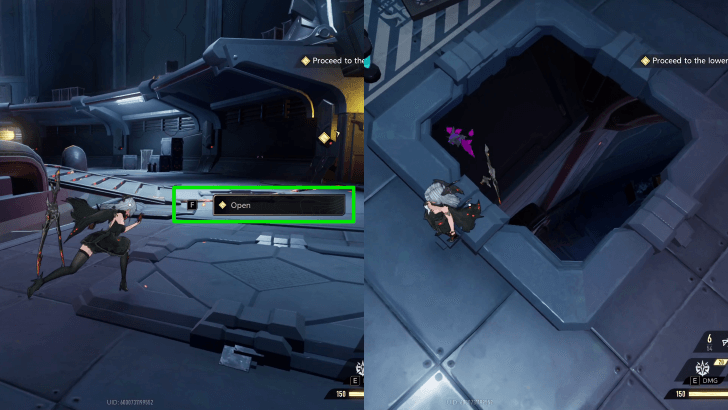 Proceed to the Lower Level of the Engine Room Find and open the hatch to the lower level of the engine room. |
| 9 | 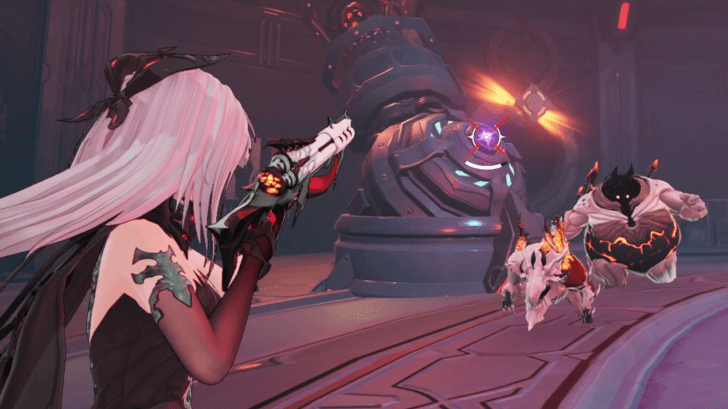 Activate the Four Backup Phoxynamo Wheels After landing on the engine room's lower level, you will be tasked with activating the four backup Phoxynamo Wheels. 9.1 Shoot the backup Phoxynamo Wheels. 9.2. Wait for Avar to unlock the backup controls. 9.3. Repeat this for the other three Phoxynamo Wheels. |
| 10 | Escape From the Engine Room Wait for the cutscene to play. |
A Vibrant Heart Story Walkthrough and Guide
A Vibrant Heart Full Dialogue
| Prompt 1 | ||
|---|---|---|
| ... | ||
| Response | Impression | Points |
| (Stay silent) | Benefit | +3 |
| Receiving enough support gives us a better chance of victory. A victory in your name, sir. | Benefit | +3 |
| Since you're so full of courage, why don't you come to the front yourself? | Chaos | +3 |
| Prompt 2 | ||
| I also picked up a signal from another squad reporting their position, right after Fulvis ended his call. Mors, what are you gonna do? | ||
| Response | Impression | Points |
| I intend to get to the soldiers first. We don't stand a chance on our own. | Empathy | +3 |
| Even though our chances are slim, we must adhere to the Chief Commander's orders. | Morality | +3 |
A Vibrant Heart Rewards
| Obtainable Rewards |
|
|
|
|---|---|---|
|
|
||
Guns and Vines
| Guns and Vines Objectives | |
|---|---|
| 1 | 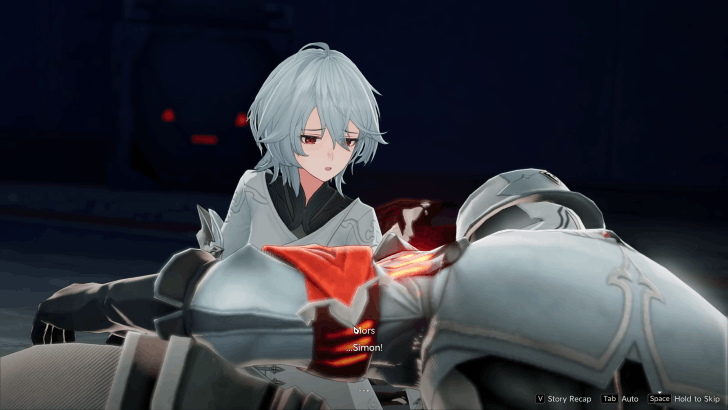 Rescue the Stranded Squad Mates Near the Rail Track Head up the stairs and follow the quest marker. Defeat the Filthoids swarming by the door. Walk through the corridor, then go to the room to the left, and talk to the soldier Simon. |
| 2 | 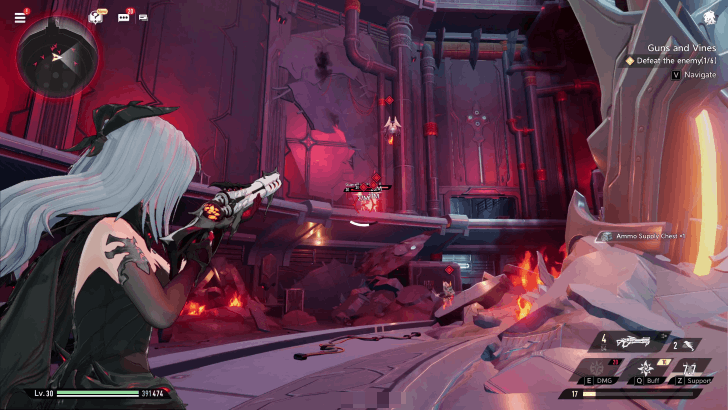 Head to the Rail Tracks Head outside and follow the quest marker to reach a large room. Defeat the Filthoids and Forsaken soldiers inside. Prioritize those that have the red quest marker to finish faster. |
| 3 | 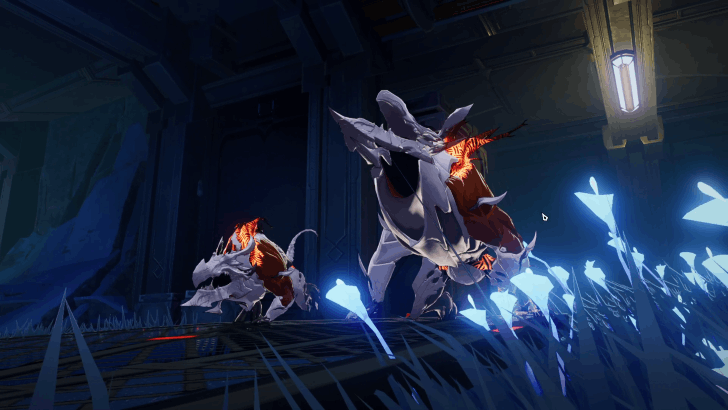 Proceed to the Rail Tracks Exit the room through the door that just opened and follow the quest marker straight downstairs to reach the rail tracks. Follow the tracks until you find Filthoids by a door. Defeat all of them to open the door. Head inside to speak with your squad mates and their captives |
| 4 | Head Through the Sewers Towards the Turret Head outside the room and go to the room on the other side. Head straight and then jump down the hole to the sewers on the right. 4.1 Avoid the steam from condensers as it will damage you. 4.2 Follow the quest marker till you reach a wall. 4.3 Break the wall and go through the corridor to reach a room with a condenser. 4.4 Run towards the open hatch on the right side to leave the condenser room. 4.5 Hit the Phoxynamo Wheel, jump up the cliff, and enter the room. 4.6 Open the door in the middle of the room next to the Waypoint. 4.7 Rendezvous with Avar who's just behind the door. |
| 5 | 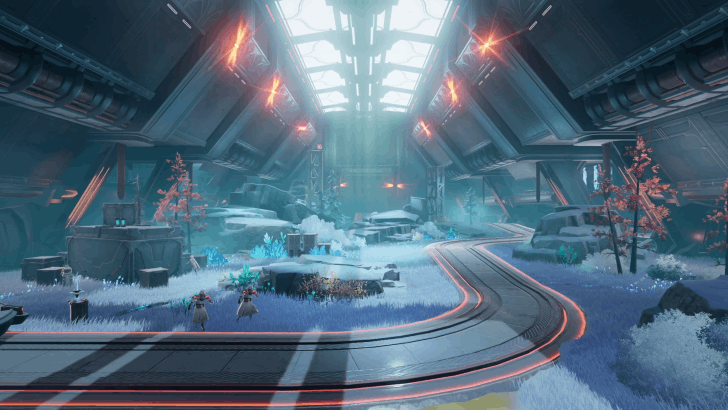 Restore Power to the Simulated Battlefield Restore the power to the area and position the turret to the control room’s door. Head back and report to Avar once you’re done. Go through the three different tasks in any order. A. Hit the buttons of the 3 Phoxynamo Wheels that are all inside the northern room.B. Interact with the transformer. C. Shoot an explosive barrel to activate the southwestern Phoxynamo Wheel cluster. |
| 6 | 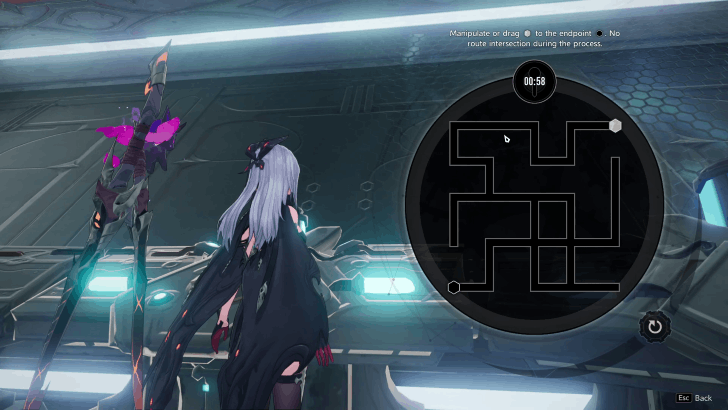 Reboot the Simulated Battlefield Follow the quest marker to reach a control console. Solve the puzzle to finally reboot the systems and move the turret. 6.1 Go back to the turret to speak to Avar. 6.2 Interact with the turret and protect the turret from Filthoid attacks. 6.3 Use the turret to eliminate the incoming Filthoids and protect it. 6.4 Use the High-Explosive Shells to blast the door to the central control room 6.5 Leave the turret and enter the blasted door. |
| 7 | Head to the Central Control Room Alongside Avar Follow the quest marker until you reach a door near a Waypoint with Avar. 7.1 Look to the left and jump over the wall to enter the fortress’ vents. 7.2 Shoot the Phoxynamo Wheel on the other side of a fenced wall to avoid damage from the steam. 7.3 Interact with the transformer button and enter the room to the left. |
| 8 | 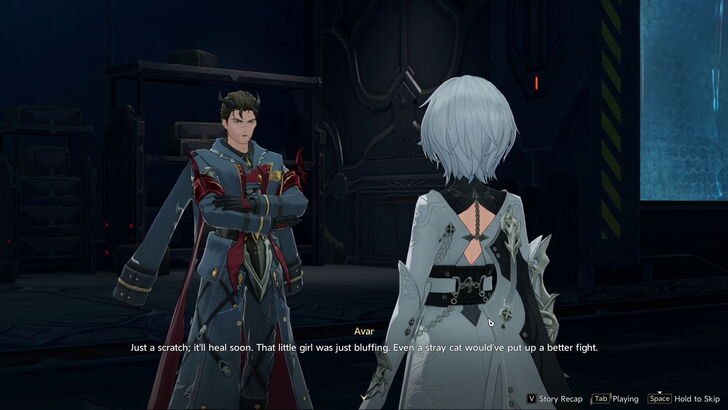 Take a Brief Rest Avar seems to have lost a photograph but he tells you that it isn’t that important. He suggests interrogating Katya after the ordeal. Search for Avar's Lost Photograph 8.1 Step outside and enter the room on the other side and follow the quest marker. 8.2 Interact with the sparkling object on the ground. 8.3 Head back and speak to Avar. Interrogate Katya Speak with Katya. The conversation choices here has both Impression stat increases and story effects. |
Guns and Vines Walkthrough: Should You Trust Katya?
Guns and Vines Full Dialogue
| Prompt 1 | ||
|---|---|---|
| ... | ||
| Response | Impression | Points |
| Close his eyes for him | Morality | +3 |
| Leave | Chaos | +3 |
| Prompt 2 | ||
| Sir, please! We offered help, we led you all the way here so you could rendezvous with them… Please.... I'm begging you, don't leave us behind! | ||
| Response | Impression | Points |
| Trust Katya | Empathy | +3 |
| Do not trust Katya | Wisdom | +3 |
| Prompt 3 | ||
| Hey — you guys hear that? Your captain wants to in The Forsakens! | ||
| Response | Impression | Points |
| Save it. No one would give you any attention. | TBD | TBD |
| Yeah, I'm interested. Who's your contact? | Wisdom | +3 |
| You had many chances for an ambush. Why played the long game? | Morality | +3 |
| (Give her a punch to shut her up) | TBD | TBD |
| Prompt 4 | ||
| It's... that voice again!' Why now...? | ||
| Response | Effect | |
| (Try to stay rational) | You will proceed with interrogating Katya. | |
| (Follow the voice and reach for the sword) | Will trigger a sequence of choices to a special cutscene. Choose all the 'Follow the Voice' in the next dialogue choices to trigger the cutscene. |
|
| Prompt 5 | ||
| It may be extremely important to you. You sure you don't want to hear it? | ||
| Response | Effect | |
| Hear her out | Katya will tell you that someone in the Legion wants you dead. This response will come back later as a flashback during a decision in The Overlookers |
|
| Refuse to hear | You will leave Katya and proceed with the story as normal. | |
Guns and Vines Rewards
| Obtainable Rewards |
|
|
|
|---|---|---|
|
|
||
The Overlookers
| The Overlookers Objectives | |
|---|---|
| 1 | 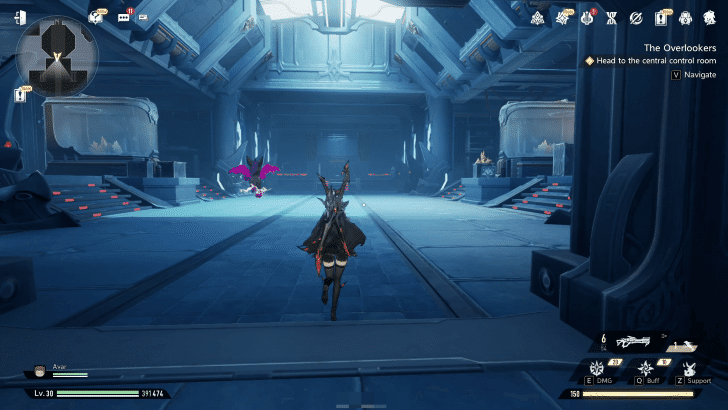 Head to the Central Control Room Head straight to the next room. |
| 2 |  Boss Fight: Battle Maven Defeat the Battle Maven. It shares the same moveset as the one in Beyond the Sands. This time, you can play as anyone in your roster and are accompanied by Avar. ▶ How to Beat Battle Maven |
| 3 | 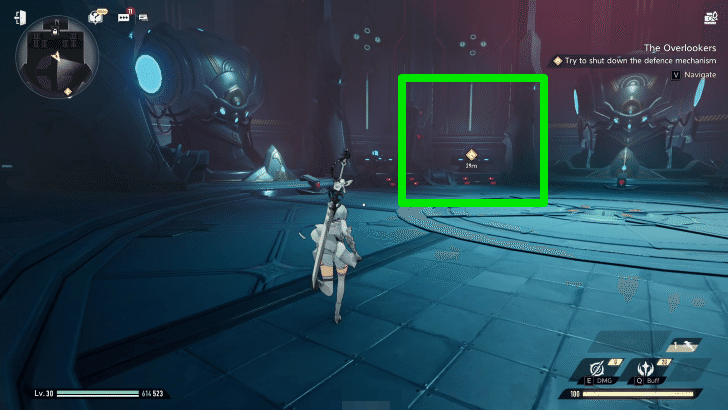 Try to Shut Down the Defence Mechanism Head downstairs and interact with the device. |
| 4 | 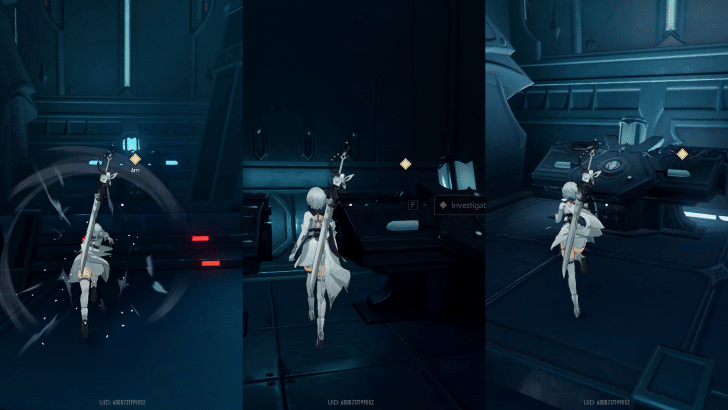 Investigate the Central Control Room (0/3) Go and interact with each of the three device consoles. Every document shown here may influence your decision surrounding a certain matter with Avar. |
| 5 | Investigate the Surroundings Move to the left and crouch underneath the fallen debris. Go to Avar. |
| 6 | 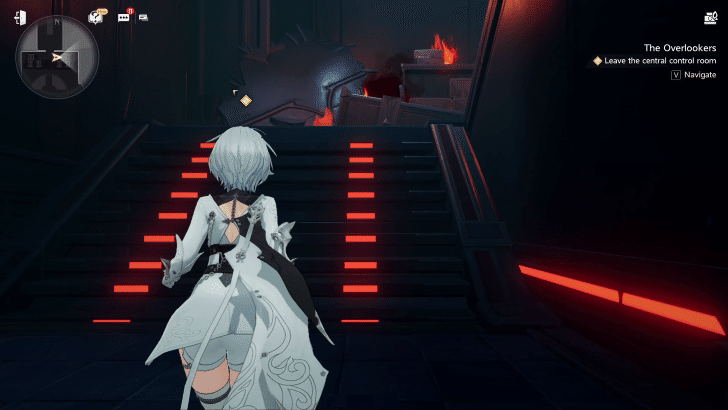 Leave the Central Control Room Head straight and up the stairs to the left. Crouch underneath the debris covering the room's exit. |
The Overlookers Walkthrough: Should You Trust Avar?
The Overlookers Full Dialogue
| Prompt 1 | ||
|---|---|---|
| (What should I believe...?) | ||
| Response | Effect | |
| Trust Avar | You will show Avar the evidence and information you gathered. | |
| Do not trust Avar | You will remain silent and ignore Avar's requests to see what you found. | |
The Overlookers Rewards
| Obtainable Rewards |
|
|
|
|---|---|---|
Dead or Alive
| Dead or Alive Objectives | |
|---|---|
| 1 | 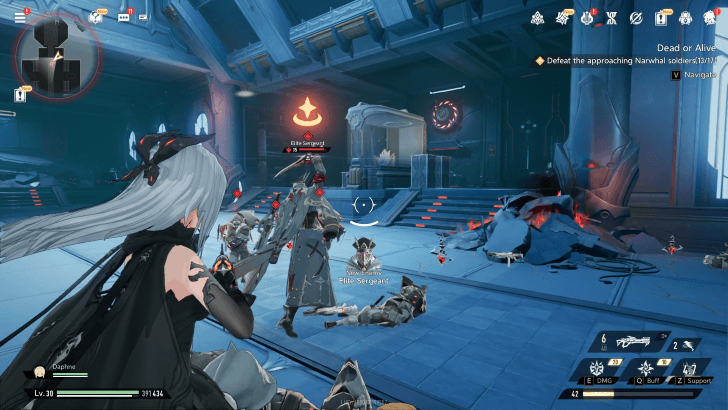 Defeat the Narwhal Soldiers Defeat the 17 soldiers, starting with the Elite Sergeant to cut off their movement speed buffs. After this, you will unlock Daphne via Armoury. |
| 2 | 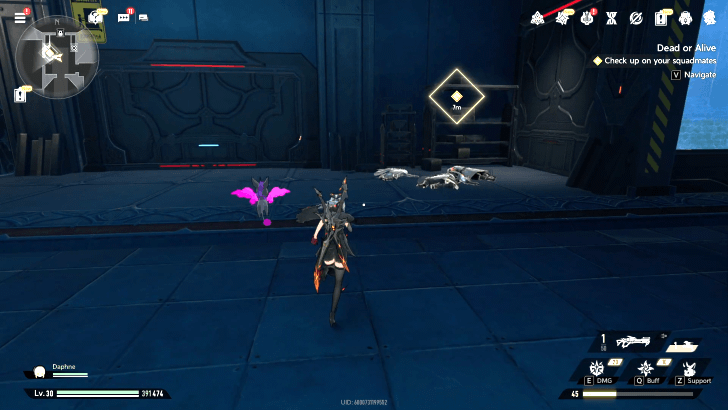 Check on Your Squadmates Follow the quest marker to the area where you and Avar broke away from the rest of the squad. |
| 3 | 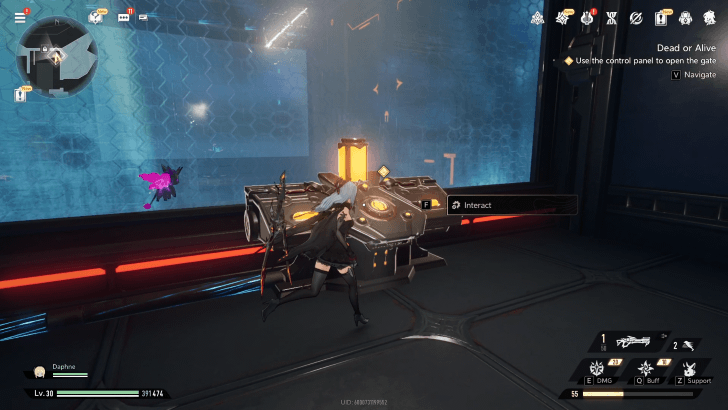 Use the Control Panel to Open the Gate Go to the right and towards the control panel. Use the control panel and solve the puzzle to open the gate. Follow the quest marker through the gate, past the turret, and then interact with the control panel. |
| 4 | Retrieve the Key Large waves of enemies will come in from all directions. Focus on defeating the three Sergeants as one of them is carrying the key to unlock the control panel. |
| 5 | 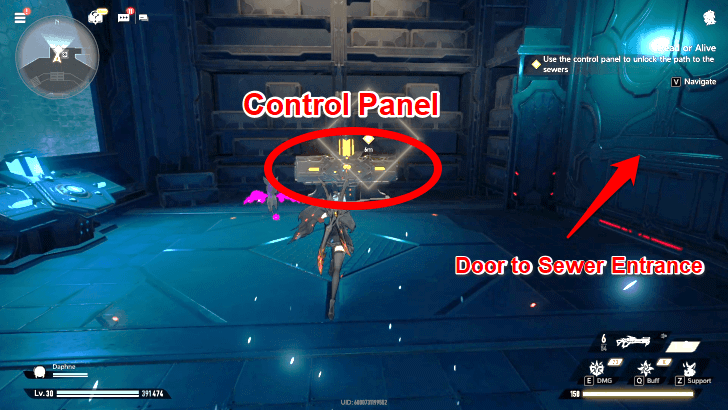 Try Again to Unlock the Path to the Sewers Once you have the key, run back to the control panel to unlock the door to the right. |
| 6 | 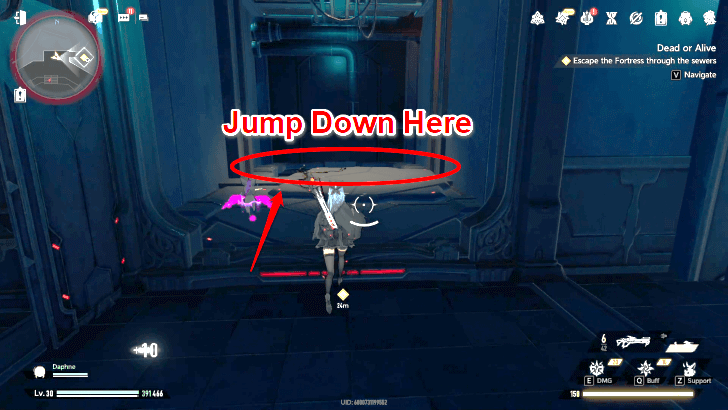 Escape the Fortress through the Sewers Keep running until you fall to the entrance to the sewers. |
| 7 | 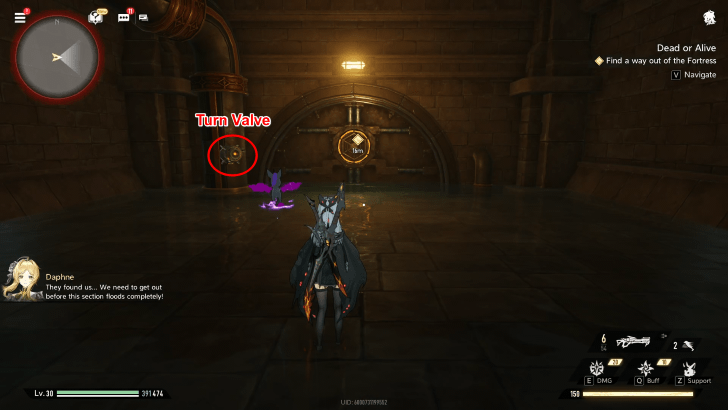 Find a Way Out of the Fortress Enter the Underground Sewers to the left to find a locked gate. Go and interact with the valve next to the gate to unlock it. Repeat this for the next area. When you reach the flooded area, jump onto the wooden platform to the right and head to the device to solve a puzzle to drain the water. Go back down, break through the wall, fend off the Filthoids and Legion soldiers, and follow the quest marker while avoiding the steam from the pipes. |
| 8 | 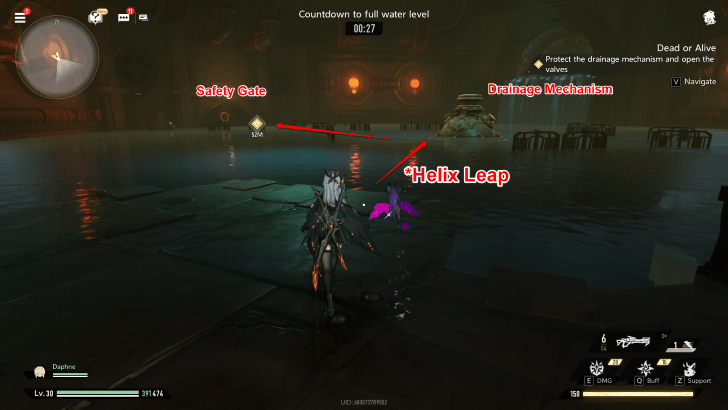 Protect the Drainage Mechanism and Open the Valves After arriving to the quest marker's location, a 30-second countdown will begin as the water level starts rising. Run or Helix Leap to the safety gate. Try to unlock the gate and then alarms will start blaring and the room will begin to flood. Unlock all 3 valves in the room to drain the water to a safe level. This will open the safety gate. Fight the remaining Filthoids and Legion soldiers. |
Dead or Alive Story Walkthrough and Guide
Dead or Alive Full Dialogue
| Prompt 1 | ||
|---|---|---|
| Please... I need to know I can trust you... I'll believe whatever you tell me. | ||
| Response | Impression | Points |
| (Hold her gently and reassure her you can be trusted.) | Empathy | +3 |
| (Tell her she needs to be strong and face reality.) | Benefit | +3 |
| Prompt 2 | ||
| You're heavily wounded... Is there any chance of us escaping this place...? Even if we make it out, the Legion will hunt us down... We'll be fugitives forever, constantly dodging assassins... | ||
| Response | Impression | Points |
| Maybe we should just live in the sewers forever. | TBA | TBA |
| We should just head out and fight to the death. | Morality | +3 |
| ...Let's take a deep breath. We'll come up with something. | Empathy | +3 |
Dead or Alive Rewards
| Obtainable Rewards |
|
|
|
|---|---|---|
The Judgment Day
| The Judgment Day Objectives | |
|---|---|
| 1 |  Talk to Your “Squadmates” Talk to each squadmate and follow the quest marker out of the interrogation room, down the hall, and into a strange, document-filled room. |
| 2 | 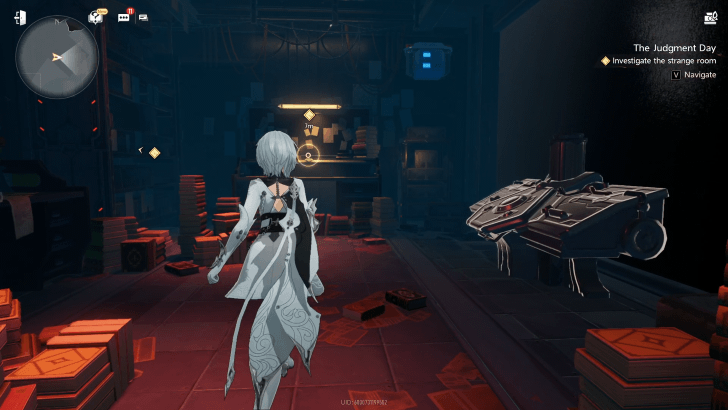 Investigate the Strange Room Enter the open room in front of you. Follow the quest marker to two documents and examine them. |
| 3 | 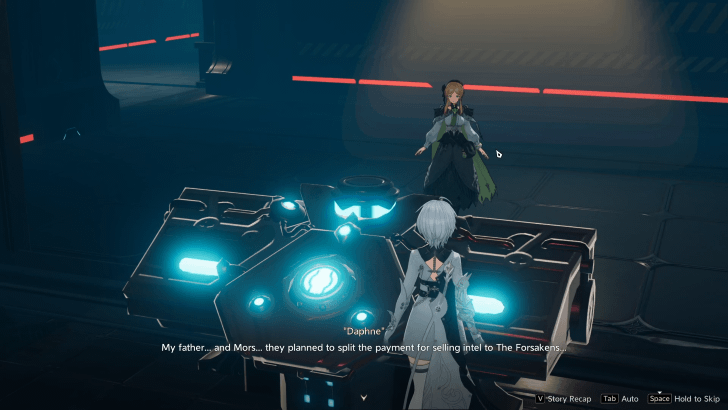 Power Up the Control Panel Boot up the control panel in the room. The blank screen will slowly reveal "Daphne" in an interrogation room. |
| 4 | 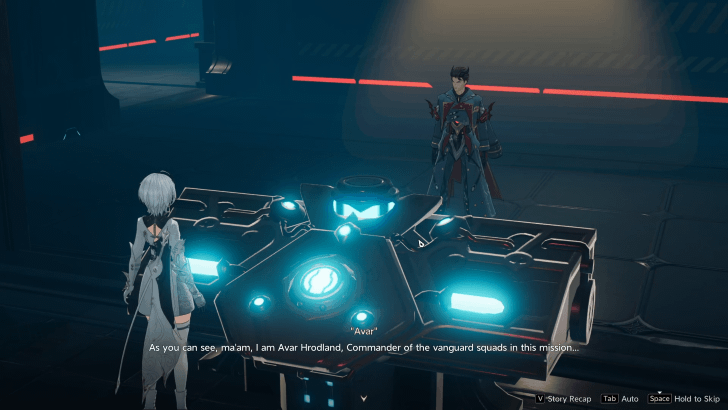 Operate the Control Panel Operate the control panel again. "Avar" will appear falsely confess to his crimes, which the Captain will dismiss. Interact with the control panel for a third time. The system will mock the Captain and break down, opening up a path into the interrogation room with a single chair at the center. |
| 5 | 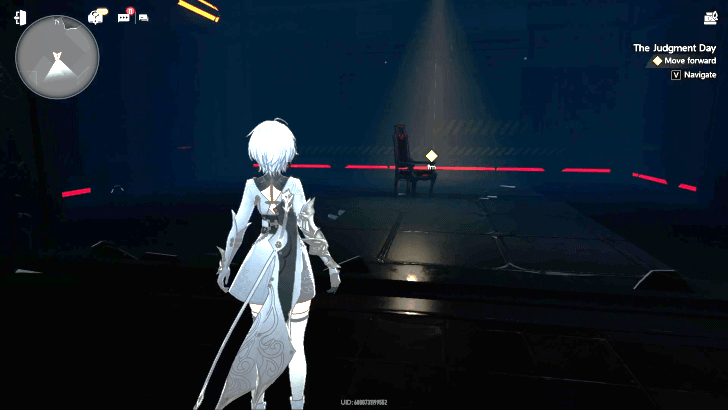 Check Out the Strange Chair Walk forward and inspect the chair. You may try to talk to Avar, Daphne, Leon, and Marco. |
| 6 | 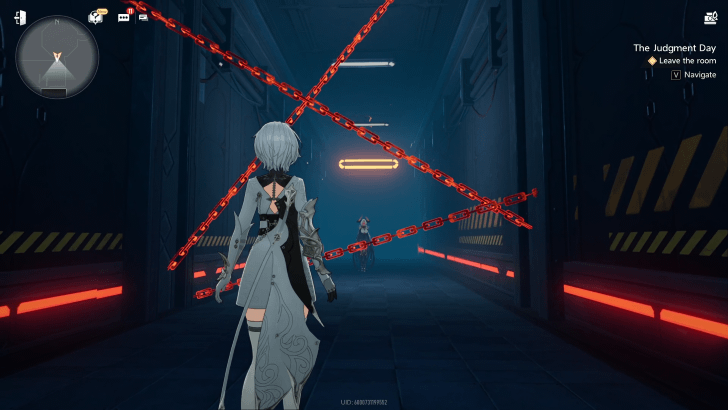 Leave the Room Leave the interrogation room and enter the corridor. Walk until you reach Hellfire at the end of the hall. Hellfire will ask: As an Imperial soldier, have you conspired with The Forsakens and betrayed your Empire? |
| 7 | 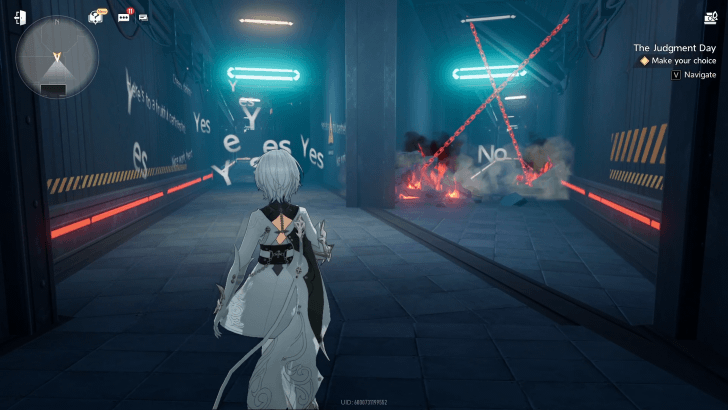 Make Your Choice The hallway will split into two paths for either the answer Yes or No. To proceed, choose No and walk the path. |
| 8 | 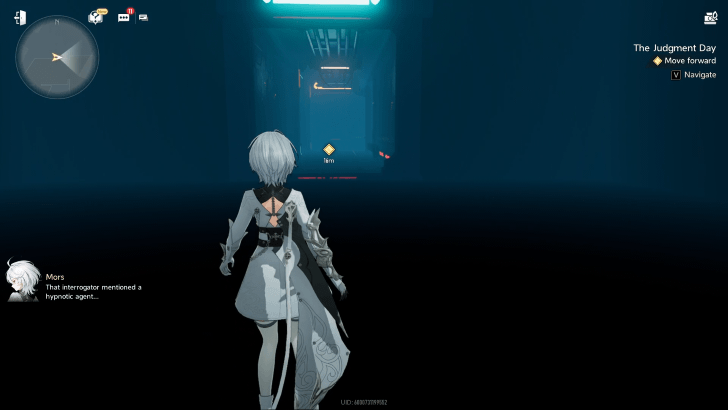 Move Forward The right hallway will take you to an empty space. Walk out of the room and go inside an interrogation room like the ones before. |
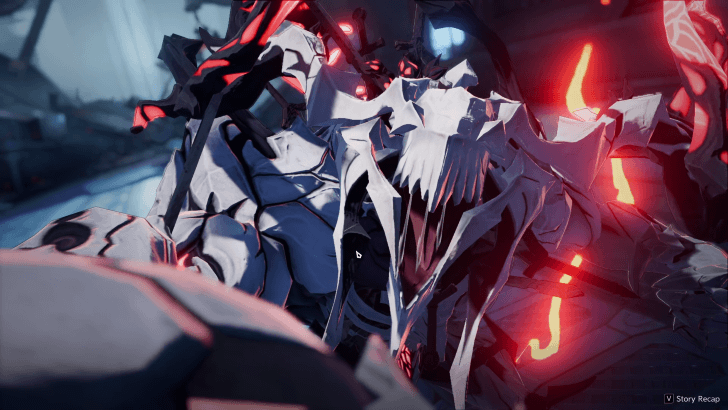
| 9 | 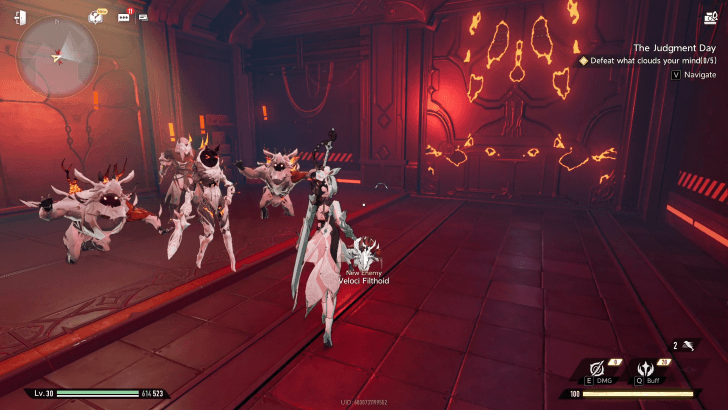 Defeat What Clouds Your Mind (Filthoids) Defeat the squadmates-turned Filthoids to open the path to the hallway. |
| 10 | 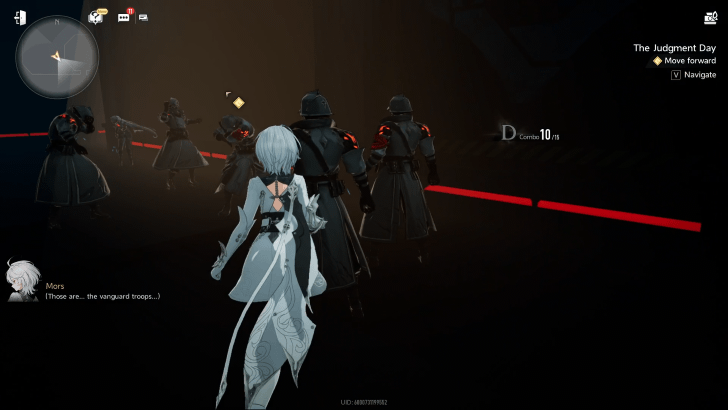 Go to the Next Interrogation Room Proceed down the hallway until you meet Hellfire once again. She will ask her second question: The vanguard squads were annihilated at Lonza Fortress. Were you the architect of their doom? You will appear once again in the same empty room. Leave and run down the short path to the interrogation room. |
| 11 | 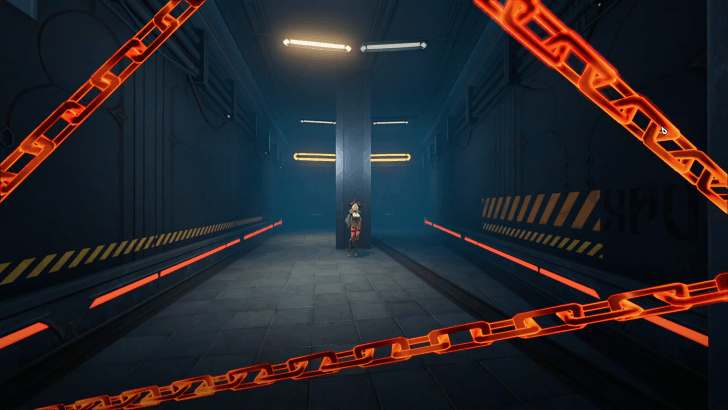 Make Your Choice Again The hallway will split into two paths for either the answer Yes or No. To proceed, choose No again and walk the path. |
| 12 | 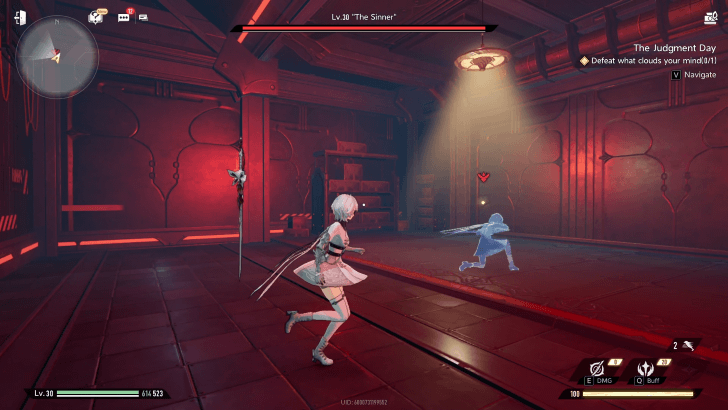 Boss Fight: The Sinner Defeat The Sinner Take down The Sinner to progress through the story. It will use melee attacks and teleport around, so remember to use the Captain's Perfect Dodge at the right time. ▶ How to Beat The Sinner |
| 13 | 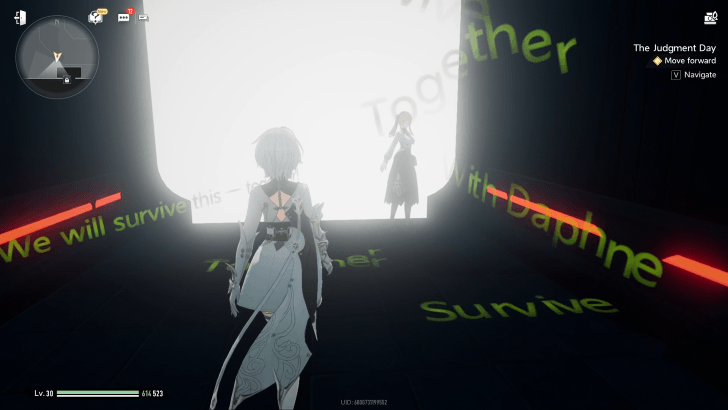 Find a Way Out Follow the quest marker and keep pushing forward as you run past allies and foes. Follow Daphne until you reach the end of the winding halls and into the white light. You will eventually find Hellfire, The Warden of the Inferno. |
| 14 | 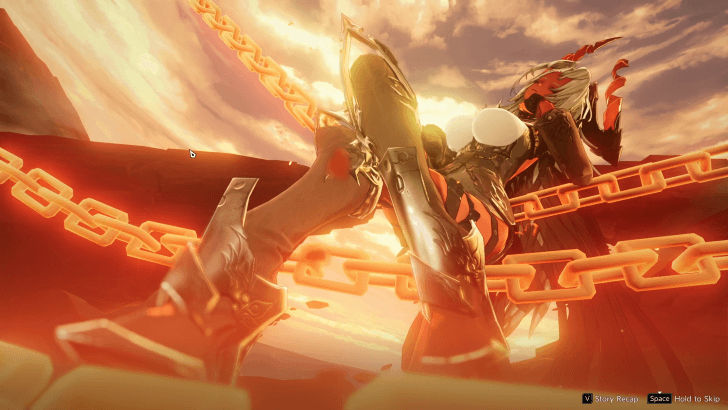 Boss Fight: The Warden of the Inferno Defeat the Warden of Inferno. The Warden of the Inferno has a wide range of abilities, high HP, and no weak points. Stay close enough to consistently deal damage and break her Stance. ▶ How to Beat The Warden of the Inferno |
The Judgment Day Story Walkthrough and Guide
The Judgment Day Full Dialogue
| Prompt 1 | ||
|---|---|---|
| ... Or is this some sort of final kindness before our execution!? | ||
| Response | Impression | Points |
| You're right. I pleaded guilty. We'll be executed soon. | Chaos | +3 |
| The Warden believed what I said and went to investigating Falsi. | Empathy | +3 |
The Judgment Day Rewards
| Obtainable Rewards |
|
|
|
|---|---|---|
|
|
Thought: Phoxhunter - Lumino x30 |
|
|
|
|
|
Chapter 2: Twilight Act 1 Boss Guide
Battle Maven
The Battle Maven is a fairly powerful boss that moves quick and hits hard. It specializes in close combat and ranged attacks to strike the Captain from a distance.
The Sinner
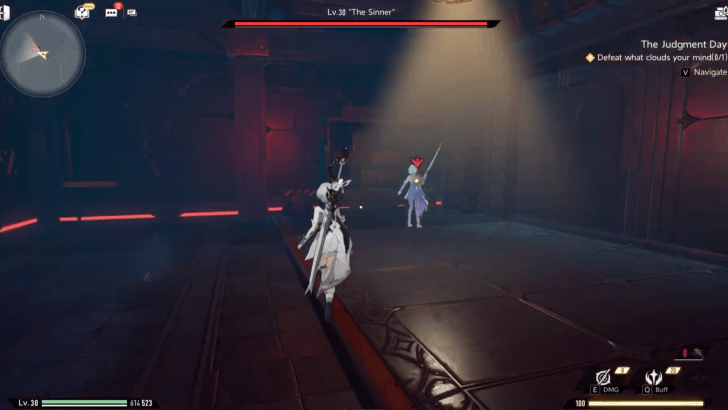
The Sinner is a story boss that excels in close combat. It unleashes quick attacks and can teleport closer to you.
The Warden of the Inferno
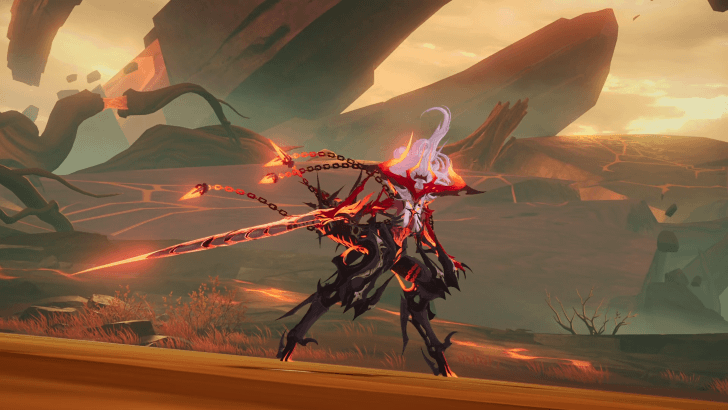
The Warden of the Inferno is a powerful boss with high HP and no weak points. She specializes in close combat but can execute long-range attacks and AoE abilities.
How to Beat The Warden of the Inferno
Chapter 2: Twilight Act 1 Previous and Next Chapter
| ◄ Previous Chapter | Next Chapter ▶ |
|---|---|
| Noctoyager Act 1 | Noctoyager Act 2 |
Duet Night Abyss Related Guides

All Quest Types
| All Quest Types | |
|---|---|
| Main Quests | Side Quests |
| Special Side Quests | Dynamic Quests |
| Event Quests | |
All Main Quests
 Prologue
 Chapter 1: Noctoyager Act 1
 Chapter 3: Noctoyager Act 2
 Chapter 4: Journey Across the Lands
Comment
Author

Chapter 2: Twilight Act 1 Story Walkthrough and Guide
Rankings
- We could not find the message board you were looking for.
Gaming News


![Forza Horizon 6 Review [Preview] | Beautiful Roads With a Whole Lot of Oversteer](https://img.game8.co/4460981/a7254c24945c43fbdf6ad9bea52b5ce9.png/thumb)
Popular Games

Genshin Impact Walkthrough & Guides Wiki
Crimson Desert Walkthrough & Guides Wiki
Umamusume: Pretty Derby Walkthrough & Guides Wiki
Honkai: Star Rail Walkthrough & Guides Wiki
Monster Hunter Stories 3: Twisted Reflection Walkthrough & Guides Wiki
Wuthering Waves Walkthrough & Guides Wiki
The Seven Deadly Sins: Origin Walkthrough & Guides Wiki
Pokemon TCG Pocket (PTCGP) Strategies & Guides Wiki
Pokemon Pokopia Walkthrough & Guides Wiki
Zenless Zone Zero Walkthrough & Guides Wiki


Recommended Games
Monster Hunter World Walkthrough & Guides Wiki
Fire Emblem Heroes (FEH) Walkthrough & Guides Wiki
Pokemon Brilliant Diamond and Shining Pearl (BDSP) Walkthrough & Guides Wiki
Super Smash Bros. Ultimate Walkthrough & Guides Wiki
Diablo 4: Vessel of Hatred Walkthrough & Guides Wiki
Cyberpunk 2077: Ultimate Edition Walkthrough & Guides Wiki
Yu-Gi-Oh! Master Duel Walkthrough & Guides Wiki
Elden Ring Shadow of the Erdtree Walkthrough & Guides Wiki
The Legend of Zelda: Tears of the Kingdom Walkthrough & Guides Wiki
Persona 3 Reload Walkthrough & Guides Wiki


All rights reserved
Game Copyright©Pan Studio All Rights Reserved.
The content we provide on this site were created personally by members of the Game8 editorial department.
We refuse the right to reuse or repost content taken without our permission such as data or images to other sites.
©Pan Studio (Provider)