Guns and Vines Walkthrough: Should You Trust Katya?
★ Tier Lists: Characters | Weapons | Demon Wedges
★ Builds: Kezhou | Fushu | Fina | Lynn | Psyche
★ Version 1.2 Summary | Characters: Zhiliu | Yuming
┗ Mechanics: Mount | Gifting | Reputation | Accessory Customization
★ How to Get Characters | Mystic Maze | Redeem Codes
Here you'll find a walkthrough for the main quest Guns and Vines in Duet Night Abyss (DNA). Read on to learn how to complete Guns and Vines, if you should trust Katya or not, as well as the rewards, objectives, and dialogue impressions in Guns and Vines.
| ◄ Previous Quest | Next Quest ▶ |
|---|---|
| A Vibrant Heart | The Overlookers |
List of Contents
Should You Trust Katya or Not in Guns and Vines?
Either Choice Is Fine
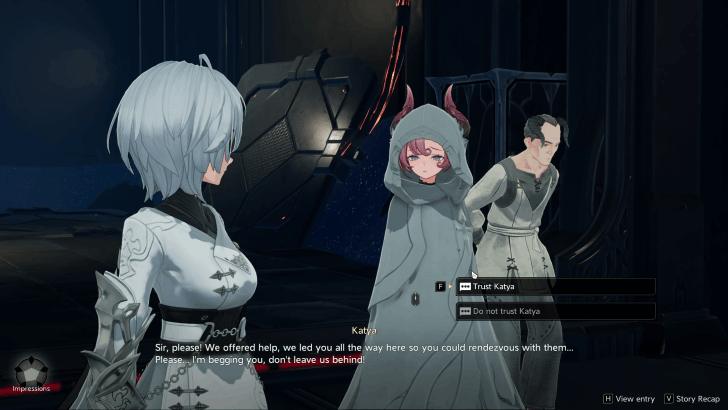
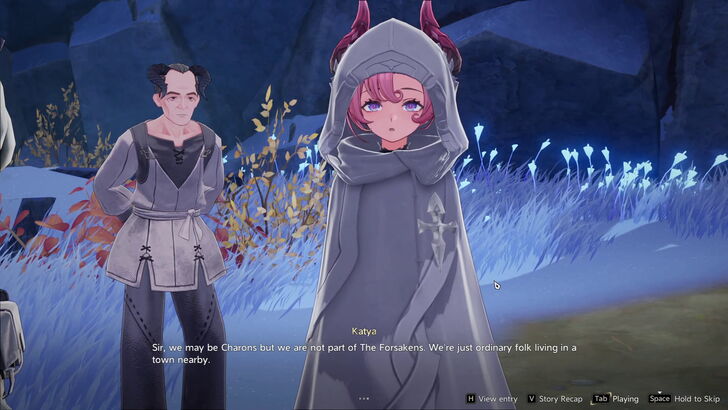
Before you finally head inside the control room, Avar wants to minimize any risks so he decides to leave the captive Charons Katya and Frank here. Katya will plead for your trust, and it is your decision to do so or not.
Neither choices will alter the story besides the protagonist's response and the Impression stat increase received. Choose whichever response or Impression stat you'd like to receive that fits your experience the most.
| Prompt 2 | ||
|---|---|---|
| Sir, please! We offered help, we led you all the way here so you could rendezvous with them… Please.... I'm begging you, don't leave us behind! | ||
| Response | Impression | Points |
| Trust Katya | Empathy | +3 |
| Do not trust Katya | Wisdom | +3 |
Guns and Vines Story Walkthrough
Rescue the Stranded Squad Mates Near the Rail Track
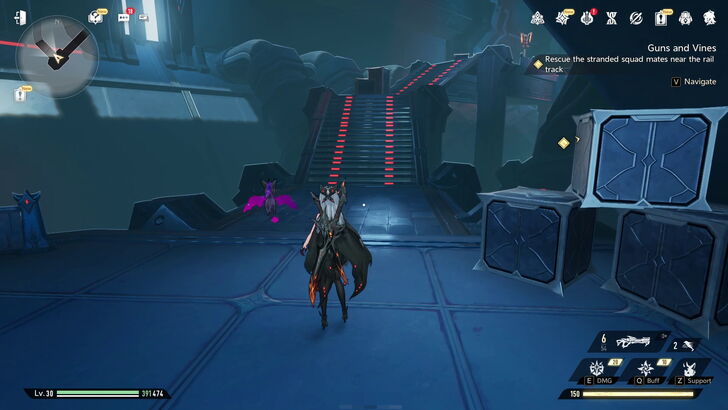
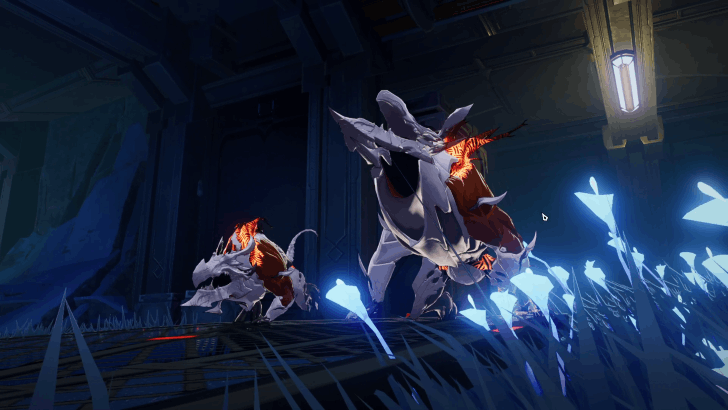
Head up the stairs and follow the quest marker. You will see Filthoids swarming to enter a room with someone inside.
Defeat the Filthoids by the door, walk through the corridor, and then to the room to the left to find the soldier Simon, the lone survivor of the attack.
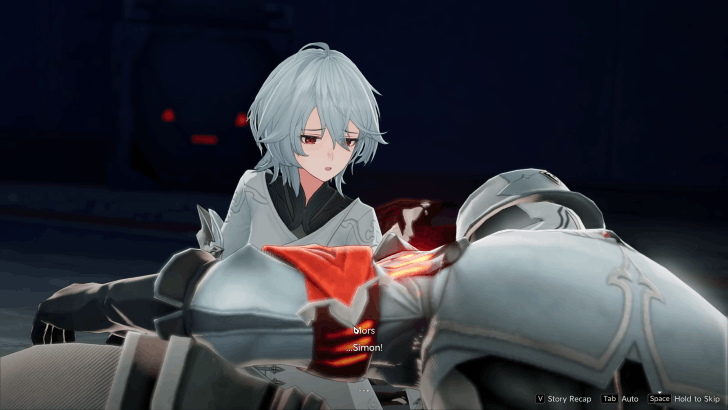
Talk to him and he will inform you that the rest of the squad are trapped by the Filthoids in the rail tracks, before drawing his last breath.
| Prompt 1 | ||
|---|---|---|
| ... | ||
| Response | Impression | Points |
| Close his eyes for him | Morality | +3 |
| Leave | Chaos | +3 |
Head to the Rail Tracks
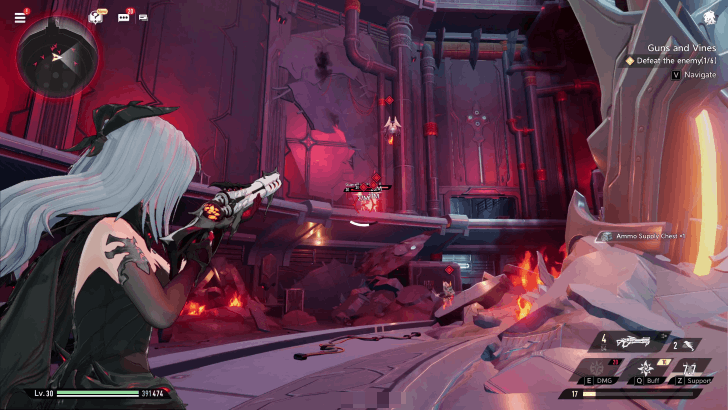
Head outside and follow the quest marker to reach a large room sprawling with Filthoids and a few Forsaken soldiers. Take them down and remember to prioritize those that have the red quest marker to finish faster.
Proceed to the Rail Tracks
After defeating the enemies, a door will open. Exit the room through it and follow the quest marker straight downstairs to reach the rail tracks.
Follow the tracks and a short cutscene of Filthoids swarming to attack a door will play. Defeat all of them to open the door.
Once the door is opened, your squad mates will call for you from inside. Go to them to inform them of Simon’s death and the plan to rendezvous with Avar at Turret 4.
The two Charon captives, Frank and Katya, will inform you that they know their way around the fortress’ sewer tunnel system and offered to guide you use it to reach the turret faster.
Head Through the Sewers Towards the Turret
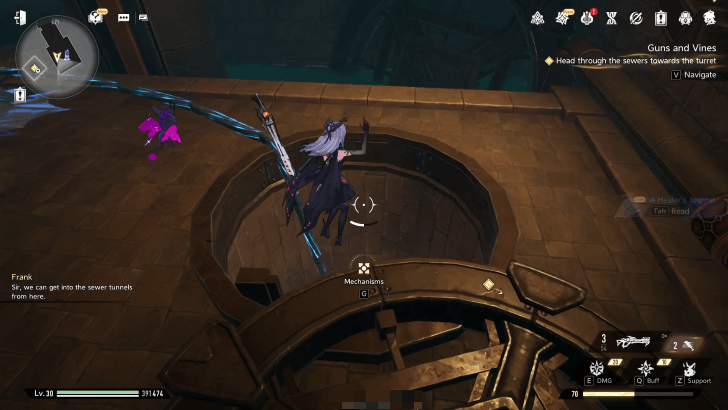
Head outside the room and go across the rail tracks to the opposite room. In here is a Waypoint and a hole to the sewers to the right. Jump down the hole and follow the quest marker.
| 4.1 | 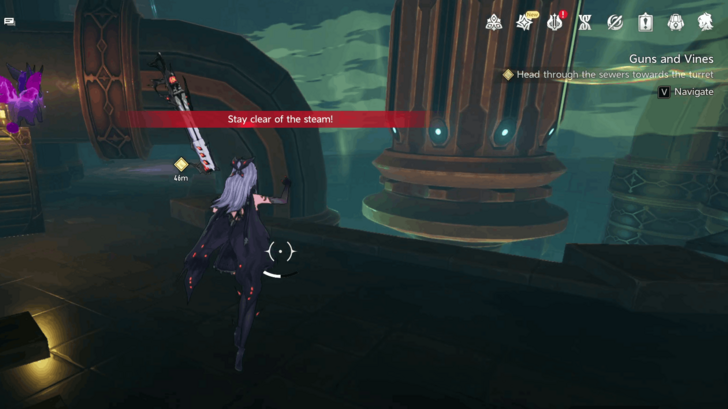 Avoid the steam coming from the rotating condensers as it will damage you. |
|---|---|
| 4.2 | 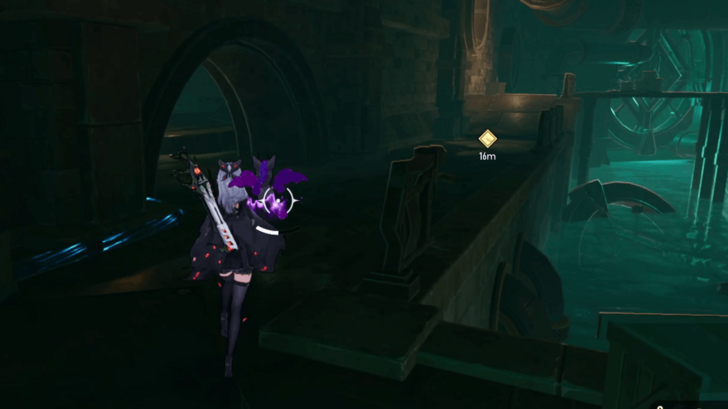 Shake off or defeat the Filthoids that appear. Follow the quest marker till you reach a wall. |
| 4.3 | 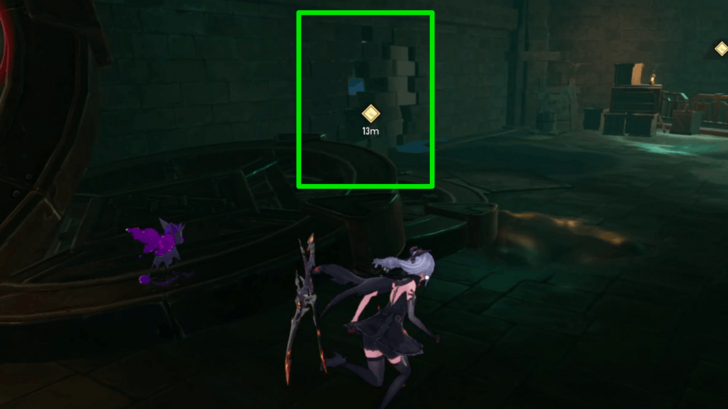 Break the wall and go through the corridor to reach another room with another rotating condenser. |
| 4.4 | 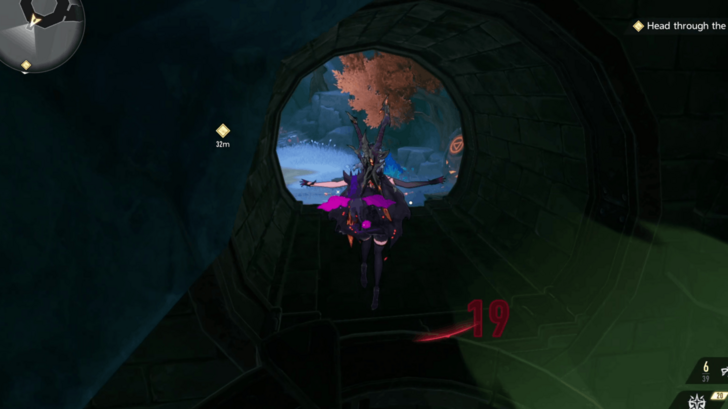 Run to the right, slide under the pipe, and jump over the next as fast as you can to avoid damage from the steam. Go through the open hatch to leave the condenser room. |
| 4.5 | 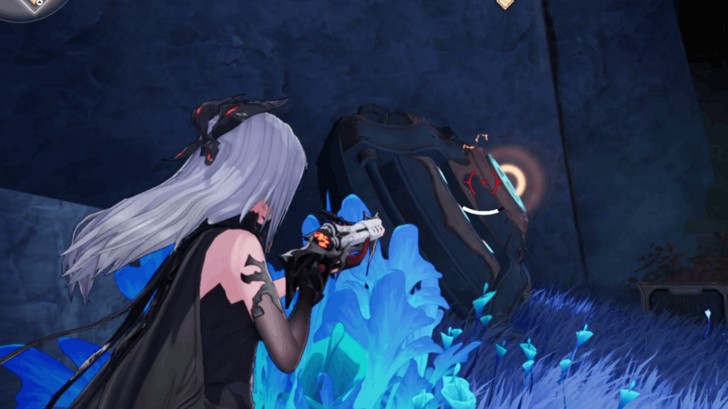 Hit the Phoxynamo Wheel and start jumping up the cliff. Proceed up to reach a room with rail tracks. |
| 4.6 | 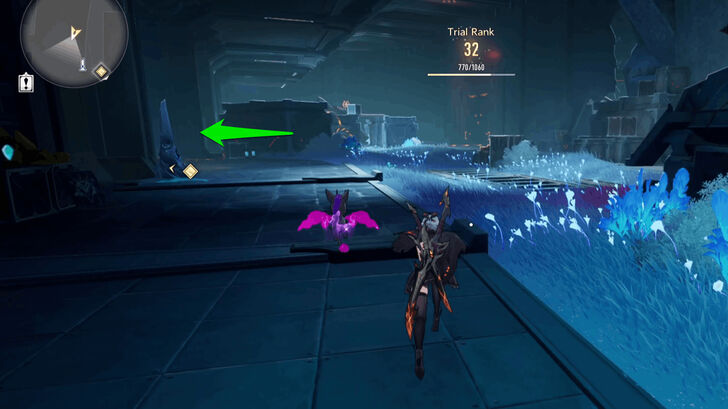 Open the door in the middle of the room next to the Waypoint to reach Avar. Alternatively, there is another door at the end of the room that also leads inside where he is. |
| 4.7 | 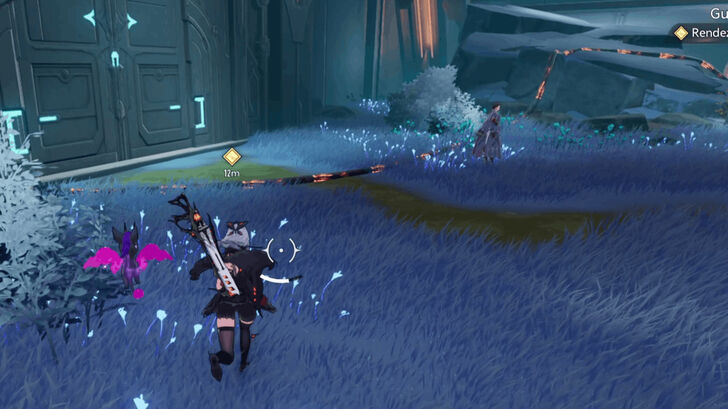 Rendezvous with Avar who's been waiting behind the door. |
Restore Power to the Simulated Battlefield
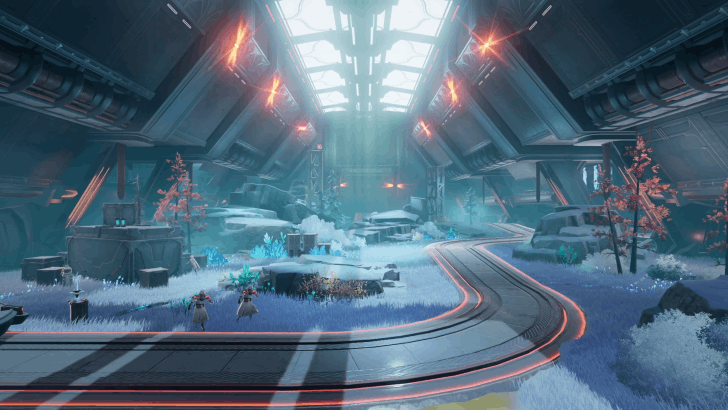
Avar will inform you that there will be no reinforcements and that you’ve all been ordered to continue the operation to breach the fortress’ central control room.
The plan is to restore the power to the area and position the cannon to the control room’s door.
Go through the three different tasks in any order to complete this objective.
| A | 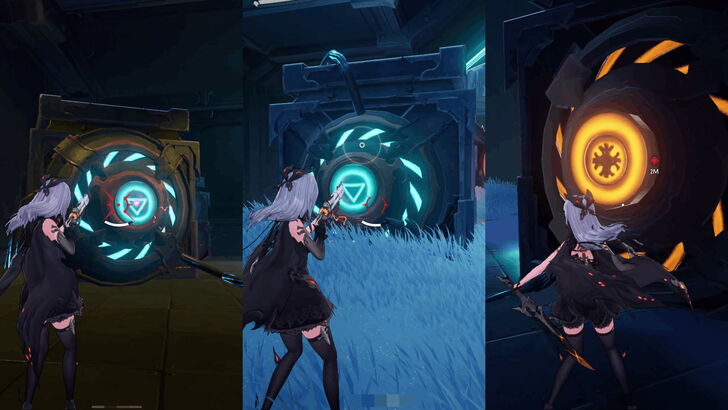 Activate the Phoxynamo Wheels in the northern room. There are 3 wheels that are all inside the same room. Follow the flow of the wires attached to the wheels if you get lost. |
|---|---|
| B | 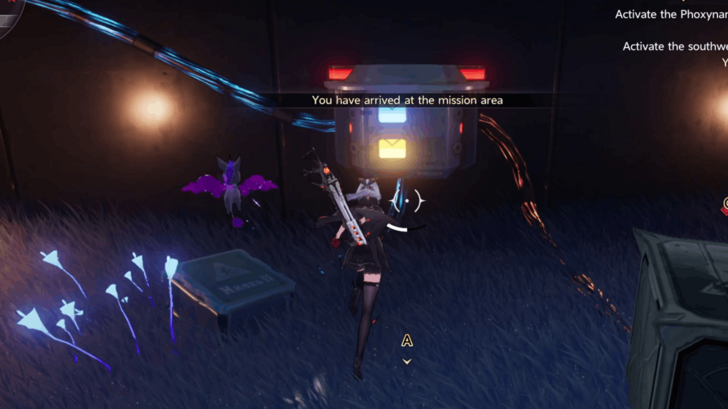 Inspect the transformers with the interact button. |
| C | 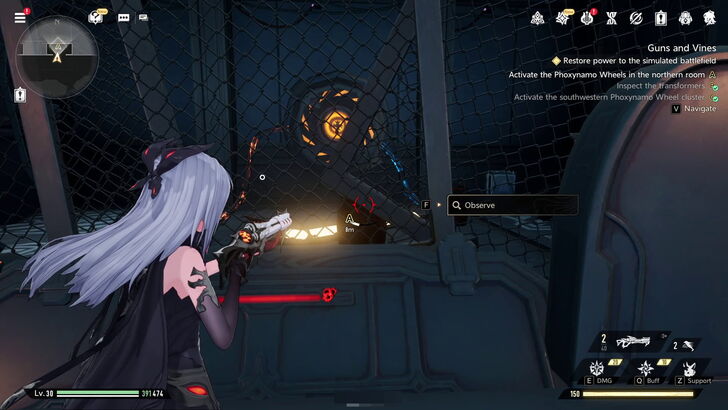 Activate the southwestern Phoxynamo Wheel cluster. Use your ranged weapon to shoot a nearby explosive barrel. |
Head back and report to Avar once you’ve completed all the tasks to progress the quest.
Reboot the Simulated Battlefield
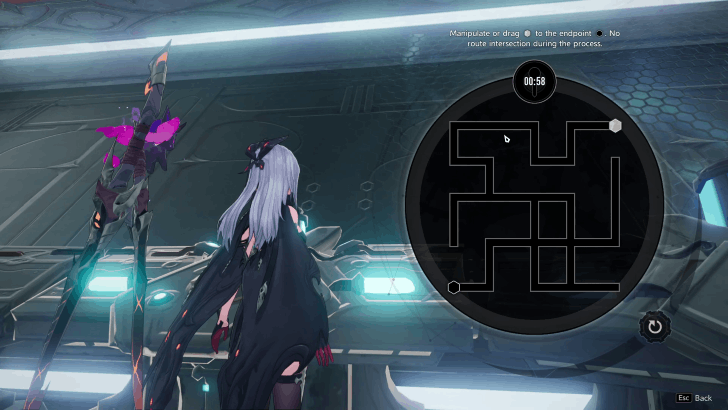
Follow the quest marker to reach a control console. Solve the puzzle to finally reboot the systems and move the turret.
| 6.1 | 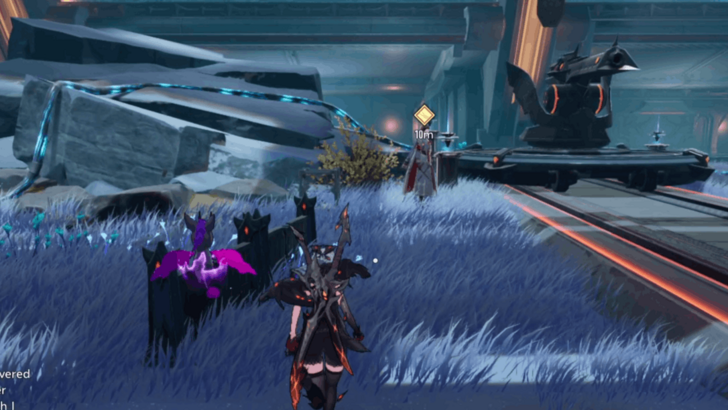 Return to the turret and speak to Avar. |
|---|---|
| 6.2 | 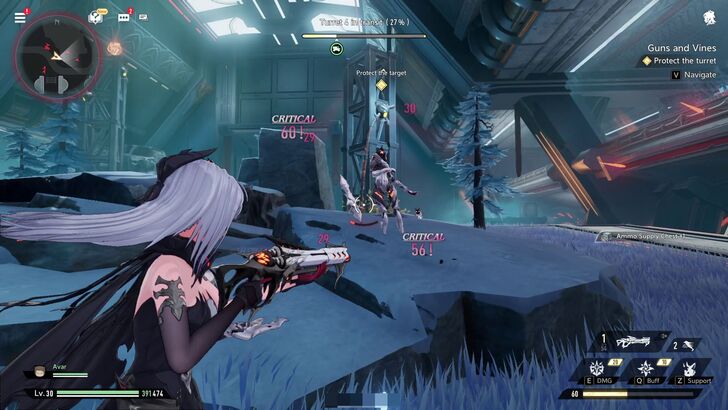 Interact with the turret to begin moving it. Protect the turret from Filthoid attacks while it is moving. |
| 6.3 | 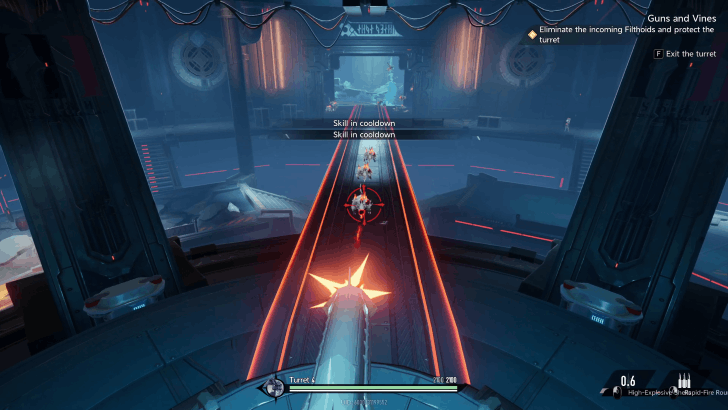 Once the turret is in place, use it to eliminate the incoming Filthoids and protect it from damage. |
| 6.4 | 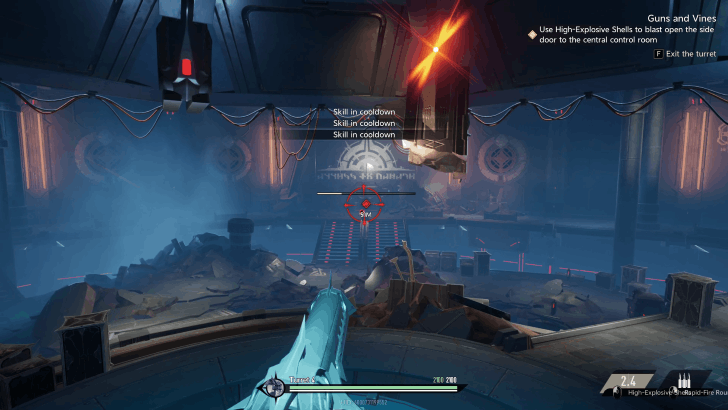 Use the High-Explosive Shells to blast open the side door to the central control room |
| 6.5 | 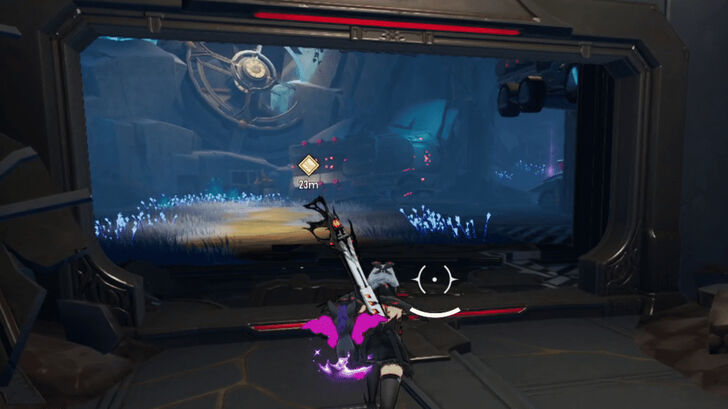 Leave the turret and enter through the door you just blasted. |
Head to the Central Control Room Alongside Avar
You will now head to the central control room with Avar. Follow the quest marker until you reach a door near a Waypoint.
| 7.1 | 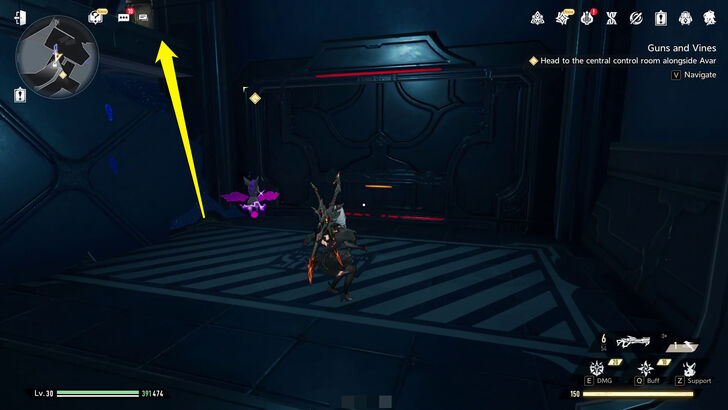 Look to the left and jump over the wall to enter the fortress’ vents. Continue on and follow the quest marker. |
|---|---|
| 7.2 |  |
| 7.3 |  Interact with the transformer button to open the room to the left and then head inside it. |
Take a Brief Rest
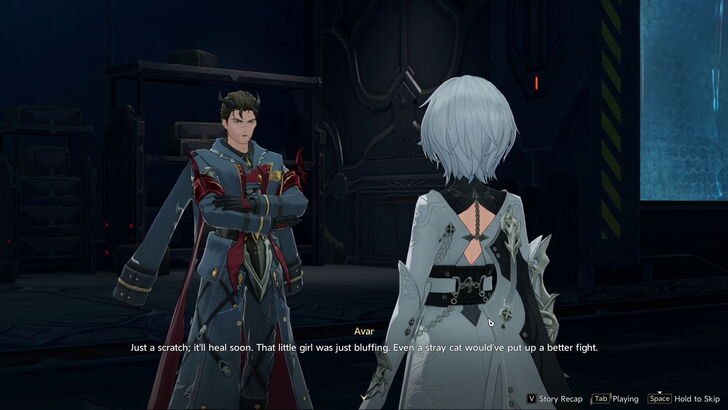
Avar seems to have lost a photograph but he tells you that it isn’t that important. He suggests interrogating Katya after the ordeal.
Complete both of these objectives to progress and end the quest.
Search for Avar's Lost Photograph
| 9.1 | 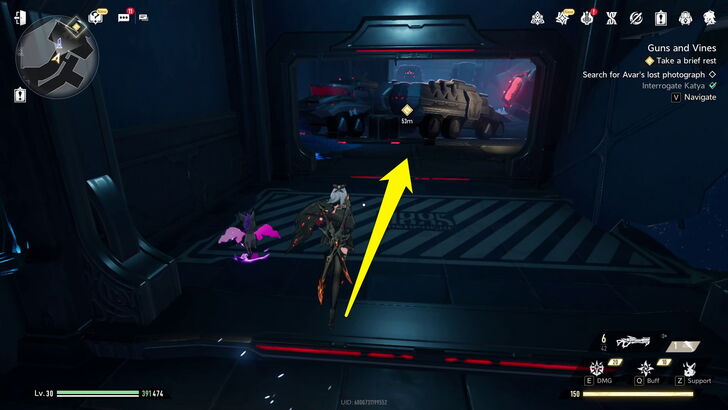 Follow the quest marker outside and enter the room opposite of where the squad is resting. |
|---|---|
| 9.2 | 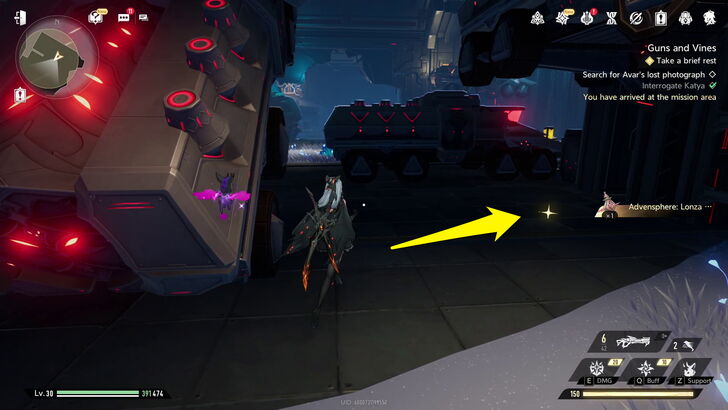 Once you reach the area where the quest marker is, interact with the sparkling object on the ground to find the photograph. |
| 9.3 | 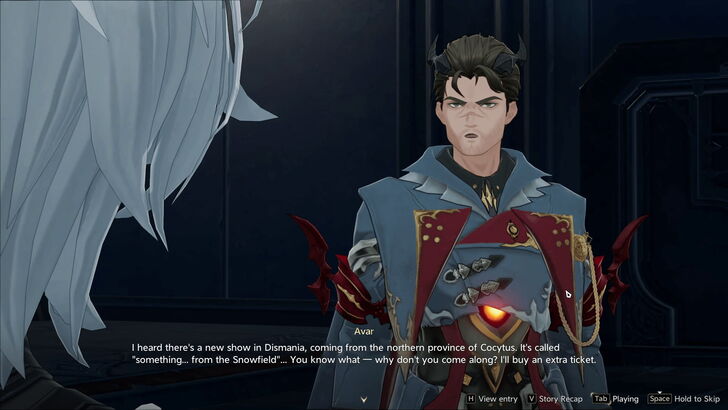 Head back and speak to Avar about it. |
Interrogate Katya

Speak with Katya to handle the interrogation. The conversation choices here has both Impression stat increases and story effects, see down below for them.
| Prompt 3 | ||
|---|---|---|
| Hey — you guys hear that? Your captain wants to in The Forsakens! | ||
| Response | Impression | Points |
| Save it. No one would give you any attention. | Benefit | +3 |
| Yeah, I'm interested. Who's your contact? | Wisdom | +3 |
| You had many chances for an ambush. Why played the long game? | Morality | +3 |
| (Give her a punch to shut her up) | Chaos | +3 |
| Prompt 4 | ||
| It's... that voice again!' Why now...? | ||
| Response | Effect | |
| (Try to stay rational) | You will proceed with interrogating Katya. | |
| (Follow the voice and reach for the sword) | Will trigger a sequence of choices to a special cutscene. Choose all the 'Follow the Voice' in the next dialogue choices to trigger the cutscene. |
|
| Prompt 5 | ||
| It may be extremely important to you. You sure you don't want to hear it? | ||
| Response | Effect | |
| Hear her out | Katya will tell you that someone in the Legion wants you dead. This response will come back later as a flashback during a decision in The Overlookers |
|
| Refuse to hear | You will leave Katya and proceed with the story as normal. | |
Guns and Vines Bosses
No Boss Fight in Guns and Vines
| There is no boss fight in Guns and Vines. |
|---|
Guns and Vines Rewards
| Obtainable Rewards |
|
|
|
|---|---|---|
|
|
||
Guns and Vines Previous and Next Quests
| ◄ Previous Quest | Next Quest ▶ |
|---|---|
| A Vibrant Heart | The Overlookers |
Duet Night Abyss Related Guides

All Quest Types
| All Quest Types | |
|---|---|
| Main Quests | Side Quests |
| Special Side Quests | Dynamic Quests |
| Event Quests | |
All Main Quests
 Prologue
 Chapter 1: Noctoyager Act 1
 Chapter 2: Twilight Act 1
 Chapter 3: Noctoyager Act 2
 Chapter 4: Journey Across the Lands
Author

Guns and Vines Walkthrough: Should You Trust Katya?
Rankings
- We could not find the message board you were looking for.
Gaming News

![Forza Horizon 6 Review [Preview] | Beautiful Roads With a Whole Lot of Oversteer](https://img.game8.co/4460981/a7254c24945c43fbdf6ad9bea52b5ce9.png/show)


![Forza Horizon 6 Review [Preview] | Beautiful Roads With a Whole Lot of Oversteer](https://img.game8.co/4460981/a7254c24945c43fbdf6ad9bea52b5ce9.png/thumb)
Popular Games

Genshin Impact Walkthrough & Guides Wiki
Crimson Desert Walkthrough & Guides Wiki
Umamusume: Pretty Derby Walkthrough & Guides Wiki
Honkai: Star Rail Walkthrough & Guides Wiki
Monster Hunter Stories 3: Twisted Reflection Walkthrough & Guides Wiki
Wuthering Waves Walkthrough & Guides Wiki
The Seven Deadly Sins: Origin Walkthrough & Guides Wiki
Pokemon TCG Pocket (PTCGP) Strategies & Guides Wiki
Pokemon Pokopia Walkthrough & Guides Wiki
Zenless Zone Zero Walkthrough & Guides Wiki


Recommended Games
Monster Hunter World Walkthrough & Guides Wiki
Fire Emblem Heroes (FEH) Walkthrough & Guides Wiki
Pokemon Brilliant Diamond and Shining Pearl (BDSP) Walkthrough & Guides Wiki
Super Smash Bros. Ultimate Walkthrough & Guides Wiki
Diablo 4: Vessel of Hatred Walkthrough & Guides Wiki
Cyberpunk 2077: Ultimate Edition Walkthrough & Guides Wiki
Yu-Gi-Oh! Master Duel Walkthrough & Guides Wiki
Elden Ring Shadow of the Erdtree Walkthrough & Guides Wiki
The Legend of Zelda: Tears of the Kingdom Walkthrough & Guides Wiki
Persona 3 Reload Walkthrough & Guides Wiki


All rights reserved
Game Copyright©Pan Studio All Rights Reserved.
The content we provide on this site were created personally by members of the Game8 editorial department.
We refuse the right to reuse or repost content taken without our permission such as data or images to other sites.
©Pan Studio (Provider)
Prompt 1: Choose "close his eyes for him" for +3 Morality Prompt 3: Choose "Give her a punch to shut her up" for +3 Chaos Prompt 3: Choose "You had many chances for an ambush" for +3 Morality