A Vibrant Heart Story Walkthrough and Guide
★ Tier Lists: Characters | Weapons | Demon Wedges
★ Builds: Kezhou | Fushu | Fina | Lynn | Psyche
★ Version 1.2 Summary | Characters: Zhiliu | Yuming
┗ Mechanics: Mount | Gifting | Reputation | Accessory Customization
★ How to Get Characters | Mystic Maze | Redeem Codes
Here you'll find a walkthrough for the main quest A Vibrant Heart in Duet Night Abyss (DNA). Read on to learn how to complete A Vibrant Heart, quest rewards and objectives, dialogue impressions, and more information!
| ◄ Previous Quest | Next Quest ▶ |
|---|---|
| Beyond the Sands | Guns and Vines |
A Vibrant Heart Story Walkthrough
Advance Deeper Into the Fortress
Follow the quest marker to the end of the corridor and turn left until you reach another room.
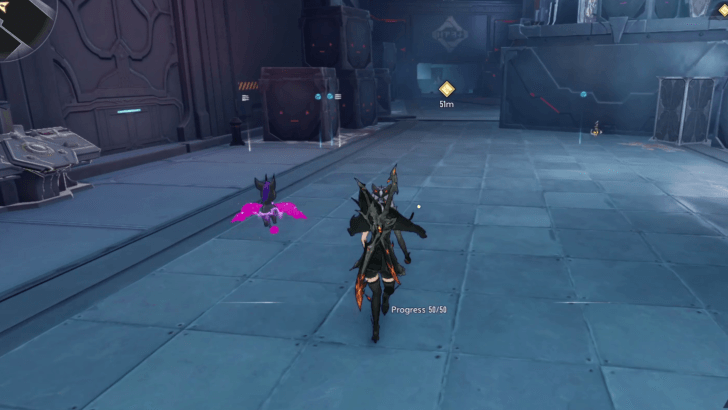
Repel the Filthoids

Upon reaching the room, Filthoids will be rushing in from a circular vent. Defeat them until the vent closes to progress through the quest.
Head to the Engine Room
Go through the door in the next room. Shoot the wall-mounted turrets with your ranged weapon. Follow the quest marker straight down the stairs, turn right, and then turn left, until you reach the door to the engine room.
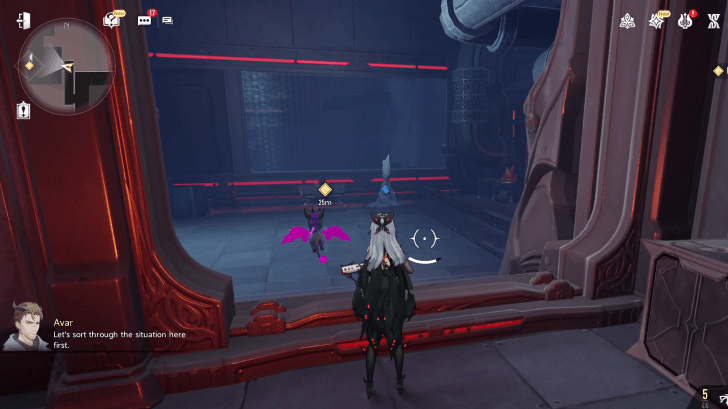
Enter the Engine Room
After conversing with Avar in a cutscene, turn right and jump over the wall to proceed.
Following the quest marker, run straight ahead until you encounter the Veloci Filthoid - Blast. Turn to the door on the left and keep heading straight.
Once you enter the corridor, enter the first door on the left and then follow the quest marker to reach the Engine Room's control panels.
After Monica gives you the rundown of the situation, head to the right door and down to reach the Engine Room.
Disarm the Mechanism
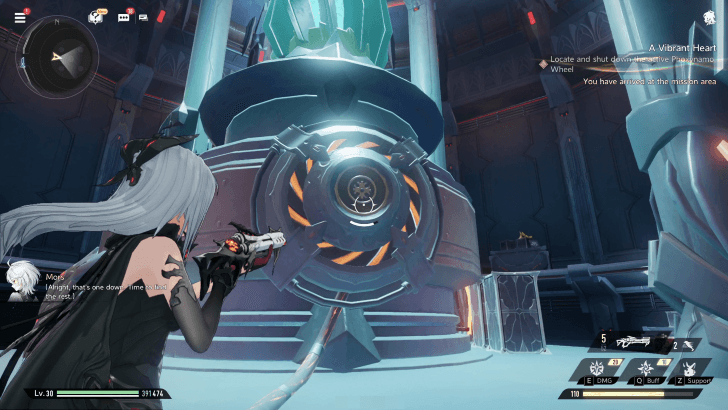
Shoot the mechanism's button with your ranged weapon.
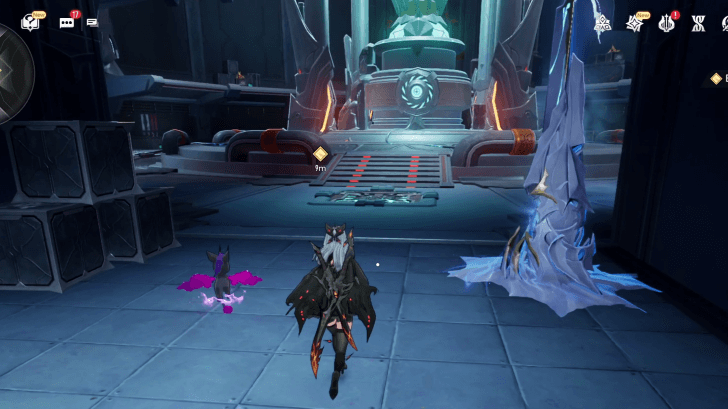
Locate and Shut Down the Active Phoxynamo Wheel
Follow the quest markers to the location of the three Phoxynamo Wheel switches.
Follow the blue-lit cables on the ground to help find the Phoxynamo Wheel switches.
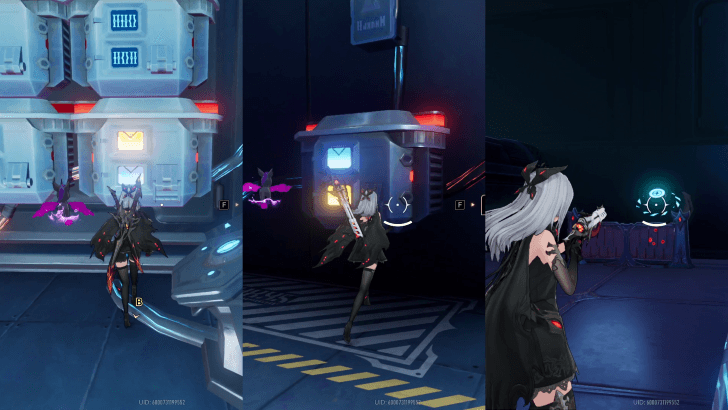
| A | 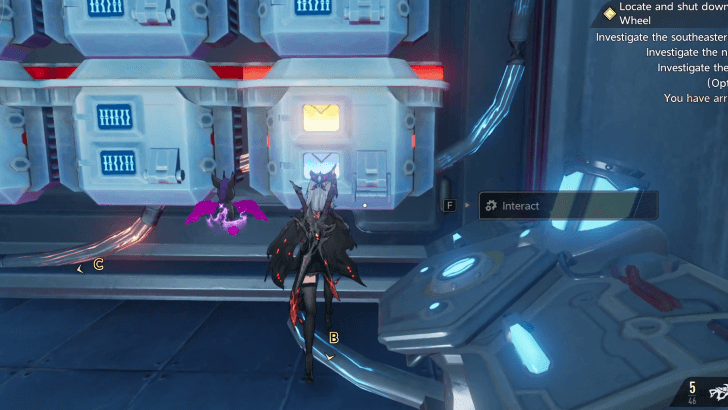 Interact with the device panel to shut down this Phoxynamo Wheel. |
|---|---|
| B | 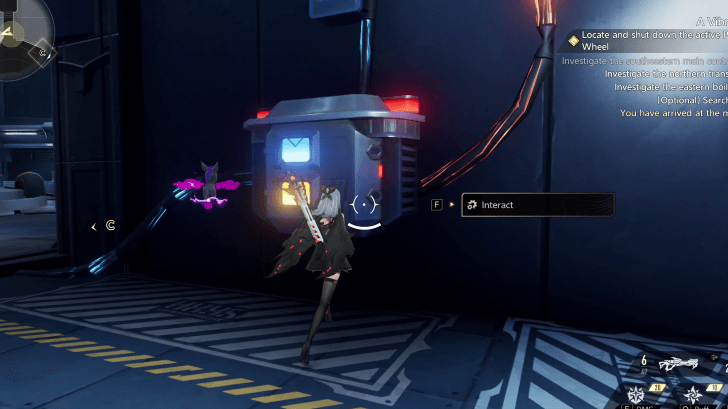 Interact with the device panel to shut down this Phoxynamo Wheel. |
| C | 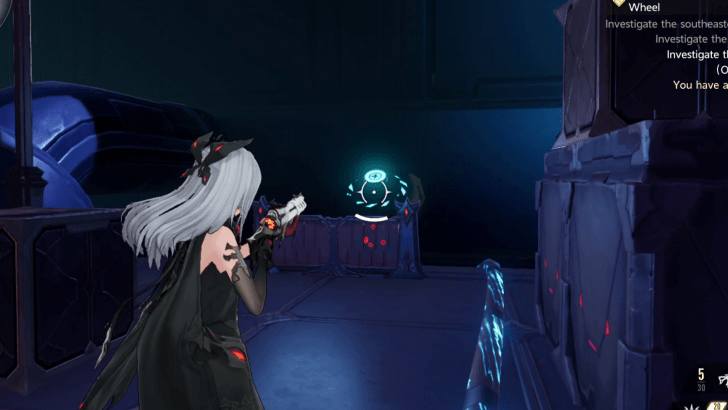 Shoot the button to shut down this Phoxynamo Wheel. |
| Optional | 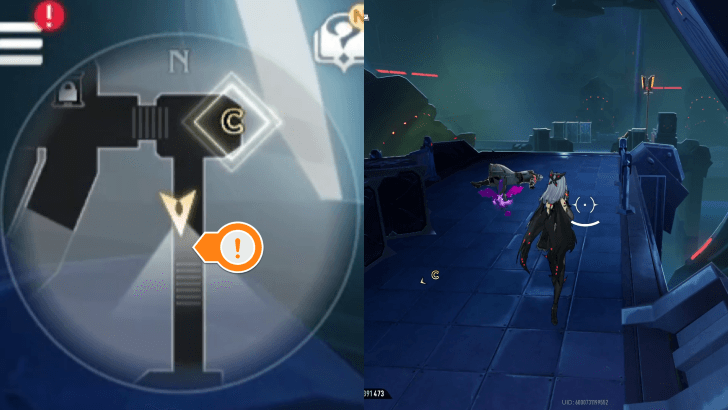 You can find Vic near the button of the Phoxynamo Wheel C in this location. This objective will become unavailable if you shut down all the Phoxynamo Wheels. |
Examine the Phoxichor Tank
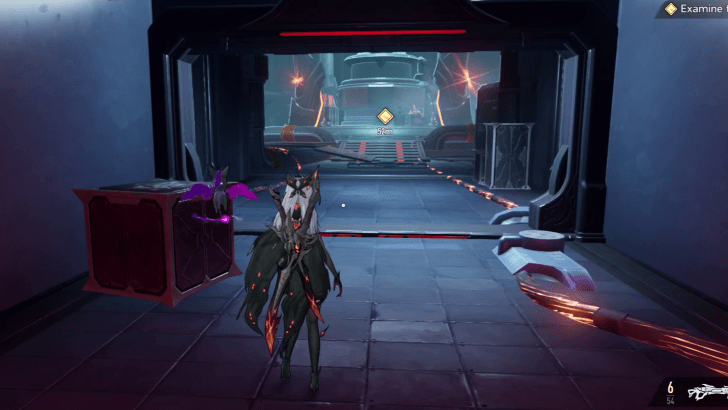
Go to the Phoxichor tank, which is located in the central area of the engine room.
Proceed to the Lower Level of the Engine Room
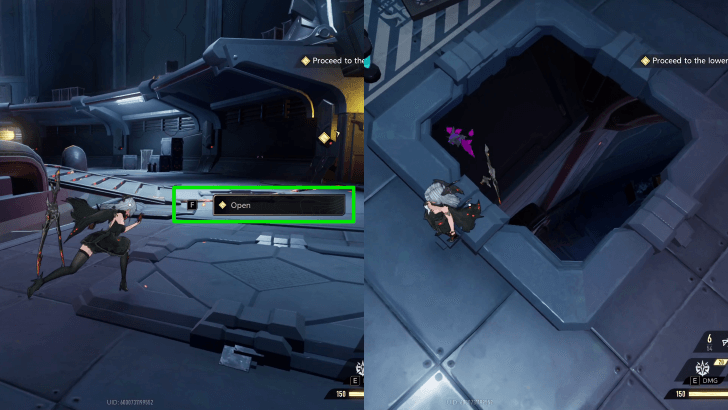
Follow the quest marker to find and open the hatch to the lower level of the engine room.
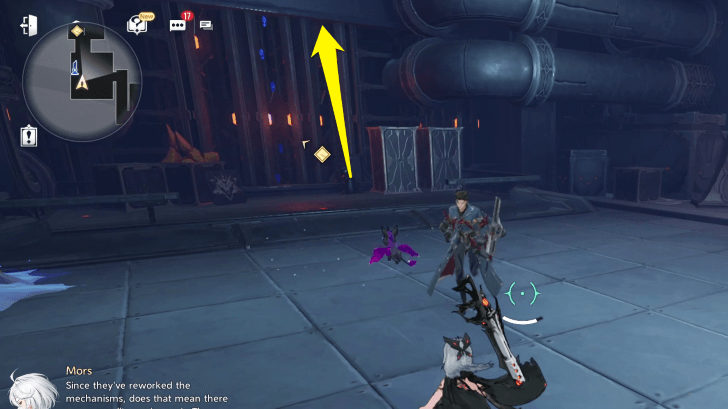
Activate the Four Backup Phoxynamo Wheels
After landing on the engine room's lower level, you will be tasked with activating the four backup Phoxynamo Wheels.
| 9.1 | 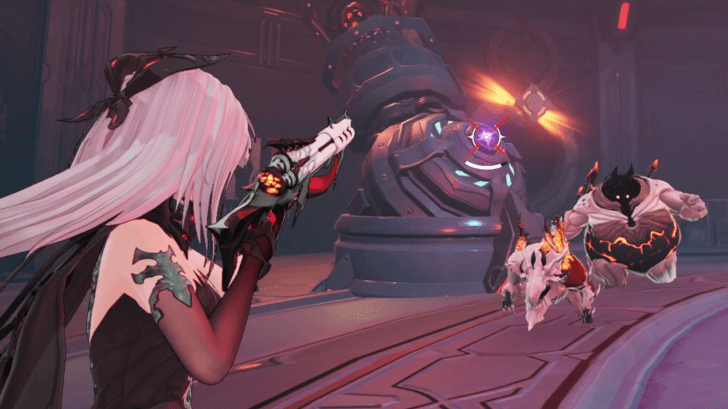 Shoot the backup Phoxynamo Wheels to activate them. |
|---|---|
| 9.2 | 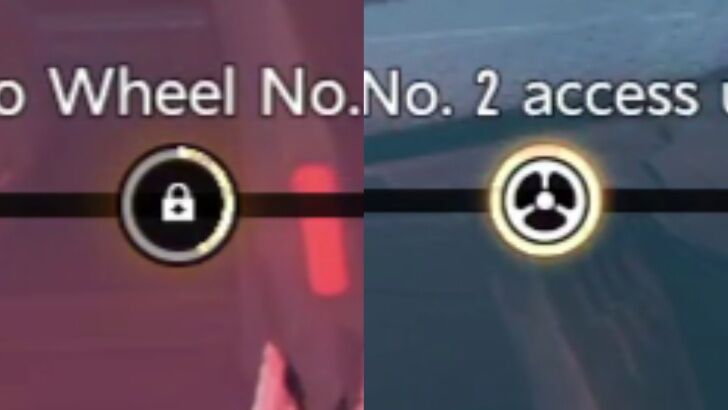 Before you can proceed to the next wheel, wait for Avar to unlock the backup controls. To keep track of this, you can refer to the yellow cooldown timer on the top. |
| 9.3 | 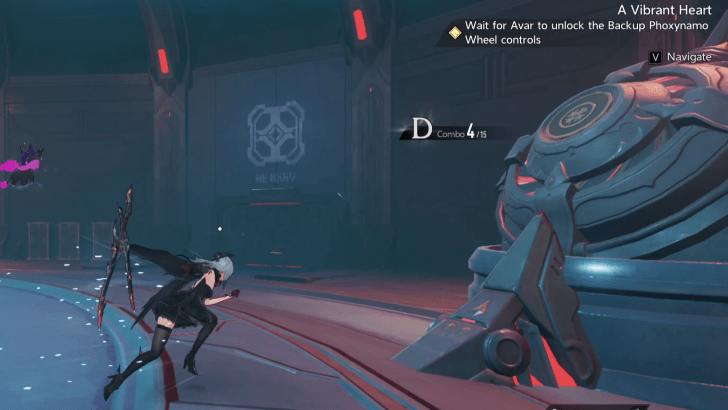 Repeat this process for the other three Phoxynamo Wheels. |
Escape From the Engine Room
Wait for a few seconds for the cutscene to play. Fulvis will relay orders to press on to the central control room despite the casualties sustained. Choose how to respond to Fulvis' command and Avar's question.
| Prompt 1 | ||
|---|---|---|
| ... | ||
| Response | Impression | Points |
| (Stay silent) | Benefit | +3 |
| Receiving enough support gives us a better chance of victory. A victory in your name, sir. | Wisdom | +3 |
| Since you're so full of courage, why don't you come to the front yourself? | Chaos | +3 |
| Prompt 2 | ||
| I also picked up a signal from another squad reporting their position, right after Fulvis ended his call. Mors, what are you gonna do? | ||
| Response | Impression | Points |
| I intend to get to the soldiers first. We don't stand a chance on our own. | Empathy | +3 |
| Even though our chances are slim, we must adhere to the Chief Commander's orders. | Morality | +3 |
A Vibrant Heart Bosses
No Boss Fight in A Vibrant Heart
| There is no boss fight in A Vibrant Heart. |
|---|
A Vibrant Heart Rewards
| Obtainable Rewards |
|
|
|
|---|---|---|
|
|
||
A Vibrant Heart Previous and Next Quests
| ◄ Previous Quest | Next Quest ▶ |
|---|---|
| Beyond the Sands | Guns and Vines |
Duet Night Abyss Related Guides

All Quest Types
| All Quest Types | |
|---|---|
| Main Quests | Side Quests |
| Special Side Quests | Dynamic Quests |
| Event Quests | |
All Main Quests
 Prologue
 Chapter 1: Noctoyager Act 1
 Chapter 2: Twilight Act 1
 Chapter 3: Noctoyager Act 2
 Chapter 4: Journey Across the Lands
Author

A Vibrant Heart Story Walkthrough and Guide
Rankings
Gaming News


![Forza Horizon 6 Review [Preview] | Beautiful Roads With a Whole Lot of Oversteer](https://img.game8.co/4460981/a7254c24945c43fbdf6ad9bea52b5ce9.png/thumb)
Popular Games

Genshin Impact Walkthrough & Guides Wiki
Crimson Desert Walkthrough & Guides Wiki
Umamusume: Pretty Derby Walkthrough & Guides Wiki
Honkai: Star Rail Walkthrough & Guides Wiki
Monster Hunter Stories 3: Twisted Reflection Walkthrough & Guides Wiki
Wuthering Waves Walkthrough & Guides Wiki
The Seven Deadly Sins: Origin Walkthrough & Guides Wiki
Pokemon TCG Pocket (PTCGP) Strategies & Guides Wiki
Pokemon Pokopia Walkthrough & Guides Wiki
Zenless Zone Zero Walkthrough & Guides Wiki


Recommended Games
Monster Hunter World Walkthrough & Guides Wiki
Fire Emblem Heroes (FEH) Walkthrough & Guides Wiki
Pokemon Brilliant Diamond and Shining Pearl (BDSP) Walkthrough & Guides Wiki
Super Smash Bros. Ultimate Walkthrough & Guides Wiki
Diablo 4: Vessel of Hatred Walkthrough & Guides Wiki
Cyberpunk 2077: Ultimate Edition Walkthrough & Guides Wiki
Yu-Gi-Oh! Master Duel Walkthrough & Guides Wiki
Elden Ring Shadow of the Erdtree Walkthrough & Guides Wiki
The Legend of Zelda: Tears of the Kingdom Walkthrough & Guides Wiki
Persona 3 Reload Walkthrough & Guides Wiki


All rights reserved
Game Copyright©Pan Studio All Rights Reserved.
The content we provide on this site were created personally by members of the Game8 editorial department.
We refuse the right to reuse or repost content taken without our permission such as data or images to other sites.
©Pan Studio (Provider)
In first dialogue, choosing "Receiving enough support gives us a better chance of victory. A victory in your name, sir." gives +3 Wisdom, not Benefit.