Beginner's Guide: Tips and Tricks
★ Tier Lists: Characters | Weapons | Demon Wedges
★ Builds: Kezhou | Fushu | Fina | Lynn | Psyche
★ Version 1.2 Summary | Characters: Zhiliu | Yuming
┗ Mechanics: Mount | Gifting | Reputation | Accessory Customization
★ How to Get Characters | Mystic Maze | Redeem Codes
Start your journey through Duet Night Abyss (DNA) on the right foot with this Beginner's Guide! Find useful tips and tricks, unlock strategies, and gather insightful information here in this guide.
List of Contents
How to Get Started in Duet Night Abyss
- Choose Your Character
- Master Traversal
- Select Your Gun
- Focus on Main Quests First
- Understand Impressions
- Utilize the Map
- Catch Every Geniemon
- Get The Bro Boxie Geniemon
- Take Advantage of Commissions
- Upgrade Characters and Gear Whenever Possible
- Unlock Characters and Intron Levels
- Grind For Weapon Blueprints
- Take on Events
Choose Your Character
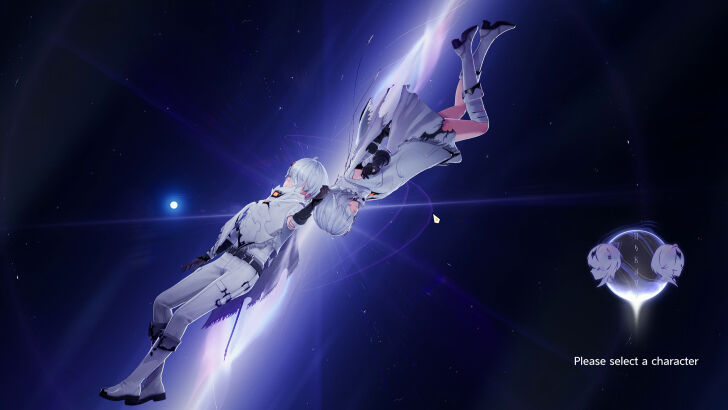
The first important decision you'll make in the game is choosing your character. Duet Night Abyss features a dual-protagonist system, so this is but the first of two main character choices players must make.
In lieu of any sort of character creation, you're faced with a binary selection or playing as a male or female version of one of the game's two primary protagonists. Outside of a change in voice actor and character model, the game and its story do not change depending on your choice.
You are free to name your character, and the one you didn't select will then take on the role of the mysterious figure/disembodied voice.
Male MC vs Female MC: Which Protagonist to Pick
Master Traversal
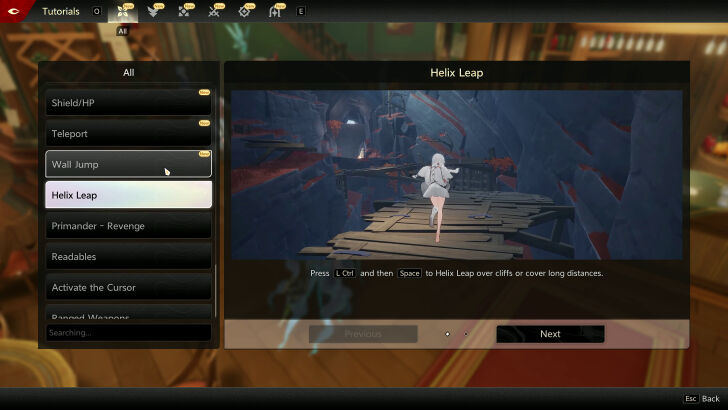
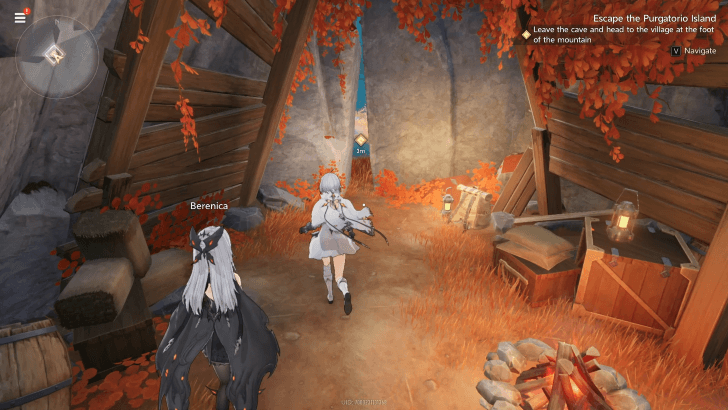
From the beginning, Duet Night Abyss provides great freedom in traversal, letting players move smoothly across the map using several key mechanics. From the start, players can double-jump, slide, and double-dash.
The game also introduces the Helix Leap in the opening sequence, which launches you forward through the air to clear large gaps or obstacles. You’ll also find anchor points for your grapple hook, letting you zip across distances. Lastly, the Wall Jump mechanic lets you climb vertical surfaces by jumping repeatedly while clinging to a wall.
Select Your Gun
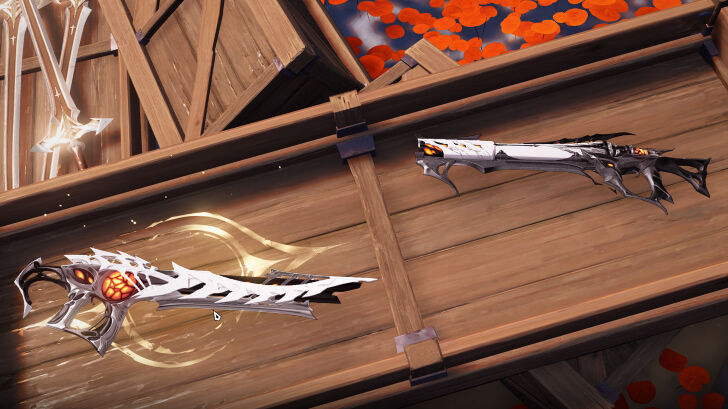
The second choice you need to make in Duet Night Abyss, is selecting your gun. Moments after being introduced to the combat basics, you'll find an abandoned crate with two ranged weapons to choose from: the Osteobreaker and Screamshot.
|
|
|
|
|---|---|---|
| Type | Assault Rifle | Shotgun |
| Description | When dealing damage using this weapon, the more the percentage of the remaining projectiles left in the magazine, the higher the damage it deals, with a maximum increase of 18.0% | When dealing damage with this weapon, the closer to the target, the higher the damage it deals, with a maximum increase of 18.0% |
| Spike ATK | 17 | 18 |
| CRIT Chance | 23% | 20% |
| CRIT Damage | 225% | 180% |
| ATK Speed | 1 | 1 |
| Trigger Probability | 30% | 20% |
| Multishot | 1 | 1 |
| Mag Capacity | 50 | 6 |
| Max Ammo | 200 | 60 |
The Osteobreaker is the starting assault rifle, a rapid-fire fully automatic gun that deals more damage the more bullets you have remaining in the magazine. This is a great choice for players who like keeping their distance and taking out enemies from afar. Precision and accuracy are key with the Osteobreaker.
On the other hand, the Screamshot is the starting shotgun. This gun fires multiple projectiles with each shot, dealing high damage over a small area of effect directly in front of you. While the effective range is short, the high damage guarantees a massive impact per shot. This is great for players who like being in the middle of the action or enjoy darting in and out of the fray as the Screamshot deals more damage when closer to its target.
The Osteobreaker and Screamshot are both viable options, each with its own strengths and unique effects, so the decision will be dictated by your desired playstyle. The starting statistics for both guns are listed above.
Focus on Main Quests First
Progressing through Duet Night Abyss' main quests is an excellent way for players to increase their Trial Rank while also learning about the game's different mechanics.
Doing so unlocks some characters, weapons, and more in-game content such as being able to grind for resources and forging gear.
The main quests are not too difficult, and can be completed by even beginners to the genre.
Completing the main quest sets you up to take on the game's more difficult content, such as events and Nocturnal Echoes.
Understand Impressions
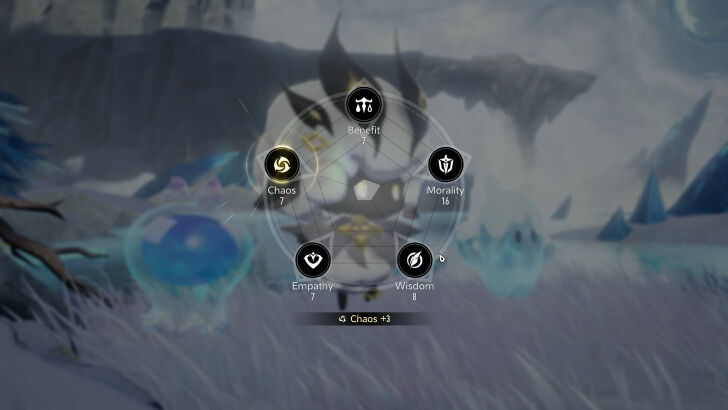
Throughout the game, you will be met with several dialogue options that can lead to different conversations. Oftentimes, these choices will affect a character statistic called Impressions. There are 5 impression attributes: Benefit, Morality, Chaos, Empathy, and Wisdom.
- Benefit is increased by choosing dialogue options that reflect a practical, almost utilitarian approach to the situation.
- Morality goes up when selecting the ethically correct option, like apologizing when presented with the opportunity to or answering honestly when the game presents beneficial options for deception.
- Empathy is affected by choosing to be kind or comforting to NPCs during dialogue.
- Wisdom is gained by selecting the response that best shows foresight and a lack of naivety. This means responding with insightful replies instead of taking things at face value.
- Chaos, lastly, is increased by choosing the out-of-pocket options. These choices are usually weird, funny, rude, or simply questionable.
These attributes, subsequently, help with Impression Checks. Occasionally, a conversation will hit a roadblock, and simple dialogue options won't be enough to progress. During an impression check, once a response is selected, you will be prompted to roll two 10-sided dice, which will then dictate where your conversation will progress further or stop in its tracks.
Each impression check will assign a number that you must surpass with your roll in order to succeed, which is where the Impression attributes will come in. After your initial roll, the attribute value for the specific Impression in use will be added to your number rolled. Passing impression checks has the potential of not only unlocking additional dialogue, side quests, and even rewards.
Impression checks come from talking to random NPCs. To avoid failing these, look to talk with NPCs later rather than sooner in your playthrough, when you have already built up your impression attributes.
Impressions Guide and Dialogue Choices
Utilize the Map
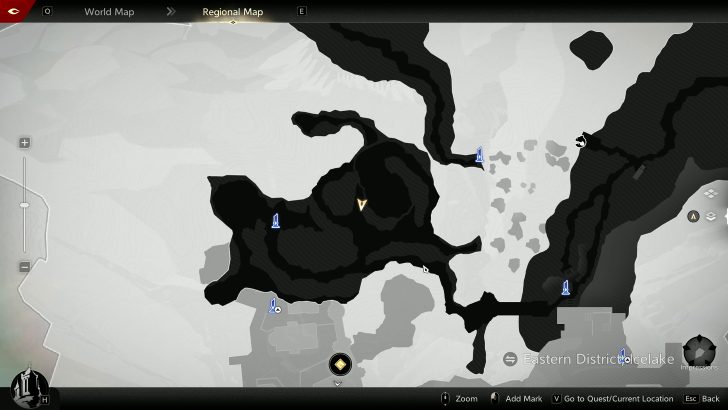
The map is an extremely useful tool both in and out of combat. The mini-map on the top left of the screen shows a rough representation of the surrounding terrain, quest waypoints, and enemy locations. Enemies represented by a black arrowhead outlined in red are those that aren't aware of your presence. Once they've been alerted, these icons will turn red. This is when you decide to either make a run for it or engage in combat.
During exploration, you'll find Avian Towers scattered around, which serve as your fast travel points. Simply approach these towers, and they'll be activated on your map. From then on, you can select these active Avian Towers on the map from anywhere within the region, and you'll instantly be teleported to the chosen location.
Some maps also feature multiple levels, which you can switch between through the interface on the right side of the map. This is especially useful for determining where precisely in an area your waypoint is. Additionally, you can also set several distinct markers across levels on your map, making it easier to track multiple destinations at a time.
Catch Every Geniemon
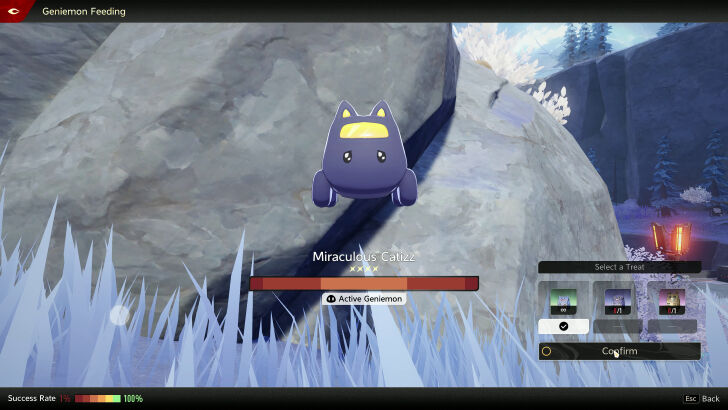
Out in the wild, you'll encounter adorable little creatures called Geniemons. They can be captured by approaching and interacting with them, then completing a timing-based mini game. Each of these Geniemons provides a unique set of passive buffs and active support abilities. One Geniemon can be equipped at a time through the Armoury menu.
The mini-game features a multi-colored meter and sliding bar, which you must stop as close as possible to the center for the best result. Green zones offer the highest success rate, while red gives only a 1% chance. Using treats will boost your odds, with rarer ones giving bigger bonuses.
List of All Geniemon and Locations
Get The Bro Boxie Geniemon
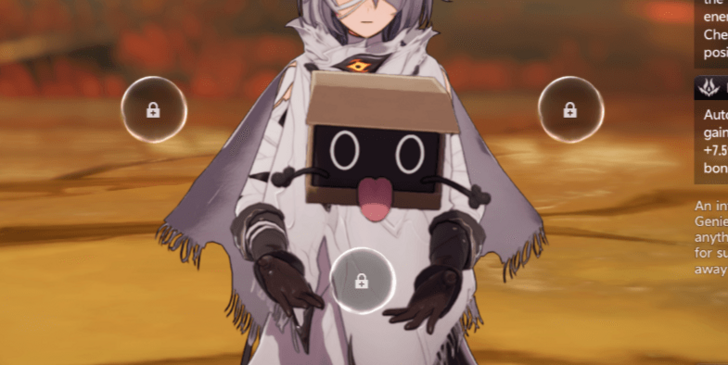
In line with our previous tip, getting the Bro Boxie Geniemon improves the your exploration experience. Its active skill detects 1 Geniemon and 1 Chest within 100m, marking their positions for 30 seconds. Occasionally activating this Geniemon skill allows players to spot these goodies that they may otherwise miss.
Bro Boxie also increases Auto-Pickup Range by 20.0m, increases EXP and loot drop rate gained from defeated enemies. These are all great bonuses to have, especially for new players focused on farming and strengthening their characters.
Bro Boxie Location and How to Get
Take Advantage of Commissions
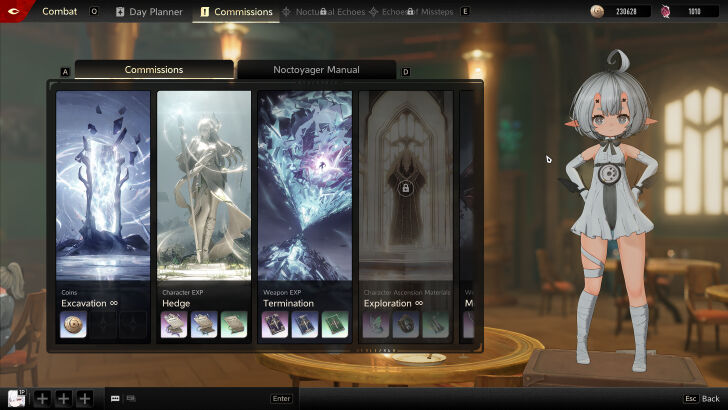
After the main quests The Art of Survival and The Reborn, you will unlock Commissions, non-story challenge arenas that you can access from the Combat menu. These come in a variety of formats, such as escort missions, survival stages, and bite-sized fetch quests.
Not only are these brief missions great proving grounds for trying out builds and characters, but they also provide valuable upgrade materials, unlockables, or Demon Wedges, depending on which content you take on.
Upgrade Characters and Gear Whenever Possible
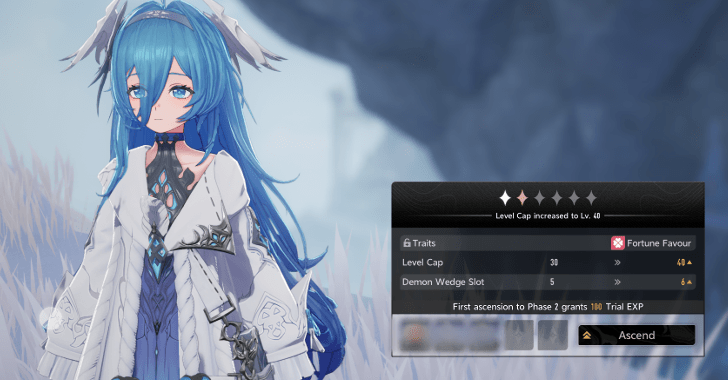
The quality or quantity of the rewards you can earn typically become better the more difficult the content you are facing.
To give your team the best odds of clearing whatever content you come across, look to constantly upgrade your characters and gear whenever possible.
Doing so will also decrease the time you take during commissions, which in turn improves your ability to come up with the resources you need.
Ascension Guide: How to Ascend
Unlock Characters and Intron Levels
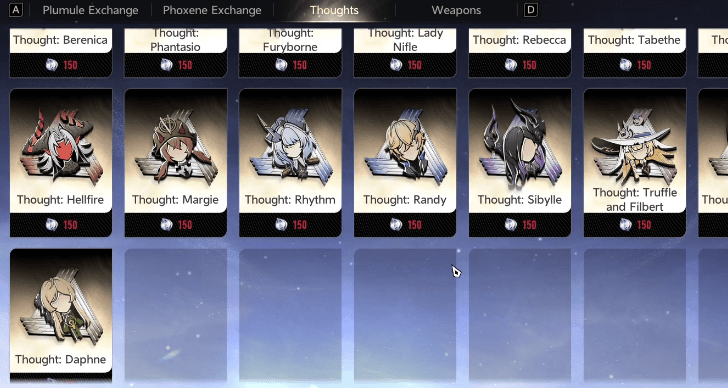
Characters can be unlocked by spending their dedicated Thoughts. A handful of characters like Margie can be unlocked just by progressing through the story, while some like Lisbell can be earned in events. Most of them, however, are granted as rewards during Covert Commissions using Secret Letters.
Thoughts for characters you already own do not go to waste, as these can be used to unlock Intron Levels. Each Intron level unlocks new buffs for your character, improving their existing skills or granting new abilities entirely.
All characters are incomplete versions of themselves without their Intron levels, and playing each one provides a unique experience. Make sure you don't miss out and grind for the characters you like the most!
How to Get and Unlock Characters
Grind For Weapon Blueprints

Acquiring weapons are a little bit different from characters. You will naturally get a few weapons for free as you progress through the story, but you will have to go out of your way to specifically grind for the weapons you want.
Weapons will have to be forged, and you will need its dedicated weapon blueprint, along with some rare resources that you will likely have to grind commissions for.
To get these blueprints, players must complete the Secret Letters for the weapons they want. Sooner or later, these Secret Letters will reward you with the blueprints you need.
Duplicates of a weapon can be used for Smelting, which increases the potency of the weapon's skill effect.
Take On Events
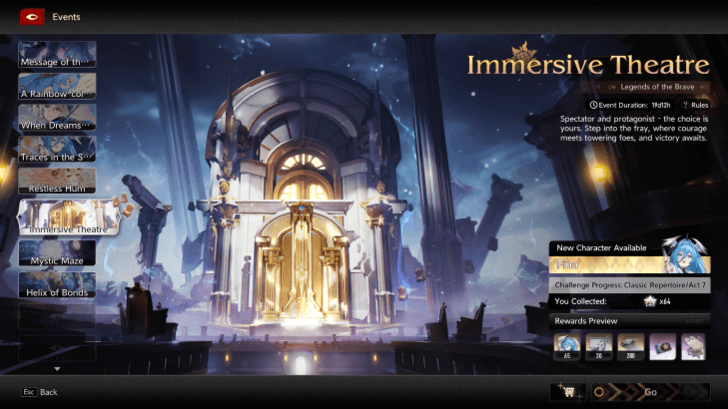
The game's events are another source of valuable rewards that players can grind for. Although some of these feature enemies that scale to endgame levels of power, most of these events have stages that even beginners and especially intermediate players can take on.
One example is the Mystic Maze, which rewards players with Thoughts for Lisbell, one of the strongest DPS units among the pool of free characters.
List of All Events and Schedule
Duel Night Abyss Tips and Tricks

All Tips and Tricks
Duet Night Abyss Related Guides

Duet Night Abyss Wiki Top Page
| Main Links Partial | |
|---|---|
 Latest News Latest News |
 Tier Lists Tier Lists |
 Characters Characters |
 Maps Maps |
| Tips and Tricks |
 Commissions Commissions |
 Bosses Bosses |
 Weapons Weapons |
 Quests Quests |
 Myriad (Gacha) Myriad (Gacha) |
 Events Events |
 Cosmetics Cosmetics |
 Message Boards Message Boards |
 Geniemon Geniemon |
 Enemies Enemies |
 Items Items |
 Demon Wedges Demon Wedges |
|
All Recommended Guides
 All Best Builds
 Best Starting Characters
 Mystic Maze Guide
 Immersive Theatre Guide
 How to Get Prismatic and Pristine Hourglass
 How to Get Iridescent and Lucent Prism
 How to Get Phoxene Plumules
 How to Get and Use Phoxene
 How to Get and Use Thought
 How to Get and Use Secret Letter Clue
 How to Farm Coins
 How to Get and Use Advensphere
 Glossary of Terms
 Combat Guide
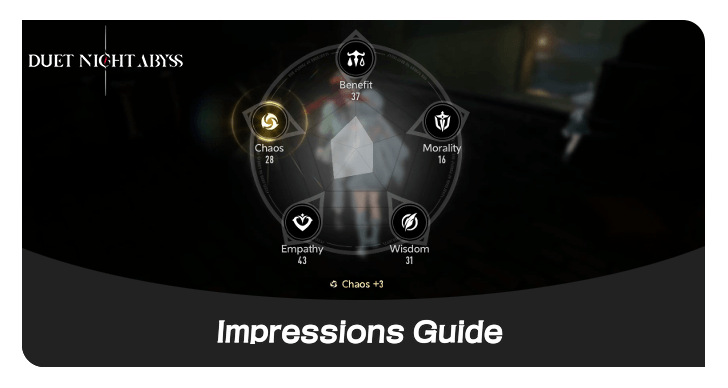 Impressions Guide
 List of EN and JP Voice Actors
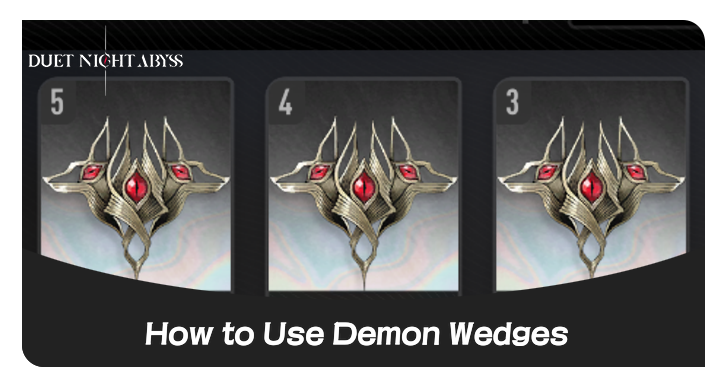 How to Equip Demon Wedges
 Attribute Guide
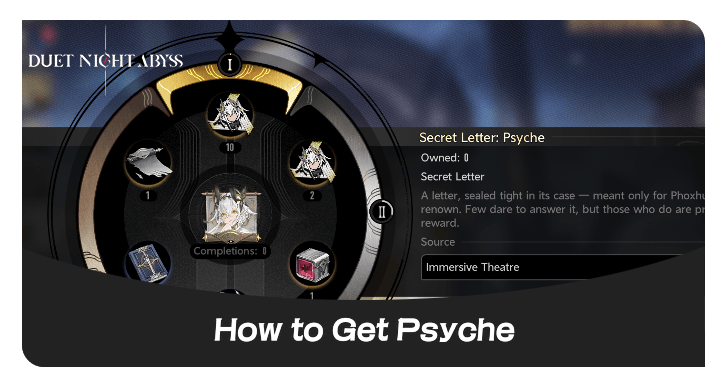 How to Get Psyche
 List of All Fish
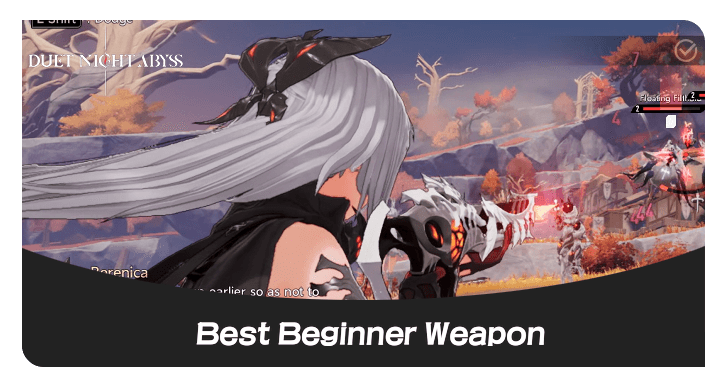 Beginner Weapon Selection
 Elements Guide
 Weapon Builds
Author

Beginner's Guide: Tips and Tricks
Rankings
Gaming News


![Forza Horizon 6 Review [Preview] | Beautiful Roads With a Whole Lot of Oversteer](https://img.game8.co/4460981/a7254c24945c43fbdf6ad9bea52b5ce9.png/thumb)
Popular Games

Genshin Impact Walkthrough & Guides Wiki
Crimson Desert Walkthrough & Guides Wiki
Umamusume: Pretty Derby Walkthrough & Guides Wiki
Honkai: Star Rail Walkthrough & Guides Wiki
Monster Hunter Stories 3: Twisted Reflection Walkthrough & Guides Wiki
Wuthering Waves Walkthrough & Guides Wiki
The Seven Deadly Sins: Origin Walkthrough & Guides Wiki
Pokemon TCG Pocket (PTCGP) Strategies & Guides Wiki
Pokemon Pokopia Walkthrough & Guides Wiki
Zenless Zone Zero Walkthrough & Guides Wiki


Recommended Games
Monster Hunter World Walkthrough & Guides Wiki
Fire Emblem Heroes (FEH) Walkthrough & Guides Wiki
Pokemon Brilliant Diamond and Shining Pearl (BDSP) Walkthrough & Guides Wiki
Super Smash Bros. Ultimate Walkthrough & Guides Wiki
Diablo 4: Vessel of Hatred Walkthrough & Guides Wiki
Cyberpunk 2077: Ultimate Edition Walkthrough & Guides Wiki
Yu-Gi-Oh! Master Duel Walkthrough & Guides Wiki
Elden Ring Shadow of the Erdtree Walkthrough & Guides Wiki
The Legend of Zelda: Tears of the Kingdom Walkthrough & Guides Wiki
Persona 3 Reload Walkthrough & Guides Wiki


All rights reserved
Game Copyright©Pan Studio All Rights Reserved.
The content we provide on this site were created personally by members of the Game8 editorial department.
We refuse the right to reuse or repost content taken without our permission such as data or images to other sites.
©Pan Studio (Provider)
hey look, solve climbing problem, and it easy to get up there.