


This survey will take about 1 minute.
Your answers will help us to improve our website.
Call of Duty Black Ops 6 (BO6)
All AMR Mod 4 Camos and Attachments
This is a guide that lists all the camos and attachments for the AMR Mod 4 Sniper Rifle in Call of Duty: Black Ops 6 (BO6). Read on to see all available camos and camo challenges for the AMR Mod 4, as well as a full list of its compatible attachments and their stats.
| Related AMR Mod 4 Guides | ||
|---|---|---|
| Best AMR Mod 4 Loadout | AMR Mod 4 Camos and Attachments | How to Get the AMR Mod 4 |
List of Contents
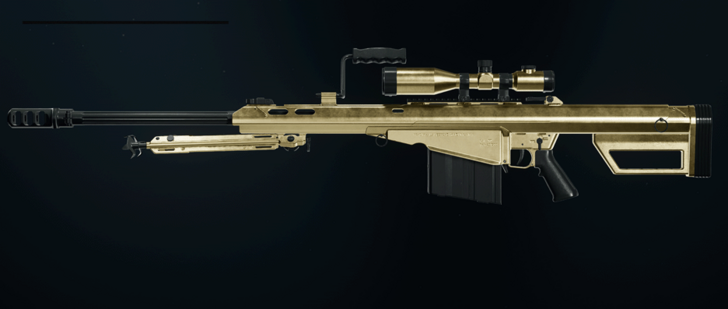
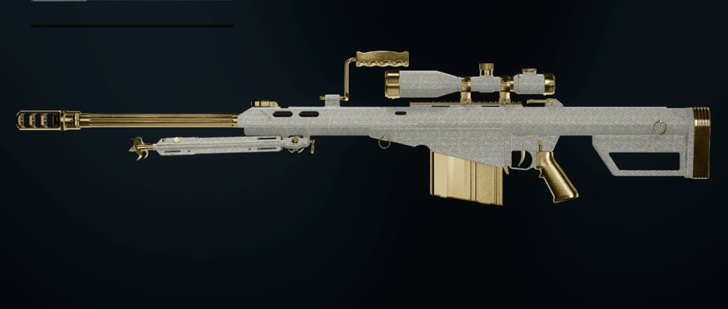
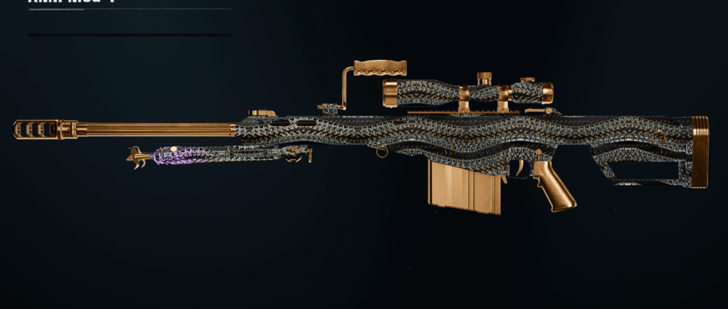
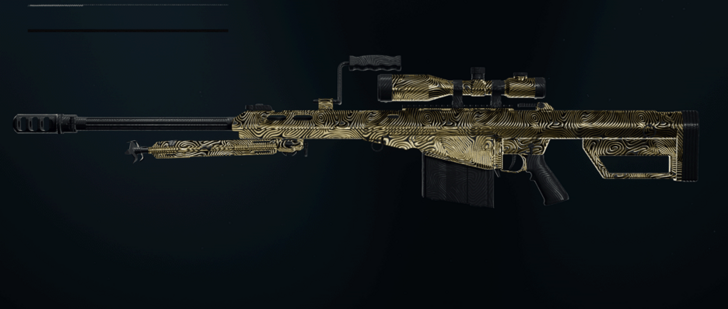
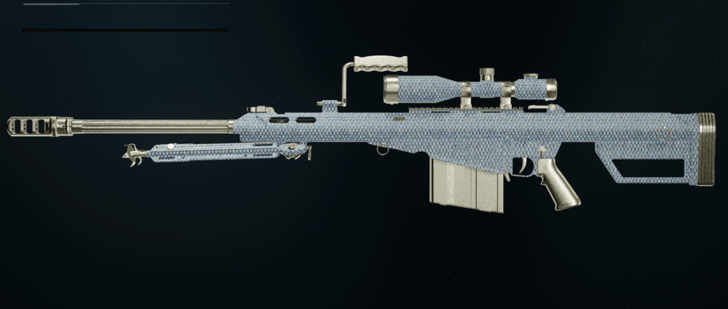
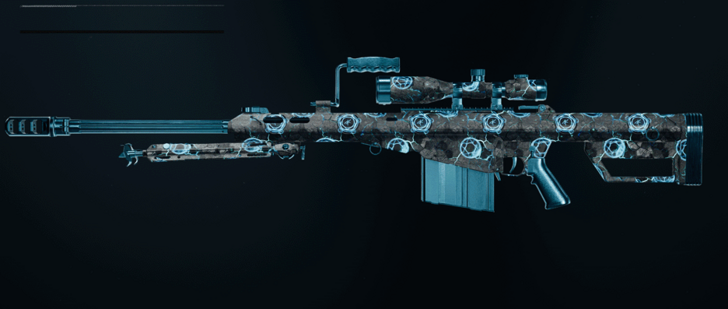
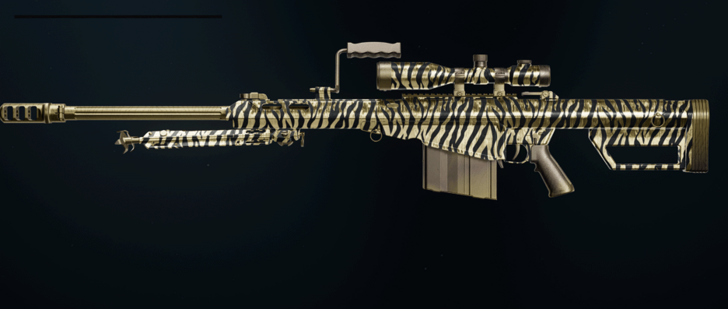
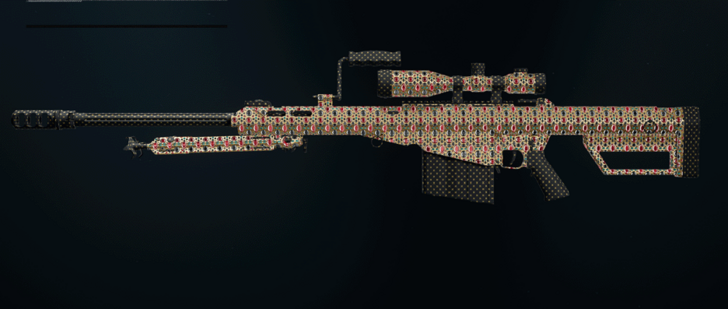
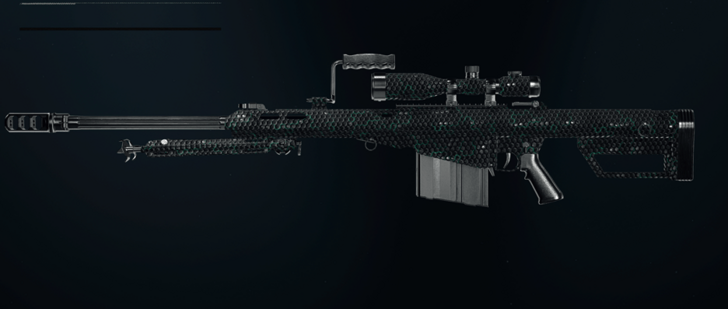
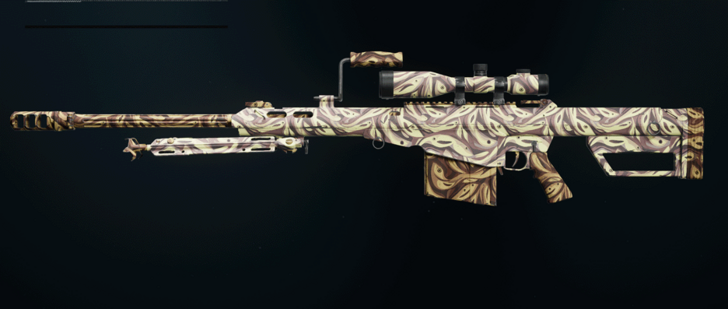
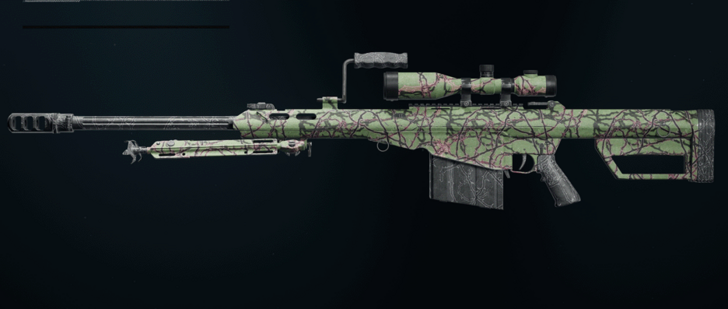
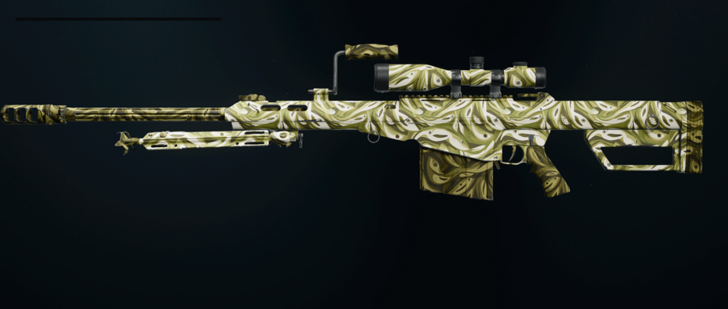
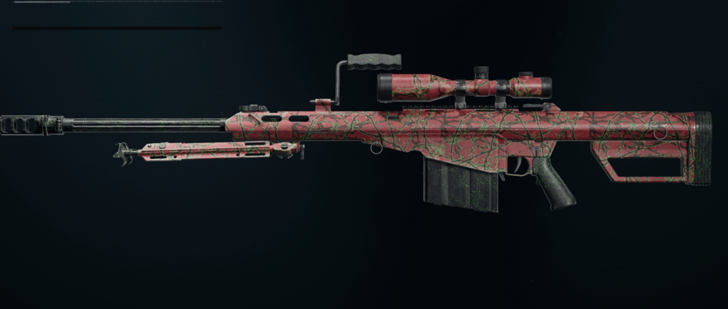
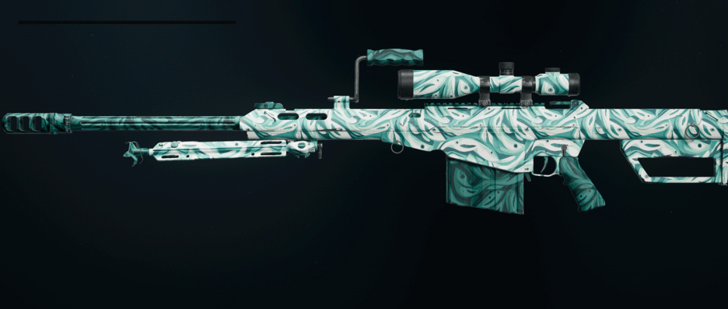
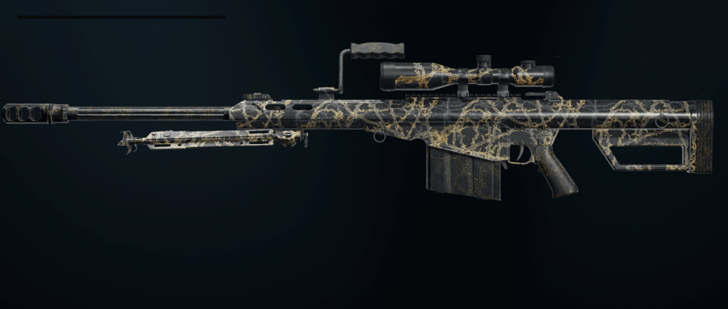
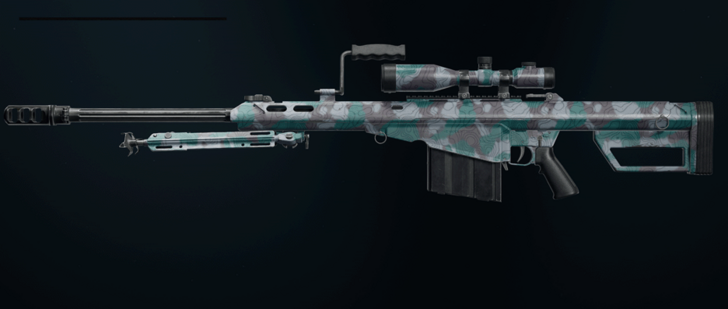
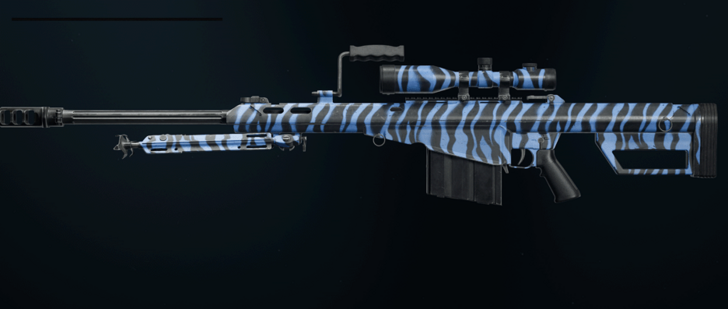
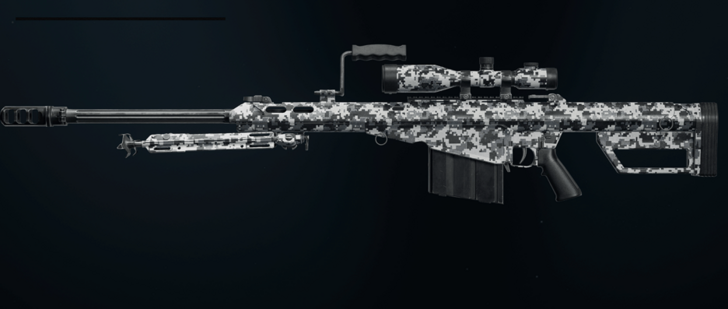
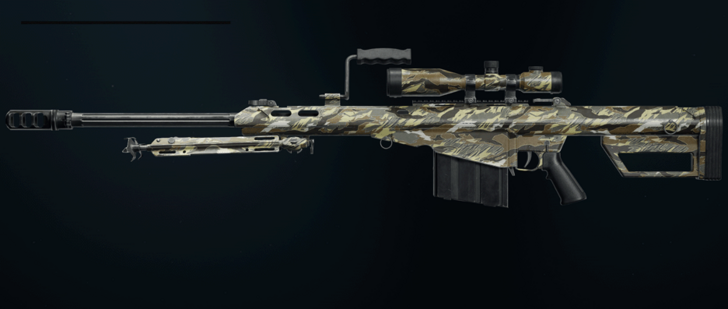
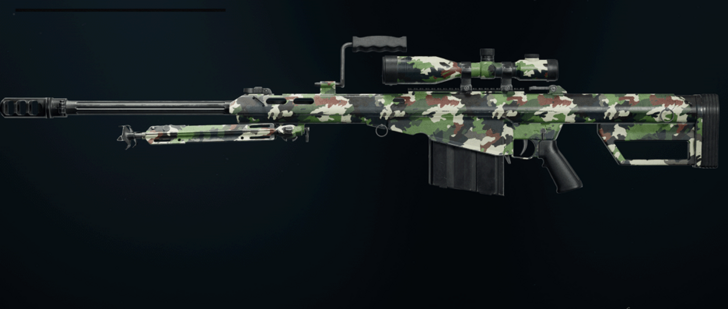
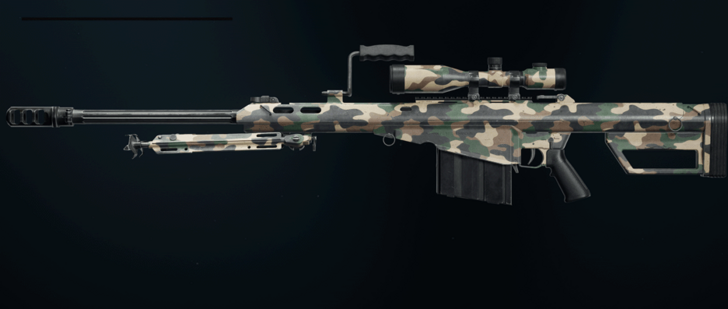
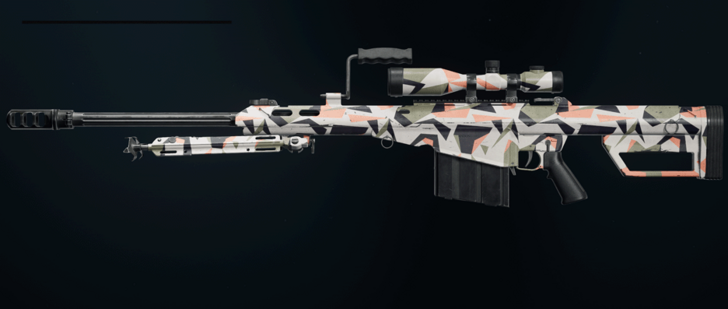
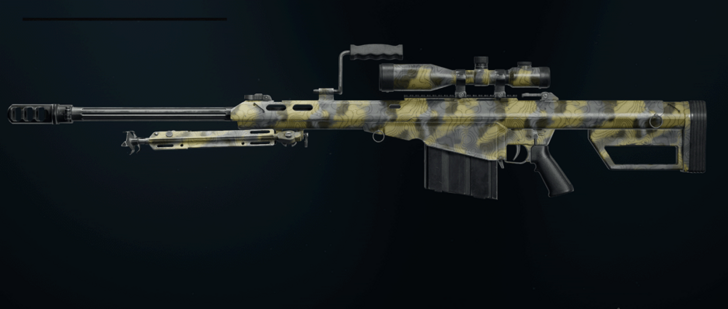
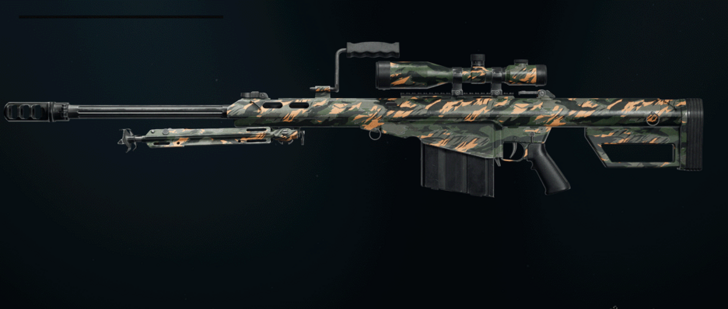
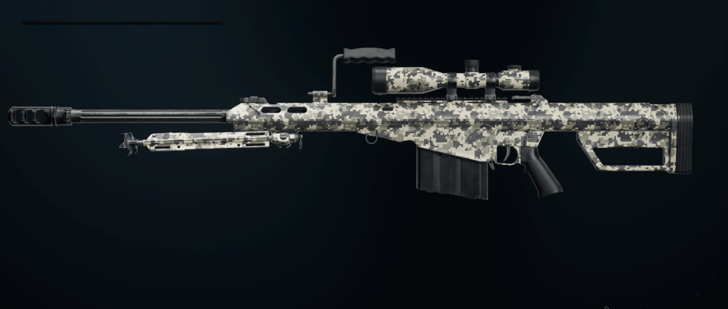
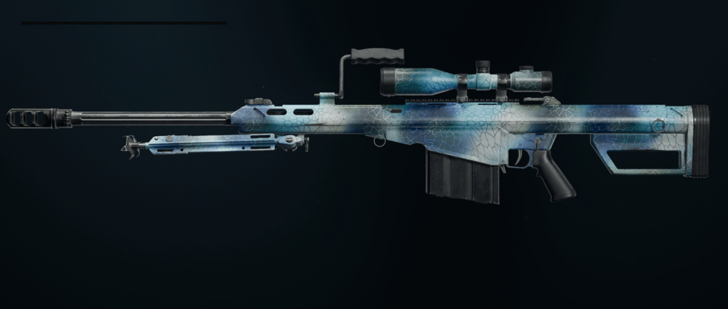
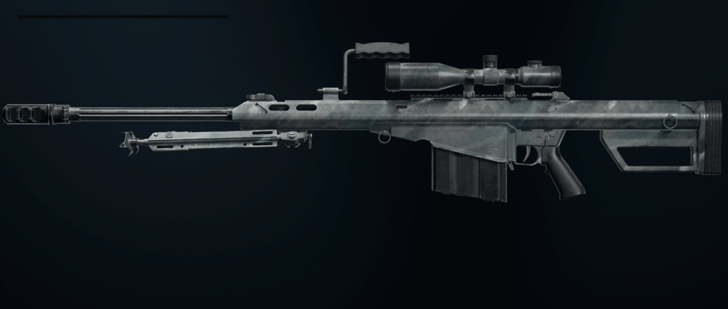
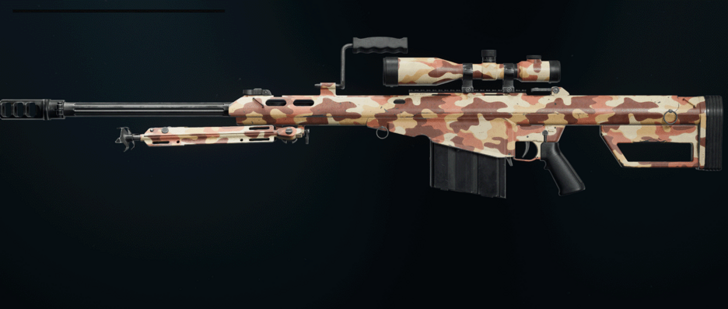
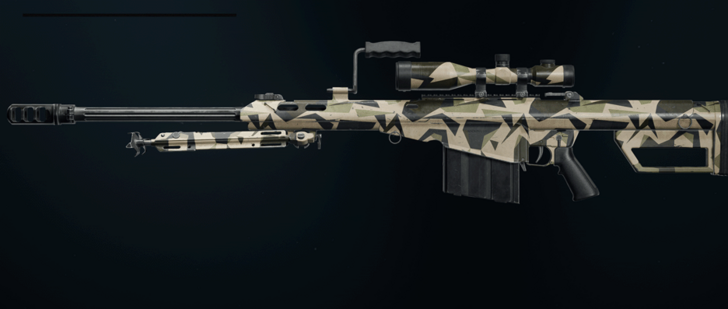
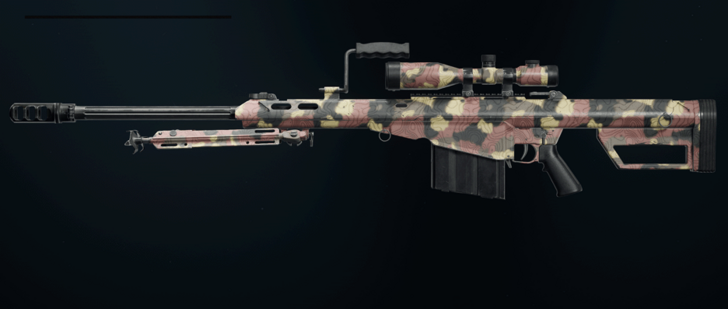
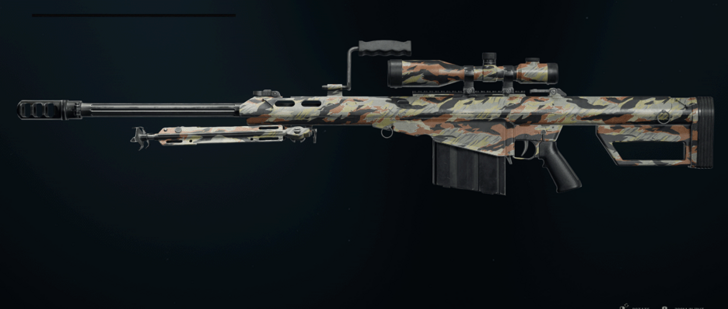
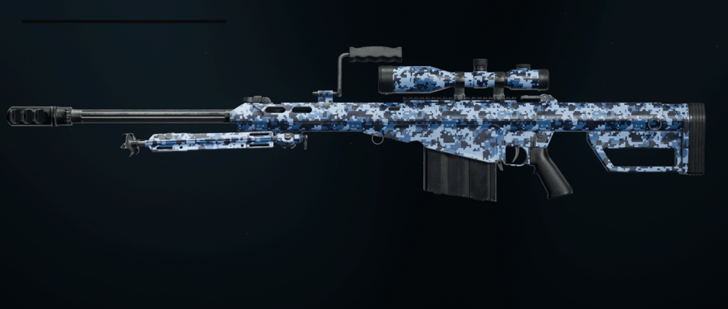
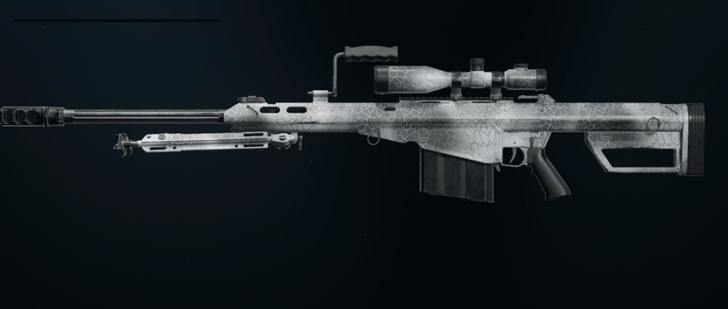
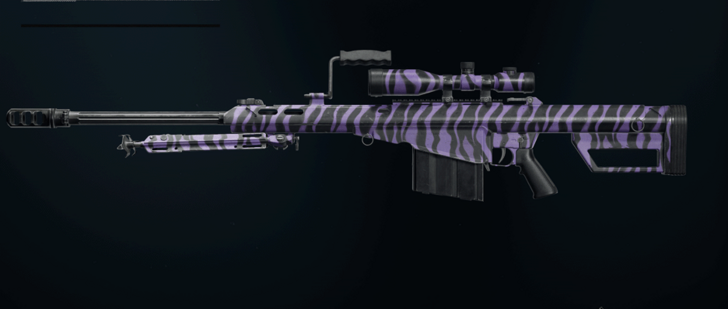
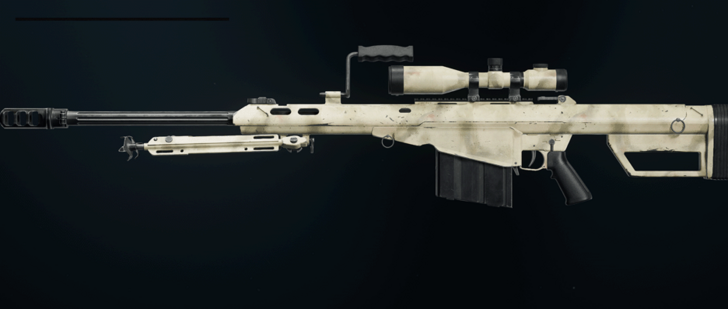
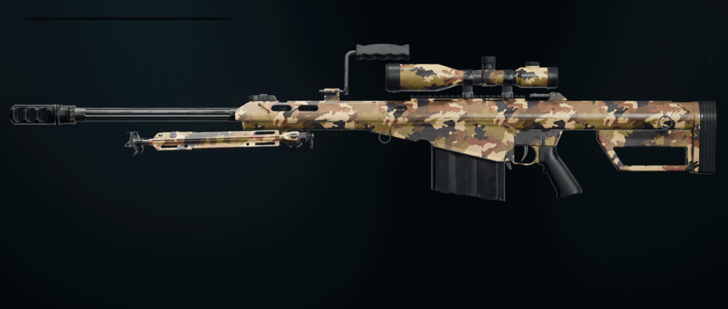
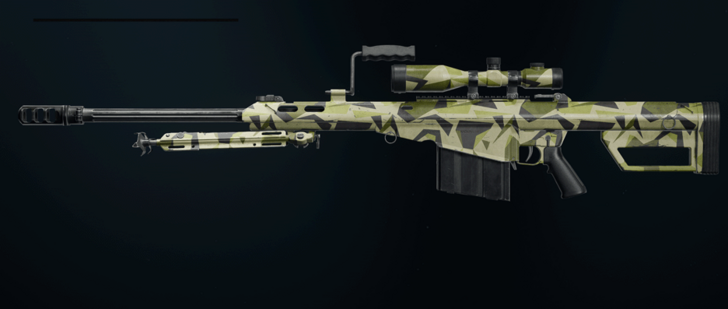
All AMR Mod 4 Camos
※ Enter the Camo name in the text field below or use the Camo Type filter to narrow down the results.
| Camo | Type | Challenge |
|---|---|---|
 |
Mastery | Get 5 Kills without dying 2 times with the AMR Mod 4 |
 |
Mastery | Get 10 Double Kills or better with the AMR Mod 4 |
 |
Mastery | Get 3 kills without dying 10 times with the AMR Mod 4 |
 |
Mastery | Get 3 Triple Kills or better with the AMR Mod 4 |
 |
Mastery | Get 5 kills without dying 3 times with the AMR Mod 4 |
 |
Mastery | Get 10 kills rapidly 15 times with the AMR Mod 4 |
 |
Mastery | Get 30 Special Zombie eliminations with the AMR Mod 4 |
 |
Mastery | Get 20 or more consecutive kills 10 times without taking damage with the AMR Mod 4 |
 |
Mastery | Get 10 Elite Zombie eliminations with the AMR Mod 4 |
 |
Mastery | Get 5 Eliminations while being the Most Wanted Contract target with the AMR Mod 4 |
 |
Mastery | Get 3 Kills without dying 5 times with the AMR Mod 4 |
 |
Mastery | Get 5 Kills on enemies affected by your Stun Grenade, Flashbang, or Shock Charge with the AMR Mod 4 |
 |
Special | Get 2 kills while prone within 20 seconds 5 times with the AMR Mod 4 |
 |
Special | Get 2 kills within 30 seconds 5 times with the AMR Mod 4 |
 |
Special | Get 10 kills without reloading 15 times with the AMR Mod 4 |
 |
Special | Get 5 Critical Kills rapidly 15 times with the AMR Mod 4 |
 |
Special | Get 2 kills without reloading 10 times with the AMR Mod 4 |
 |
Special | Get 30 One Shot Kills with the AMR Mod 4 |
 |
Military | Get 30 eliminations with the AMR Mod 4 |
 |
Military | Get 100 eliminations with the AMR Mod 4 |
 |
Military | Get 75 eliminations with the AMR Mod 4 |
 |
Military | Get 50 eliminations with the AMR Mod 4 |
 |
Military | Get 40 eliminations with the AMR Mod 4 |
 |
Military | Get 300 Critical Kills with the AMR Mod 4 |
 |
Military | Get 10 headshot kills with the AMR Mod 4 |
 |
Military | Get 15 headshot kills with the AMR Mod 4 |
 |
Military | Get 20 headshot kills with the AMR Mod 4 |
 |
Military | Get 30 headshot kills with the AMR Mod 4 |
 |
Military | Get 40 headshot kills with the AMR Mod 4 |
 |
Military | Get 50 headshot kills with the AMR Mod 4 |
 |
Military | Get 75 headshot kills with the AMR Mod 4 |
 |
Military | Get 100 headshot kills with the AMR Mod 4 |
 |
Military | Get 100 Critical Kills with the AMR Mod 4 |
 |
Military | Get 200 Critical Kills with the AMR Mod 4 |
 |
Military | Get 5 headshot kills with the AMR Mod 4 |
 |
Military | Get 400 Critical Kills with the AMR Mod 4 |
 |
Military | Get 600 Critical Kills with the AMR Mod 4 |
 |
Military | Get 800 Critical Kills with the AMR Mod 4 |
 |
Military | Get 1000 Critical Kills with the AMR Mod 4 |
 |
Military | Get 1500 Critical Kills with the AMR Mod 4 |
 |
Military | Get 2000 Critical Kills with the AMR Mod 4 |
 |
Military | Get 5 eliminations with the AMR Mod 4 |
 |
Military | Get 10 eliminations with the AMR Mod 4 |
 |
Military | Get 15 eliminations with the AMR Mod 4 |
 |
Military | Get 20 eliminations with the AMR Mod 4 |
All AMR Mod 4 Attachments
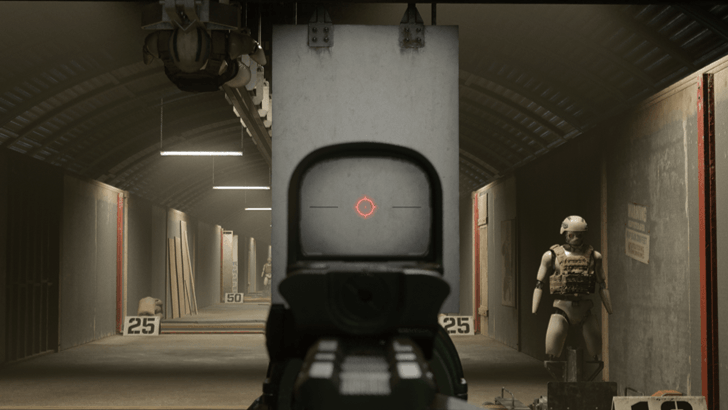
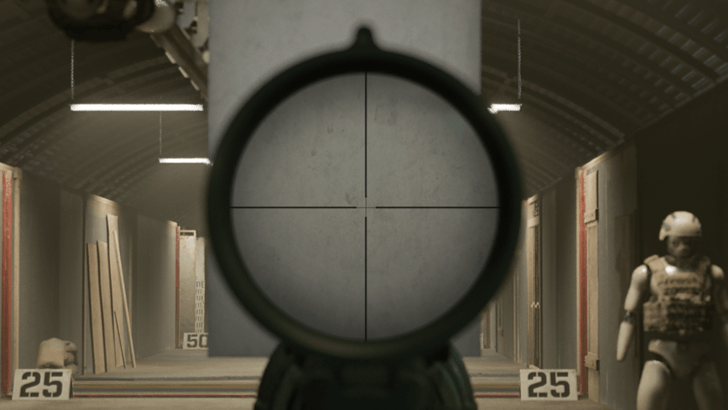
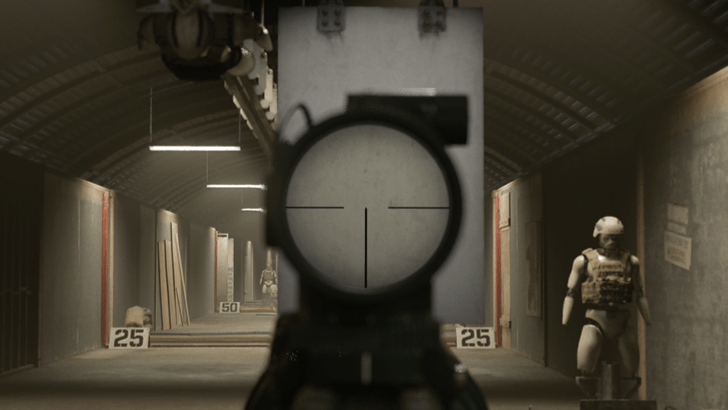
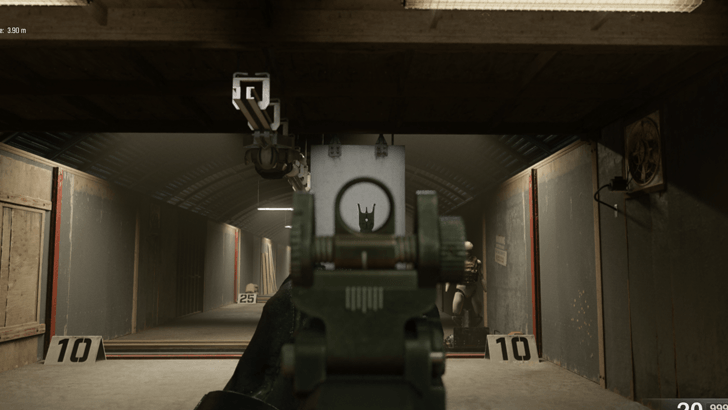
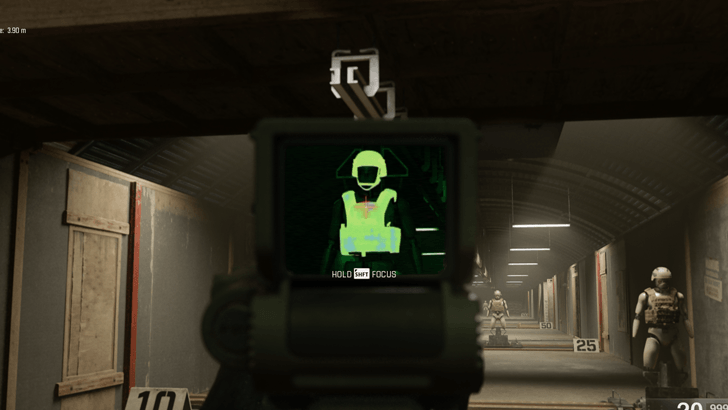
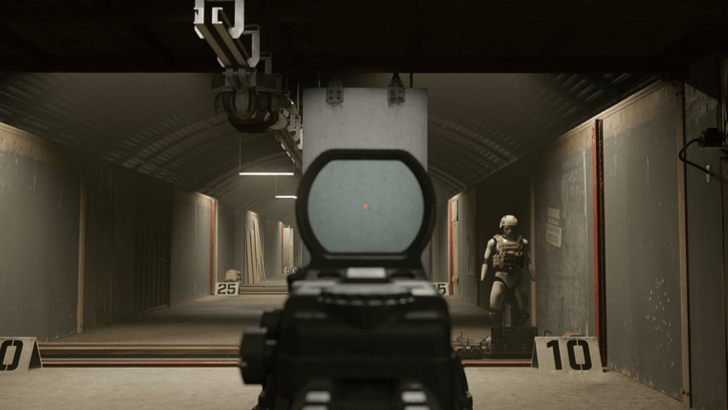
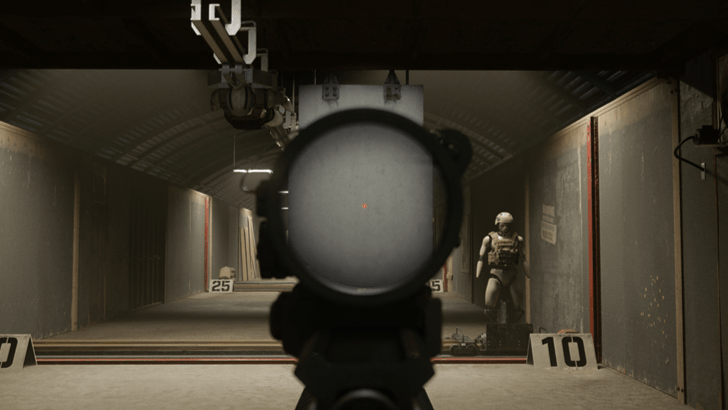
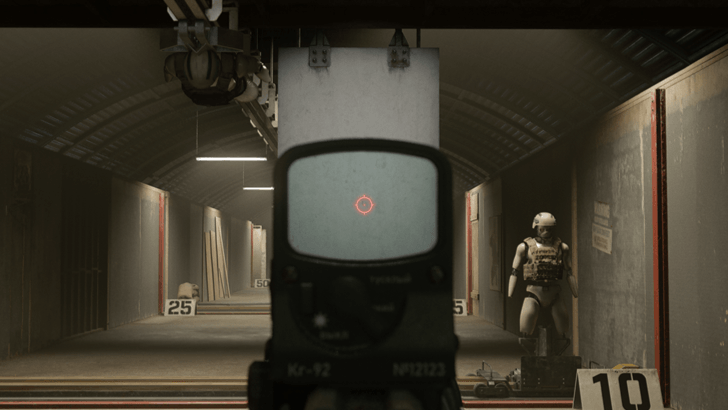
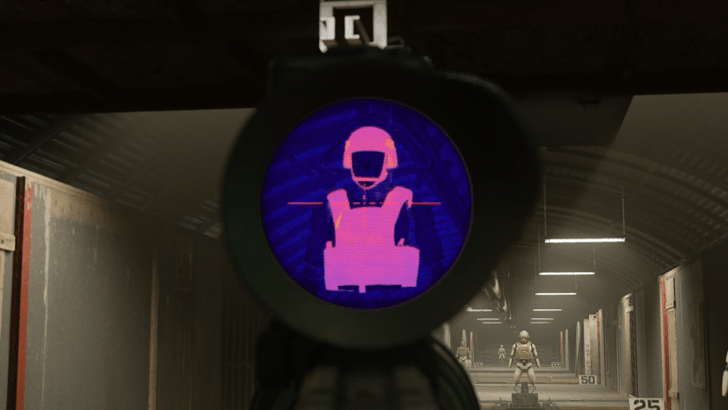
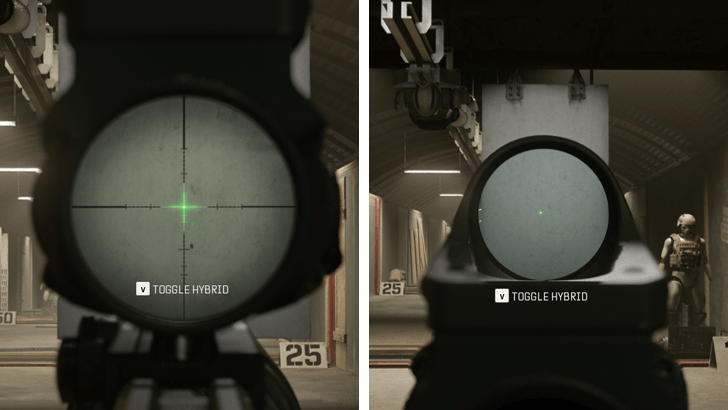
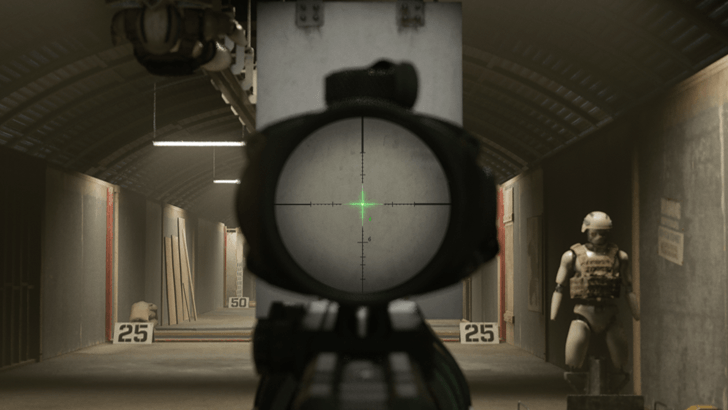
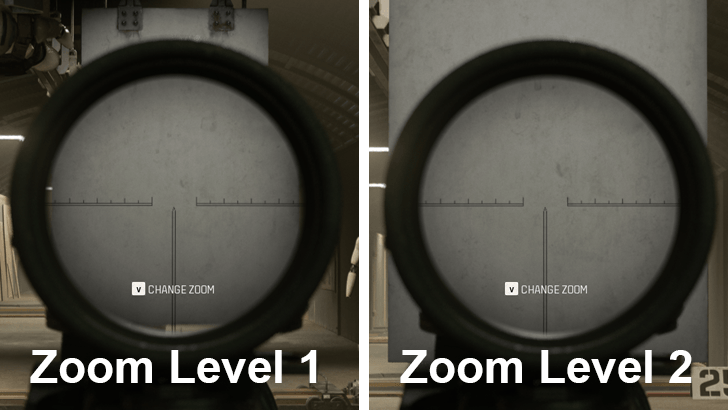
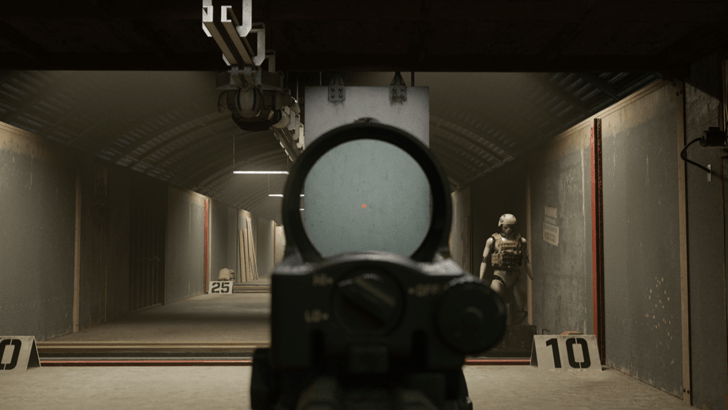
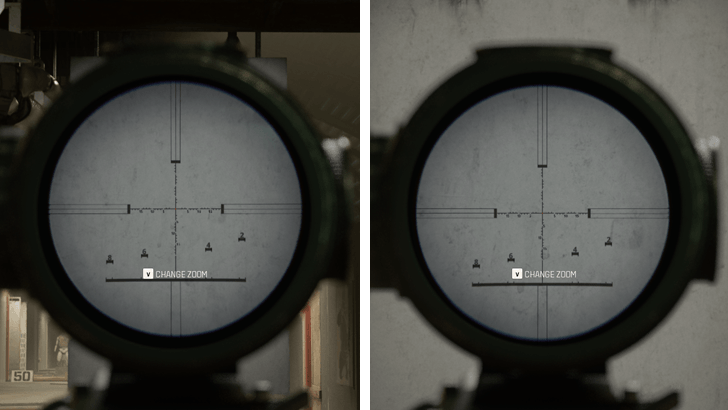
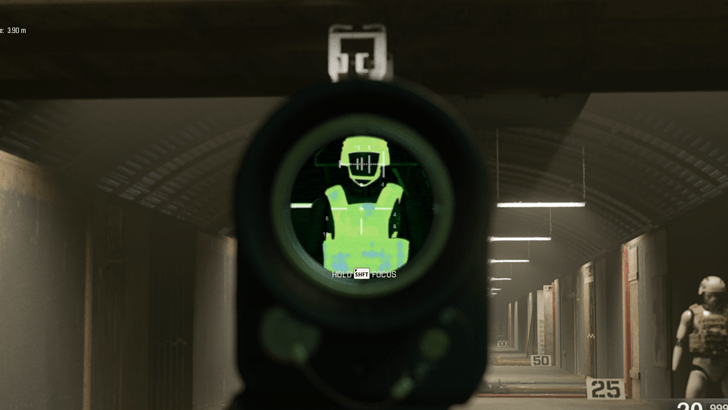
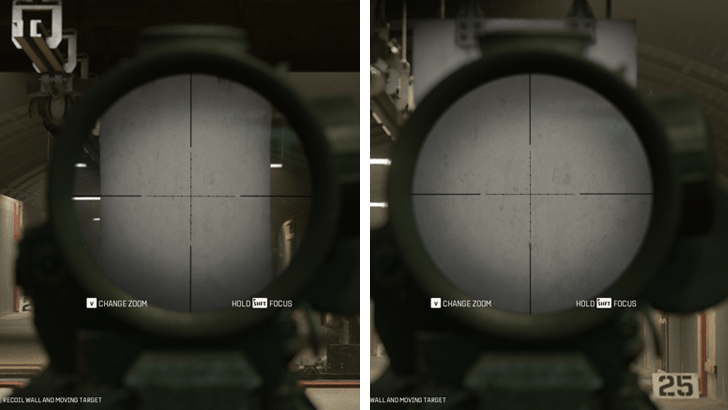
All Compatible Optics
All Compatible Muzzles
| Attachment | Pros and Cons |
|---|---|
| Compensator |
|
| Muzzle Brake |
|
| Ported Compensator |
|
| Suppressor |
|
All Compatible Barrels
| Attachment | Pros and Cons |
|---|---|
| CHF Barrel |
|
| Gain-Twist Barrel |
|
| Long Barrel |
|
| Reinforced Barrel |
|
| Short Barrel |
|
All Compatible Magazines
| Attachment | Pros and Cons |
|---|---|
| Extended Mag I |
|
| Extended Mag II |
|
| Fast Mag I |
|
| Fast Mag II |
|
All Compatible Rear Grips
| Attachment | Pros and Cons |
|---|---|
| Assault Grip |
|
| Commando Grip |
|
| CQB Grip |
|
| Ergonomic Grip |
|
| Quickdraw Grip |
|
All Compatible Lasers
| Attachment | Pros and Cons |
|---|---|
| Fast Motion Laser |
|
| Steady Aim Laser |
|
| Strelok Laser |
|
| Tactical Laser |
|
| Target Laser |
|
All Compatible Fire Mods
| Attachment | Pros and Cons |
|---|---|
| .50 BMG FMJ |
|
| Rapid Fire |
|
| Recoil Springs |
|
All Compatible Combs
| Attachment | Pros and Cons |
|---|---|
| Balanced Riser |
|
| Combat Riser |
|
| Heavy Riser |
|
| Infiltrator Riser |
|
| Light Riser |
|
All Compatible Stock Pads
| Attachment | Pros and Cons |
|---|---|
| Lightweight Pad |
|
| Marksman Pad |
|
| Precision Pad |
|
| Ranger Pad |
|
| Weighted Pad |
|
Black Ops 6 (BO6) Related Guides
All Gun and Weapon Types
| All Gun and Weapon Types | |
|---|---|
| Assault Rifles | LMGs |
| SMGs | Shotguns |
| Marksman Rifles | Snipers |
| Pistols | Special Guns |
| Melee Weapons | Launchers |
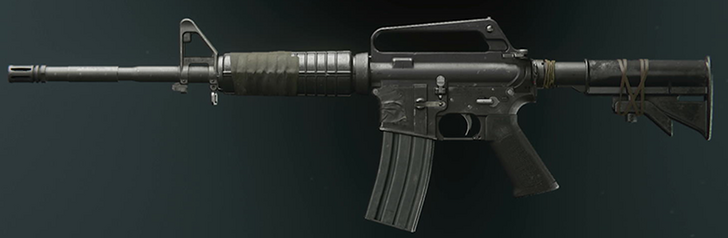
All Guns and Weapons
| Assault Rifles | ||
|---|---|---|
 XM4 XM4 |
 AK-74 AK-74 |
 Ames 85 Ames 85 |
 GPR 91 GPR 91 |
 Model L Model L |
 Goblin Mk2 Goblin Mk2 |
 AS VAL AS VAL |
 Krig C Krig C |
 Cypher 091 Cypher 091 |
 CR-56 Amax CR-56 Amax |
 Kilo 141 Kilo 141 |
 ABR A1 ABR A1 |
| LMGs | ||
 XMG XMG |
 PU-21 PU-21 |
 GPMG-7 GPMG-7 |
 Feng 82 Feng 82 |
 PML 5.56 PML 5.56 |
- |
| SMGs | ||
 C9 C9 |
 Jackal PDW Jackal PDW |
 Tanto .22 Tanto .22 |
 KSV KSV |
 PP-919 PP-919 |
 Kompakt 92 Kompakt 92 |
 Saug Saug |
 PPSh-41 PPSh-41 |
- |
| Shotguns | ||
 Marine SP Marine SP |
 ASG-89 ASG-89 |
 Maelstrom Maelstrom |
| Marksman Rifles | ||
 Swat 5.56 Swat 5.56 |
 DM-10 DM-10 |
 Tsarkov 7.62 Tsarkov 7.62 |
 AEK-973 AEK-973 |
 TR2 TR2 |
- |
| Sniper Rifles | ||
 SVD SVD |
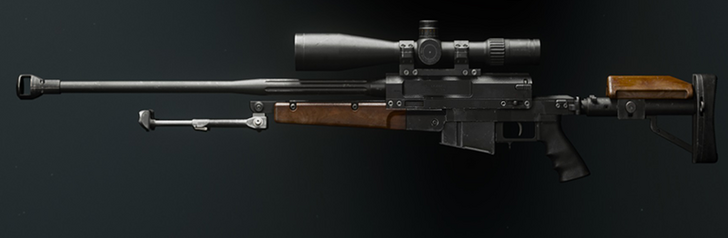 LR 7.62 LR 7.62 |
 LW3A1 Frostline LW3A1 Frostline |
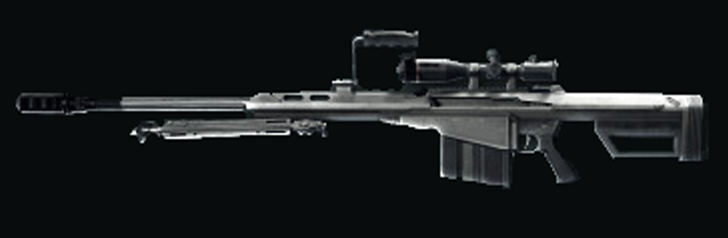 AMR Mod 4 AMR Mod 4 |
 HDR HDR |
- |
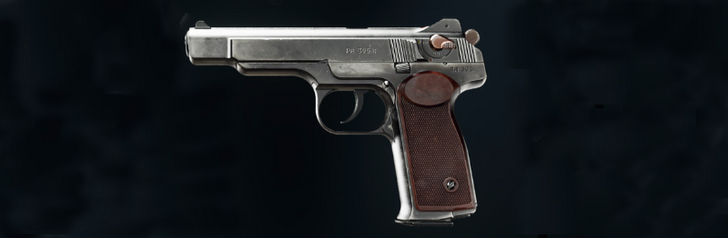
| Pistols | ||
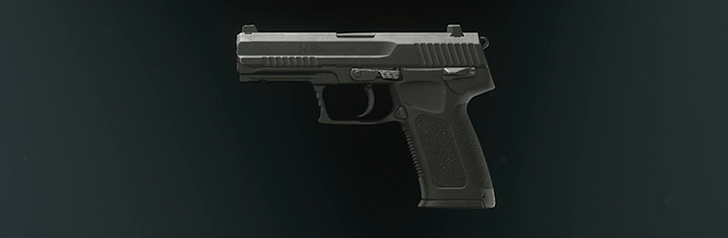 GS45 GS45 |
 9mm PM 9mm PM |
 Grekhova Grekhova |
 Stryder .22 Stryder .22 |
- | - |
| Special Guns | ||
 Sirin 9mm Sirin 9mm |
 D1.3 Sector D1.3 Sector |
- |
| Melee Weapons | ||
 Knife Knife |
 Baseball Bat Baseball Bat |
 Cleaver Cleaver |
 Power Drill Power Drill |
 Skateboard Skateboard |
 Katanas Katanas |
 Bo Staff Bo Staff |
 Nunchaku Nunchaku |
 Sai Sai |
 Kali Sticks Kali Sticks |
- | - |
| Launchers | ||
 CIGMA 2B CIGMA 2B |
 HE-1 HE-1 |
- |
How to Unlock Post-Launch Weapons
| Season 1 Weapons | ||
|---|---|---|
| Sirin 9mm | Power Drill | Maelstrom |
| AMR Mod 4 | Cleaver | - |
| Season 2 Weapons | ||
| PPSh-41 | Cypher 091 | Feng 82 |
| TR2 | D1.3 Sector | Skateboard |
| Sai | Katanas | Bo Staff |
| Nunchaku | - | - |
| Season 3 Weapons | ||
| CR-56 Amax | HDR | Kilo 141 |
| Kali Sticks | - | - |
| Season 4 Weapons | ||
| LC10 | FFAR 1 | - |
| Season 5 Weapons | ||
| PML 5.56 | ABR A1 | - |
Comment
Author
All AMR Mod 4 Camos and Attachments
Please participate in our site
improvement survey
03/2026
improvement survey
03/2026
Would you assist in
improving Game8's site?
improving Game8's site?

×
We are listening to our users' valuable opinions and discussing how to act on them.
The information collected through this survey will be used for the purpose of improving our services. In addition, the information will only be disclosed a part of a statistic in a format that will not allow identification of personal information.
Begin Survey
Not Now
×
Please rate each item regarding Game8.co's Advertisements.
Amount of Ads
Very Dissatisfied
Somewhat Dissatisfied
Fine
Somewhat Satisfied
Highly Satisfied
Placement of Ads
Timing of Ad Display
Ad Loading Speed
Safeness of Ads
Content of Ads
×
Please rate each item regarding Game8.co's Quality of Articles.
Amount of information
Very Dissatisfied
Somewhat Dissatisfied
Fine
Somewhat Satisfied
Highly Satisfied
Frequency of updates
Speed of new information
Accuracy of articles
Understandibility of articles
Readability of sentences
×
Please rate each item regarding Game8.co's Usability of the Site.
Ease of finding information
Very Dissatisfied
Somewhat Dissatisfied
Fine
Somewhat Satisfied
Highly Satisfied
Loading Speed
Use of Color
Font Size
Visibility of Images
Easy to Understand Layout
×
Please rate each item regarding Game8.co's Message Boards, Comments.
Ease of Writing
Very Dissatisfied
Somewhat Dissatisfied
Fine
Somewhat Satisfied
Highly Satisfied
Readability
Ease in Finding Information
Comment Quality
Comment Quantity
Admin Response
×
Please rate each item regarding Game8.co's Site's new design.
Please rate our site's new design
Very Dissatisfied
Somewhat Dissatisfied
Fine
Somewhat Satisfied
Highly Satisfied
Do you think that the website's design change makes the site easier to use?
Has the new design made it easier for you to find information on the site?
Has the new design improved the overall visual appeal of the site?
How would you rate your overall satisfaction with the new design of the site?
×
How likely are you to recommend Game8 to someone you know?
Very Unlikely
0
1
2
3
4
5
6
7
8
9
10
Very Likely
If you have other opinions regarding potential improvement to the website, please share them with us. We would appreciate your honest opinion.
Note: This is a free response section, so you can proceed without entering anything.
Note: Please be sure not to enter any kind of personal information into your response.
Note: Please be sure not to enter any kind of personal information into your response.
×
Thank You
×
Thank you for participating in our survey! Your answers will help us to improve the quality of our website and services.
We hope you continue to make use of Game8.
We hope you continue to make use of Game8.
Close
Rankings
- We could not find the message board you were looking for.
Gaming News


![Everwind Review [Early Access] | The Shaky First Step to A Very Long Journey](https://img.game8.co/4440226/ab079b1153298a042633dd1ef51e878e.png/thumb)

![Monster Hunter Stories 3 Review [First Impressions] | Simply Rejuvenating](https://img.game8.co/4438641/2a31b7702bd70e78ec8efd24661dacda.jpeg/thumb)
Popular Games

Genshin Impact Walkthrough & Guides Wiki
Honkai: Star Rail Walkthrough & Guides Wiki
Umamusume: Pretty Derby Walkthrough & Guides Wiki
Pokemon Pokopia Walkthrough & Guides Wiki
Resident Evil Requiem (RE9) Walkthrough & Guides Wiki
Monster Hunter Wilds Walkthrough & Guides Wiki
Wuthering Waves Walkthrough & Guides Wiki
Arknights: Endfield Walkthrough & Guides Wiki
Pokemon FireRed and LeafGreen (FRLG) Walkthrough & Guides Wiki
Pokemon TCG Pocket (PTCGP) Strategies & Guides Wiki


Recommended Games
Diablo 4: Vessel of Hatred Walkthrough & Guides Wiki
Fire Emblem Heroes (FEH) Walkthrough & Guides Wiki
Yu-Gi-Oh! Master Duel Walkthrough & Guides Wiki
Super Smash Bros. Ultimate Walkthrough & Guides Wiki
Pokemon Brilliant Diamond and Shining Pearl (BDSP) Walkthrough & Guides Wiki
Elden Ring Shadow of the Erdtree Walkthrough & Guides Wiki
Monster Hunter World Walkthrough & Guides Wiki
The Legend of Zelda: Tears of the Kingdom Walkthrough & Guides Wiki
Persona 3 Reload Walkthrough & Guides Wiki
Cyberpunk 2077: Ultimate Edition Walkthrough & Guides Wiki


All rights reserved
© 2024 Activision Publishing, Inc. ACTIVISION, CALL OF DUTY, CALL OF DUTY LEAGUE, MODERN WARFARE, CALL OF DUTY BLACK OPS, CALL OF DUTY WARZONE, and CALL OF DUTY VANGUARD are trademarks of Activision Publishing, Inc. All other trademarks and trade names are the property of their respective owners.
The copyrights of videos of games used in our content and other intellectual property rights belong to the provider of the game.
The contents we provide on this site were created personally by members of the Game8 editorial department.
We refuse the right to reuse or repost content taken without our permission such as data or images to other sites.