Chapter 7: Mario Shoots the Moon Walkthrough
★ TTYD Switch Remake is now available!
┗ Remake Differences | New Gold Medal Badge!
★ Tips for Beginners | Secrets and Combat Tips
┗ How to Level Up Fast | How to Farm Coins
☆ Best Moves | Best Partners | Best Badges
★ All Walkthroughs | All Star Pieces | All Shine Sprites
Game8's walkthrough for Paper Mario: The Thousand-Year Door's (TTYD) Chapter 7, Mario Shoots the Moon. Read on for a detailed guide for this chapter, including locations of collectibles, locations of note in Fahr Outpost, The Moon, and X-Naut Fortress, enemies, as well as useful tips for completing this chapter!
| ◄ Previous Chapter | Next Chapter ▶ |
|---|---|
| Chapter 6: 3 Day of Excess |
Chapter 8: The Thousand-Year Door |
List of Contents
Chapter 7: Mario Shoots the Moon Story Walkthrough
| ★Recommended Stats★ | ||||||||
|---|---|---|---|---|---|---|---|---|
| Chapter 7 Main Objectives | ||||||||
| 1 | Backtracking Deluxe └ How to Find Goldbob and General White |
|||||||
| 2 | Blasting Off at The Speed of Light | |||||||
| 3 | The Floor is Lightning | |||||||
| 4 | Crane Game and 8-Bit Mario | |||||||
| 5 | Quiz Show 2: Electric Boogaloo └ Quiz Questions and Answers |
|||||||
| 6 | Heart of The Cards | |||||||
| 7 | Crump with Magnus Von Grapple 2.0 | |||||||
| Bowser Interlude | ||||||||
| 9 | Opening the Thousand-Year Door | |||||||
Click on any of the links above to jump to the section!
Backtracking Deluxe Walkthrough
| Objectives | |
|---|---|
| 1 | 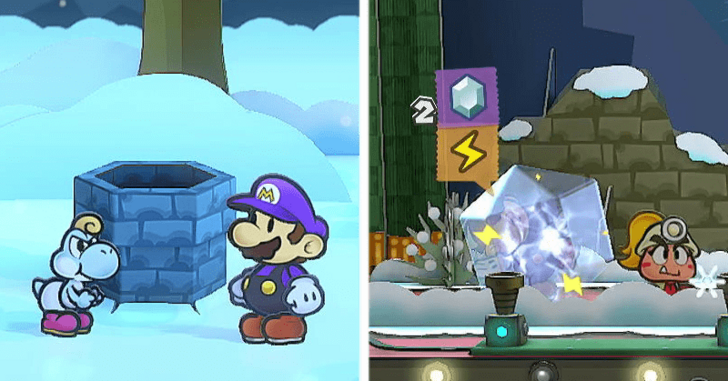 You will start the Chapter smack dab in the middle of the Frozen Forest. Be careful of the enemies here as they can Freeze you, so equip the Chill Out Badge so you don't get attacked before you get to move. |
| * | 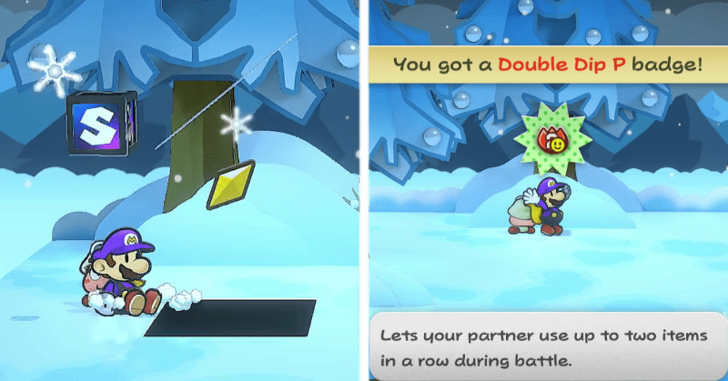 Spin Jump to the left of a Pipe for a Star Piece. In the right most tree, jump in front of it and you can get a Double Dip P Badge. |
| 2 | 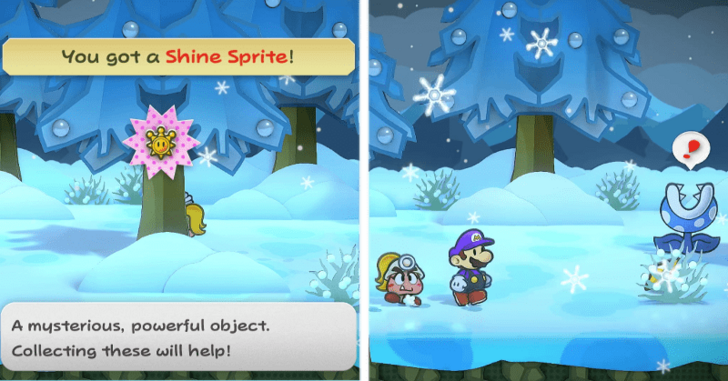 Head right and there is a Shine Sprite Behind the first tree in the foreground. You can grab a Star Piece behind a shrub near the first Frost Piranha you see. Keep heading right. |
| 3 | 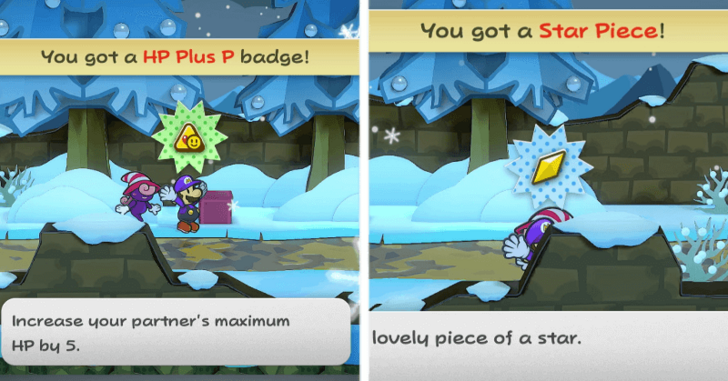 Keep heading right and pick up the Heart Plus P in the Red ? Block and a Star Piece behind the ruined wall next to a shrub. The next area is now Fahr Outpost. |
| 4 | 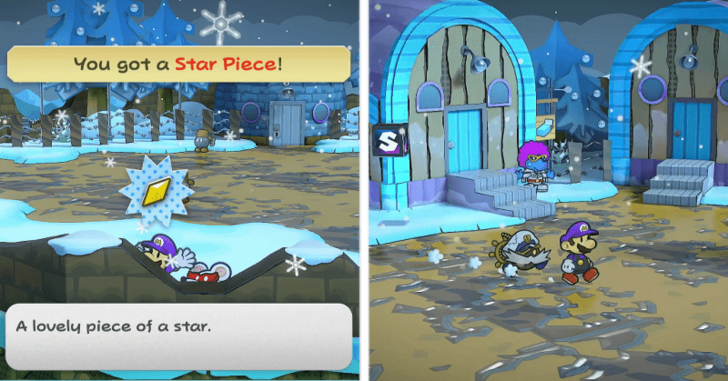 The area doesn't have much other than a Star Piece behind a wall a little bit to the left. Once you've talked to the NPCs here, go right and you'll finally some semblance of a civilization. |
| 5 | 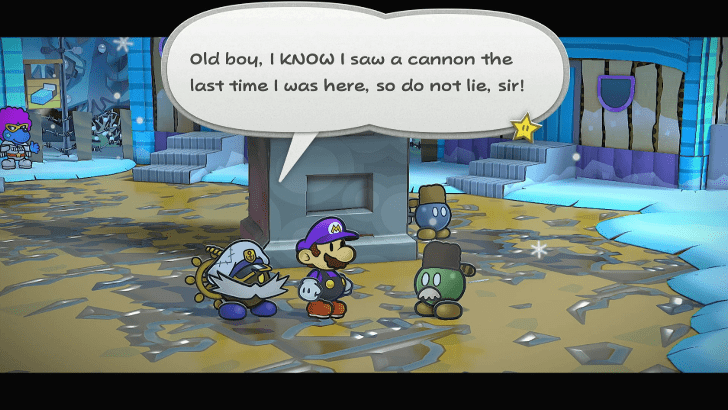 Save, Heal, and pick up any treasure you find. To move forward in the story, talk to the green Bob-omb next to the cannon with Bobbery as your Party Member. All Fahr Outpost Collectibles Guide ► |
| * | 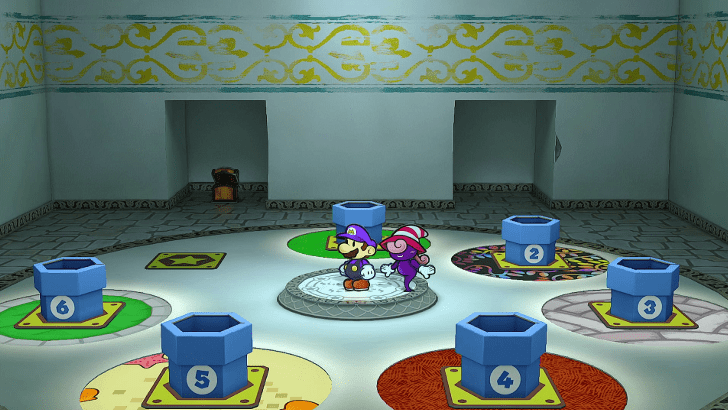 This will send you into a wild goose chase through every map in the game you have visited so far. Make sure you have the Pipe Zone unlocked in Rogueport Sewers. |
How to Find Goldbob and General White
| Objectives | |
|---|---|
| 1 | 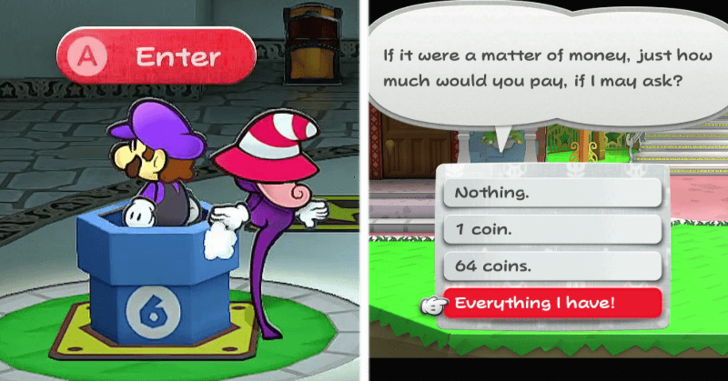 Head to Poshley Heights first. Goldbob will be there right in front of a blue house left of the Save Block. Talk to him and when asked, tell him that you would give him all your money. He'll let you keep your money and will hand you the Goldbob's Pass. |
| 2 | 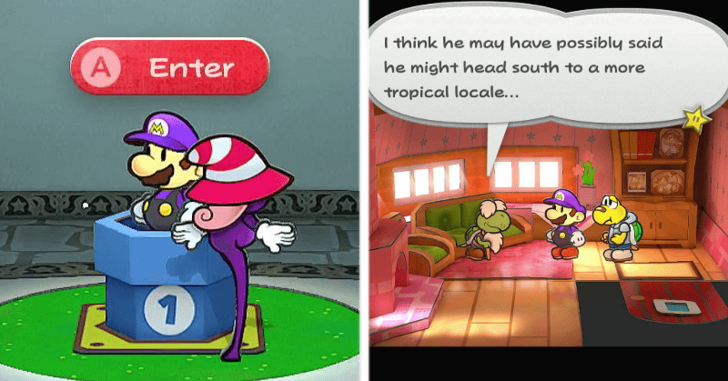 If you remember, there was a white Bob-omb in Petalburg. Head out to Petalburg and talk either to the Mayor or the Koopa at the entrance to the Village. They will tell you that General White went to Keelhaul Key. |
| 3 | 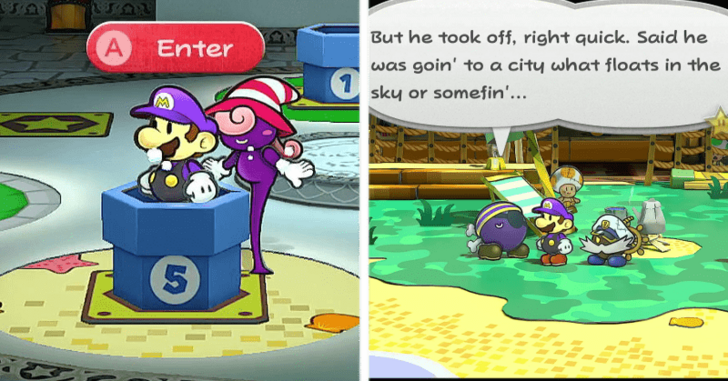 Go to Keelhaul Key and talk to Pa-Patch. He says General White isn't there either and went to Glitzville. |
| 4 | 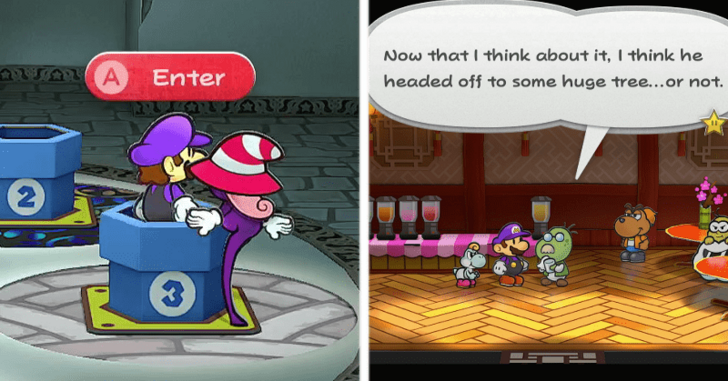 Go to the Juice Bar in Glitzville and talk to the bartender. He says General White is at the Great Boggly Tree. |
| 5 | 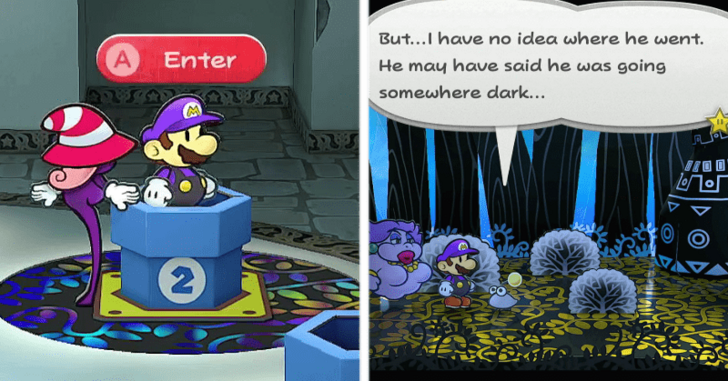 Head to the Great Tree in Boggly Forest and talk to first Puni you see when you enter. It will say that General White is in Twilight Town. |
| 6 | 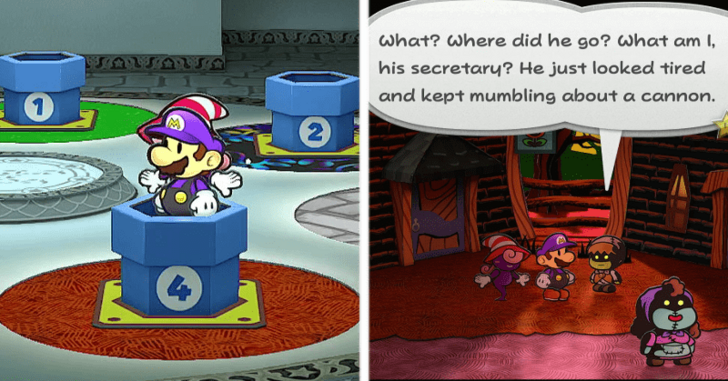 In Twilight Town, talk to either the guy at the front of the Inn or the Mayor. Either way they will say General White looked tired and they don't know where he is. |
| 7 | 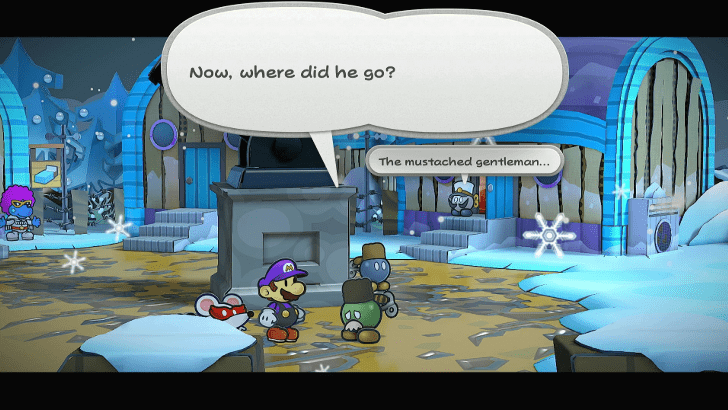 Head back to the town and report to the mayor and say you can't find the general anywhere. While talking General White will appear at the door thinking about where you could be. |
| 8 | 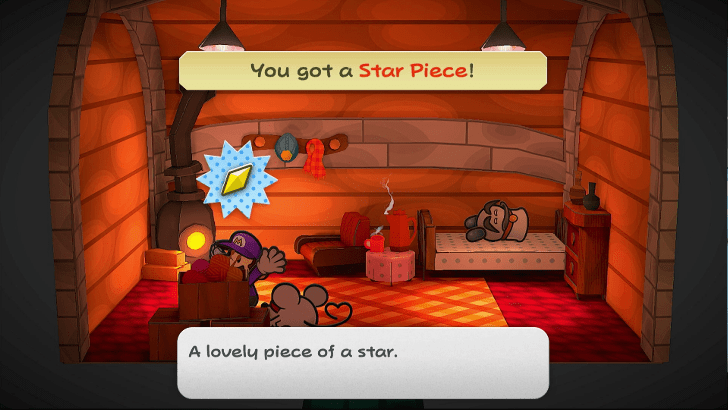 Head into the house where General White went into and you'll find him sleeping inside. Grab the Star Piece while you're in there. |
| 9 | 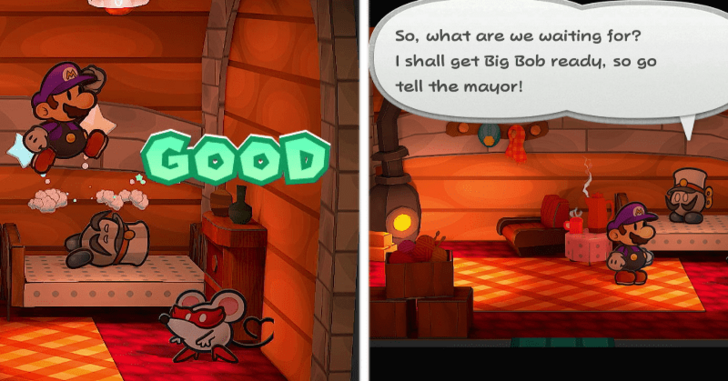 Jump on him until he wakes up around 24 times or so. Ask about the cannon and he will now make the preparations to do so. |
Blasting Off at The Speed of Light Walkthrough
| Objectives | |
|---|---|
| 1 | 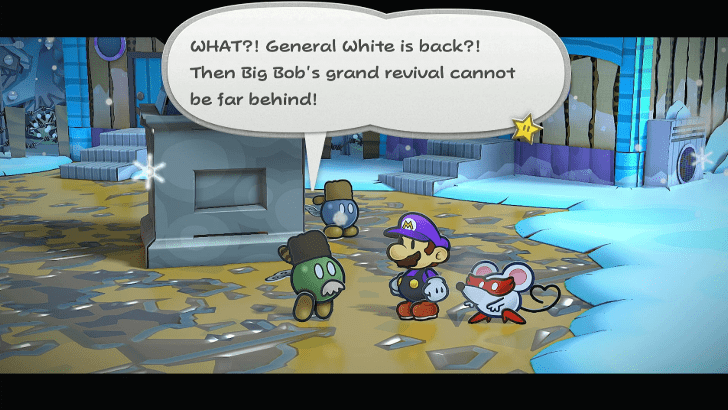 After all that backtracking, you are now ready to be launched into space. Only talk to the mayor and follow him once you are ready to be launched. |
| * | 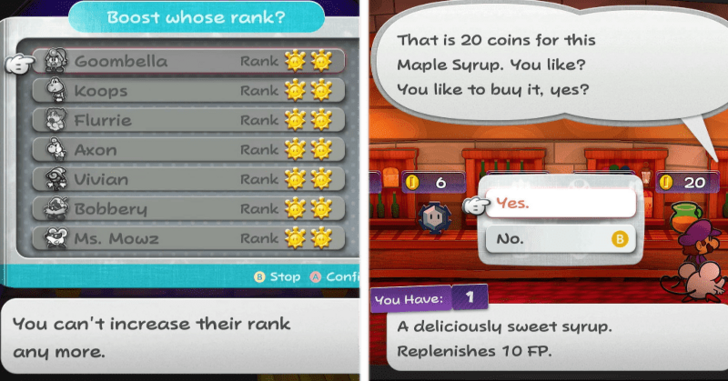 Make sure you're fully stocked up on necessities and don't be afraid of grabbing a few Badges in the Pit of 100 Trials. Make sure to also upgrade any of your Partners as you won't have access to much up in space. |
| 2 | 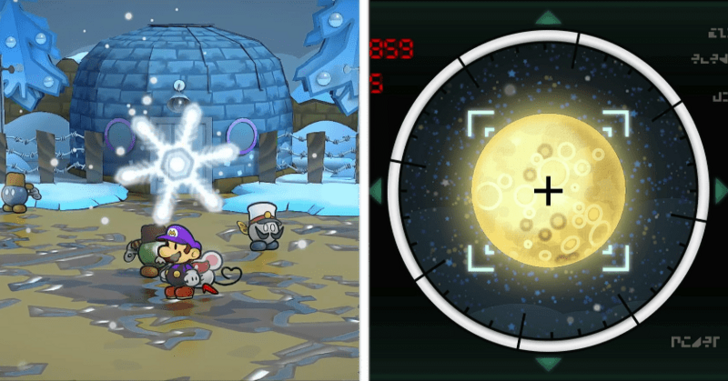 After preparations, talk to the mayor, follow him to the middle of the left area, and get ready to be blasted into space! The moon has strange Physics making it harder to evade enemies so be careful. |
| 3 | 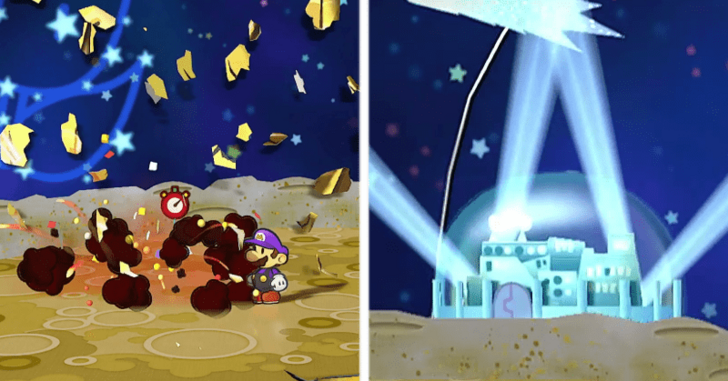 After getting yourself used to Moon Physics, you can walk around and get some treasure by exploding Rocks with Bobbery. To progress, find the screen with the disco snow globe in the background. |
| 4 | 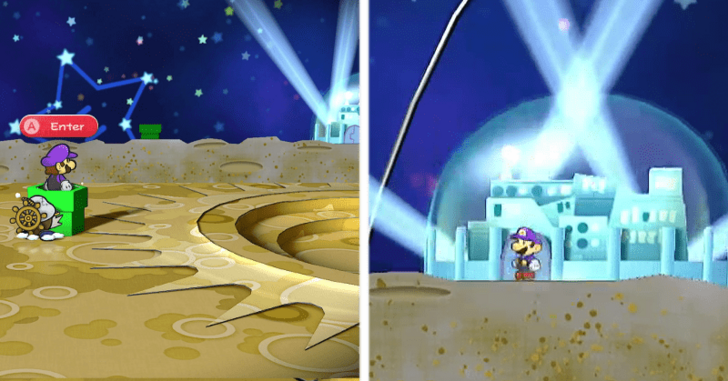 When you find the screen with the glass dome in the background, bomb the second to the left cracked rock to reveal a pipe. Use the pipe to get to the background and enter the dome. |
| 5 | 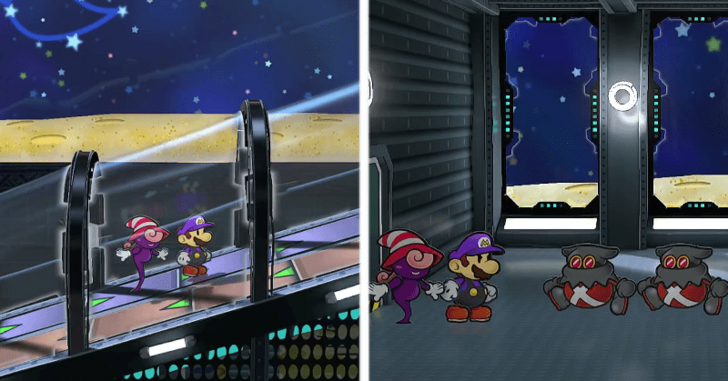 Once you're in the dome, gravity will be back to normal. Use the escalator to get up and enter the fortress. Once you get in you will be ambushed so make sure you have a good amount of health. |
| 6 | 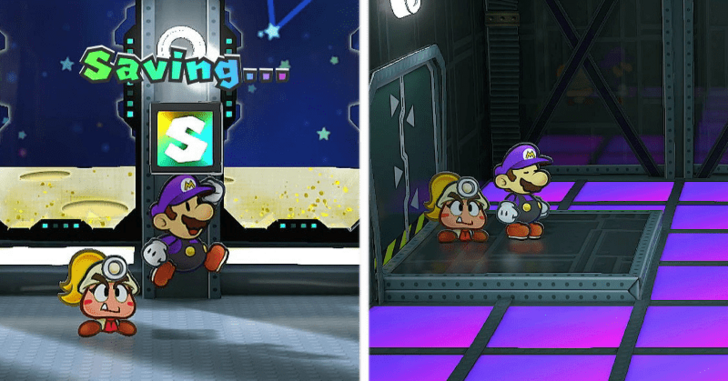 After saving and healing up, you can head into the next room. You can't use the elevator yet so keep moving right until you get into a room with tiled floors that light up in a certain pattern. |
The Floor is Lightning Walkthrough
| Objectives | |
|---|---|
| 1 | 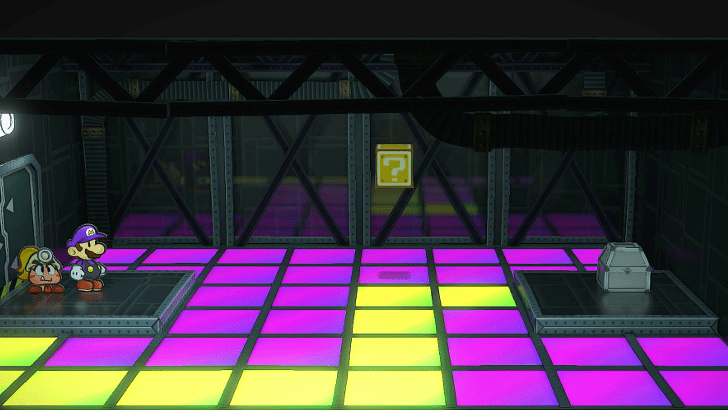 When you enter the chamber, the camera will pan to the left and show a chest. Make sure to memorize the pattern of the tiled floor as these are the only ones you can walk on. |
| * | 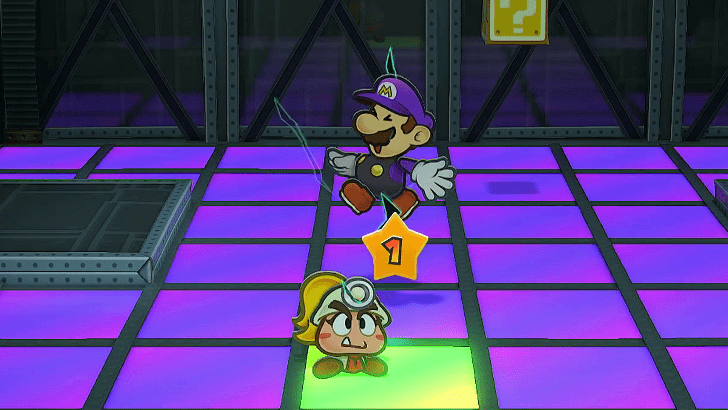 Walking in an unlit tile will electrocute you and deduct 1 HP. Going out of the room without grabbing the treasure at the end will re-do the pattern so go in and out until you get one you can easily pass through. |
| 2 | 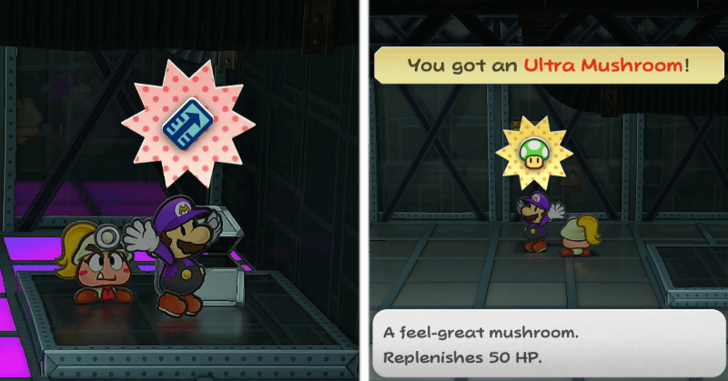 Grab the Elevator Key at the end and this will disable the electric tiles. Grab the Ultra Shroom in the northern side of the room when heading out. |
| 3 | 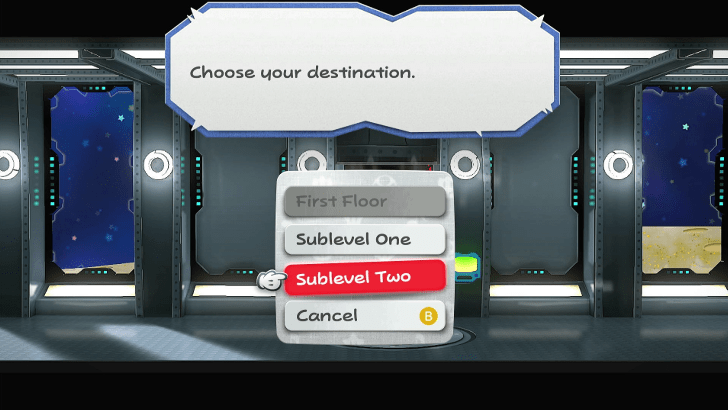 Go to the elevator to activate it. This will let you use the elevator for the First floor, Sublevel 1, and Sublevel 2. Head to Sublevel 2 first. |
| 4 | 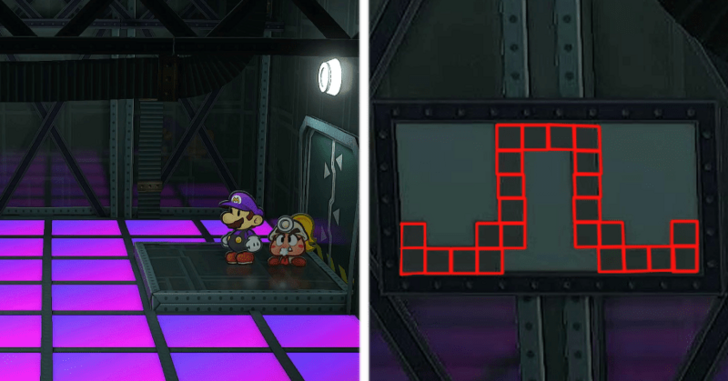 Head straight to the room in the far left and you'll be in another electric-tile room. This one doesn't have a floor that lights up, but there is an image in the background that shows which tiles you can walk on. |
| 5 | 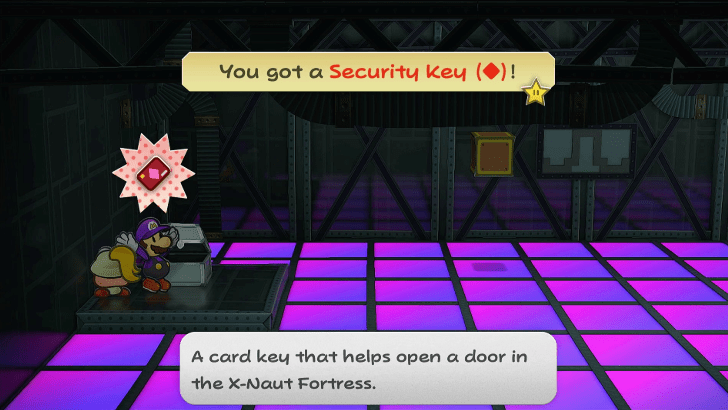 Grab the Security Key at the end and this will disable the electric tiles. And head out past the elevator and into the room in the far right this time. |
| 6 | 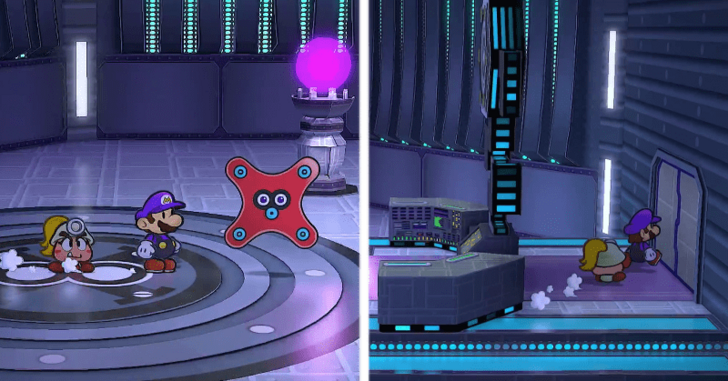 You are now in Grodus' throne room, make sure to avoid the X-Yux as this one is just a pain to deal with. Head into the room behind the throne. |
| 7 | 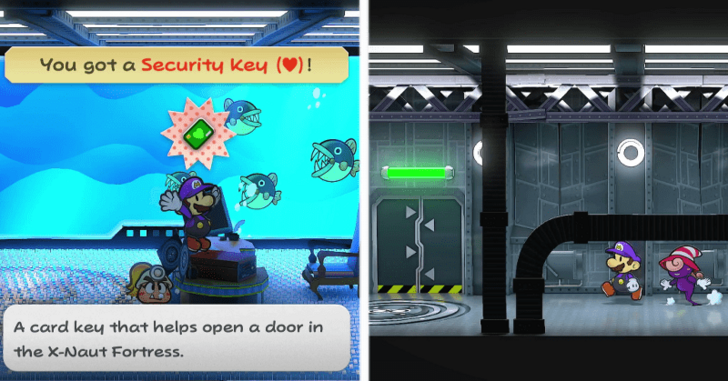 Grab the Security Key and return to the hallway evading the X-Yux again. Go into the room left of the elevator with the red panel. |
Crane Game and 8-Bit Mario Walkthrough
| Objectives | |
|---|---|
| 1 | 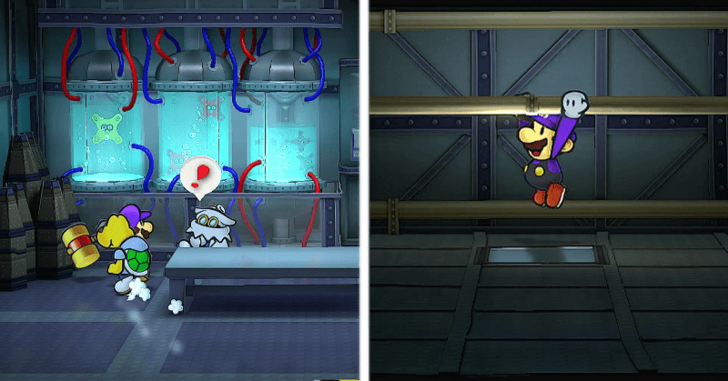 Head inside the lab and defeat the enemies inside and Spring Jump into the vent. Grab the Star Piece at the far left and drop down the first vent left of where you got in. |
| 2 | 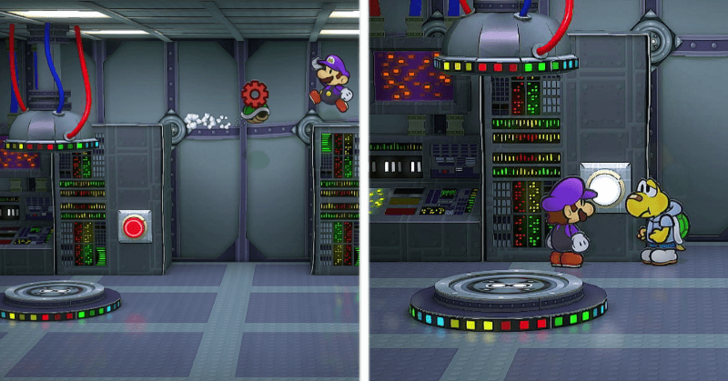 Once you drop in, use Koops to grab the Cog across the console you dropped into. Get down from the computer and press the button to activate a portal that will take you to Rogueport Sewers. |
| * | 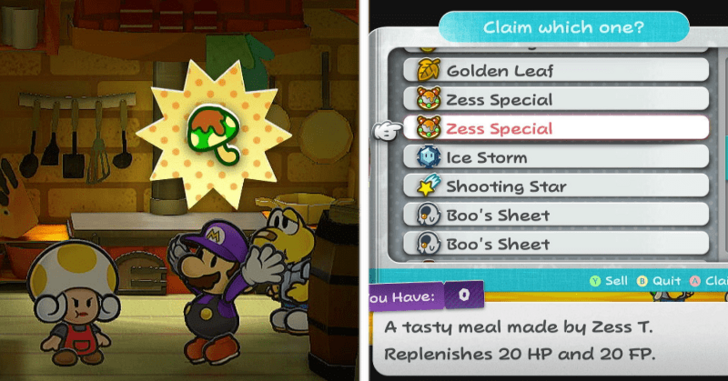 After you get stocked up and gotten your upgrades, head back to X-Naut Fortress. |
| 3 | 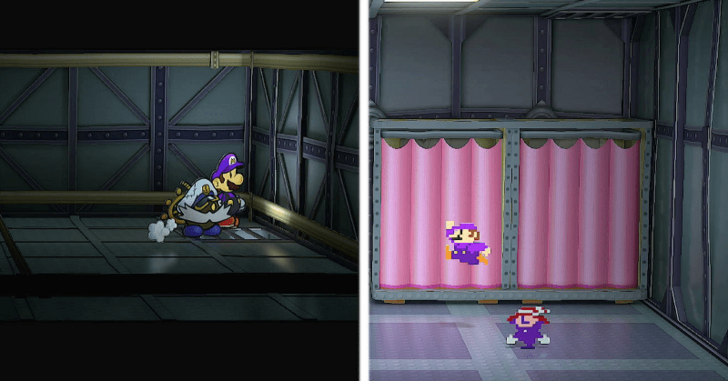 Head out of the teleporter room and go back to the lab vent room. Paper Mode down the rightmost vent and you will be in the room where Peach dressed up as an X-Naut. You will be 8-Bit sprites here, so have fun. |
| 4 | 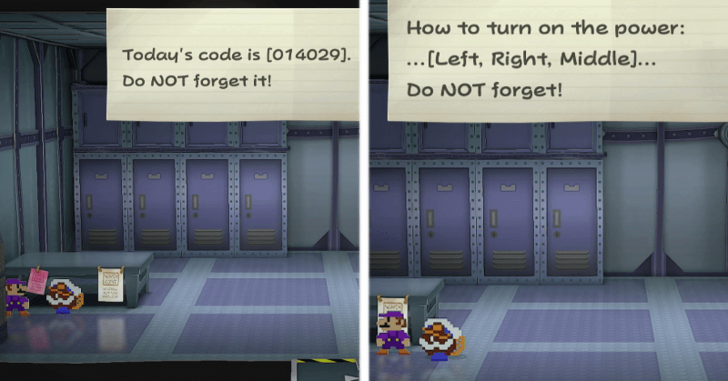 After that fun retro experience, check out the notes on the tale. make sure to remember what it says: • Today's Passcode is 014029 • How to Activate the Switch: Left, Right, Middle |
| 5 | 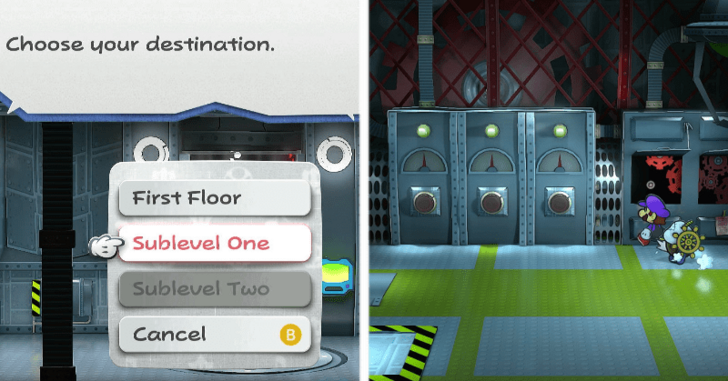 Go back to the green panel elevator and head to Sublevel 1. Head towards the far left side of the hall and enter the room. You will see a a bunch of buttons and machinery. |
| 6 | 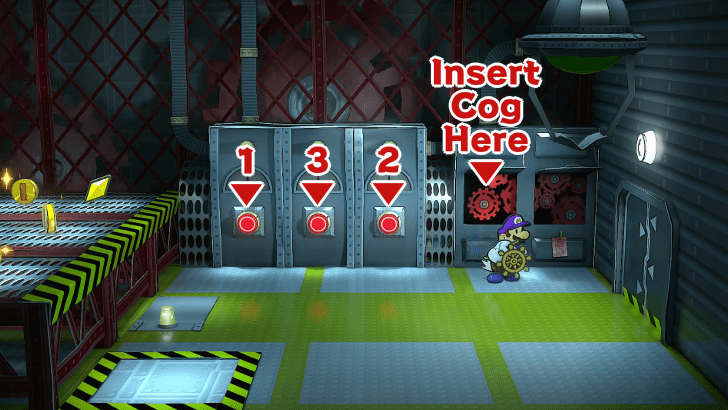 Insert the cog in the machine with a void in the middle. Head left, and press the buttons in the order: Left, Right, and Middle (same as the code in the 8-Bit Room). This will activate the Crane! |
| 7 | 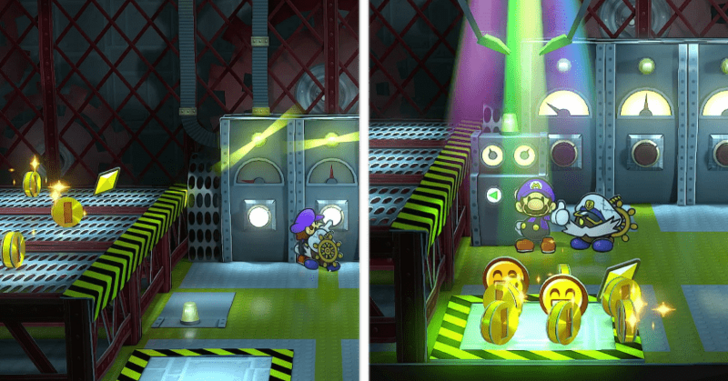 After activating the machine, use the crane game to grab the Shine Sprite, Feeling Fine, and Feeling Fine P Badges.If you want, grab the coins too. |
| 8 | 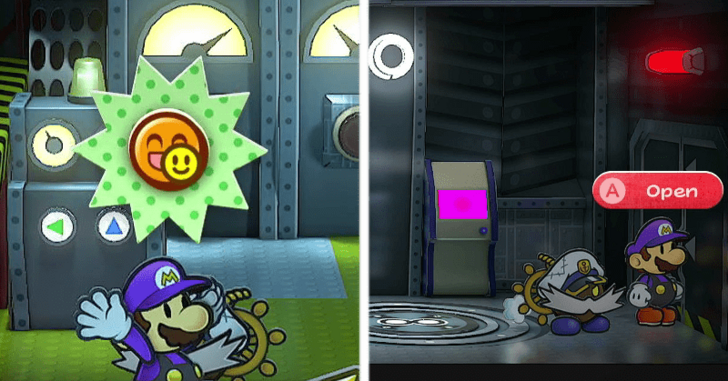 Once you grab everything you want, head of the room and head into the room into the opposite side of the hall. |
Quiz Show 2: Electric Boogaloo Walkthrough
| Objectives | ||
|---|---|---|
| 1 | 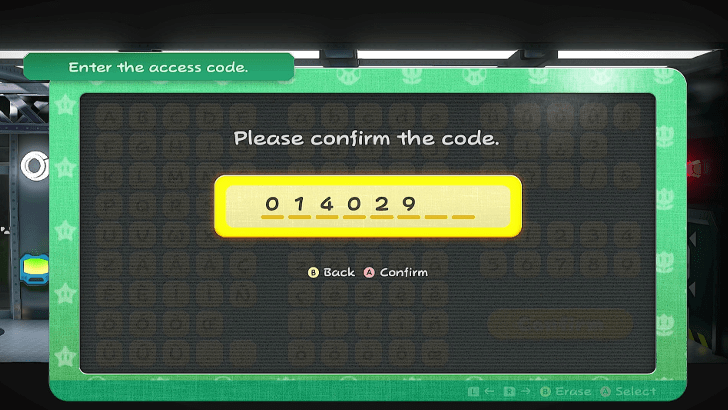 After the Crane Room, head to the far right room and there is a lock to the room. Enter the code "014029" at the terminal and you will be granted access to the room. |
|
| 2 | 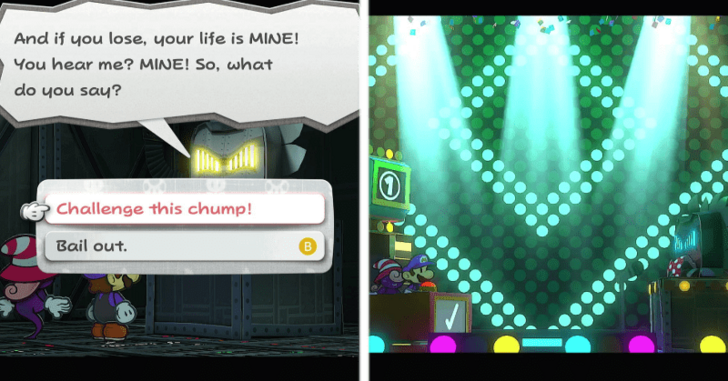 Enter the room and talk to the Cybernetic Thwomp. Choose to "Challenge this chump!" and the Thwomp will then take you into the 66th Super Fun Quirk Quiz. |
|
| * | 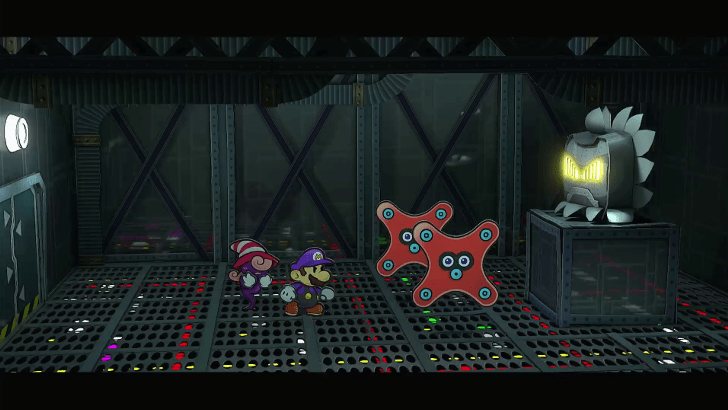 You don't want to fail the quiz. Doing so will get you to fight two X-Yux and that's just a nightmare to deal with. |
|
66th Super Fun Quirk Quiz Questions and Answers
| Question | Answer |
|---|---|
| What is hidden here? | Elevator Key |
| What's the name of the girl who's waiting for Koops's Return? | Koopie Koo |
| How many total feet do a Goomba, Lava Bubble, Buzzy Beetle, and Boo have? | 6 |
| Where was the Diamond Star? | Hooktail's Belly |
| What was the name of the first Glitzville arena champion? | Prince Mush |
| What did Francesca and Frankie lose on Keelhaul Key? | A Ring |
| What number question is this? | Number Seven |
All Thwomp Trivia Quiz Answers
Heart of The Cards Walkthrough
| Objectives | |
|---|---|
| 1 | 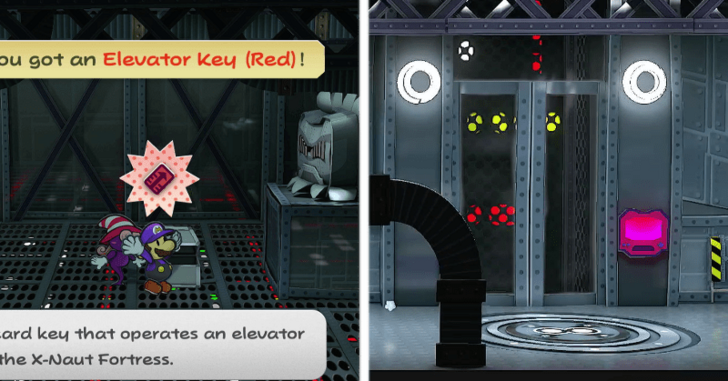 After grabbing the Elevator Key, head back down to Sublevel 2 and go to the Elevator with the red panel located right of the Lab Vent room. Go to Sublevel 4 once you are able to. |
| 2 | 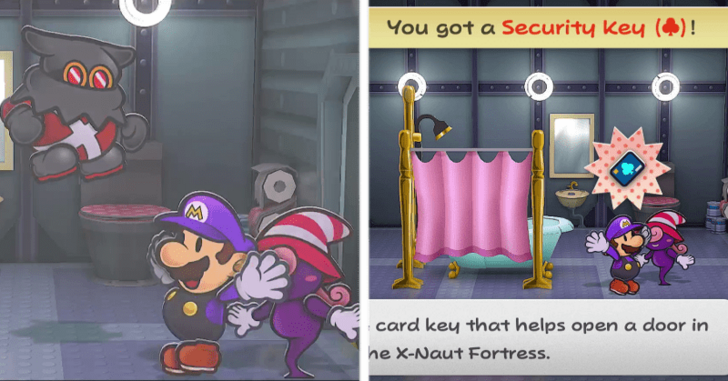 Once you arrive at Sublevel 4, head to the room at the far-left you will now be at Peach's old room. Head into the shower and you will be ambushed by a showering X-Naut. Defeat it to get a Keycard and then head up to Sublevel 3. |
| 3 | 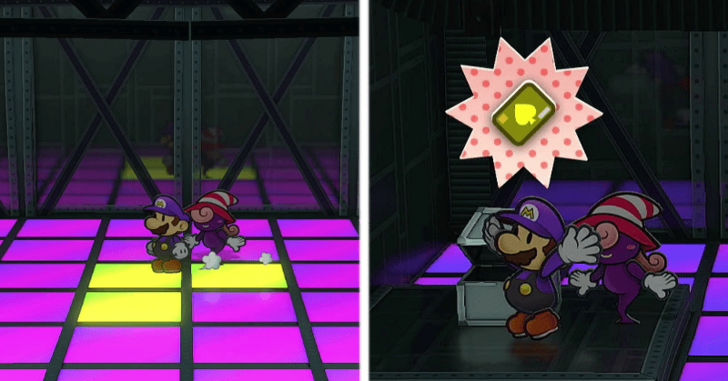 Once you arrive at Sublevel 3, head to the room at the far-left and it will be another electric floor room. Step on the panel in front of you and just follow the moving pattern. Grab the final Security Key at the end. |
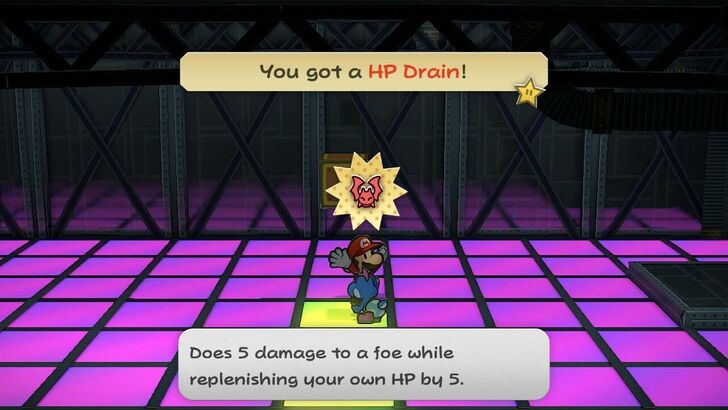
| * | 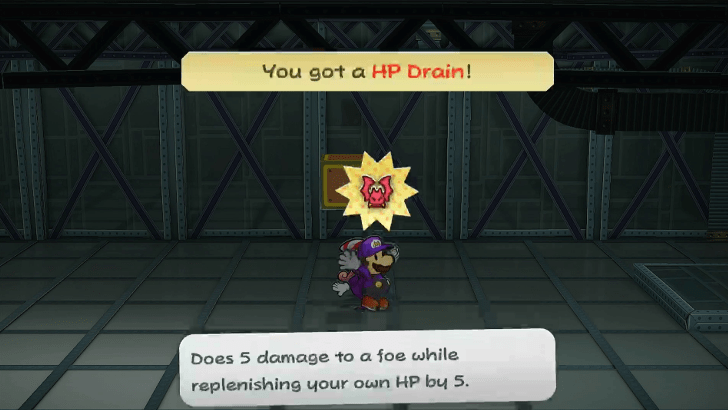 You can also grab the HP Drain item on your way out. |
| 4 | 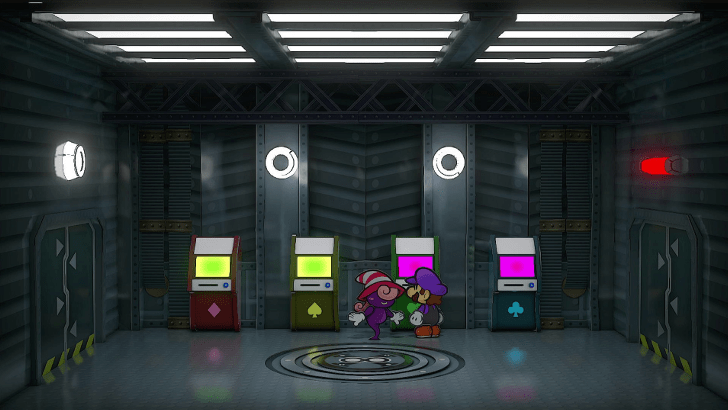 After getting out of the last electric-tile room, head to the other side of the hall and enter the Key Cards you have on the terminals. In the order: Diamond, Spade, Heart, and then Club. |
| 5 | 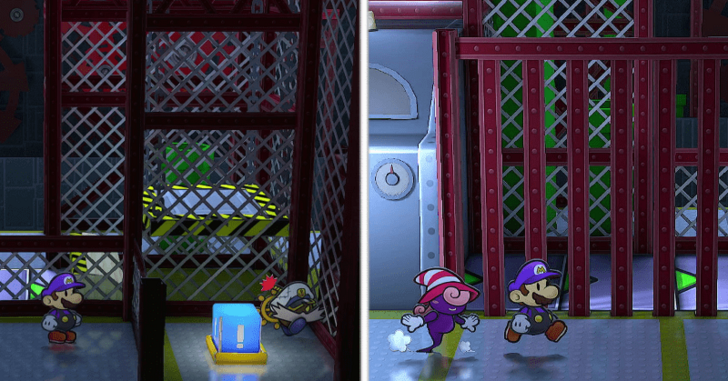 Head inside from the terminal room and it's a factory. Defeat the X-Naut and then throw Bobbery into the ! Switch to activate the conveyor. Switch your partner to Vivian. |
| 6 | 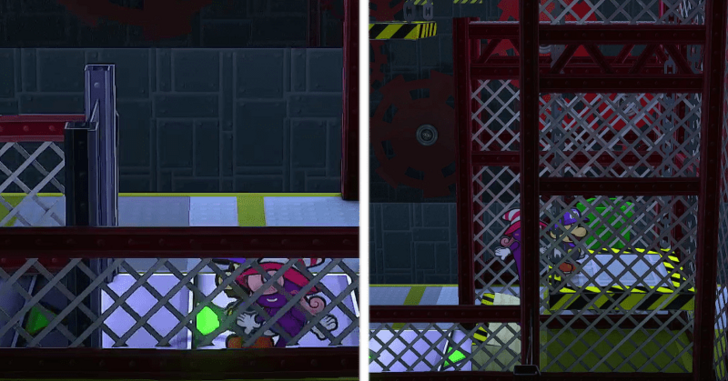 Slip into the steel beams with paper mode to get onto the conveyor and use Vivian's Veil to get under the wall. Once through, get onto the lift going up and down. |
| 7 | 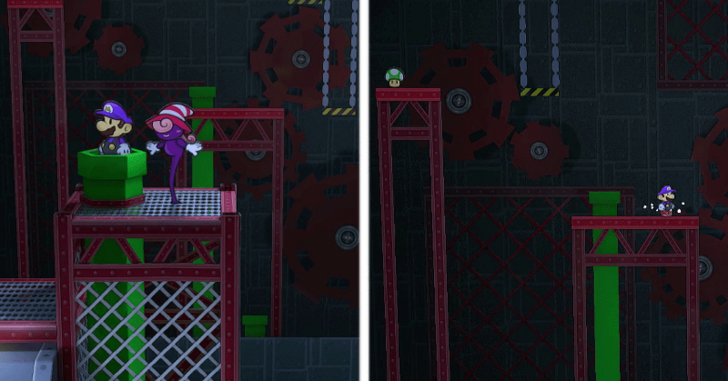 Get off the lift and onto the other one to your left once you're all the way up. There is a pipe at the other end of this lift so get in that to get yourself into the background. |
| 8 | 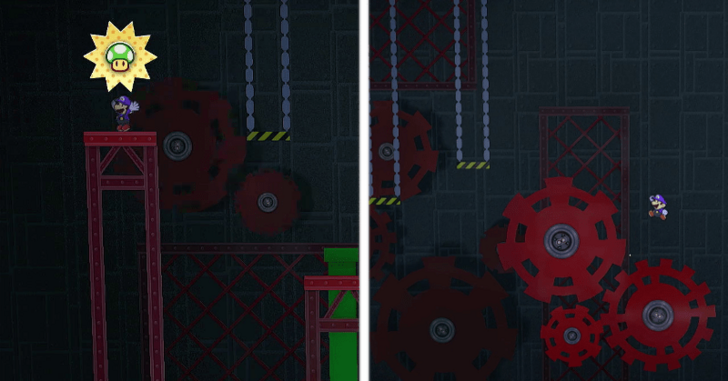 After getting into the background,there is a platforming section you can do to grab an Ultra Shroom to the left. To progress, you need to use the lifts to get yourself onto the gears to the right. |
| * | 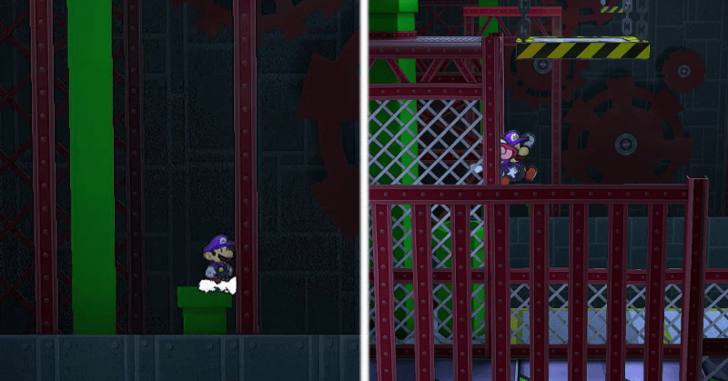 Should you fall, head left and there will be a Pipe under the one you used to get into the background. Enter the pipe and you can slip through near the wall and back onto the up and down lift. |
| 9 | 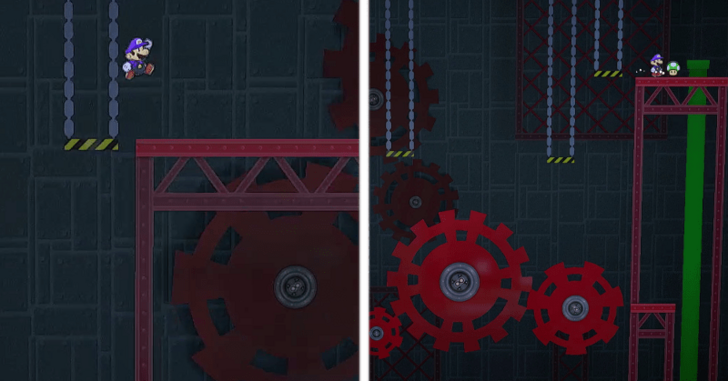 Once you're on the gears, head right and get yourself onto the steel beams. There is another set of lift you must platform on to get to the pipe on the farthest right side next to an Ultra Shroom. |
| * | 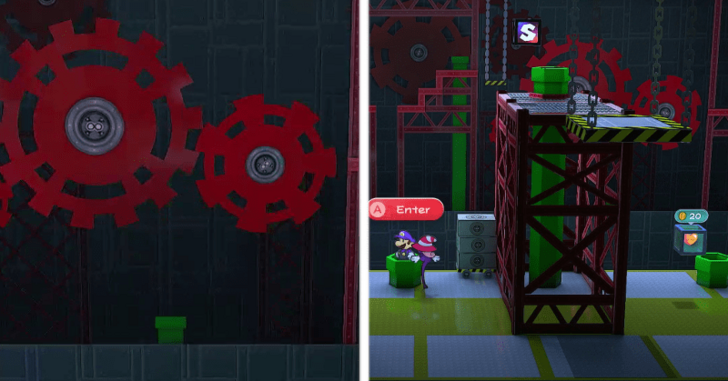 Should you fall here, there is a pipe under the gears which will lead you into and area with a Heal Block. Make use of this and head left into another pipe which will take you back to the up and down lift. |
| 10 | 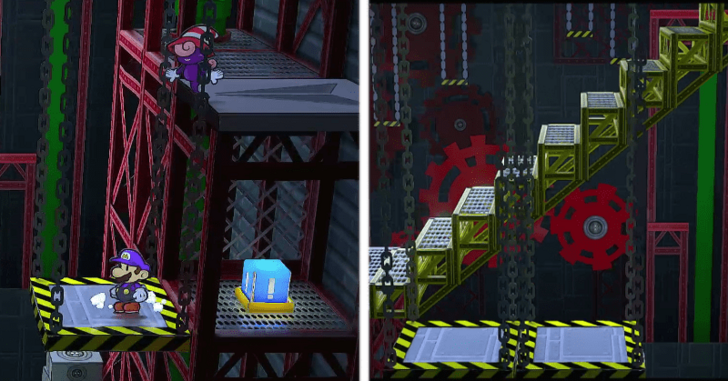 Head into the pipe and you're gonna be into the foreground again. Jump down into the moving lifts and there should be a ! Switch to the right, you can hit it yourself or with Koops to get a staircase to appear leading to a terminal. |
| 11 | 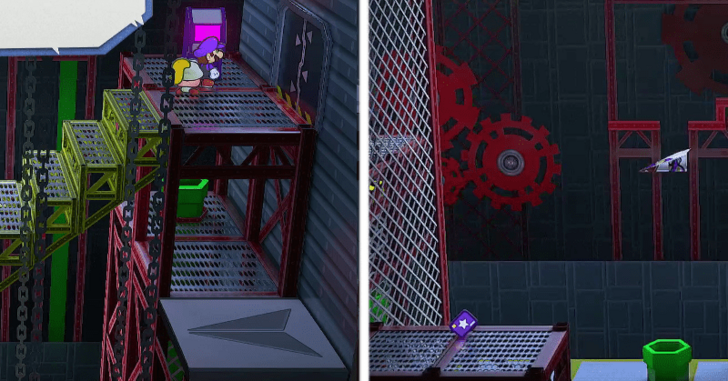 Use the lifts to get you onto the platform with the Save Block. Head up the staircase that appeared and drop back down into the Plane Platform. |
| 12 | 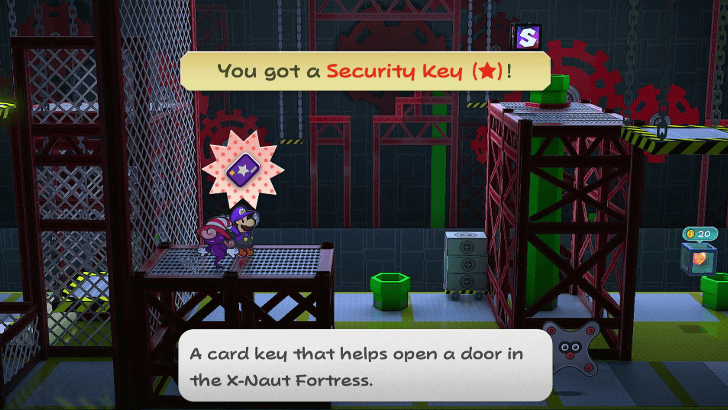 This time, use the Plane Platform to go as far as you can to the left and you will be stopped by a grate. |
| 13 | 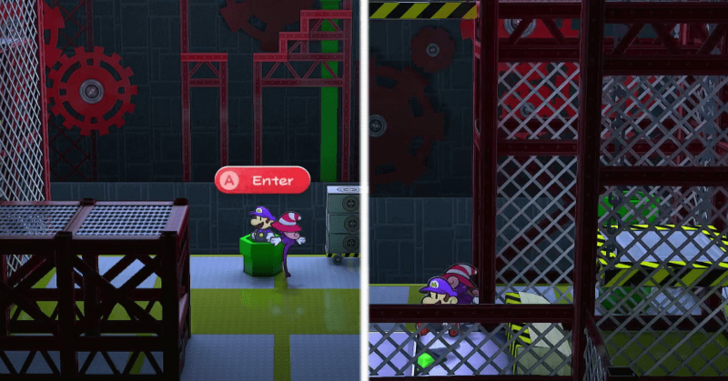 After going down the grate grab the Star Security Key and fall back down to the area with the Heal Block. Head left into another pipe which will take you back to the up and down lift. |
| 14 | 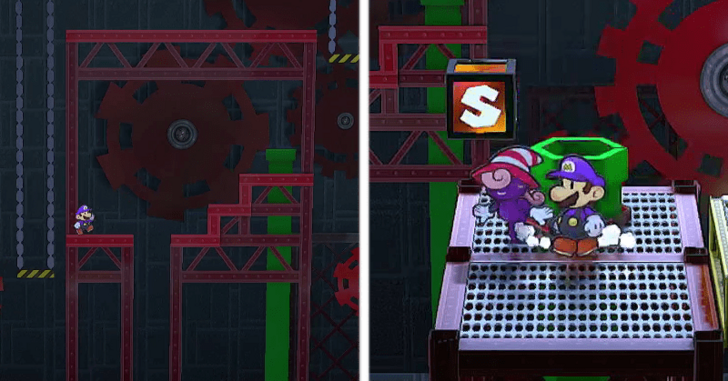 Go ahead and platform your way back into the staircase you can quickly get onto the Save Block platform by using the Pipe in the middle. |
| 15 | 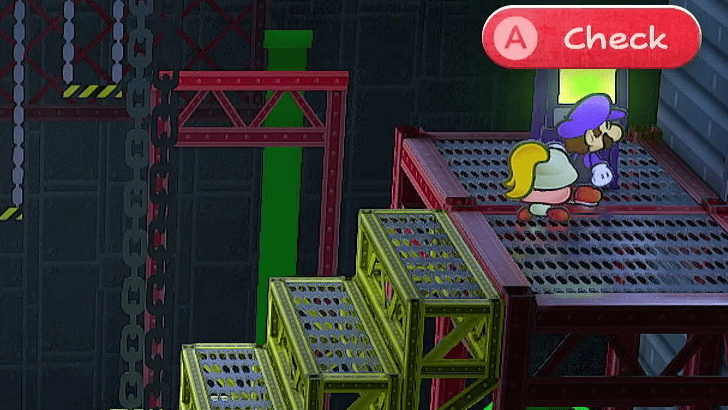 Go up the stairs and use your newly obtained Key Card on the terminal to open the door to the boss. |
Crump with Magnus Von Grapple 2.0 Walkthrough
| Objectives | |
|---|---|
| * | 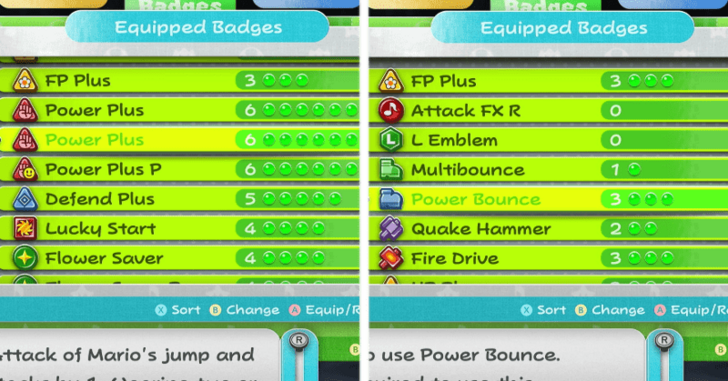 Before walking into the boss room, prep your badges and equipment. The partner you use doesn't matter but make sure to equip as much Power Raising badges you have. It is preferred to use Jump attacks on this boss over hammer, so equip your Power Bounce and Multibounce skills here. |
| 1 | 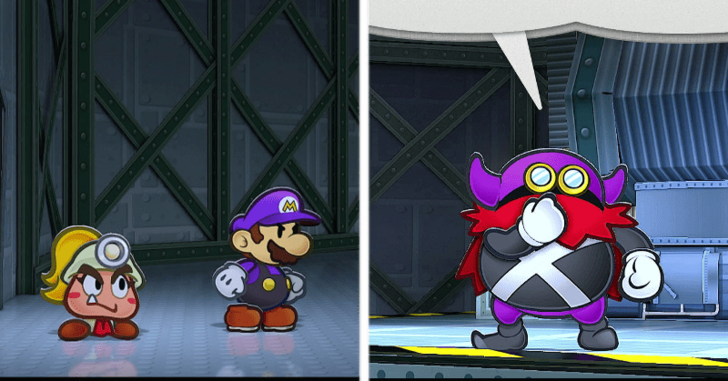 When you enter the chamber, a cutscene will play and it's just you, you partner, and Lord Crump. |
| 2 | 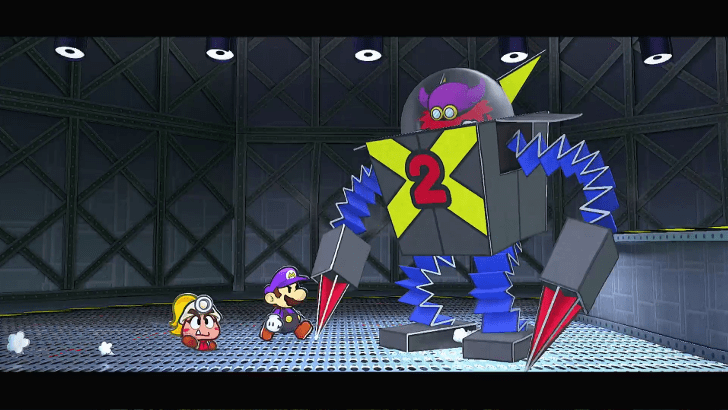 After being told that your princess is in another castle, get ready to fight the Magnus Von Grapple 2.0 Magnus Von Grapple 2.0 Battle Guide ► |
| 3 | 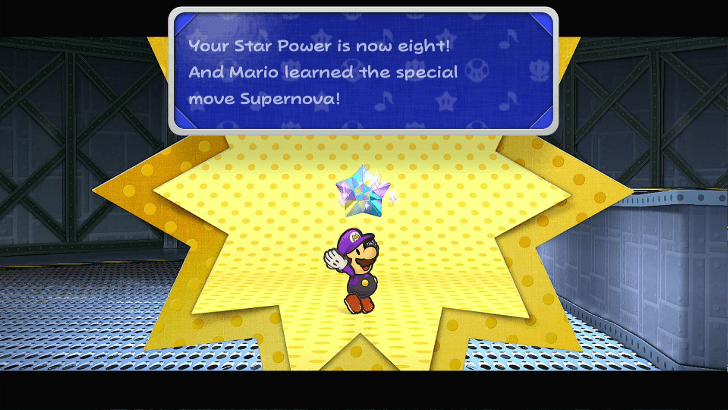 After beating Lord Crump and his robot, you can now get the final Crystal Star! Grab it and you will now have the max 8 SP and a new Special! |
| 4 | 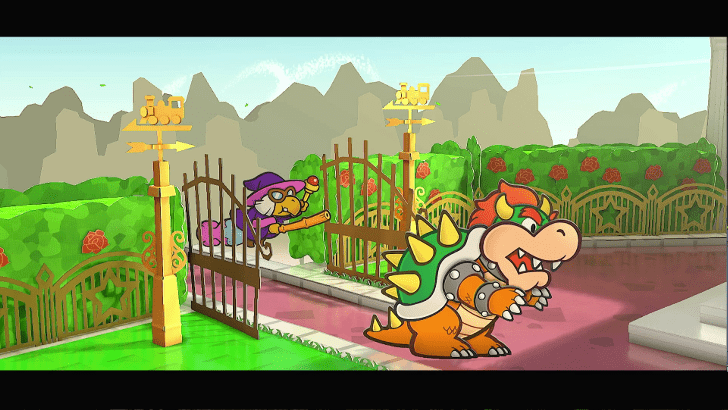 After this, it will switch to Bowser, as there is no interlude for Peach here. |
Bowser Interlude Walkthrough
Kammy and Bowser arrive at Poshley Sanctum to get the Crystal Star. It seems they also have been duped by the fake one as they get news as Mario has finally collected the final Crystal Star.
Opening the Thousand-Year Door Walkthrough
| Objectives | |
|---|---|
| * | 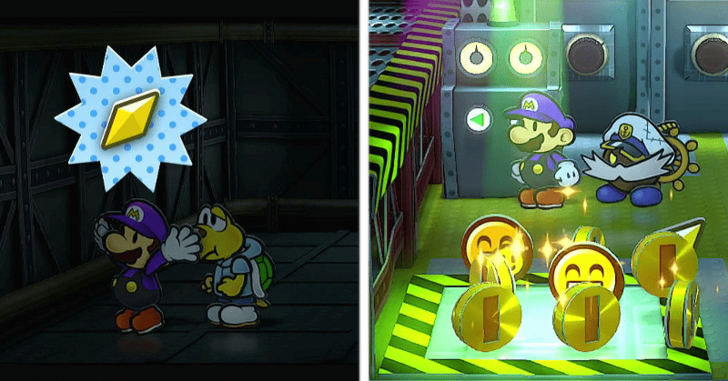 The X-Naut Fortress will be unavailable for the entirety of Chapter 8, this will lock you out of the Star Pieces and other Items so make sure to grab those before heading to Sublevel 4. |
| 1 | 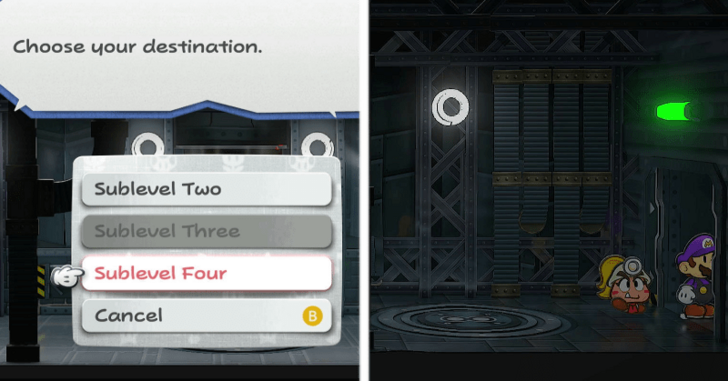 After beating Magnus Von Grapple 2.0, head to Sublevel 4 and you can now access TEC's room. |
| 2 | 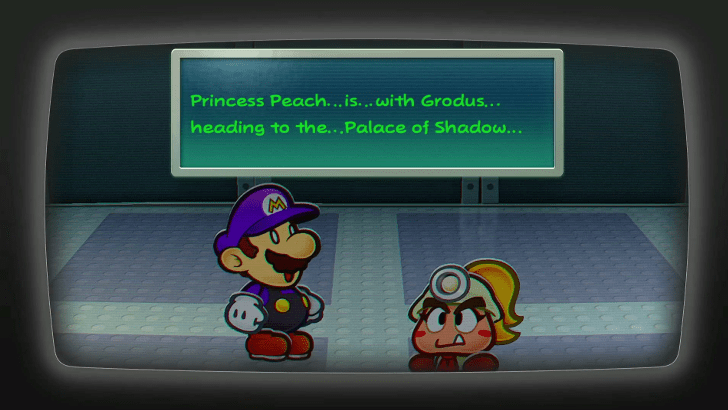 A cutscene will play of a dying TEC telling Mario that they took Princess Peach to the Palace of Shadow, behind the Thousand-Year Door. |
| 3 | 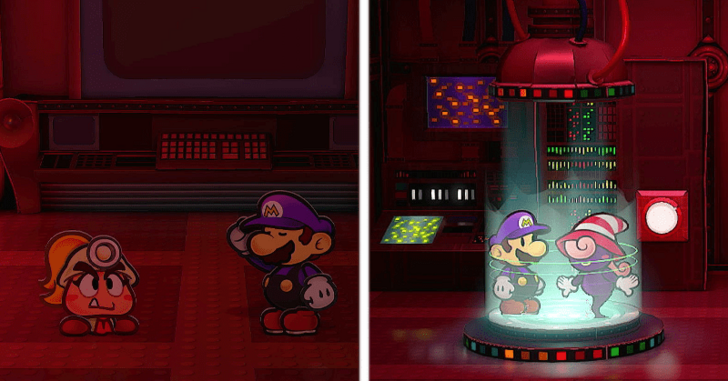 TEC, on his last moments, tells Mario to use the teleporter on Sublevel 2. Head there and a cutscene will play with the X-Naut Fortress exploding while mario and his party barely escape! |
| 4 | 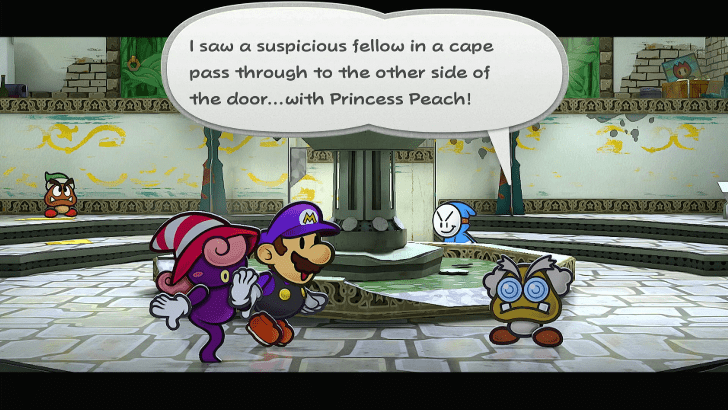 After arriving back at Rogeport Sewers, Frankly will confirm that the Thousand-Year Door was opened and Peach and Grodus are inside. |
| 5 | 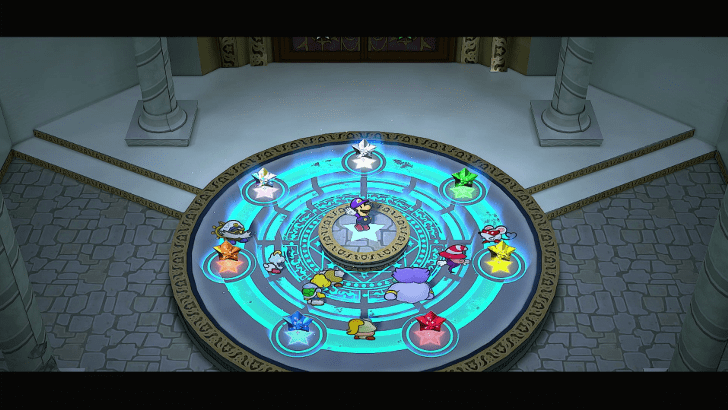 Head into the Thousand-Year Door and a cutscene with all the Crystal Stars opening the Thousand-Year Door will play. |
| 6 | 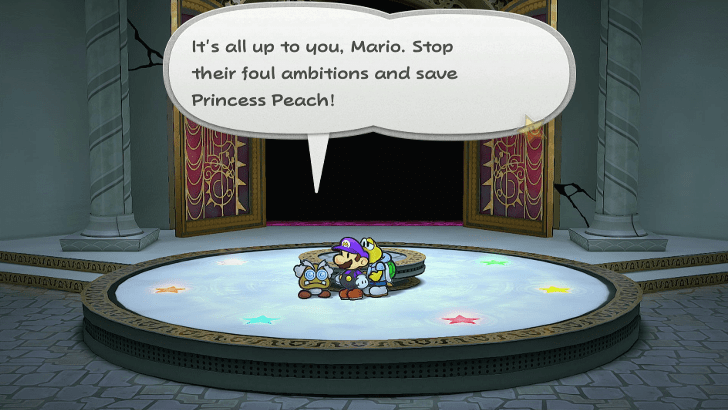 After the cutscene you don't have to go inside the door for now, so make sure to do everything you need to prep! |
| 7 | 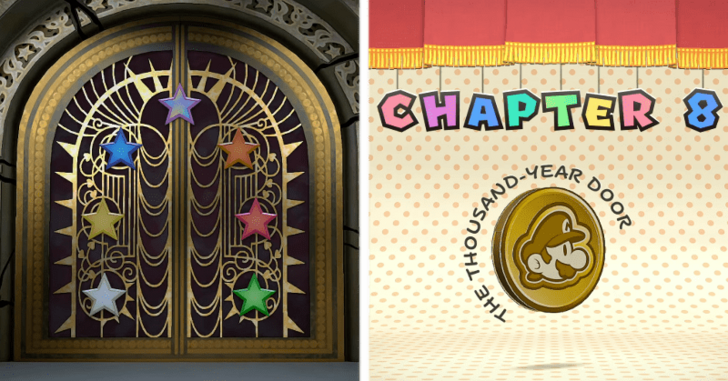 Once you are ready, head inside the Thousand-Year Door and you are now in the final Chapter! |
Things to Do Before Heading Into Chapter 8!
Before heading into this gauntlet of Bosses, Enemies, and Puzzles, make sure to prepare beforehand. Here is a list of everything you can do to prepare:
| List of Things to Do Before Chapter 8 |
|---|
|
✪ If you gave money to Lumpy at Rogueport, go back to where he was and he will give you 3x the amount you initially gave him. ✪ Complete the first 50 Floors of the Pit of 100 Trials to get the max 20 item slots in your inventory. ✪ Finish up as many Troubles as you can. ✪ Collect all of the Shine Sprites and max out your Partners. At the very least, max out Yoshi, Vivian, Bobbery, and Goombella. ✪ Max out your inventory with Cooked Healing Items. Try to save your Whacka Bumps for the Pit of 100 Trials though. ✪ Get as much Power and Defense Raising Badges to fill up your Badge Points. ✪ Get a curse to help you in the upcoming battles. ✪ Get Mario to at least 20 HP and FP at Level 25. |
Chapter 7 Collectibles and Items
Star Pieces
| Done? | Location | In-Game Image |
|---|---|---|
|
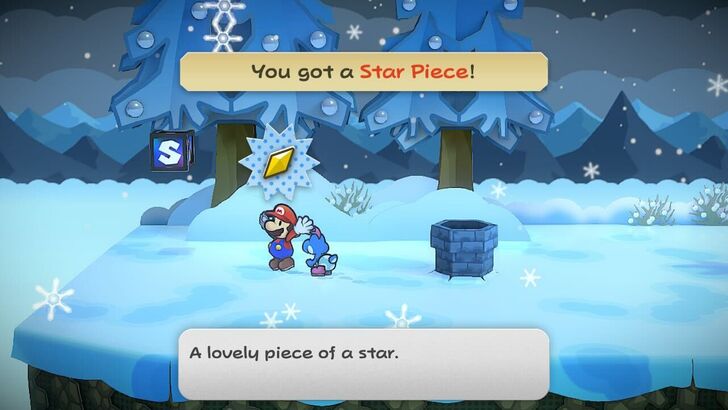
Fahr Outpost
Beneath a panel at the left side of Fahr Outpost's west entrance. |
 |
|
|
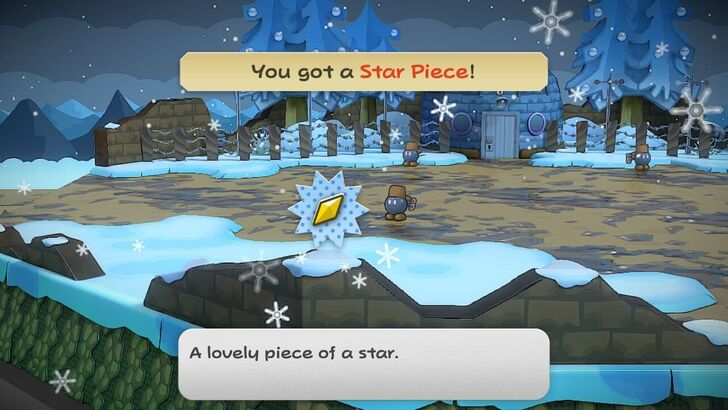
Fahr Outpost
Behind the wall in the southern area at the west of the village. |
 |
|
|
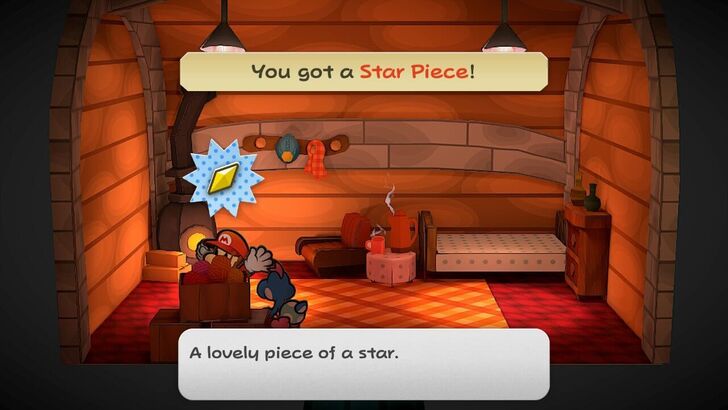
Fahr Outpost
Behind boxes located in the southwest corner of General White's house. |
 |
|
|
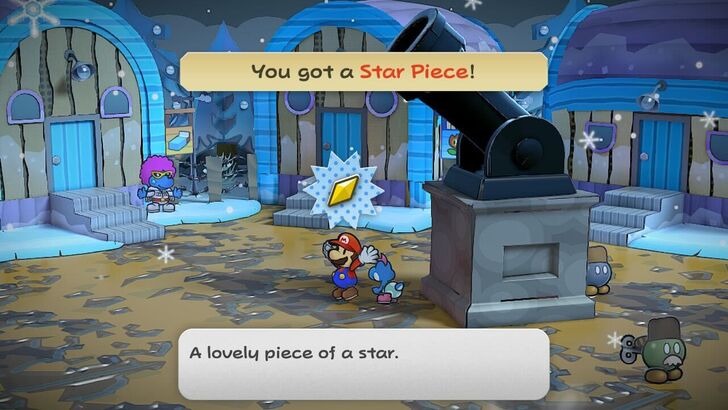
Fahr Outpost
Beneath a panel on the left side of the cannon located at the east side of the village. |
 |
|
|
Fahr Outpost
In a bush at the second area from the left of Fahr Outpost. |
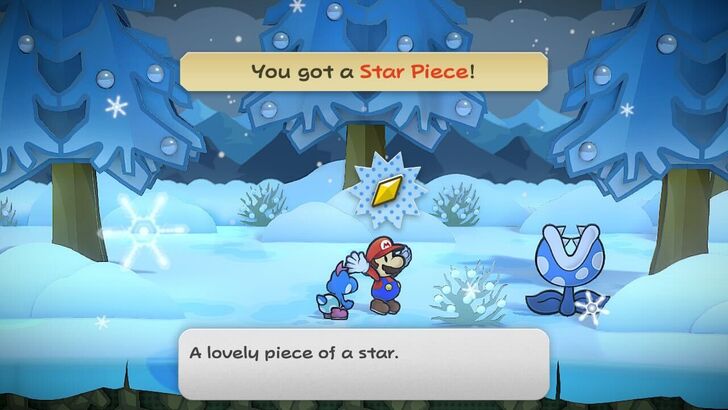 |
|
|
Fahr Outpost
Behind the southern wall before the village. |
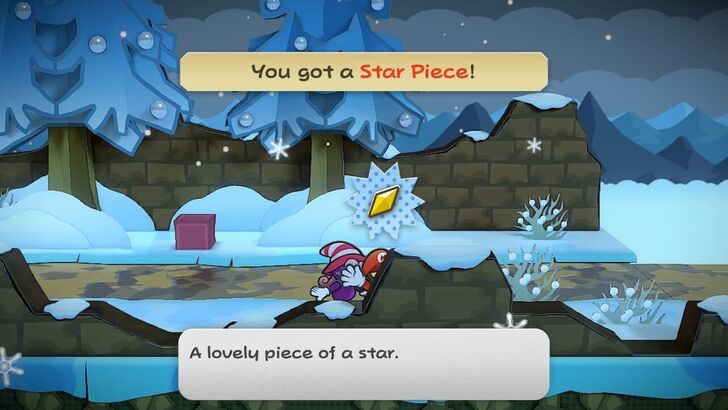 |
|
|
The Moon
Behind a rock at the southeast of the pipe leading to X-Naut Fortress. |
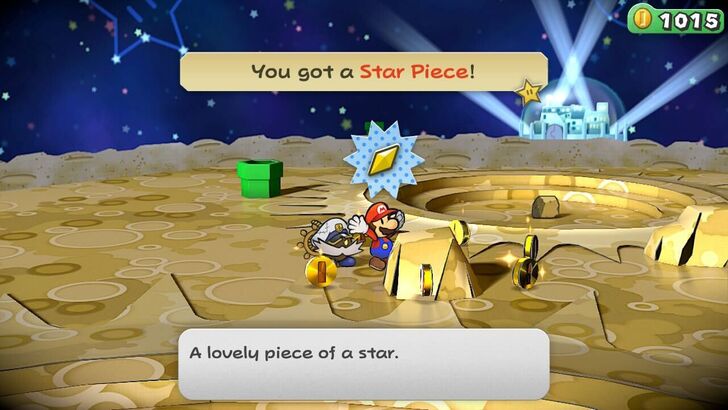 |
|
|
X-Naut Fortress
In the crane room in sublevel 1, accessed with the crane requiring the Cog. |
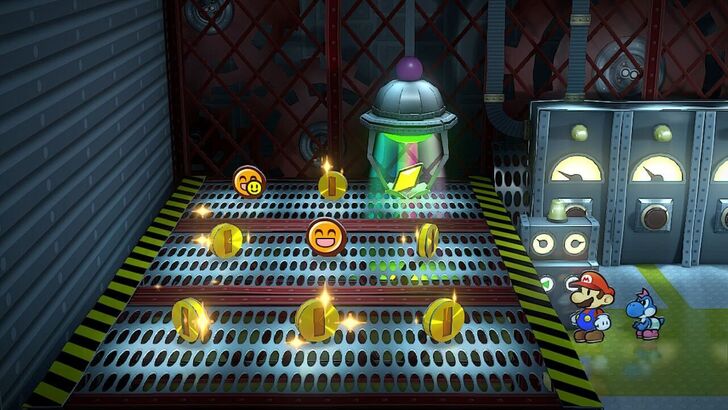 |
|
|
X-Naut Fortress
At the southwest corner of the air vent in sublevel 2. |
 |
Shine Sprites
| Done? | Location | In-Game Image |
|---|---|---|
|
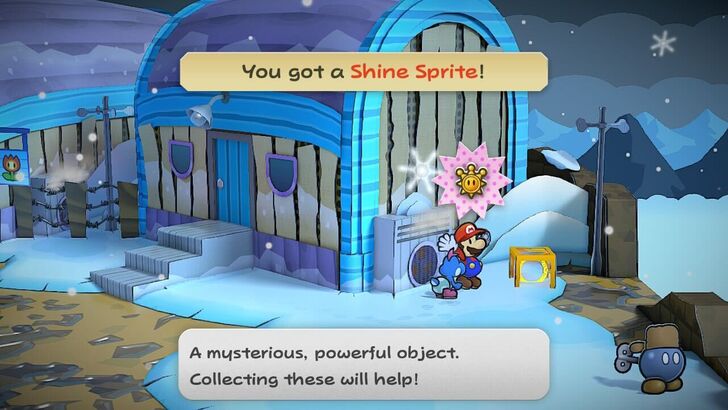
Fahr Outpost
On the right side of the last house. |
 |
|
|
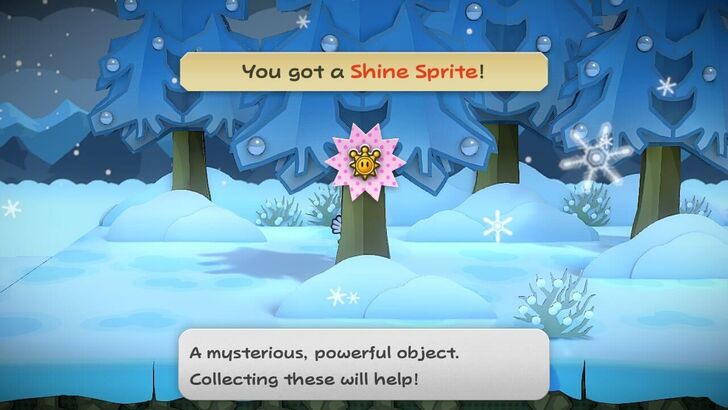
Fahr Outpost
Behind a tree on the way to Fahr Outpost. |
 |
Blocks
Regular Blocks
| Done? | Location and Item | In-Game Image |
|---|---|---|
|
Fahr Outpost
Found near the middle of the path in the third screen from the warp pipe entrance. Item: HP Plus P |
 |
|
|
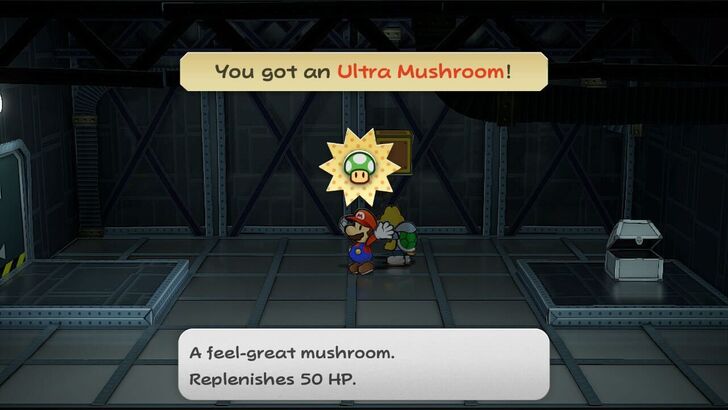
X-Naut Fortress
Found in the leftmost room with the electrified floor. Item: Ultra Shroom |
 |
|
|
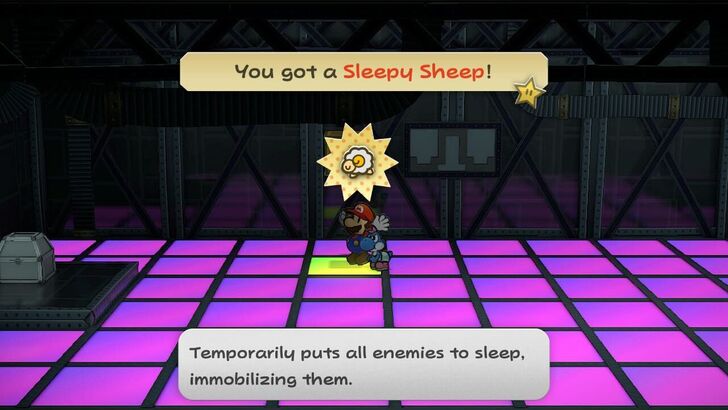
X-Naut Fortress
Found towards the hind left side of sublevel 2. Item: Sleepy Sheep |
 |
|
|
X-Naut Fortress
Found towards the southern left side of sublevel 3. Item: HP Drain |
 |
Hidden Blocks
| Done? | Location and Item | In-Game Image |
|---|---|---|
|
Fahr Outpost
Found in the area with the Warp Pipe to Rogueport Sewers. In front of the rightmost tree. Item: Double Dip P |
 |
Chapter 7 Enemy List
Fahr Outpost Enemies
| List of Enemies in Fahr Outpost | |||
|---|---|---|---|
| Enemy | HP | Atk | Def |
| 10 | 5 | 0 | |
| 9 | 4 | 0 | |
The Moon Enemies
| List of Enemies in The Moon | |||
|---|---|---|---|
| Enemy | HP | Atk | Def |
| 6 | 5 | 5 | |
| 7 | 4 | 0 | |
| 2 | 0 | 0 | |
X-Naut Fortress Enemies
| List of Enemies in X-Naut Fortress | |||
|---|---|---|---|
| Enemy | HP | Atk | Def |
| 9 | 4 | 0 | |
| 10 | 5 | 1 | |
| 3 | 2 | 0 | |
| 3 | 2 | 0 | |
| 1 | 0 | 0 | |
| 7 | 4 | 0 | |
| 2 | 0 | 0 | |
| 10 | 3 | 1 | |
| 1 | 0 | 0 | |
Chapter 7 Boss Guides
Magnus Von Gapple 2.0 Boss Guide
| Enemy | HP | Atk | Def |
|---|---|---|---|
| 70 | 6 | 2 |
Defeat the X-Fists First
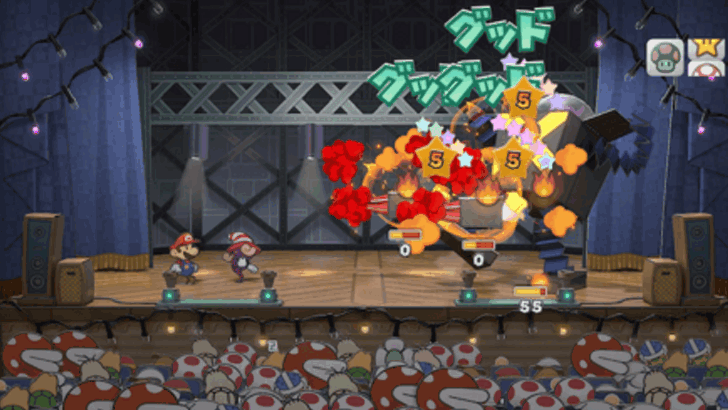
Prioritize defeating the X-Fists first, because each of them has an attack power of 9 and can quickly reduce your party's HP if you ignore them. The two X-Fists act independently and will appear periodically.
Note that using Vivian's Fiery Jinx move can defeat the two X-Fists in one hit and put the body in a burned state.
Use Single Target Attacks
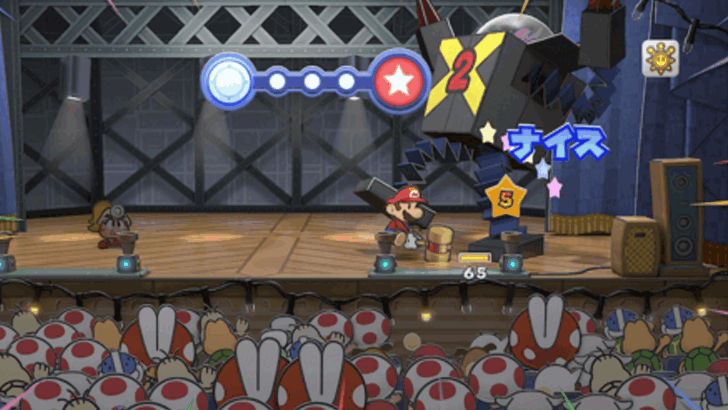
Using single target attacks like hammer attacks, Koops' moves, or Vivian's moves are the most effective against high defense enemies like Magnus Von Grapple 2.0.
Note that using jump attacks against an enemy with high defense is ineffective.
Position Your Partner in Front
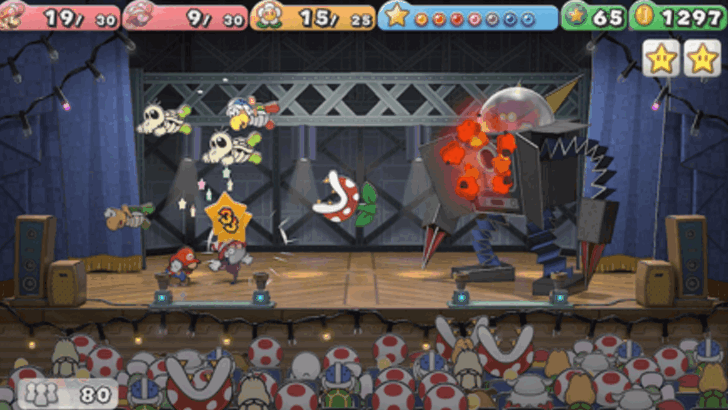
It is recommended to position your partner in front to shield Mario from the machine gun attack. When Magnus Von Grapple 2.0 has half of its HP left, it will launch a machine gun attack that can cause 30 damage.
Note that you will need a partner who has more than 30 HP, which you can do by upgrading them to Super Rank and Ultra Rank. You can also equip an HP Plus P badge to increase your partner's HP.
Use Power Lift to Increase Attack and Defense Powers
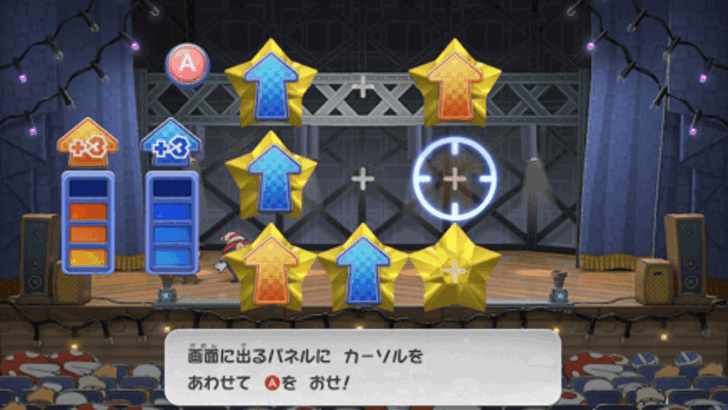
You can use the Power Lift special move to increase your attack and defense powers to reduce the damage from Magnus Von Grapple 2.0's attacks. Once your attack power is increased, use Power Bounce to deal high amounts of damage.
How to Defeat Magnus Von Grapple 2.0
Locations Available in Chapter 7
Fahr Outpost, The Moon, and X-Naut Fortress
| New Locations Available in Chapter 7 | |
|---|---|
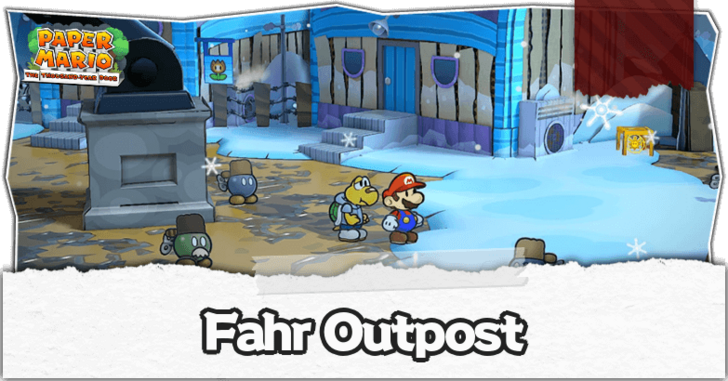 Fahr Outpost Fahr Outpost |
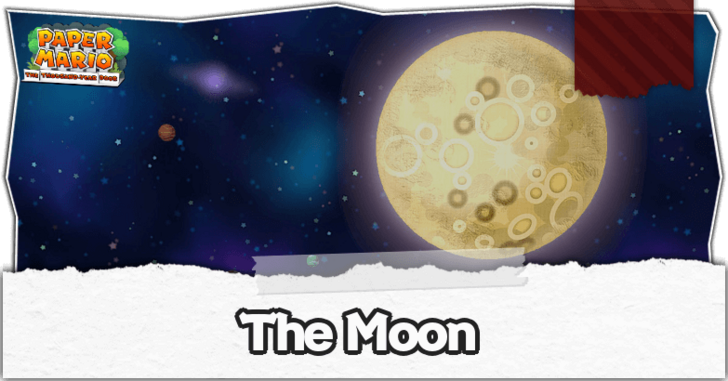 The Moon The Moon |
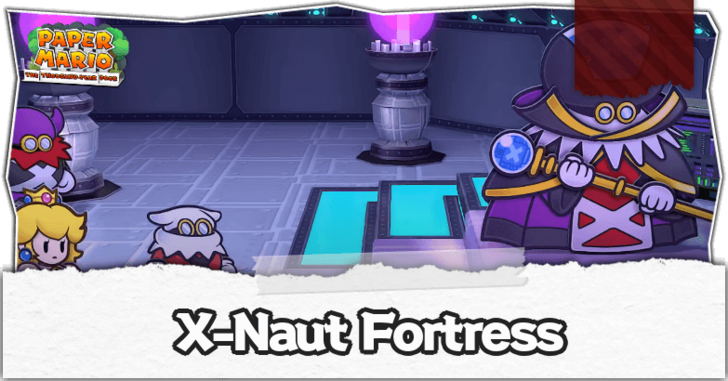 X-Naut Fortress X-Naut Fortress |
|
Upon starting Chapter 7, you will gain access to Keelhaul Key and the Pirate's Grotto. There is a shortcut to Poshley Heights you can unlock after beating Chapter 7 and unlocking the Pipe in the Pipe Zone!
Chapter 7 Trouble Center Quests
The following Troubles will be unlocked after completing Chapter 7.
| Done? | Client | Details and Rewards |
|---|---|---|
 |
Request: Delivery, Please! Reward: 64 Coins Unlock: After Chapter 7 Goldbob has a Package that needs to be delivered to General White. Loook for him around the map just like in Chapter 7. |
|
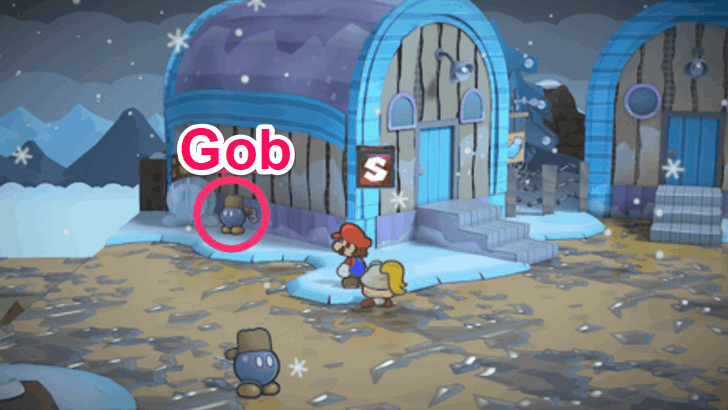 |
Request: I Can't Speak! Reward: 30 Coins Unlock: After Chapter 7 Meet Gob at Fahr Outpost near the snowman with a bucket on its head and give him a Honey Candy. |
|
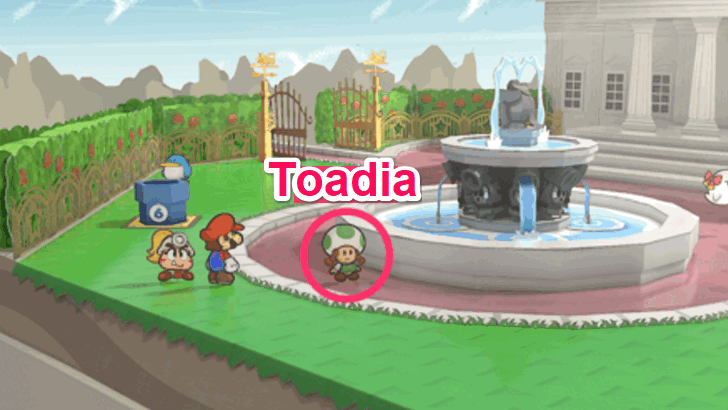 |
Request: I Wanna Meet Luigi! Reward: Choco Cake Unlock: After Chapter 7 Talk to Toadia at Poshley Heights while the L Emblem Badge is equipped. |
|
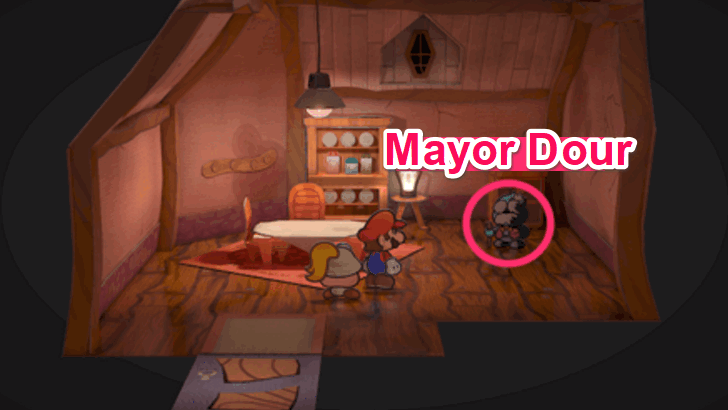 |
Request: Newsletter... Reward: 30 Coins Unlock: After Chapter 7 Deliver the Routing Slip for the Silver Club newsletter to the Puni Elder, Mayor Kroop, and Mayor Dour. |
Paper Mario: The Thousand-Year Door Related Guides

Chapter Walkthroughs
Other Walkthroughs
| Other Walkthroughs | ||
|---|---|---|
 Peach Intermissions Peach Intermissions |
 Bowser Intermissions Bowser Intermissions |
 Trouble Center Trouble Center |
Author
Paper Mario: The Thousand-Year Door (TTYD) Walkthrough & Guides Wiki
Chapter 7: Mario Shoots the Moon Walkthrough
improvement survey
03/2026
improving Game8's site?

Your answers will help us to improve our website.
Note: Please be sure not to enter any kind of personal information into your response.

We hope you continue to make use of Game8.
Rankings
- We could not find the message board you were looking for.
Gaming News
Popular Games

Genshin Impact Walkthrough & Guides Wiki

Honkai: Star Rail Walkthrough & Guides Wiki

Umamusume: Pretty Derby Walkthrough & Guides Wiki

Pokemon Pokopia Walkthrough & Guides Wiki

Resident Evil Requiem (RE9) Walkthrough & Guides Wiki

Monster Hunter Wilds Walkthrough & Guides Wiki

Wuthering Waves Walkthrough & Guides Wiki

Arknights: Endfield Walkthrough & Guides Wiki

Pokemon FireRed and LeafGreen (FRLG) Walkthrough & Guides Wiki

Pokemon TCG Pocket (PTCGP) Strategies & Guides Wiki
Recommended Games

Diablo 4: Vessel of Hatred Walkthrough & Guides Wiki

Fire Emblem Heroes (FEH) Walkthrough & Guides Wiki

Yu-Gi-Oh! Master Duel Walkthrough & Guides Wiki

Super Smash Bros. Ultimate Walkthrough & Guides Wiki

Pokemon Brilliant Diamond and Shining Pearl (BDSP) Walkthrough & Guides Wiki

Elden Ring Shadow of the Erdtree Walkthrough & Guides Wiki

Monster Hunter World Walkthrough & Guides Wiki

The Legend of Zelda: Tears of the Kingdom Walkthrough & Guides Wiki

Persona 3 Reload Walkthrough & Guides Wiki

Cyberpunk 2077: Ultimate Edition Walkthrough & Guides Wiki
All rights reserved
© Nintendo. Games are property of their respective owners. Nintendo of America Inc. Headquarters are in Redmond, Washington, USA
The copyrights of videos of games used in our content and other intellectual property rights belong to the provider of the game.
The contents we provide on this site were created personally by members of the Game8 editorial department.
We refuse the right to reuse or repost content taken without our permission such as data or images to other sites.
 Prologue: A Rogue's Welcome
 Chapter 1: Castle and Dragon
 Chapter 2: The Great Boggly Tree
 Chapter 3: Of Glitz and Glory
 Chapter 4: For Pigs the Bell Tolls
 Chapter 5: The Key to Pirates
 Chapter 6: 3 Days of Excess
 Chapter 8: The Thousand-Year Door





![Everwind Review [Early Access] | The Shaky First Step to A Very Long Journey](https://img.game8.co/4440226/ab079b1153298a042633dd1ef51e878e.png/thumb)

![Monster Hunter Stories 3 Review [First Impressions] | Simply Rejuvenating](https://img.game8.co/4438641/2a31b7702bd70e78ec8efd24661dacda.jpeg/thumb)


Browser interlude summary refers to previous chapters' interlude