 Prologue: A Rogue's Welcome
 Chapter 2: The Great Boggly Tree
 Chapter 3: Of Glitz and Glory
 Chapter 4: For Pigs the Bell Tolls
 Chapter 5: The Key to Pirates
 Chapter 6: 3 Days of Excess
 Chapter 7: Mario Shoots the Moon
 Chapter 8: The Thousand-Year Door
This survey will take about 1 minute.
Your answers will help us to improve our website.
Paper Mario: The Thousand-Year Door (TTYD)
Chapter 1: Castle and Dragon Walkthrough
★ TTYD Switch Remake is now available!
┗ Remake Differences | New Gold Medal Badge!
★ Tips for Beginners | Secrets and Combat Tips
┗ How to Level Up Fast | How to Farm Coins
☆ Best Moves | Best Partners | Best Badges
★ All Walkthroughs | All Star Pieces | All Shine Sprites

Game8's walkthrough for Paper Mario: The Thousand-Year Door's (TTYD) Chapter 1, Castle and Dragon. Read on for a detailed guide for this chapter, including locations of collectibles, locations of note in Petalburg and Hooktail's Castle, enemies, as well as other useful tips for completing this chapter!
| ◄ Previous Chapter | Next Chapter ▶ |
|---|---|
| Prologue: A Rogue's Welcome |
Chapter 2: The Great Boggly Tree |
List of Contents
Chapter 1: Castle and Dragon Story Walkthrough
| ★Recommended Stats★ | ||||||||
|---|---|---|---|---|---|---|---|---|
| Chapter 1 Main Objectives | ||||||||
| 1 | On The Road to Petalburg City | |||||||
| 2 | Visiting the Mayor | |||||||
| 3 | Fortress of Stone | |||||||
| 4 | Shhwonk's Quiz Show └ Quiz Questions and Answers |
|||||||
| 5 | Sun, Moon, and Fuzzies | |||||||
| 6 | Storming Hooktail Castle | |||||||
| 7 | Koops This is Bones | |||||||
| 8 | Curse of the Skinny Legend | |||||||
| 9 | Up to The Dragon's Treasure | |||||||
| 10 | Dragon's Ascent | |||||||
| Peach Interlude | ||||||||
| Bowser Interlude | ||||||||
| 13 | Off to Boggly Woods | |||||||
Click on any of the links above to jump to the section!
On The Road to Petalburg City Walkthrough
| Objectives | |
|---|---|
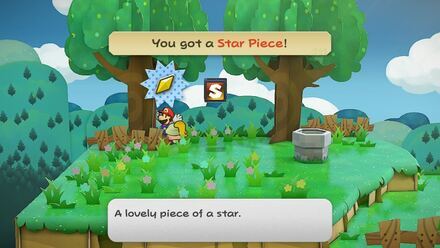
| 1 | 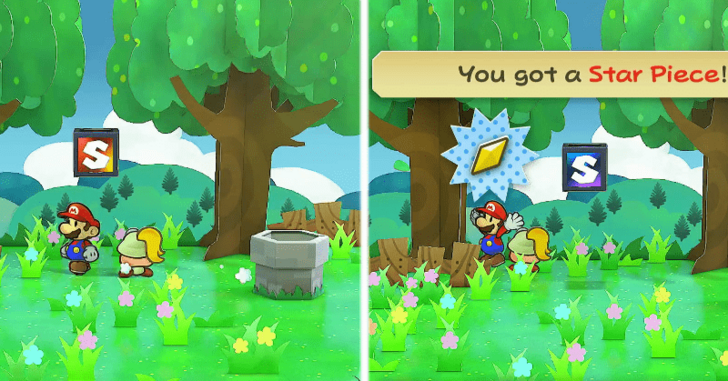 Once you get through the Pipe from the sewers you will see a Save Block. To the left of that there is a tree you can hit to get a Star Piece. |
| 2 | 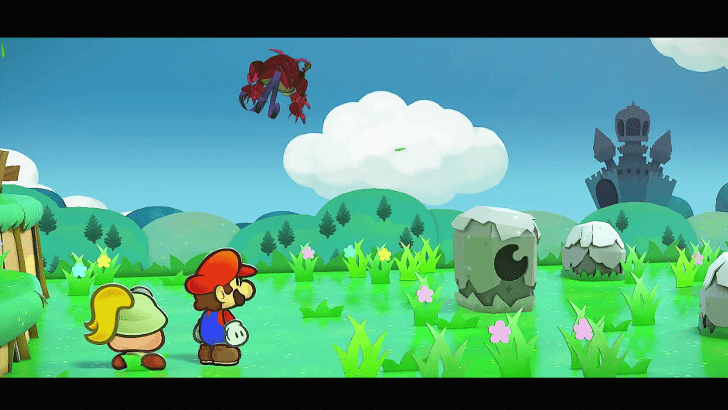 Head towards the right once you're ready. A cutscene will play and you will see Hooktail the Dragon. Keep heading to the right while picking up all the items you see. |
| 3 | 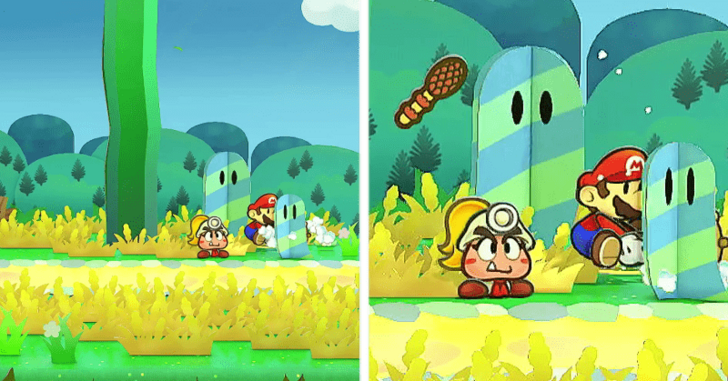 As you head towards the City, you will see a Warp Pipe. You can't do anything here at the moment, but if you hit the blue lump closest to the longer pipe, you can get a Horsetail. |
| 4 |  You will soon hit a dead-end at a river. Hit the nearby bush to reveal a Warp Pipe. Get inside it to see that you are now in the background! |
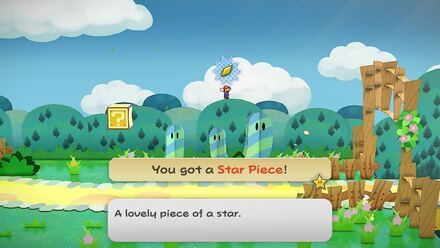
| 5 | 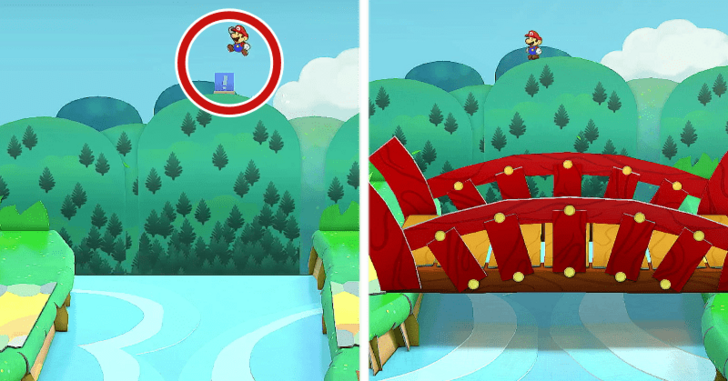 Hit the ! Block to build the Bridge so you can progress. If you keep walking to the Right, there is a Star Piece waiting for you. |
| 6 | 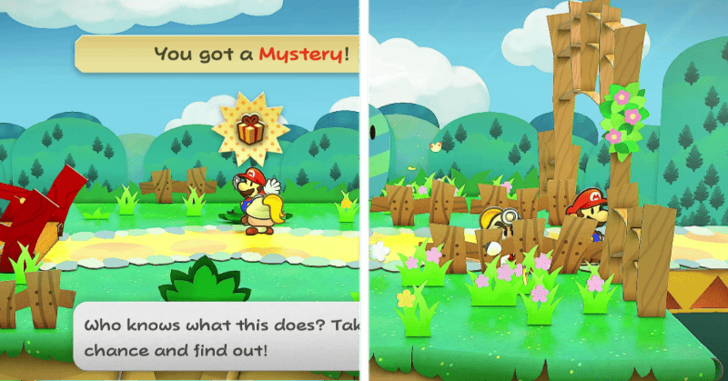 After using the Warp Block and crossing the bridge, you can look around in the grass to get a Mystery Item. Go to the arch to finally get to Petalburg City |
Visiting the Mayor Walkthrough
| Objectives | |
|---|---|
| 1 |  Look around Petalburg if you want, but if you want to progress through the story, head onto the next area to the right. |
| * | 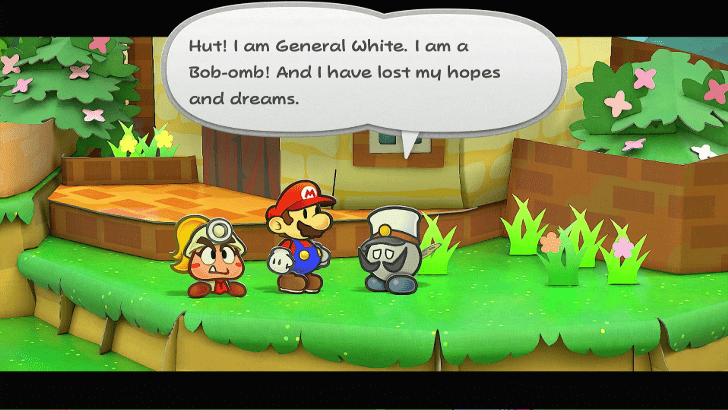 Near the Save Block, take note of the white Bob-omb that looks sad. This is General White and he will be important later on in the story!. |
| 2 | 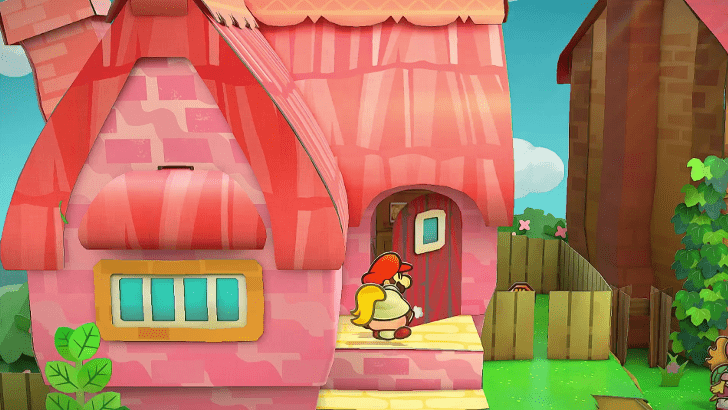 Head inside the mayor's Pink House. Talk to him and he will tell you that Hooktail has the Crystal Star. |
| 3 | 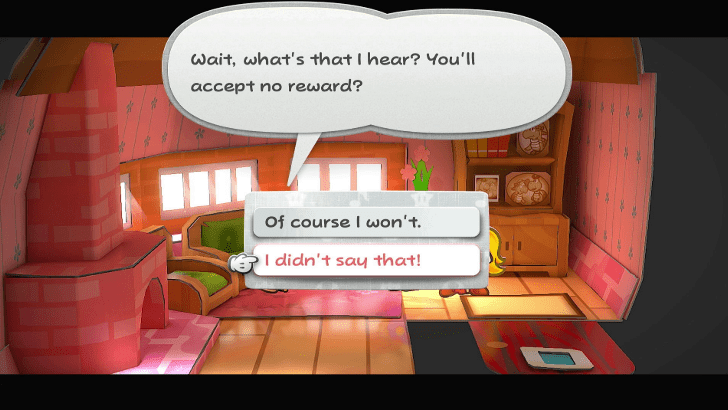 It doesn't matter what answers you give the Mayor, he will always cop out on rewarding |
| 4 | 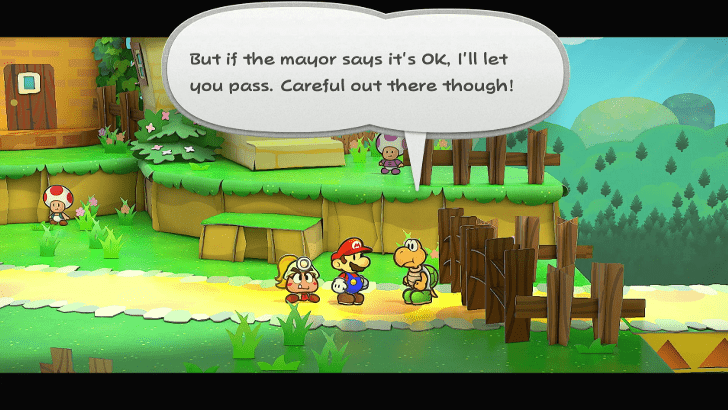 After that conversation, had to the east gate of Petalburg and talk to the Koopa guarding the gate. You now have access to Shhwonk Fortress. |
| 5 | 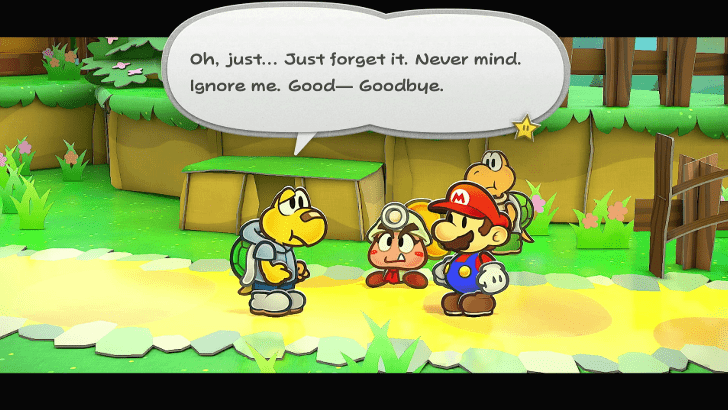 Before heading to the fortress, Koops will stop you but is too shy, you can now head to Shhwonk's Fortress this time for real. |
Where to Find the Mayor of Petalburg
Fortress of Stone Walkthrough
| Objectives | |
|---|---|
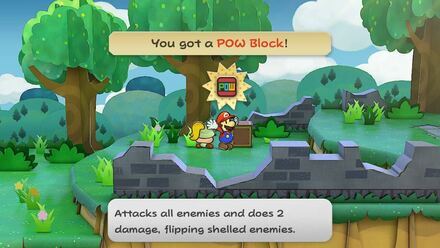
| 1 |  After passing through the gate head East. You will see a fortress and an Item block near it. There is a POW Block in it that will help us later. |
| 2 | 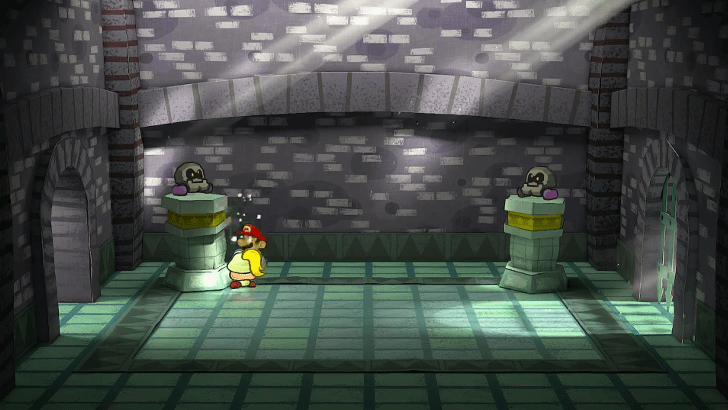 Head inside the Fortress and you will see two statues in pedestals. You can interact with these and they will move around so make sure you get First Strike and have your Power Smash or Piercing Blow Badges equipped! |
| 3 | 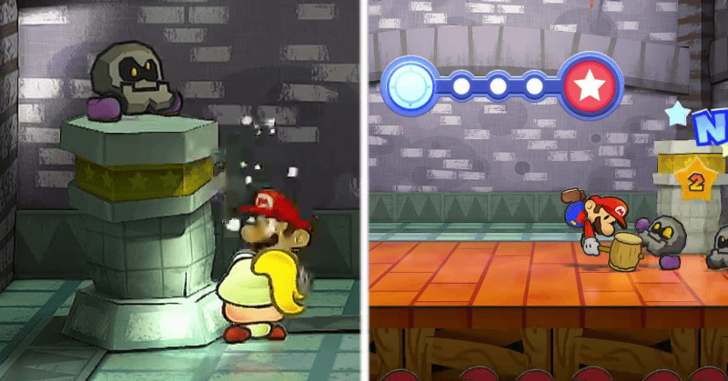 The battle with the Bald Clefts will start. Defeat them by using the POW Block or by using your new Power Smash if you equipped it. You can quickly take care of them if you have Piercing Blow. |
| 4 | 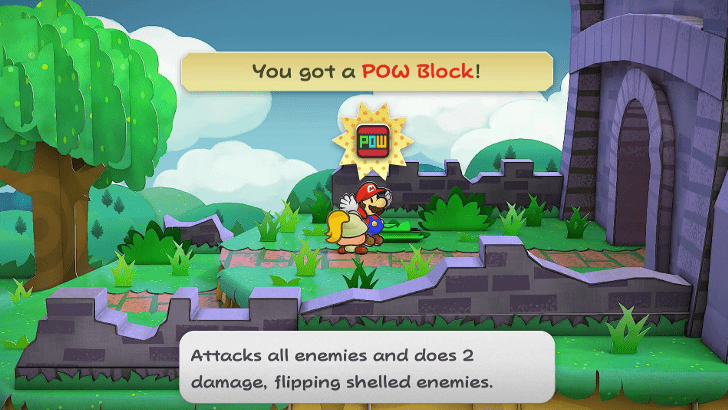 After defeating the Bald Clefts, keep walking east to the next dungeon. Near the entrance there's another bush that is hiding another POW Block. |
| 5 | 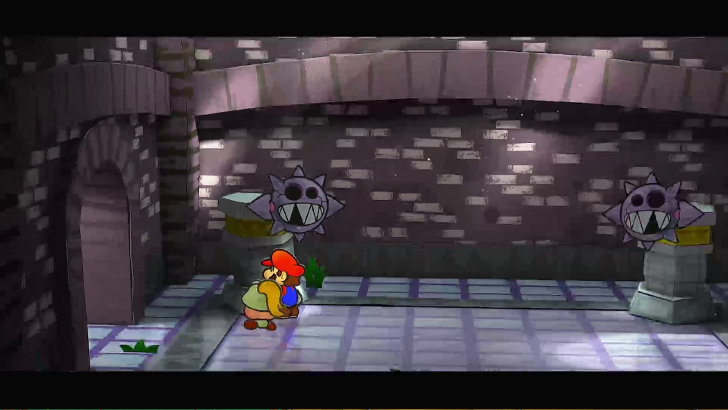 Enter the dungeon and interact with Bristles to have them walking around. Make sure you get the First Strike with Koops as they can hurt Mario! |
| 6 | 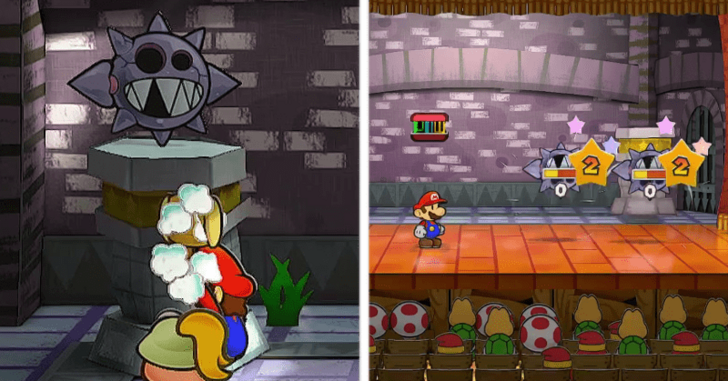 Unlike the Bald Clefs, you need to use a POW Block here. They should quickly fall using one though and afterwards, you can head out to the next area. |
| 7 | 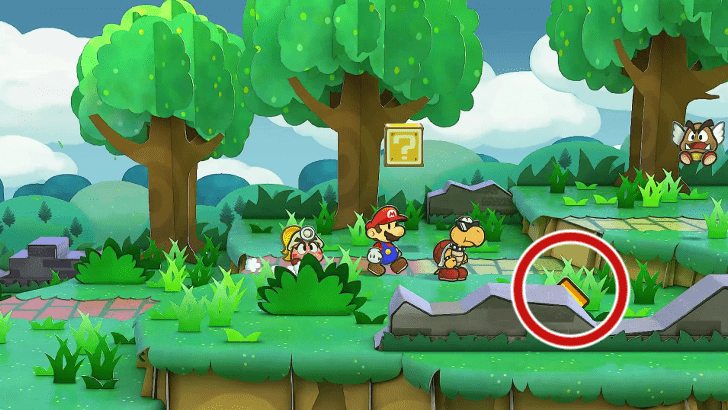 While walking around the next area, you will see an item block, head southeast from it and you will see an Inn Coupon behind some ruins. |
| 8 | 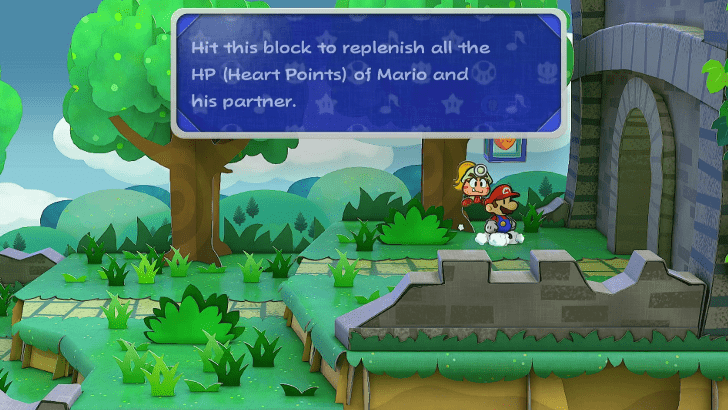 Before heading into the last Chamber, make sure to heal up if you want to. |
| 9 |  Head inside and there you will see a Save Block and Shhwonk. Make sure to save before you talk to the sleeping Thwomp. |
Shhwonk's Quiz Show Walkthrough
| Objectives | ||
|---|---|---|
| 1 | 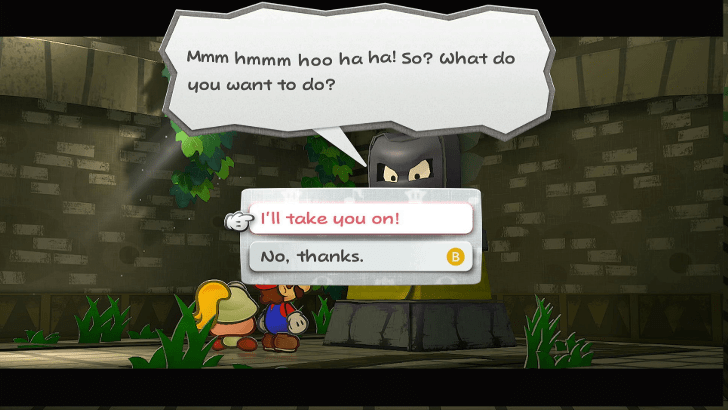 After you save, you can now talk to Shhwonk. The Thwomp will then take you into the 65th Super Fun Quirk Quiz. |
|
| 2 |  Answer the questions correctly in order to get through to the next area to get the Sun and Moon Stones. |
|
| * |  You can also opt to fail the quiz. Doing so will get you to fight Clefts that you can easily wipe out with a POW Block for a ton of Star Points! |
|
Shhwonk's Trivia Quiz Off Questions and Answers
| Question | Answer |
|---|---|
| What is hidden in this place? | Sun and Moon Stones |
| How much do a Mushroom and a Fire Flower cost in Petalburg? | 12 Coins |
| What is the name of the Mayor of Petalburg? | Kroop |
| Where is the Crystal Star? | Hooktail Castle |
| How can one get from Petal Plains to Rogueport? | Go through a Pipe |
| Which of the following creatures have hands? | Koopa Troopa |
| What number question is this? | Question Seven |
All Correct Answers in Super Fun Quirk Quizzes
Sun, Moon, and Fuzzies Walkthrough
| Objectives | ||
|---|---|---|
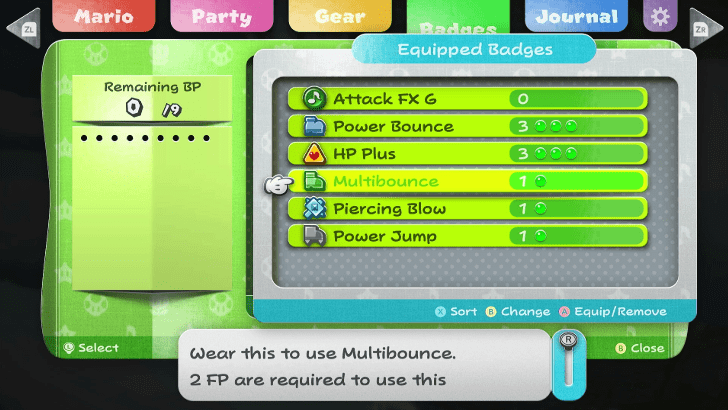
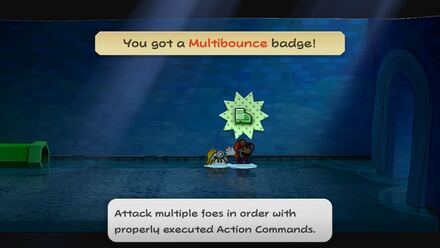
| 1 |  After the Quiz show, feel free to save and then head down the pipe under Shhwonk to progress. As oyu go down, grab the Multibounce badge. |
|
| 2 | 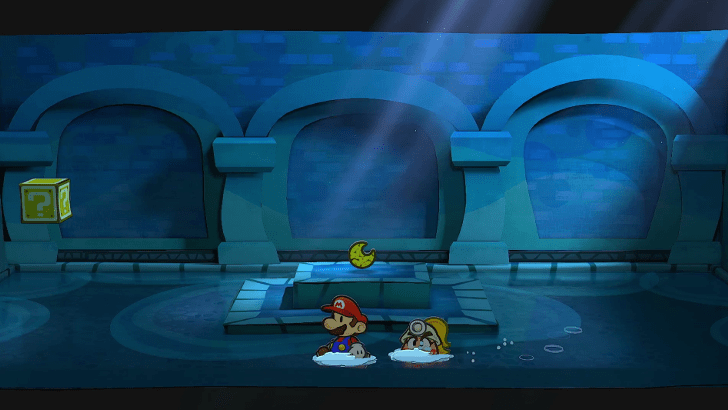 Head through west and you will see the Moon Stone and an Item Box containing a Mushroom. Pick it up and you will be ambushed by a Fuzzy, defeat it and you can go back East after. |
|
| 3 | 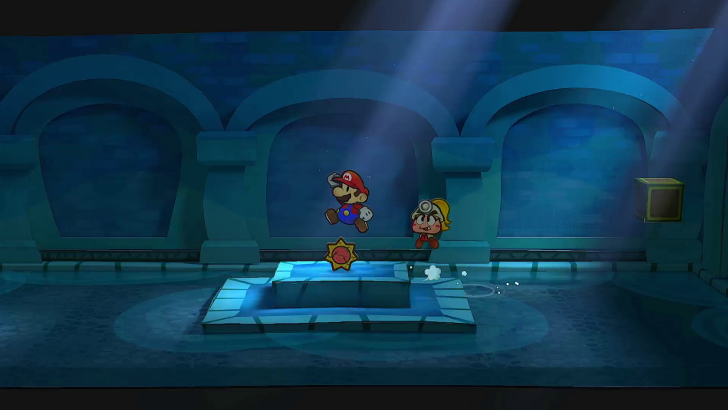 Head East until you see the Sun Stone and an Item Box containing a Fire Flower. Same as before, you will be ambushed as soon as you pick it up. |
|
| 4 | 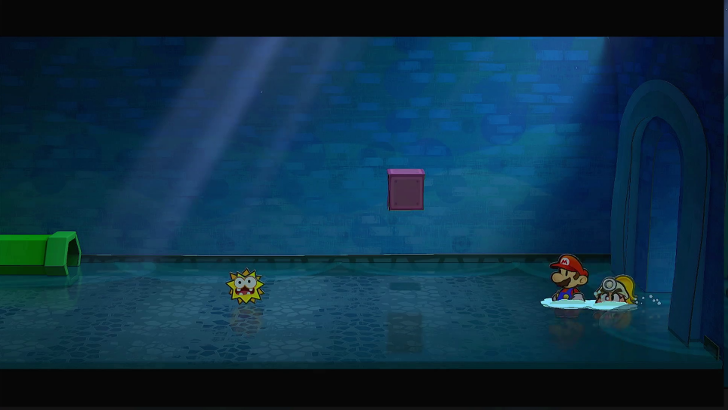 Once you get the stones, head back to the Warp Pipe to head back up. |
|
| 5 | 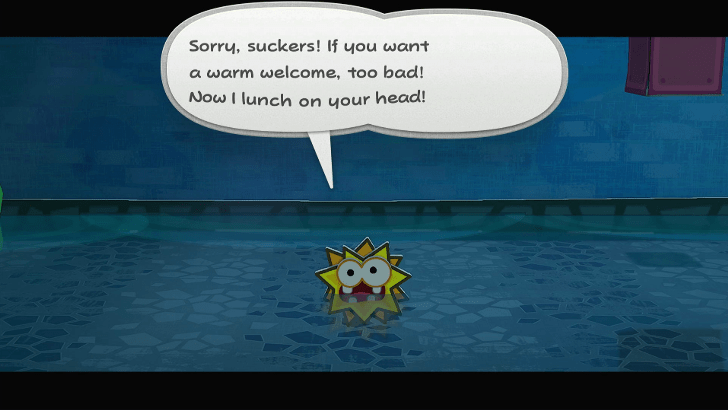 Once you reach the Warp Pipe room, you need to fight the Golden Fuzzy. Do not use heavy attacks against it as it will summon the Fuzzy Horde immediately, so just Jump on it. Click here for Gold Fuzzy Fight Guide ► |
|
| 6 |  Once it reaches a half health from your jumps, it will summon a Fuzzy Horde. Keep focusing your attacks on the Gold Fuzzy to dispel the Horde and complete the fight. |
|
Storming Hooktail Castle Walkthrough
| Objectives | ||
|---|---|---|
| 1 |  After getting both Sun and Moon stones, head back to Petalburg and head straight to the gate. Koops will ask to join your party. Click here for Koops' Skill Guide ► | |
| 2 |  Head back to the area where you first saw Hooktail, the one with the strange rock formations. Insert the Sun and Moon stones into their respective pedestal and the rocks will move. |
|
| 3 |  Use Koops to hit the ! Block when it appears while Mario hits the other one. The middle rock will reveal into a pipe and you can use that to head into the castle. |
|
| 4 | 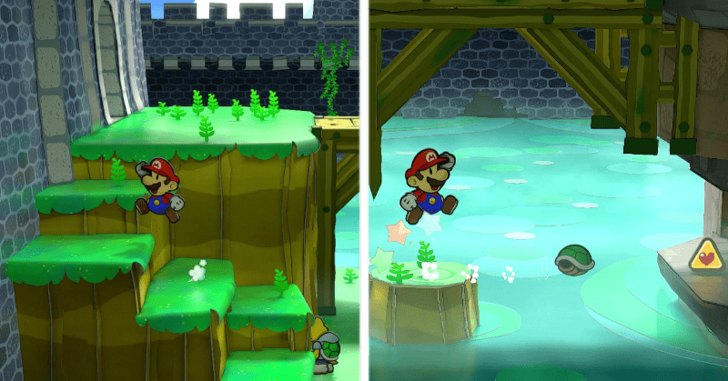 Once you reach the castle, head right and immediately head down. Jump over the platforms and you will see an HP Plus budge that you can get with Koops. |
|
| 5 | 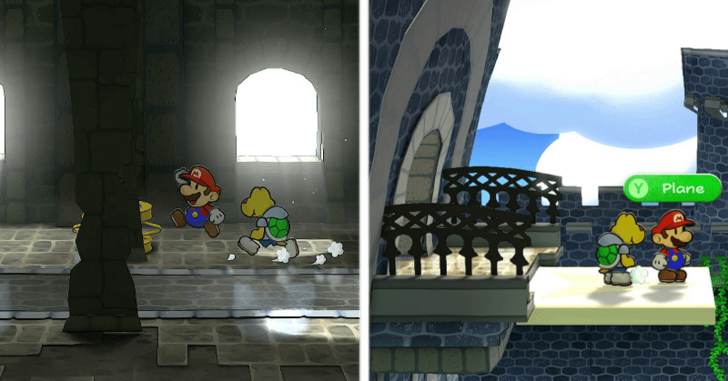 Head back to the room with the Save block and use the spring to jump up. Head out of the room and you will see a Plane platform. |
|
| 6 | 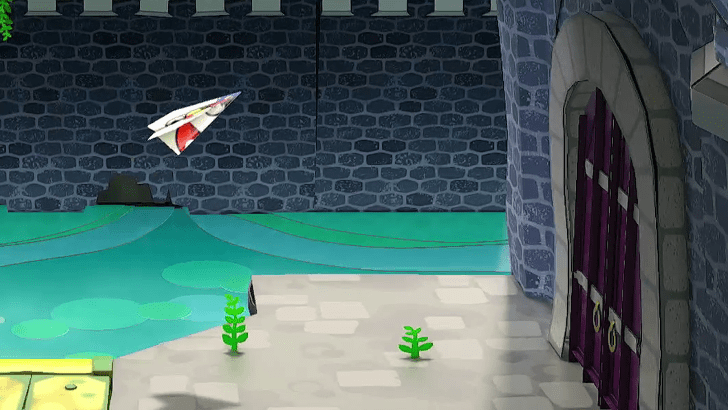 Use the Plane platform to head east and enter the door. Keep going right while minding the Koopa enemies. |
|
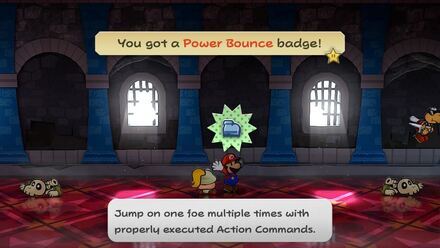
| 7 | 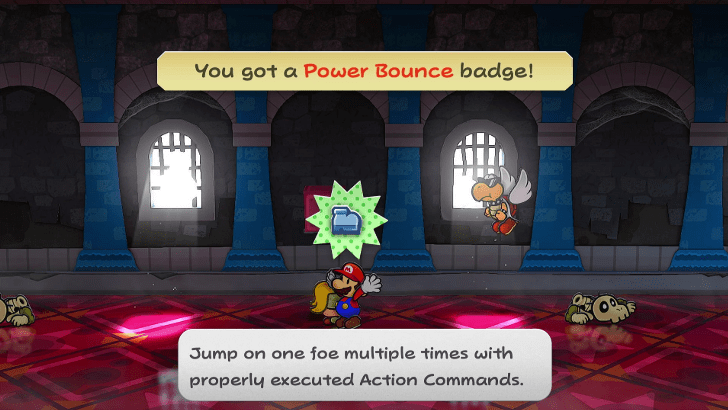 Pick up the Power Bounce Badge along the way and head through the door after. |
|
| 8 | 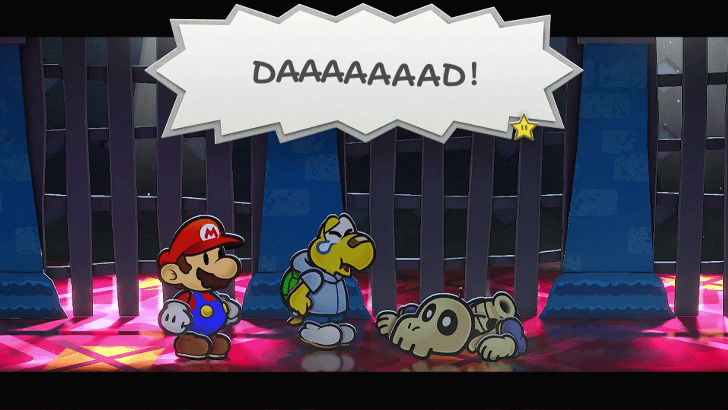 You will then reach a dungeon-like area, a cutscene will play and Koops will assume one of the bones there to be his father. |
|
| 9 | 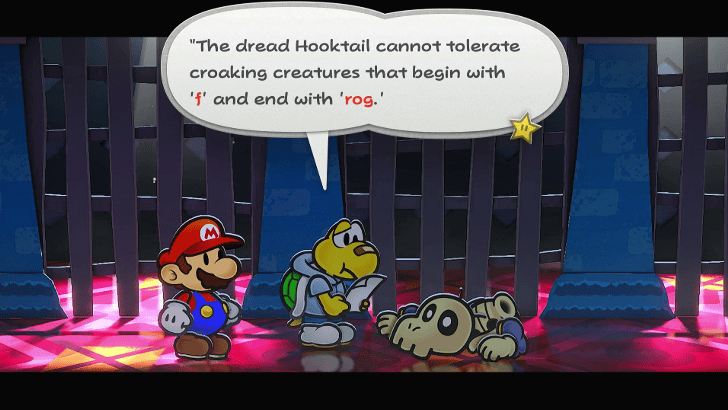 You will be prompted to read a letter either way, you will read the letter. You will also learn about Hooktail's weakness, frogs. |
|
Koops This is Bones Walkthrough
| Objectives | ||
|---|---|---|
| 1 | 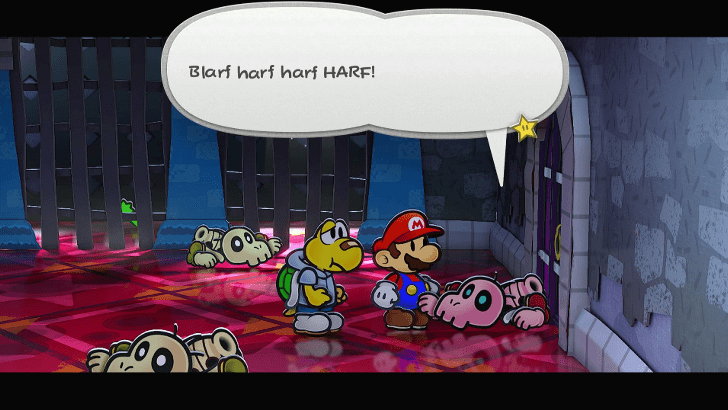 After that embarassing mixup, head east and a door will be blocked by a Red Bones. |
|
| 2 | 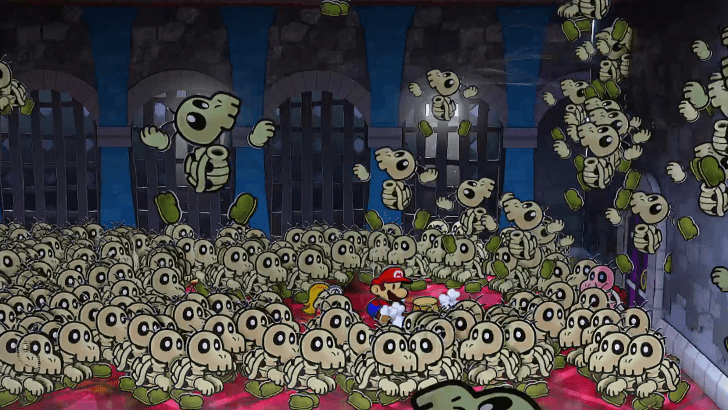 Talk to the Red Bones and afterwards you will get ambushed by a horde of Dry Bones. Use your hammer to clear you way and get back to the Red Bones. |
|
| 3 |  The Red Bones fight should be easy, use Koops' Power Shell or any AoE Attack to quickly dispose of the Dry Bones. Be careful as the Red Bone will create more allies. Click here for Red Bones Fight Guide ► |
|
| 4 | 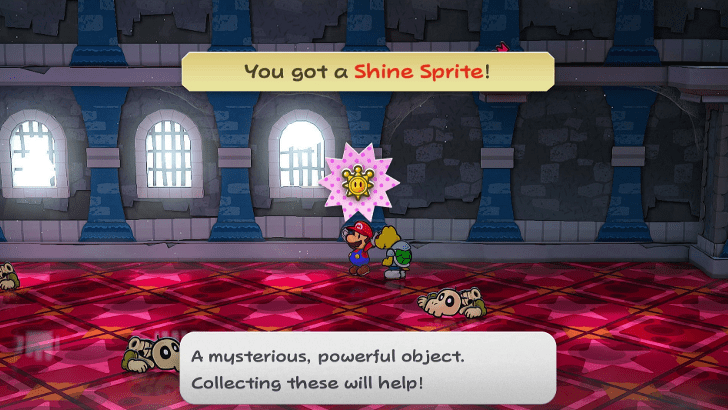 After the fight, all the Dry Bones will scatter and you are free to proceed. Pick up the Shine Sprite as needed. Proceed east until you see some blocks. |
|
| 5 | 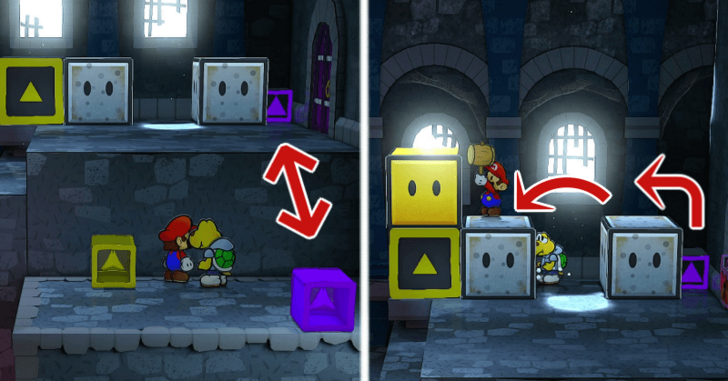 Hit the Purple Switch to lower the Purple Block. Use this to climb the other Blocks so you can break the Yellow one with your hammer. |
|
| * |  Use Koops to help you hit the switches as you climb both lift blocks. Getting on to of both will nab you two Star Pieces. |
|
| 6 | 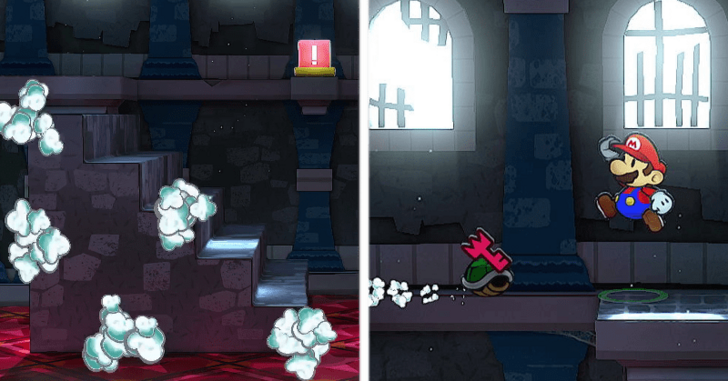 After getting both Star Pieces, you can now get the Yellow lift up and use Koops to hit the red Switch. After the staircase switches to the right, use Koops again to pick up the Key. |
|
| 7 | 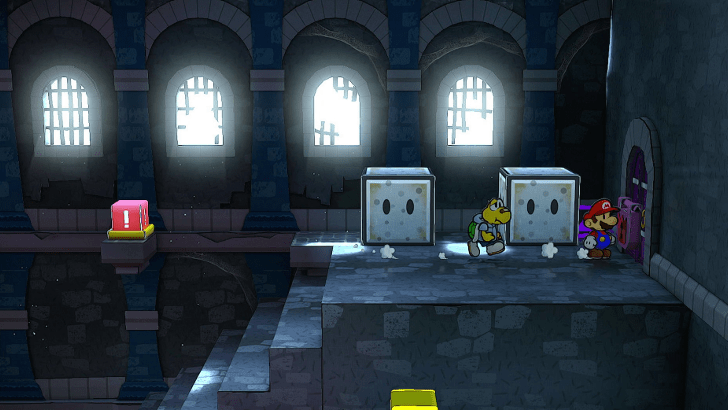 Use Koops again to flip the staircase switch, and you can now use the Key to proceed to the next room. |
|
| 8 |  Ignore the green lift for now and proceed to the room to the east. Feel free to save as needed |
|
Curse of the Skinny Legend Walkthrough
| Objectives | ||
|---|---|---|
| 1 | 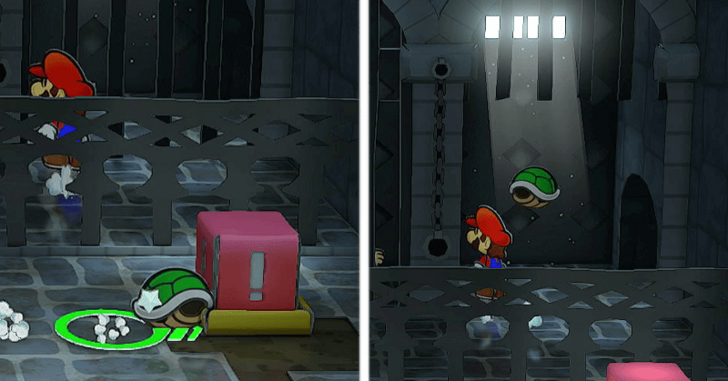 Once you get to the room, head east and you will see a red switch. use Koops to hit it once you get to the last cell behind the fence. |
|
| 2 | 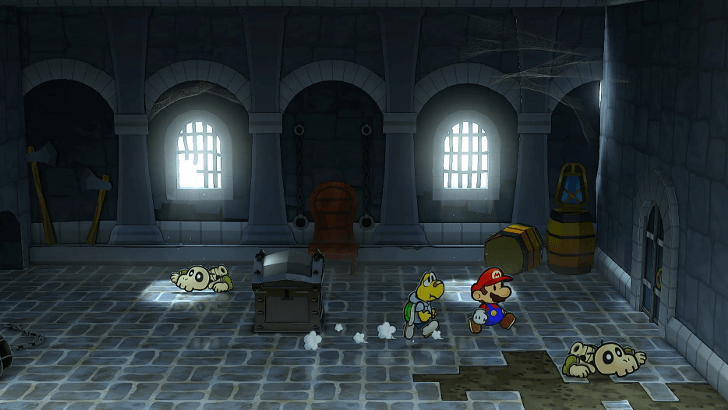 Once you get in, head right and you will see a familiar box. Ignore it for now and head into the room to the right. |
|
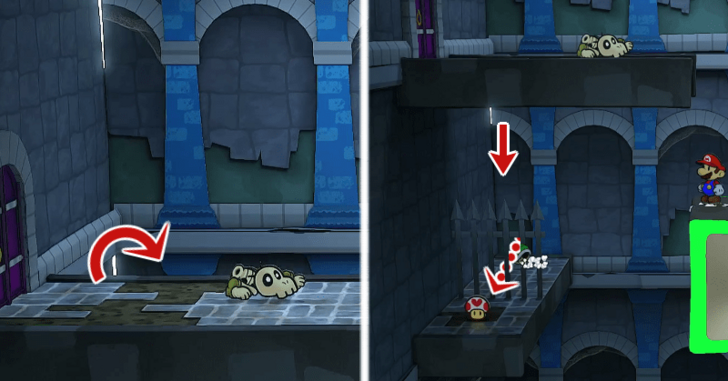
| 3 | 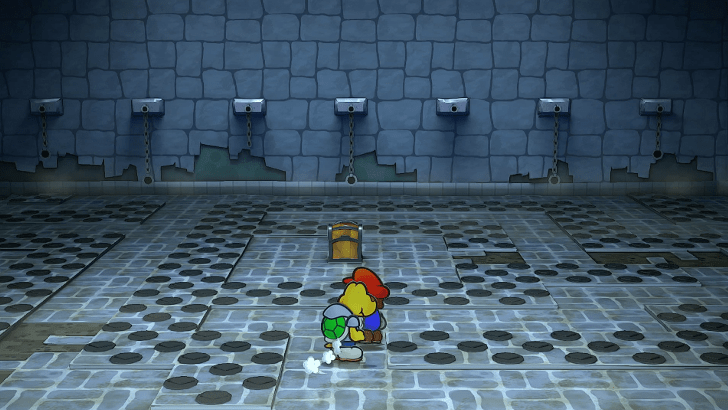 Once you head into the spiked room, make sure to take some time to look at the layout of the floor. Once you are, feel free to pick up the key. |
|
| 4 | 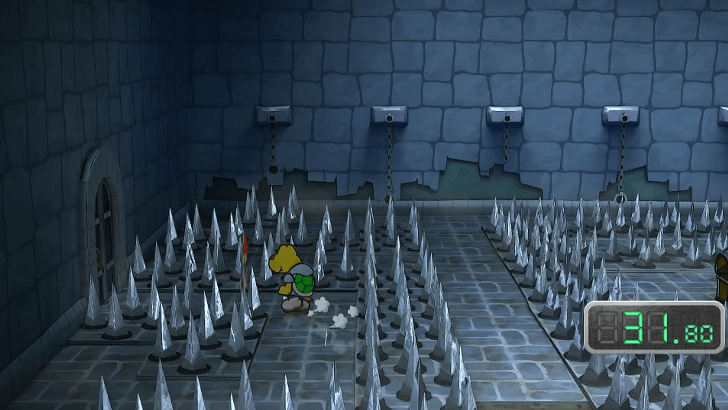 Once you pick up the key, Spikes will appear on the floor and you will be on a timer to escape. You are given enough time, so just relax and make a beeline to the exit. |
|
| 5 | 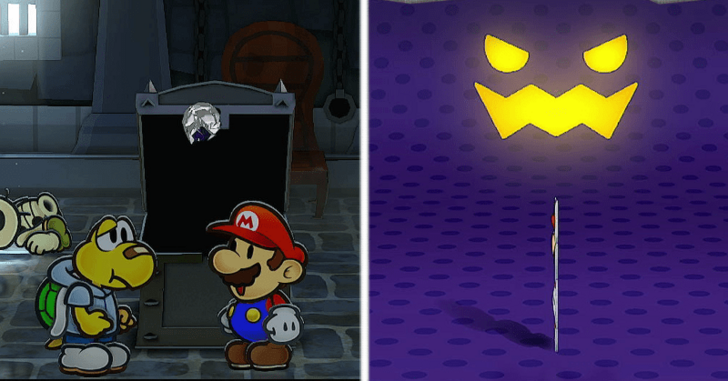 Open the chest and you will now obtain the power to make Mario skinny like paper! |
|
| 6 | 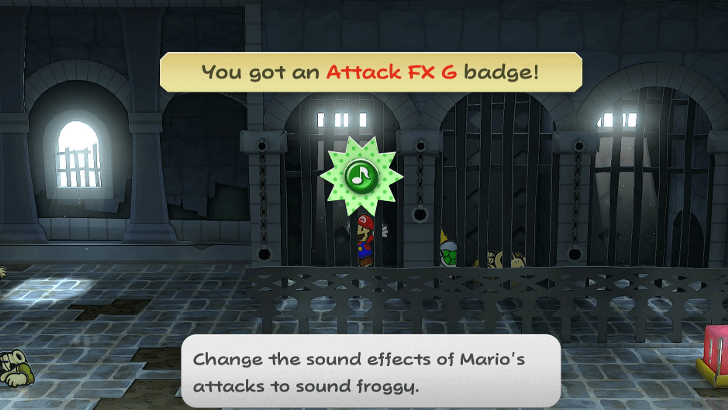 After getting cursed, head out the room and pick up the badge on the first cell this is needed for the boss. You need to backtrack to the room where you fought the Red Bones.. |
|
| 7 | 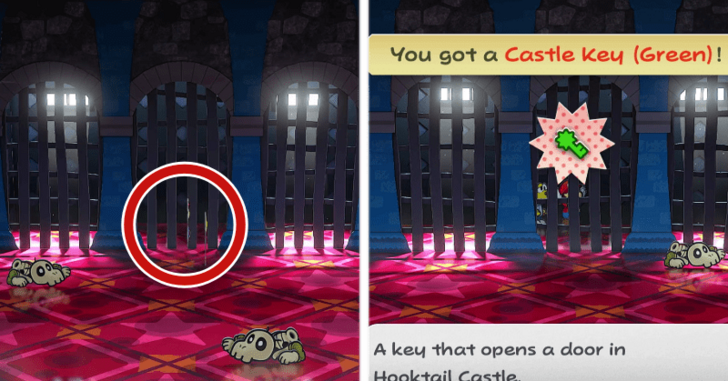 Once you get to the room find the one grating that you can use your paper form in. Pass through it and you can get another Castle Key. |
|
| 8 | 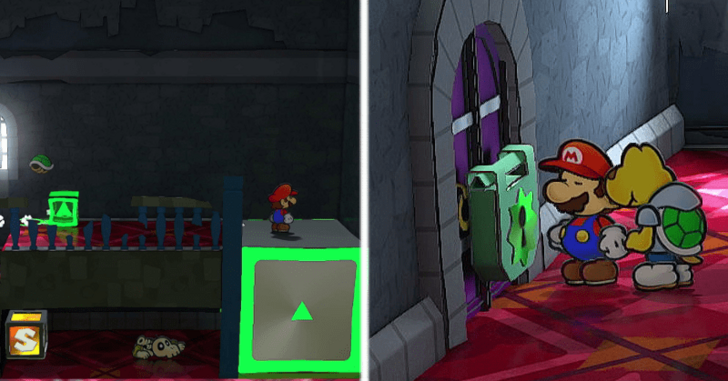 Proceed to the green lift room and use Koops to get yourself to another floor. Use the Key on the locked room. |
|
| * |  The badge on the next flight of stairs is unobtainable so don't mind that for now. |
|
| 9 | 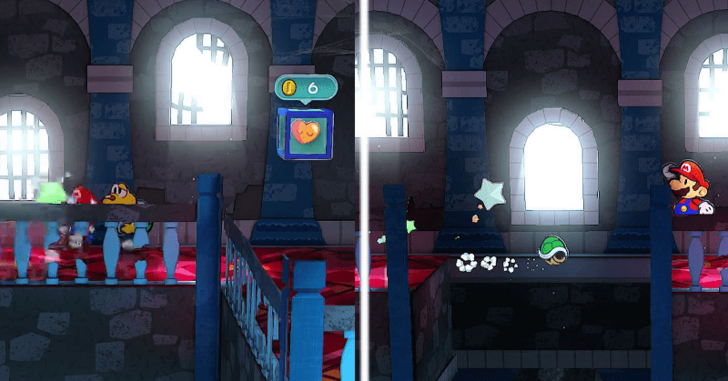 Once you get inside the locked room, hit the Blue switches with Mario and Koops. |
|
| 10 | 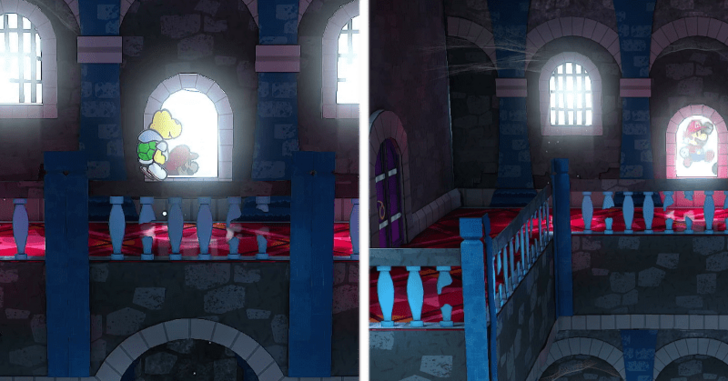 You can head out the window and you can get a Star Piece on the right or proceed with the story by going left. Head back in from the left-most window and head inside the door. |
|
Up to The Dragon's Treasure Walkthrough
| Objectives | ||
|---|---|---|
| 1 | 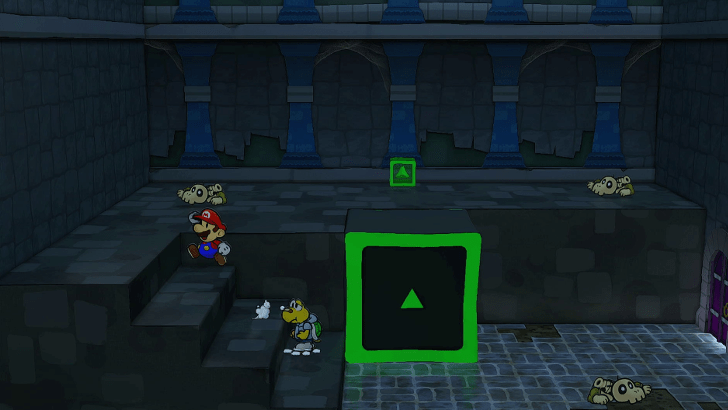 Once you get to the room, head up the stairs and you will see a green switch. Use Koops to hit it to use the lift. |
|
| 2 | 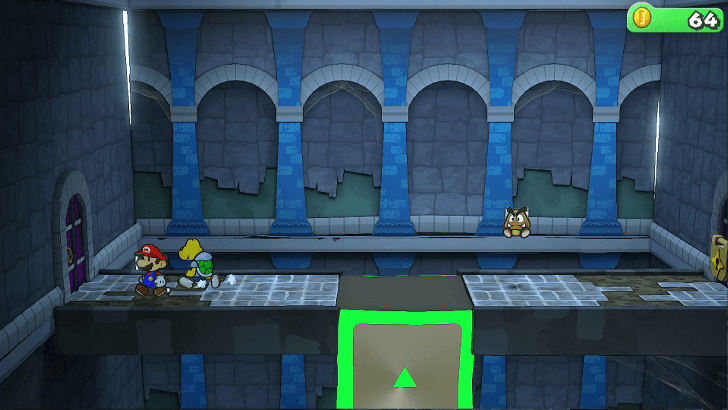 Head towards the room to the left once you get up. |
|
| * |  If you want the Life Shroom, fall down from the upper section of the ledge near the dor and use your Paper Form to slip through the fence to grab it.. |
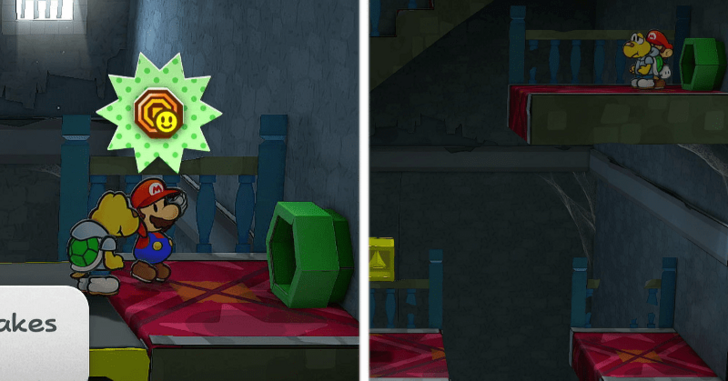
|
| 3 | 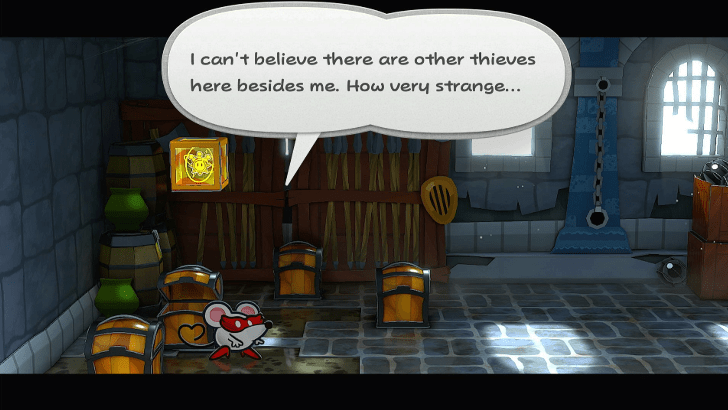 Once you head into the room, a cutscene will play with Ms. Mowz. After getting hit on by the mouse in pumps, feel free to collect the items inside the chests and the Shine Sprite. |
|
| 4 | 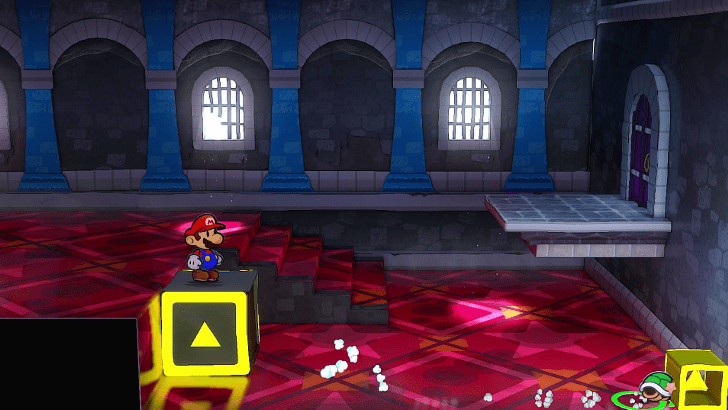 Make a beeline to the right and you will see a yellow switch. Hit it to get the yellow lift block to go down, then use Koops to hit it once you get on top of the block. |
|
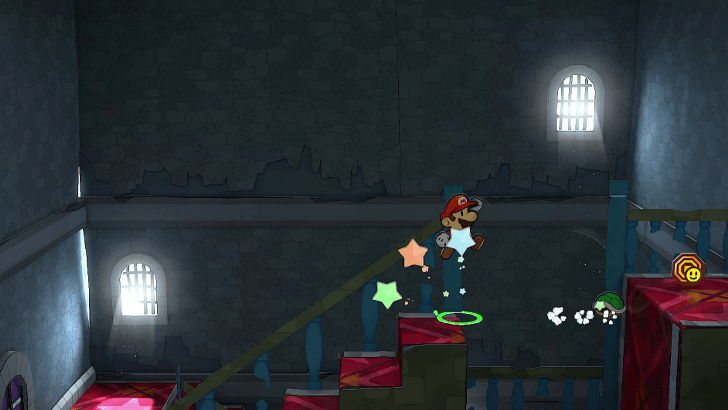
| 5 |  Carefully walk on the bar to the left until you see the Paper Plane platform. Use your flat paper form to get through the bars. |
|
| * |  Climb the bar on the other side to the right to get a Star Piece. |
|
| 6 | 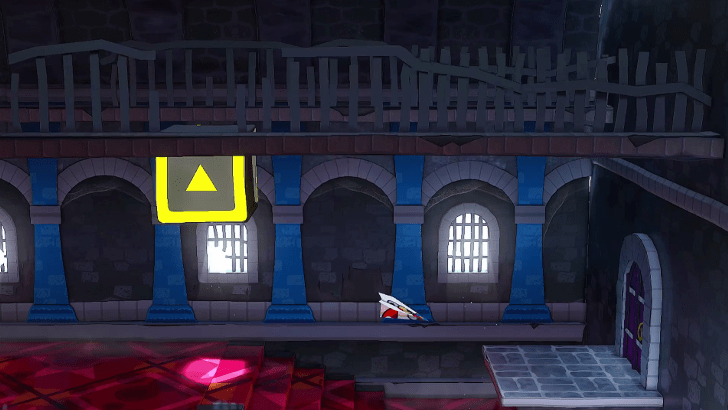 Use the Plane form to get to the raised door near the yellow switch. |
|
| 7 | 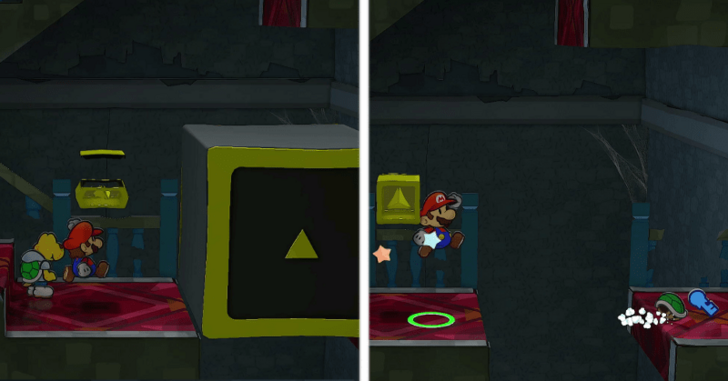 After getting into the room, hit the yellow switch to lower the lift block. Use Koops to grab the Castle Key. |
|
| * |  You can take a leap of faith down to get the Last Stand P Badge. Use the pipe on the right to get back up. |
|
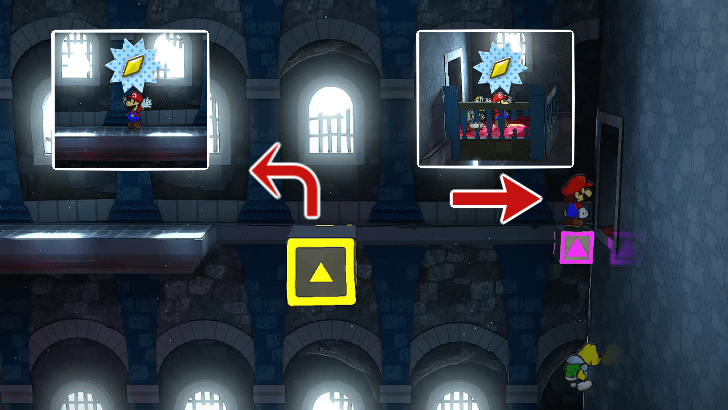
| 8 |  Keep going up from where you came in from and you can unlock the door and pick up the Shine Sprite along the way. |
|
| 9 | 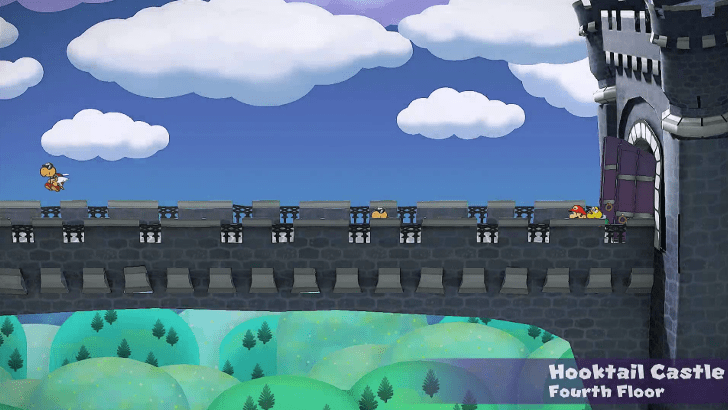 Head through the door and you are now at the Castle's bridge. |
|
Dragon's Ascent Walkthrough
| Objectives | ||
|---|---|---|
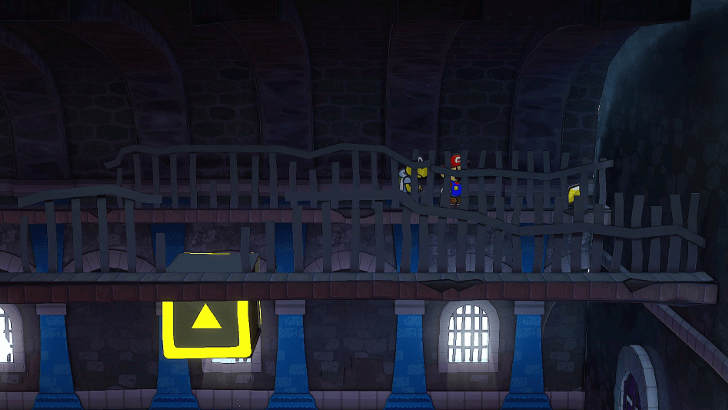
| 1 |  Pass through the bridge and head up the spire and you will come up on a Save Block and a Healing block. Feel free to use these as the next room will be the Final Boss. |
|
| * |  Before heading in, make sure to equip the Attack FX G Badge to progressively weaken Hooktail's attacks. |
|
| 2 | 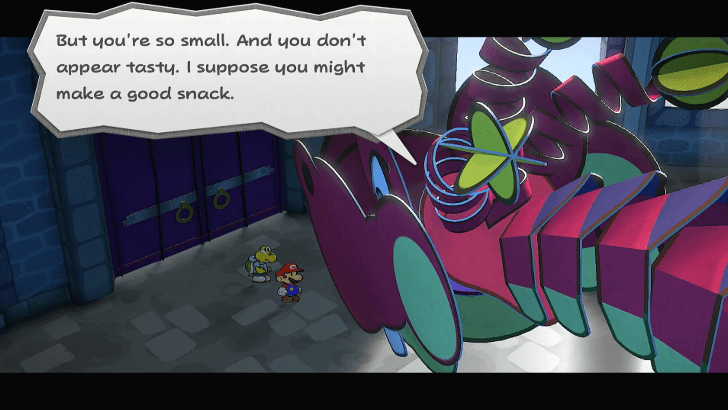 Once you you are ready, head inside and after a short cutscene you will be put into the boss fight. Click here for Hooktail Boss Fight Guide ► |
|
| 3 | 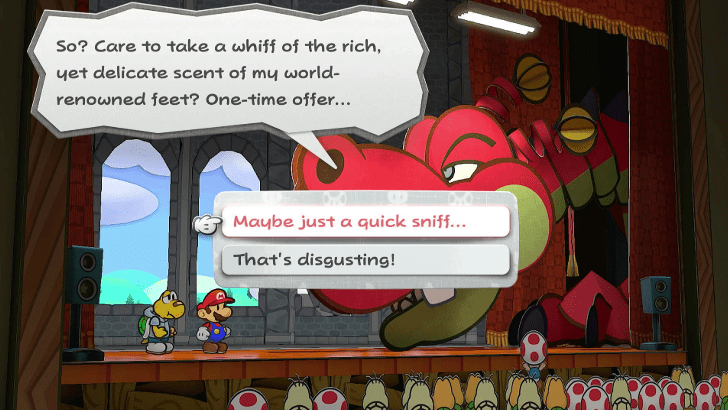 After getting Hooktail's HP low enough, she will ask you multiple questions. Just say no to all of them and the fight will proceed into the second phase. |
|
| 4 | 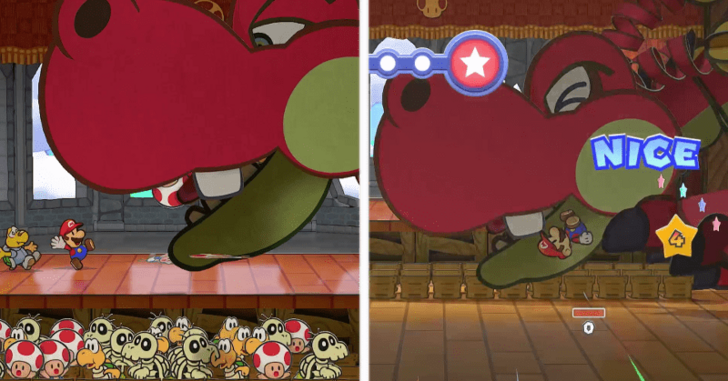 For the second phase, Hooktail will simply eat the audience. This will prevent you from gaining SP. Just keep attacking it and it will go down for real this time. |
|
| 5 | 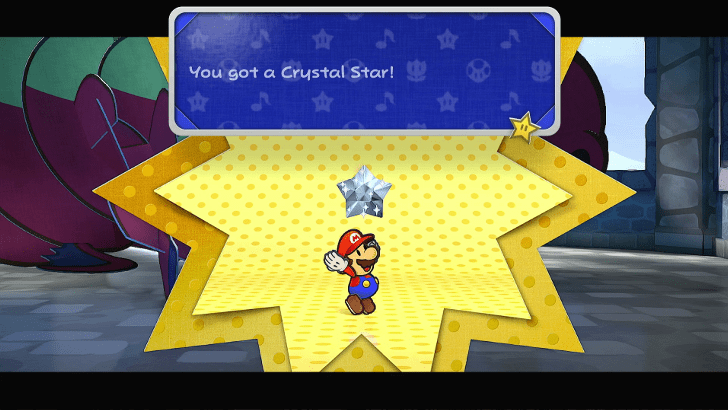 After beating Hooktail, she will spit out Koops' Dad along with the Crystal Star. |
|
Peach Interlude Walkthrough

After the cutscene with Grodus and the Shadow Sirens, you are free to explopre as Peach. Head to the left door and take a shower, then head right to start the cutscene with TEC-XX.
Peach Interlude Complete Walkthrough
Bowser Interlude Walkthrough
Just keep walking to the end of the hall while talking to the minions along the way. Bowser will then learn that the Princess got kidnapped and will follow to save her.
Bowser Interlude Complete Walkthrough
Off to Boggly Woods Walkthrough
| Objectives | ||
|---|---|---|
| 1 | 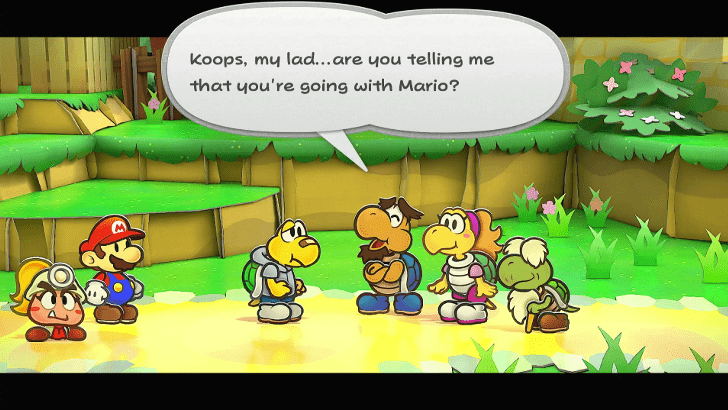 After Bowser's and Peach's interludes, a small cutscene will play with Koops deciding to join Mario until the end. |
|
| * | 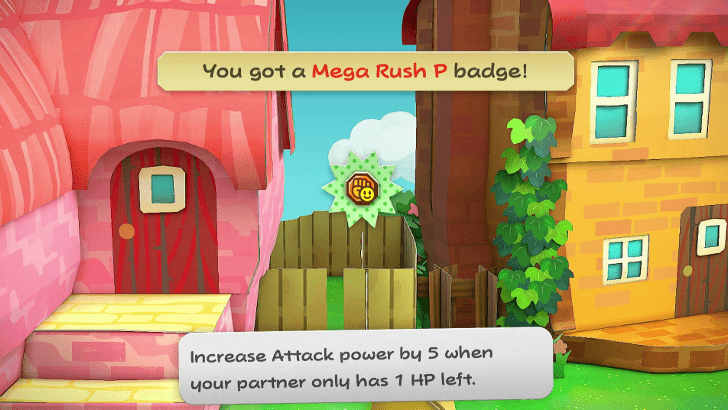 Use your paper form to slip through the Mayor's house and grab the Mega Rush P Badge. |
|
| 2 | 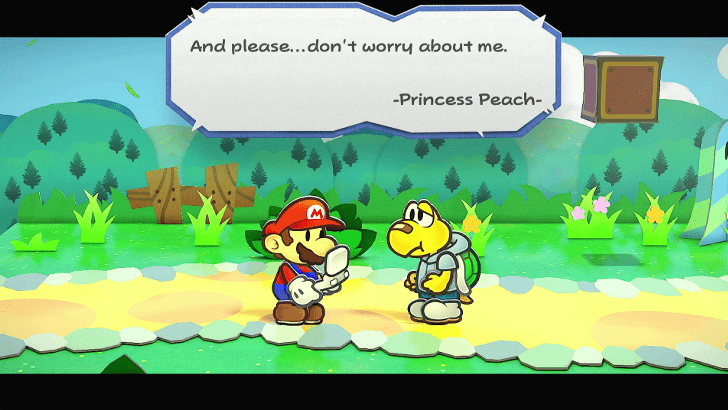 Return to Rogueport and along the way you will receive Peach's email. |
|
| 3 | 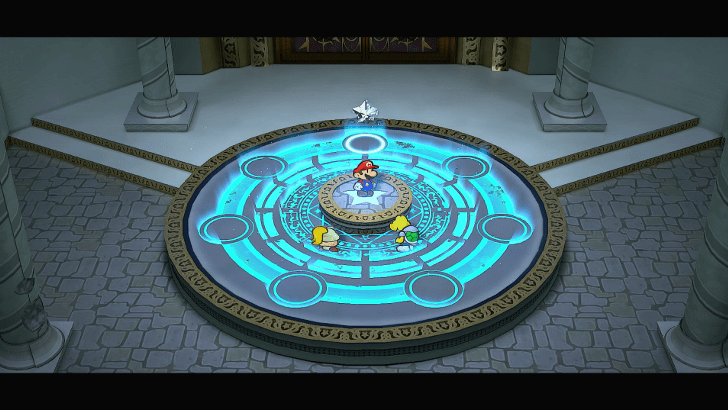 Head back to the Thousand-Year Door to learn where the next Crystal Star is. |
|
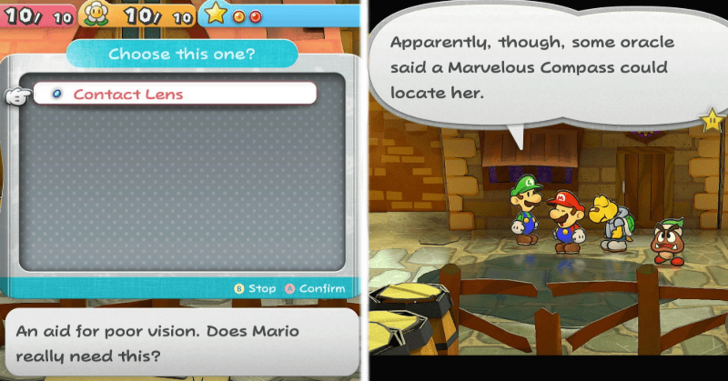
| * |  By using your Plane Mode and Paper Mode, you can head left of the Thousand-Year Door and head into the Pit of 100 Trials! |
|
| 4 | 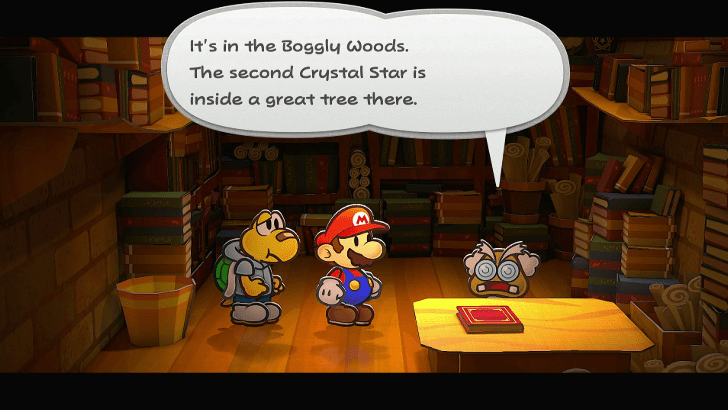 You will be immediately taken to Preofessor Frankly's house and he informs the party that the next Crystal Star is in Boggly Woods. |
|
| * |  Before leaving Rogueport, it is recommended to do everything new around town. Feel free to explore around town before you head into the next chapter. |
|
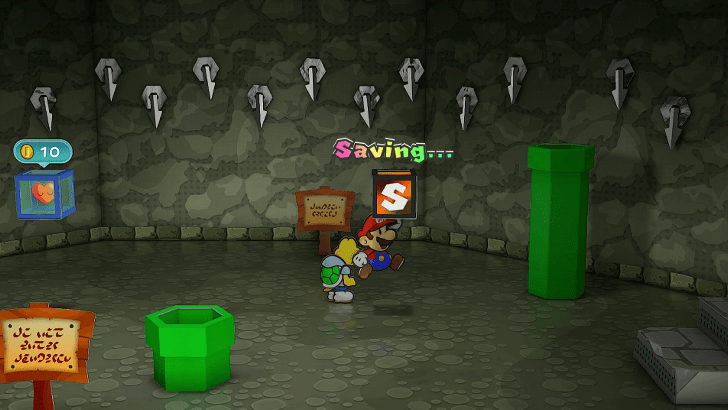
| 5 |  Once you do all you need to do around town, head back into the sewers and follow the Puni Down the Pipe. |
|
| 6 |  Using your paper form, you can slip through the bars and follow the Puni. A cutscene will play and it will reveal the path towards Boggly Woods. |
|
| * | 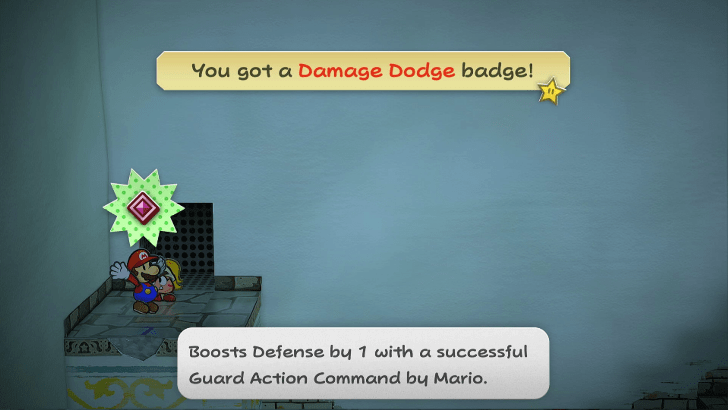 Enter the secret entrance and head west to get the Damage Dodge Badge. |
|
| 7 | 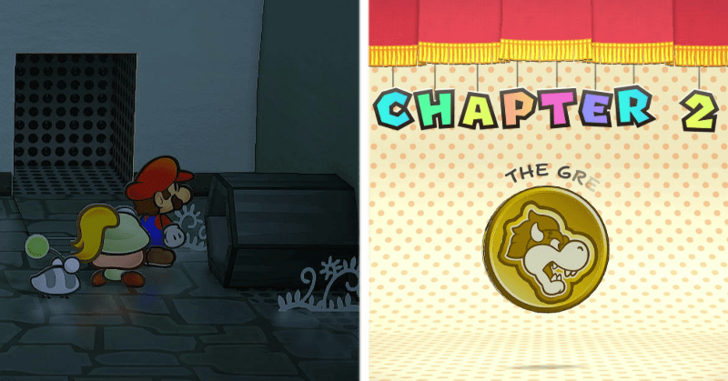 Head east from the secret entrance and go through the Pipe. This will lead you into the next Chapter! |
|
Chapter 1 Collectibles and Items
Star Pieces
| Done? | Location | In-Game Image |
|---|---|---|
|
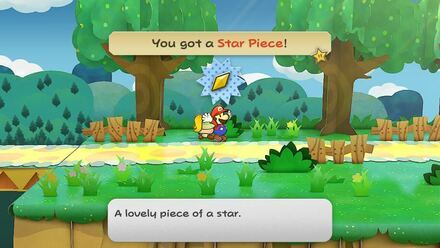
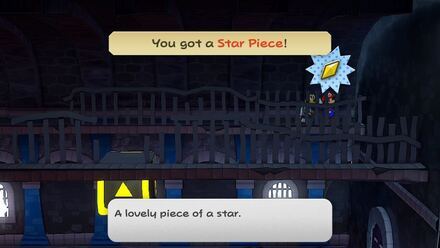
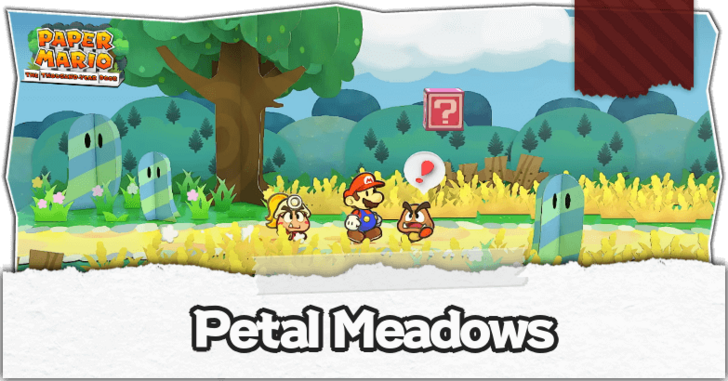
Petal Meadows
Up the tree at the northwest corner of the platform with the west entrance pipe of Petal Meadows. |
 |
|
|
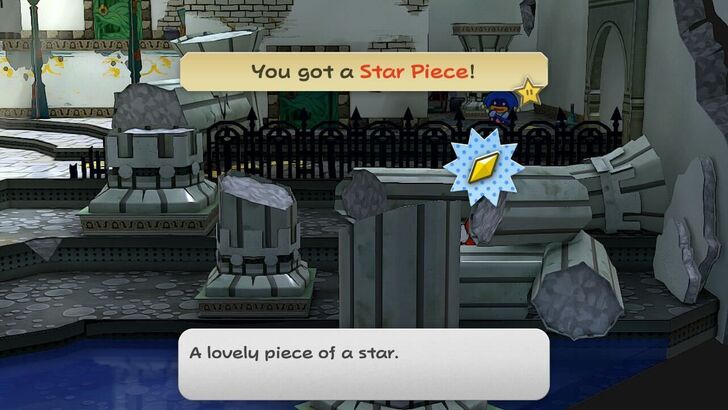
Petal Meadows
In the background by the west entrance of Petalburg, accessed through the pipe before the bridge. |
 |
|
|
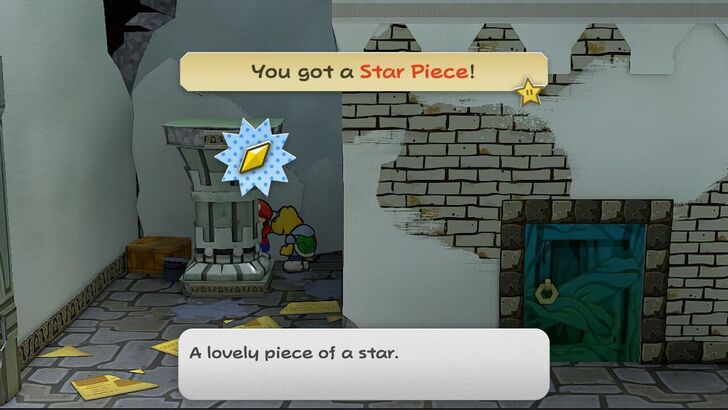
Shhwonk Fortress
In the first bush east of Petalburg. |
 |
|
|
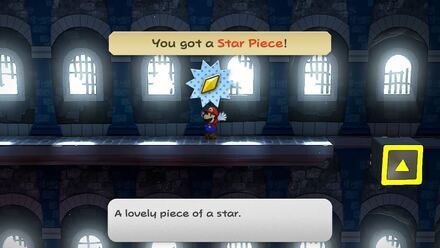
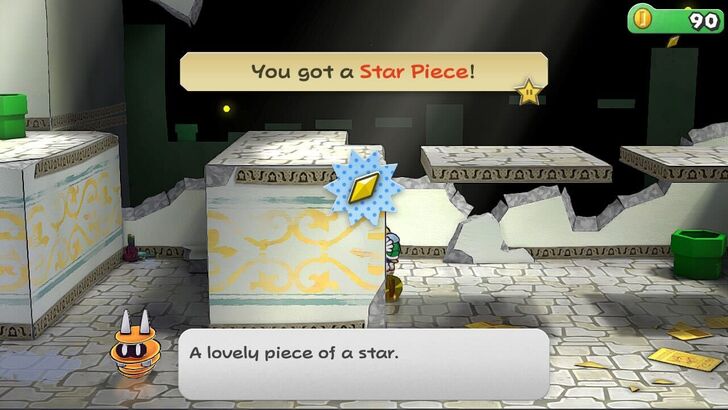
Hooktail Castle
On a ledge by the flippable stairs on 1F, accessed with the yellow block or from the second floor's window area. |
 |
|
|
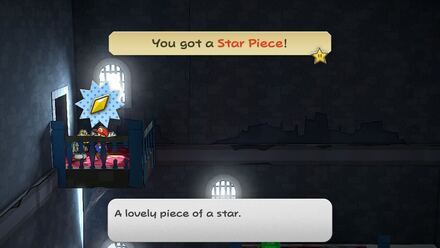
Hooktail Castle
On a ledge in the room to the right of the flippable stairs, accessed through the purple block by the flippable stairs. |
 |
|
|
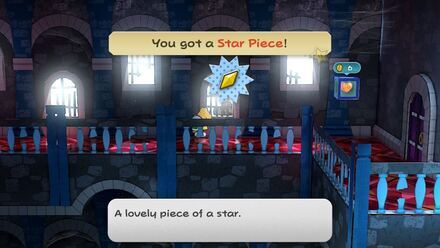
Hooktail Castle
On 2F, on the right side of the area behind the windows. |
 |
|
|
Hooktail Castle
In the northern ledge of the east side of the airplane room of 3F. |
 |
|
|
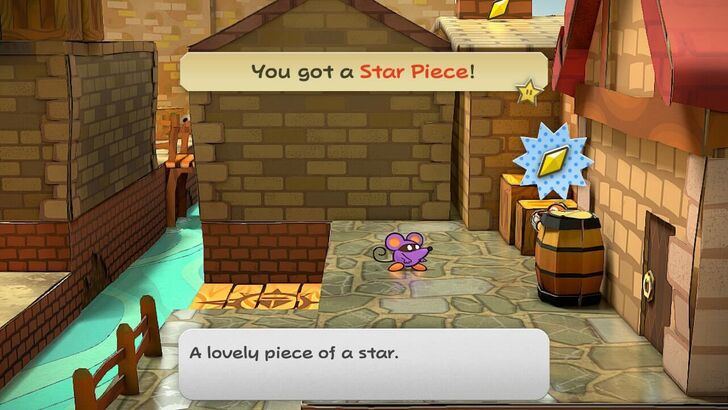
Rogueport
In between the crates and barrel at the back of Admiral Bobbery's house. |
 |
|
|
Rogueport
Behind a wall on the south side of the west area entrance. |
 |
|
|
Rogueport
Behind a trash can in front of a cracked wall of the west area. |
 |
|
|
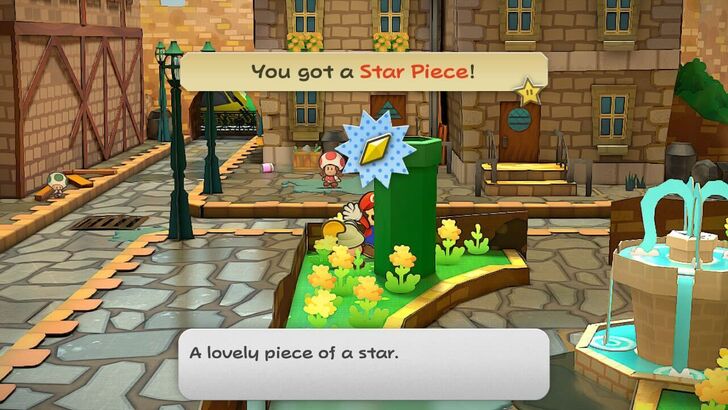
Rogueport
Behind a tall pipe in the garden of the west area. |
 |
|
|
Rogueport Sewers
Behind the broken pillars on the southeastern side of B1F's center city. |
 |
|
|
Rogueport Sewers
Behind the pillar beside the leftmost house in B1F's center city. |
 |
|
|
Rogueport Sewers
Behind the stairs by the east exit of the Pit of 100 Trials room. |
 |
|
|
Rogueport Sewers
Behind the platform to the left of the west entrance in B1F. |
 |
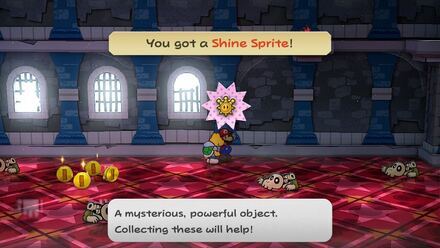
Shine Sprites
| Done? | Location | In-Game Image |
|---|---|---|
|
Hooktail Castle
Found at the beginning of the hall with the yellow and purple blocks. |
 |
|
|
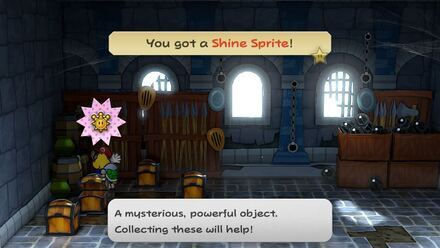
Hooktail Castle
In front of the weapon rack in the room where you first meet Ms. Mowz. |
 |
|
|
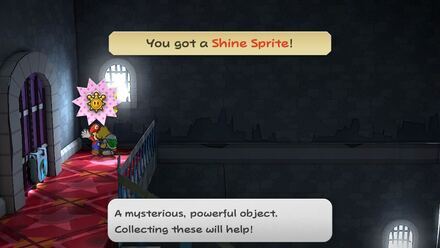
Hooktail Castle
At the top of the tall staircase that leads to bridge outside. |
 |
|
|
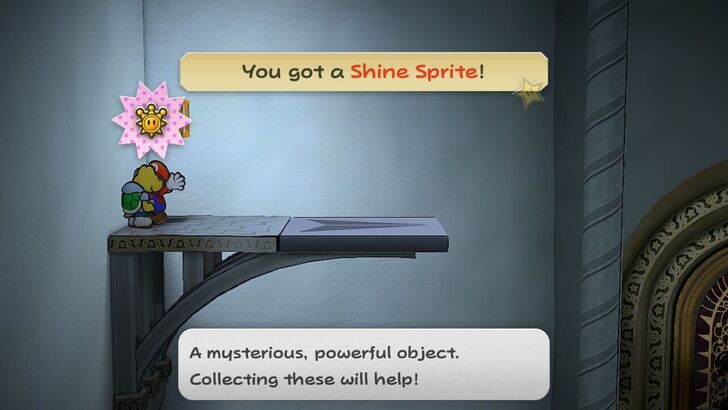
Rogueport Sewers
Found on the left side ledge in the Thousand-Year Door room of B3F. |
 |
Blocks
Regular Blocks
| Done? | Location and Item | In-Game Image |
|---|---|---|
|
Petal Meadows
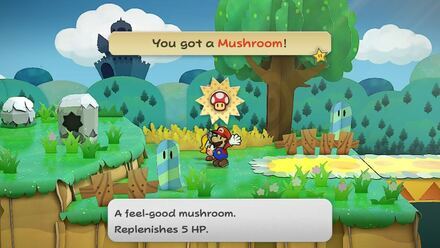
At the right side of the first screen. Item: Mushroom |
 |
|
|
Petal Meadows
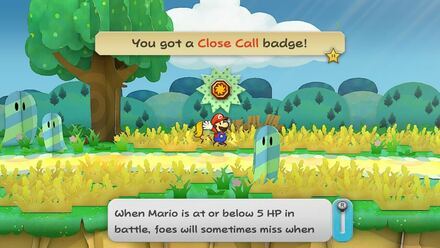
By the beginning of the second screen. Item: Close Call |
 |
|
|
Petal Meadows
Between two Warp Pipes. Item: 10 Coins |
 |
|
|
Petal Meadows
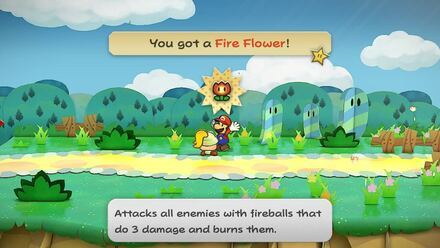
By the bridge at the third screen. Item: Fire Flower |
 |
|
|
Shhwonk Fortress
Found at the first screen to the right of Petalburg. Item: POW Block |
 |
|
|
Shhwonk Fortress
At the center of the fifth screen to the right of Petalburg after fighting the Bristles. Item: Fire Flower |
 |
|
|
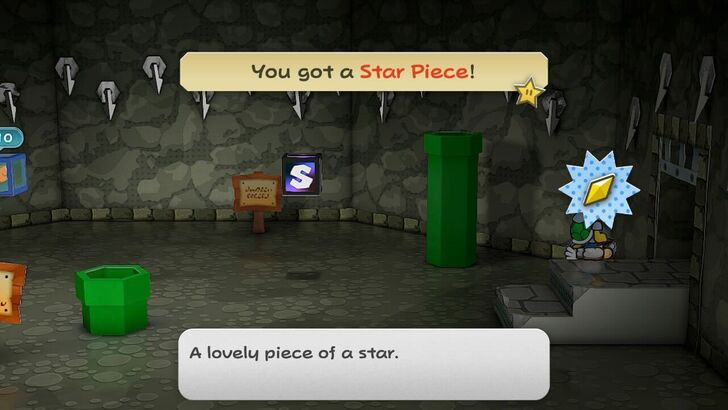
Shhwonk Fortress
Found in the Shhwonk Fortress entrance underground. Item: Multibounce |
 |
|
|
Hooktail Castle
Found at the first room in 1F. Item: Power Bounce |
 |
|
|
Rogueport Sewers
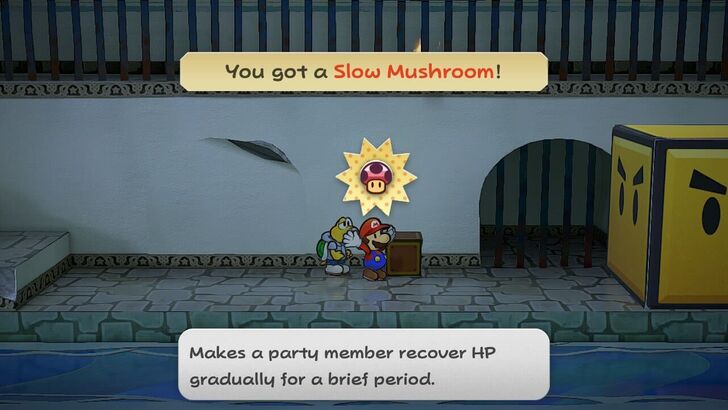
Found in the western corridor of B2F in between chapters 1 and 2. Item: Slow Shroom |
 |
|
|
Rogueport Sewers
Found in the western corridor of B2F in between chapters 1 and 2. Item: Gradual Syrup |
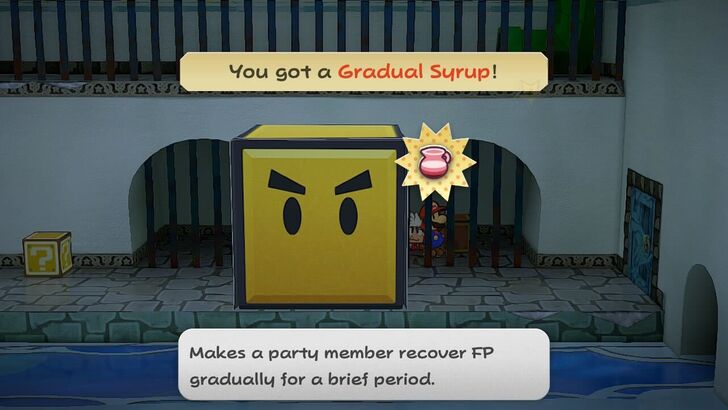 |
|
|
Shhwonk Fortress
Found in the same room where the Sun Stone is found. Item: Fire Flower |
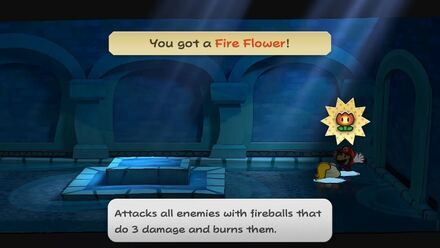 |
|
|
Shhwonk Fortress
Found in the same room where the Moon Stone is found. Item: Mushroom |
 |
|
|
Petal Meadows
Atop the tall pipe. Use Koops to get Happy Heart. Item: Happy Heart |
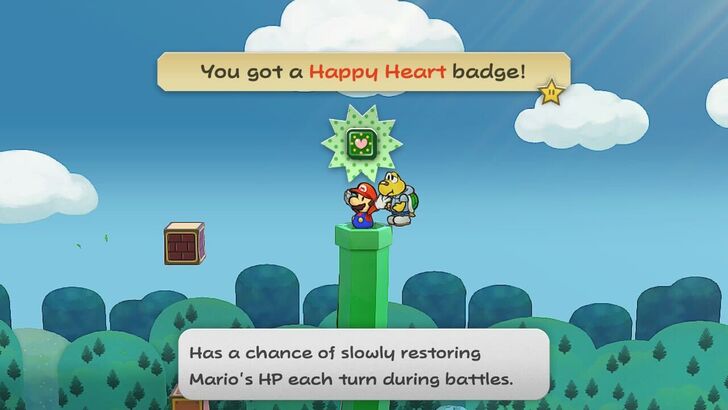 |
Chapter 1 Enemy List
Petal Meadows Enemies
Standard Enemies
| List of Enemies in Petal Meadows | |||
|---|---|---|---|
| Enemy | HP | Atk | Def |
| 2 | 1 | 0 | |
| 2 | 1 | 0 | |
| 2 | 2 | 0 | |
| 4 | 2 | 1 | |
Shhwonk Fortress Enemies
Standard Enemies
| List of Enemies in Shhwonk Fortress | |||
|---|---|---|---|
| Enemy | HP | Atk | Def |
| 3 | 1 | 0 | |
| 2 | 1 | 2 | |
| 2 | 2 | 2 | |
| 2 | 1 | 4 | |
Hooktail Castle Enemies
Standard Enemies
| List of Enemies in Hooktail Castle | |||
|---|---|---|---|
| Enemy | HP | Atk | Def |
| 2 | 1 | 0 | |
| 2 | 2 | 0 | |
| 4 | 2 | 1 | |
| 4 | 2 | 1 | |
| 1 | 2 | 1 | |
Chapter 1 Boss Guides
Gold Fuzzy Mini-Boss Guide
| Enemy | HP | Atk | Def |
|---|---|---|---|
| 10 | 1 | 0 | |
| 20 | 1 | 0 |
Fuzzy Horde Will Appear When it Loses 3 HP!
Make sure to let Goombella Tattle or use items before you deal more than 3 HP to the Gold Fuzzy. The Fuzzy Horde will only appear when the Gold Fuzzy loses 3 HP.
Red Bones Mini-Boss Guide
| Enemy | HP | Atk | Def |
|---|---|---|---|
| 1 | 2 | 1 | |
| 5 | 3 | 1 |
Use AoE Attacks To Get Rid of the Dull Bones
Take care of the Dull Bones with Koops' Power Shell or a Fire Flower to get rid of them before their damage stacks up!
Hooktail Boss Guide
| Enemy | HP | Atk | Def |
|---|---|---|---|
| 20 (+10) | 5 | 1 |
Equip the Attack FX G Badge!
When fighting Hooktail, equip the badge Attack FX G
. If you use aany attack while you have Attack FX G Badge equipped, Hooktail's defense will be reduced to 0 and its attack will be reduced by 1 each time you deal damage.
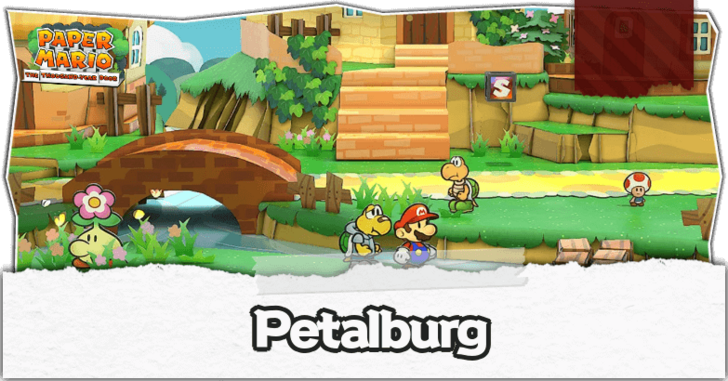
Locations Available in Chapter 1
Hooktail Castle, Petalburg, Shhwonk Fortress, and Petal Meadows
| New Locations Available in Chapter 1 | |
|---|---|
 Petal Meadows Petal Meadows |
 Petalburg Petalburg |
| Shhwonk Fortress | 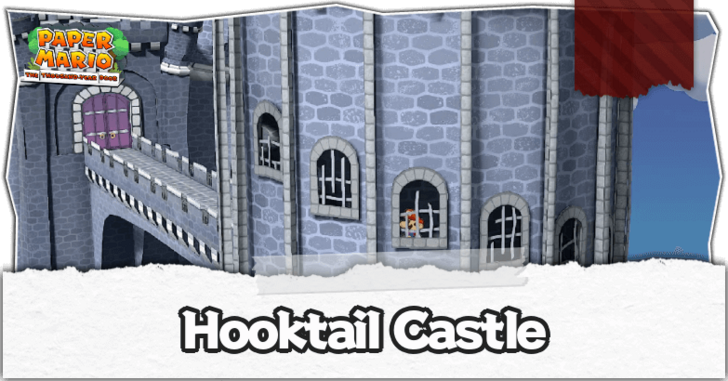 Hooktail Castle Hooktail Castle |
Upon starting Chapter 1, you will gain access to Petal Meadows, Petalburg, Shhwonk Fortress, and Hooktail Castle. There is a shortcut to Petalburg you can unlock after beating Chapter 1 and unlocking the Pipe in the Pipe Zone!
Chapter 1 Trouble Center Quests
The following Troubles will be unlocked after completing Chapter 1.
| Done? | Client | Details and Rewards |
|---|---|---|
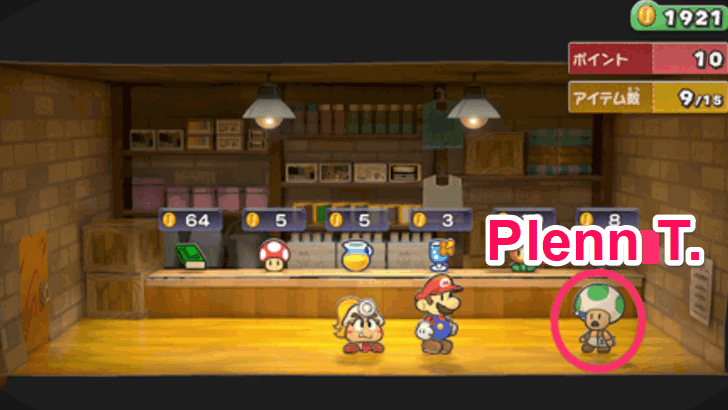 |
Request: Help Me Restock! Reward: Ultra Shroom Unlock: After Chapter 1 For this quest, you need to give five Courage Shells to the Rogueport item shopkeeper. These shells can be purchased at Niff T.'s shop in Petalburg. |
|
 |
Request: Listen to Me! Reward: Turtley Leaf Unlock: After Chapter 1 Visit Mayor Kroop in Petalburg and listen to Mayor Kroop talk about life, rude youngsters, and his beloved wife to earn your reward. |
|
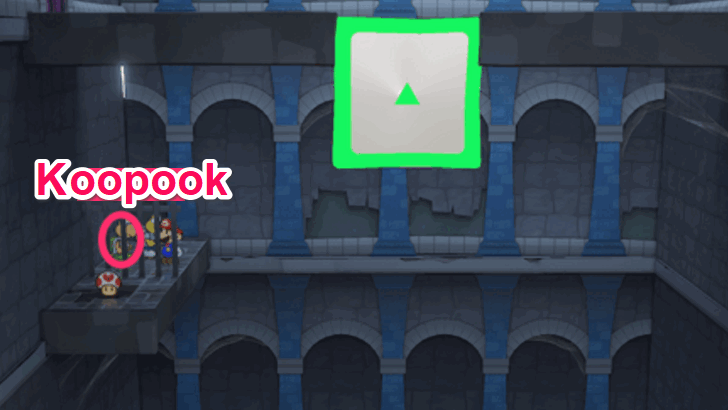 |
Request: Try to Find Me! Reward: Special Card Unlock: After Chapter 1 Koopook, the Hide 'n' Seek Koopa, can be found on a platform in Hooktail Castle below the room where you first encounter Ms. Mowz. |
Paper Mario: The Thousand-Year Door Related Guides

Chapter Walkthroughs
Other Walkthroughs
| Other Walkthroughs | ||
|---|---|---|
| Peach Intermissions |
Bowser Intermissions |
 Trouble Center Trouble Center |
Author

Paper Mario: The Thousand-Year Door (TTYD) Walkthrough & Guides Wiki
Chapter 1: Castle and Dragon Walkthrough
Please participate in our site
improvement survey
03/2026
improvement survey
03/2026
Would you assist in
improving Game8's site?
improving Game8's site?

×
We are listening to our users' valuable opinions and discussing how to act on them.
The information collected through this survey will be used for the purpose of improving our services. In addition, the information will only be disclosed a part of a statistic in a format that will not allow identification of personal information.
Begin Survey
Not Now
×
Please rate each item regarding Game8.co's Advertisements.
Amount of Ads
Very Dissatisfied
Somewhat Dissatisfied
Fine
Somewhat Satisfied
Highly Satisfied
Placement of Ads
Timing of Ad Display
Ad Loading Speed
Safeness of Ads
Content of Ads
×
Please rate each item regarding Game8.co's Quality of Articles.
Amount of information
Very Dissatisfied
Somewhat Dissatisfied
Fine
Somewhat Satisfied
Highly Satisfied
Frequency of updates
Speed of new information
Accuracy of articles
Understandibility of articles
Readability of sentences
×
Please rate each item regarding Game8.co's Usability of the Site.
Ease of finding information
Very Dissatisfied
Somewhat Dissatisfied
Fine
Somewhat Satisfied
Highly Satisfied
Loading Speed
Use of Color
Font Size
Visibility of Images
Easy to Understand Layout
×
Please rate each item regarding Game8.co's Message Boards, Comments.
Ease of Writing
Very Dissatisfied
Somewhat Dissatisfied
Fine
Somewhat Satisfied
Highly Satisfied
Readability
Ease in Finding Information
Comment Quality
Comment Quantity
Admin Response
×
Please rate each item regarding Game8.co's Site's new design.
Please rate our site's new design
Very Dissatisfied
Somewhat Dissatisfied
Fine
Somewhat Satisfied
Highly Satisfied
Do you think that the website's design change makes the site easier to use?
Has the new design made it easier for you to find information on the site?
Has the new design improved the overall visual appeal of the site?
How would you rate your overall satisfaction with the new design of the site?
×
How likely are you to recommend Game8 to someone you know?
Very Unlikely
0
1
2
3
4
5
6
7
8
9
10
Very Likely
If you have other opinions regarding potential improvement to the website, please share them with us. We would appreciate your honest opinion.
Note: This is a free response section, so you can proceed without entering anything.
Note: Please be sure not to enter any kind of personal information into your response.
Note: Please be sure not to enter any kind of personal information into your response.
×
Thank You
×
Thank you for participating in our survey! Your answers will help us to improve the quality of our website and services.
We hope you continue to make use of Game8.
We hope you continue to make use of Game8.
Close
Rankings
- We could not find the message board you were looking for.
Gaming News


![Everwind Review [Early Access] | The Shaky First Step to A Very Long Journey](https://img.game8.co/4440226/ab079b1153298a042633dd1ef51e878e.png/thumb)

![Monster Hunter Stories 3 Review [First Impressions] | Simply Rejuvenating](https://img.game8.co/4438641/2a31b7702bd70e78ec8efd24661dacda.jpeg/thumb)
Popular Games

Genshin Impact Walkthrough & Guides Wiki
Honkai: Star Rail Walkthrough & Guides Wiki
Umamusume: Pretty Derby Walkthrough & Guides Wiki
Pokemon Pokopia Walkthrough & Guides Wiki
Resident Evil Requiem (RE9) Walkthrough & Guides Wiki
Monster Hunter Wilds Walkthrough & Guides Wiki
Wuthering Waves Walkthrough & Guides Wiki
Arknights: Endfield Walkthrough & Guides Wiki
Pokemon FireRed and LeafGreen (FRLG) Walkthrough & Guides Wiki
Pokemon TCG Pocket (PTCGP) Strategies & Guides Wiki


Recommended Games
Diablo 4: Vessel of Hatred Walkthrough & Guides Wiki
Fire Emblem Heroes (FEH) Walkthrough & Guides Wiki
Yu-Gi-Oh! Master Duel Walkthrough & Guides Wiki
Super Smash Bros. Ultimate Walkthrough & Guides Wiki
Pokemon Brilliant Diamond and Shining Pearl (BDSP) Walkthrough & Guides Wiki
Elden Ring Shadow of the Erdtree Walkthrough & Guides Wiki
Monster Hunter World Walkthrough & Guides Wiki
The Legend of Zelda: Tears of the Kingdom Walkthrough & Guides Wiki
Persona 3 Reload Walkthrough & Guides Wiki
Cyberpunk 2077: Ultimate Edition Walkthrough & Guides Wiki


All rights reserved
© Nintendo. Games are property of their respective owners. Nintendo of America Inc. Headquarters are in Redmond, Washington, USA
The copyrights of videos of games used in our content and other intellectual property rights belong to the provider of the game.
The contents we provide on this site were created personally by members of the Game8 editorial department.
We refuse the right to reuse or repost content taken without our permission such as data or images to other sites.
Based on the recommended stats, level 8 is too much for Chapter 1. By the time I’ve slain Hooktail, I’m already level 5 with Koopas dropping one Star Point at a time. After doing my own research, Petal Meadows and Hooktail Castle enemies stop being useful after Level 6