Chapter 4: For Pigs the Bell Tolls Walkthrough
★ TTYD Switch Remake is now available!
┗ Remake Differences | New Gold Medal Badge!
★ Tips for Beginners | Secrets and Combat Tips
┗ How to Level Up Fast | How to Farm Coins
☆ Best Moves | Best Partners | Best Badges
★ All Walkthroughs | All Star Pieces | All Shine Sprites
Game8's walkthrough for Paper Mario: The Thousand-Year Door's (TTYD) Chapter 4, For Pigs the Bell Tolls. Read on for a detailed guide for this chapter, including locations of collectibles, locations of note in Twilight Town and Creepy Steeple, enemies, as well as useful tips for completing this chapter!
| ◄ Previous Chapter | Next Chapter ▶ |
|---|---|
| Chapter 3: Of Glitz and Glory |
Chapter 5: The Key to Pirates |
List of Contents
Chapter 4: For Pigs the Bell Tolls Story Walkthrough
| ★Recommended Stats★ | ||||||||
|---|---|---|---|---|---|---|---|---|
| Chapter 4 Main Objectives | ||||||||
| 1 | Twilight Town's Keys | |||||||
| 2 | Curse of the Tube | |||||||
| 3 | Twilight Town's Old Mansion | |||||||
| 4 | Nobody but Ghosts and Keys | |||||||
| 5 | Heading Back to Twilight Town | |||||||
| 6 | Shadow Mario and Vivian | |||||||
| 7 | I am me. Nobody Else! | |||||||
| Peach Interlude | ||||||||
| Bowser Interlude | ||||||||
| 10 | From Twilight Town to The Carribean | |||||||
Click on any of the links above to jump to the section!
Twilight Town's Keys Walkthrough
| Objectives | |
|---|---|
| 1 | 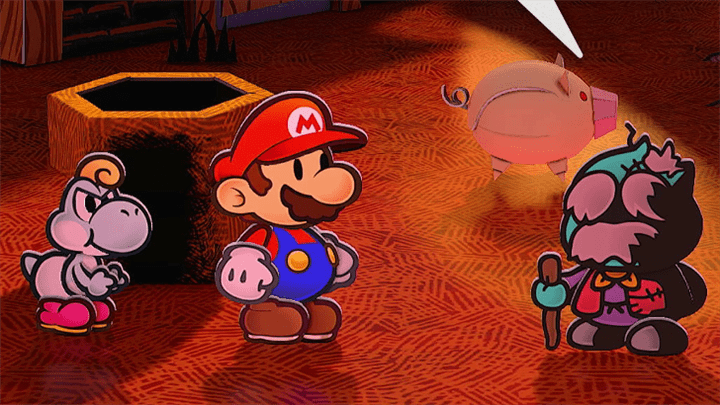 As you exit the rusty pipe, a cutscene with a local will play. After learning about the town's curse, mayor will then take you to his house. |
| 2 | 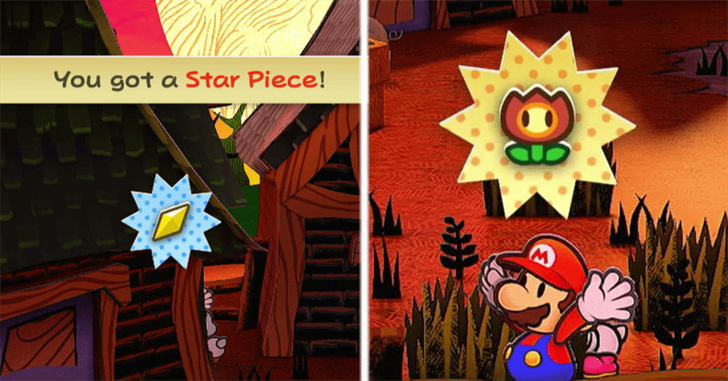 Despite the curse, Mario will decide to stay for the Crystal Star. Exit the Mayor's house and check the left side of the house for Star Pieces and the bushes for a Fire Flower. |
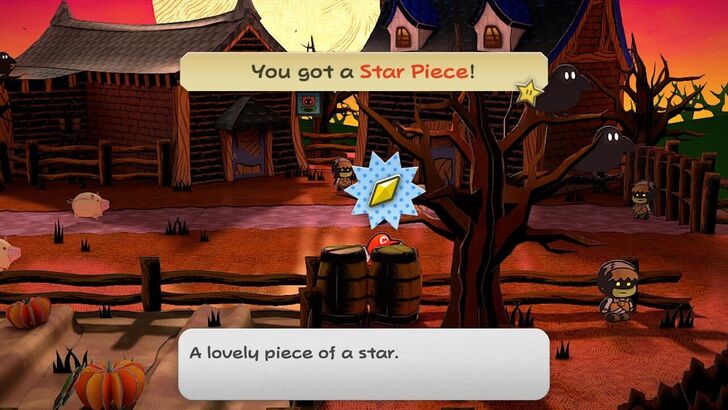
| 3 | 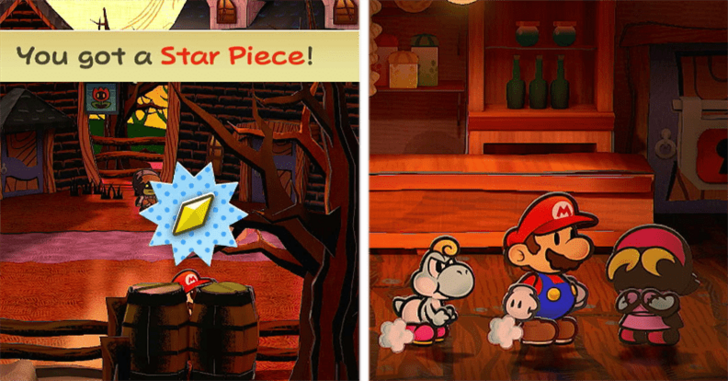 Exit to the East Side of the town. Check around the barrels on the southern side of the area for a Star Piece. Check out the store to to see that the shopkeeper's husband has become a pig and has lost the Storage Key. |
| * | 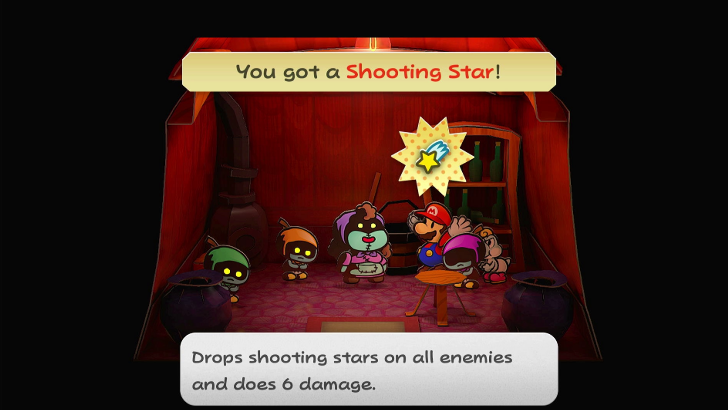 When you get to the East Side of town, head into the first house you see and there is a starving family inside. Give them a food item for a free Shoooting Star. The mother will then turn into a pig afterwards. |
| 4 | 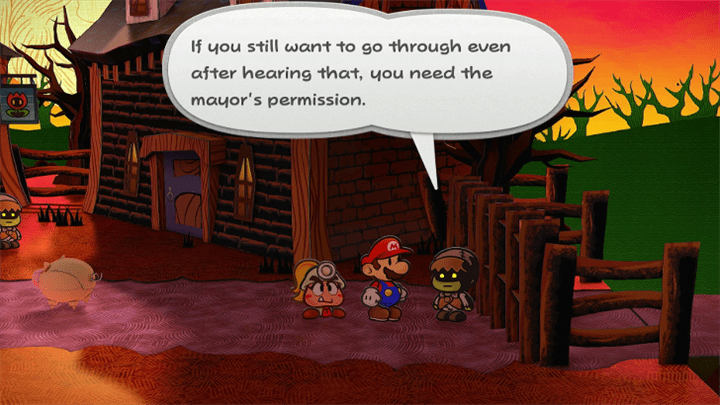 Head out the east gate and you will be stopped by the gatekeeper. You need to go back to the mayor's house to get permission. |
| 5 | 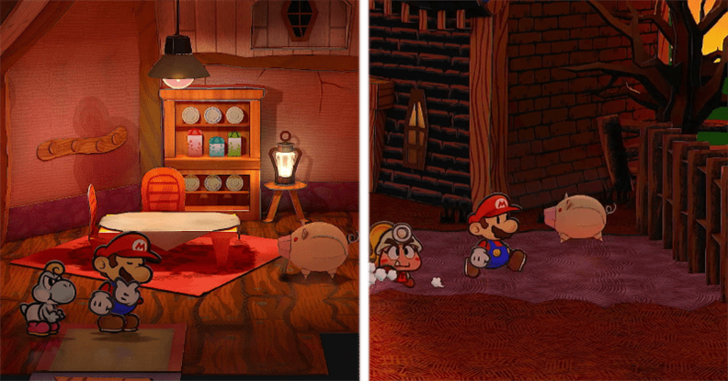 As you head into the mayor's house, he will be a pig when you get there. Go back to the east gate and you'll see that the gatekeeper has also turned into a pig. |
| 6 | 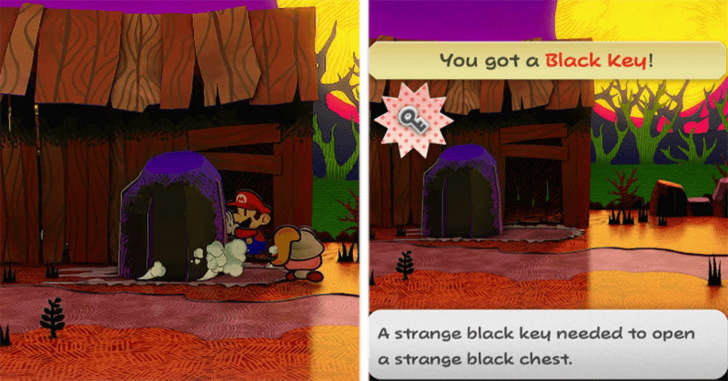 You can now head through the east gate. Push the rock in front of the shed and grab the Black Key for the next Curse. |
| 7 | 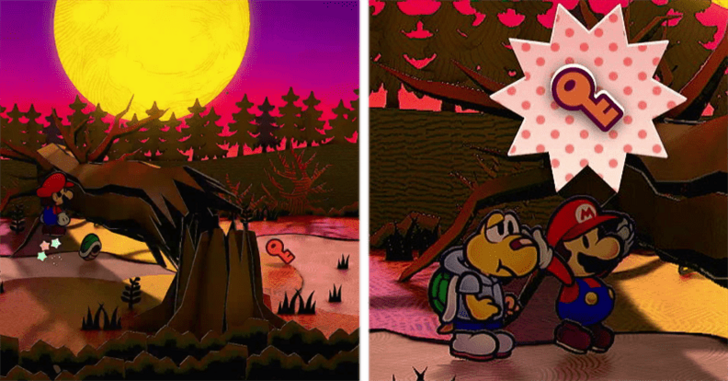 Keep heading east and you'll see a tree that has fallen down. Use Koops to grab the Storage Key and make your way back to Twilight Town. |
Curse of the Tube Walkthrough
| Objectives | |
|---|---|
| 1 | 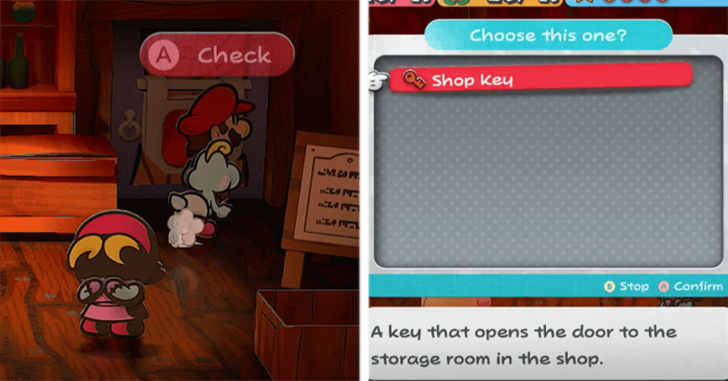 After getting the Storage Key and returning to Twilight Town, head to the shop and use the Storage Key to open the Shed. |
| 2 | 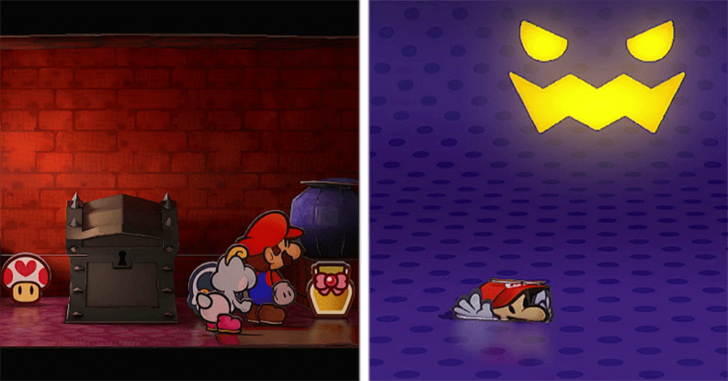 Head inside the storage room for a few goodies and once you looted the entire place go use your Black Key on the Black Box. Just like before, the Box will curse you with a new Power Up, the Tube Mode. |
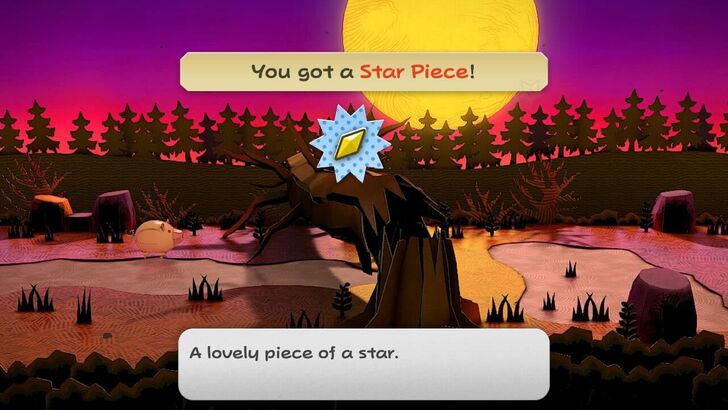
| 3 | 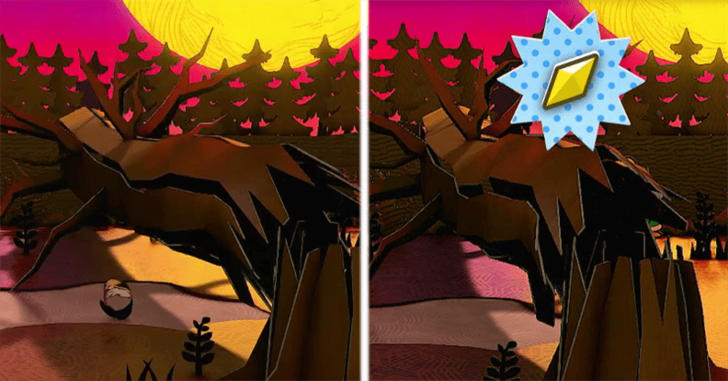 After the Tube Mode tutorial, back track to the fallen tree where you first got the Storage Key. You can finally slip under the tree using Tube Mode. Check the roots to get a Star Piece. |
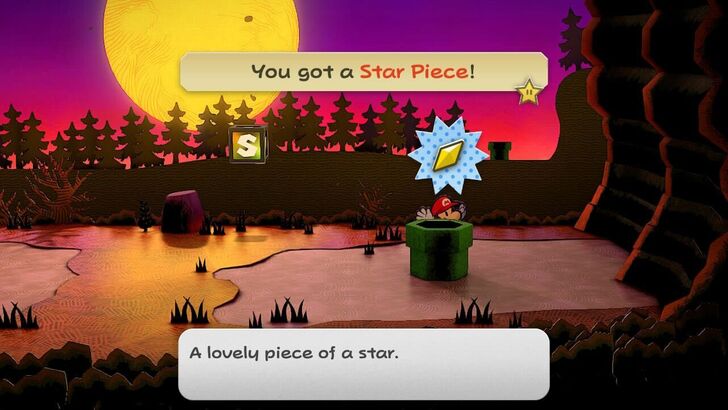
| 4 | 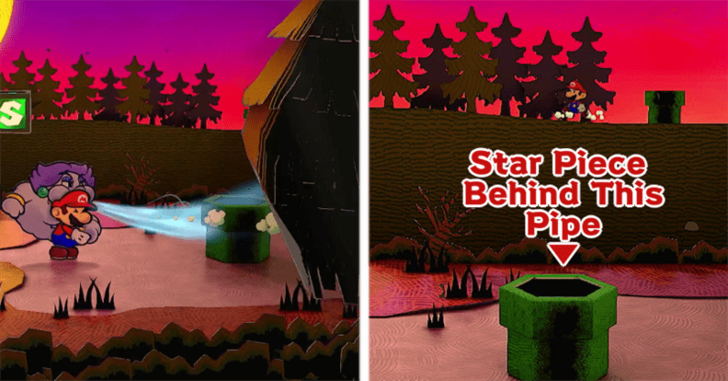 Keep heading east until you see a giant stack of hay, use Flurrie to blow it away to reveal a pipe. Grab the Star Piece behind the pipe, and head down to get into the background and go left to get to Twilight Woods. |
| 5 | 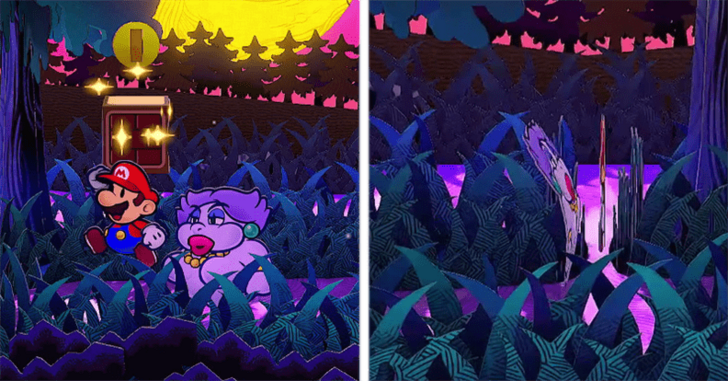 Now that you're in Twilight Woods, head down the trail and hit the Coin Block if you want and then use Paper mode to slip between a gap in the trees. You can grab the item block and then head into the next area. |
| 6 | 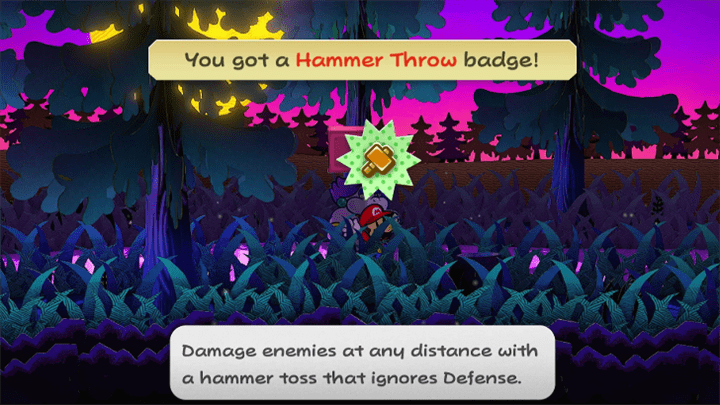 Once you get to the next area grab the Hammer Throw Badge and keep going west to the huge tree. |
| 7 | 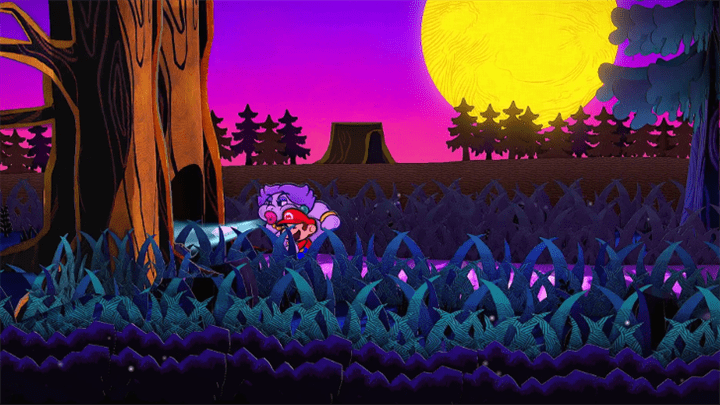 Use Flurrie to blow at the tree and reveal an entrance. Go inside the tree and this will take you to the background so head east and you will arrive at a new area. |
| 8 | 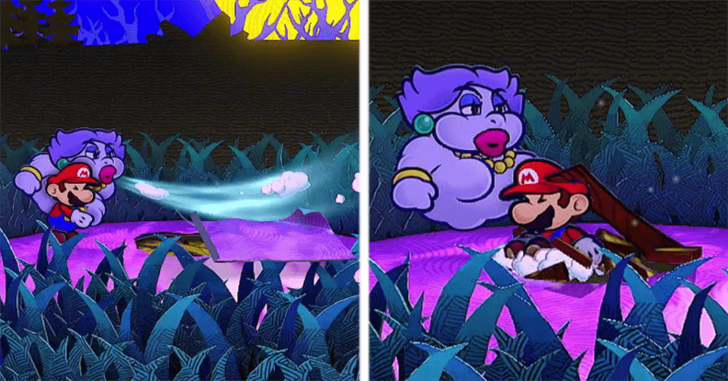 Keep heading east and you'll see a folded spot on the floor. Use Flurrie to blow on the spot to reveal a hole you can Spin Jump to reveal another hole. |
| 9 | 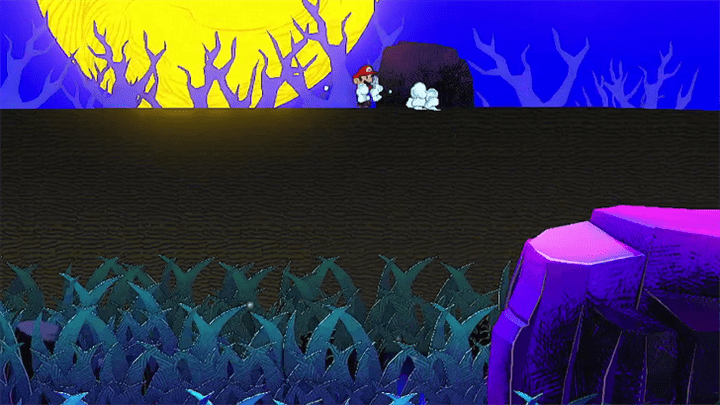 Head down the hole and you will be in the background. Head right and push the rock to move the rock in the foreground. Move the rock until you can't anymore. |
| 10 | 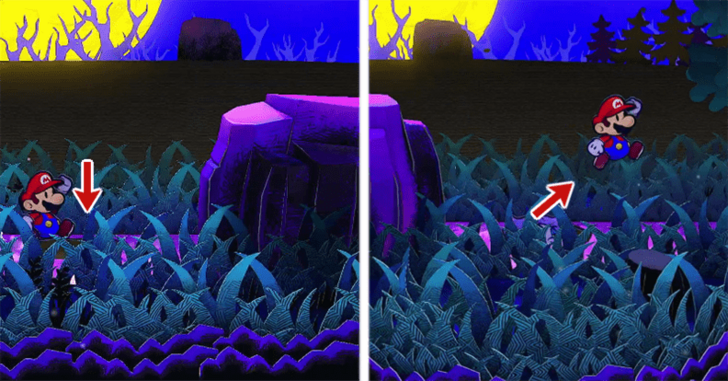 Head back to the foreground through the hole and head right. There is a hole where the rock used to be so drop through that to get to the other side of the rock. |
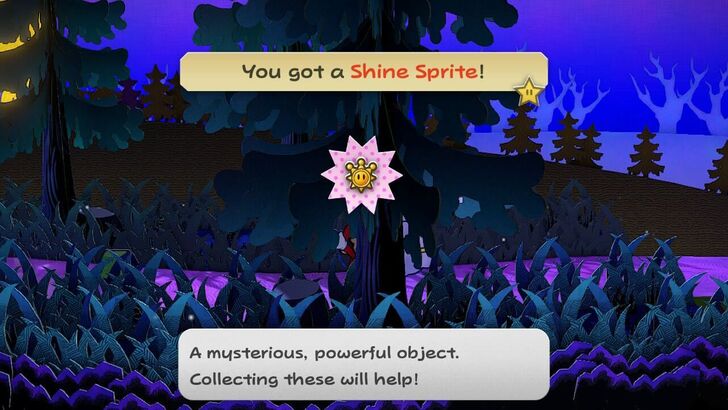
| 11 | 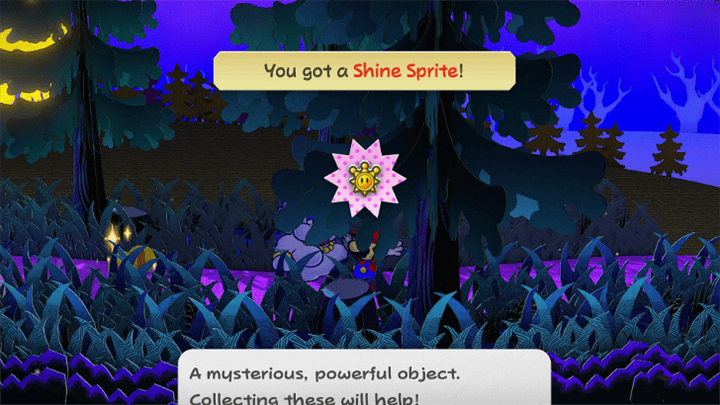 Head east and there is a Shine Sprite behind the tree that is next to two rocks so jump up to get it. Keep heading east and you are now at the Creepy Steeple. |
Twilight Town's Old Mansion Walkthrough
| Objectives | |
|---|---|
| 1 | 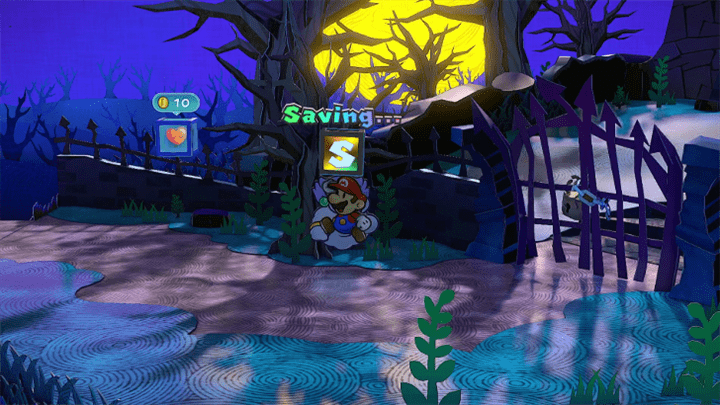 Once you get to the Steeple, feel free top Save and Heal up. Once you're ready, go to the gate only to find out it is locked. |
| 2 | 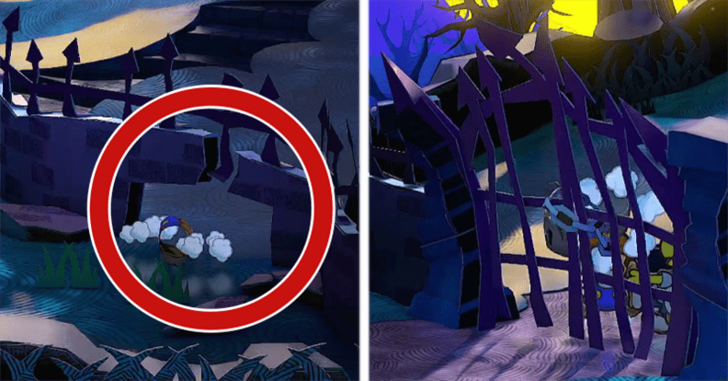 To the right of the gate you'll see an opening in the wall near a well. Use your tube form so you can roll under the opening. You can then unlock the gate from the inside with your Hammer for easier access. |
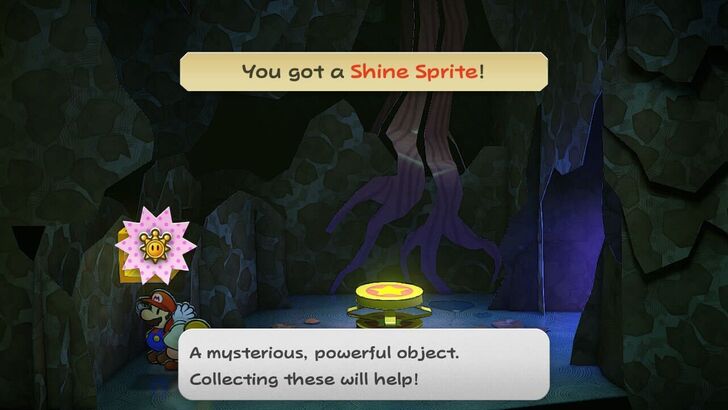
| * | 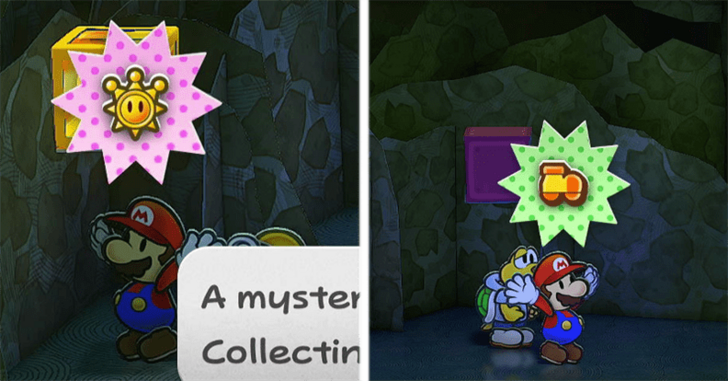 Jump inside the well for a Shine Sprite and the Tornado Jump Badge along with a ton of Buzzy Beetles. Make sure you have the Quake Hammer equipped to make the fights easier. Other than the free Star Points, there's nothing much else here for now. |
| 3 | 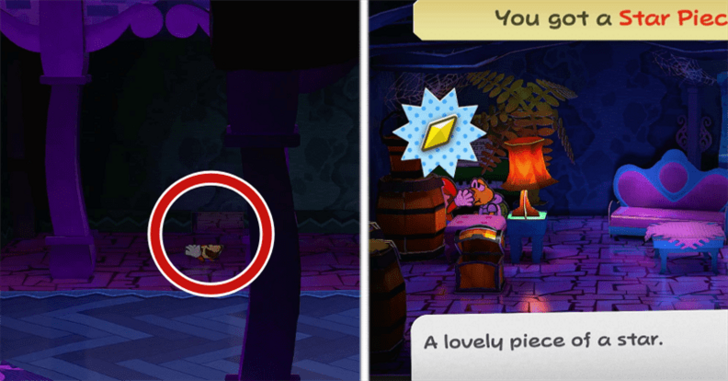 Once you're ready, you can now head inside. There's a lot of paths you can take, we recommend using your Tube form to enter the hole upwards of the entrance first. This will get you a lot of items and a hidden Star Piece behind the lamp. |
| * | 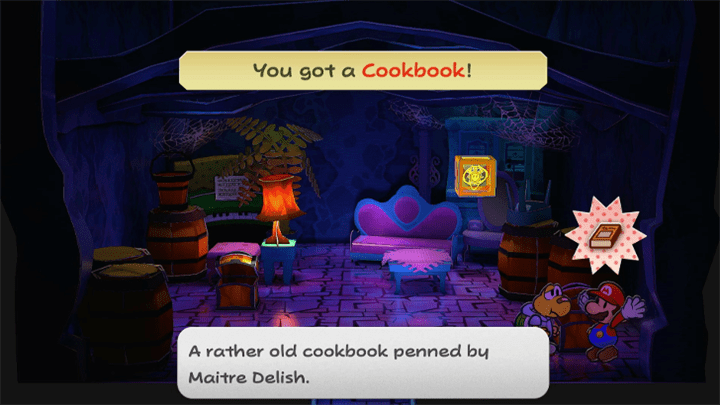 Be sure to pick up the cookbook in the Chest as you need it for Zess T.'s Trouble. |
| 4 | 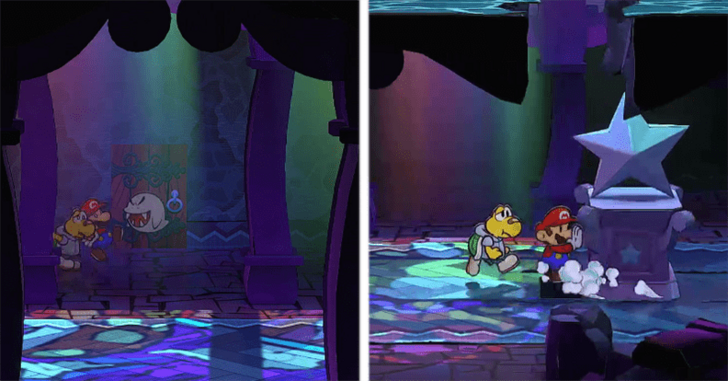 Head out of the room and a Boo will stop you from going up or down so go East. Push the Crystal Star statue to reveal a hole you can jump into. |
| 5 | 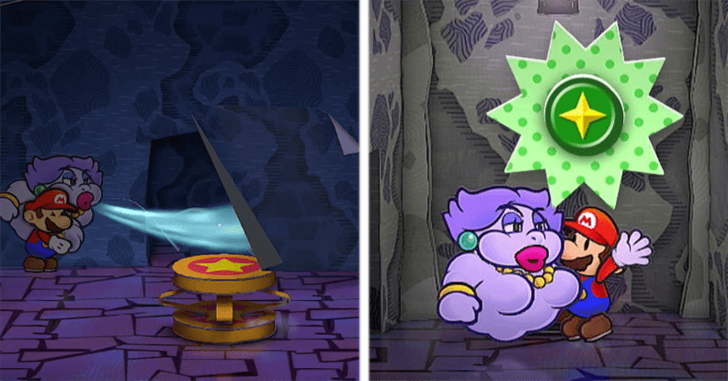 After falling into the hole, use Flurrie to blow at the fake wall behind the spring to reveal an entrance you can enter. Go into it and head right to get a Flower Save Badge. |
| 6 | 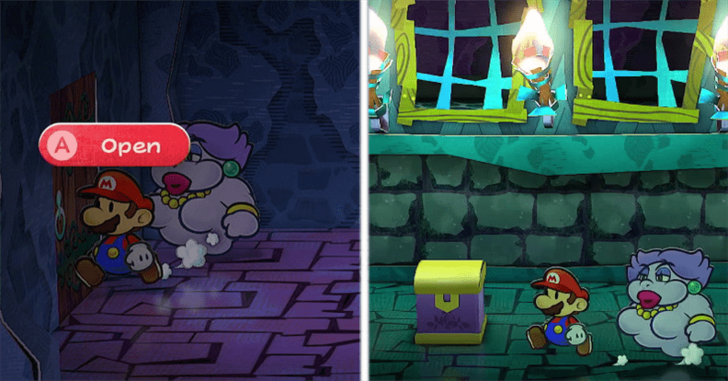 Head out of the hole and go through the door to the left and you will see an ornate box in the middle of the room. |
| 7 | 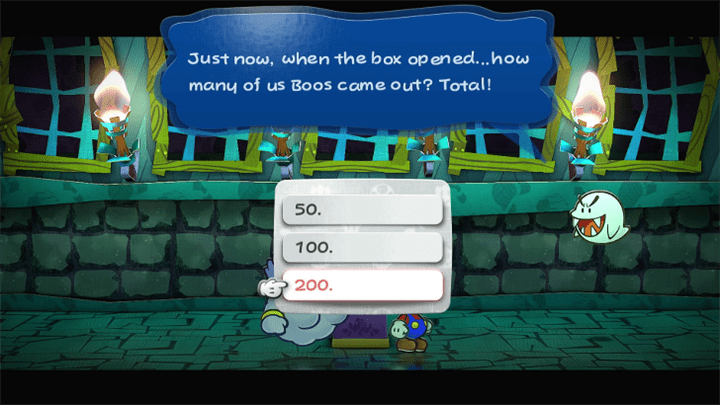 Open it and a lot of Boos will appear. You will then be asked by another Boo how many were in there, the answer is 200 for a free Ultra Shroom. |
| 8 | 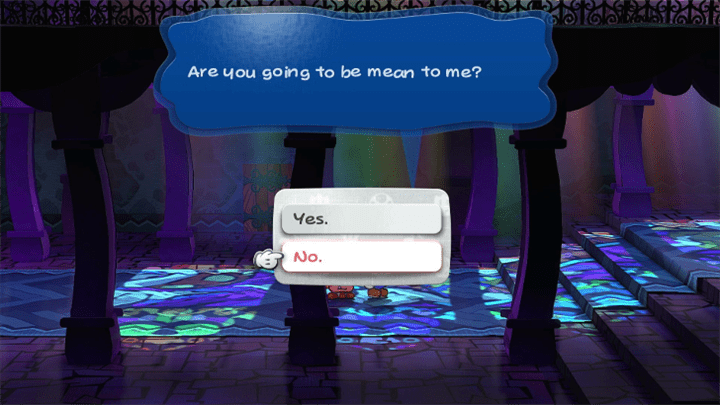 Head back up by using the spring in the previous room. Once you get up, you will see a lone Boo who will ask you if you're going to be mean to him or his friends. |
| 9 | 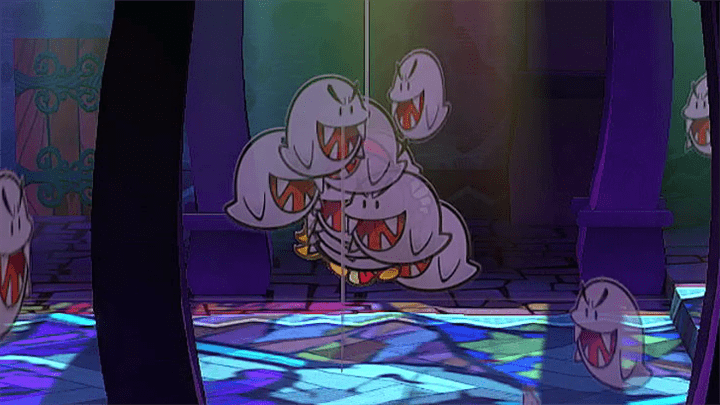 After you answer "No," it will call upon the 200 Boos to swirl around you. If you stand in one place, you will be kicked out of the Steeple. |
Optional Boss: Atomic Boo
| Objectives | |
|---|---|
| 1 | 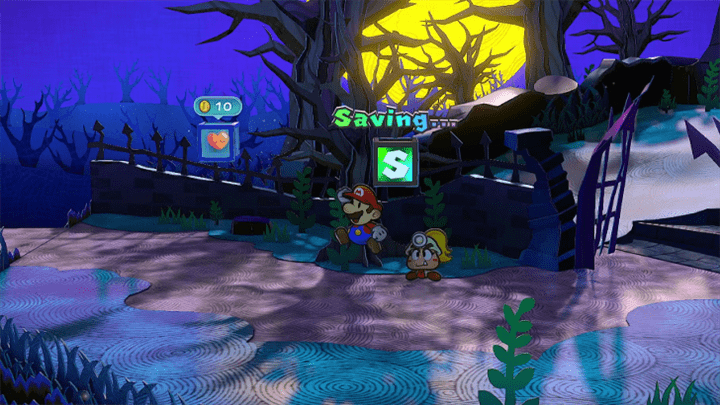 If you want to fight the boss, you can head outside the Steeple first to save but if you want to fight as you are, stay in the room. |
| 2 | 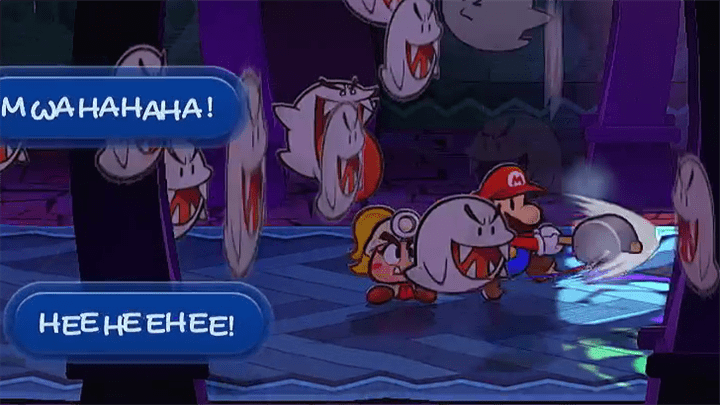 Ready your Super Hammer and wait for a few Boos to accumulate around you. Release the Super Hammer once you have accumulated enough Boos. |
| 3 | 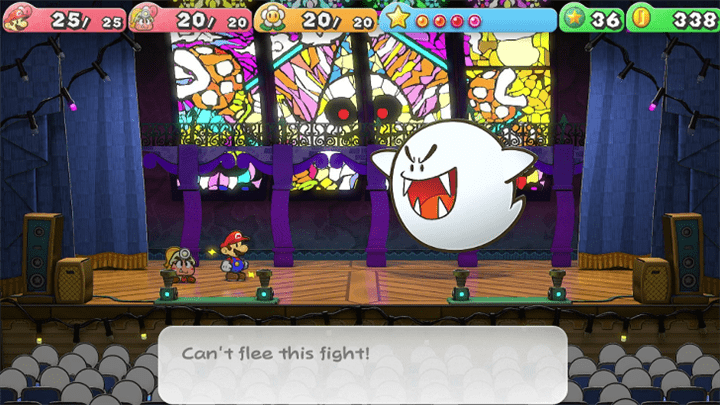 Repeat the Super Hammer strat and the Boos will get mad and combine into the Atomic Boo and you will be able to fight it! Click here for Atomic Boo Battle Guide ► |
| 4 | 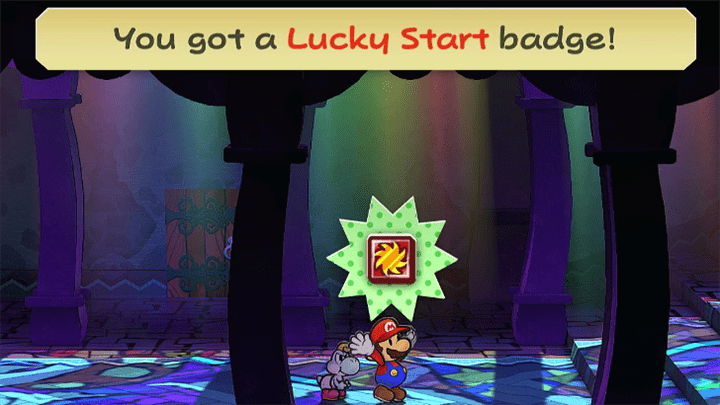 After defeating the Atomic Boo, it will drop the Lucky Start Badge! You can now proceed with the rest of the story. |
Nobody but Ghosts and Keys Walkthrough
| Objectives | |
|---|---|
| 1 | 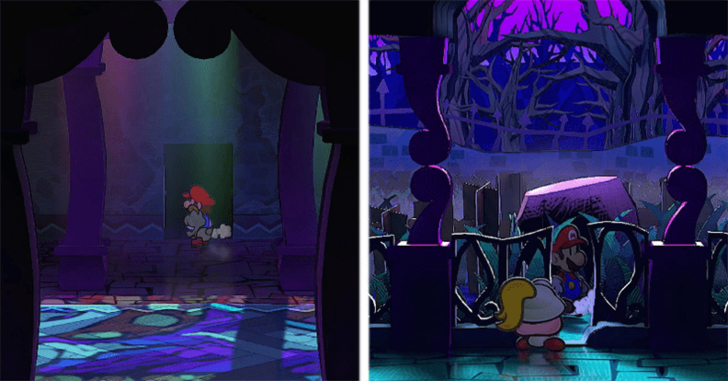 After that incident with the Boos, head out the door on the upper side of the room. Head right and there will be a gap in the fence. You can slip through it by using Paper Mode. |
| 2 | 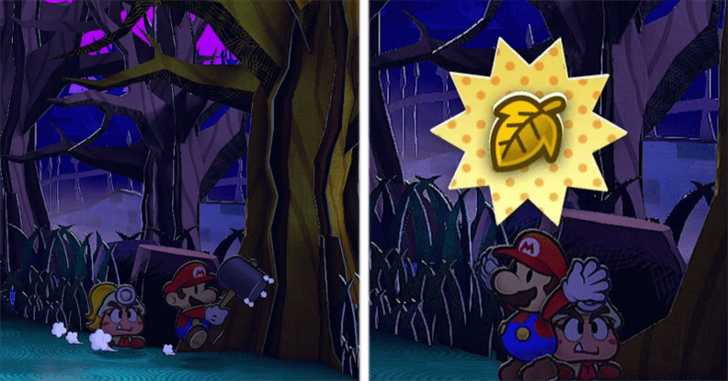 After going through the fence, continue right and you will see a brown tree. Hit it to get a Golden Leaf and you can go back to the hall but don't hit the ! Block. |
| 3 | 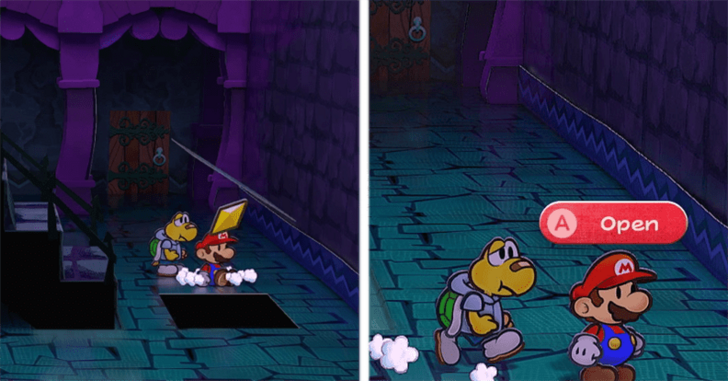 Ignore the ! Block for now and head inside the door next to it. You can Spin Jump in the center to get a Star Piece. Exit the room using the door towards you after. |
| 4 | 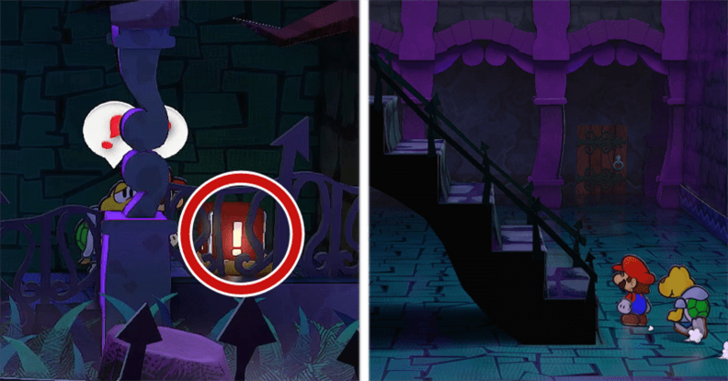 Hit the ! Block once and return to the Staircase room. Head up the flight of stairs and it should be on the one closest to the camera. |
| 5 | 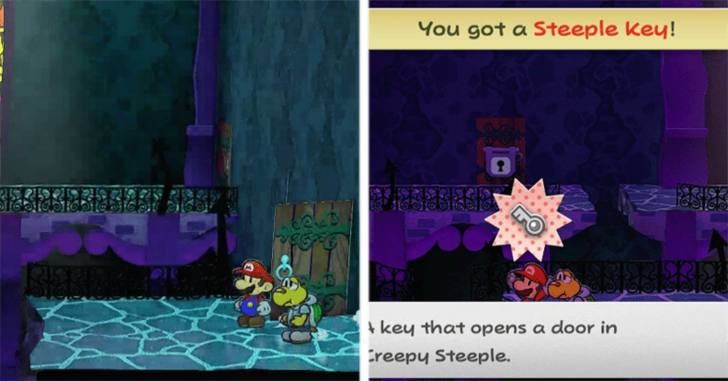 Head out the door and you should be on a higher level of the main steeple room. Head left and grab the Steeple Key with either Koops or Yoshi. |
| 6 | 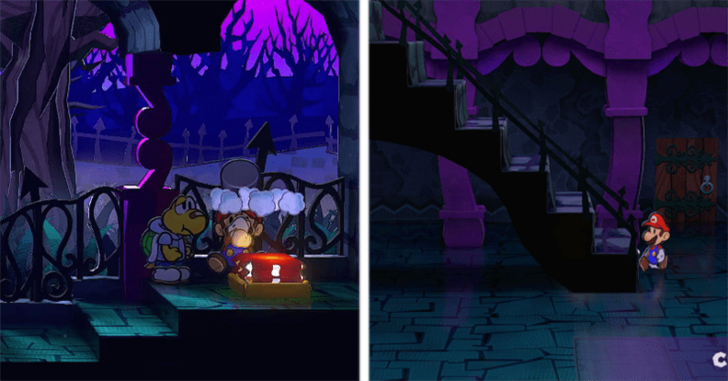 Return to the staircase room and head to the door at the top. Hit the ! Block to move the staircase to the Door farthest from the camera. |
| 7 | 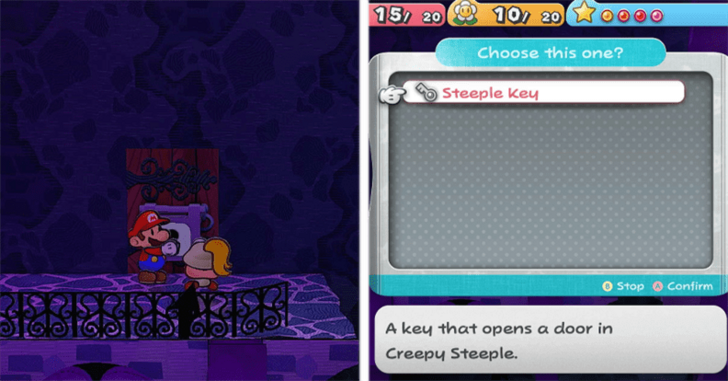 Go back inside the staircase and head out of the door on top, use Yoshi to clear the gaps and you will see a locked door. Use the Steeple Key on the Door to open it. |
| * | 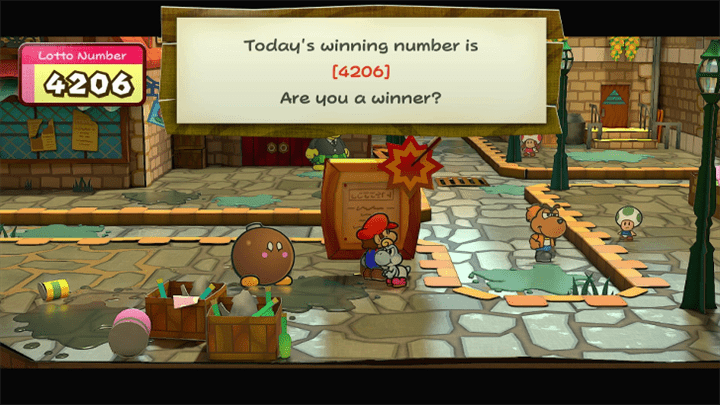 If you need anything from Rogueport or any other area, make sure to do it before going forward as you will be blocked from going back for a while! |
| 8 | 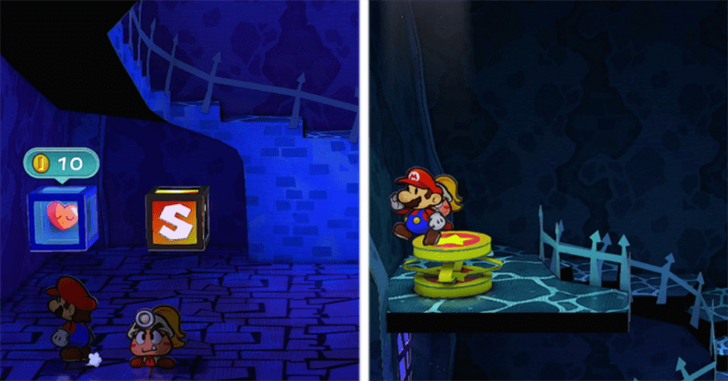 There is a healing block with a Save Block inside so use them since you're coming up on a boss fight. Head up the spiral staircase and use the spring at the end to get to the cozy living area. |
| 9 | 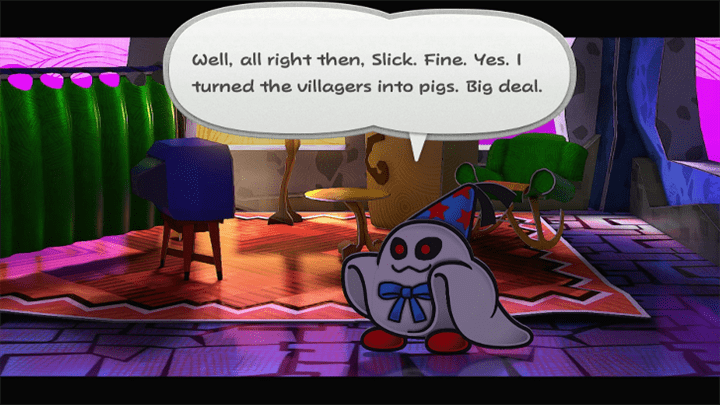 After noticing the visitors, he will try to get you out of there and you learn that this Ghost is the one turning the people of Twilight Town into Pigs. You will be thrust into a fight with the ghost. Click here for ????? Battle Guide ► |
| 10 | 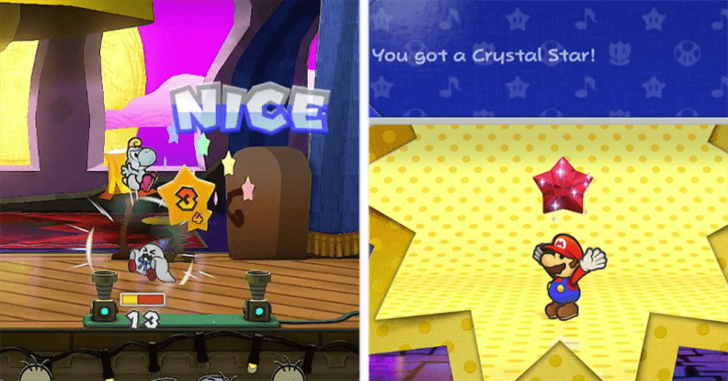 The boss has the same HP than Atomic Boo, but without the Status Conditions so this one should be easier. After winning, you will then be given the Crystal Star? |
Heading Back to Twilight Town Walkthrough
| Objectives | |
|---|---|
| 1 | 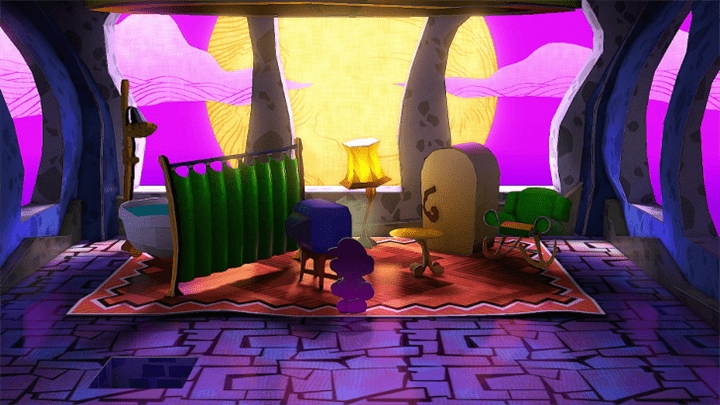 After the fight with the Ghost, you will wake up as Shadow Mario. The ghost switched bodies with you and now has all of your Partners with them. |
| 2 | 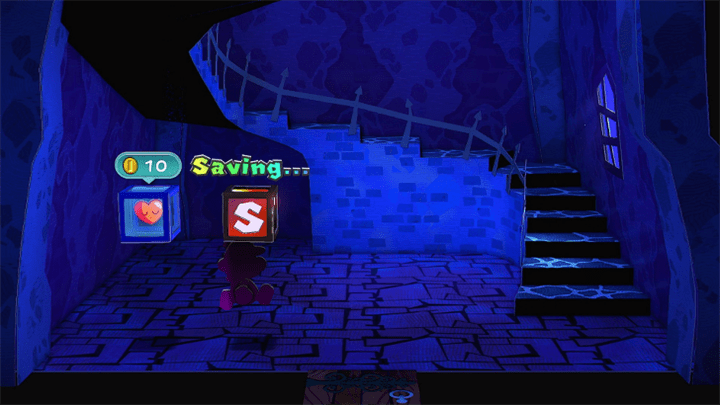 Press A to get up, and then head out of the Creepy Steeple. Heal if you need to, and a cutscene will play once you get out of the house. |
| 3 | 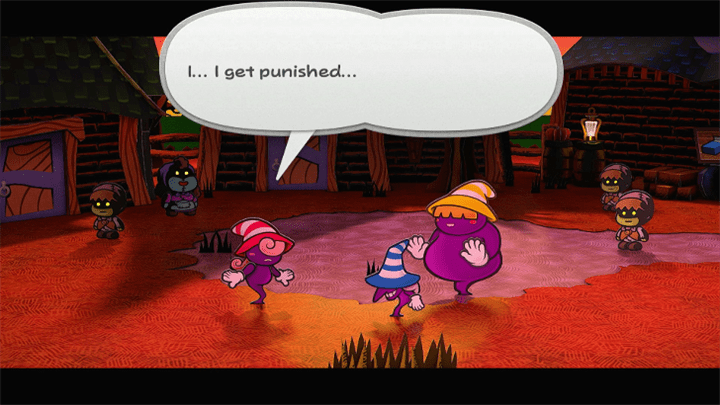 Back in Twilight Town, it seems like Vivian is being bullied by her sister again, now making her find the Superbombomb. The cutscene will end and you now have a hint on where to go next. |
| 4 | 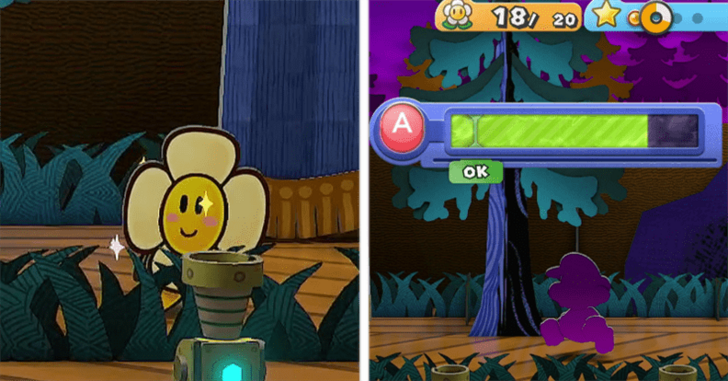 Once you get control of Mario, you can Save and you can now head back to Twilight Town. Try to evade and run away from enemies while backtracking. Amazy Dayzees are especially dangerous. |
| 5 | 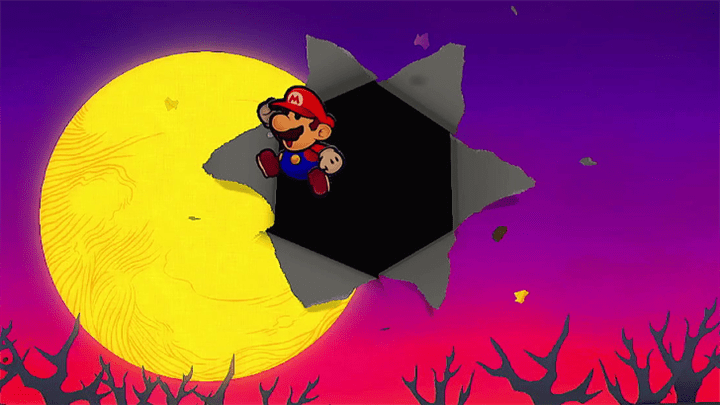 Once you reach the Old Shed, you will be jumped by Mario. He'll offer you a chance to get your body back, but you need to say their name. |
| 6 | 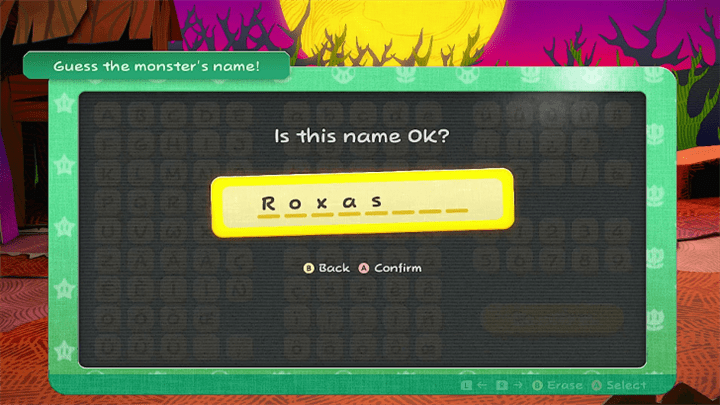 When prompted, you'll notice that the lowercase "p" is missing so you can just put in any name. He will attack you for saying the wrong name but you can't hit him so just run away. |
| 7 | 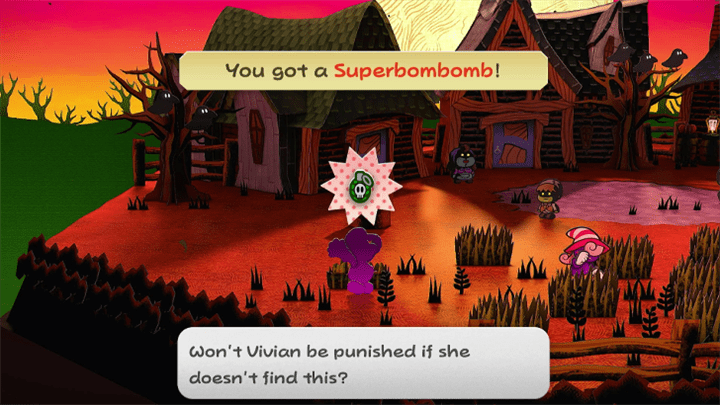 Once you get back to Twilight Town, head west where you'll see Vivian. You help her find the Superbombomb located in the grass on the far left. |
| 8 | 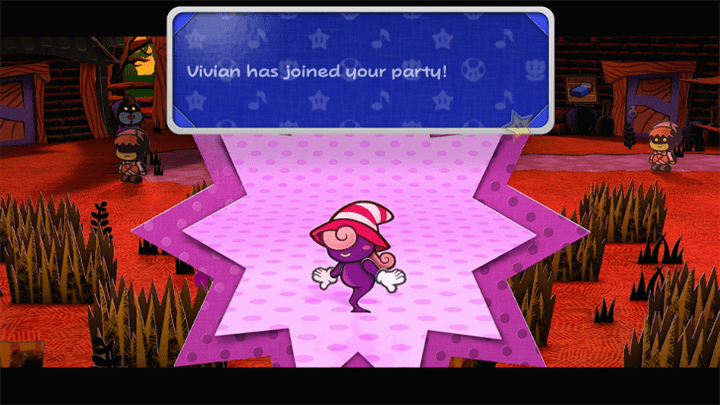 Talk to Vivian and she won't recognize you. To thank you for being kind to her for once in her life, she'll join you as a new partner! Click here for Vivian's Skill Guide ► |
Shadow Mario and Vivian Walkthrough
| Objectives | |
|---|---|
| 1 | 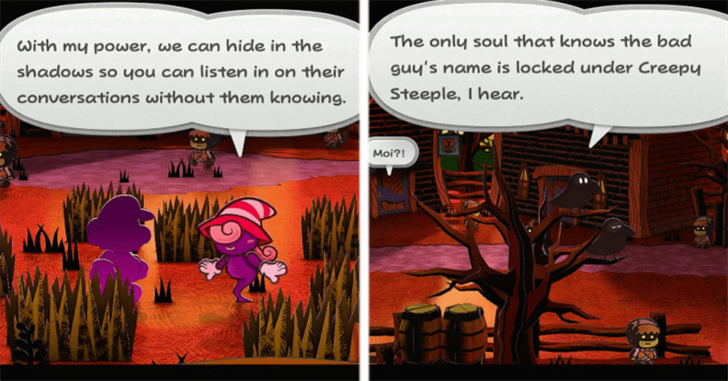 After you get your new partner, Vivian will tell you she can talk to birds with her ability. Use this to talk to the ones near the east exit of town knows a bird who knows the Ghost's name. |
| 2 | 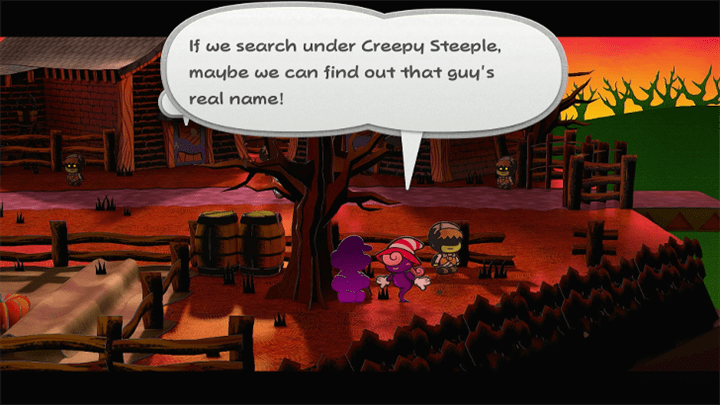 Once you learn of a certain bird who knows the ghost's name, you can head back to the Creepy Steeple. |
| 3 | 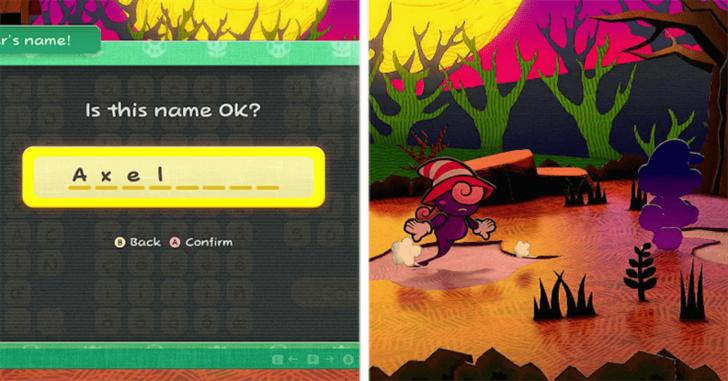 Along the way to the Steeple, you will once again be ambushed by Mario. Same as before, you have to run as he will not let you say his true name. |
| 4 | 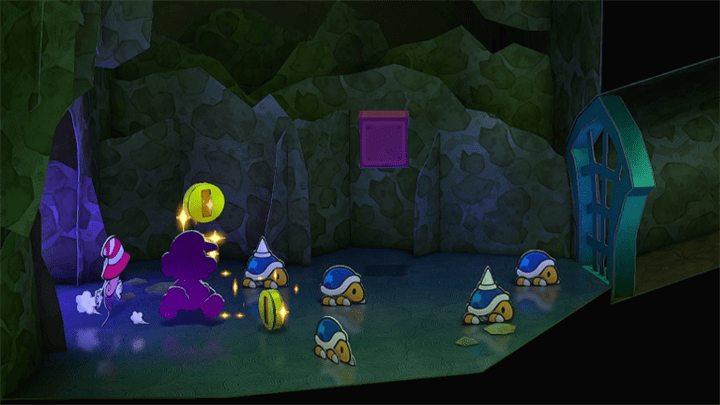 Once you reach the Old Steeple, head down the well and defeat the Buzzy Beetles while down there. |
| 5 | 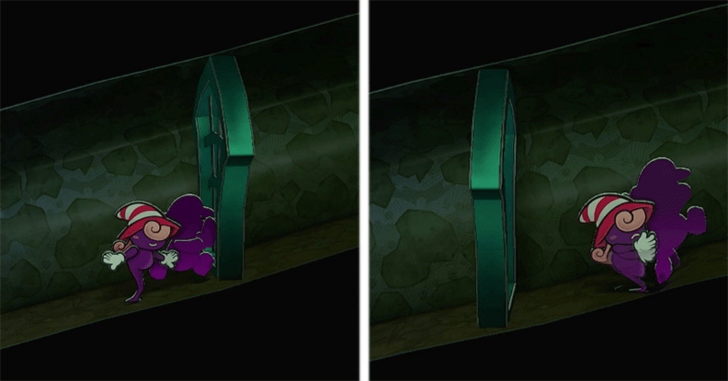 Once you reach the end, push the wall up the slope and use Vivian's ability to let it phase through you. Get off the ground and head into the next room where you can Save and obtain a Shine Sprite. |
| 6 | 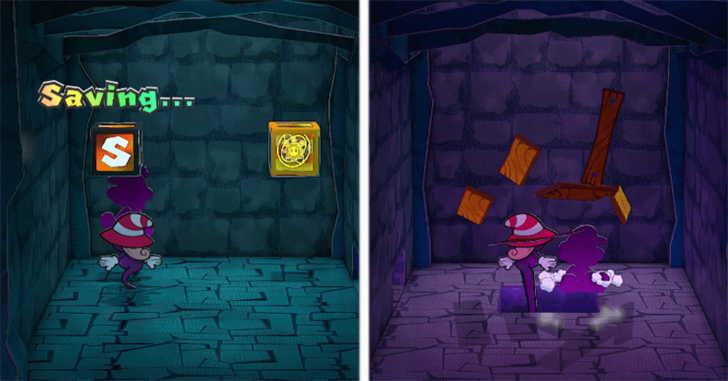 Use Tube mode to get into a hole on the floor and you'll see some floorboard thats you can use your Spin Jump on. Head into the hole under the floorboards. |
| 7 | 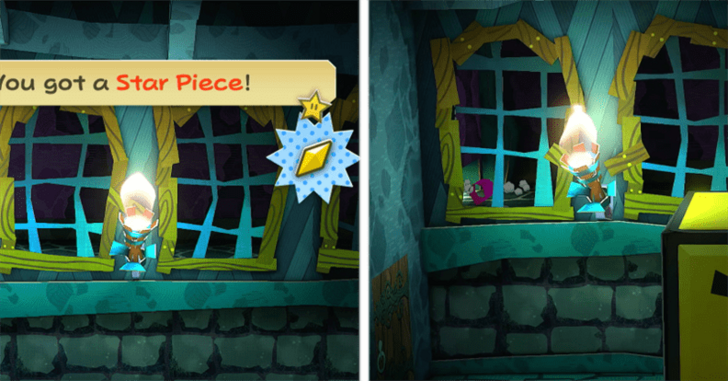 Once you get into the hole, grab the Star Piece and then head left and use Tube Mode once more to get into another hole and a room with a parrot and a ton of treasure. |
| 8 | 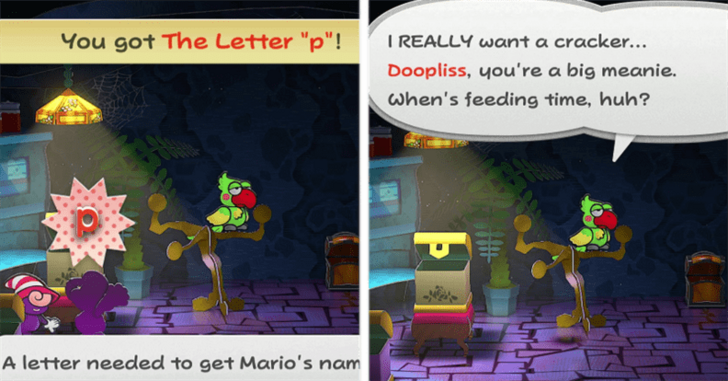 Spin Jump near the locked door to get a Star Piece. After looting the entire place and getting the "p", use Vivian's ability near the Parrot. It will spill the beans on what the ghost's name is, Doopliss! |
| 9 | 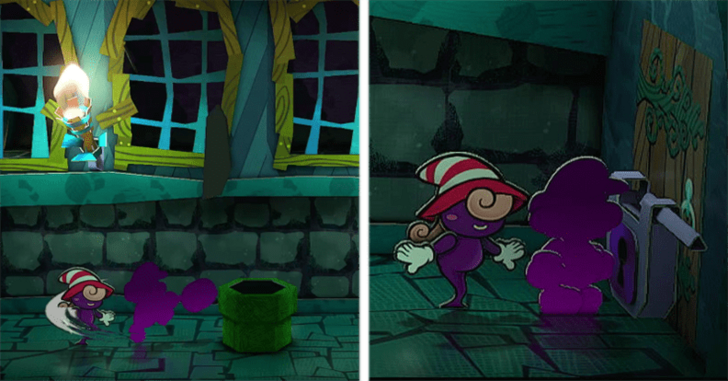 Head out the door and break the huge block to reveal a pipe that will take you back to Twilight Town. Make sure to unlock the Door with the Steeple Key to make it easier when you get back. |
I am me. Nobody Else! Walkthrough
| Objectives | |
|---|---|
| 1 | 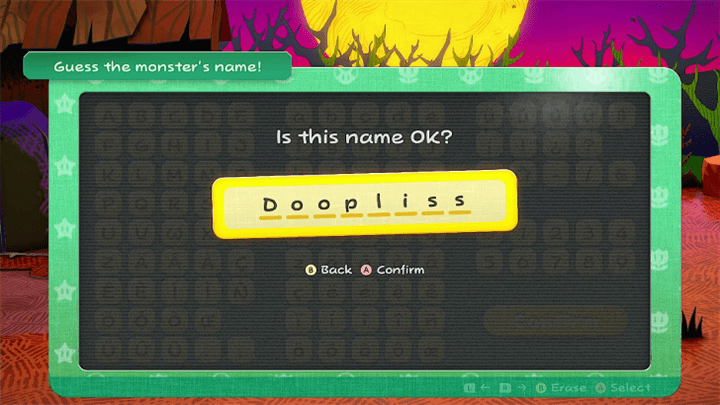 After getting back to the Shed in Twilight Trail, you can now battle the fake Mario and say its true name, Doopliss. After hearing its name, it will scurry off back into the Creepy Steeple. |
| 2 | 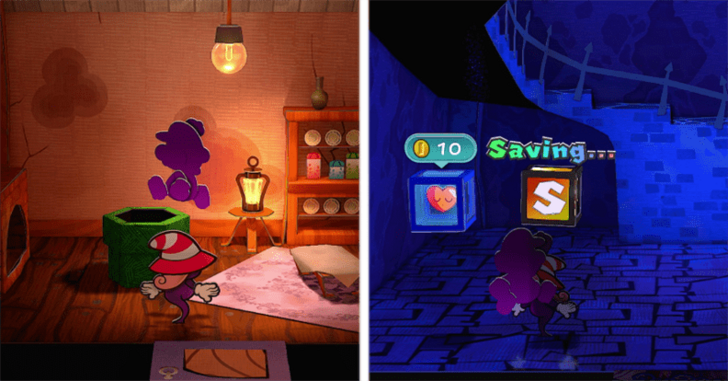 Use the Pipe in Twilight Town to get back to the Creepy Steeple, head back to the Spiral Staircase and make sure to save and heal. |
| 3 | 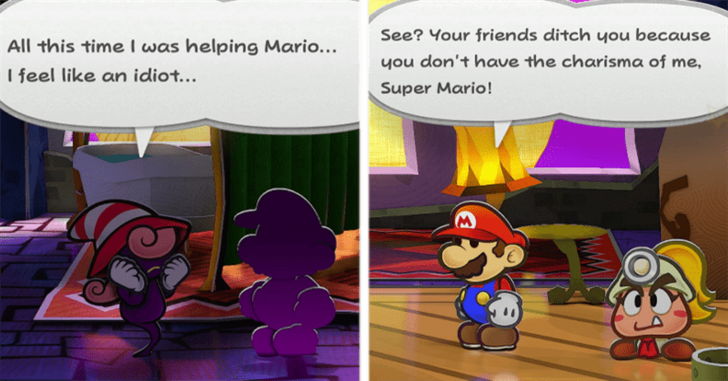 Go into Doopliss' room and after the cutscene of your friends choosing to side with Doopliss over you and Vivian learning that you're Mario, the boss fight will start. Click here for Doopliss Fight Guide ► |
| 4 | 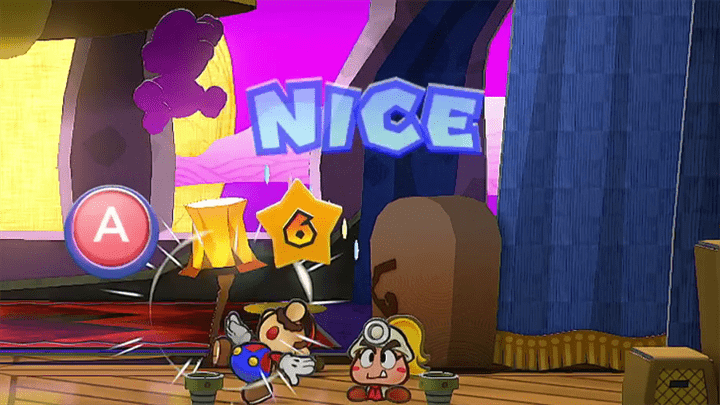 You will initially have no partner for the first few turns so you will be unable to use Special moves. Just focus your attacks on Mario instead of your companions. |
| 5 | 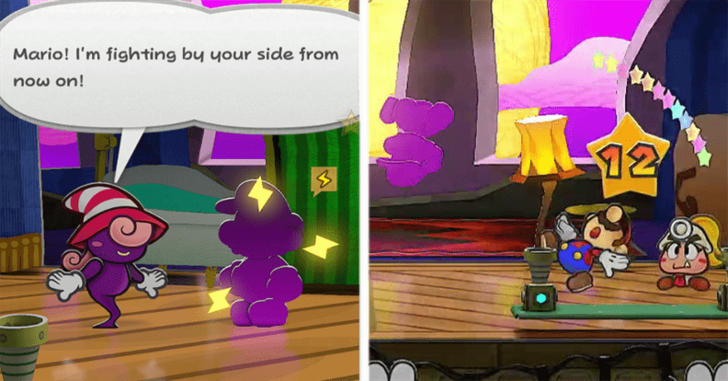 Once Vivian changes her mind and joins you, the fight will be a cakewalk and you can now finish the fight. |
| 6 | 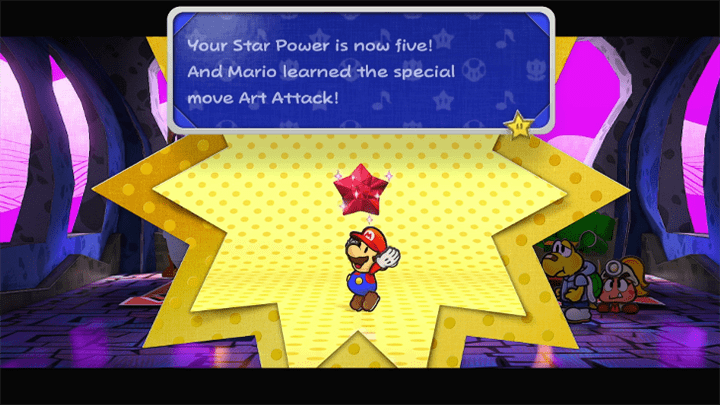 After defeating Doopliss, it will run away and Mario will gain his body back! Everyone apologizes and Vivian will officially join your party and hand you the Crystal Star you will now have 5 SP and a new Special! |
| 7 | 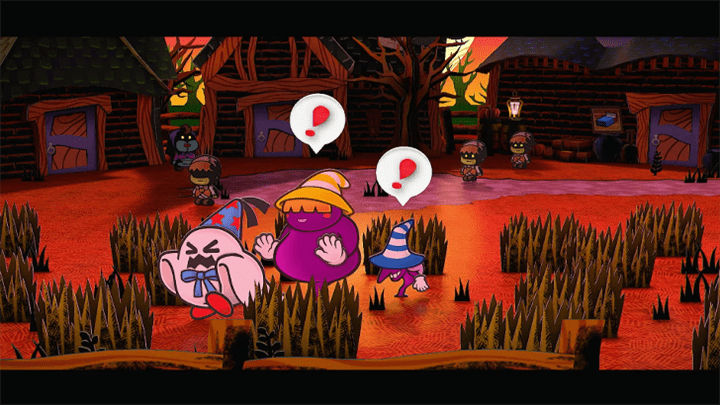 Before Peach's Interlude, a quick cutscene of Doopliss and the Shadow Sirens will play. |
Peach Interlude Walkthrough

After another cutscene with Grodus, Peach will actually be in TEC-XX's room now. TEC-XX will then quiz Peach about the story. Complete the mini-game and Peach will be able to send another e-mail to Mario.
Peach Chapter 4 Interlude Quiz Answers
| # | Answer |
|---|---|
| Q1 | The Thousand-Year Door opens. |
| Q2 | To conquer the world. |
| Q3 | A 1000-year-old demon's soul. |
| Q4 | Bring the demon back to life. |
| Q5 | Crystal Stars |
The table shows the answers to the quiz TEC-XX will give Peach. The questions aren't in a random order.
Peach Interlude Complete Walkthrough
Bowser Interlude Walkthrough
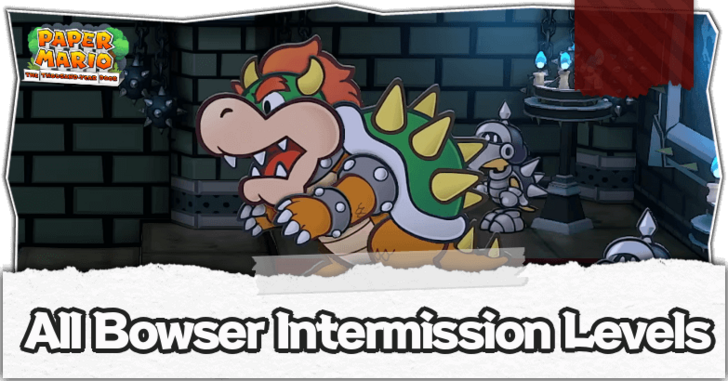
After failing to get to Glitzville on his Clown Copter and falling into the ocean, Bowser can now be controlled in a stage similar to World 2-2 in the original Super Mario Brothers!
After this small stage, Bowser will end back up on Rogueport meanwhile Kammy will report having the best time of her life in Glitzville!
Bowser Interlude Complete Walkthrough
From Twilight Town to The Carribean Walkthrough
| Objectives | |
|---|---|
| 1 | 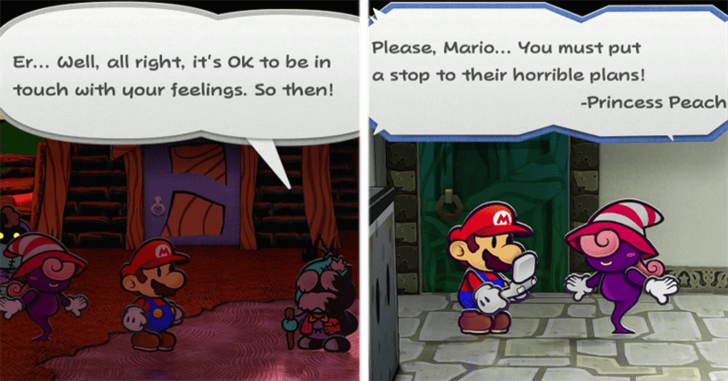 Once Bowser's Story has ended, a cutscene with Mario saying goodbye to the residents of Twilight Town will occur and you can now go back to Rogueport. After getting back to Rogueport, you will receive the e-mail from Peach. |
| * | 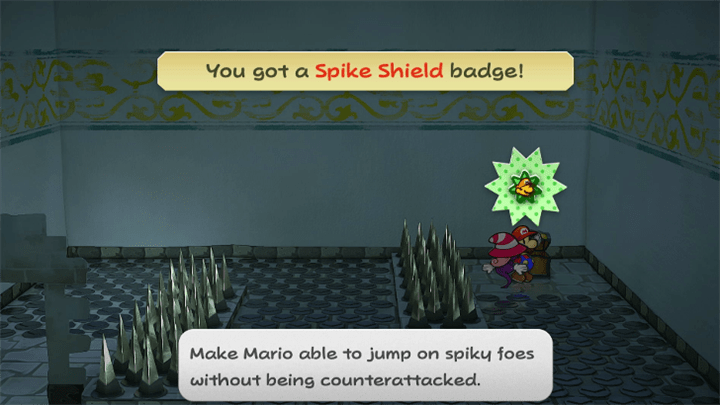 Now that you have Vivian, you can now get the Spike Shield Badge in the Sewers which is an amazing Badge to pick up. |
| 2 | 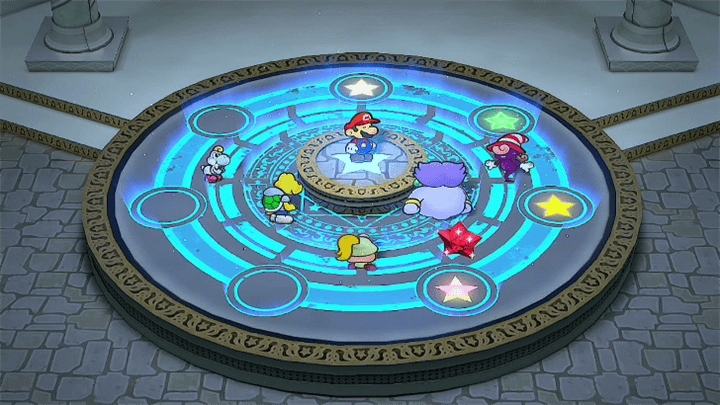 Once you're in the sewers, head into the podium of the Thousand-Year Door. You learn that the next Crystal Star is in some tropical island south of Rogueport. You will then be teleported to Professor Frankly's to find out what to do next. |
| 3 | 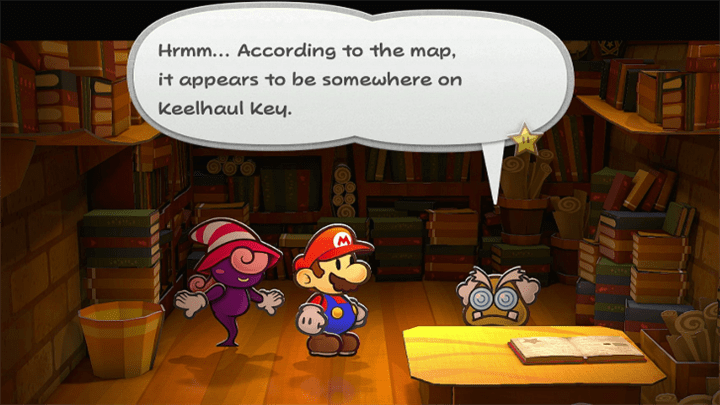 After finding more about Thousand-Year Door and about the demon inside it, the next Crystal Star is in Keelhaul Key. |
| * |  If you still need to do some stuff in Rogueport, like fixing up Troubles or hunting for Star Pieces, make sure to do them before starting the Flavio and Bobbery Quest. |
| 4 | 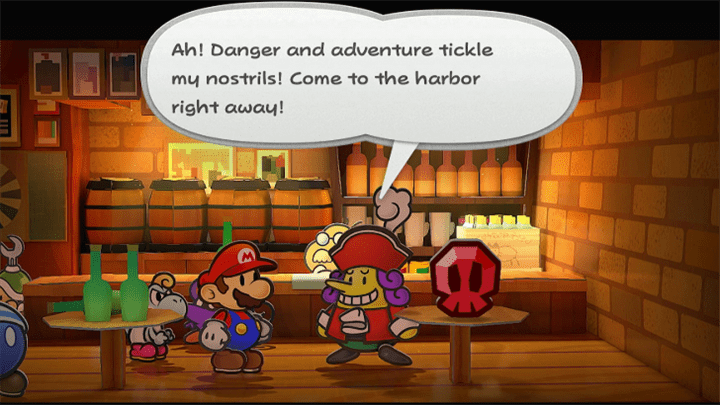 Once you're done with what you need to do, go to the inn where you'll meet Favio, a guy singing in one of the tables. He will let you join his treasure hunt only if you promise to just grab the Crystal Star. |
| 5 | 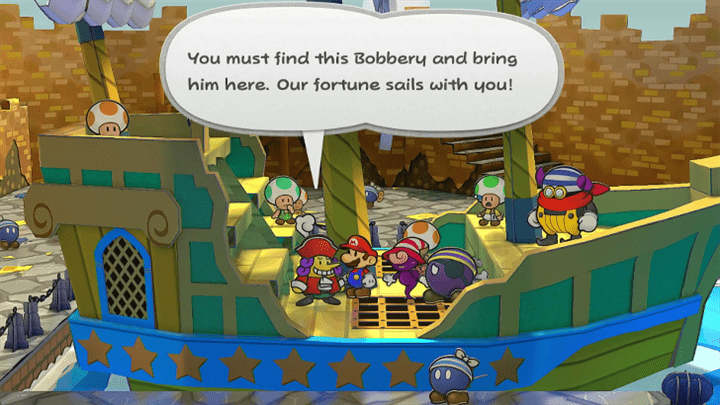 Head to the port and a ship will be there. Talk to Flavio and he will tell you that you need a helmsman and will ask you to find Bobbery. |
| 6 | 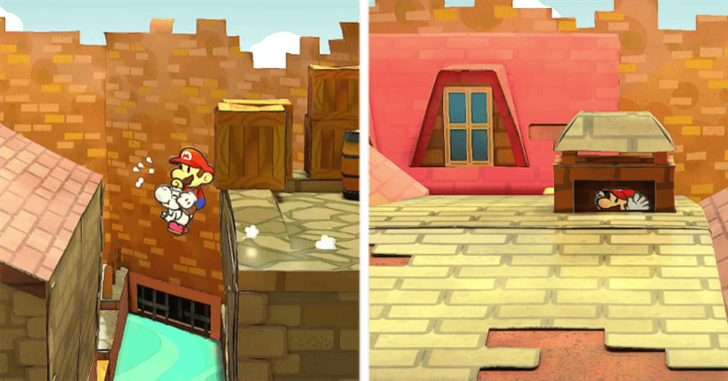 You can find Bobbery if you head east of Frankly's house and south of the bridge. You need Yoshi to Flutter Jump near the side of the bridge and get to the other side. Go up the crates to get onto the roof and use your Tube mode to get inside the chimney. ▶︎ Where to Find Bobbery in Rogueport |
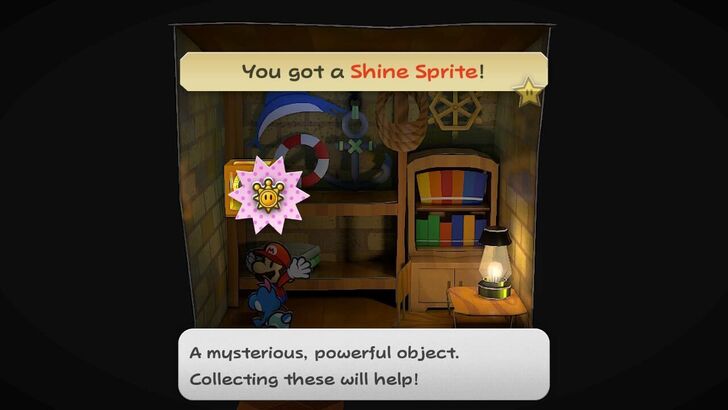
| 7 | 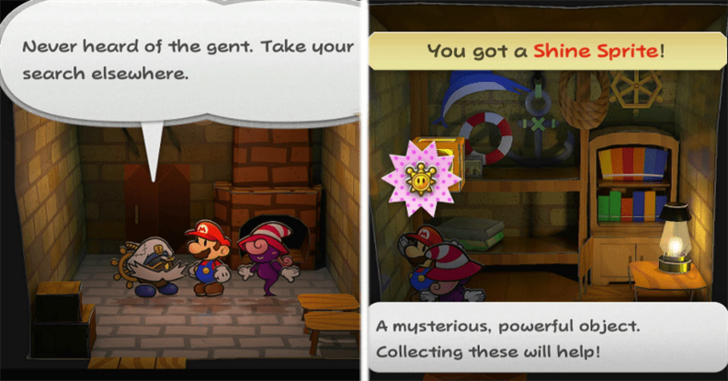 Talk to the Bob-omb with the cool stache and he will initially deny being Bobbery and asks you to leave. Before you leave grab the Shine Sprite in the back. |
| 8 | 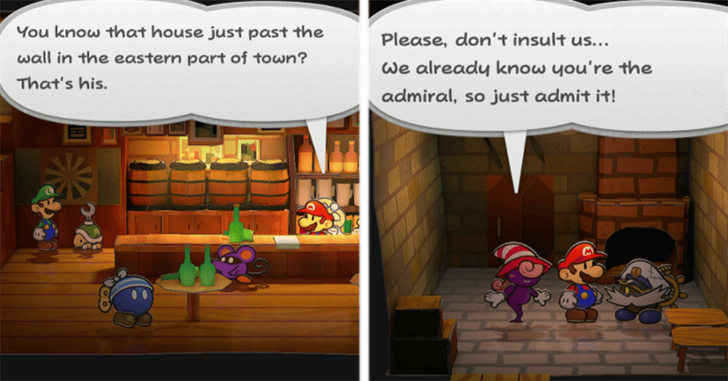 Go to the inn and talk to the bartender, he will confirm that the Bob-omb you met is indeed Bobbery so go back to confront him. |
| 9 | 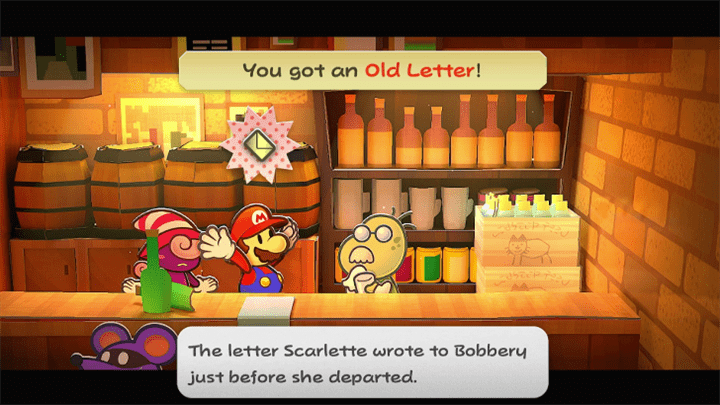 Once you get back to Bobbery's house he will confirm that it is indeed him but will refuse to join you. Head back to the inn to get the Letter written by Scarlette. |
| 10 | 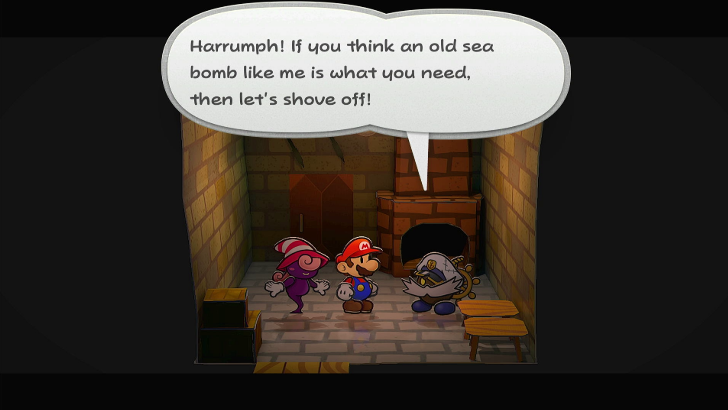 Head back to Bobbery's house and hand him the letter. After a touching cutscene he will now agree to join you and will be waiting at the pier. |
| * | 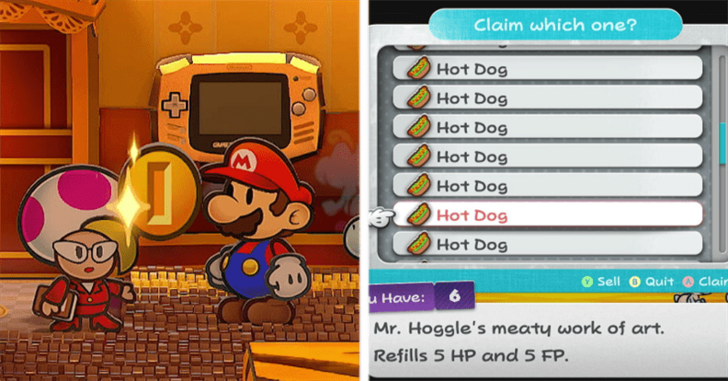 Do note that going into Chapter 5 will lock you out of Rogueport until you complete it! Make sure you're stocked up on items and do everything that you can around Rogueport. Have some backup supplies in your Storage and keep some Coins and Inn Coupons on you. |
| 11 | 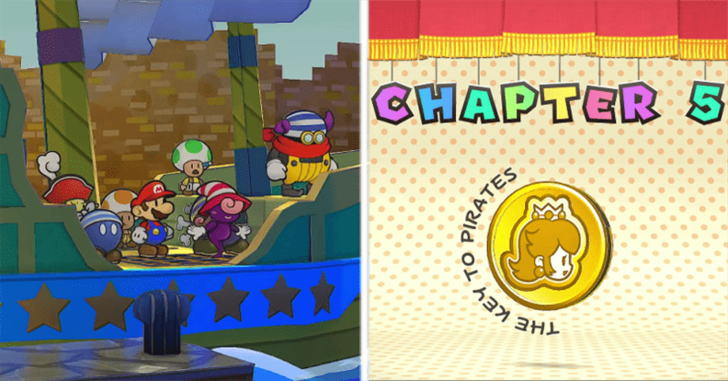 Head to the Pier and talk to Flavio. Enjoy the cutscene, look at the impostor among us, and you are now in Chapter 5. |
How to Get the Optional Partner, Ms Mowz
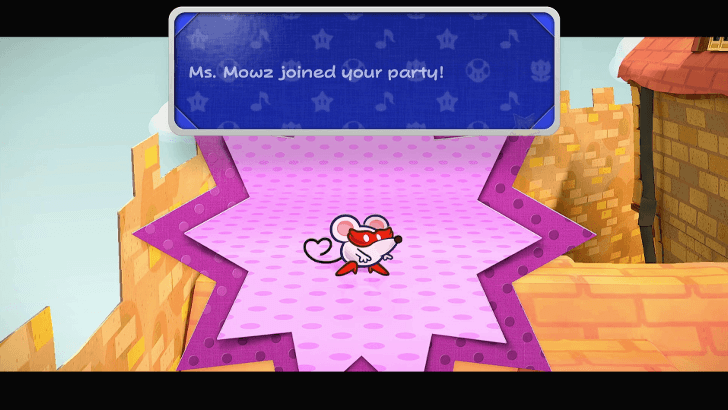
Before heading to Chapter 5, you now have access to the optional Partner, Ms. Mowz. Head to the Trouble Center, and once you complete the Elusive Badge Trouble, you can unlock Ms. Mowz as an party member.
Elusive Badge! Trouble Center Walkthrough
Chapter 4 Collectibles and Items
Star Pieces
| Done? | Location | In-Game Image |
|---|---|---|
|
Twilight Town
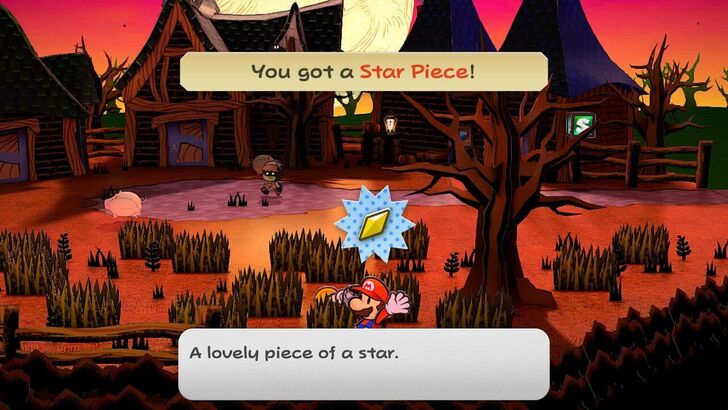
In a bush towards the left of a tree in the south area. |
 |
|
|
Twilight Town
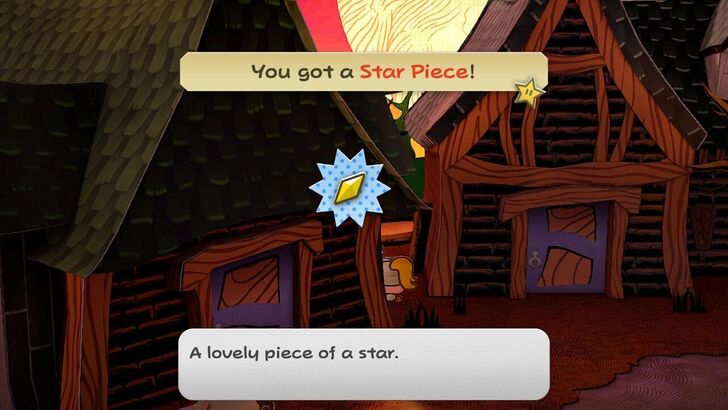
Behind the leftmost house. |
 |
|
|
Twilight Town
Behind some barrels near a tree in the southern part of east Twilight Town. |
 |
|
|
Twilight Trail
Behind a fallen tree towards the east of Twilight Town, accessible after obtaining Tube Mode. |
 |
|
|
Twilight Trail
Behind a pipe leading to the woods at the eastern side. |
 |
|
|
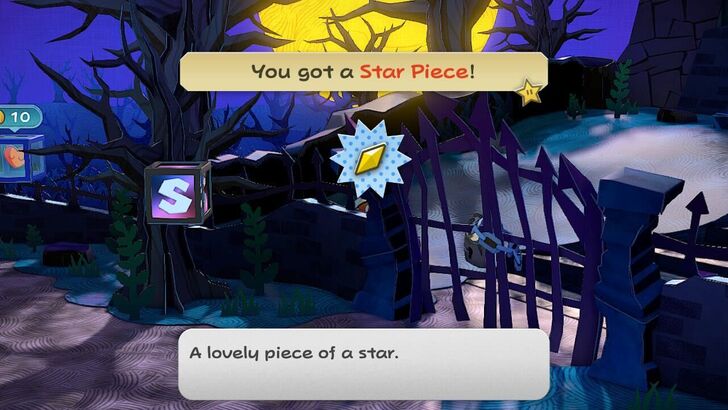
Creepy Steeple
Behind a wall on the left side of the gate outside of Creepy Steeple. |
 |
|
|
Creepy Steeple
At the back of the treasure room near the entrance of Creepy Steeple's entrance that is accessible with Tube Mode. |
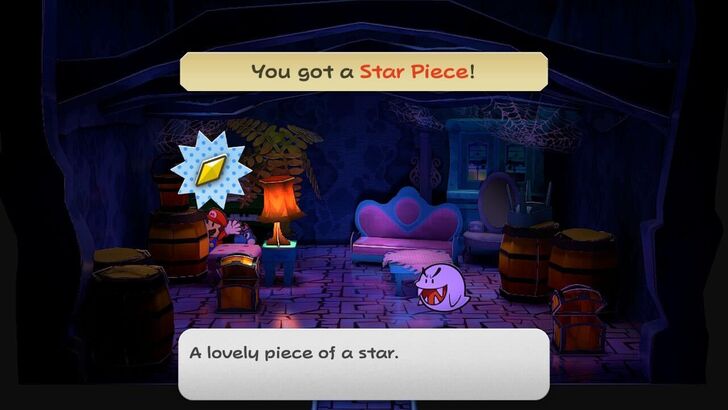 |
|
|
Creepy Steeple
Beneath a panel towards the right of the stairs to the east of the main room. |
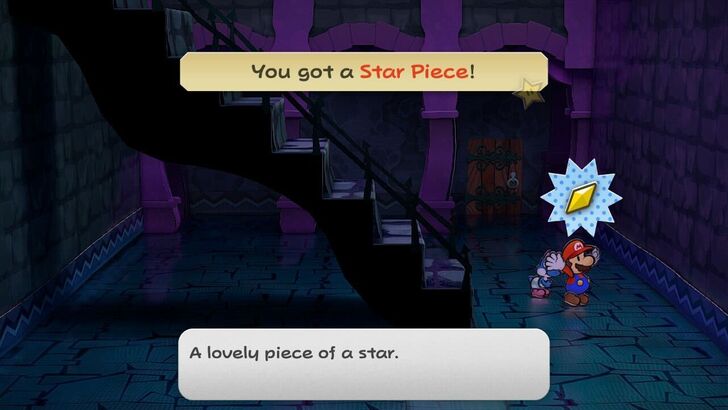 |
|
|
Creepy Steeple
Behind the rightmost windows, accessed by using Tube Mode from outside. |
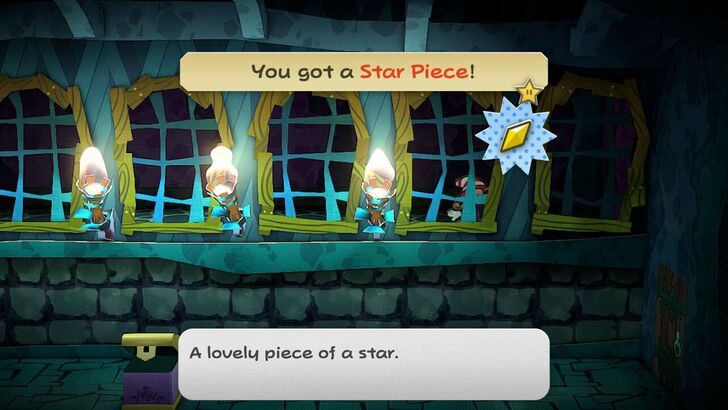 |
|
|
Creepy Steeple
Beneath a panel in the southwest corner of the room with the parrot. |
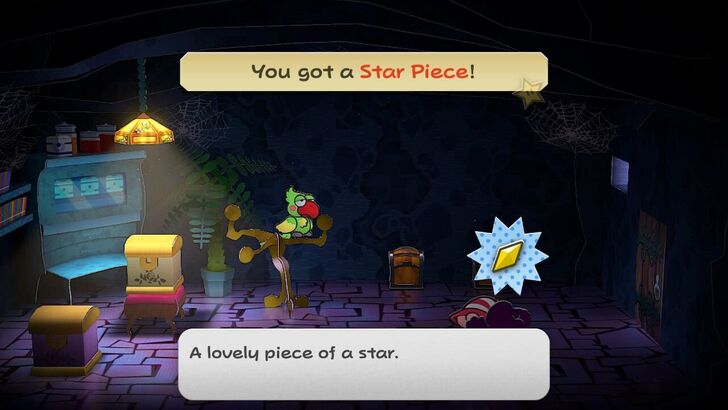 |
Shine Sprites
| Done? | Location | In-Game Image |
|---|---|---|
|
Twilight Trail
Behind the last tree before getting to Creepy Steeple. |
 |
|
|
Creepy Steeple
At the bottom of the well outside the front gate. |
 |
|
|
Creepy Steeple
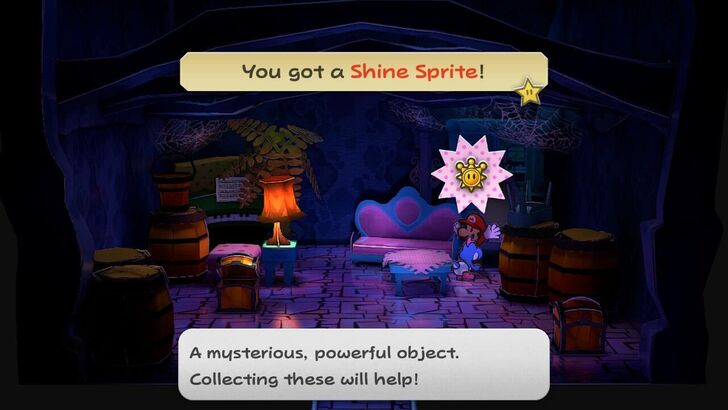
Behind a small opening at the beginning of the first hall. |
 |
|
|
Creepy Steeple
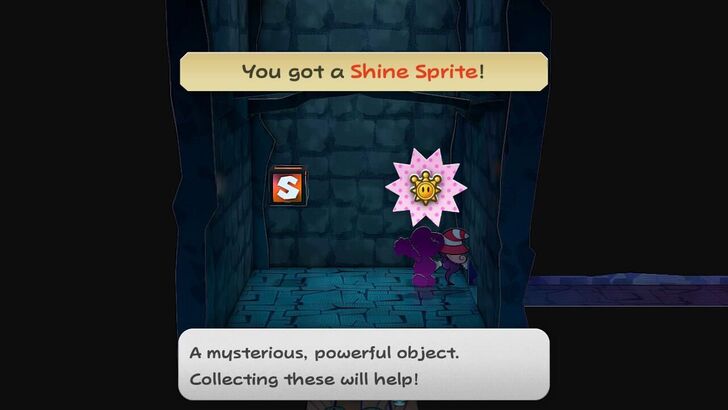
To the left of the incline where you have to push a door-shaped barricade. |
 |
|
|
Rogueport
At Admiral Bobbery's back room. |
 |
|
|
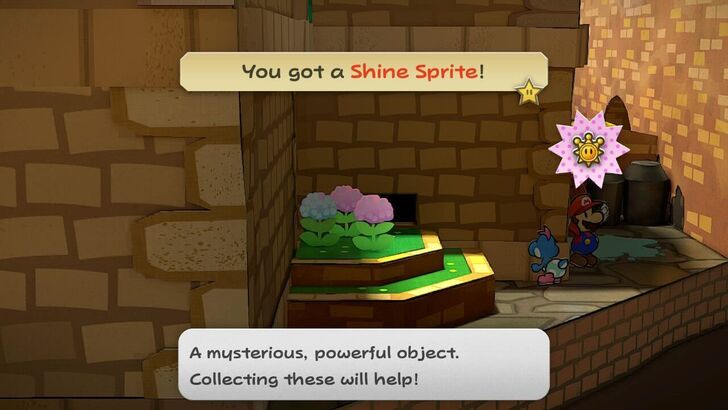
Rogueport
In the backyards of the house across the tall pipe on the west side, accessed from a hole requiring Tube Mode. |
 |
Blocks
Regular Blocks
| Done? | Location and Item | In-Game Image |
|---|---|---|
|
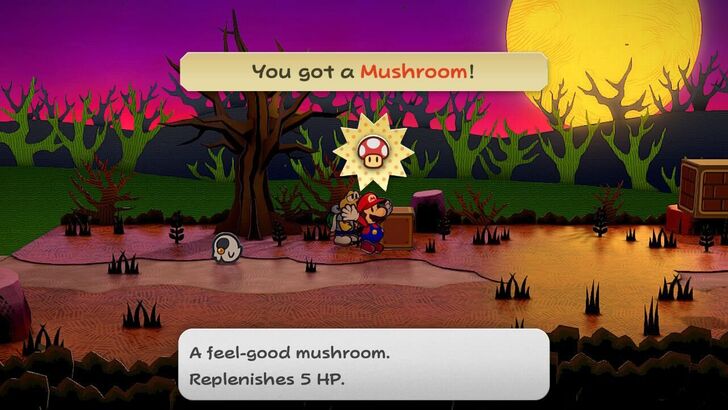
Twilight Trail
Found in the middle of the second screen. Item: Mushroom |
 |
|
|
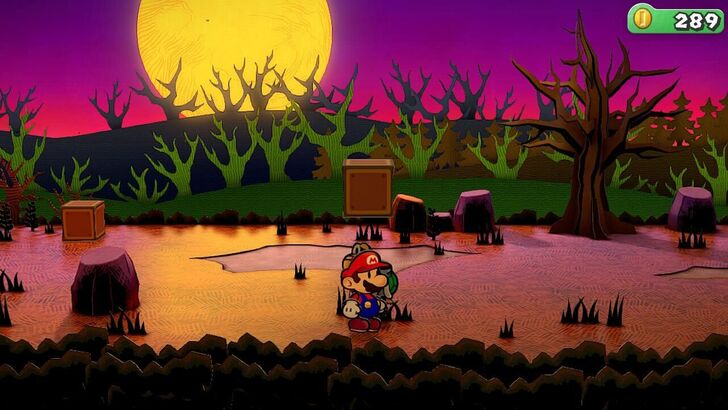
Twilight Trail
Found near the exit of the second screen. Item: 10 Coins |
 |
|
|
Twilight Trail
Found in the south of the first forest area. Item: Super Shroom |
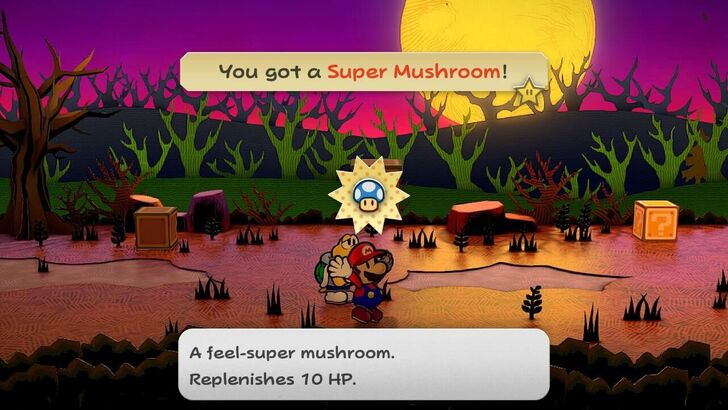 |
|
|
Twilight Trail
Found in the northeast of the first forest area. Item: Earth Quake |
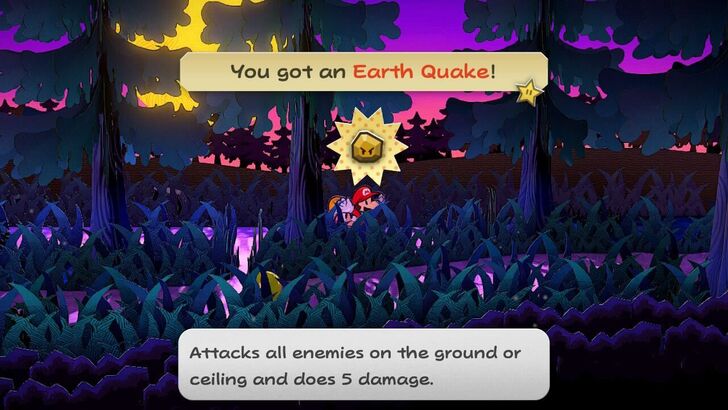 |
|
|
Twilight Trail
Found on a path in the second forest area. Item: Hammer Throw |
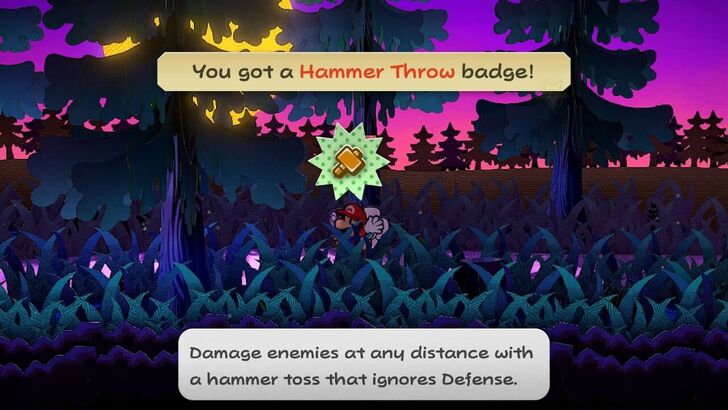 |
|
|
Creepy Steeple
Found in the second room after going down the well outside of Creepy Steeple. Item: Tornado Jump |
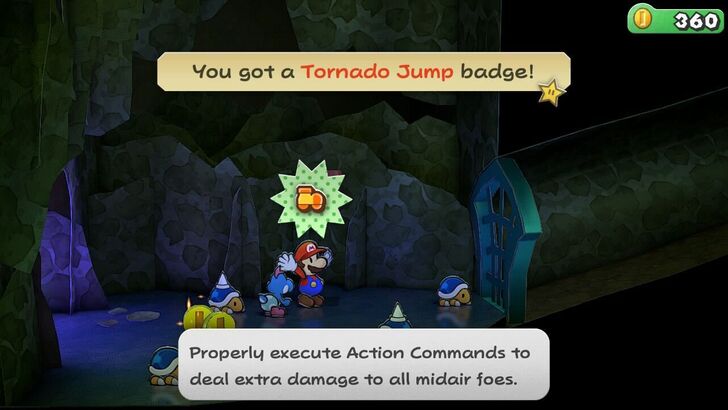 |
|
|
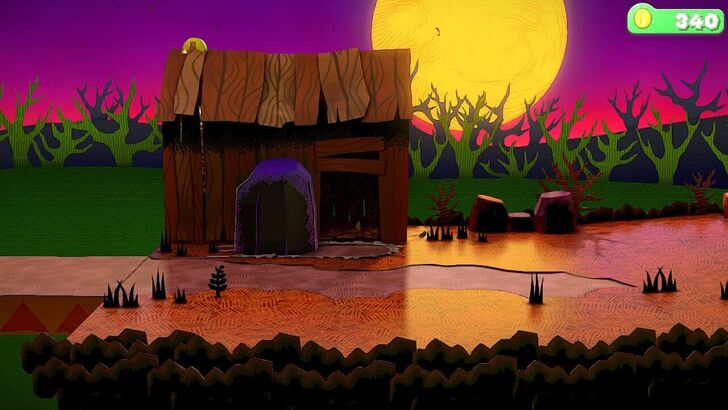
Twilight Trail
Found inside the shed right outside Twilight Town, right above where you get the Black Key. Item: Coins |
 |
Hidden Blocks
| Done? | Location and Item | In-Game Image |
|---|---|---|
|
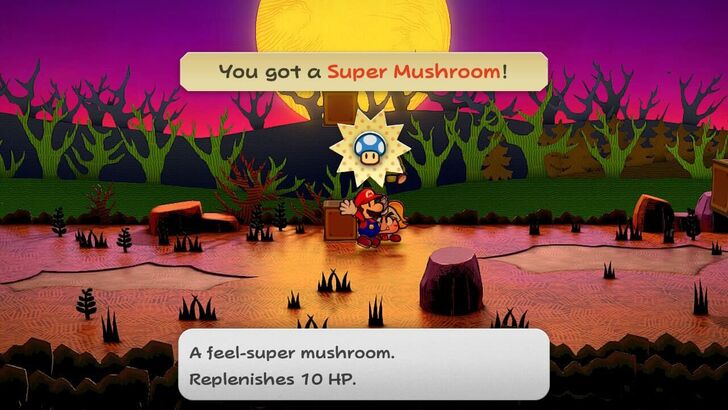
Twilight Trail
Found on top of a block in the second area from Twilight Town. Item: Super Shroom |
 |
|
|
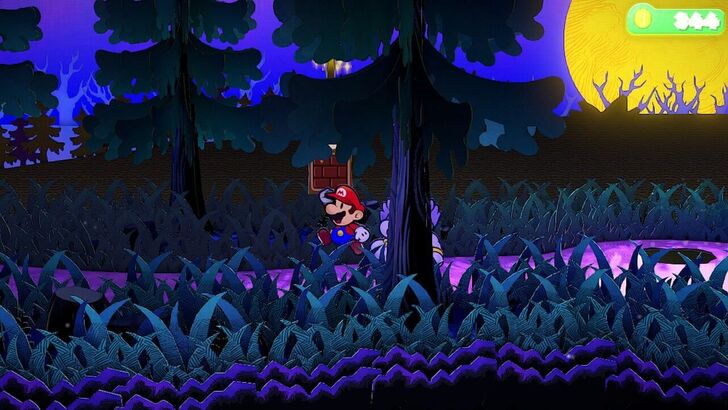
Twilight Trail
Found in the dark wooded area that has the pushable boulder. Jump to the left of the first hole to reveal the hidden block. Item: Coin Block |
 |
|
|
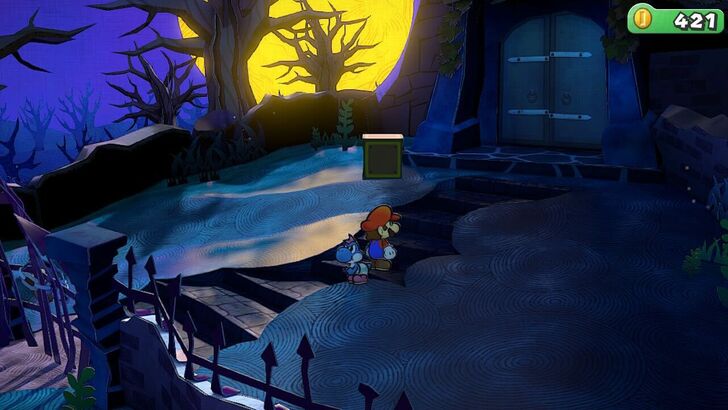
Creepy Steeple
Found at the entrance of Creepy Steeple, jump at the fourth step from the top. Item: 1 Coin |
 |
Chapter 4 Enemy List
Twilight Trail Enemies
| List of Enemies in Twilight Trail | |||
|---|---|---|---|
| Enemy | HP | Atk | Def |
| 8 | 2 | 0 | |
| 8 | 2 | 0 | |
| 8 | 3 | 0 | |
| 7 | 2 | 0 | |
| 20 | 20 | 1 | |
| 4 | 3 | 3 | |
Creepy Steeple Enemies
| List of Enemies in Creepy Steeple | |||
|---|---|---|---|
| Enemy | HP | Atk | Def |
| 5 | 3 | 4 | |
| 5 | 3 | 4 | |
| 6 | 3 | 0 | |
| 7 | 3 | 0 | |
Chapter 4 Boss Guides
Atomic Boo Optional Boss Guide
| Enemy | HP | Atk | Def |
|---|---|---|---|
| 40 | 4 | 0 |
Atomic Boo likes to Inflict Status Conditions, so Make Sure to Save
Atomic Boo likes to use status moves Confusion and Stop, so there is an element of luck is involved in the battle. Don't forget to save beforehand.
In addition, you can challenge Atomic Boo at any time after Chapter 4, so there is no need to force yourself to fight her. It is recommended that you challenge her when you have all your allies.
Doopliss Oprional Boss Guide
| Enemy | HP | Atk | Def |
|---|---|---|---|
| 40 | 4 | 0 |
Focus on Attacking Doopliss
If you defeat Doopliss, the battle will end, so ignore your allies and just focus on taking down Doopliss. Doopliss has pretty high HP, so it will be a long battle.
Vivian's Shadow Punch can deal DoT with Burn, which will help you reduce his HP efficiently.
Locations Available in Chapter 4
Twilight Town, Twilight Trail, and the Creepy Steeple
| New Locations Available in Chapter 4 | |
|---|---|
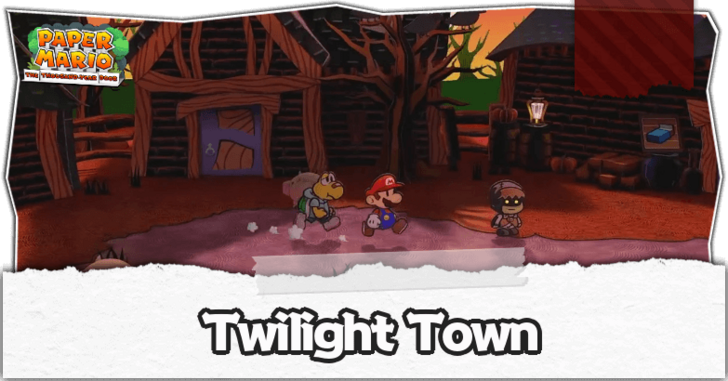 Twilight Town Twilight Town |
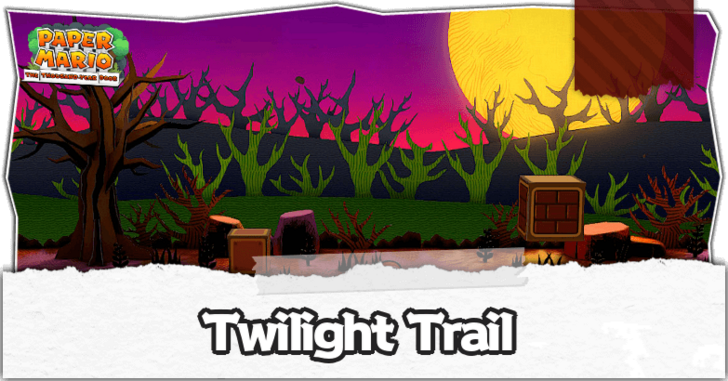 Twilight Trail Twilight Trail |
 Creepy Steeple Creepy Steeple |
|
Upon starting Chapter 4, you will gain access to Twilight Town, Twilight Trail, and the Creepy Steeple. There is a shortcut to Twilight Town you can unlock after beating Chapter 4 and unlocking the Pipe in the Pipe Zone!
Chapter 4 Trouble Center Quests
The following Troubles will be unlocked after completing Chapter 4.
| Done? | Client | Details and Rewards |
|---|---|---|
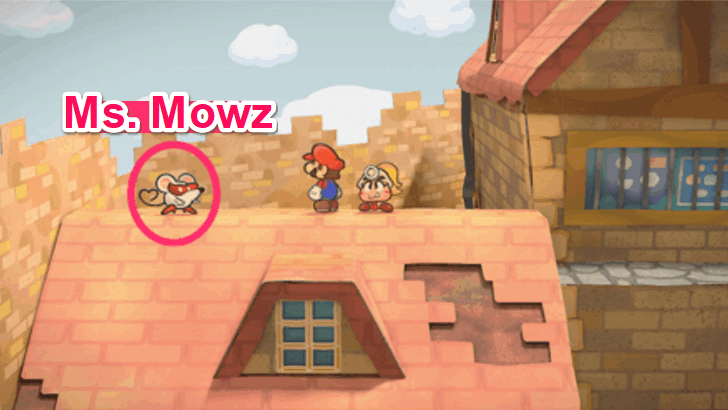 |
Request: Elusive Badge! Reward: Attack FX B Unlock: After Chapter 4 Find the Attack FX B in Hooktail Castle and give it to Ms Mowz. Impressed by your skills, Ms. Mowz will decide to join your party. |
|
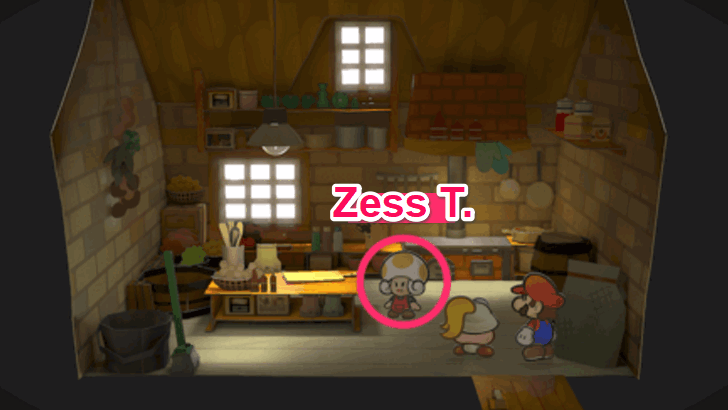 |
Request: Seeking Legendary Book! Reward: Honey Shroom Unlock: After Chapter 4 Get the Cookbook from the chest in the Creepy Steeple and hand it to Zess T. |
Paper Mario: The Thousand-Year Door Related Guides

Chapter Walkthroughs
Other Walkthroughs
| Other Walkthroughs | ||
|---|---|---|
 Peach Intermissions Peach Intermissions |
 Bowser Intermissions Bowser Intermissions |
 Trouble Center Trouble Center |
Comment
Author
Paper Mario: The Thousand-Year Door (TTYD) Walkthrough & Guides Wiki
Chapter 4: For Pigs the Bell Tolls Walkthrough
improvement survey
03/2026
improving Game8's site?

Your answers will help us to improve our website.
Note: Please be sure not to enter any kind of personal information into your response.

We hope you continue to make use of Game8.
Rankings
- We could not find the message board you were looking for.
Gaming News
Popular Games

Genshin Impact Walkthrough & Guides Wiki

Honkai: Star Rail Walkthrough & Guides Wiki

Umamusume: Pretty Derby Walkthrough & Guides Wiki

Pokemon Pokopia Walkthrough & Guides Wiki

Resident Evil Requiem (RE9) Walkthrough & Guides Wiki

Monster Hunter Wilds Walkthrough & Guides Wiki

Wuthering Waves Walkthrough & Guides Wiki

Arknights: Endfield Walkthrough & Guides Wiki

Pokemon FireRed and LeafGreen (FRLG) Walkthrough & Guides Wiki

Pokemon TCG Pocket (PTCGP) Strategies & Guides Wiki
Recommended Games

Diablo 4: Vessel of Hatred Walkthrough & Guides Wiki

Fire Emblem Heroes (FEH) Walkthrough & Guides Wiki

Yu-Gi-Oh! Master Duel Walkthrough & Guides Wiki

Super Smash Bros. Ultimate Walkthrough & Guides Wiki

Pokemon Brilliant Diamond and Shining Pearl (BDSP) Walkthrough & Guides Wiki

Elden Ring Shadow of the Erdtree Walkthrough & Guides Wiki

Monster Hunter World Walkthrough & Guides Wiki

The Legend of Zelda: Tears of the Kingdom Walkthrough & Guides Wiki

Persona 3 Reload Walkthrough & Guides Wiki

Cyberpunk 2077: Ultimate Edition Walkthrough & Guides Wiki
All rights reserved
© Nintendo. Games are property of their respective owners. Nintendo of America Inc. Headquarters are in Redmond, Washington, USA
The copyrights of videos of games used in our content and other intellectual property rights belong to the provider of the game.
The contents we provide on this site were created personally by members of the Game8 editorial department.
We refuse the right to reuse or repost content taken without our permission such as data or images to other sites.
 Prologue: A Rogue's Welcome
 Chapter 1: Castle and Dragon
 Chapter 2: The Great Boggly Tree
 Chapter 3: Of Glitz and Glory
 Chapter 5: The Key to Pirates
 Chapter 6: 3 Days of Excess
 Chapter 7: Mario Shoots the Moon
 Chapter 8: The Thousand-Year Door





![Everwind Review [Early Access] | The Shaky First Step to A Very Long Journey](https://img.game8.co/4440226/ab079b1153298a042633dd1ef51e878e.png/thumb)

![Monster Hunter Stories 3 Review [First Impressions] | Simply Rejuvenating](https://img.game8.co/4438641/2a31b7702bd70e78ec8efd24661dacda.jpeg/thumb)


