Chapter 5: The Key to Pirates Walkthrough
★ TTYD Switch Remake is now available!
┗ Remake Differences | New Gold Medal Badge!
★ Tips for Beginners | Secrets and Combat Tips
┗ How to Level Up Fast | How to Farm Coins
☆ Best Moves | Best Partners | Best Badges
★ All Walkthroughs | All Star Pieces | All Shine Sprites
Game8's walkthrough for Paper Mario: The Thousand-Year Door's (TTYD) Chapter 5, The Key to Pirates. Read on for a detailed guide for this chapter, including locations of collectibles, locations of note in Keelhaul Key and Pirate's Grotto, enemies, as well as useful tips for completing this chapter!
| ◄ Previous Chapter | Next Chapter ▶ |
|---|---|
| Chapter 4: For Pigs The Bell Tolls |
Chapter 6: 3 Days of Excess |
List of Contents
Chapter 5: The Key to Pirates Story Walkthrough
| ★Recommended Stats★ | ||||||||
|---|---|---|---|---|---|---|---|---|
| Chapter 5 Main Objectives | ||||||||
| 1 | We Are Castaways | |||||||
| 2 | Bobbery's Cola | |||||||
| 3 | Pirate's Grotto | |||||||
| 4 | Don't Go Chasing Waterfalls | |||||||
| 5 | The Shipwrecked Toads | |||||||
| 6 | Cortez and His Treasure | |||||||
| 7 | I'll Crump With You | |||||||
| Peach Interlude | ||||||||
| Bowser Interlude | ||||||||
| 10 | Another Favor for Don Pianta | |||||||
Click on any of the links above to jump to the section!
We Are Castaways Walkthrough
| Objectives | |
|---|---|
| 1 | 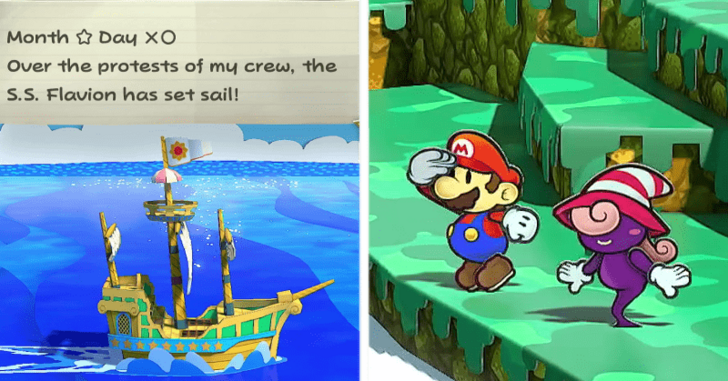 The chapter will start with Flavio logging the journey. After finding out what happened to Mario and the crew's ship, you will start the Chapter watching over the horizon. |
| * | 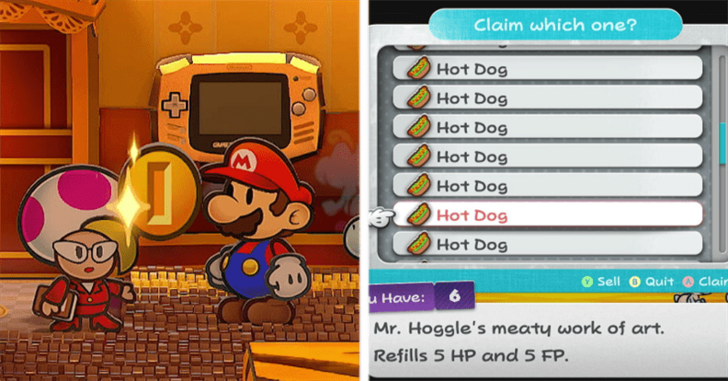 If you saved back in Chapter 4 and you feel like you're not prepared, feel free to stock up before you tackle this chapter. |
| 2 | 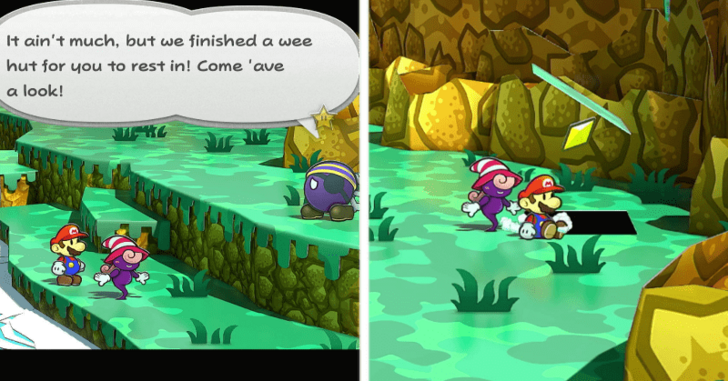 Mario will be called by a sailor to check out their makeshift base. There's a nearby Star Piece if you head to the eastern part the map if you do a Spin Jump. |
| * | 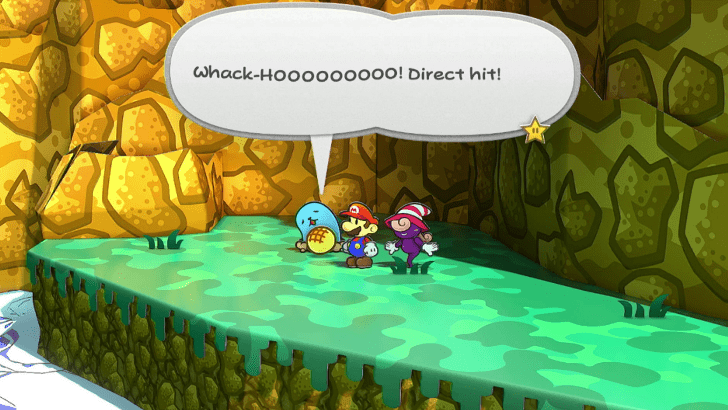 If you keep scaling up and go west, you will come across a Whacka, hit it with a hammer to get a Whacka Bump. Note that this item can only be obtained 8 times and the Whacka won't spawn anymore! |
| 3 | 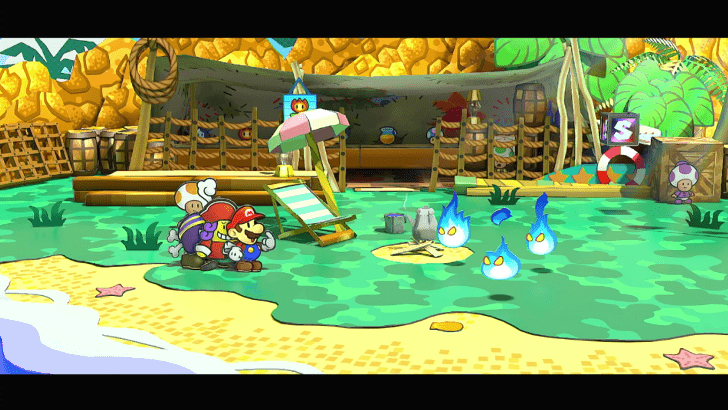 Keep heading up and then head east to get to the camp out of the shipwreck. As you enter the area, you will immediately be thrust into battle with Embers! |
| 4 | 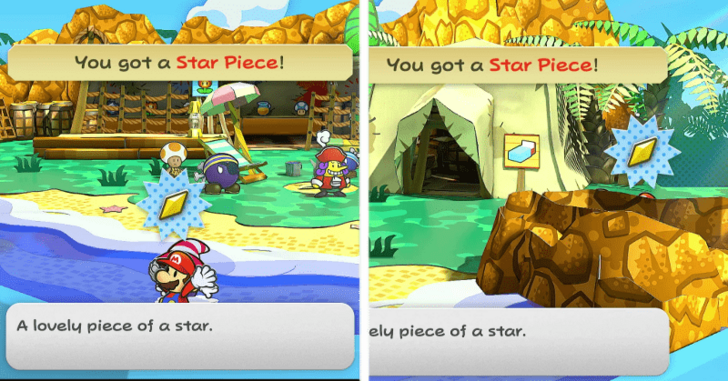 After that scuffle, Flavio will tell you to scout the island. You can save, heal, and restock if needed. If you go to the beach there is a Star Piece near the shore and another one stuck between some rocks. |
| 5 | 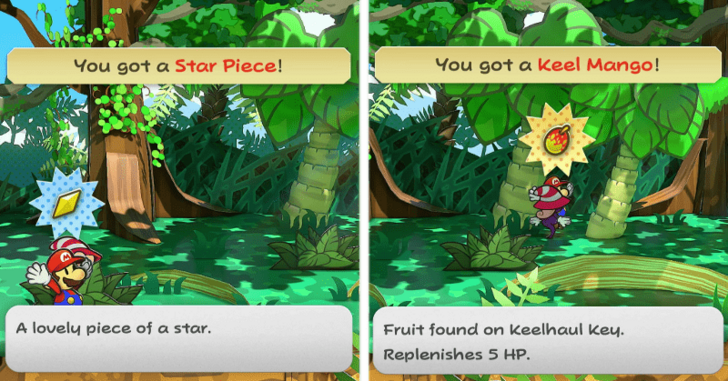 Head into the forest and the first bush you see there will be a Star Piece. You can also hit the first green trunk tree for a Keel Mango. Pick up any other item boxes you may see and keep heading right to progress. |
| 6 | 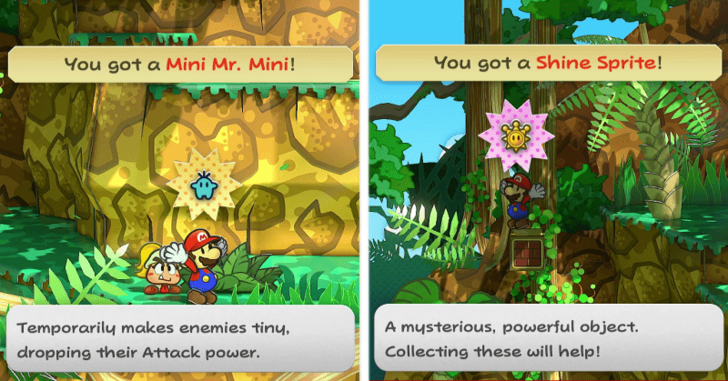 Once you get to the next area, you can go around collecting items like a Shine Sprite and a Mini Mr. Mini in the bushes. You can also just scale the area and go right to progress the story. |
| 7 | 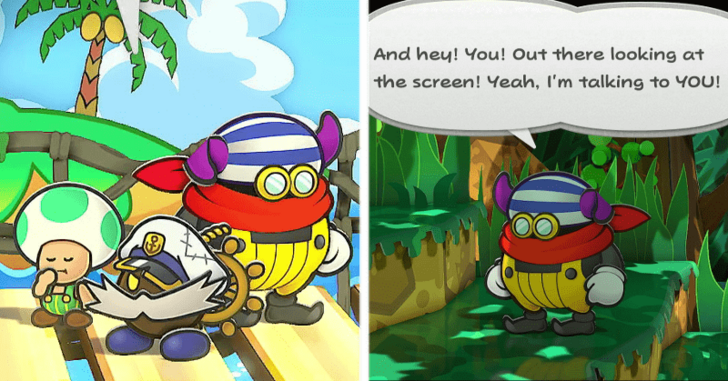 Once you get to the bridge, you will get a cutscene of Bobbery protecting the two other sailors from the Embers. You will be taken back to the next area where Lord Crump breaks the fourth wall. |
| 8 |  Head back to the bridge and you can grab a few items you can get in this area like a Shine Sprite and an Inn Coupon. But the item you absolutely must get is a Coconut by going through the pipe under the bridge. |
| * | 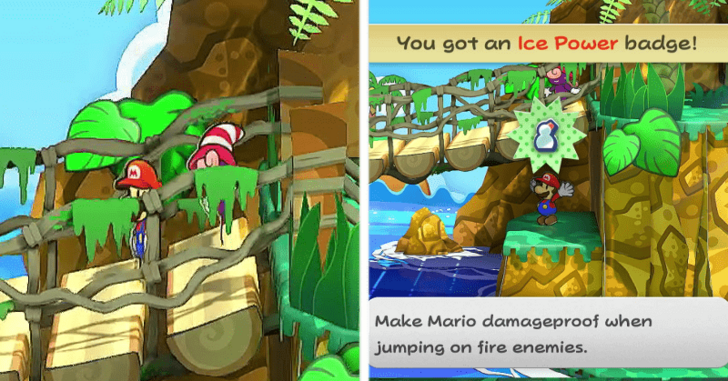 Make sure to also grab the the Ice Power Badge by using your paper form to slip through the bridge's gaps. This badge lets you jump on and deal extra damage to fire enemies. |
| 9 | 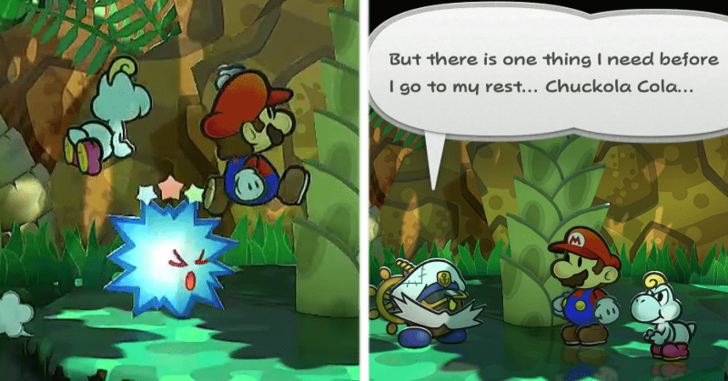 Head east from the bridge and you'll see Bobbery has been run up into a tree by the Embers. Defeat them and hit the tree with your hammer to get the old man down. He will lament and wants a taste of Chuckola Cola before he kicks the bucket. |
Bobbery's Cola Walkthrough
| Objectives | |
|---|---|
| 1 | 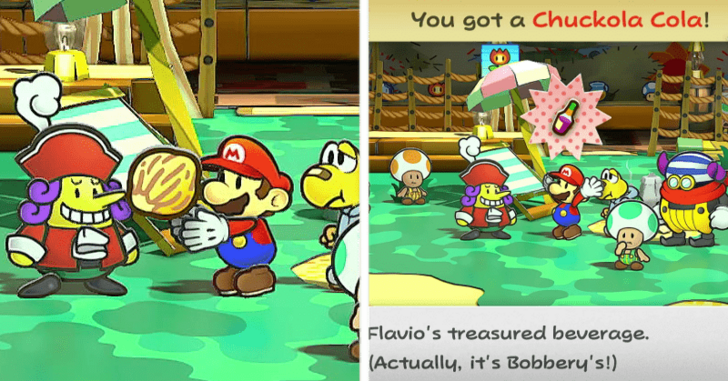 After Bobbery asks you for that cola, head back to camp and tell Flavio. While dismissive, he will ask you to trade a Coconut for the Cola. Make sure to just pick the Coconut as he will take any other item but not give you the Cola. |
| 2 | 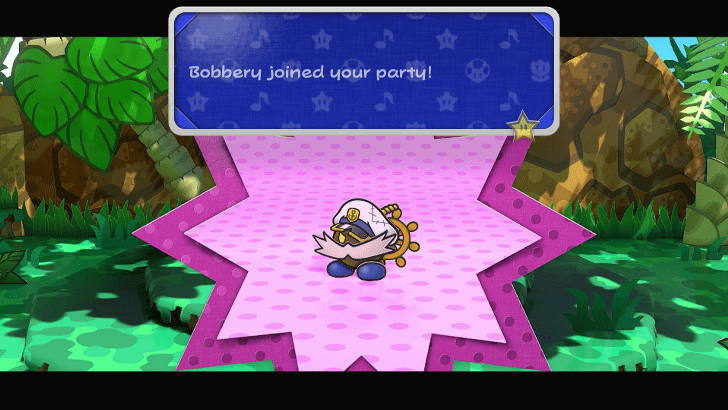 Give Bobbery the cola and he'll take his well deserved rest... Hit him with your hammer to wake him up and he'll join your party afterwards. Click here for Bobbery's Skill Guide ► |
| * | 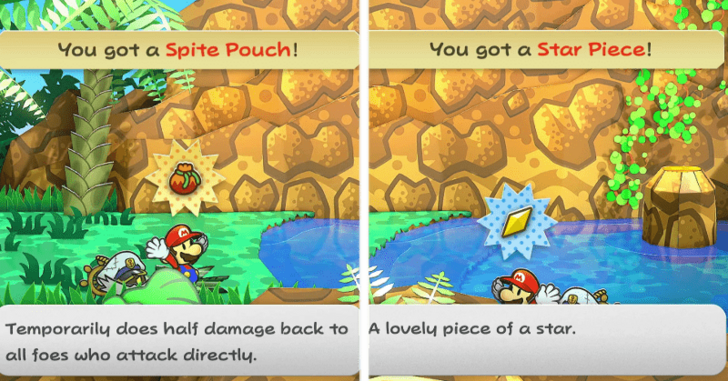 Theres a Star Piece nearby behind a water fern and a Spite Pouch in the bushes, you can grab those too before going back to camp. |
| 3 | 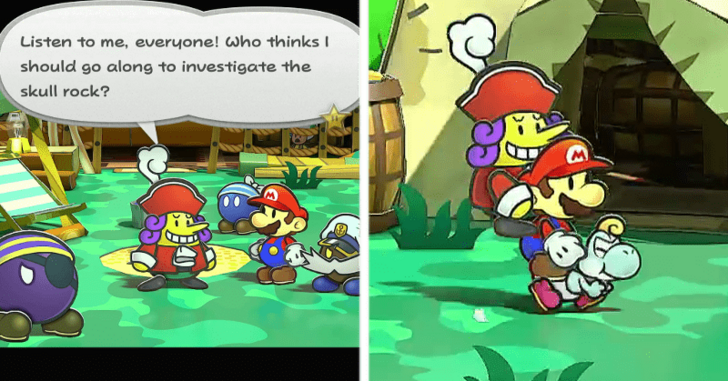 Head back to camp and Flavio will start going into his usual spiel. Bobbery will interrupt you and mention about some weird rock formations he saw. After a bit of coaxing, Flavio will join you in examining the rocks. |
| 4 | 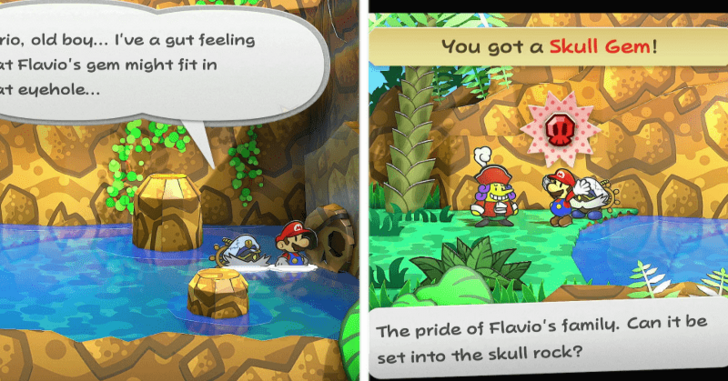 While Flavio is examining the skull rock, you and your partner notice it could be related to Flavio's Skull-shaped rock. Talk to him to get the Skull Rock after letting him yap. |
| 5 | 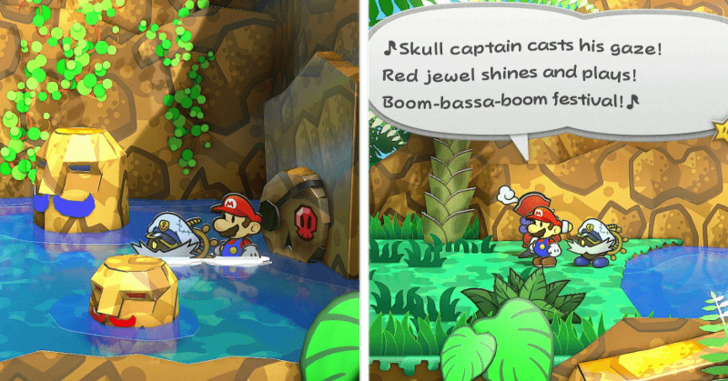 Insert the Skull Rock in the hole that matches the shape. Its eyes will light up and if you have been listening to Flavio's song, it tells you what to do. |
| 6 | 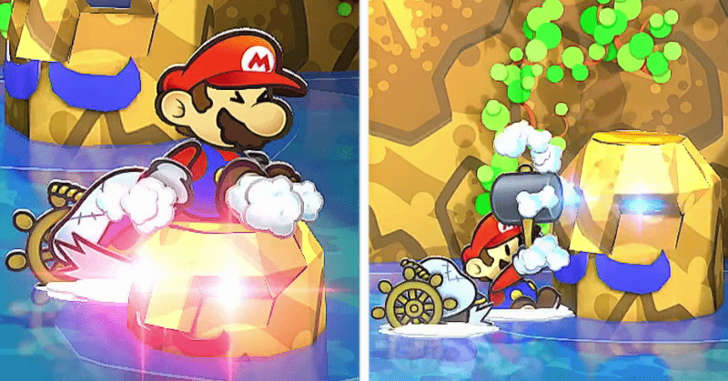 Spin Jump on the Red Rock three times, hammer the Blue Rock five times, and a door above the Skull Rocks will open. Throw Bobbery into the door and a passage will open once he explodes. |
| * |  If you do any of the above steps wrong you will be put into another fight with Embers. Easy Star Points right there if you need it. |
| 7 | 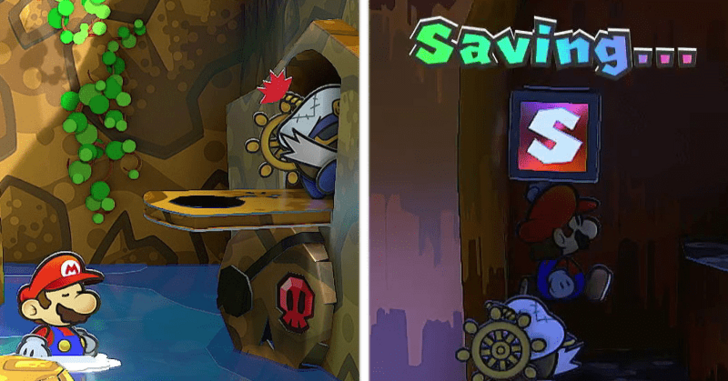 Proceed into the cave once you are ready. Don't worry about saving, there's a Save Block inside the grotto. |
Pirate's Grotto Walkthrough
| Objectives | |
|---|---|
| 1 | 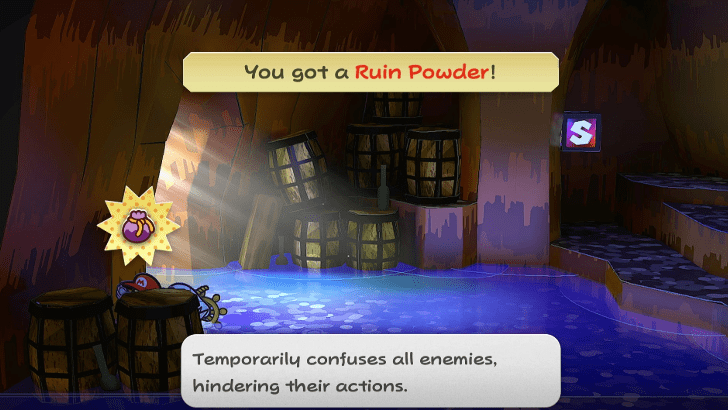 After getting inside the cave, there's a Save Block so make sure to Save. There are some nearby barrels that have Ruin Powder behind them and proceed deeper inside.. |
| 2 | 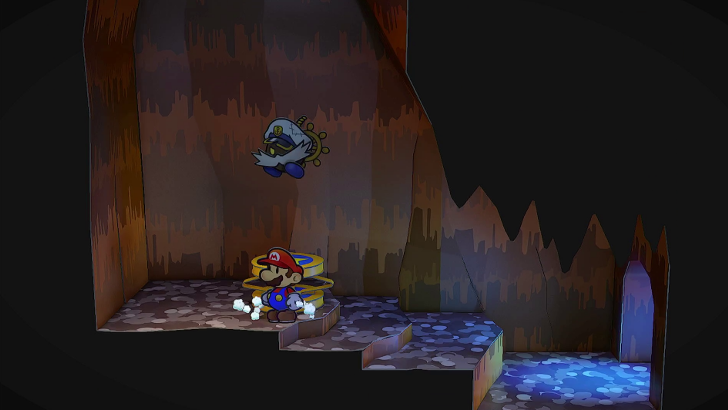 Go down some ledges and make sure to move a bit when dropping down so as to not get put back up by the springboards. Head into the cave to go deeper in the cave. |
| 3 | 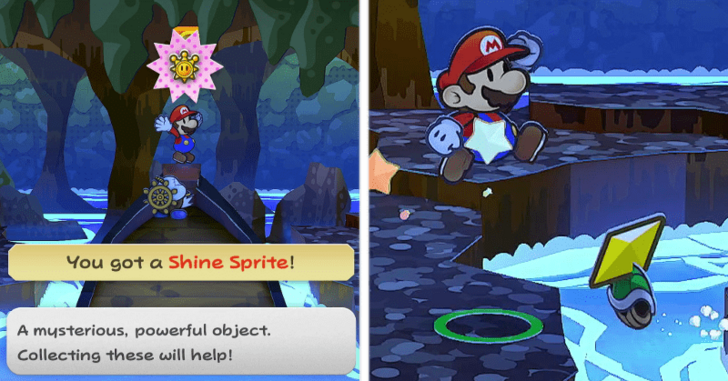 Jump from the shore into the sunken boat. There is a Shine Sprite at the tip of the boat if you jump. Jump on the floor on the other side and you can sue Koops or Yoshi to grab the Star Piece. |
| 4 | 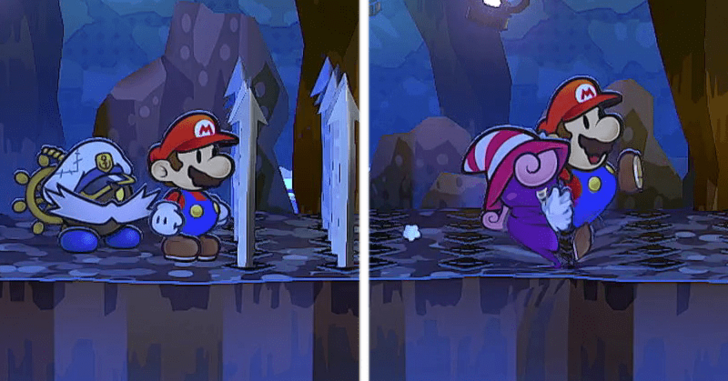 Head up and you will see spears sticking up and down from the ground. Use Vivian to Veil yourself while crossing. Exit to the cave on the right. |
| 5 | 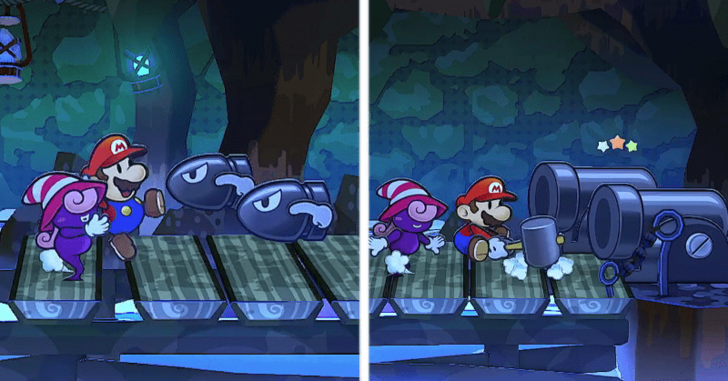 Cross the bridge but be careful of stray Bullet Bills. If you don't care about the Tattle Log or the pitiful amount of Star Points, you can use Vivian to dodge them. At the end there are Bill Blasters, defeat them to get to another exit at the right. |
| 6 | 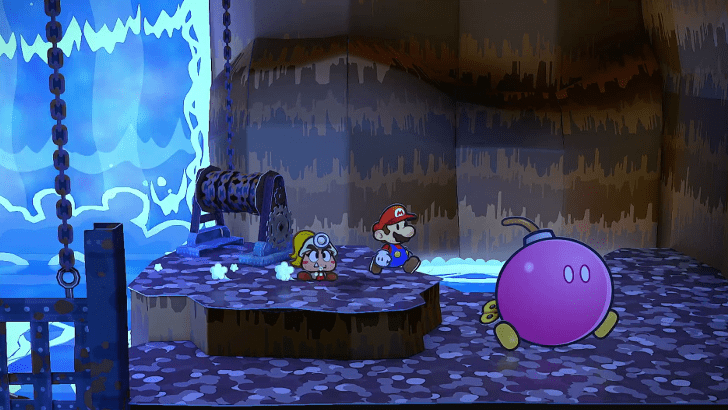 In the next room, there's a waterfall and a mechanism without its crank, you can't do much here right now so just head right and beat the Bulky Bob-omb. Don't use Bobbery at it as you will lose a decent chunk of HP. |
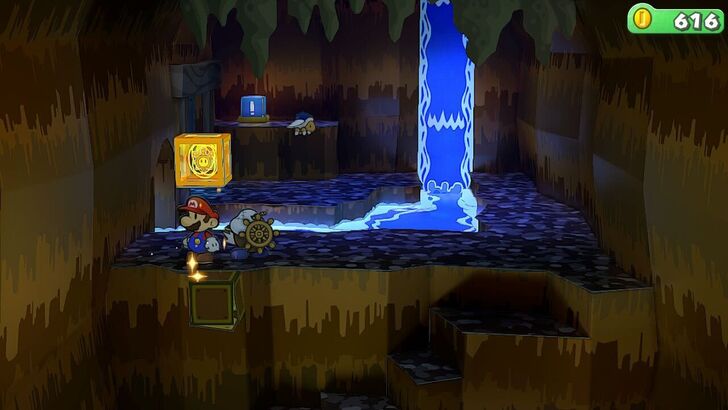
| 7 | 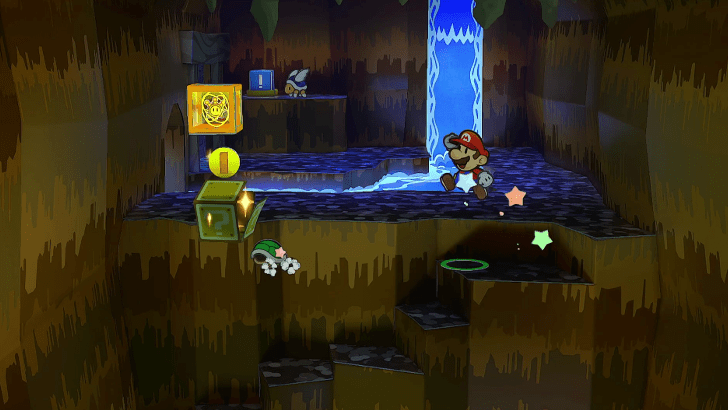 Climb up in the room and Save if you want. If you want to get the Shine Sprite, you need to use Koops to reveal a Coin block under it. |
| 8 | 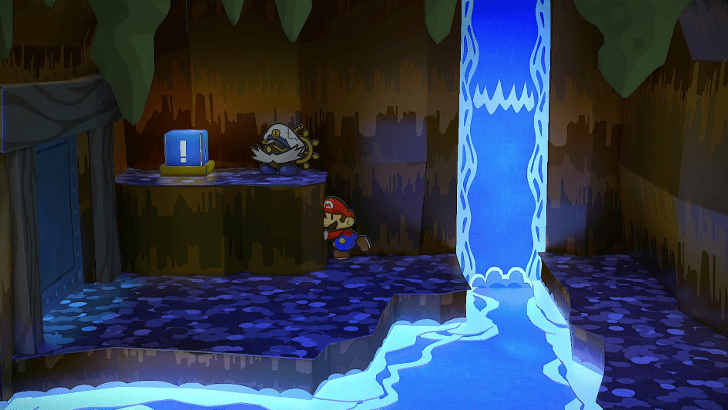 Jump over the gap and use Bobbery to trigger the ! Block so you can pass through the door. |
| 9 | 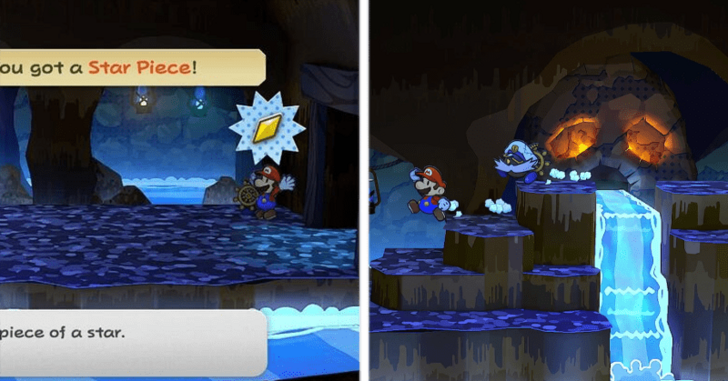 Grab the Star Piece in this room near the Bulky Bob-omb and head left beyond the waterfall. |
| 10 | 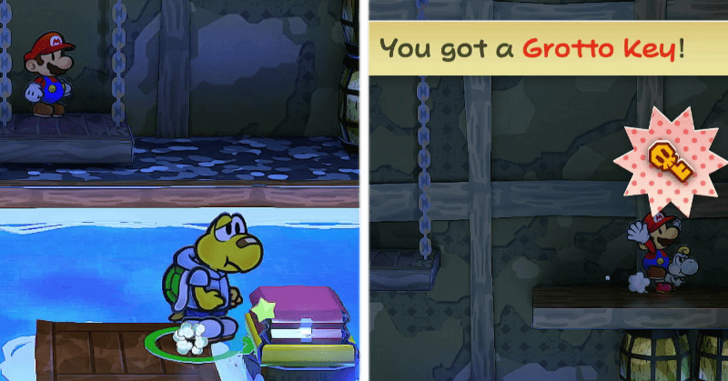 Inside the storage room, you will see a slow moving platform next to a red ! Block. Use Koops to hit the switch when you are on the raising platform to grab the Grotto Key to the right. |
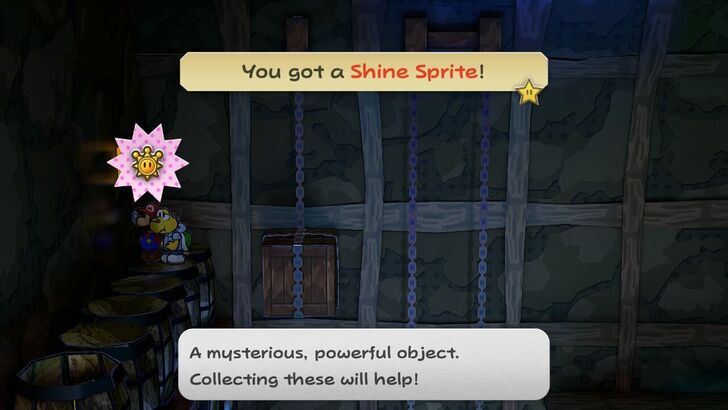
| * | 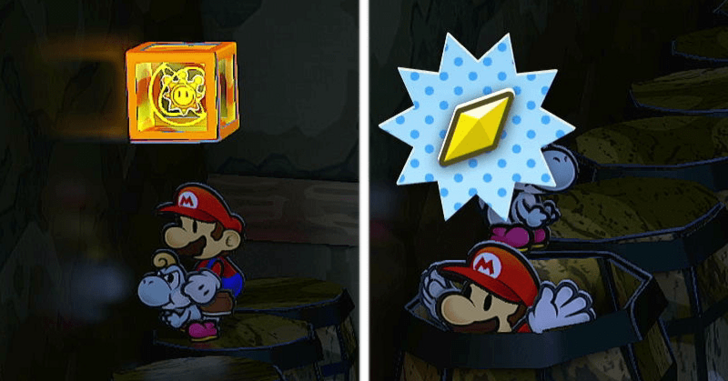 If you time it right, you can jump on the box that lowered and it will rise letting you Flutter Jump with Yoshi once it rises to the top netting you a Shine Sprite and a hidden Star Piece in a barrel. |
| 11 | 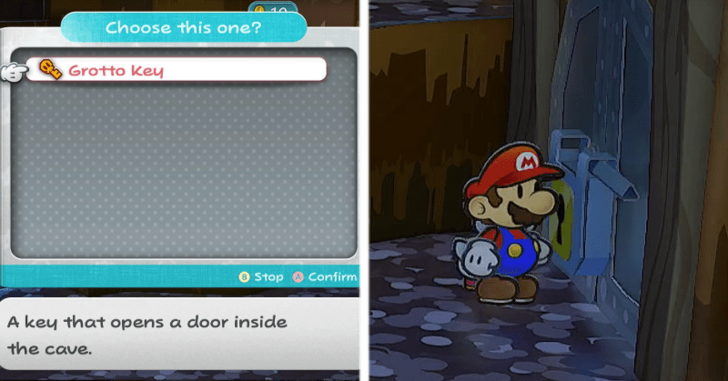 Return to the previous room and use the Grotto Key to open the locked door on the right. Enter it when you're ready. |
Don't Go Chasing Waterfalls Walkthrough
| Objectives | |
|---|---|
| 1 | 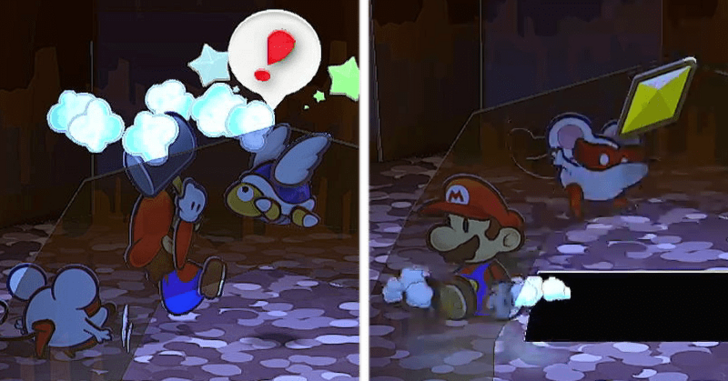 Once you get inside, you will immediately see Parabuzzies, defeat them, and then you can Spin Jump in the middle of the room to get a Star Piece. Head south to exit the room. |
| 2 | 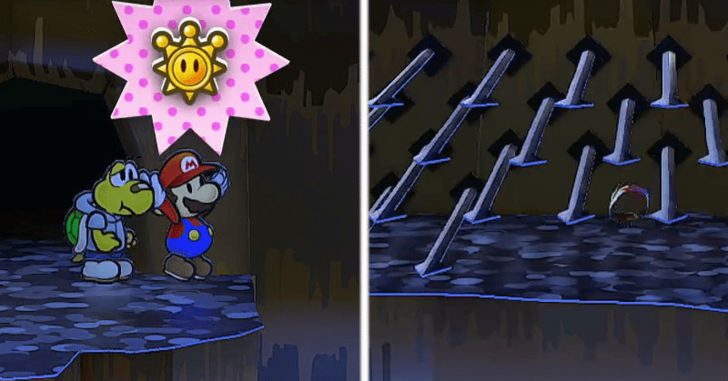 Once you get outside the Parabuzzy room, to the right you have a Shine Sprite you can grab with Koops. Head left to progress by using either Vivian or your Tube Mode to evade another set of spears. |
| 3 | 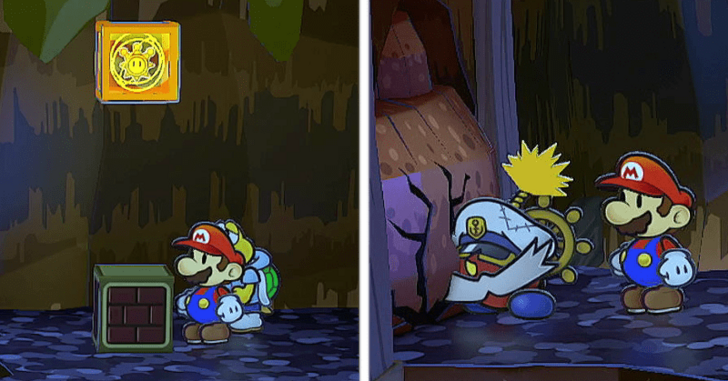 Once you get past the spears, head to the room on the left grab the Shine Sprite and platform on the debris until you get to barricaded entrance. Use Bobbery to break the barricade and head inside. |
| 4 | 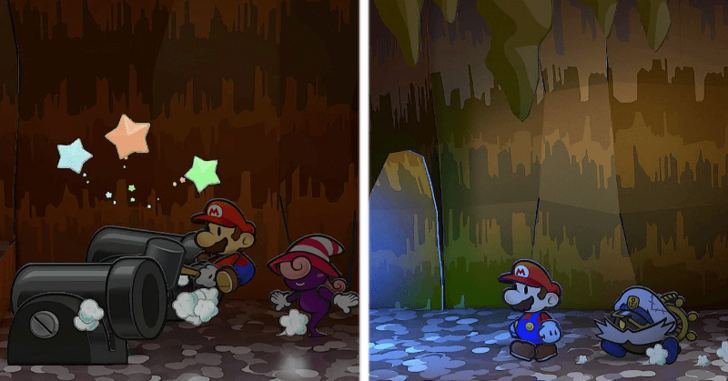 Head left and you have another Bullet Bill room. Just keep going forward the same as you did and head out the cave to the left. |
| 5 | 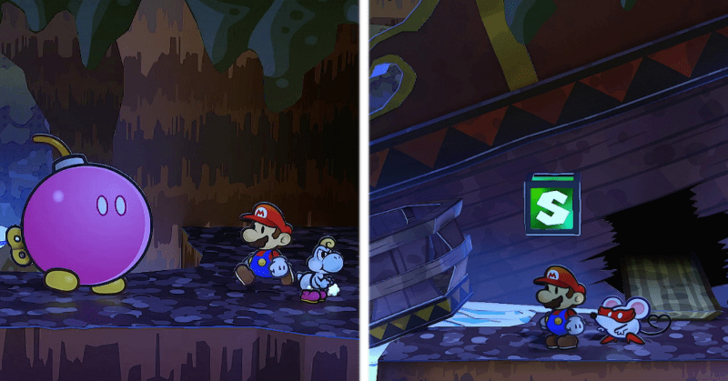 Head out and you will see another Bulky Bob-omb. Past it you need to drop down into the platform and head into the shipwreck. |
| 6 | 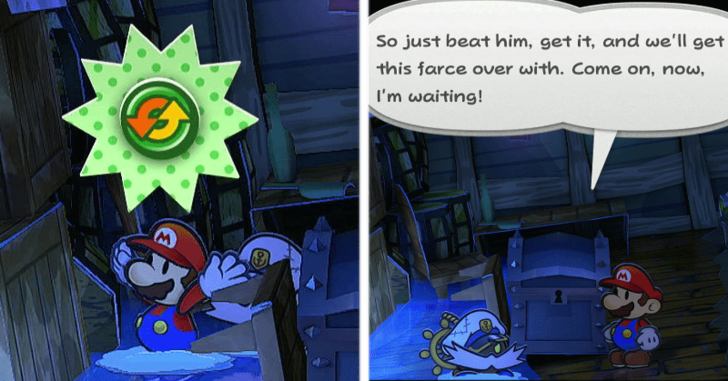 Once in the shipwreck, you will find another Black Chest and a P-Down D-Up Badge. Talk to the Black Chest and Embers will fall from the ceiling and they have the key. |
| 7 | 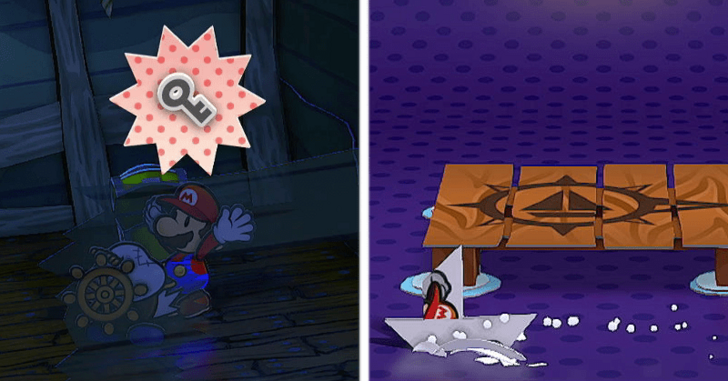 After defeating the Embers, open the chest and you now have the Boat Mode! You can leave the wreck and head back right until you see a Boat Platform. |
| 8 | 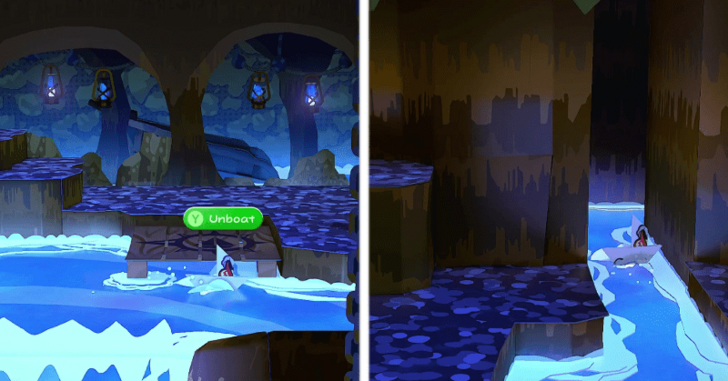 Head back to the Waterfall room. Boat off to the right and into an alcove, you will be back at the cliff room. Head up into the waterfall to grab yourself the Defend Plus P Badge. |
| 9 | 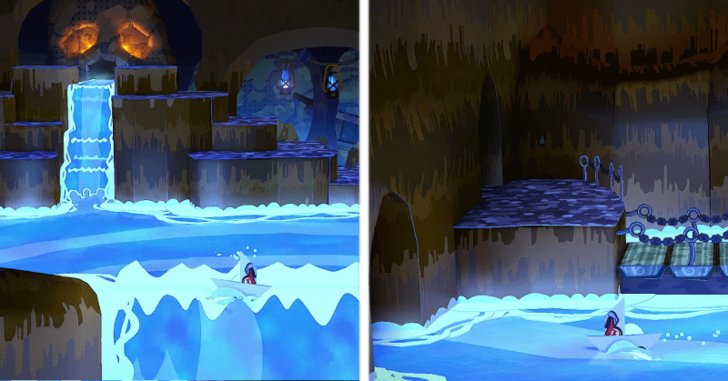 Head to the large waterfall and drop down. Maneuver between the bridge and the rock and head into the alcove to the left. |
| 10 | 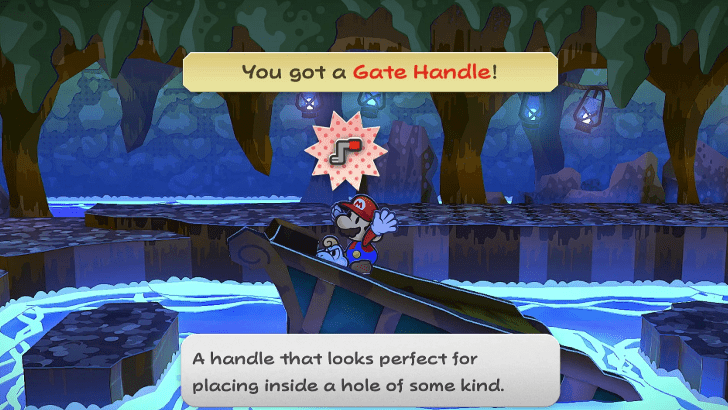 Once you get back into the first Spike Room, exit your Boat Mode and grab the Gate Handle on the stern of the sunken ship.. |
| 11 | 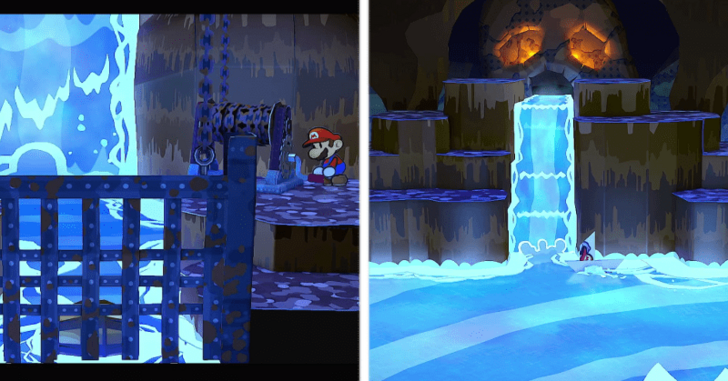 Head back to where the mechanism is and place the handle on it. Once you cranked that and opened the floodgates, you need to get back up into the Save Block Room and then back into large waterfall. |
The Shipwrecked Toads Walkthrough
| Objectives | |
|---|---|
| 1 |  Once you're in the Bulky-Bobomb room, use the boat Platform and head back down the large waterfall. This time, head through the floodgate that you just opened. |
| 2 | 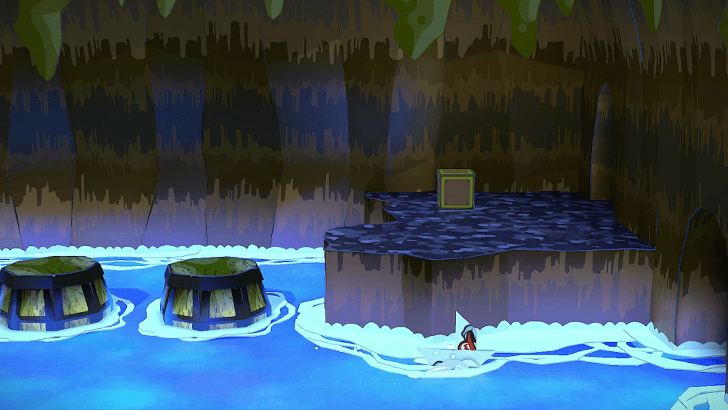 After getting through the floodgate, you are now back into the room with the barrels. Head right and you are now at the Wall Spear room. |
| 3 | 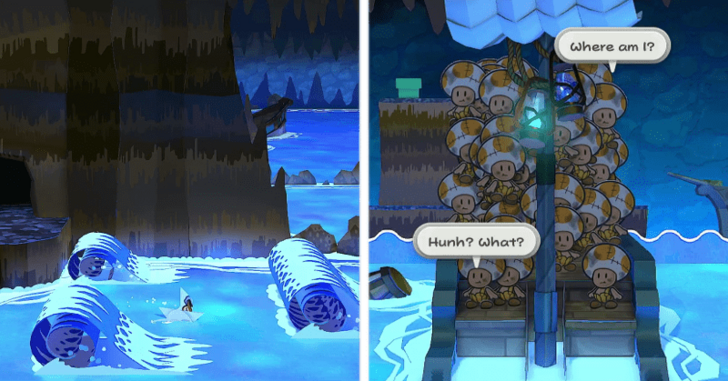 Dodge the waves as you go through and at the end there will be a large alcove. Head into it and a cutscene with multiple Toads that have been shipwrecked will notice Boat Mario. |
| 4 | 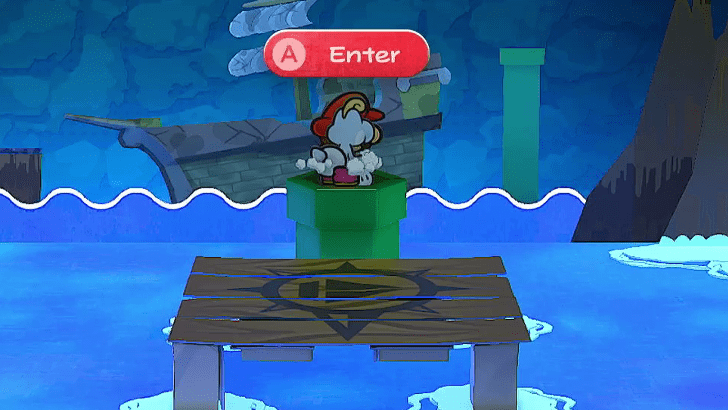 Head to the right ignoring the rude Toads and get out of Boat mode by using the platform. Head into the Pipe and you will be put into the background. |
| 5 | 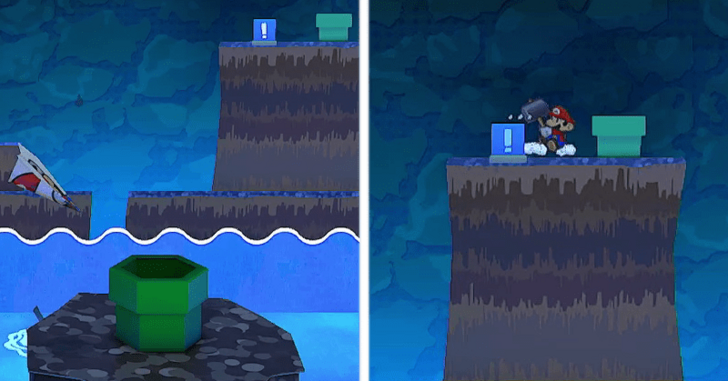 Head left until you get to the leftmost green pipe and enter it. Climb up the and you will see a Plane Platform. Use it to get to the Pipe next to the leftmost pipe in the foreground. |
| 6 | 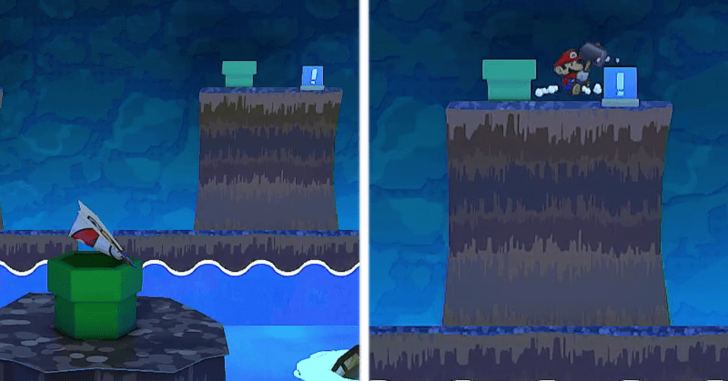 Once you're back on the background, hit the ! Block to raise some barrels near the shipwreck. |
| 7 | 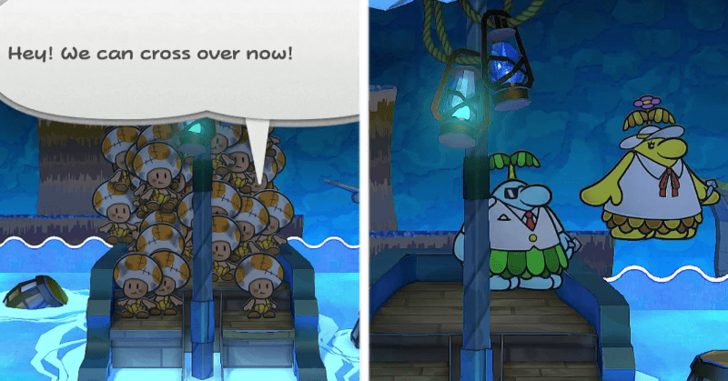 Head back to the Plane Platform and use it to head into the other pipe to hit the other ! Switch in the background. This will complete the bridge and allow the Toads and some familiar Piantas to dry land again. |
| 8 | 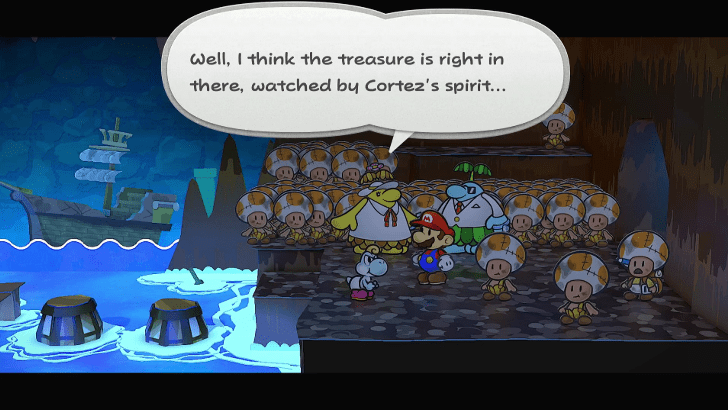 Head to where the Toads are by using wither the Plane Mode or Warp Pipe and talk to them. They will tell you that the treasure is just ahead. |
| 9 |  Enter the next room and you'll see another ship that is likely owned by Cortez. Four-Eye will catch up to you and says that the next Crystal Star is up ahead. Theres a Save Block and Heart Block there so use them. |
Cortez and His Treasure Walkthrough
| Objectives | |
|---|---|
| 1 | 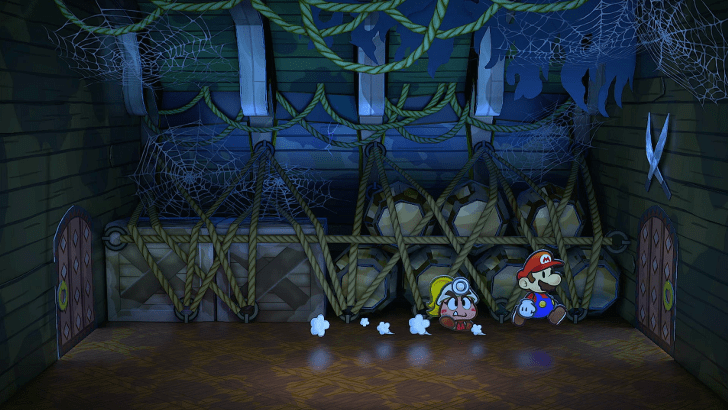 Once you're ready, head inside the Ship. You have another room where you can still turn back so Save and Heal if you haven't. Once you're ready, head inside the Treasure Room. |
| 2 | 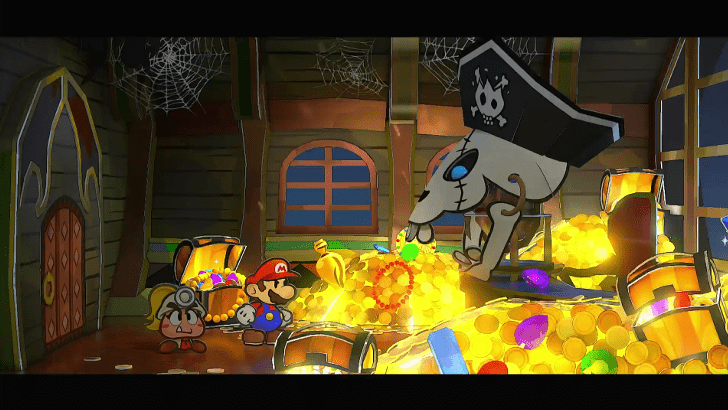 As you get to the Treasure Room, Cortez's Skull will appear and attack thinking you're here for his entire treasure. Click here for Cortez Fight Guide ► |
| 3 | 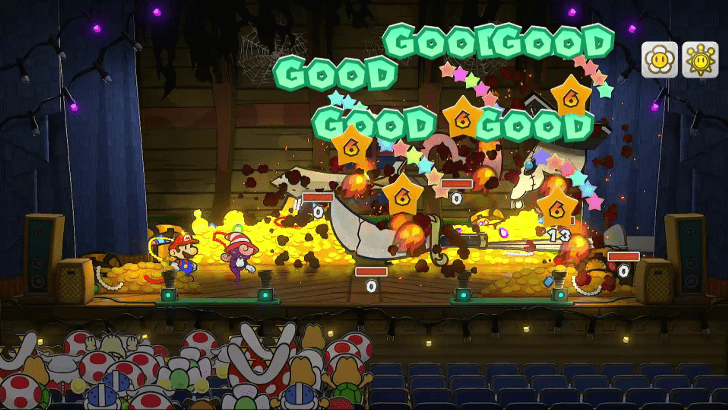 The Boss form essentially has 3 health bars, so conserve your SP. Attacks that deal damage to large group of enemies are preferred here, like Flurrie's Gale Force, Vivian's Fiery Jinx, or the Art Attack Skill. |
| 4 | 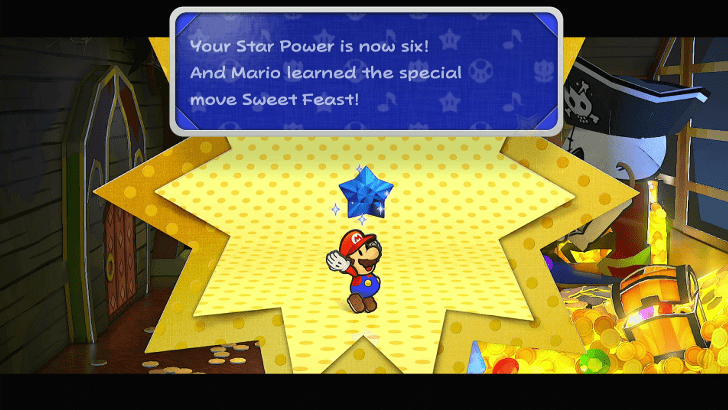 After defeating and explaining that you just want the Crystal Star to Cortez, you will then be given the thing and you will now have 6 SP and a new Special! |
| 5 | 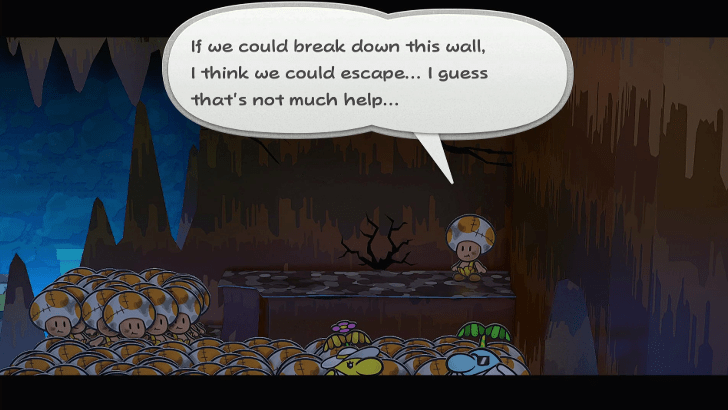 Cortez will send you on your merry way so go back to the Toads and they'll tell you an earthquake happened and now a crack in the wall has appeared. Throw Bobbery at the crack to destroy it and now you can exit Pirate's Grotto. |
| 6 | 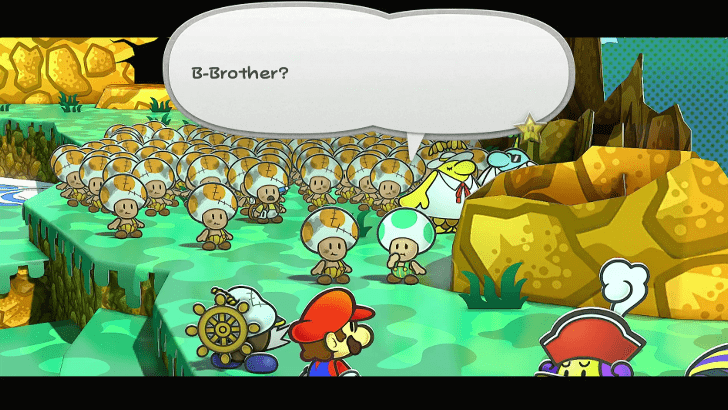 Once you're back to Keelhaul Key, near the Whacka, head towards the Village but you will be greeted by Florian before you get there. After a touching Toad reunion, it seems Four-Eyes is Lord Crump himself and demands the Crystal Star. |
| 7 | 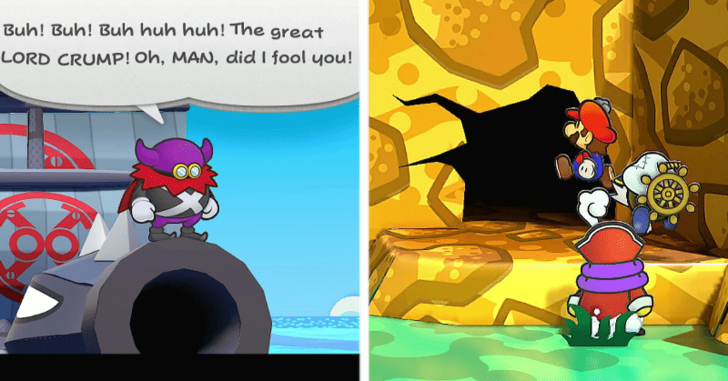 Florian will tell you to head back to the Cortez's Ship in order to use it against Lord Crump. Go back into the hole where you just came out of. |
| 8 | 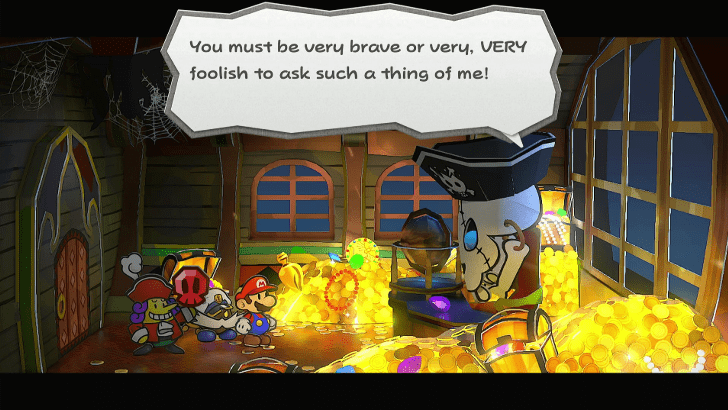 Save and Heal as this is the last time you can before you have to face off against Crump. Afterwards, go ahead and help Florian coax Cortez into using his ship. |
| 9 | 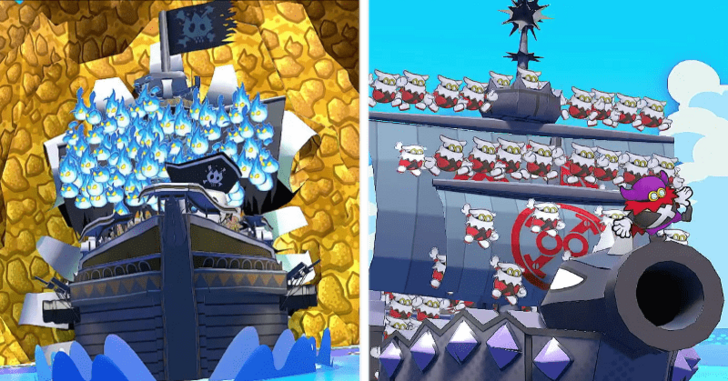 After proving yourself to Cortez through the Crystal Skull, Florian and Mario break through the wall which spooks Lord Crump. |
I'll Crump With You Walkthrough
| Objectives | |
|---|---|
| 1 | 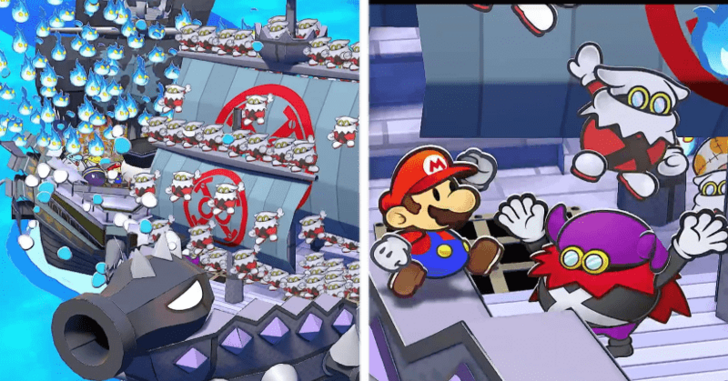 The two ships will circle each other and result in a brawl between your crew and the X-Nauts. |
| 2 | 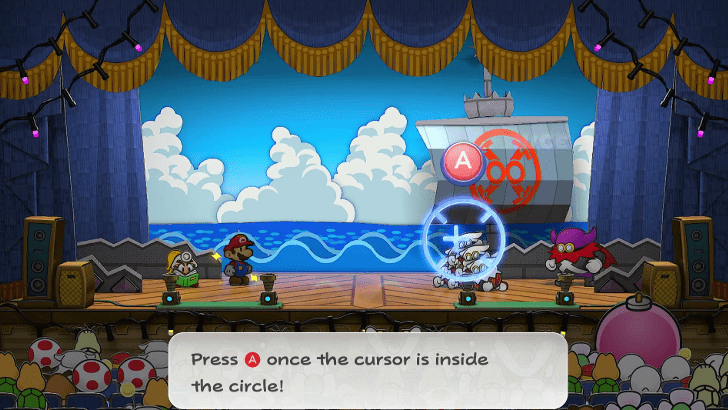 After that cool sequence, you now have to fight Lord Crump and his X-Nauts Click here for Lord Crump Fight Guide ► |
| 3 | 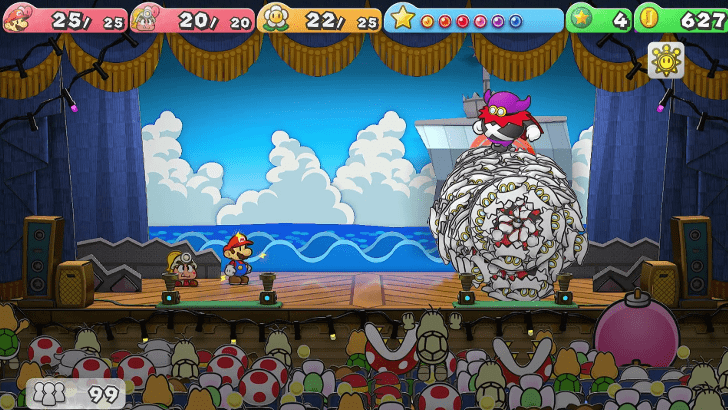 The Boss form has two Phases, but has less total health compared to Cortez. Focus your attacks on Lord Crump and feel free to use your new Skill on this fight. |
| 4 | 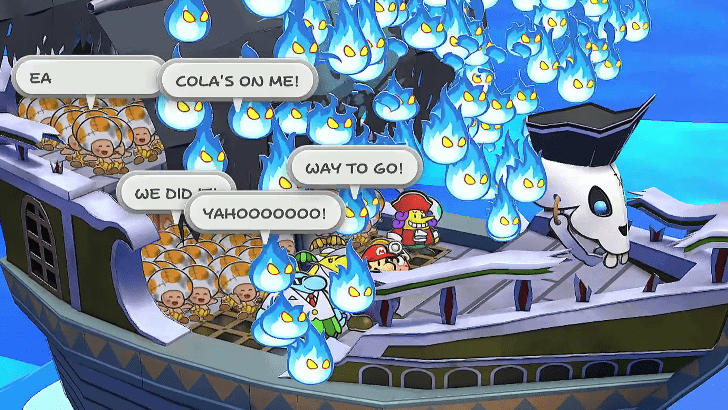 After defeating Lord Crump, the Chapter will end and will get to Peach's Interlude! |
Peach Interlude Walkthrough
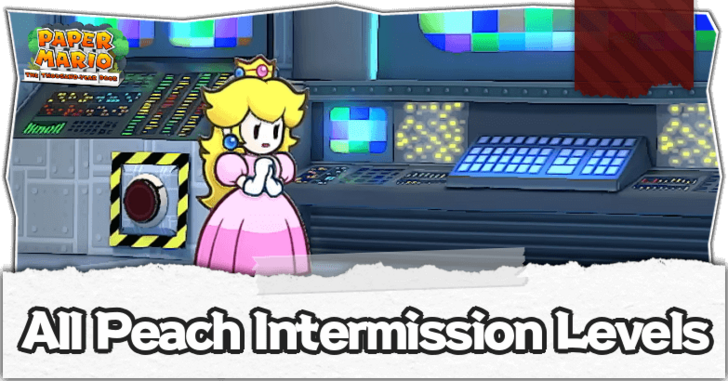
After the cutscene with Grodus being dissapointed on Lord Crump, TEC-XX asks Peach to brew an invisibility potion. The order of the ingredients are red, blue, yellow, and then green. After that, the beaker is put into a heating chamber. It needs to be there for approximately thirty seconds.
You will then be asked to strip so you can sneak into Grodus' room and enter a CD into his PC so TEC-XX can access it. After managing to do so, Peach can send another email to Mario.
Peach Interlude Complete Walkthrough
Bowser Interlude Walkthrough
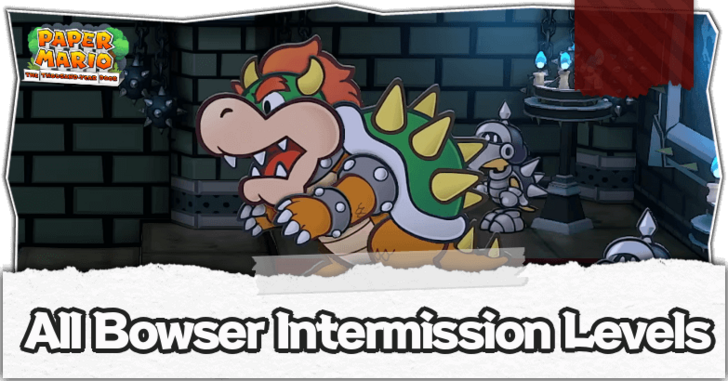
In Twilight Town, it seems Bowser and Kammy find themseleves in a fierce confrontation with the X-Nauts when Lord Crump accidentally yells abouut the Crystal Stars.
Bowser Interlude Complete Walkthrough
Another Favor for Don Pianta Walkthrough
| Objectives | |
|---|---|
| 1 | 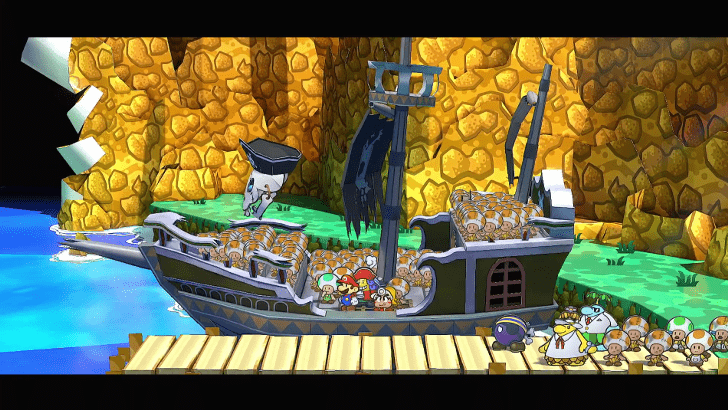 Once again, a cutscene with Mario saying goodbye to everyone including Frankie, Francesca, and Pa-Patch. Cortez will take you back to Rogueport, you will receive the e-mail from Peach once you reach the Town Square. |
| * | 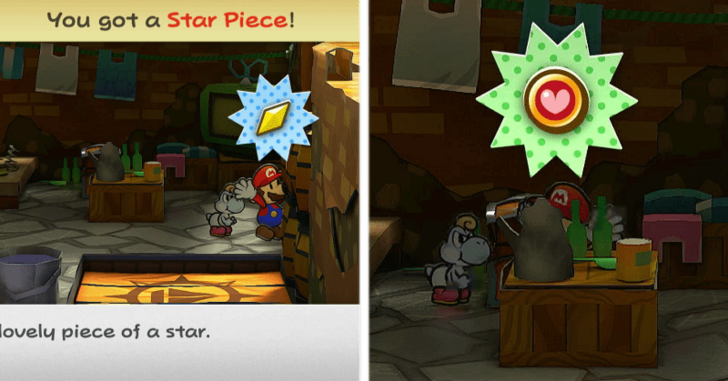 Before leaving the port, go to the Boat Platform and use it to surf west until you see a secret area left of the Harbor's brick wall. There is a Chest there with the HP Drain Badge and a Star Piece |
| 2 | 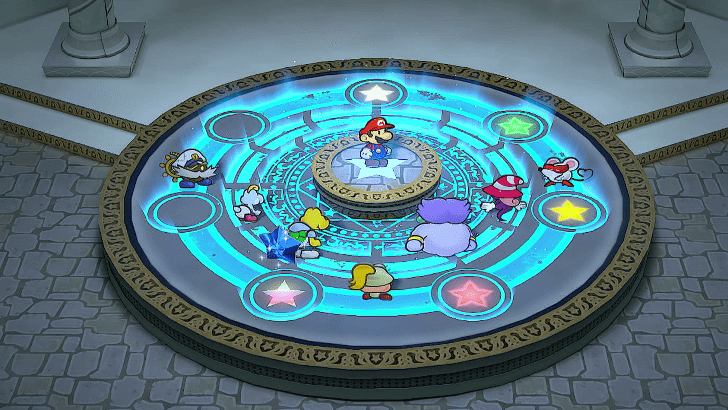 Once you're in the sewers, head into the podium of the Thousand-Year Door. You learn that the next Crystal Star is in some Mountainous area. You will then be teleported to Professor Frankly's to find out what to do next. |
| 3 | 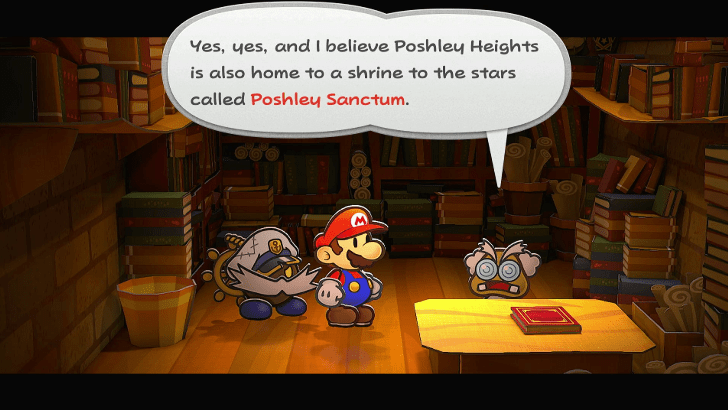 After finding more about Thousand-Year Door and, the next Crystal Star is in Poshley Heights. You are then told that Don Pianta can get you tickets to the Excess Express which can take you there. |
| 4 | 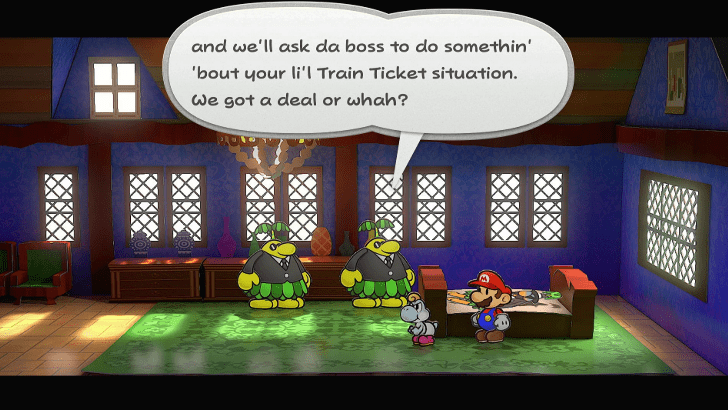 Once you're done with what you need to do, go to Don Pianta's where you learn that he sick and misses Frankie and Francesca dearly. His assistants tell you that they'll give you the tickets as long as you bring the couple back to Rogueport. |
| 5 | 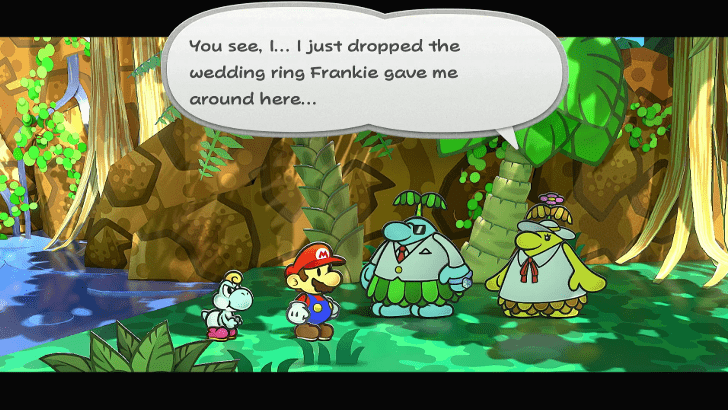 Head to the port take Cortez's ship to Keelhaul Key. Head into the jungle to find Francesca and Frankie looking for a Wedding Ring. |
| 6 |  After being informed of the Don's condition, Francesca says she won't go unless she finds her wedding ring. But when Frankie says they should go to the Don first, Francesca makes Frankie tell her he loves her a hundred times. |
| * | 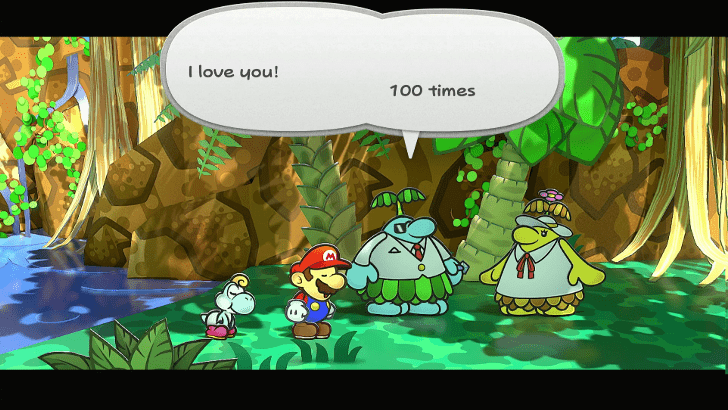 If your controller has a Turbo Function, better use it here, because Frankie will actually say "I Love You" a hundred times. |
| 7 | 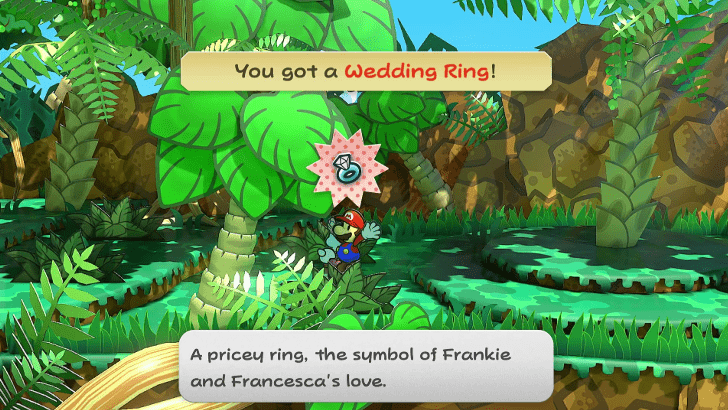 Once they stop, head deeper into the jungle and you can find the ring near the entrance to Pirate's Grotto. Head back and return it to the couple. |
| 8 | 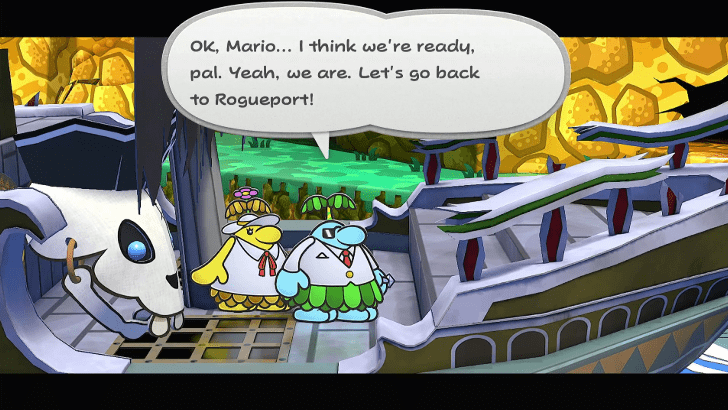 After returning the ring, the Piantas board the ship and head back to Rogueport. Head into the Don's office to see the family reunite. |
| 9 | 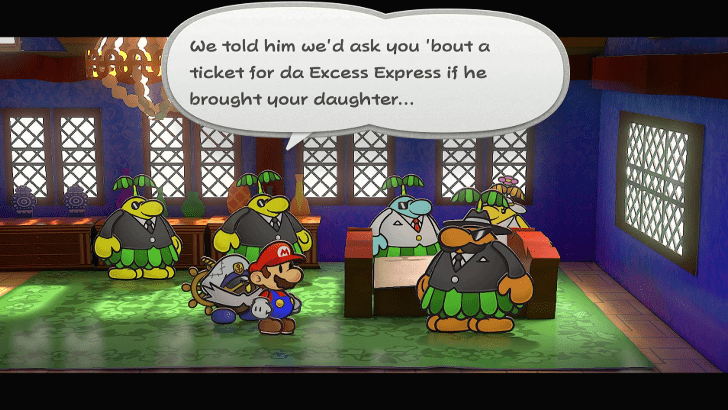 After making Frankie the new leader, the Don's assistants will inform him of the deal they made to Mario. He luckily has a ticket so take it and you can now go board the Express! |
| 10 | 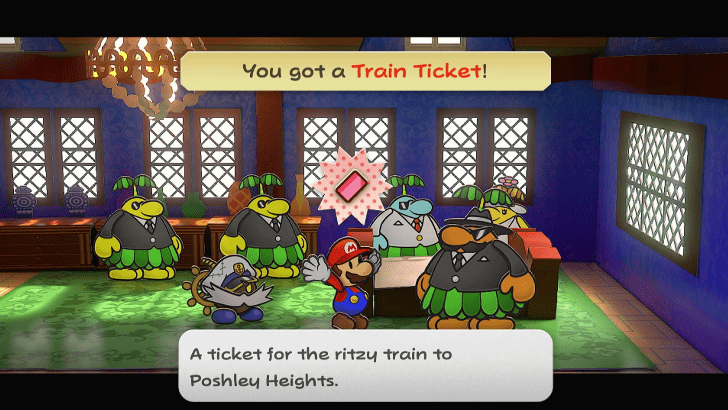 After that whole drama, the Don will give you the Train Ticket so head to Northern Rogueport which is conveniently next to Pianta Parlor. The train will be there ready for you to board!. |
| * | 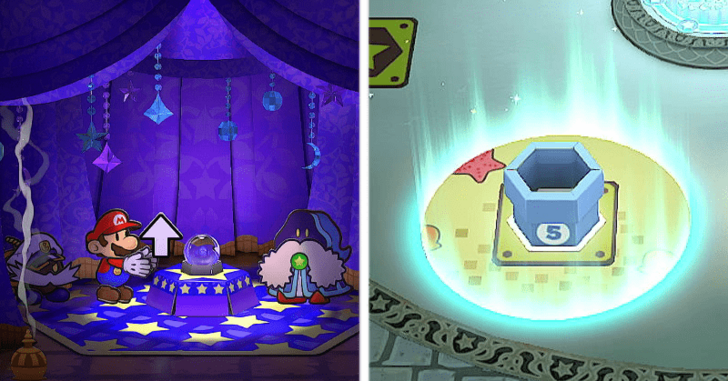 Do note that going into Chapter 6 will lock you out of Rogueport until you complete the tasks in the Excess Express! Make sure you're stocked up on items and do everything that you can around Rogueport. |
| 11 | 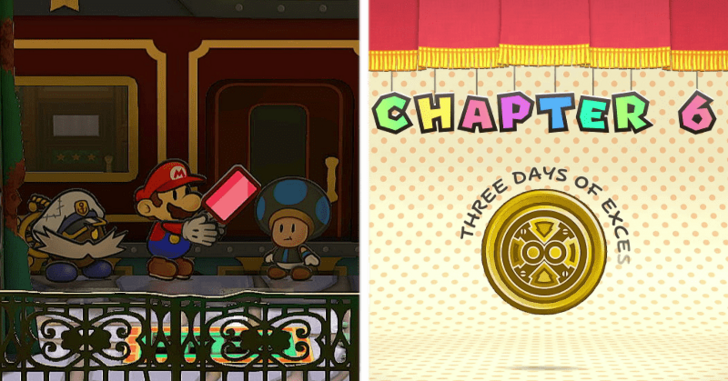 Head to the train and talk to the Toad. Enjoy the cutscene, sit back, relax, and you are now in Chapter 6! |
Chapter 5 Collectibles and Items
Star Pieces
| Done? | Location | In-Game Image |
|---|---|---|
|
Keelhaul Key
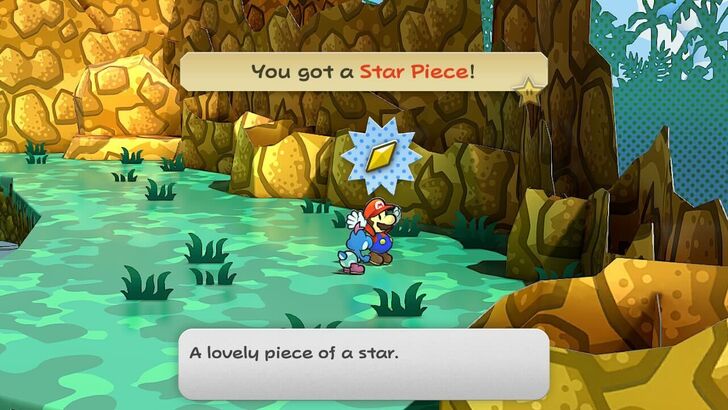
Beneath a panel on the beach's east side. |
 |
|
|
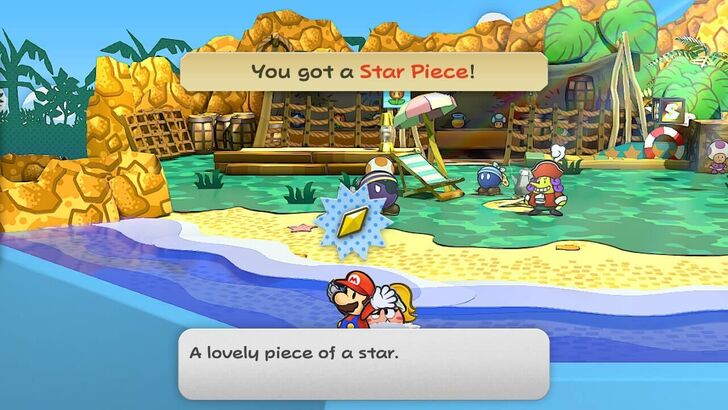
Keelhaul Key
In the water at the southwest side of town. |
 |
|
|
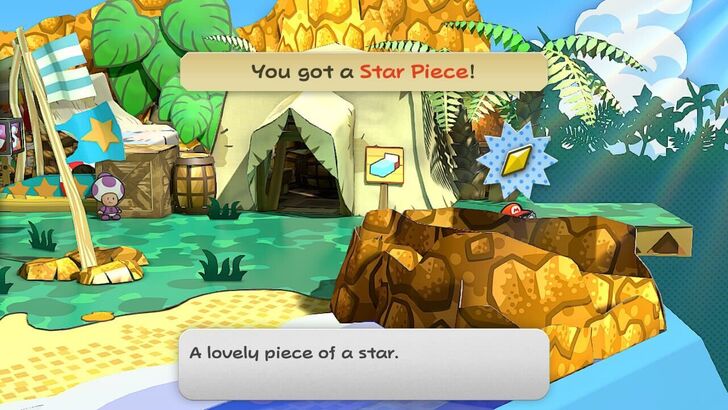
Keelhaul Key
Behind the rock on the south side of the east exit of town. |
 |
|
|
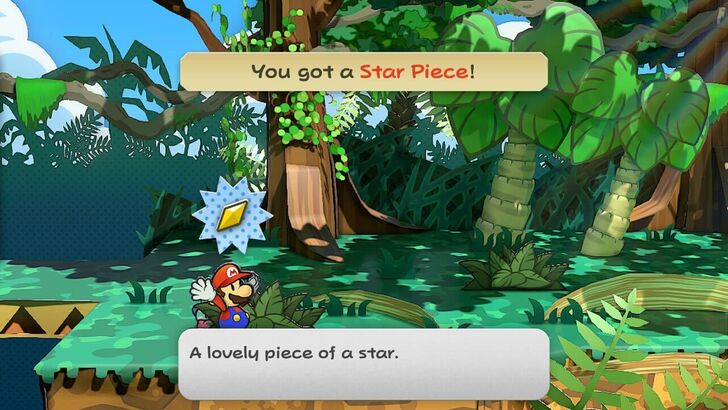
Keelhaul Key
In the first bush on the east side of town. |
 |
|
|
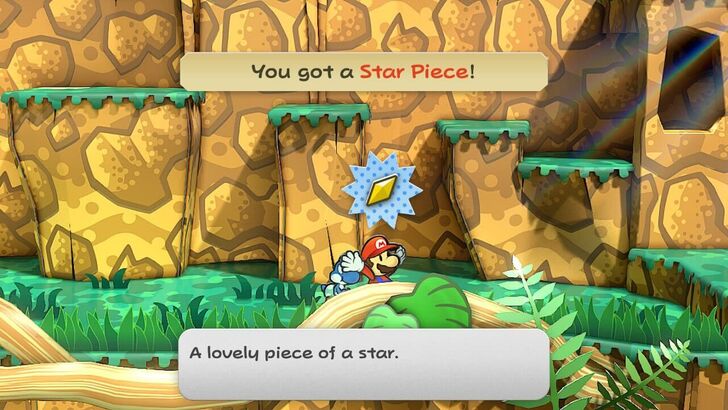
Keelhaul Key
Behind the root on the south area with multiple platforms. |
 |
|
|
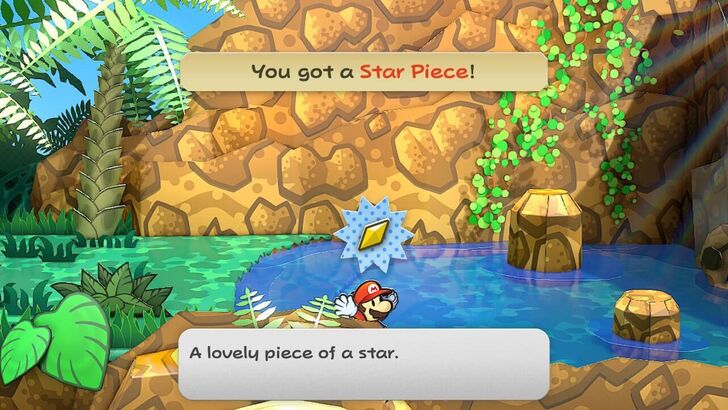
Keelhaul Key
Behind the rock on the southern side of the area before the water on the east side. |
 |
|
|
Pirate's Grotto
On a tiny island in the southern side of the lower west room. |
 |
|
|
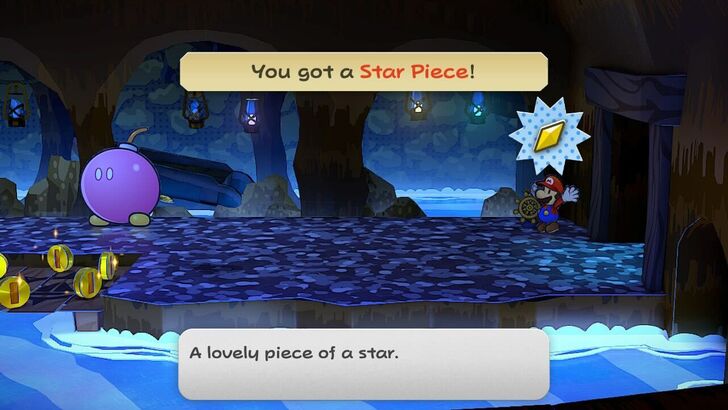
Pirate's Grotto
Beneath a panel in the northeast corner of the room above the waterfall. |
 |
|
|
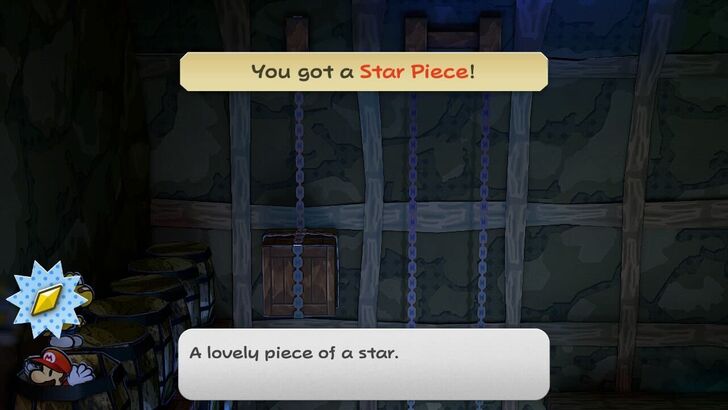
Pirate's Grotto
Inside of a barrel on the left side of the storage room beside the waterfall's base. |
 |
|
|
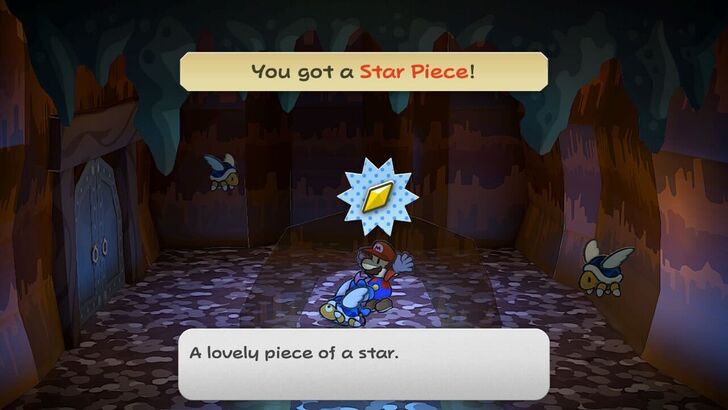
Pirate's Grotto
Beneath a panel in the middle of the Parabuzzies room. |
 |
|
|
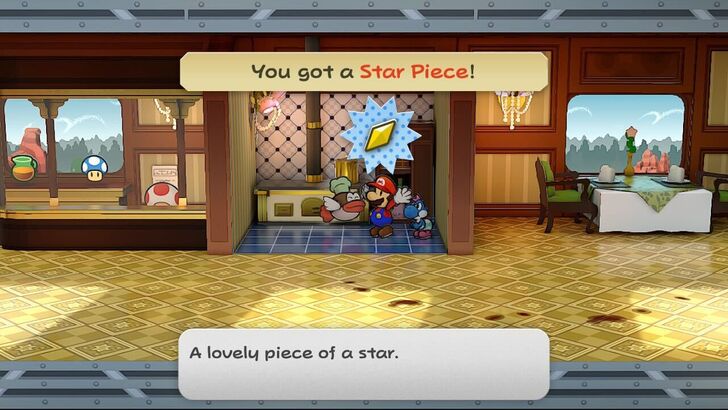
Rogueport
Behind the barrels on the right of the tiny house to the left of the harbor. |
 |
Shine Sprites
| Done? | Location | In-Game Image |
|---|---|---|
|
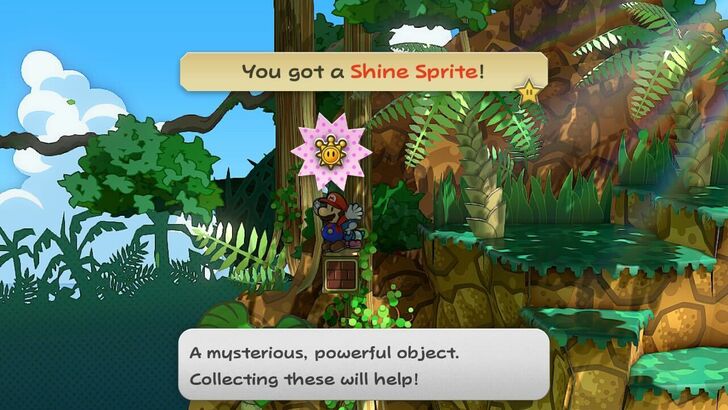
Keelhaul Key
On the left of a cliff on your way to Pirate's Grotto. |
 |
|
|
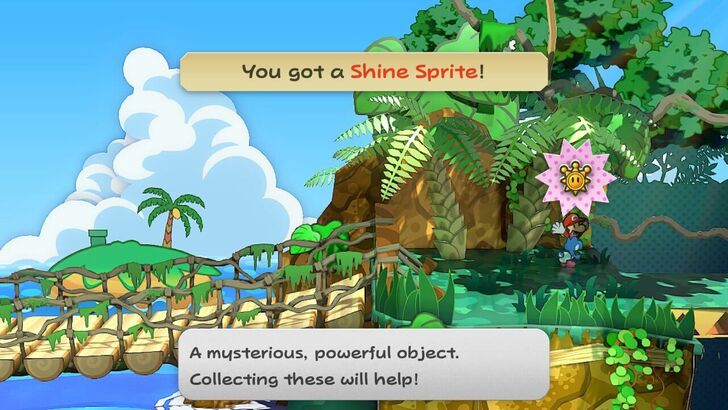
Keelhaul Key
At the back of a large palm treee found on the right side of the bridge. |
 |
|
|
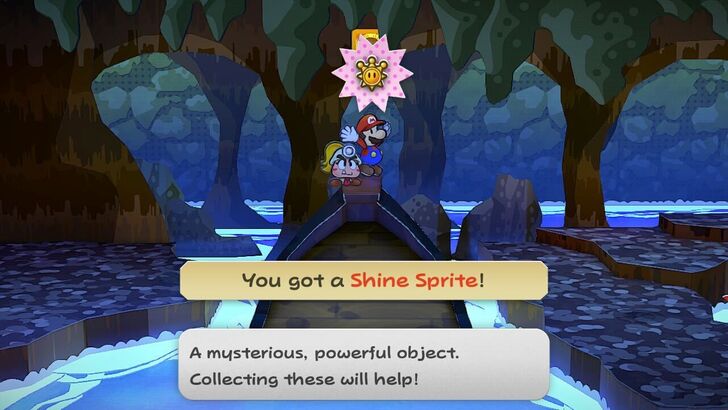
Pirate's Grotto
Behind a stalactite over the first wrecked ship. |
 |
|
|
Pirate's Grotto
Near the top of the cliff. |
 |
|
|
Pirate's Grotto
On top of the barrels in the room where you find the Grotto Key. |
 |
|
|
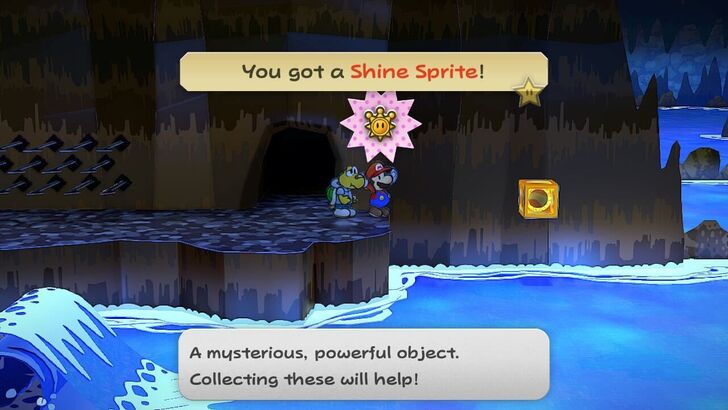
Pirate's Grotto
Found over the water to the right of the wall of spikes. Make use of Koops's Shell Toss to get the Shine Sprite. |
 |
|
|
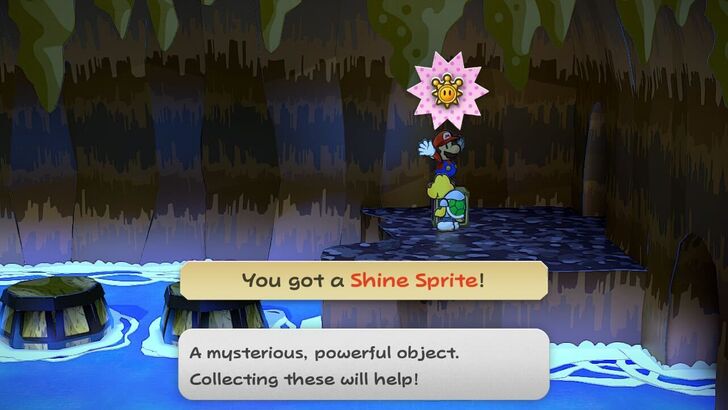
Pirate's Grotto
At the area after the wall of spikes. |
 |
|
|
Rogueport
Found at the end of the path behind the cracked wall left of the store on Rogueport's east side. |
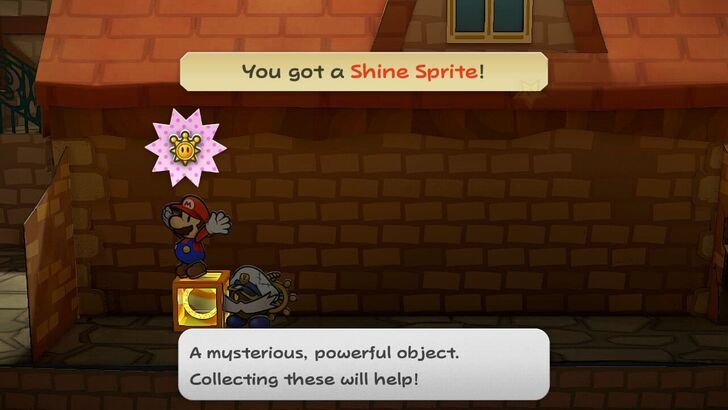 |
|
|
Rogueport Sewers
Found on the southern platform beyond the east water area of B1F, accessed with Boat Mode. |
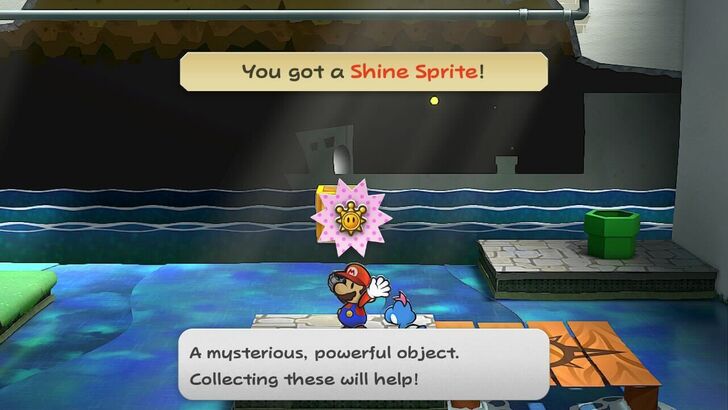 |
|
|
Rogueport Sewers
Two can be found in a hidden room accessible with Boat Mode on B2F. |
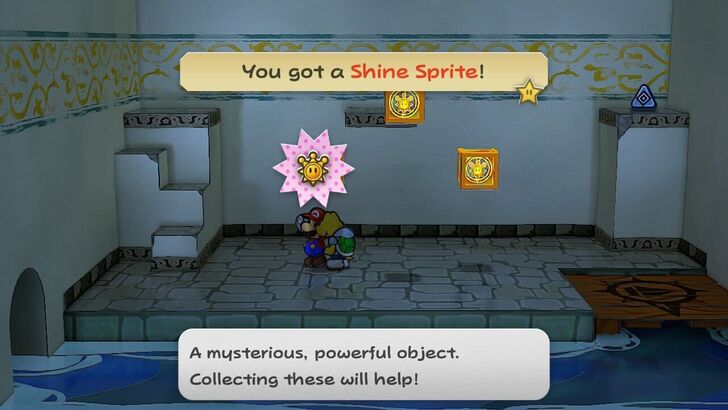 |
|
|
Rogueport Sewers
Two can be found in a hidden room accessible with Boat Mode on B2F. |
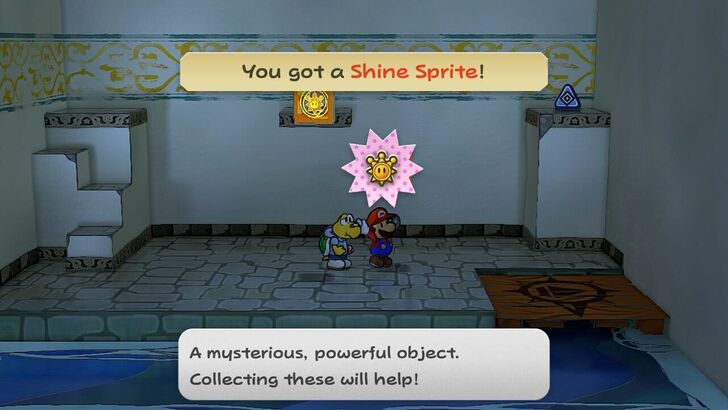 |
Blocks
Regular Blocks
| Done? | Location and Item | In-Game Image |
|---|---|---|
|
Keelhaul Key
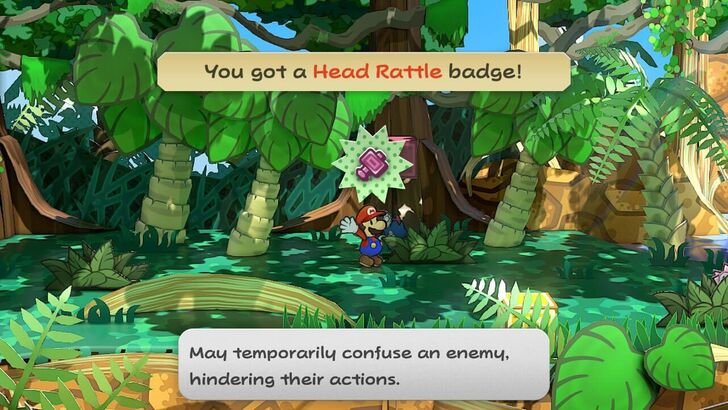
Found in the first scene on the west end of town. Item: Head Rattle |
 |
|
|
Keelhaul Key
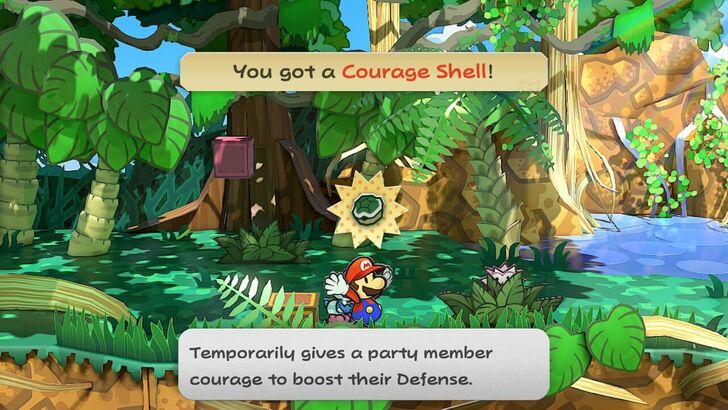
Found in the first scene on the west end of town. Item: Courage Shell |
 |
|
|
Keelhaul Key
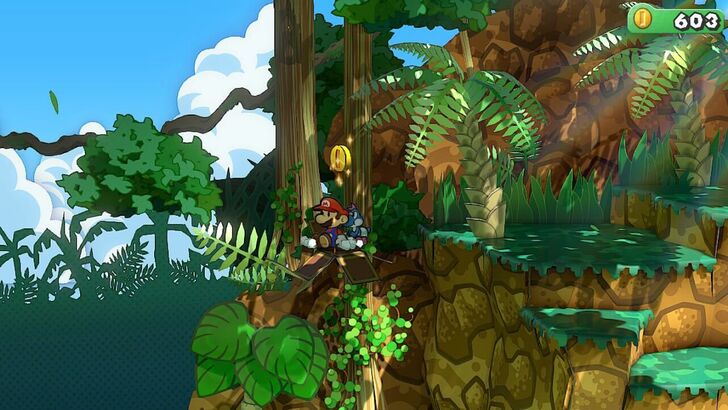
Below the Shine Sprite by the cliff on the way to Pirate's Grotto. Item: 1 Coin |
 |
|
|
Keelhaul Key
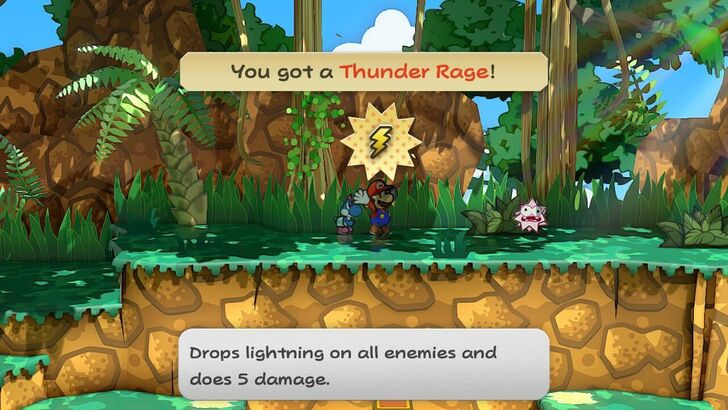
Found in the second scene on the west end of town, at the upper part of the screen. Item: Thunder Rage |
 |
|
|
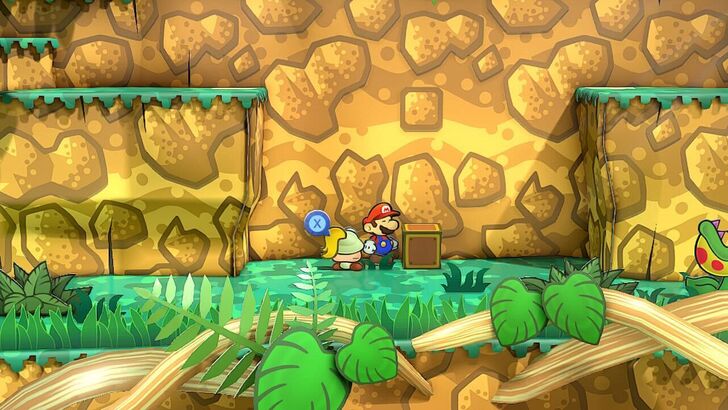
Keelhaul Key
Found below a Hidden Block in the area with the platforms. Item: 1 Coin |
 |
Hidden Blocks
| Done? | Location and Item | In-Game Image |
|---|---|---|
|
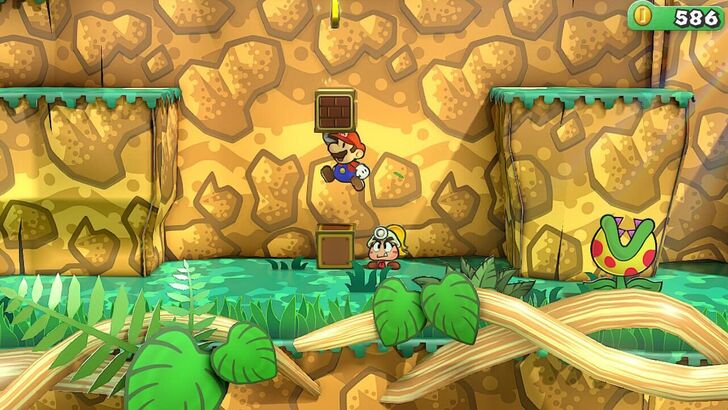
Keelhaul Key
Above a block in the fourth area. Item: Coin Block with 10 Coins |
 |
|
|
Keelhaul Key
South of the block containing Thunder Rage. Item: Jammin' Jelly |
 |
|
|
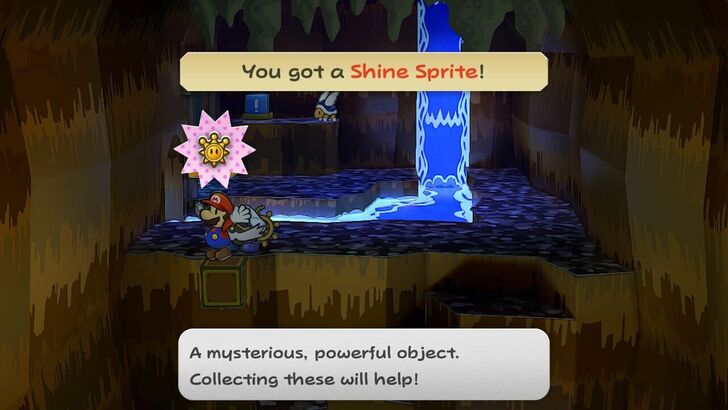
Pirate's Grotto
Toss Koops or use your hammer to hit the Hidden Block beneath the Shine Sprite. Item: 1 Coin |
 |
|
|
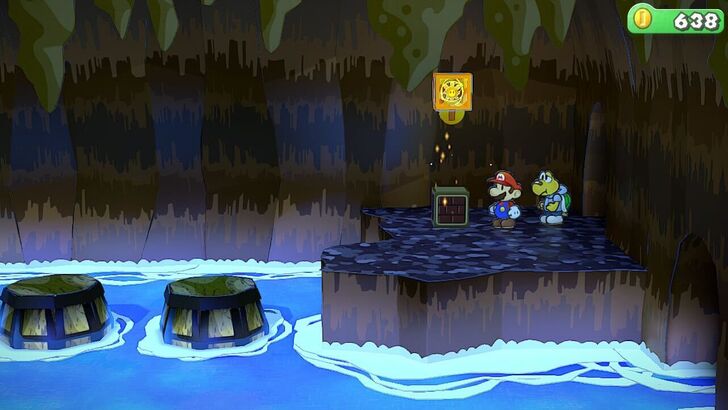
Pirate's Grotto
Found underneath the Shine Sprite in the area before Bill Blaster's corridor. Use Mario's Hammer to reveal the Hidden Block. Item: Coin Block |
 |
|
|
Pirate's Grotto
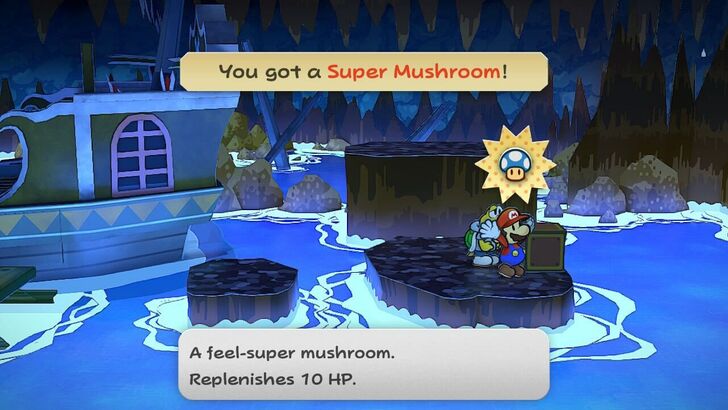
Found on the lower platform outside of the ship after you defeat Cortez. Item: Super Shroom |
 |
Chapter 5 Enemy List
Keelhaul Key Enemies
Standard Enemies
| List of Enemies in Keelhaul Key | |||
|---|---|---|---|
| Enemy | HP | Atk | Def |
| 5 | 3 | 0 | |
| 6 | 3 | 0 | |
| 8 | 3 | 0 | |
| 8 | 3 | 0 | |
Pirate's Grotto Enemies
Standard Enemies
| List of Enemies in Pirate's Grotto | |||
|---|---|---|---|
| Enemy | HP | Atk | Def |
| 5 | 3 | 4 | |
| 5 | 3 | 4 | |
| 8 | 3 | 0 | |
| 6 | 4 | 0 | |
| 6 | 2 | 1 | |
| 5 | N/A | 2 | |
| 2 | 4 | 1 | |
Rogueport Sewers Enemies
Standard Enemies (Enemies Get Updated After Getting the Sapphire Crystal Star)
| List of Enemies in Rogueport Sewers | |||
|---|---|---|---|
| Enemy | HP | Atk | Def |
| 2 | 1 | 0 | |
| 2 | 1 | 0 | |
| 4 | 2 | 1 | |
| 4 | 2 | 1 | |
| 6 | 4 | 2 | |
| 7 | 4 | 0 | |
| 3 | 1 | 0 | |
| 3 | 1 | 0 | |
| 12 | 7 | 2 | |
Chapter 5 Boss Guides
Lord Crump Boss Guide
| Enemy | HP | Atk | Def |
|---|---|---|---|
| 30 | 2 | 0 |
Focus Your Attacks on Lord Crump
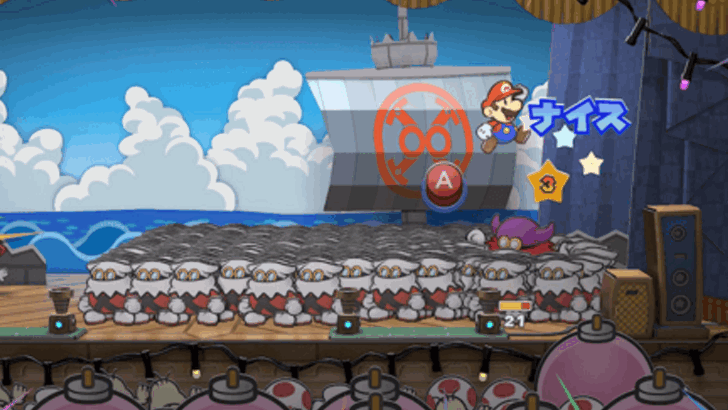
Focus all your attacks on Lord Crump and do not mind defeating his X-Naut Platoon. The platoon will revive every turn until Lord Crump has not been defeated yet, so it's a good idea to just avoid them.
You Have to Fight Him Twice

Once Lord Crump's HP reaches zero, he will fully replenish his HP and start the second fight. It is recommended to use Power Bounce
or Goombella's Multibonk move in combination with Charge or Power Punch to deal high amounts of damage.
Use Power Lift to Increase Attack and Defense Powers
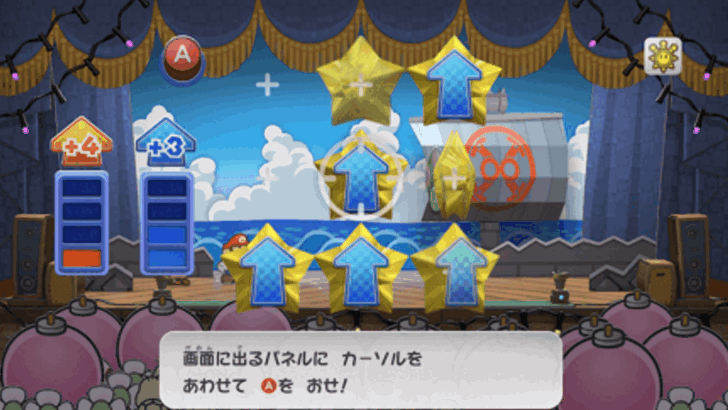
You can use the Power Lift special move to increase your attack and defense powers to reduce the damage from Lord Crump's attacks. Once your attack power is increased, use Power Bounce to deal high amounts of damage.
Cortez Boss Guide
| Enemy | HP | Atk | Def |
|---|---|---|---|
| 20 (x3) | 4 | 1 |
Defeat Cortez's Three Forms
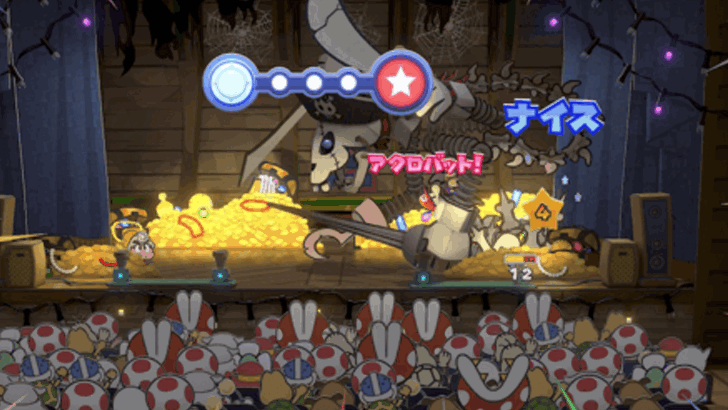
Each time Cortez's HP drops to 0, he will revive and go into his next form, and you will only win the battle after you defeat his third form. Note that you can also damage Cortez by hitting his bone piles with hammer attacks.
Using Spread Attacks is Very Effective
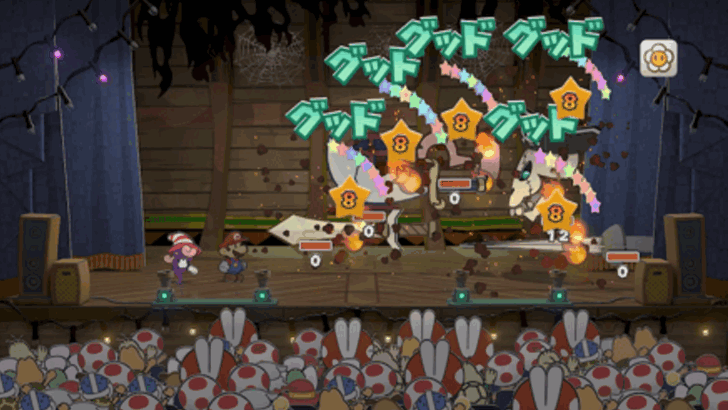
Using spread attacks that can deal 4 damage or more, like Vivian's Fiery Jinx move or Thunder Bolt, is very effective against Cortez's third form.
When in his third form, he will be using all four of his weapons, and they can easily reduce your party's HP if you ignore them.
Vivian's Fire Moves are Very Effective
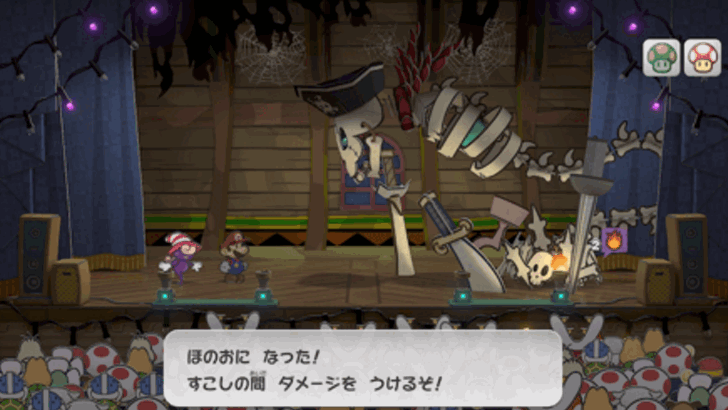
Cortez is very weak to fire, so Vivian's Shade Fist and Fiery Jinx moves are very effective against the pirate. You can use the Shade Fist on his first and second forms, while it's best to use Fiery Jinx in his third form.
Use Power Lift to Increase Attack and Defense Powers
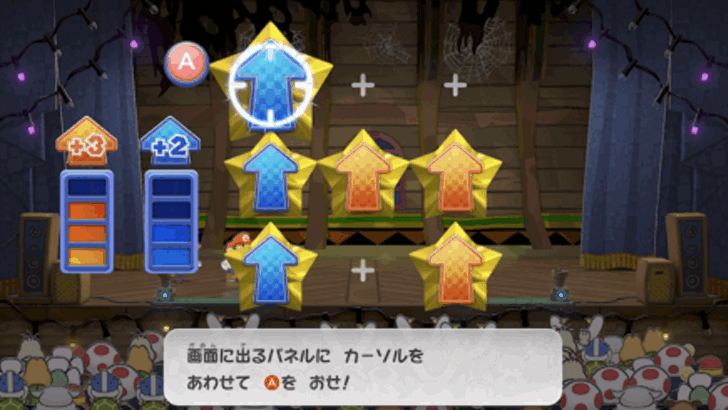
You can use the Power Lift special move to increase your attack and defense powers to reduce the damage from Cortez's attacks. Once your attack power is increased, use Power Bounce to deal high amounts of damage.
How to Defeat Cortez
Locations Available in Chapter 5
Keelhaul Key and the Pirate's Grotto
| New Locations Available in Chapter 5 | |
|---|---|
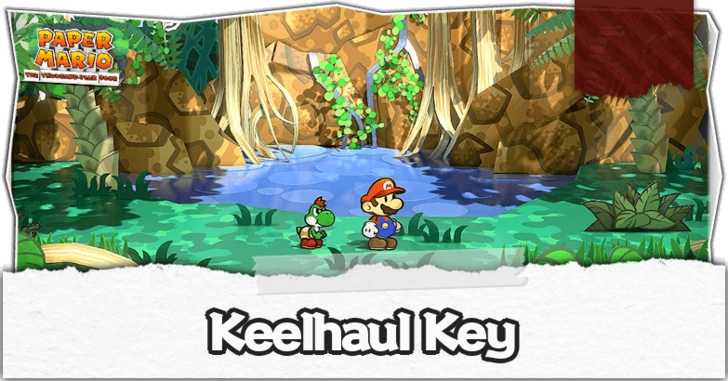 Keelhaul Key Keelhaul Key |
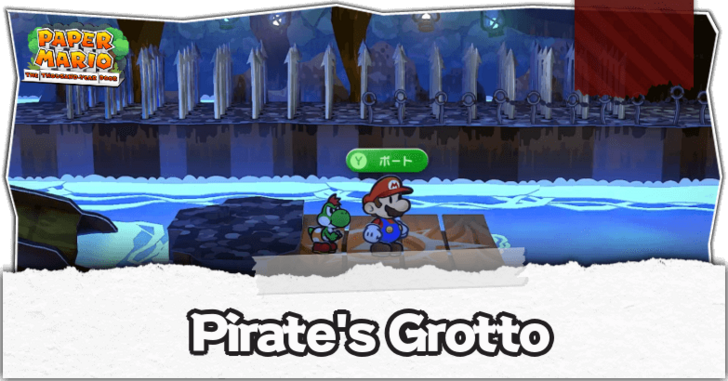 Pirate's Grotto Pirate's Grotto |
Upon starting Chapter 5, you will gain access to Keelhaul Key and the Pirate's Grotto. There is a shortcut to Keelhaul Key you can unlock after beating Chapter 5 and unlocking the Pipe in the Pipe Zone!
Chapter 5 Trouble Center Quests
The following Troubles will be unlocked after completing Chapter 5.
| Done? | Client | Details and Rewards |
|---|---|---|
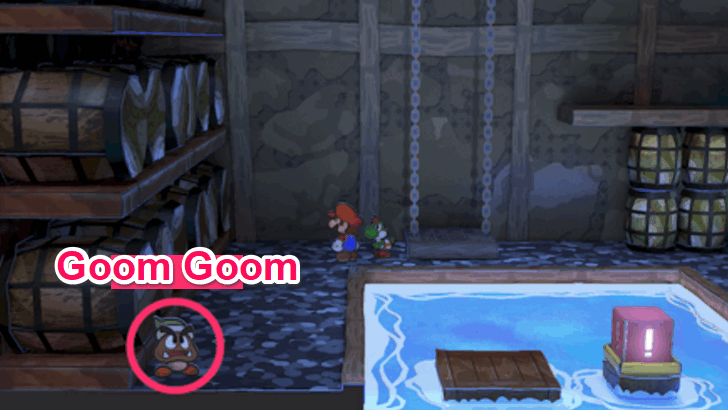 |
Request: Looking for a Gal! Reward: Couple's Cake Unlock: After Chapter 5 Talk to Goom Goom at Keelhaul Key with Goombella as your active partner. |
|
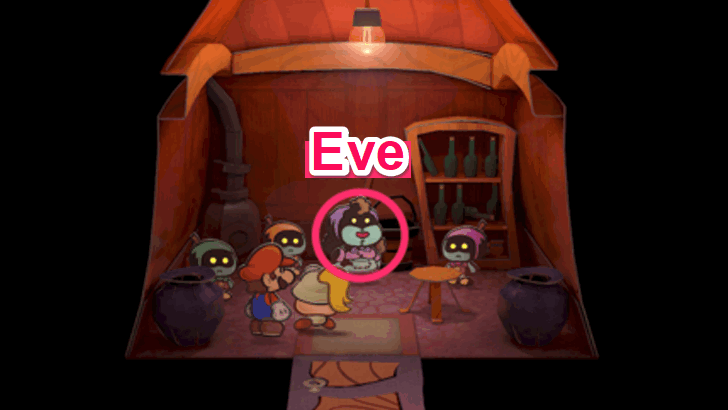 |
Request: Tell that Person... Reward: Meteor Meal Unlock: After Chapter 5 Talk to Eve in her house in Twilight Town and to Podley at the Rogueport inn. You can choose to tell the truth or lie. |
Paper Mario: The Thousand-Year Door Related Guides

Chapter Walkthroughs
Other Walkthroughs
| Other Walkthroughs | ||
|---|---|---|
 Peach Intermissions Peach Intermissions |
 Bowser Intermissions Bowser Intermissions |
 Trouble Center Trouble Center |
Comment
Author
Paper Mario: The Thousand-Year Door (TTYD) Walkthrough & Guides Wiki
Chapter 5: The Key to Pirates Walkthrough
Rankings
- We could not find the message board you were looking for.
Gaming News
Popular Games

Genshin Impact Walkthrough & Guides Wiki

Honkai: Star Rail Walkthrough & Guides Wiki

Arknights: Endfield Walkthrough & Guides Wiki

Umamusume: Pretty Derby Walkthrough & Guides Wiki

Wuthering Waves Walkthrough & Guides Wiki

Pokemon TCG Pocket (PTCGP) Strategies & Guides Wiki

Abyss Walkthrough & Guides Wiki

Zenless Zone Zero Walkthrough & Guides Wiki

Digimon Story: Time Stranger Walkthrough & Guides Wiki

Clair Obscur: Expedition 33 Walkthrough & Guides Wiki
Recommended Games

Fire Emblem Heroes (FEH) Walkthrough & Guides Wiki

Pokemon Brilliant Diamond and Shining Pearl (BDSP) Walkthrough & Guides Wiki

Diablo 4: Vessel of Hatred Walkthrough & Guides Wiki

Super Smash Bros. Ultimate Walkthrough & Guides Wiki

Yu-Gi-Oh! Master Duel Walkthrough & Guides Wiki

Elden Ring Shadow of the Erdtree Walkthrough & Guides Wiki

Monster Hunter World Walkthrough & Guides Wiki

The Legend of Zelda: Tears of the Kingdom Walkthrough & Guides Wiki

Persona 3 Reload Walkthrough & Guides Wiki

Cyberpunk 2077: Ultimate Edition Walkthrough & Guides Wiki
All rights reserved
© Nintendo. Games are property of their respective owners. Nintendo of America Inc. Headquarters are in Redmond, Washington, USA
The copyrights of videos of games used in our content and other intellectual property rights belong to the provider of the game.
The contents we provide on this site were created personally by members of the Game8 editorial department.
We refuse the right to reuse or repost content taken without our permission such as data or images to other sites.
 Prologue: A Rogue's Welcome
 Chapter 1: Castle and Dragon
 Chapter 2: The Great Boggly Tree
 Chapter 3: Of Glitz and Glory
 Chapter 4: For Pigs the Bell Tolls
 Chapter 6: 3 Days of Excess
 Chapter 7: Mario Shoots the Moon
 Chapter 8: The Thousand-Year Door


