 Prologue: A Rogue's Welcome
 Chapter 1: Castle and Dragon
 Chapter 2: The Great Boggly Tree
 Chapter 3: Of Glitz and Glory
 Chapter 4: For Pigs the Bell Tolls
 Chapter 5: The Key to Pirates
 Chapter 6: 3 Days of Excess
 Chapter 7: Mario Shoots the Moon
 Chapter 8: The Thousand-Year Door
This survey will take about 1 minute.
Your answers will help us to improve our website.
Paper Mario: The Thousand-Year Door (TTYD)
Chapter 8: The Thousand-Year Door Walkthrough
★ TTYD Switch Remake is now available!
┗ Remake Differences | New Gold Medal Badge!
★ Tips for Beginners | Secrets and Combat Tips
┗ How to Level Up Fast | How to Farm Coins
☆ Best Moves | Best Partners | Best Badges
★ All Walkthroughs | All Star Pieces | All Shine Sprites
Game8's walkthrough for Paper Mario: The Thousand-Year Door's (TTYD) Chapter 8, The Thousand-Year Door. Read on for a detailed guide for this chapter, including locations of collectibles, locations of note in The Palce of Shadow and the Riddle Tower, enemies, as well as useful tips for completing this chapter!
| ◄ Previous Chapter | Next Chapter ▶ |
|---|---|
| Chapter 7: Mario Shoots The Moon |
- |
List of Contents
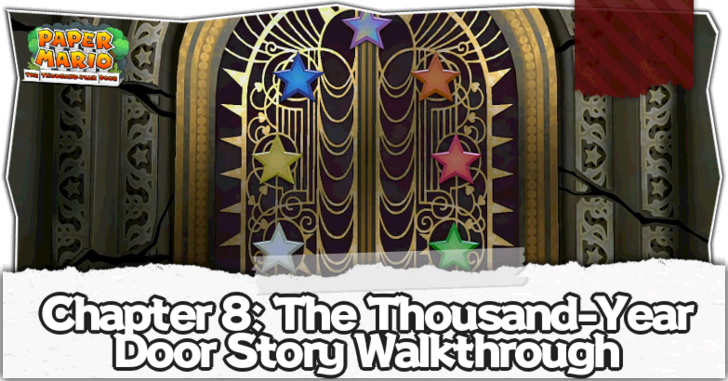
Chapter 8: The Thousand-Year Door Story Walkthrough
| ★Recommended Stats★ | ||||||||
|---|---|---|---|---|---|---|---|---|
| Chapter 8 Main Objectives | ||||||||
| ! | Things to Do Before Chapter 8 | |||||||
| 1 | Spikes, Fire, and Bones | |||||||
| 2 | Doom and Gloomtail | |||||||
| 3 | Let Your Heart Be Your Guiding Key └ Palace of Shadow Tower Riddle Answers |
|||||||
| 4 | The Shadow Sirens and Doopliss | |||||||
| 5 | Ferris Wheel of Fortune | |||||||
| 6 | Grodus and Bowser | |||||||
| 7 | The Shadow Queen | |||||||
| 8 | The End | |||||||
Click on any of the links above to jump to the section!
Things to Do Before Heading Into The Thousand-Year Door
Before heading into this gauntlet of Bosses, Enemies, and Puzzles, make sure to prepare beforehand. Here is a list of everything you can do to prepare:
| List of Things to Do Before Chapter 8 |
|---|
|
✪ If you gave money to Lumpy at Rogueport, go back to where he was and he will give you 3x the amount you initially gave him. ✪ Complete the first 50 Floors of the Pit of 100 Trials to get the max 20 item slots in your inventory. ✪ Finish up as many Troubles as you can. ✪ Collect all of the Shine Sprites and max out your Partners. At the very least, max out Yoshi, Vivian, Bobbery, and Goombella. ✪ Max out your inventory with Cooked Healing Items. Try to save your Whacka Bumps for the Pit of 100 Trials though. ✪ Get as much Power and Defense Raising Badges to fill up your Badge Points. ✪ Get a curse to help you in the upcoming battles. ✪ Get Mario to at least 20 HP and FP at Level 25. |
Spikes, Fire, and Bones Walkthrough
| Objectives | |
|---|---|
| 1 | 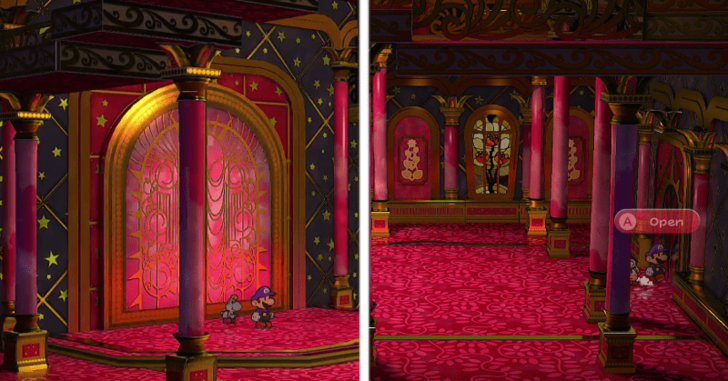 You will start the Chapter once you enter the Thousand-Year Door into the Palace of Darkness. Don't worry, you can walk back out if you still need more time to prepare. Head right and exit to a doorway to progress. |
| 2 | 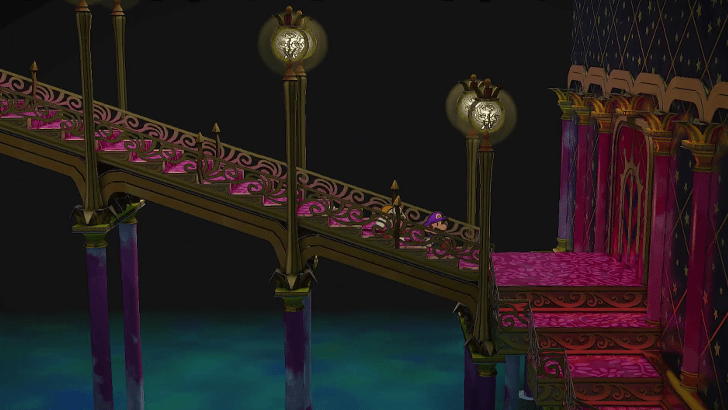 This room is a staircase, just head down while defeating the enemies along the way. There is a door at the bottom, head inside and another room awaits. |
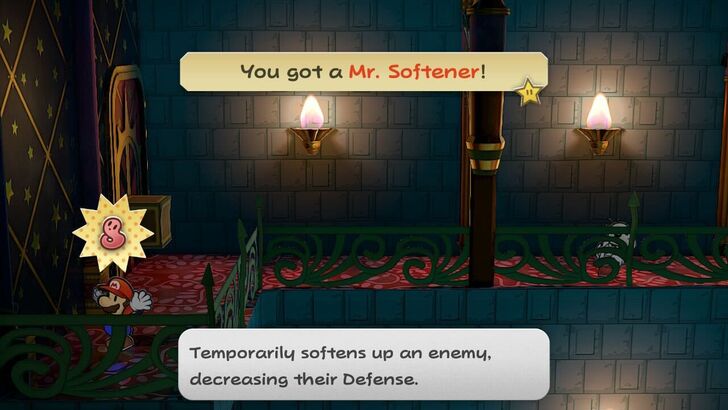
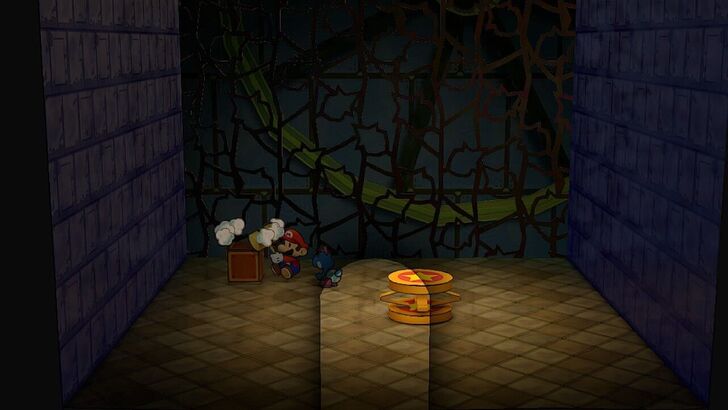
| 3 | 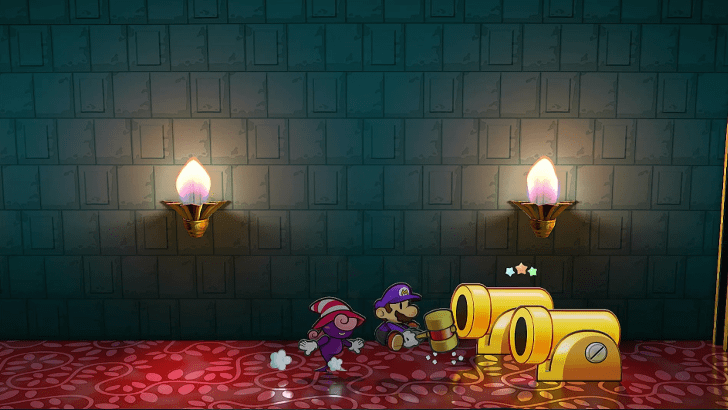 Grab the Mr. Softener when you get to this room. It is filled with Dry Bones and Bombshell Bills, so we recommend switching your partner to Bobbery or Vivian for this area to make it easier for you. Defeat the Bombshell Bill Blasters and head into the next room. |
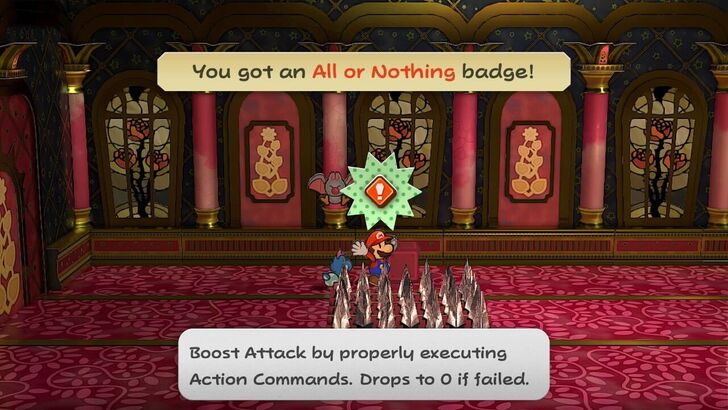
| 4 | For this room, it is recommended to have the Slow Go Badge since the floor will have spikes that shoot up if you go near them. Make sure to grab the All or Nothing Badge on the top side of the room. Maneuver around the spikes to get to the other side of the room. |
| 5 | 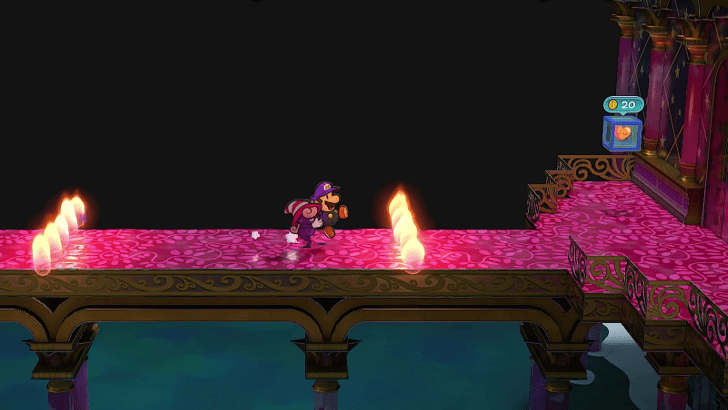 Ditch the Slow Go Badge for Ice Power since this room has Embers. This room has a lot of Fire Bars that you need to get through, so use Vivian to make it easier get to the other side of the room. |
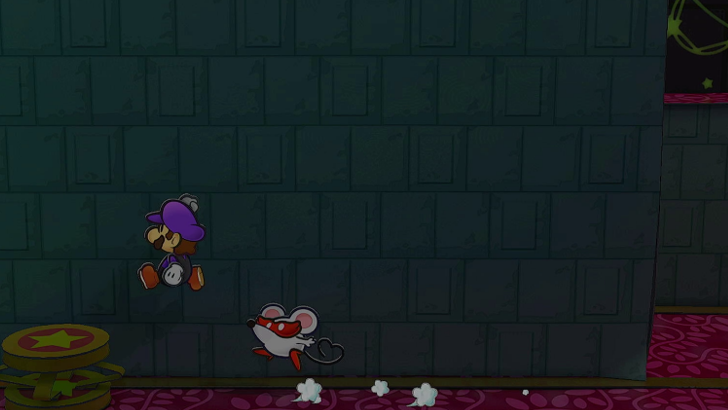
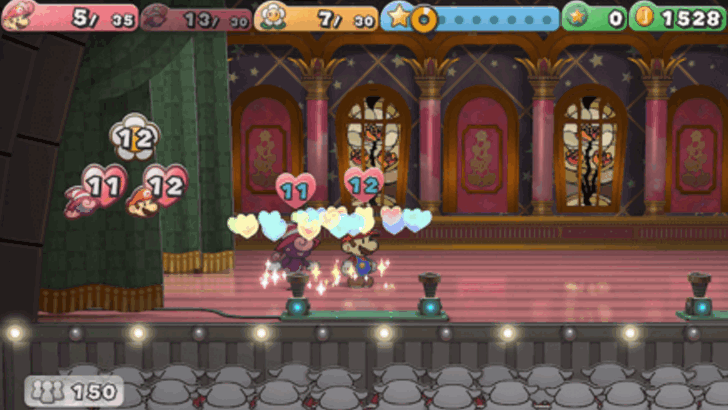
| 6 | 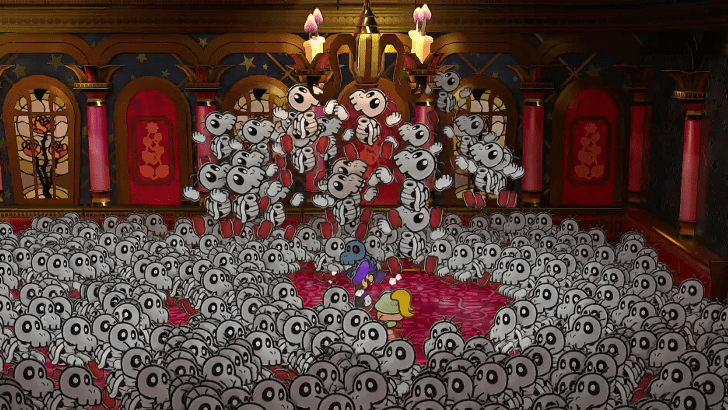 Similar to Chapter 1, this room requires you to talk to the Dark Bones and a ton of Dry Bones will drop down from the ceiling. Use your hammer to make your way to fight the Dark Bones and it will drop a Palace Key afterwards. |
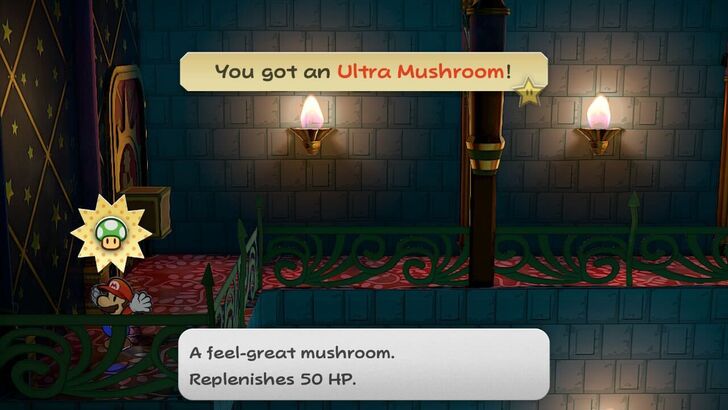
| 7 |  Use the Palace Key on the door and head inside the next room. This room is similar to the third room with the Bombshell Bills but this time Embers have been thrown in the mix. Grab the Ultra Shroom and head down to go to the next room after defeating the Bombshell Bill Blasters. |
| 8 | 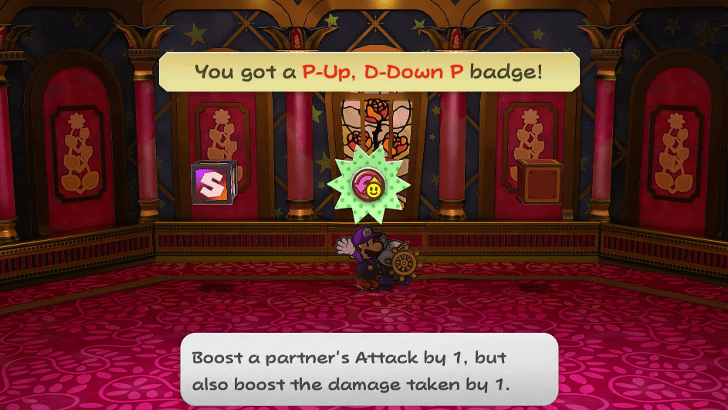 This is a pretty simple room just ignore or beat the enemies along the way and Grab the Ice Storm and P-Up, D-Down Badge.Head into the next room for a nasty surprise. |
| 9 | 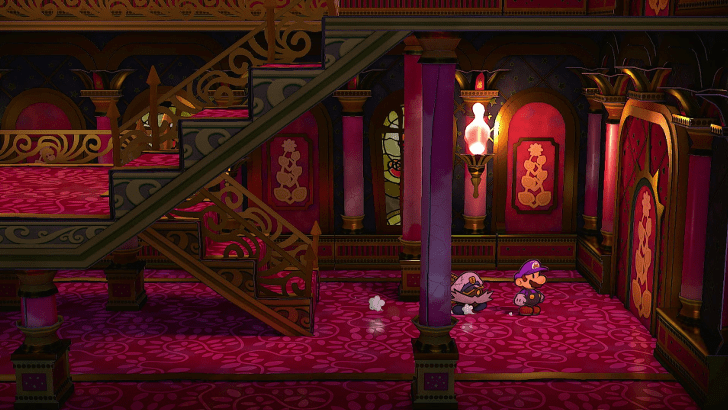 This room is like an infinite maze. There are four doors in this room, and you need to look for which door on the right has a lit torch next to it to progress. If you just entered the room, the pattern goes: lower right, lower right, upper right, lower left, upper right, upper left, lower right |
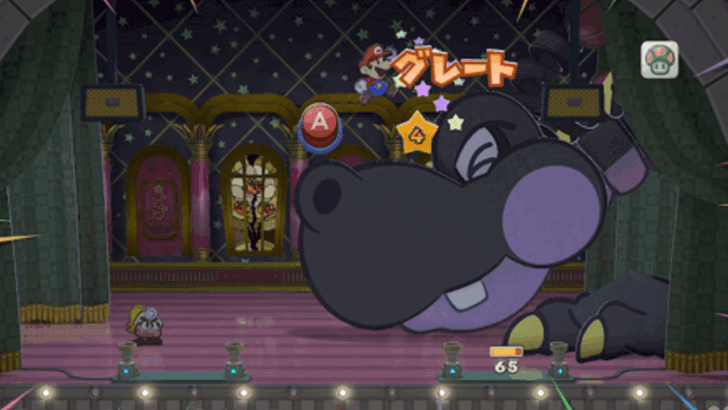
Doom and Gloomtail Walkthrough
| Objectives | |
|---|---|
| 1 | 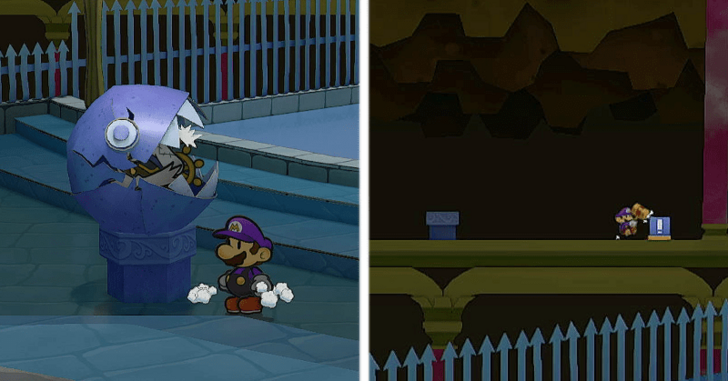 You are now in a courtyard with a huge tower in the background. Have Bobbery out and look for some Chain Chomp statues. Throw him in its mouth to reveal a pipe. Head into the pipe and activate the switch to reveal a Boat Platform. |
| 2 | 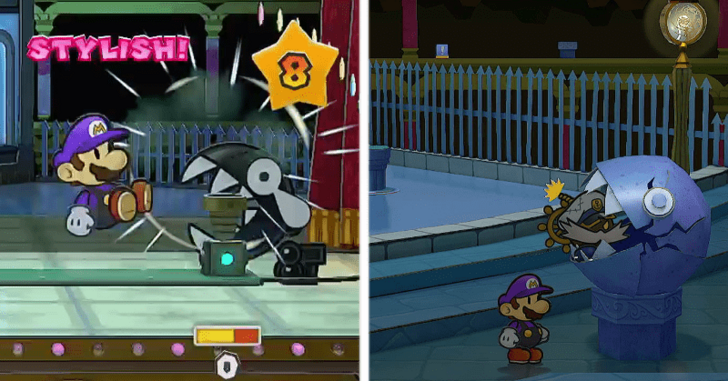 Head to the other side of the courtyard and do the same thing with the Chain Chomp statue there to reveal another Boat Platform. Beware of the wandering Chain Chomps wandering about they have 5 Defense so use either Flurrie or Yoshi. |
| 3 | 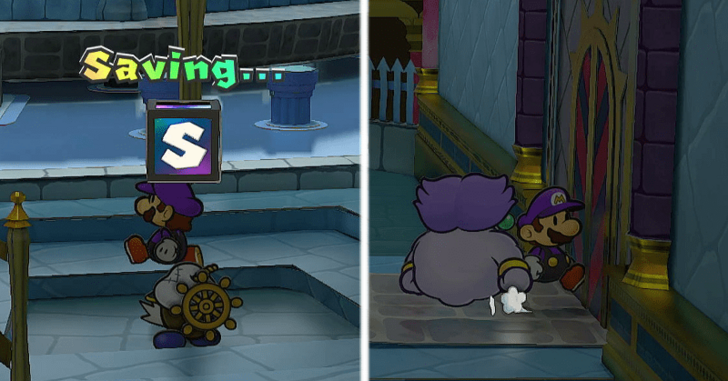 There is a Save and a Heal Block in the courtyard so go use these for respite. Ignore the boat Platforms for now and head to the right door. |
| 4 |  For the next four rooms after the courtyard, these are just straight hallways with enemies. At the end there is a Save Block, go use it as you will be facing a boss in the next room. |
| * |  Before going into the boss room, we recommend equipping the Feeling Fine and Feeling Fine P Badges. |
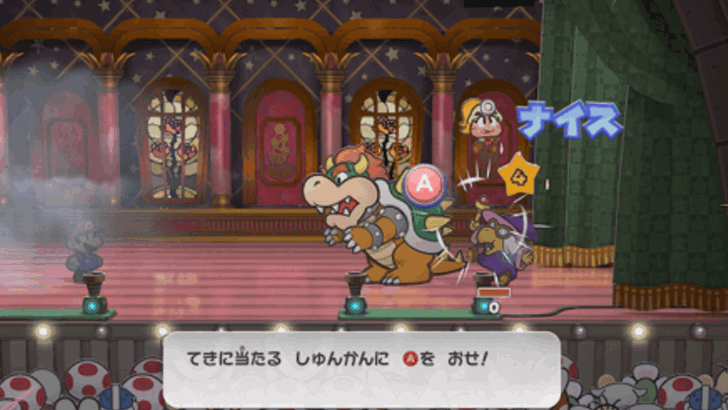
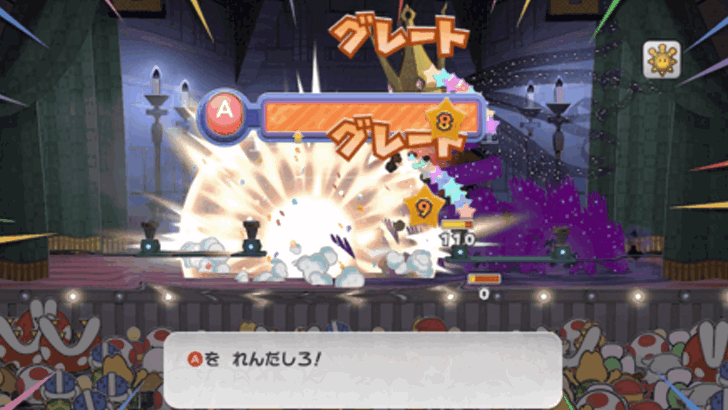
| 5 |  Head inside the room and Gloomtail will introduce himself and will avenge his sister! Gloomtail Boss Fight Guide ► |
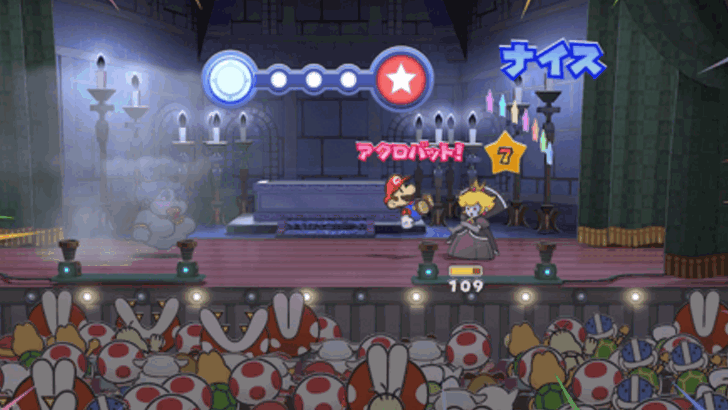
| 6 |  This fight is pretty difficult if you are not prepared. We recommend using Vivian as your partner and use Veil the turn after he charges. Power Lift followed by a Power Bounce is the way to go in terms of damage. |
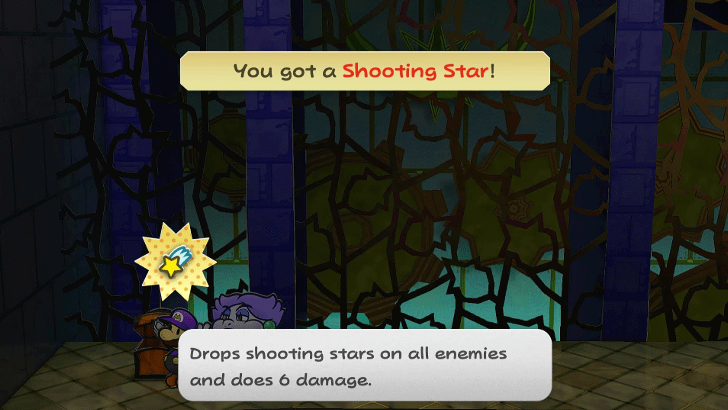
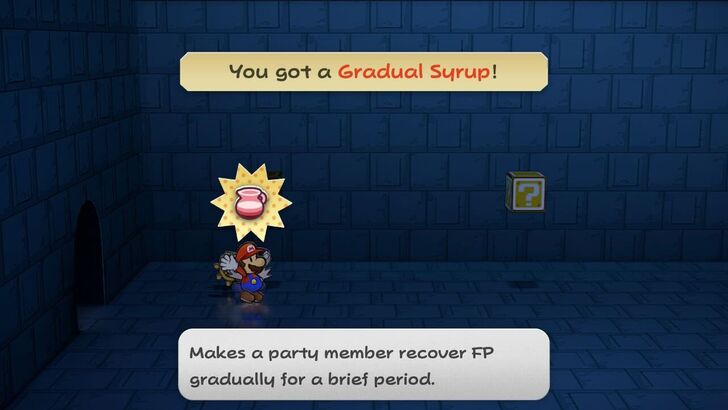
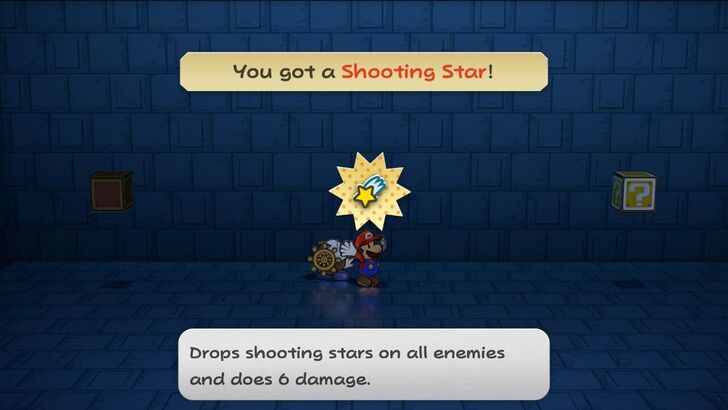
| 7 | 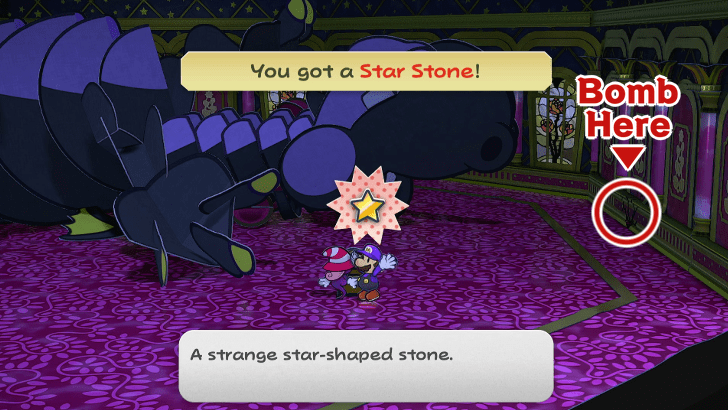 After defeating Gloomtail, you will get a Star Stone. There is a bombable wall in the right side of the room for a Gradual Syrup, a Shooting Star. and a Mystery. Return to the courtyard after so you can Save and Heal. |
Let Your Heart Be Your Guiding Key Walkthrough
| Objectives | |
|---|---|
| 1 | 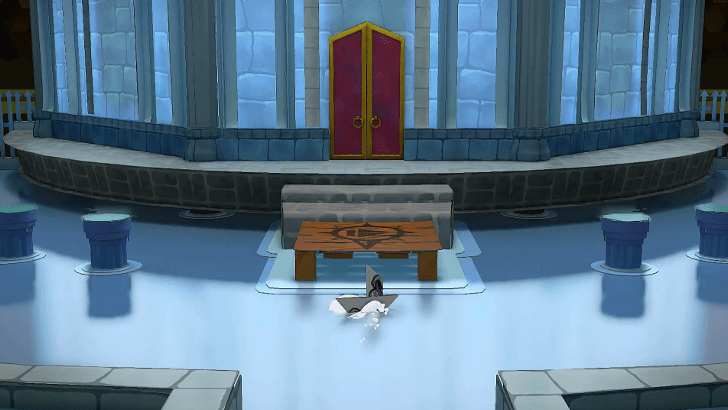 Once you're at the courtyard, you can then head into the Palace of Shadow Tower at the background through the Boat Platforms. |
| 2 |  Head to the Third Floor and place the Star Stone you got from Gloomtail into the central pedestal next to the armillary sphere. Eight pedestals should appear and all eight rooms will light up. |
| 3 | 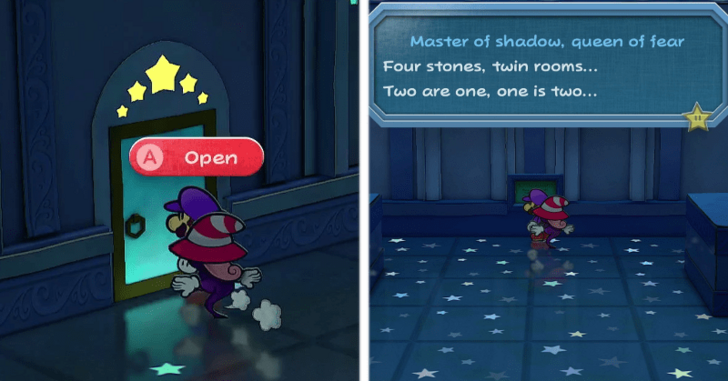 There will be three floors in the tower with four rooms in each of the first two floors. Ignore the final floor for now, and focus on getting in each room to get the Palace Keys. |
| 4 |  Solve the Riddles stated on each room in the first and second floor. You should get a total of eight Palace Keys. Palace of Shadow Tower Riddle Answers ► |
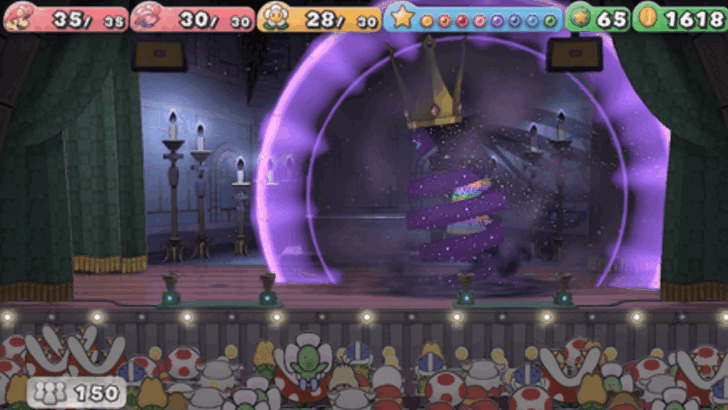
| 5 | 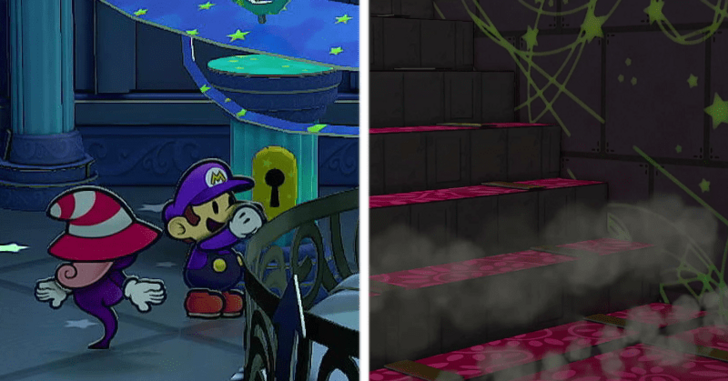 After getting all eight Palace Keys, head to the Third Floor and insert a Palace Key in each pedestal and a cutscene will play showing Gloomtail's room lowering. Head back to the courtyard to save and Heal for another boss fight. |
Palace of Shaddow Tower Riddle Answers
| Room | Riddle and Answer |
|---|---|
| 1F - North West | Master of shadow, queen of fear Four stones, twin rooms... Two are one, one is two... Break the Stone Blocks in this room and the ones in Room 2F - North West, the room directly above this one. |
| 1F - South West | The seven hewn by a fell hand Onward, onward, onward... Retreat, retreat... Hit the block on the left three times and the right one two times. |
| 1F - North East | Stones to rival the celestial spheres All you see isn't all there be... Touch it to pass through it... The wall on the right is fake and can be walked through. Hit the ! Block in the room. |
| 1F - South East | Feared far and wide across the land The unseen may yet be felt... Be it here? Be it there? Use Flurrie to blow on the invisible panel to the right of the riddle. |
| 2F - North West | By skill and might, engraved in stone. Four stones, twin rooms... One is two, two are one... Break the Stone Blocks in this room and the ones in Room 1F - North West, the room directly below this one. |
| 2F - South West | Carrying the lore of the sky Let fall the weakest... Then build to the strongest... Defeat the enemies in the order: Dull Bones, Red Bones, Dry Bones, Dark Bones. (Yellow → Red → White → Black). |
| 2F - North East | Carrying secrets from on high Straight on, straight onward... Destroy what lies in your path... Use Bobbery to destroy the right wall. |
| 2F - South East | The stars up in the heavens shone The shy one hides their shape... The shy one hides their face... Hide using Vivian's ability to make the ! Block appear, and hit it before it disappears. |
The Shadow Sirens and Doopliss Walkthrough
| Objectives | |
|---|---|
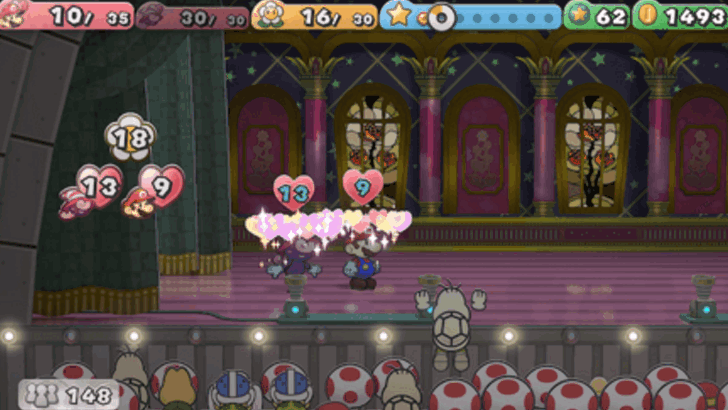
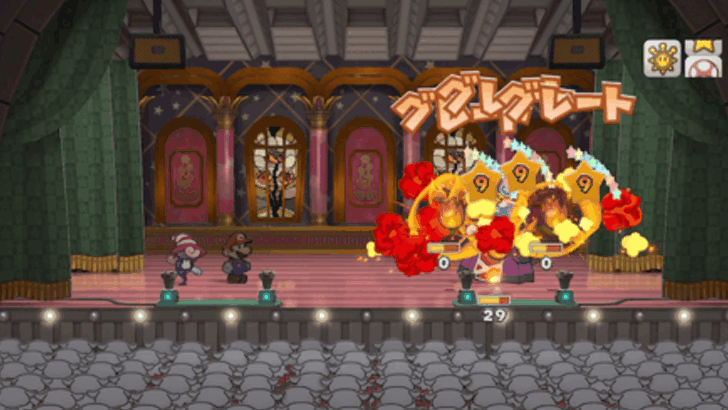
| 1 | 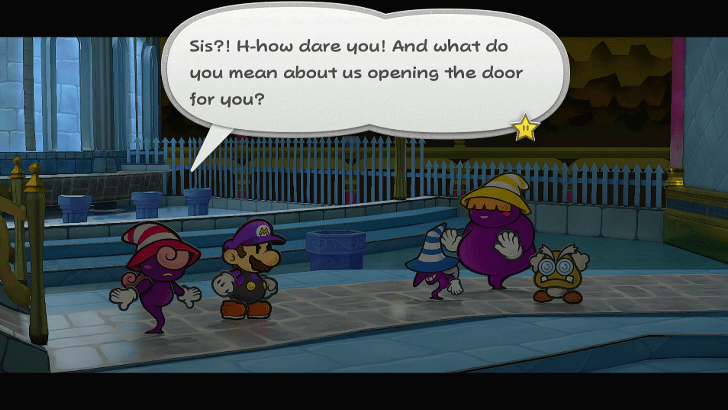 After Saving and Healing in the courtyard, head into the door where you battled Gloomtail. Beldam, Marilyn, and Professor Frankly will be there waiting for you when you head towards the door. |
| 2 | 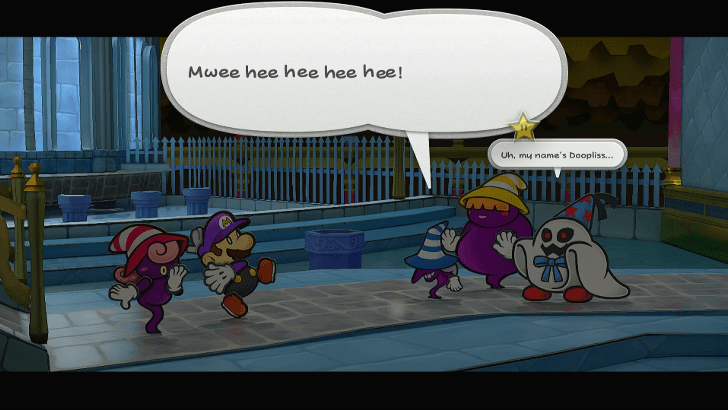 After a cutscene where Professor Frankly reveals himself to be Doopliss, the battle will start. Shadow Sirens and Dooplis Fight Guide ► |
| 3 | 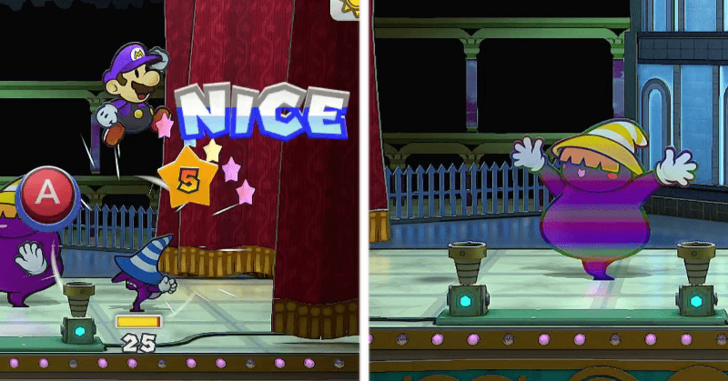 This fight is a bit easier than Gloomtail. Just like before, prioritize Beldam as she can buff allies and inflict freeze, then Marilyn, and leave Doopliss for last. Should Marilyn raise her attack, use Vivian's Veil to shield yourself. |
| 4 | 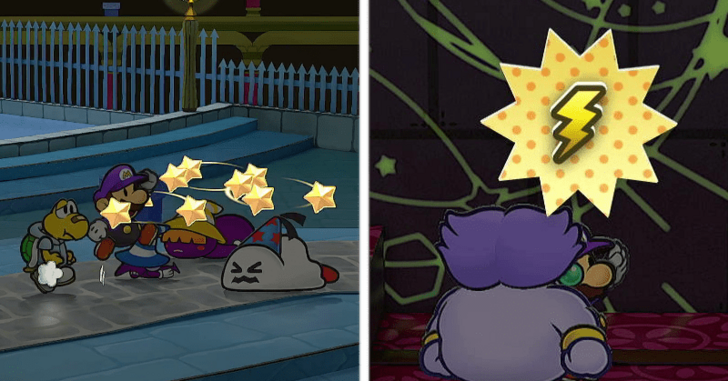 After beating the ghosts, head into the door where you battled Gloomtail and you'll notice it's changed significantly. Head down the staircase and grab the Thunder Rage in the block. |
| 5 | 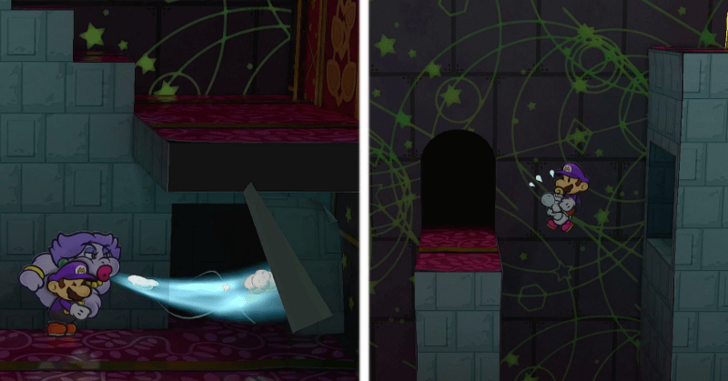 At the bottom of the staircase, use Flurrie to blow away the poster covering the tunnel. Head up to the left and Flutter Jump with Yoshi at the end to make it to the doorway. |
| 6 |  After entering the doorway, bring out Koops and leave him down to hit the ! Switch at the right. Once you're at the top of the staircase, let Koops rip and a platform will appear that you can now cross. |
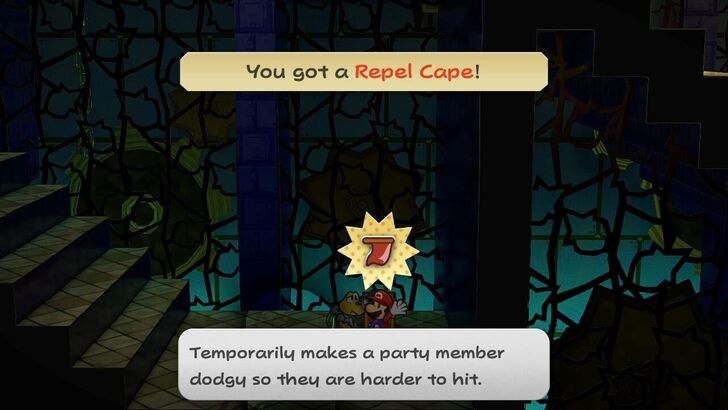
| 7 |  Head down the stairs and you can grab a Repel Cape if you need it. Head out the door and head to the left. |
Ferris Wheel of Fortune Walkthrough
| Objectives | |
|---|---|
| 1 | 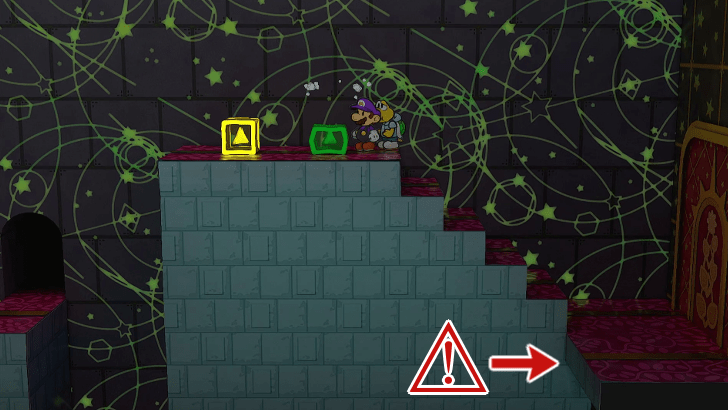 Head inside the doorway and head up the stairs and make sure not to fall on the ledge next to the stairs. Hit the green switch and go back to the previous room. |
| 2 | 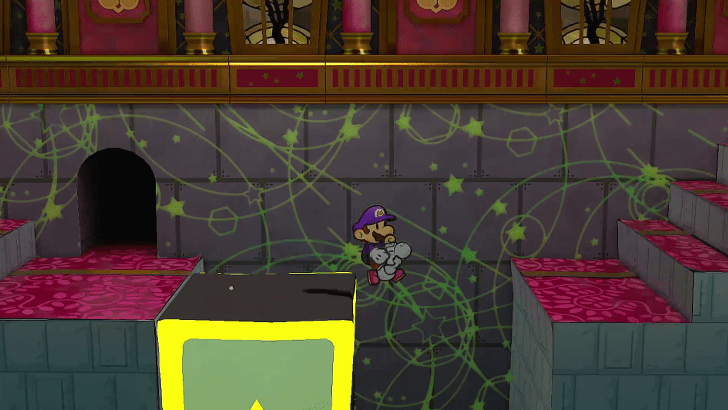 Head right and cross the gap with Yoshi. Head up the stairs and free fall down and you will see a Purple Switch. Switch your partner to Bobbery for the next part. |
| 3 |  Throw Bobbery onto the switch and make sure you're on the purple box. Once the switch is triggered, swap to Yoshi and cross the first ledge you see. Make sure you don't reach the top or you'll have to repeat this. |
| * |  Should you fall at any moment in this room, head to the left and use the springboard at the end to get back to the top. |
| 4 |  Once you get into the gap, keep riding Yoshi and use him to cross the gap and enter the door in the right side of the room. |
| 5 | 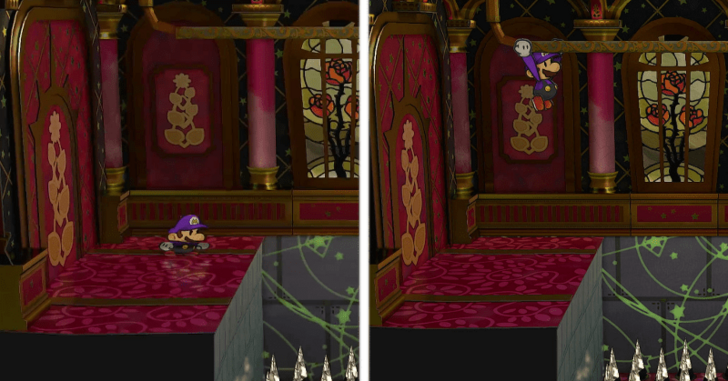 Once you enter theres a gap on the floor and there's pipes on the ceiling. Use the gold lines on the carpet to align yourself to the pipes on top and Spring Jump. Once you cross both pipes, head into the doorway. |
| 6 | 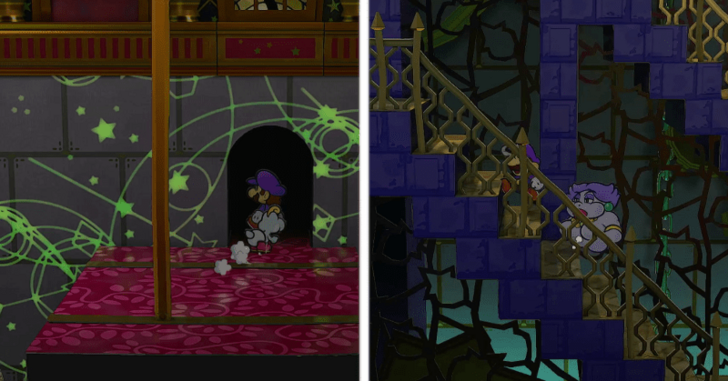 Head up the first flight of stairs you see and swap your partner to Bobbery when you see a large gap on the floor. Drop Bobbery onto the switch down below to reveal a hidden platform. |
| * |  Before going up the first set of stairs, you can head to the far-left and grab the Shooting Star if you need it. |
| 7 | 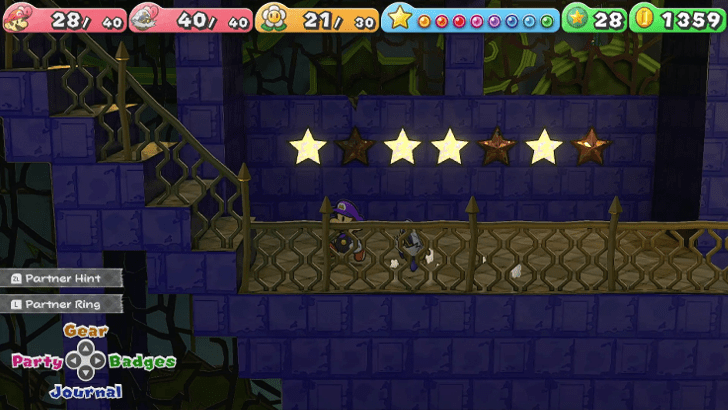 Cross the platform and remember the pattern of the lit up stars here. From the left, the lit up ones are 1, 3, 4, and 6. Head up the stairs, and use the save block. |
| 8 |  After saving, head to the right onto the ferris wheel and go to the lower platform and use Koops to grab the Palace Key. Drop down, and head back up the stairs and unlock the door. |
| 9 |  Head into the door and grab the Power Punch in the box. Head up the steps and use your Tube Mode to head up another flight of steps. Go left, and you will see a bunch of ! Blocks with stars on top of them. |
| 10 |  Hit the first, third, fourth, and sixth blocks starting from the left. This will make the ferris wheel in the previous room to turn. Head back to the previous room and save if you want. |
| 11 | 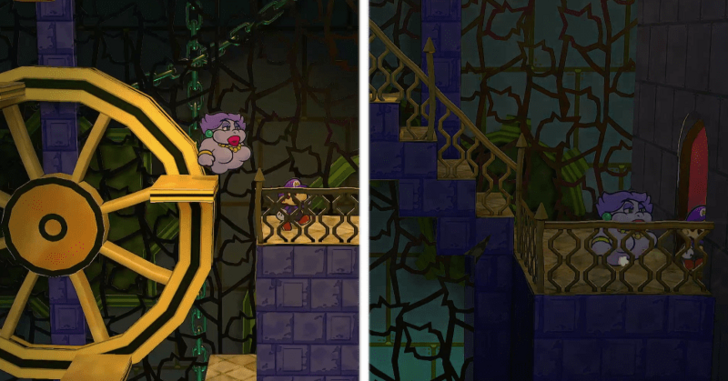 Get onto the ferris wheel and use it to cross onto the other side. Head down the steps and enter the door to find a chunk of bricks. |
| 12 | 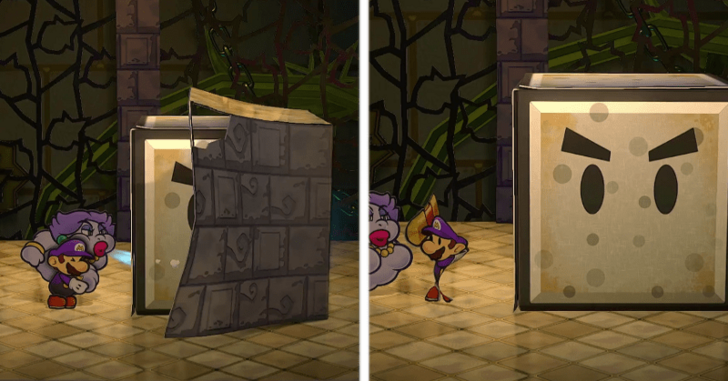 Use Flurrie to blow the bricks off and reveal a block you can destroy with your Ultra Hammer. |
| 13 | 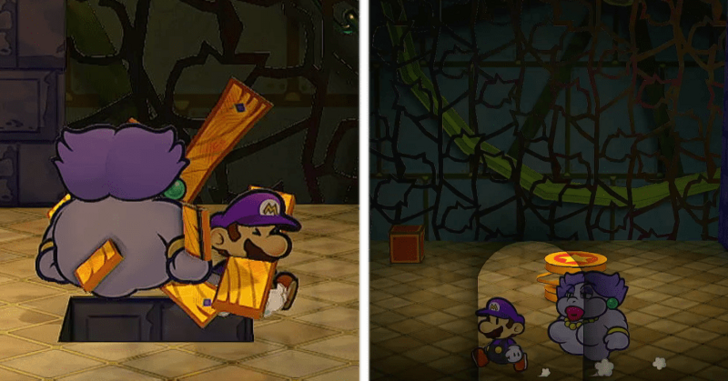 Spin Jump on the wooden platform and drop down into a springboard. Grab the coin in the block and then head out through the doorway towards the camera. You should be back in the spikes room. |
| 14 | 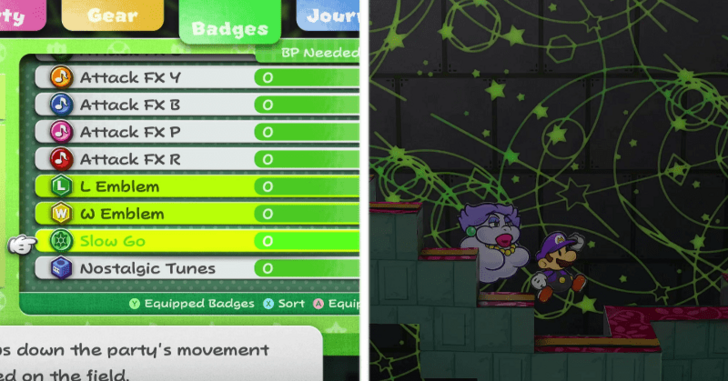 Equip your Slow Go badge again and walk carefully on the winding narrow path towards the door to the right. You will get onto a room with a Plane Platform. |
Grodus and Bowser Walkthrough
| Objectives | |
|---|---|
| 1 | 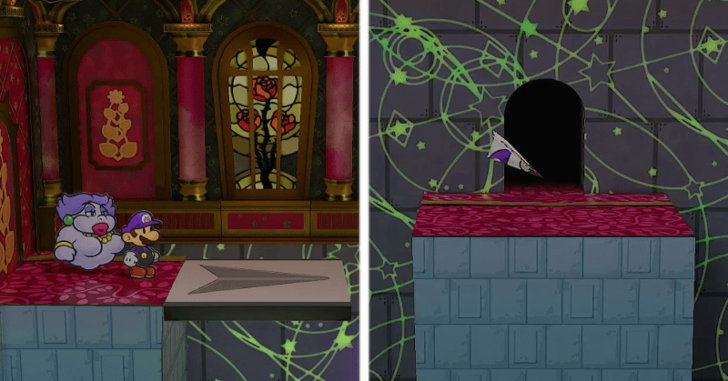 Use the Plane Platform to get to the ledge with the doorway. Enter it and you will see a room with a Chain Chomp. Defeat it to make this room's puzzle easier for you. |
| 2 | 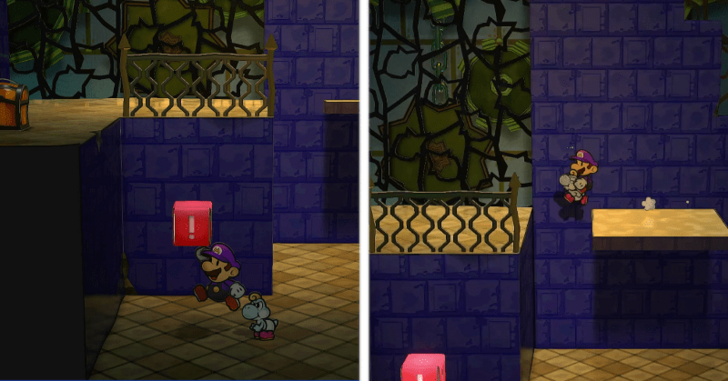 Switch your partner to Yoshi and hit the ! Block to reveal a platform. You are being timed, so make a run for it and loop around the room to get to the chest on top. |
| 3 |  Grab the Palace Key and head out the doorway and jump down a lower area. Head to the left and use the springboard to get yourself back up. |
| * |  You can also head to the right and use Yoshi's Flutter Jump to help you grab the Life Shroom and Shooting Star items on the plaforms if you want. |
| 4 |  Use the Plane Platform and this time, use it to get yourself to the other side of the room. Use your Palace Key to open the door and go inside to the room, grab the items, and use the Save and Heal Block. |
| * |  Before going into the boss room, we recommend equipping your best attack and defense badges. Switch to Vivian or Bobbery as your partners, or Goombella if you don't have the Peekaboo Badge. |
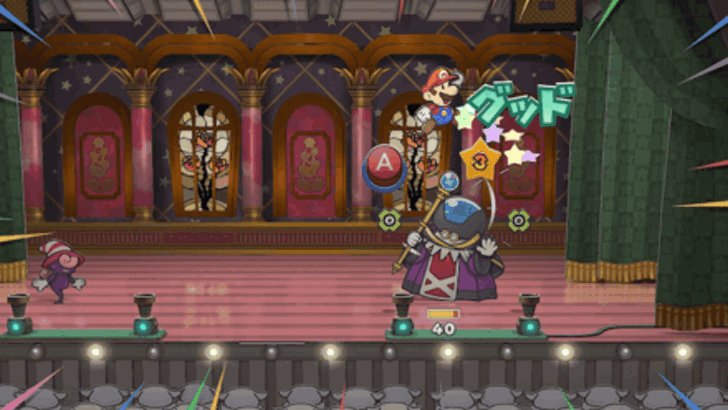
| 5 |  Save, Heal, and then head inside the throne room where Grodus is waiting. After the cutscene, you have to fight the man himself! Grodus Boss Fight Guide ► |
| 6 |  This fight is pretty difficult if you are not prepared. We recommend using Vivian as your partner as she can Burn and get rid of all the Grodus X's with her Fiery Jinx. |
| 7 | 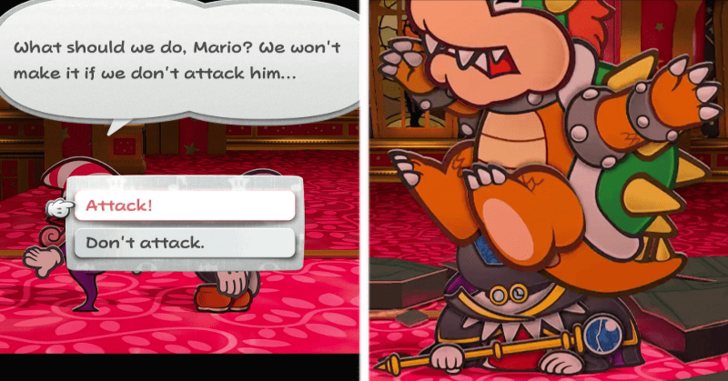 After defeating Grodus, he will summon Peach in a bubble and taunt you to attack him. What you choose doesn't matter as Bowser will come crashing down the ceiling and crush the lord of the X-Nauts. |
| 8 | 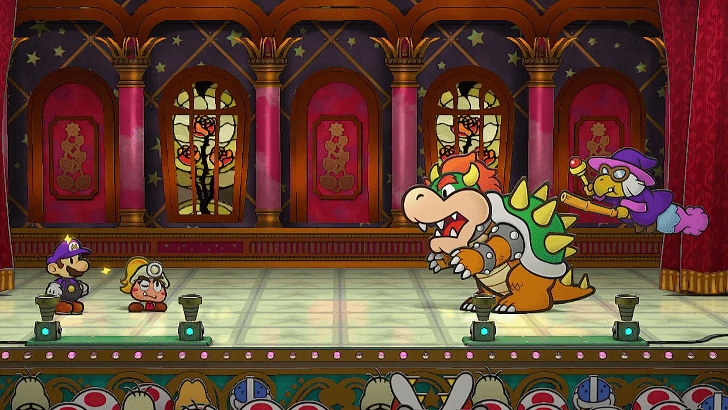 After the convenient crushing, you will be immediately thrust into another boss fight against Bowser and Kammy Koopa. Bowser and Kammy Koopa Boss Guide ► |
| 9 |  This immediately follows the battle with Grodus so you are not at fighting condition. Use a Sweet Feast if you need it. Prioritize defeating Kammy first and then deal with Bowser. |
| 10 | 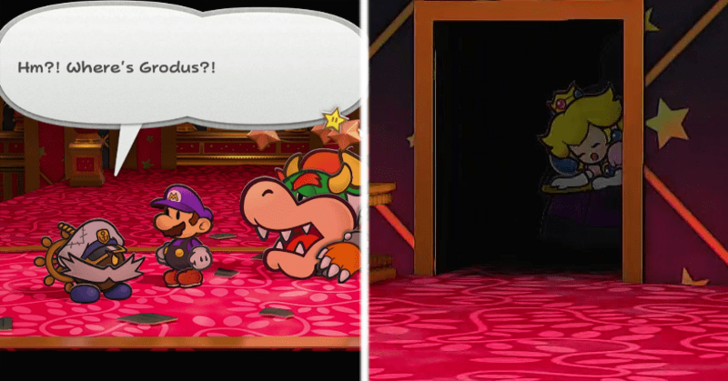 After defeating Bowser, Grodus seems to have escaped with Peach! Follow him behind the throne room! |
The Shadow Queen Walkthrough
| Objectives | |
|---|---|
| 1 | 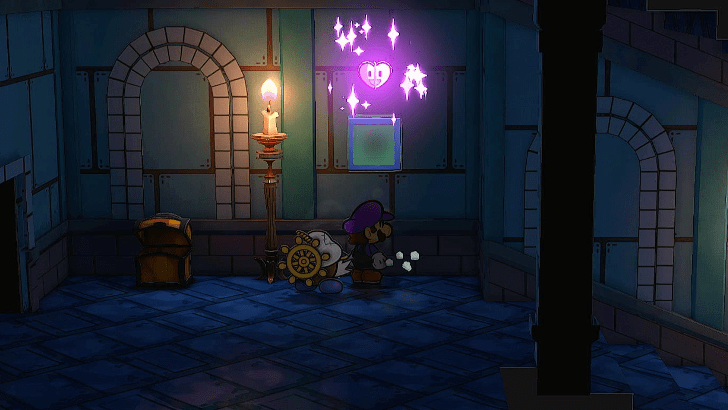 After beating Bowser, head towards the room where Grodus dragged Peach into. There is a Heal Block there so use it if you need it. Head down the steps. |
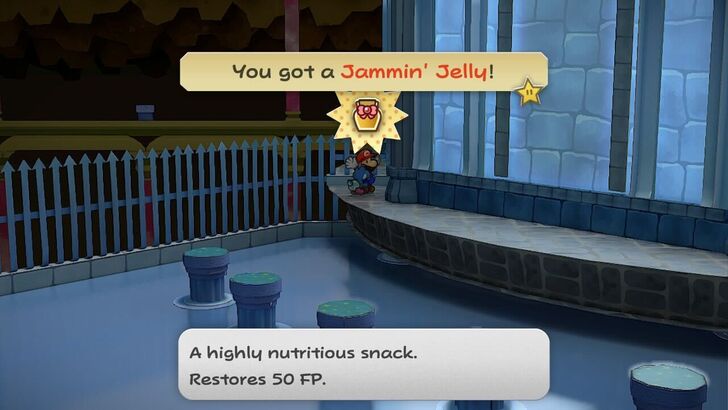
| 2 |  At the end of the steps, grab the Jammin' Jelly and Save your progress. Enter the final room when you are absolutely ready. |
| 3 |  A cutscene will play with Grodus sacrificing Peach to revive the Shadow Queen. It will then cover every area in darkness. After The Shadow Queen jukes Grodus and the Shadow Sisters arrive, you will be given the choice to either become her servant or refuse and fight! |
| * | 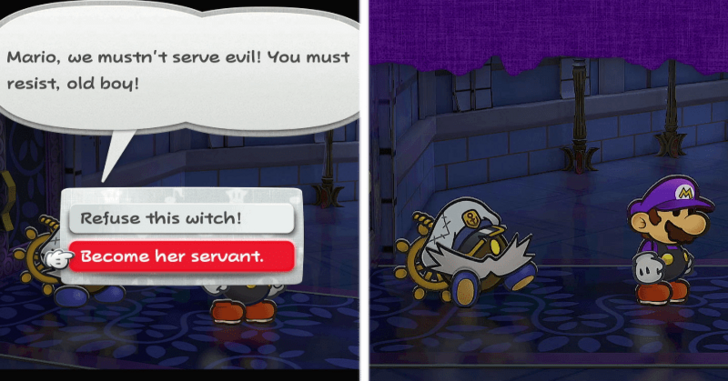 If you choose to become her servant, it will lead to an immediate game over. Use this chance to reload to a Save if you still need to prepare. |
| 4 | 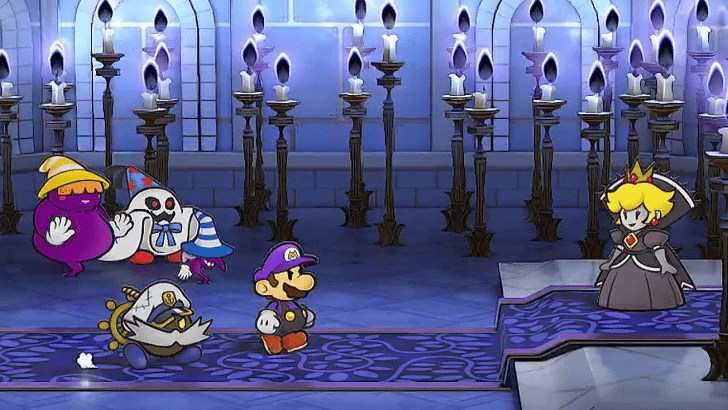 Obviously, you refuse and now prepare for the final fight! The Shadow Queen Boss Fight Guide ► |
| 5 | 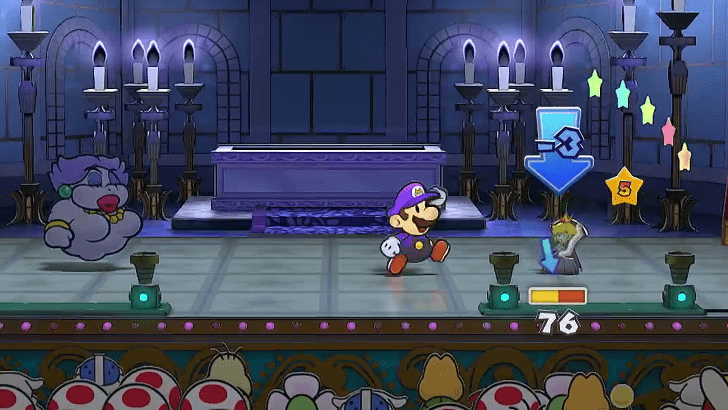 This fight has three phases. This first form of a Possessed Peach is pretty simple just whittle her down until she gets to around 75 HP. |
| 6 | 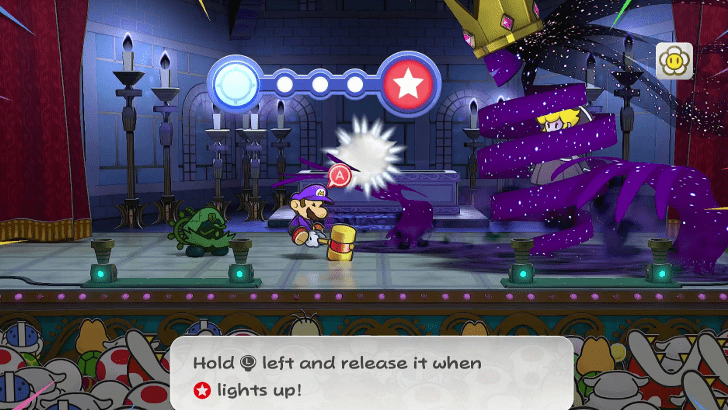 For the second phase, she will show you her true form making her invincible. Make sure to not use any items in this phase and just survive while attacking for three turns. |
| 7 |  After three turns pass, the Crystal Stars will gather everyone's power and along with Peach's will make the Shadow Queen take damage again! This is the real final battle and everyone will be back at full health! |
| 8 | 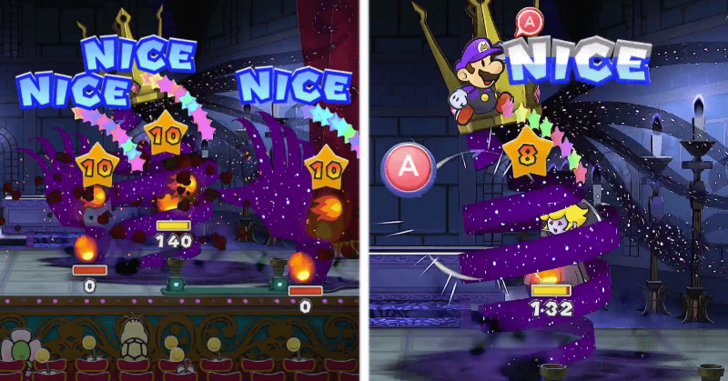 Just use everything you got as this is the final boss. You can use Power Lift along with Yoshi's Mini-Egg for a huge buff in your damage. Use your partners like Bobbery or Vivian to take care of her summons and have Mario focus on the Shadow Queen. |
| 9 | 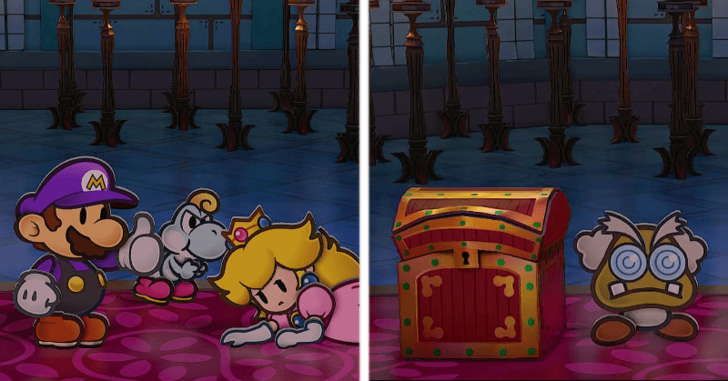 After defeating the Shadow Queen, she leaves Peach's body and the Shadow Sirens and Doopliss will run away. Peach seems to be fine and Professor Frankly will come in and say that he found the real treasure! |
The End Walkthrough
| Objectives | |
|---|---|
| 1 | 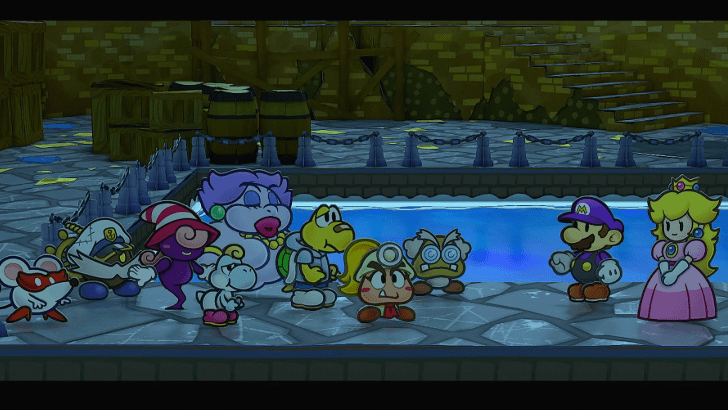 After defeating the Shadow Queen and the small cutscene, you will be taken back to Rogueport Pier waiting for the boat. You say farewell to your friends and the boat will come. |
| 2 | 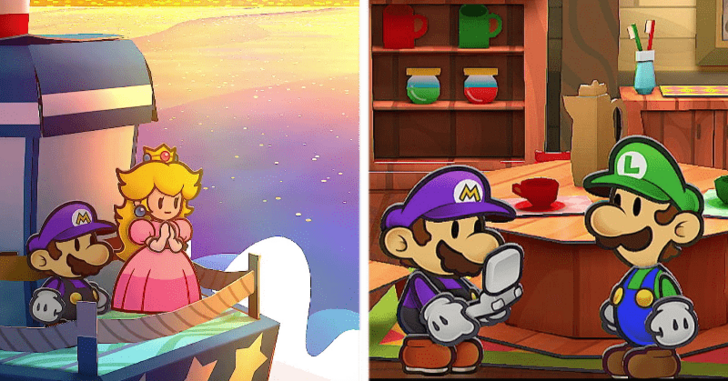 After a short scene on the boat with Mario and Peach, we are now back to Mario and Luigi's house. Mario will receive an e-mail from Goombella saying how everyone has been doing since Mario left. |
| 3 | 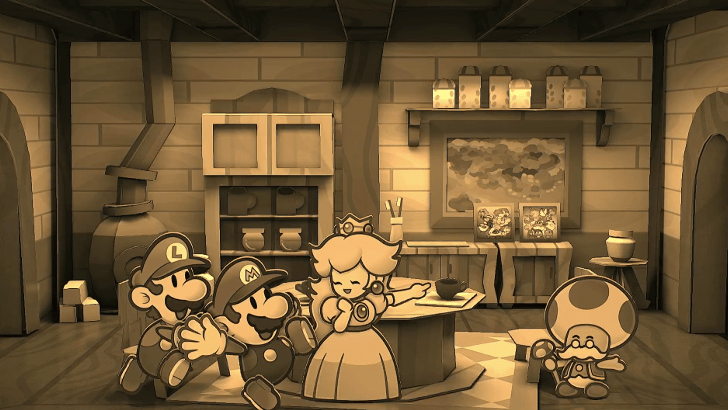 Peach and Toadsworth will walk in and say they have a real treasure map this time. The boat is waiting, back to Rogueport! |
| 4 | 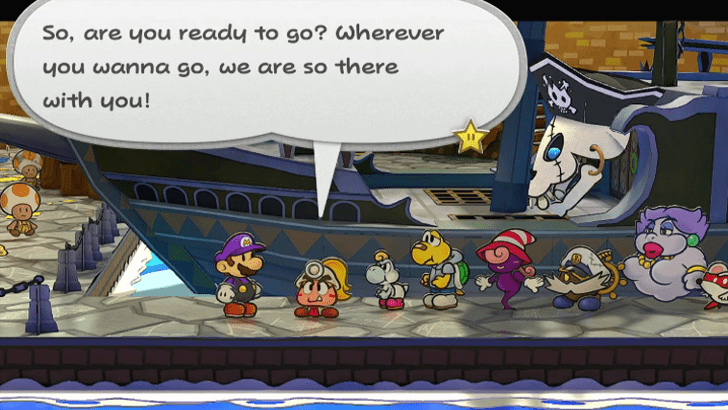 After the ending scene and credits you will be taken back to Rogueport. The game officially ends here, so if you want to finally complete the Pit of 100 Trials, or just grind up, feel free to do so! |
| * | 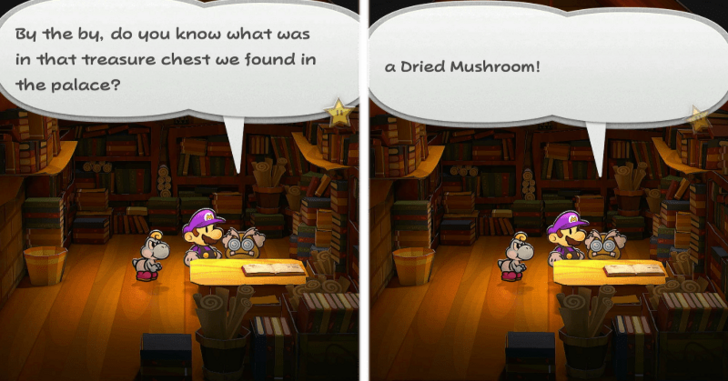 Head back to Professor Frankly's to find out that the treasure in the Palace of Darkness is in fact...a Dried Shroom. |
| * |  Head to Poshley Sanctum for a familiar face...if you played the original Paper Mario. |
Chapter 8 Collectibles and Items
Star Pieces
| There are no Collectibles of this type in this Chapter |
Shine Sprites
| There are no Collectibles of this type in this Chapter |
Blocks
Regular Blocks
| Done? | Location and Item | In-Game Image |
|---|---|---|
|
Palace of Shadow
Found in the third room from the entrance. Item: Shooting Star |
 |
|
|
Palace of Shadow
Found in the fourth room from the entrance. Item: All or Nothing |
 |
|
|
Palace of Shadow
Found in the eighth room from the entrance. Item: Ultra Shroom |
 |
|
|
Palace of Shadow
Found in the eighth room from the entrance. Item: P-Up, D-Down P |
 |
|
|
Palace of Shadow
Found in the eighth room from the entrance. Item: Ice Storm |
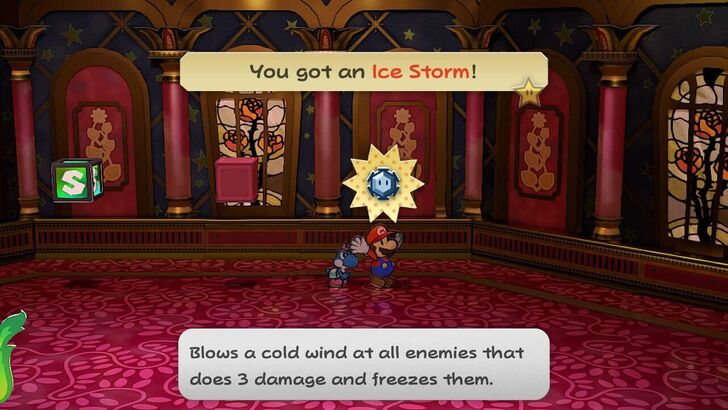 |
|
|
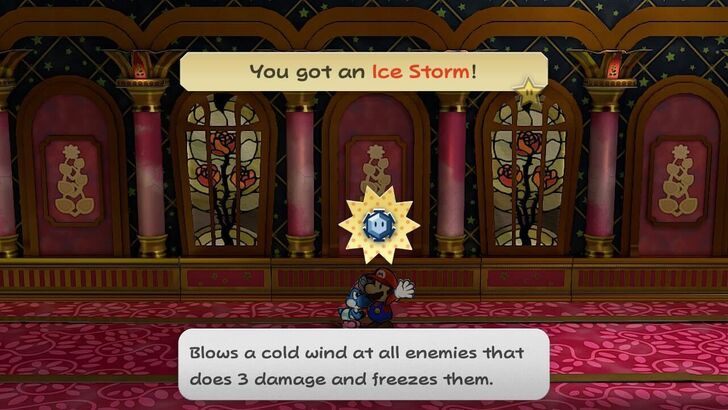
Palace of Shadow
Found on the right of Gloomtail's room by the entrance. Item: Ice Storm |
 |
|
|
Palace of Shadow
Found on the right of Gloomtail's room towards the end. Item: Gradual Syrup |
 |
|
|
Palace of Shadow
Found in the first hallway, towards the right of the stairs. Item: Shooting Star |
 |
|
|
Palace of Shadow
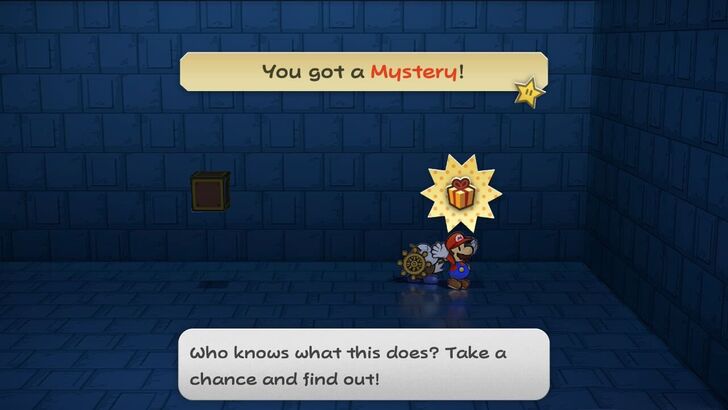
Found in the lower part of the room across the first and second hallways. Item: Mystery |
 |
|
|
Palace of Shadow
Found in the lower part of the room across the first and second hallways. Item: Mystery |
 |
|
|
Palace of Shadow
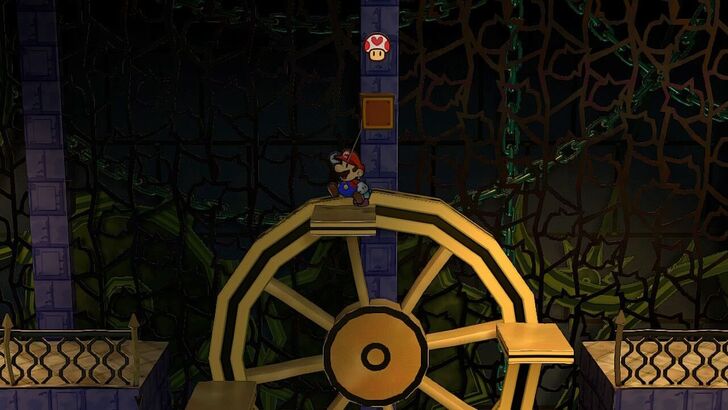
Found above the spinning wheels in the room across the second and third hallways. Item: Life Shroom |
 |
|
|
Palace of Shadow
Found on the ground in the room across the third and fourth hallways. Item: 1 Coin |
 |
|
|
Palace of Shadow
Found in the first corridor after the stairs. Item: Mr. Softener |
 |
|
|
Palace of Shadow
Found under the floor after using Madame Flurrie to reveal a breakable block, and a floor board you can break with Spin Jump. Item: 1 Coin |
 |
|
|
Palace of Shadow
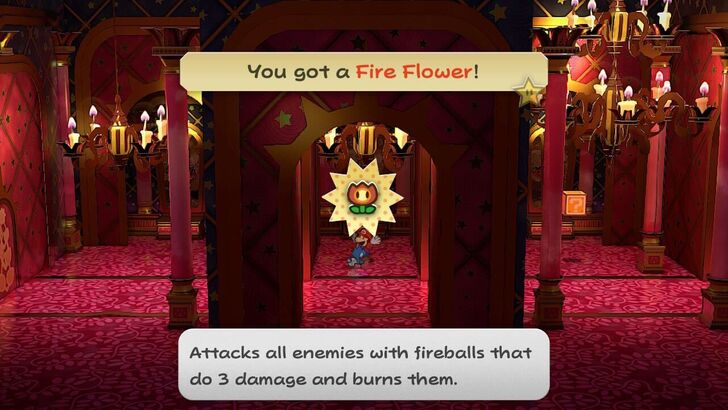
Found after using Airplane Mode to get to a room using a Palace Key Item: Fire Flower |
 |
|
|
Palace of Shadow
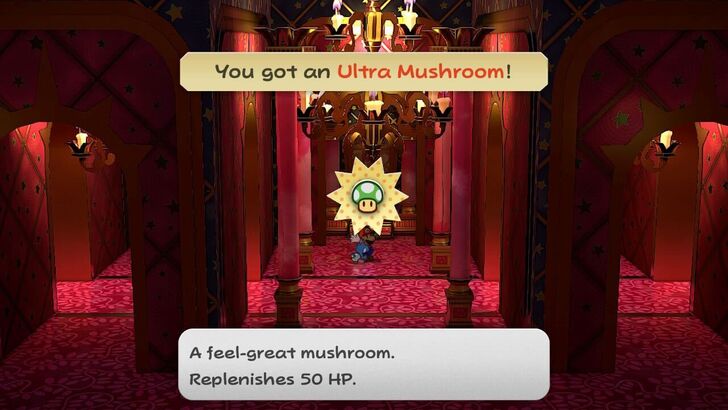
Found after using Airplane Mode to get to a room using a Palace Key Item: Ultra Shroom |
 |
Hidden Blocks
| Done? | Location and Item | In-Game Image |
|---|---|---|
|
Palace of Shadow
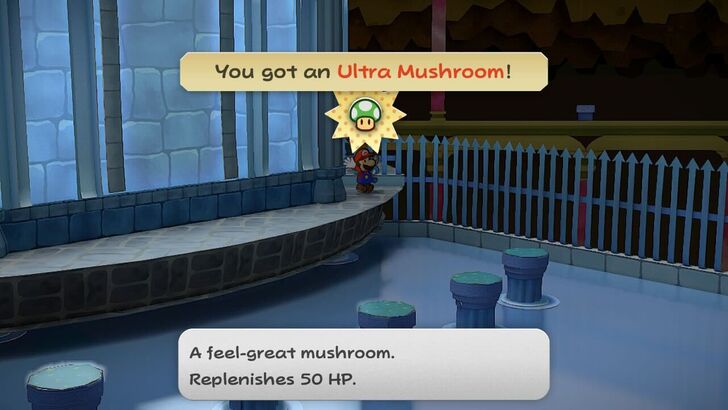
Found in the area before getting to the big door. Item: Ultra Shroom |
 |
|
|
Palace of Shadow
Found in the area before getting to the big door. Item: Jammin' Jelly |
 |
|
|
Palace of Shadow
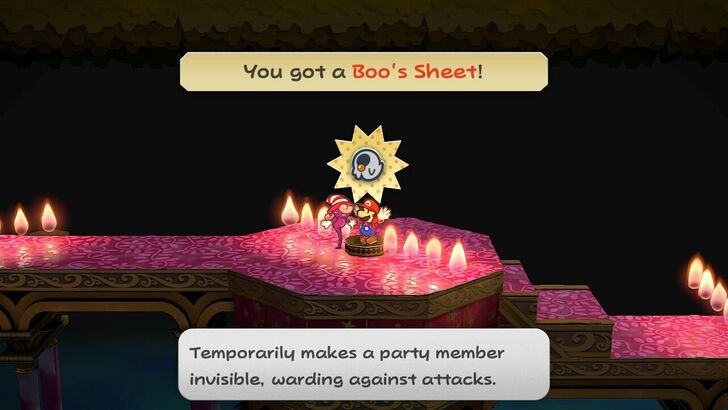
Found in the area with a bridge over water and Fire Bars. Jump to reveal the Hidden Block in the middle of the spinning Fire Bars. Item: Boo's Sheet |
|
|
|
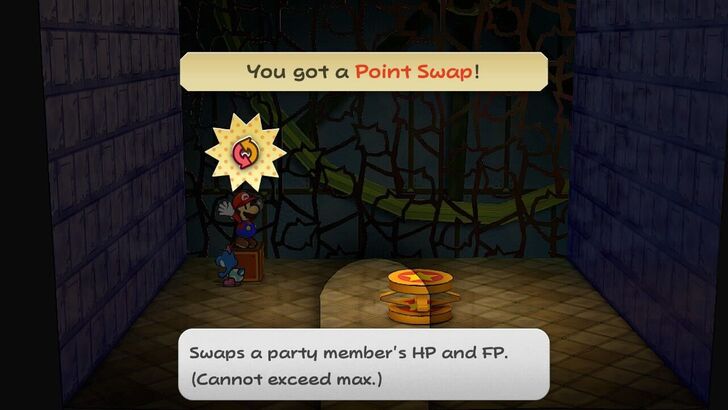
Palace of Shadow
Found under the floor after using Madame Flurrie to reveal a breakable block, and a floor board you can break with Spin Jump. Jump up from the Coin Block. Item: Point Swap |
 |
Chapter 8 Enemy List
Palace of Shadow Enemies
Standard Enemies
| List of Enemies in Palace of Shadow | |||
|---|---|---|---|
| Enemy | HP | Atk | Def |
| 5 | 3 | 1 | |
| 8 | 5 | 2 | |
| 20 | 5 | 2 | |
| 9 | 4 | 0 | |
| 7 | 6 | 5 | |
| 10 | 0 | 4 | |
| 3 | 6 | 2 | |
| 10 | 5 | 2 | |
Riddle Tower Enemies
Standard Enemies
| List of Enemies in Riddle Tower | |||
|---|---|---|---|
| Enemy | HP | Atk | Def |
| 1 | 2 | 1 | |
| 5 | 3 | 1 | |
| 8 | 5 | 2 | |
| 20 | 5 | 2 | |
Chapter 8 Enemy and Boss Guides
Three Shadows Boss Guide
| Enemy | HP | Atk | Def |
|---|---|---|---|
| 40 | 6 | 0 | |
| 30 | 5 | 0 | |
| 40 | 7 | 0 |
Defeat Beldam First
 Doopliss Priority: Low |
 Marilyn Priority: Medium |
 Beldam Priority: High |
When fighting with the new shadow trio, you should prioritize defeating Beldam first because she has the lowest HP among the three, but she also has the highest damage attack among them.
Then take down Marilyn second, whom has the highest HP and has a powerful spread attack. Lastly, defeat Doopliss to win the battle against the new shadow trio.
Use Spread Attacks
Prioritize in using spread attacks, which damages multiple enemies at once, against the new shadow trio, such as Bobbery's Bob-ombast and Yoshi's Stampede.
While your partners deal spread attacks, use Mario's jump attacks to target Beldam at the back.
Best Party Member Moves Tier List
Gloomtail Boss Guide
| Enemy | HP | Atk | Def |
|---|---|---|---|
| 80 | 8 | 2 |
Use Power Lift to Increase Attack and Defense Powers
You can use the Power Lift special move to increase your attack and defense powers to reduce the damage from Gloomtail's attacks. Once your attack power is increased, use Power Bounce or Goombella's Multibonk to deal high amounts of damage.
Poison Can be Cured with Sweet Feast
Gloomtail's poison attacks can be prevented by guard, but if you do get caught by the poison, you can use the Sweet Feast special move to cure the poison status effect.
Equip Feeling Fine to Prevent Poison
You can equip the Feeling Fine badge to completely prevent poison. Although it's not a high priority to use it, if you have spare BP, you can.
Mega Breath can be Avoided with Vivian's Veil
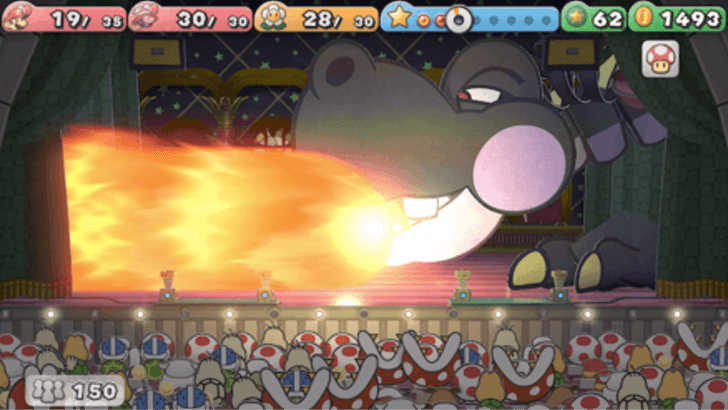
You can use Vivian's Veil move to avoid Gloomtail's mega breath move, which is when the dragon charges for one turn and then uses a fire breath move on the next one.
Note that once Gloomtail's HP is low, the dragon will use its mega breath move multiple times.
Grodus Boss Guide
| Enemy | HP | Atk | Def |
|---|---|---|---|
| 3 | 4 | 0 | |
| 50 | 7 | 1 |
Defeat the Grodus X First Using Spread Attacks
Defeat the Grodus Xs first by using spread attacks like Vivian's Fiery Jinx or Bobbery's Bob-obmast. Sir Grodus will summon two Grodus Xs after each turn, but when the Grodus Xs reach four, Sir Grodus becomes invisible.
Note that while using spread attacks against the Grodus Xs, you also damage Sir Grodus at the same time.
Focus Mario's Attacks on Sir Grodus
While you use your partner's spread attacks to defeat the Grodus Xs, you can focus Mario's attacks on Sir Grodus. You can defeat him quickly by using the Power Lift special move and Power Bounce.
Heal Up Before Defeating Sir Grodus
It is recommended to build up SP and recover HP and FP before defeating Sir Grodus because you will immediately battle Bowser and Kammy Koopa right after, which are bosses as well.
Save Star Points Before Battling With Sir Grodus
Since your HP, FP, and SP will be fully replenished when you level up, it is a good idea to save up your star points at 80 to 90 so you could level up after defeating Sir Grodus, since you will battle Bowser immediately right after and have no chance to heal up.
Bowser and Kammy Koopa Boss Guide
| Enemy | HP | Atk | Def |
|---|---|---|---|
| 50 | 5 | 0 | |
| 30 | 3 | 1 |
Defeat Kammy Koopa First
When fighting against Bowser and Kammy Koopa, you should prioritize defeating Kammy Koopa first because the turtle wizard has the lowest HP among the two but has attacks that can heal and increase the attack and defense power of Bowser.
Use Power Lift to Increase Attack and Defense Powers

You can use the Power Lift special move to increase your attack and defense powers to reduce the damage from Kammy Koopa's attacks. Once your attack power is increased, use Power Bounce to deal high amounts of damage.
Flurrie's Lip Lock is Very Effective

Madame Flurrie's Lip Lock move is very effective against the Bowser and Kammy Koopa because the move ignores the enemy defense and allows Flurrie to damage the enemies by stealing their HP and then heals her own.
It's also a good strategy to position Flurrie in front, so she can shield Mario and fight while recovering.
FInal Boss: Shadow Queen Guide
| Enemy | HP | Atk | Def |
|---|---|---|---|
| 150 | 7 | 1 |
In the First Form, Conserve Your Items
During her first form, you need to conserve your items because, when her HP is reduced by half, she will transform into her real Shadow Queen form, which is where the real fight begins.
After the transformation, Mario and his partner's health and FP will be fully replenished, so you don't need to waste any items during the first phase of the fight.
Attack Three Times in a Row to Remove Invincibility

After she transforms, she becomes invincible, but you can cancel it out by attacking her three times in a row. You can let either Mario or a partner attack, then the other one can heal Mario since only one of them needs to attack.
Always prioritize in healing Mario because when he gets knocked out you will immediately lose the battle. It's also a good strategy to use Guard and Superguard during the turns when you can't damage her.
Take Advantage of Shine Sprite Bingo
Once the Shadow Queen's invincibility is removed, you will be guaranteed a Shine Sprite Bingo which fully replenishes your HP, FP, and SP. You can take advantage of this by using your most powerful attacks and special moves to deal as much damage as you can.
Use Spread Attacks for Her Hands
Use Vivian's Fiery Jinx and Bobbery's Bob-ombast moves to defeat the Shadow Queen's hands and damage the Queen herself at the same time.
Note that the hands revive every turn, but it's a good idea to defeat them to reduce the damage your party will take.
Best Party Member Moves Tier List
Avoid Charge Attacks With Vivian's Veil
You can avoid the Shadow Queen's powerful charge attacks by hiding in the shadows using Vivian's Veil move.
How to Defeat the Final Boss Shadow Queen
Locations Available in Chapter 8
The Palace of Shadow and Riddle Tower
| New Locations Available in Chapter 8 | |
|---|---|
 The Palace of Shadow The Palace of Shadow |
 Palace of Shadow Tower Palace of Shadow Tower |
Upon starting Chapter 8, you will gain access the final area of the game, The Palace of Shadow and the Palace of Shadow Tower!
Chapter 8 Trouble Center Quests
The following Troubles will be unlocked after completing Chapter 8 and are exclusively post-game content.
| Done? | Client | Details and Rewards |
|---|---|---|
 |
Request: Erase That Graffiti! Reward: Snow Bunny Unlock: After Chapter 8 Swob asks for a favor that a graffiti needs to be taken down on the 50th floor of the Pit of 100 Trials. |
|
 |
Request: Help Me Make Up Reward: 3 Coins Unlock: After Chapter 8 Bub needs advice on what to give his mom. You have three options to choose from: a Shroom Cake, a Keel Mango, or a Fright Mask. |
|
 |
Request: Roust These Cads! Reward: 30 Coins Unlock: After Chapter 8 Meet Doe. T at Boggly Woods near the Great Tree and defeat the enemies that are blocking the way. |
Paper Mario: The Thousand-Year Door Related Guides

Chapter Walkthroughs
Other Walkthroughs
| Other Walkthroughs | ||
|---|---|---|
 Peach Intermissions Peach Intermissions |
 Bowser Intermissions Bowser Intermissions |
 Trouble Center Trouble Center |
Comment
Author

Paper Mario: The Thousand-Year Door (TTYD) Walkthrough & Guides Wiki
Chapter 8: The Thousand-Year Door Walkthrough
Please participate in our site
improvement survey
03/2026
improvement survey
03/2026
Would you assist in
improving Game8's site?
improving Game8's site?

×
We are listening to our users' valuable opinions and discussing how to act on them.
The information collected through this survey will be used for the purpose of improving our services. In addition, the information will only be disclosed a part of a statistic in a format that will not allow identification of personal information.
Begin Survey
Not Now
×
Please rate each item regarding Game8.co's Advertisements.
Amount of Ads
Very Dissatisfied
Somewhat Dissatisfied
Fine
Somewhat Satisfied
Highly Satisfied
Placement of Ads
Timing of Ad Display
Ad Loading Speed
Safeness of Ads
Content of Ads
×
Please rate each item regarding Game8.co's Quality of Articles.
Amount of information
Very Dissatisfied
Somewhat Dissatisfied
Fine
Somewhat Satisfied
Highly Satisfied
Frequency of updates
Speed of new information
Accuracy of articles
Understandibility of articles
Readability of sentences
×
Please rate each item regarding Game8.co's Usability of the Site.
Ease of finding information
Very Dissatisfied
Somewhat Dissatisfied
Fine
Somewhat Satisfied
Highly Satisfied
Loading Speed
Use of Color
Font Size
Visibility of Images
Easy to Understand Layout
×
Please rate each item regarding Game8.co's Message Boards, Comments.
Ease of Writing
Very Dissatisfied
Somewhat Dissatisfied
Fine
Somewhat Satisfied
Highly Satisfied
Readability
Ease in Finding Information
Comment Quality
Comment Quantity
Admin Response
×
Please rate each item regarding Game8.co's Site's new design.
Please rate our site's new design
Very Dissatisfied
Somewhat Dissatisfied
Fine
Somewhat Satisfied
Highly Satisfied
Do you think that the website's design change makes the site easier to use?
Has the new design made it easier for you to find information on the site?
Has the new design improved the overall visual appeal of the site?
How would you rate your overall satisfaction with the new design of the site?
×
How likely are you to recommend Game8 to someone you know?
Very Unlikely
0
1
2
3
4
5
6
7
8
9
10
Very Likely
If you have other opinions regarding potential improvement to the website, please share them with us. We would appreciate your honest opinion.
Note: This is a free response section, so you can proceed without entering anything.
Note: Please be sure not to enter any kind of personal information into your response.
Note: Please be sure not to enter any kind of personal information into your response.
×
Thank You
×
Thank you for participating in our survey! Your answers will help us to improve the quality of our website and services.
We hope you continue to make use of Game8.
We hope you continue to make use of Game8.
Close
Rankings
- We could not find the message board you were looking for.
Gaming News


![Slay the Spire 2 Review [Early Access] | Still the Deckbuilder to Beat](https://img.game8.co/4433115/44e19e1fb0b4755466b9e516ec7ffb1e.png/thumb)

![Resident Evil Village Review [Switch 2] | Almost Flawless Port](https://img.game8.co/4432790/e1859f64830960ce4248d898f8cd38d9.jpeg/thumb)
Popular Games

Genshin Impact Walkthrough & Guides Wiki
Honkai: Star Rail Walkthrough & Guides Wiki
Umamusume: Pretty Derby Walkthrough & Guides Wiki
Pokemon Pokopia Walkthrough & Guides Wiki
Resident Evil Requiem (RE9) Walkthrough & Guides Wiki
Monster Hunter Wilds Walkthrough & Guides Wiki
Wuthering Waves Walkthrough & Guides Wiki
Arknights: Endfield Walkthrough & Guides Wiki
Pokemon FireRed and LeafGreen (FRLG) Walkthrough & Guides Wiki
Pokemon TCG Pocket (PTCGP) Strategies & Guides Wiki


Recommended Games
Fire Emblem Heroes (FEH) Walkthrough & Guides Wiki
Diablo 4: Vessel of Hatred Walkthrough & Guides Wiki
Yu-Gi-Oh! Master Duel Walkthrough & Guides Wiki
Super Smash Bros. Ultimate Walkthrough & Guides Wiki
Pokemon Brilliant Diamond and Shining Pearl (BDSP) Walkthrough & Guides Wiki
Elden Ring Shadow of the Erdtree Walkthrough & Guides Wiki
Monster Hunter World Walkthrough & Guides Wiki
The Legend of Zelda: Tears of the Kingdom Walkthrough & Guides Wiki
Persona 3 Reload Walkthrough & Guides Wiki
Cyberpunk 2077: Ultimate Edition Walkthrough & Guides Wiki


All rights reserved
© Nintendo. Games are property of their respective owners. Nintendo of America Inc. Headquarters are in Redmond, Washington, USA
The copyrights of videos of games used in our content and other intellectual property rights belong to the provider of the game.
The contents we provide on this site were created personally by members of the Game8 editorial department.
We refuse the right to reuse or repost content taken without our permission such as data or images to other sites.