Chapter 2: The Great Boggly Tree Walkthrough
★ TTYD Switch Remake is now available!
┗ Remake Differences | New Gold Medal Badge!
★ Tips for Beginners | Secrets and Combat Tips
┗ How to Level Up Fast | How to Farm Coins
☆ Best Moves | Best Partners | Best Badges
★ All Walkthroughs | All Star Pieces | All Shine Sprites

Game8's walkthrough for Paper Mario: The Thousand-Year Door's (TTYD) Chapter 2, The Great Boggly Tree. Read on for a detailed guide for this chapter, including locations of collectibles, locations of note in Boggly Woods and the Great Tree, enemies, as well as useful tips for completing this chapter!
| ◄ Previous Chapter | Next Chapter ▶ |
|---|---|
| Chapter 1: Castle and Dragon |
Chapter 3: Of Glitz and Glory |
List of Contents
Chapter 2: The Great Boggly Tree Story Walkthrough
| ★Recommended Stats★ | ||||||||
|---|---|---|---|---|---|---|---|---|
| Chapter 2 Main Objectives | ||||||||
| 1 | Enter Boggly Forest | |||||||
| 2 | Meeting Madame Flurrie | |||||||
| 3 | Entering The Great Tree | |||||||
| 4 | Follow the Punis | |||||||
| 5 | The Blue Key and 101 Punis | |||||||
| 6 | Free the Punis | |||||||
| 7 | Path to The Crystal Star | |||||||
| 8 | Magnus von Grapple | |||||||
| Peach Interlude | ||||||||
| Bowser Interlude | ||||||||
| 11 | The City in the Sky | |||||||
| 12 | A Favor for Don Pianta | |||||||
Click on any of the links above to jump to the section!
Enter Boggly Forest Walkthrough
| Objectives | |
|---|---|
| 1 | 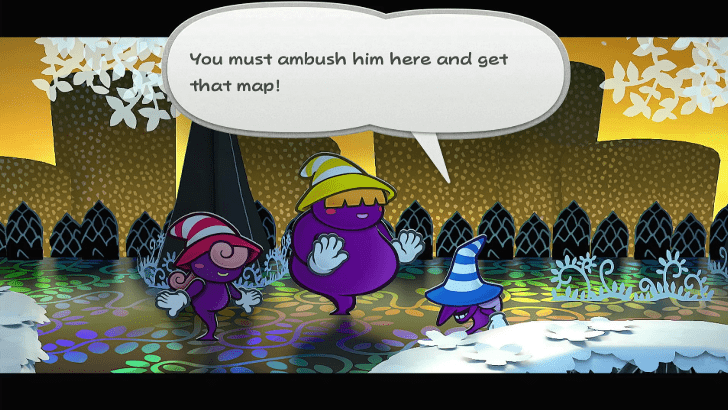 Once you get through the Pipe from the sewers, head east and you will meet the Shadow Sirens talking about stealing the map . |
| 2 | 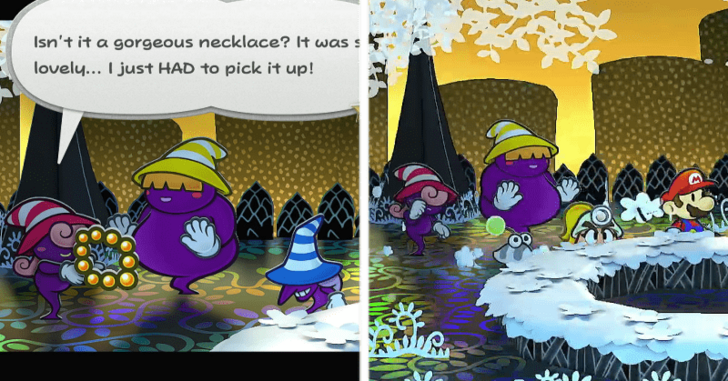 The cutscene will play and they won't ambush you since they don't know what Mario looks like. Do take note of the necklace though as that will be important later. |
| 3 | 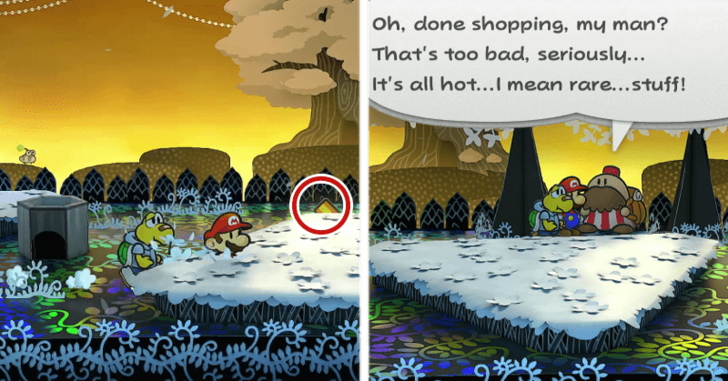 Keep heading east and you will see a Warp Pipe. If you go a little bit to the east you will see an Inn Coupon and Charlieton. Restock if you need the items. |
| 4 | 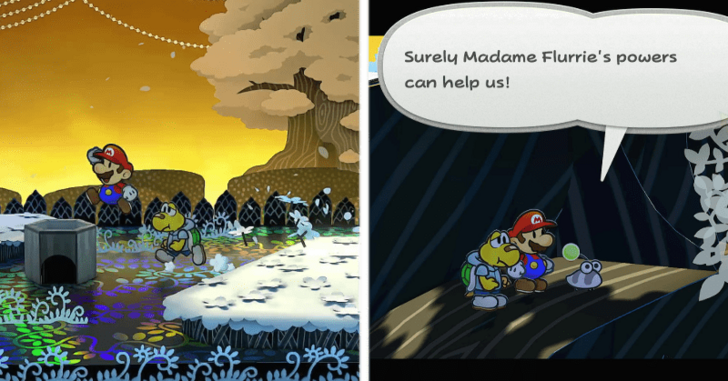 Head inside the Warp Pipe and walk further east to get to the Great Tree. Since it is locked, Punio will tell you that a secret entrance is available but you will need Madame Flurrie to open it. |
| 5 | 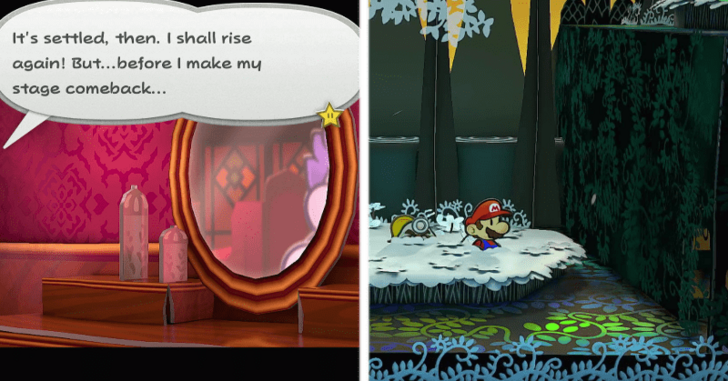 Head out of the Great Tree, and a cutscene will play. Once finished, keep heading east and there will be a completely dark wall. |
| 6 | 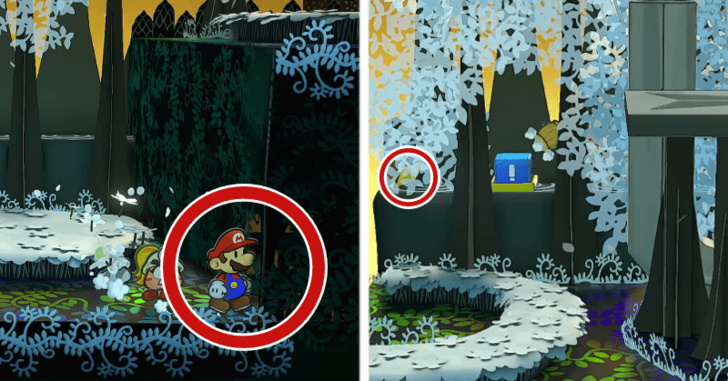 If you move around, you will see that theres a small opening that you can get into. Get into it so you can get into the ledge in the background where a ! Switch and a Star Piece waits at the end. |
| 7 | 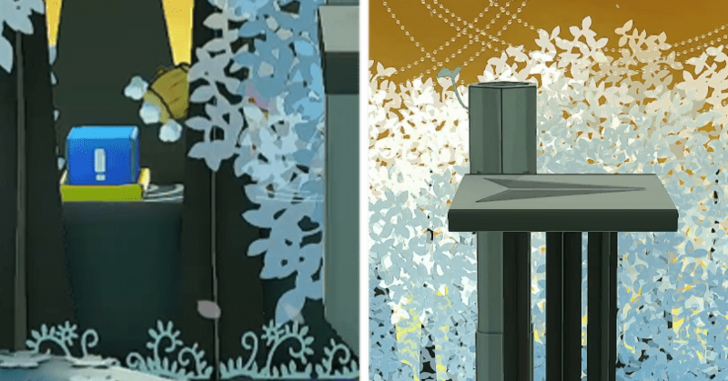 Hit the ! Block to raise the Plane Platform so you can progress. Head back to the area and get into the Plane platform. You can use Koops to grab the Star Sprite on the left. |
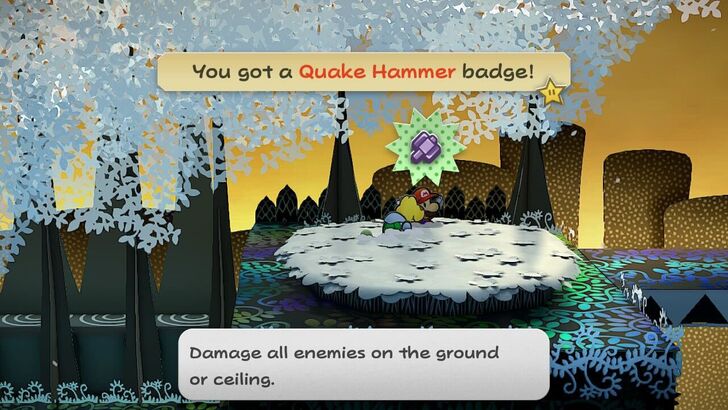
| 8 | 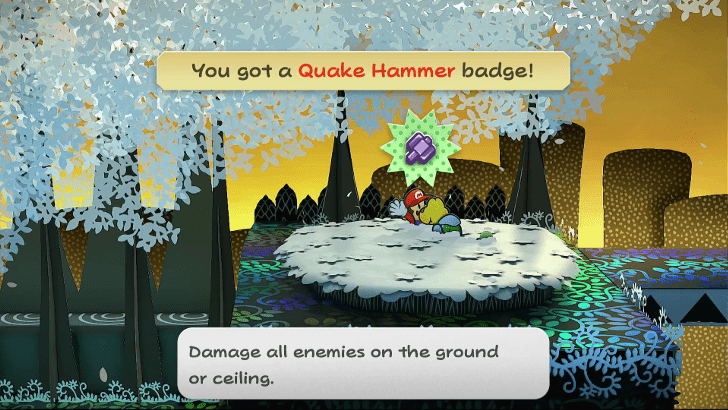 Using your Plane form, get on top of th eedge and you can get the Quake Hammer badge in a block. Keep heading east and you will see Madame Flurrie's house and a heal block. |
Meeting Madame Flurrie Walkthrough
| Objectives | |
|---|---|
| 1 | 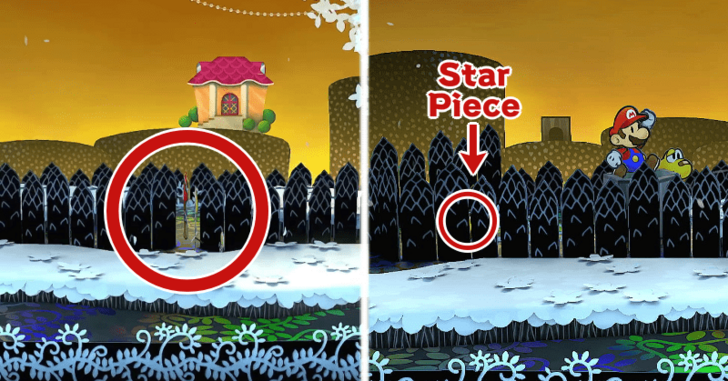 Once you get to the area, use your Paper form to get through some asparagus looking shrubs. Head west from there and you will see a Warp Pipe, there is also a Star Piece behind the Warp Pipe. |
| 2 |  Get into the Warp Pipe and feel free to head east to go to Flurrie's house. Feel free to save once you get inside. |
| 3 | 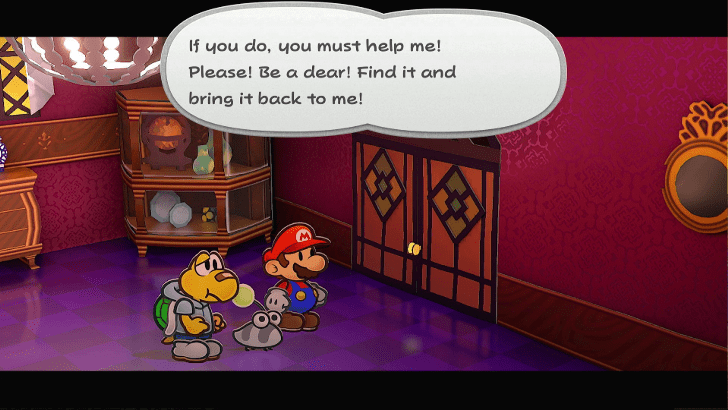 Head into the door and Madame Flurrie agrees to help you out once you get her necklace back. A cutscene will then play after you get out of the house. |
| 4 | 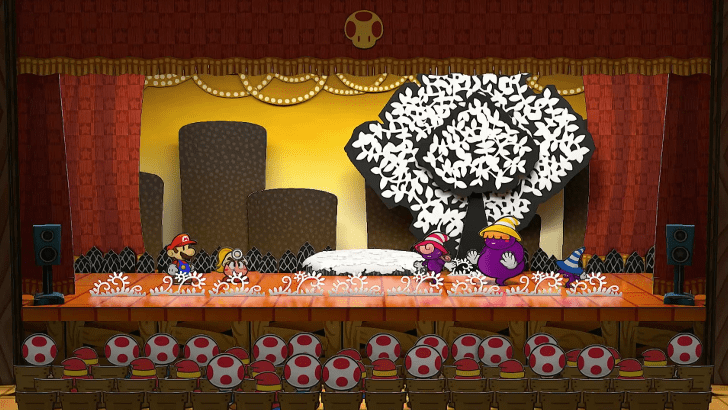 Head back to where you saw the Shadow Sirens. A cutscene will play and then you need to fight them. Use attacks like Koops' Power Toss and Earth Tremor to hit them all. Shadow Sisters Boss Fight Guide ► |
| 5 |  After being defeated, the Sirens will drop Flurrie's necklace and you can now go back to her house. After her grand debut, she will join your party. Click here for Flurrie's Skill Guide ► |
| * | 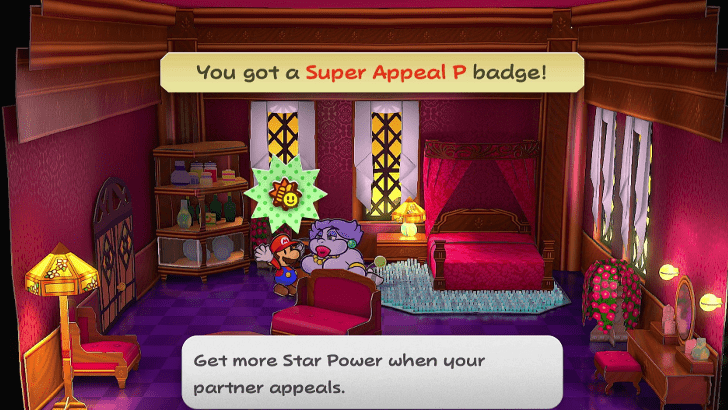 Before leaving Flurrie's House, you can head inside Flurrie's room so you can get the Super Appeal P Badge. |
| 6 | 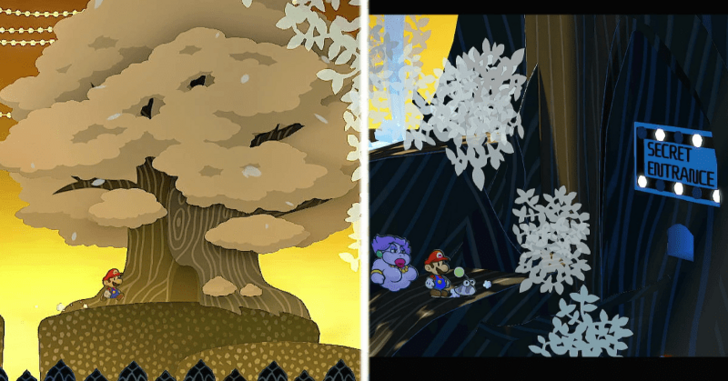 After being blown away by Flurrie's beauty, you can head out and go back to the Great Tree. Climb the root and use Flurrie's wind power to the direction above the door. This will reveal the Secret Entrance and you can now proceed inside. |
Entering The Great Tree Walkthrough
| Objectives | |
|---|---|
| 1 |  After entering the Great Tree, Punio will call upon the other Punies but it seems the X-Nauts have already taken over. You need to fight two of them to progress. |
| 2 |  After the fight, a cutscene will play and you are now tasked with saving the other Punis from being locked up. Head up and ignore this room for now, continue east and head up the pipe. |
| 3 |  Head up the pipe and you can't do anything in this room so keep scaling the tree by going to the pipe on the opposite side of the room. South of that pipe there is a Power Punch so make sure to pick it up! |
| 4 | 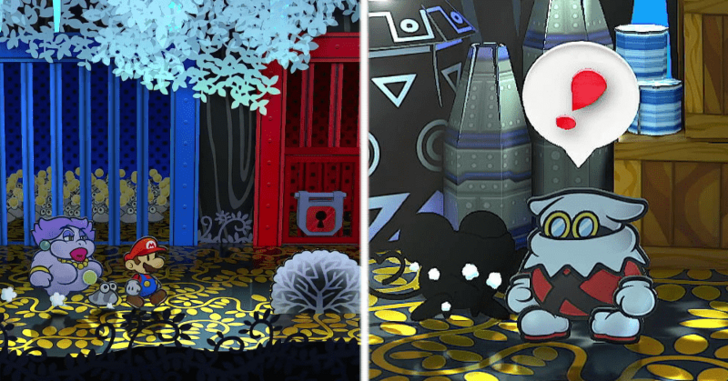 Keep heading up until you arrive to a room with Red and Blue jail cells. You need to get the key on the room to the left to progress and a cutscene will play of Ms Mowz attacking an X-Naut. |
| 5 | 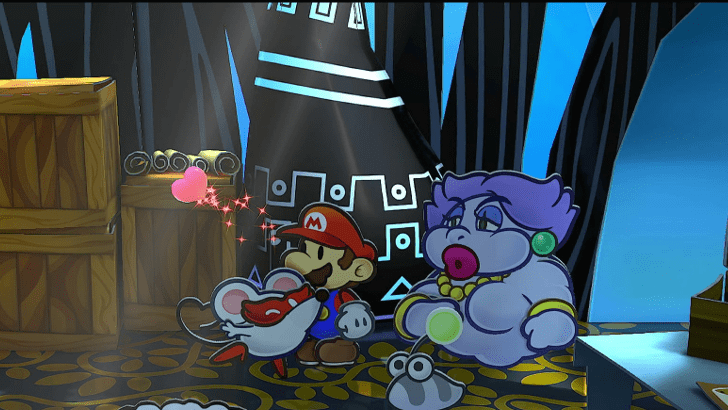 After getting into the room, another cutscene will play with Ms Mowz still flirting with Mario. She will tell you the clue of where the Crystal Star is and the X-Naut will wake up and attack you. |
| * | 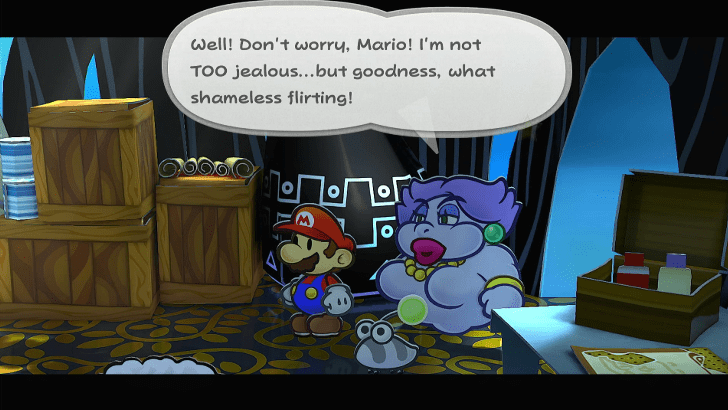 Have Flurrie as your main party member to get a funny cutscene. |
| 6 | 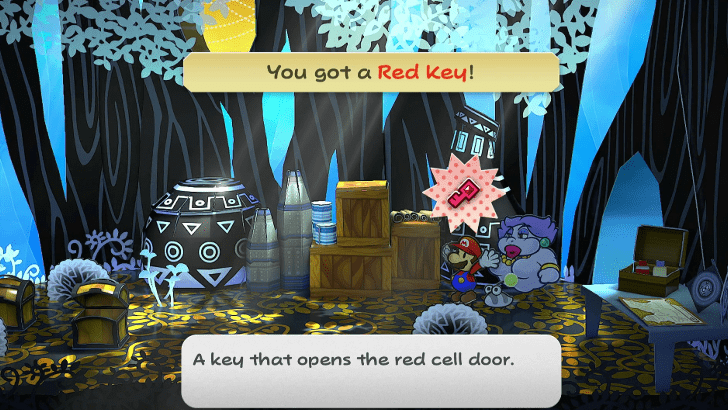 After beating the X-Naut, you will receive the Red Key. You can also loot around the room to get an Ultra Shroom! |
| 7 |  Head back into the jail cells and you can now free the Elder Puni. After a long tongue lashing,take the Elder to where the other Punis are to get the Puni Orb. |
Follow the Punis Walkthrough
| Objectives | |
|---|---|
| 1 | 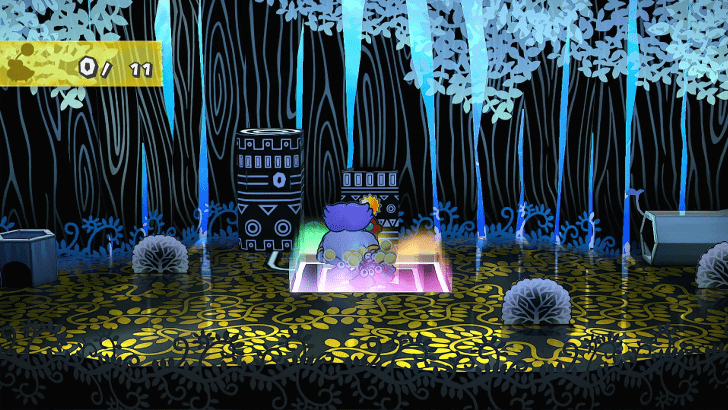 After getting your 10 Punis, Save and Heal as needed then head up once you're ready. You will see the glowing pedestal again. Use the Puni Orb on it to make a Warp Pipe appear. |
| 2 | 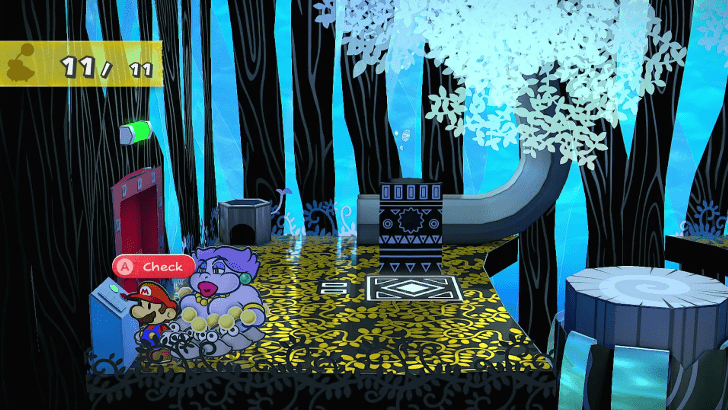 After getting the Warp Pipe to appear, grab the Puni Orb and head down the Pipe. Defeat the X-Naut and activate the Control Panel. This will let you get back to the entrance quickly. |
| 3 | 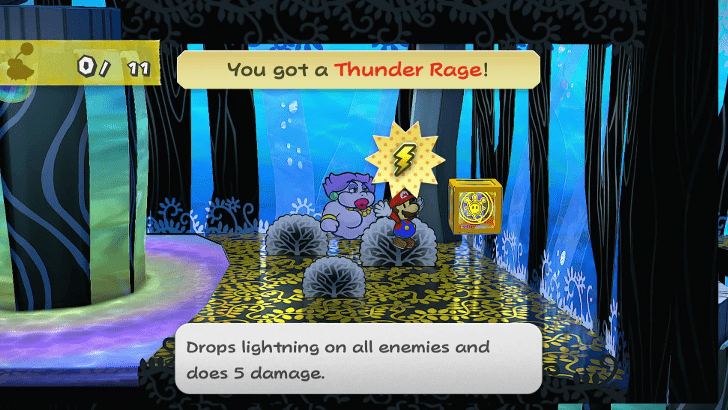 Immediately fall down into the pit to get the Shine Sprite and a Thunder Rage item in the bushes. Head back up to progress. |
| 4 | 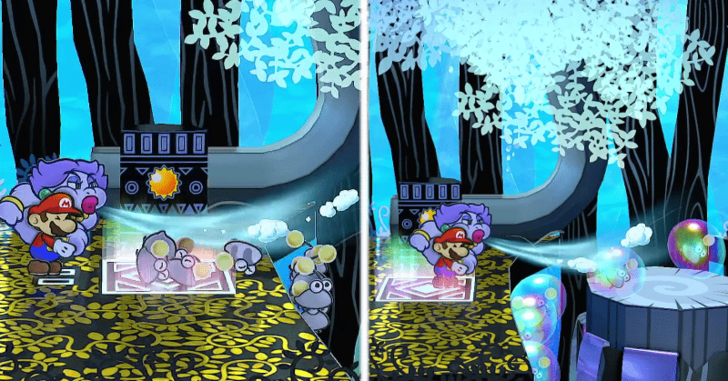 Use the Puni Orb to gather the Punis and the use Flurrie to blow them into the pit. They will then be encased in bubbles that you can blow forward into the opposite platform. |
| 5 | 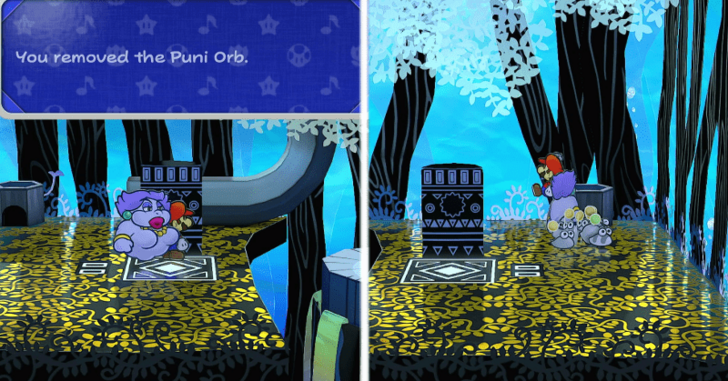 Once you get all the Punis into the opposite platform, deactivate the pedestal, cross over, and use the pipe. |
| 6 | 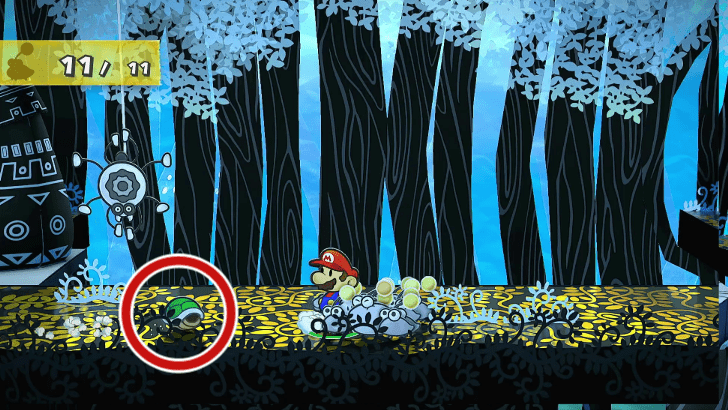 Once you get into the room, you can use Koops to hit the Pider from a distance so your Punis don't get scared. |
| * | 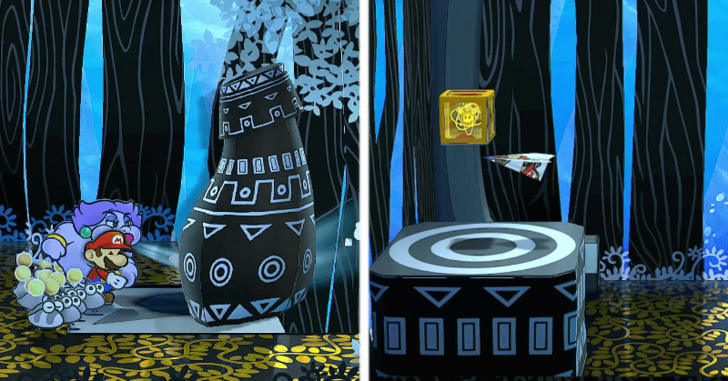 You will see a weird jug-looking thing at the end of the room, use Flurrie to blow it away to reveal a Plane Platform. use it to get to the other side of the room to get to another Plane Platform. Use that again to get the Shine Sprite on a raised platform. |
| 7 |  Head down the pipe or jump down and you will see a Pipe on the East side of the room. Head down and you will see a Jabbi with the Blue Key. Ignore it for now and head west instead. |
| 8 | 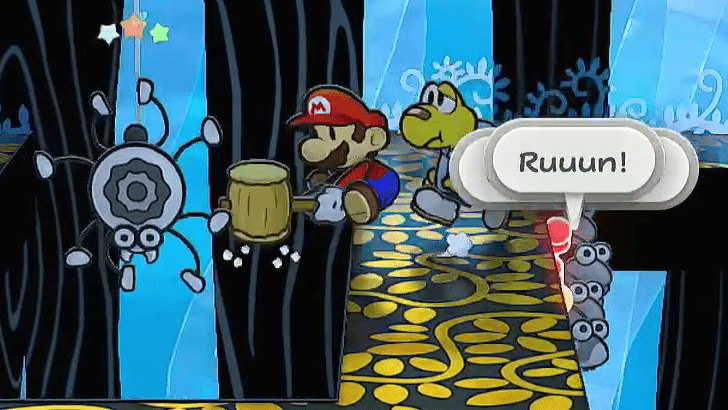 Move west and don't worry about your Punis falling you can pick them back up later. Bring out Koops or use your hammer to hit the Piders and defeat them. |
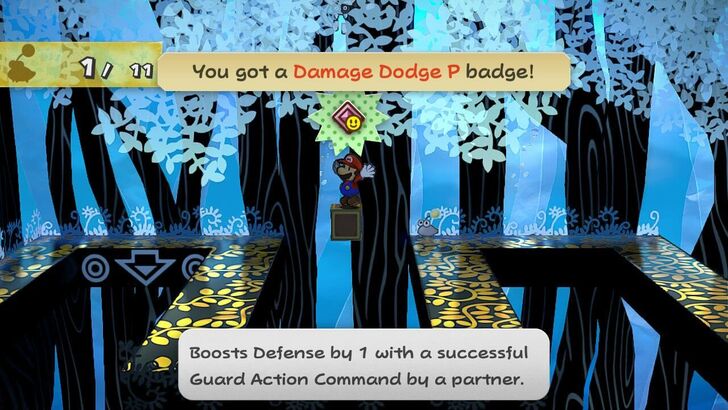
| 9 | 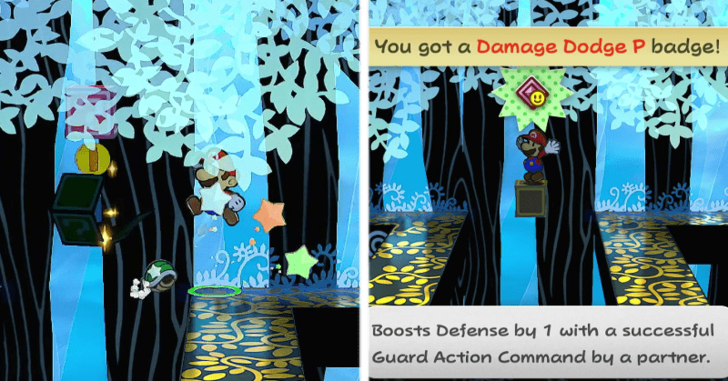 You will see a Red ? Box that you can't reach. Line up with it and use Koops to reveal a Yellow Box you can jump on. Use this to get to the red box and obtain the Damage Dodge P badge. |
| 10 | 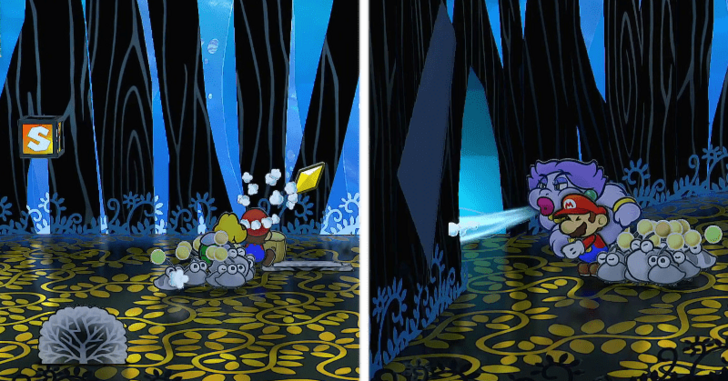 Jump down to the lower floor, check the top left bush for a Star Piece, and grab any Punies you may have dropped. Use Flurrie's ability on the left wall near the Save Block to find a hidden shop! |
| * | 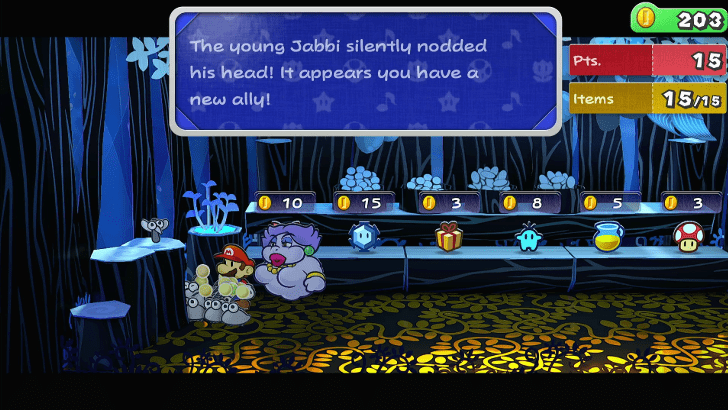 Buy what you need and store any item you don't need. At the back of the store you can pick up Jabble and it is able to join your party if you want. You can now leave the shop, save, and return to the upper level. |
| 11 | 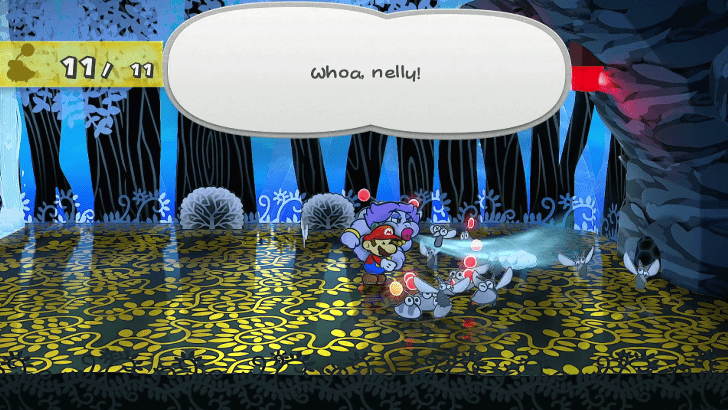 Head to the hole where you first saw the Jabble enter and a bloodbath will commence between Punies and Jabbies. Help the Punies to victory by blowing wind towards the Jabbies, then the Punies will destroy up the hive. |
The Blue Key and 101 Punis Walkthrough
| Objectives | |
|---|---|
| 1 | 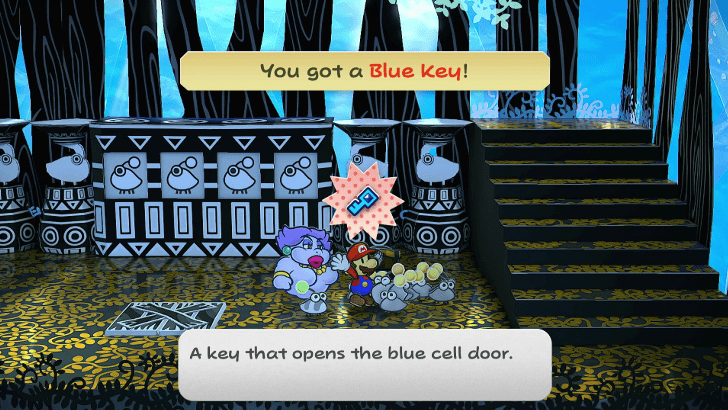 After your Punis destroys the Jabbi Hive, enter the hole created and a cutscene will play once you get into the room and open the Chest containing the Blue Key. |
| 2 | 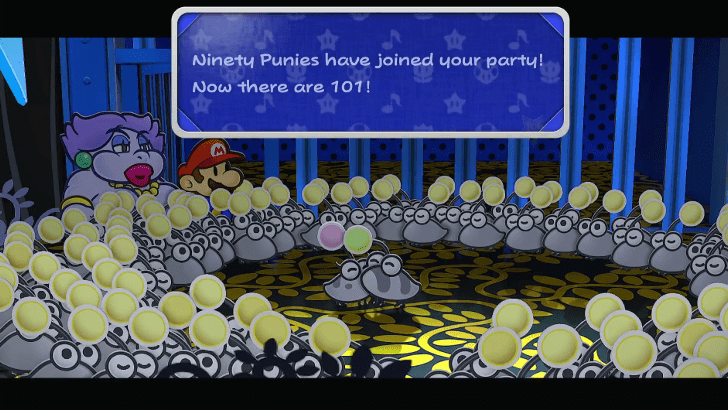 Once you get the Blue Key. backtrack to the cell room so you can release the 90 Punis that have been locked up. This will raise your total to a 101 Punis! |
| 3 | 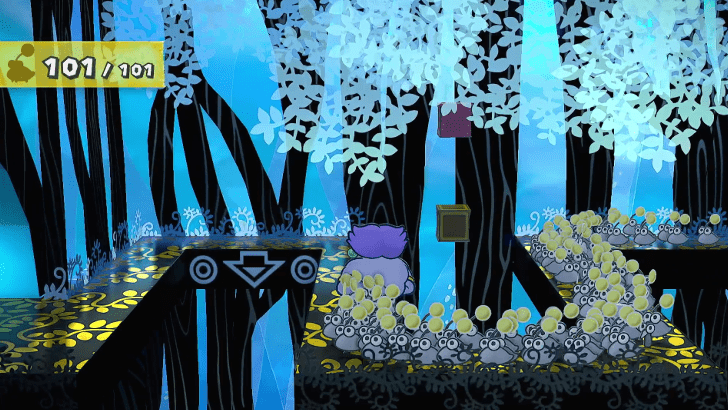 After freeing the Punis, head back to the area with the unreachable Red ? Block. |
| 4 | 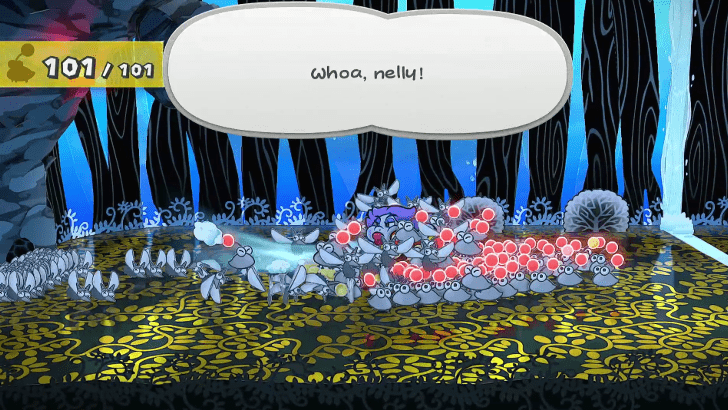 Keep going West and you will get into another bloodbath. Make sure you have all 101 Punis for this fight and with the help of Flurrie's wind, have the Punis destroy the nest. |
| 5 | 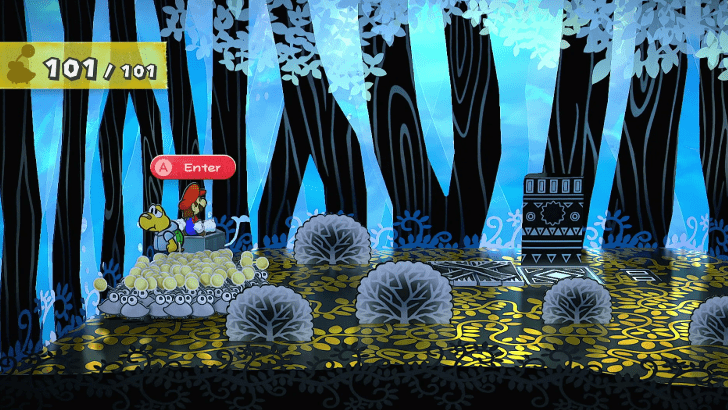 After your Punis destroys the Jabbi Hive, enter the hole created. Ignore the Pedestal for now, and use the Pipe to the left. |
| 6 | 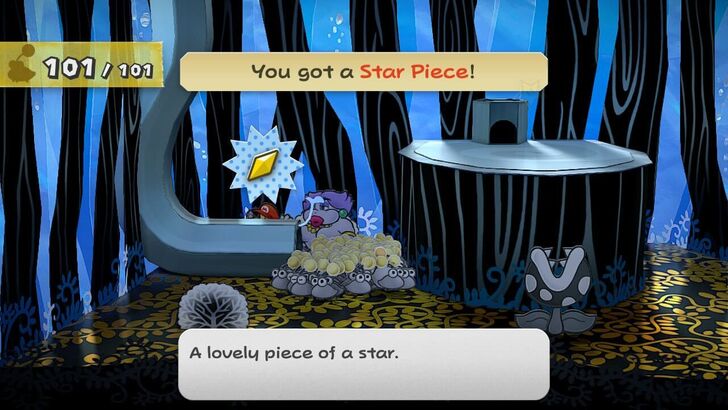 After emerging from the Pipe, you can get a Star Piece if you go behind the pipe. Go in front of the Tree stump and exit to the right side. |
| 7 | 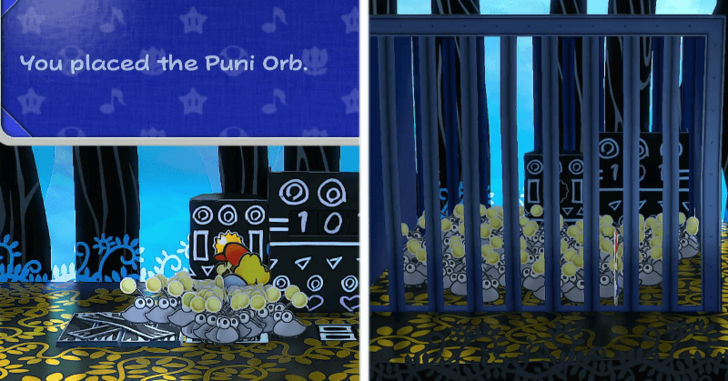 Once you get to the room, place the Puni Orb into the Pedestal and this one will summon a trap set by Lord Crump. After the cutscene you can just slip through the bars to escape and leave the Punis for a hot minute. |
Free the Punis Walkthrough
| Objectives | |
|---|---|
| 1 | 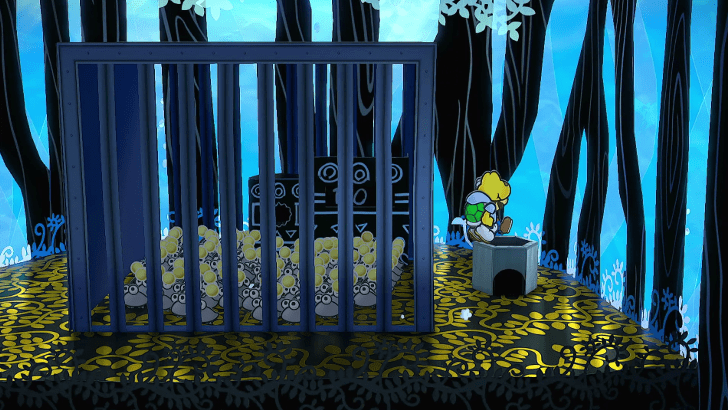 After escaping the cage, you might have noticed a Warp Pipe appear when you used the rigged Pedestal. Go through it to proceed. |
| 2 | 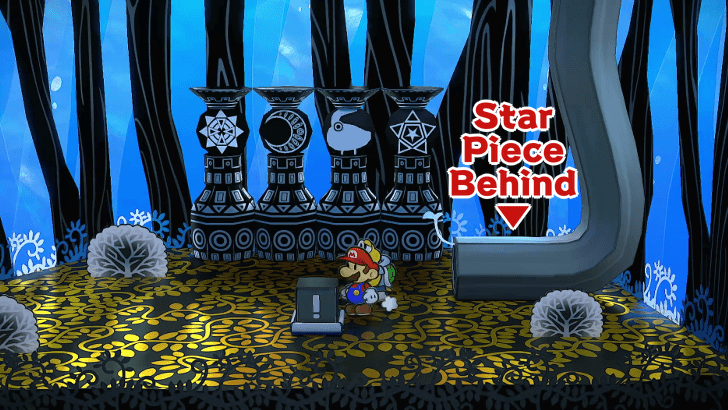 Check behind the pipe, there is a Star Piece behind it. Memorize the pattern on the pedestals and hit the ! block. |
| 3 | 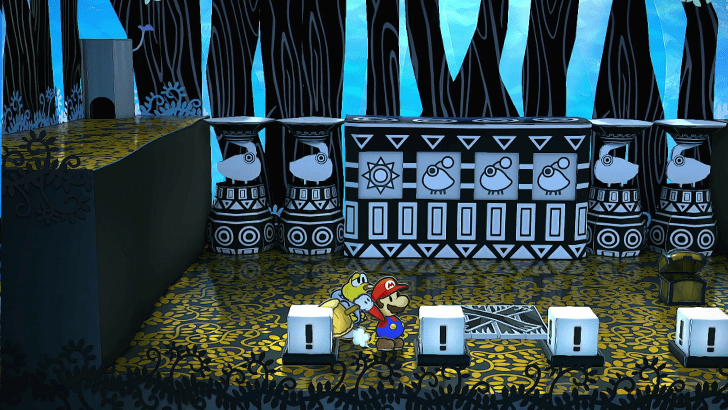 Backtrack to the room where you got the Blue Key. You will find four white ! Blocks in the room. |
| 4 | 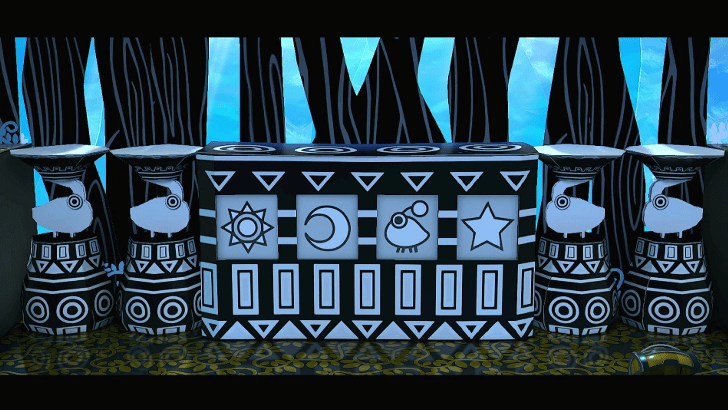 Hit the blocks to match the one you saw in the room after getting caged. It will be Sun → Moon → Puni → Star. |
| 5 | 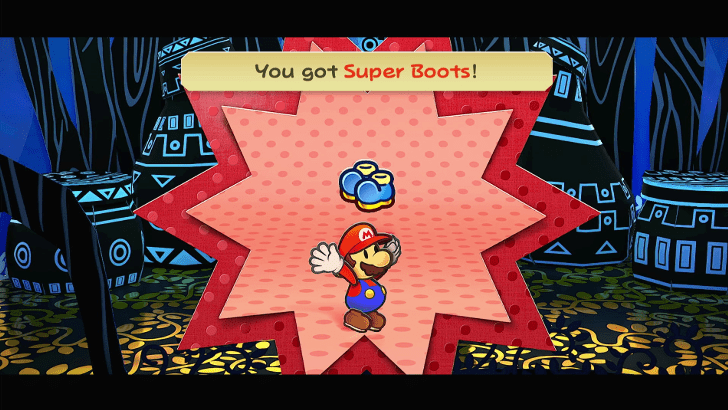 Head inside the room and you will find a large chest containing the Super Boots. A tutorial will then play explaining how to use it. |
| 6 | 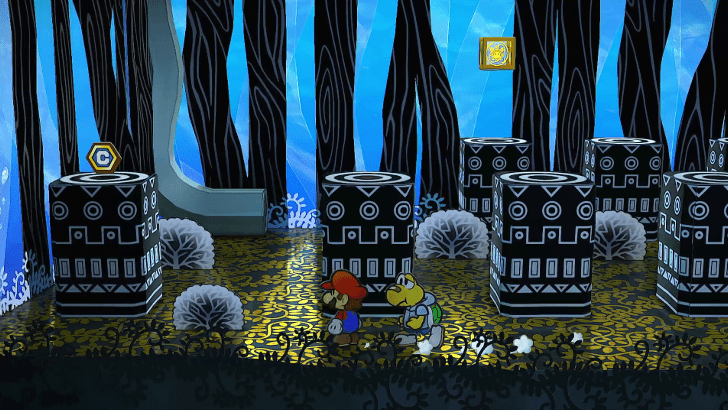 After the tutorial, head out of the room and use your new Spin Jump on the X Platform. You can jump on the platforms to get a Shine Sprite and a Charge badge (with Koops.) |
| 7 |  Go back to the room where the Punis are caged and get back inside the cage with your Paper form. Put the Puni Orb on the pedestal to reveal another X Platform you can break with your Spin Jump. |
| 8 | 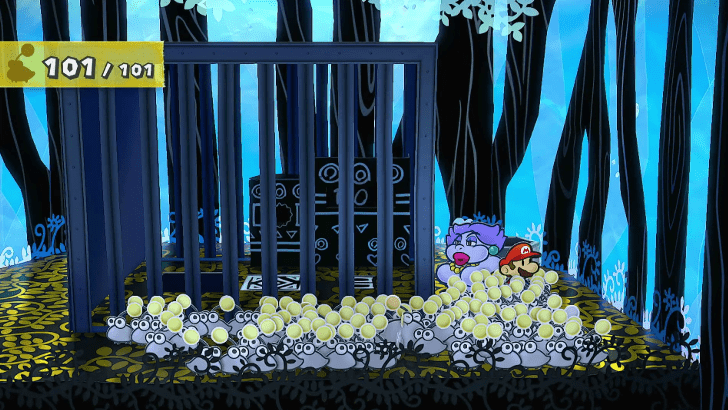 After breaking the platform, use Flurrie to blow the Punis into the hole. Head down with them and you and the Punis are now free! |
Path to The Crystal Star Walkthrough
| Objectives | |
|---|---|
| 1 | 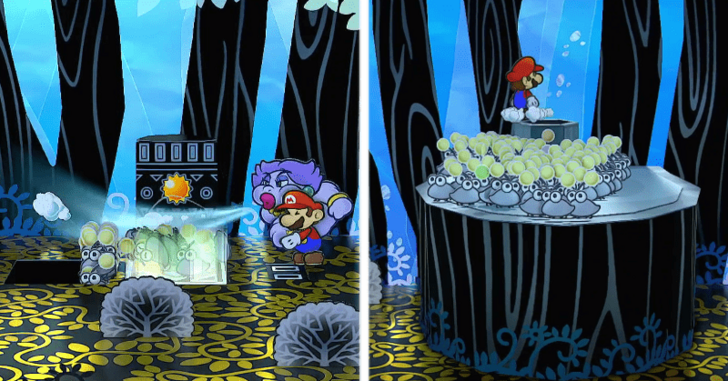 After freeing the Punis, Head west and use the pipe to go up. Break the X Platform and use the Puni Orb so you can blow the Punis into the hole. Drop down once all of them are down the hole. |
| 2 | 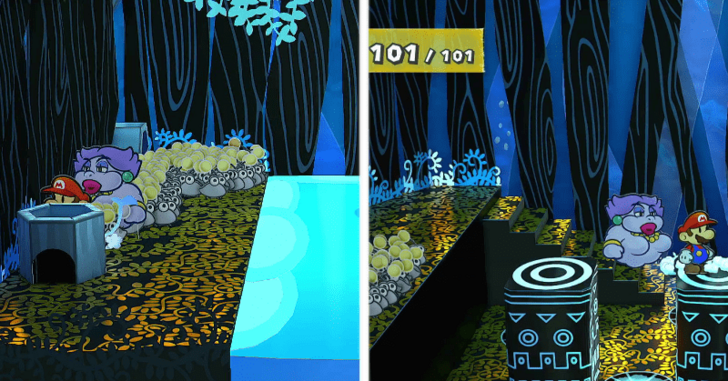 Head into the pipe. Keep advancing through the rooms until you see a room with a pool of water. Use the pipe and leave the Punis by jumping over the platforms. |
| 3 | 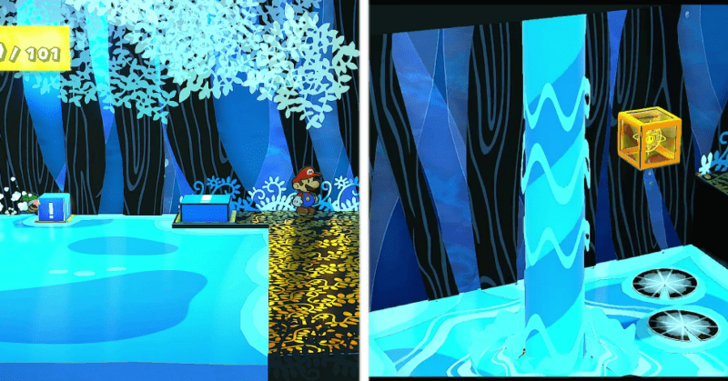 Head up and switch to Koops. Step on the ! button and hold his shell past where the ! Switch is. Get off the button and let go of Koops to drain the room of its water. |
| 4 | 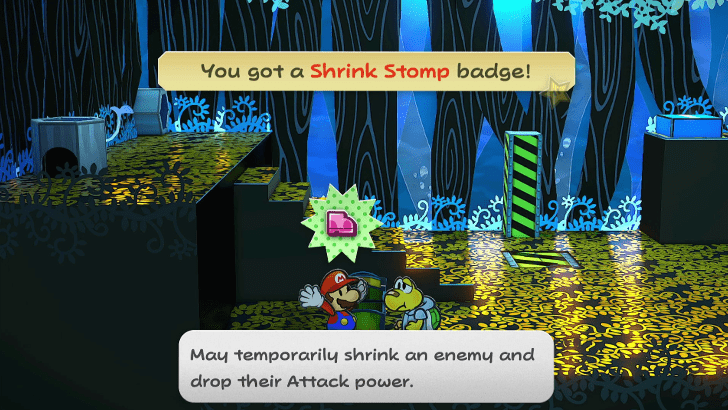 Go down into the area that used to contain water used to be and pick up a Shrink Stomp badge in a chest, and check behind the stairs for a Dizzy Dial. Go back to the Punies. |
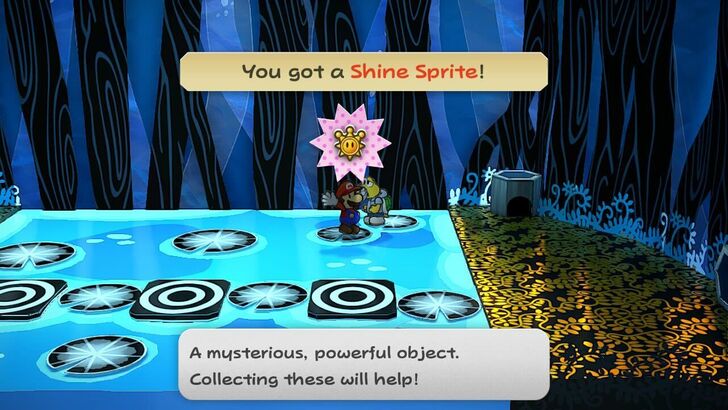
| 5 | 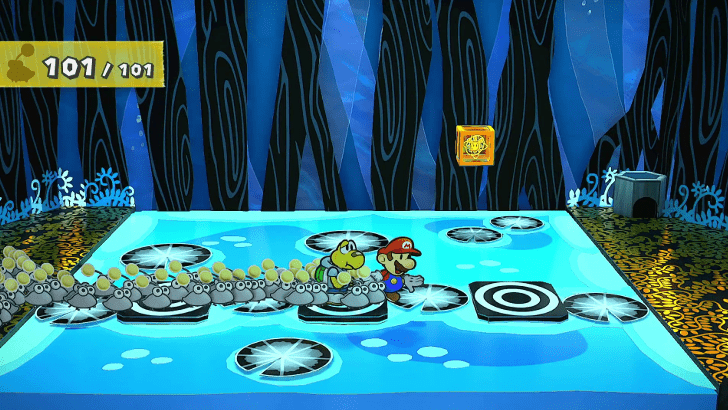 You can now cross the water with the lily pads and you can grab the Shine Sprite along the way. Use the pipe to go down to a lower area. |
| 6 |  There will be another pedestal here. Use the Puni Orb here to gather the Punis. The platform should go down especially if you still have all 101 Punis. |
| 7 | 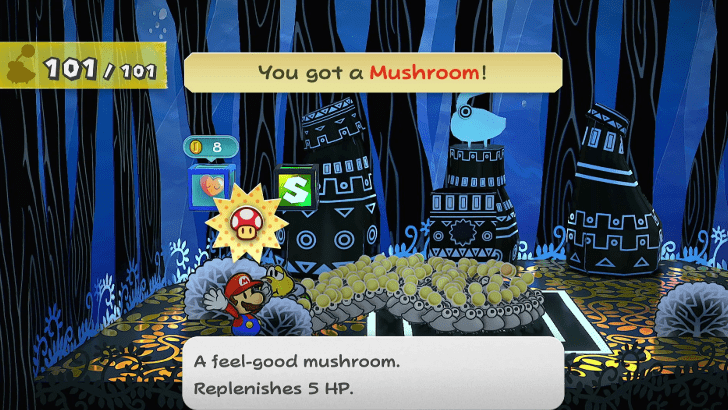 Once you get to the lower room, make sure to check the nearby bush for a Mushroom, Heal, and save. You can now proceed to the right side. |
| * | 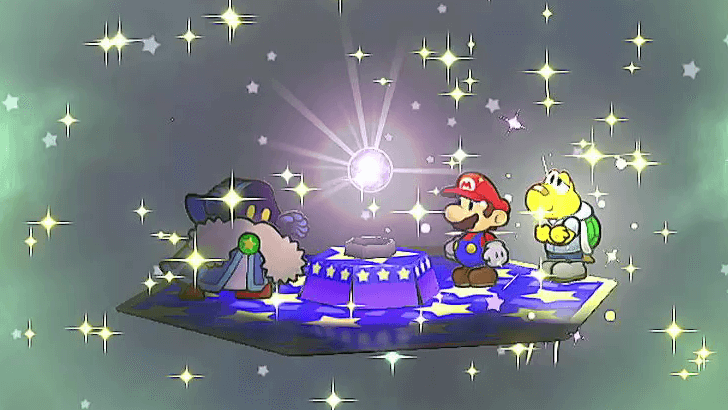 If you don't have any allies that have been upgraded with Shine Sprites, this is your last chance to do so. If you don't have any, make sure to have atleast one so they can help you damage the final boss. |
| 8 |  A cutscene will play revealing Lord Crump is waiting to ambush Mario and the Punis. After this cutscene you can proceed to use the Puni Orb on the center pedestal for Lord Crump to steal. |
| 9 | 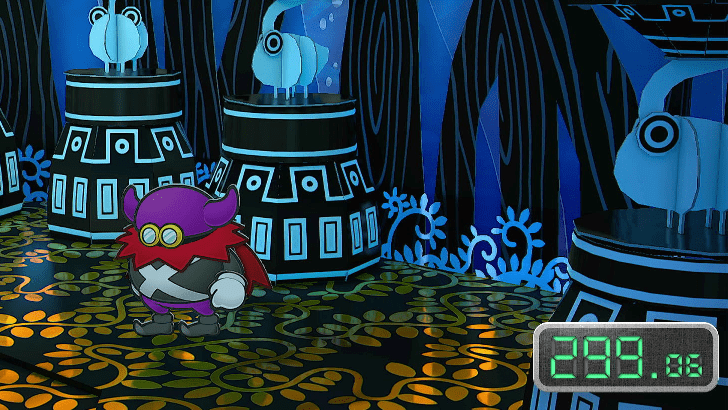 After gloating, Lord Crump will drop a bomb which will destroy the Great Tree! You will be given 300 seconds to escape, so follow Lord Crumb up the pipe. |
| 10 | 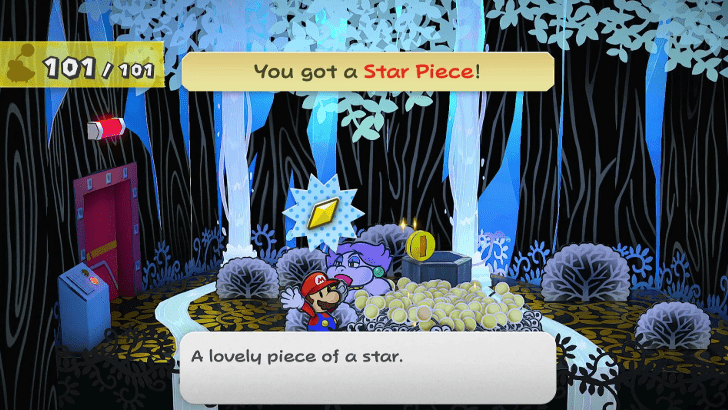 Once you exit the pipe, you will be ambushed by to X-Nauts so take care of them as the timer will still run when in a battle. Pick up the Star Piece at the bottom-right bush, unlock the door and you will be in the room with the shop. |
| 11 | 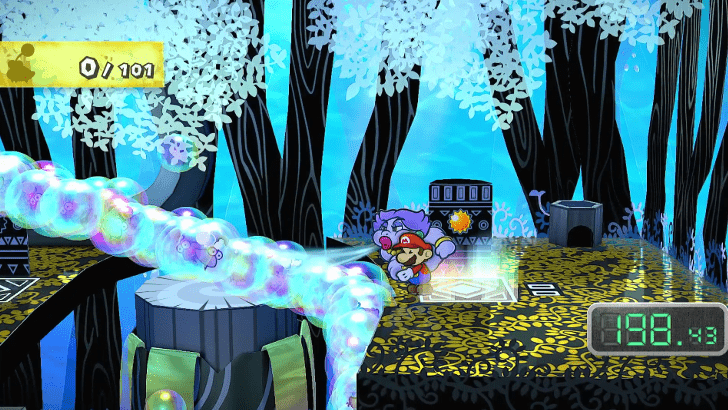 Go up a level and then use the vertical pipe to get yourself back to the bubble room. Use the Puni Orb and Flurrie to get them across with the bubbles and you will now be taken back to the main room. Save before heading forward. |
Magnus von Grapple Walkthrough
| Objectives | |
|---|---|
| 1 |  After getting to the main room, a cutscene will play with the Puni Elder blocking Lord Crump from escaping. Lord Crump, realizing he has no way out, will cancel the bomb and will summon a robot to fight. |
| 2 | 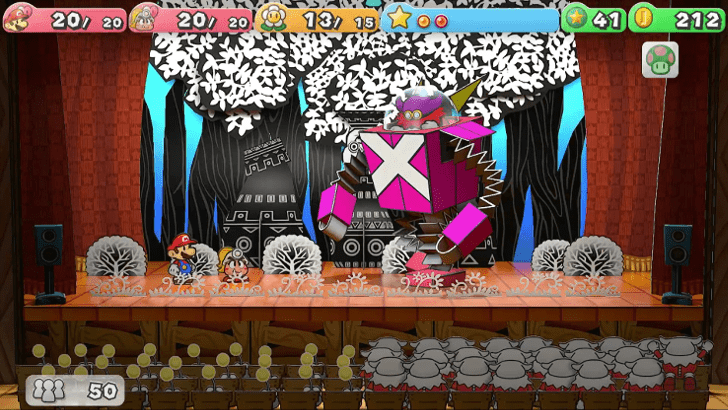 The fight with Magnus von Grapple will start and it should be a straight forward beatdown. Use either Power Bounce or Spin Jump to deal a substantial amount of damage. Click here for Magnus von Grapple Boss Fight Guide ► |
| 3 | 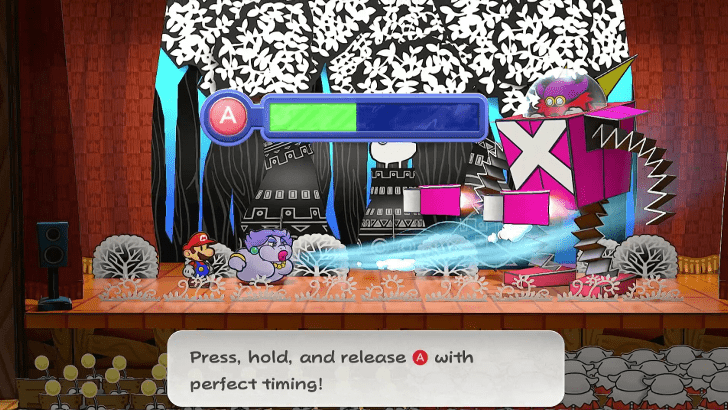 After a while, Lord Crump will summon Rocket Arms as reinforcements. Use Flurrie or Thunder Rage to quickly take care of them so Mario can focus on Magnus. |
| 4 | 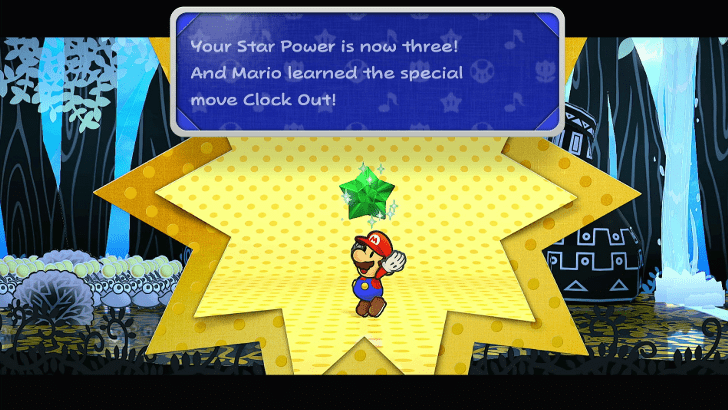 After winning the battle, Lord Crump and his goonies will escape leaving behind the Emerald Crystal Star. The Puni Elder will give it to you and you will now have 3 SP and a new Special! |
Peach Interlude Walkthrough
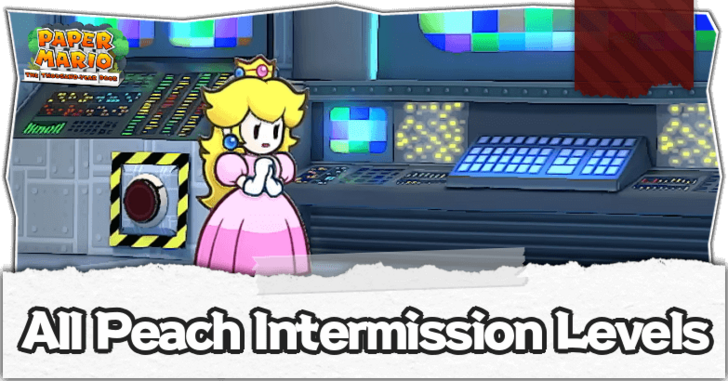
After another cutscene with Grodus, you are again free to explopre as Peach. TEC-XX asks Peach if she misses dancing and creates a hologram for her to dance with. Complete the rhythm mini-game and Peach will be able to send another e-mail to Mario.
Peach Interlude Complete Walkthrough
Bowser Interlude Walkthrough
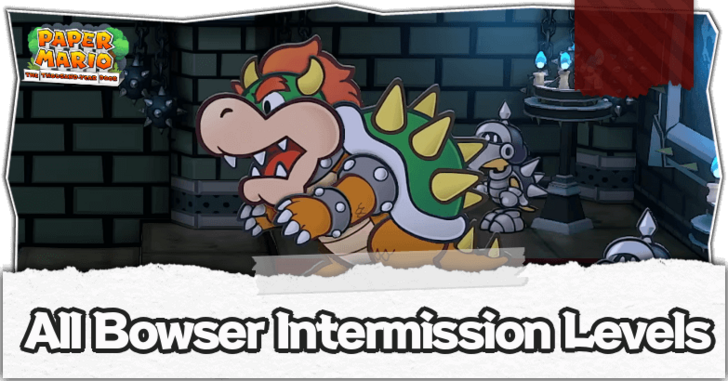
Heading to Petalburg, Bowser can now be controlled in a stage similar to World 1-1 in the original Super Mario Brothers! After this small stage, Bowser will scare off the Petalburg locals and hit on a poster of Princess Peach.
Bowser Interlude Complete Walkthrough
The City in the Sky Walkthrough
| Objectives | |
|---|---|
| 1 | 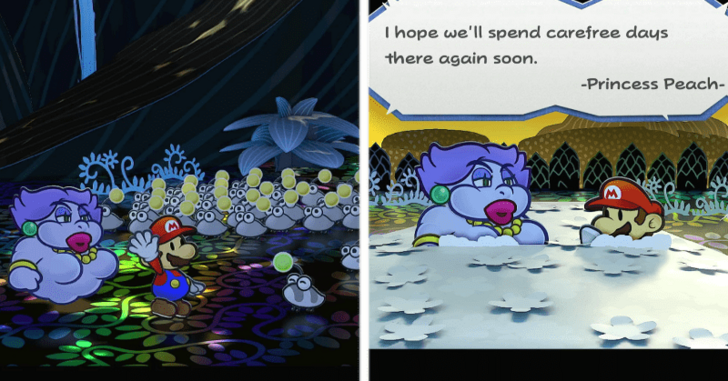 Once Bowser's story has ended, a cutscene with Mario saying goodbye to the Punies will occur and you can now go back to Boggly Woods. Once out, you will receive the e-mail from Peach. |
| * | 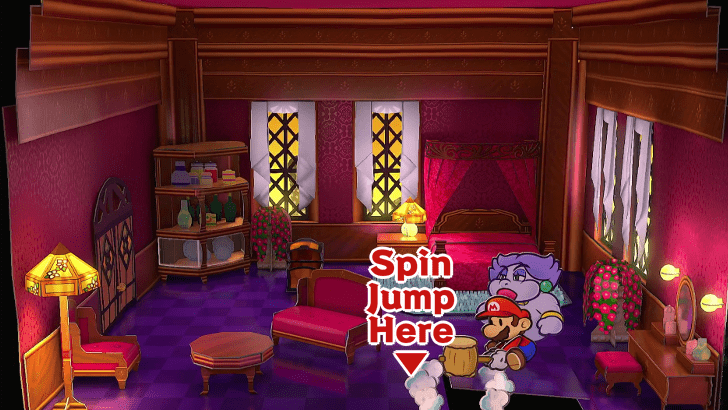 You can go back to Flurrie's house and Spin Jump at the foot of her bed for a Star Piece. |
| 2 | 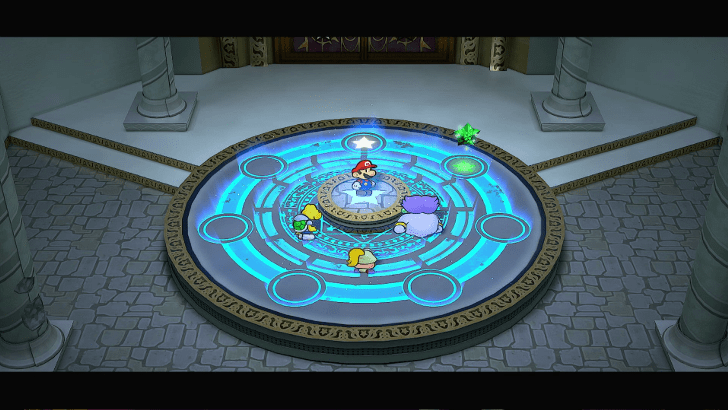 Head back from the sewers and head into the podium of the Thousand-Year Door. You learn that the next Crystal Star is in the sky. You will then be teleported to Professor Frankly's to find out what to do next. |
| * | 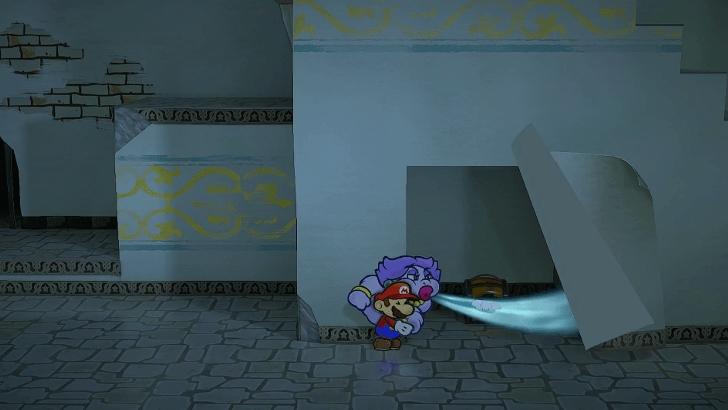 Before heading to the Platform in front of the Thousand-Year Door, you can explore around and make use of your new Spin Jump and Flurrie's Wind Skill to get some treasures you couldn't get beforehand. |
| 3 | 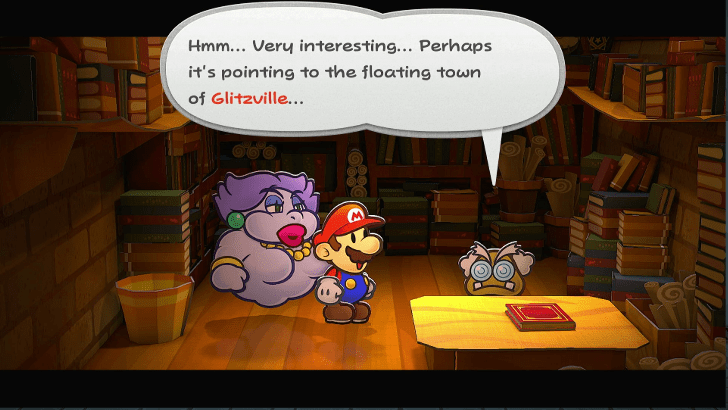 After finding out that you need all seven Crystal Stars to open the Thousand-Year Door and that the next Crystal Star is in Glitzville, the city in the sky. You are then told that Don Pianta has a Blimp that can take you there. |
| * | 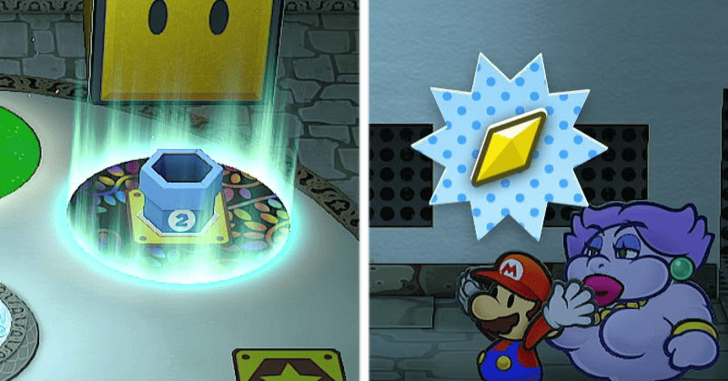 If you still need to do some stuff in Rogueport, like fixing up Troubles or hunting for Star Pieces, make sure to do them before starting the Don Pianta Quest. |
A Favor for Don Pianta Walkthrough
| Objectives | |
|---|---|
| 1 | 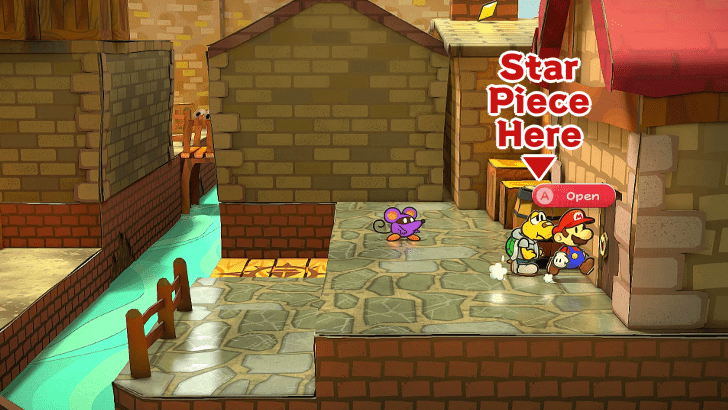 To start the Don Pianta Quest, you need to go to the East side of Rogueport and use your Paper form to slip through a crack next to the Trouble Center. There is a Star Piece behind a barrel, so pick that up too. |
| 2 | 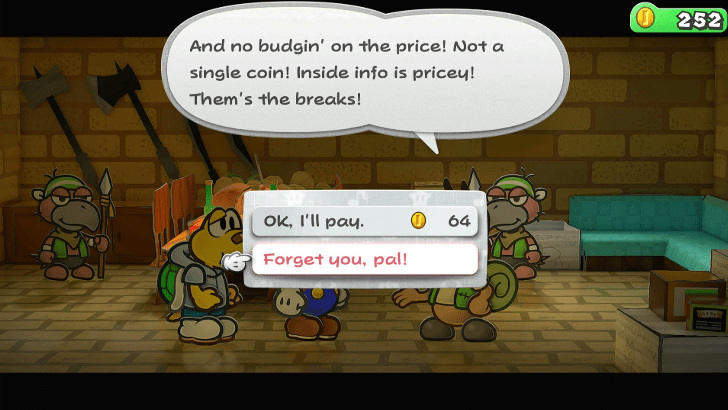 Head inside the door and you will meet Ishnail. He will give you info on his rival, Don Pianta, by doing certain tasks. He will ask for 64 coins but say no to this, just head to the Westside Goods Store. |
| 3 |  Once you arrive at the Westside Goods Store, go purchase the Dried shroom and Dizzy Dial in that specific order for 14 coins total. |
| 4 | 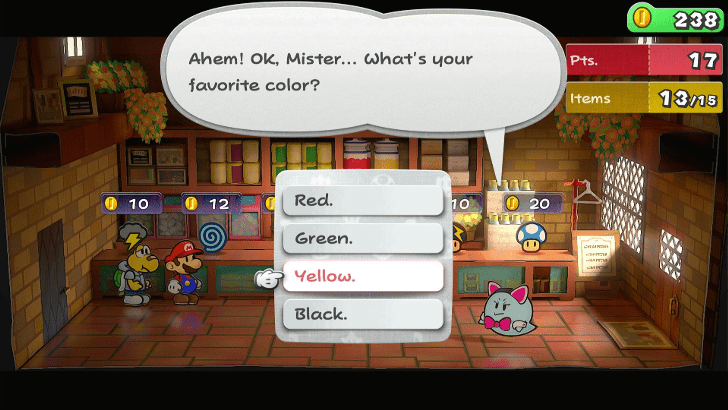 After making your purchases you will first be asked what color your mustache is. This can be answered in anyway. She will follow up with the correct question and for this one you should answer "Yellow". |
| 5 | 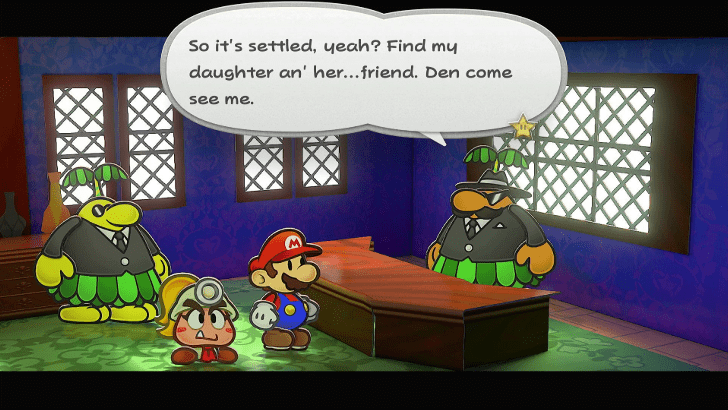 If you did it correctly, the Boo will open the door to Don Pianta's office who will initially refuse your request. He will change his mind but only if you help him sort out his family issues. |
| 6 | 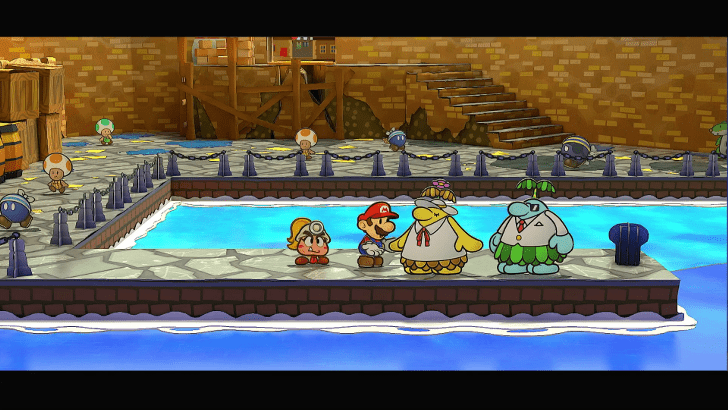 Before giving you the Blimp ticket, he will first give you the task to find his daughter Francisca and his worker Frankie who seem to have eloped. Go to Rogueport Harbor, they will be there. |
| 7 | 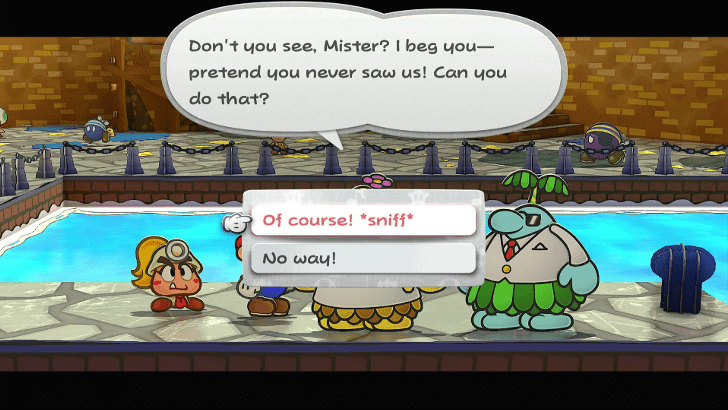 Talk to the couple and whichever way you answer does not matter. You can head back to Don Pianta to inform him of the situation. |
| 8 | 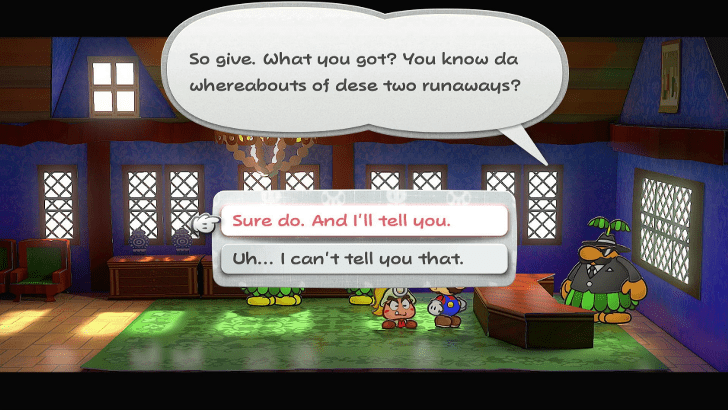 Talk to Don Pianta and your answer here doesn't matter either. The couple will then barge into the room and take the blame to apologize. The Don will ask them to leave and do what they want. |
| 9 | 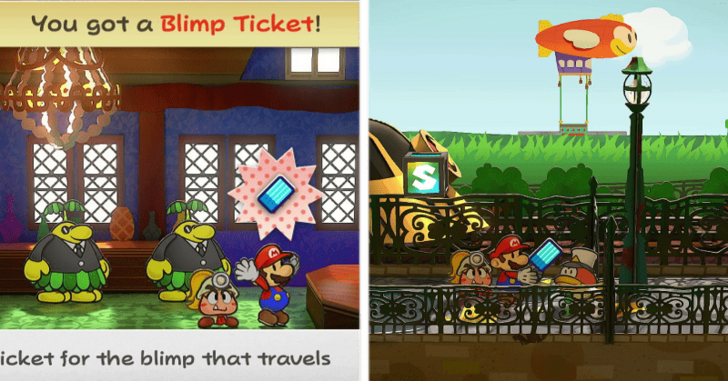 After that whole drama, the Don will give you the Blimp Ticket so head to Northern Rogueport which is conveniently next to Pianta Parlor. There will be a Cheep-Cheep there who will then let you pass to board the blimp. |
| 10 | 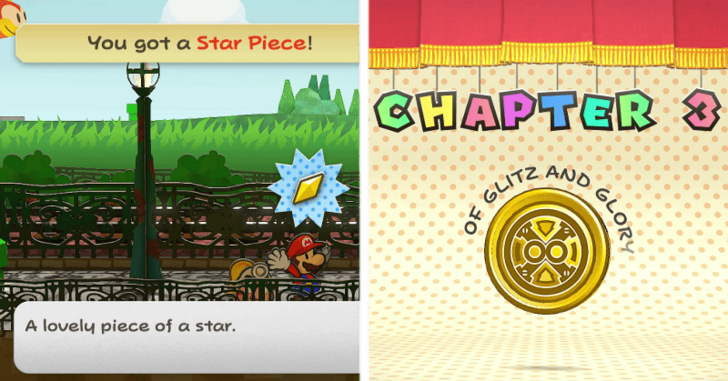 Before getting into the pipe, there is a Star Piece behind it so pick that up. Then, you can head into the pipe and go to the blimp. Enjoy the cutscene, and you are now in Chapter 3! |
Chapter 2 Collectibles and Items
Star Pieces
| Done? | Location | In-Game Image |
|---|---|---|
|
Boggly Woods
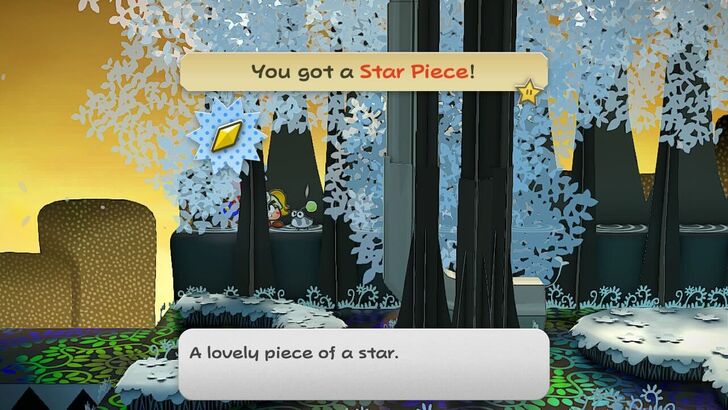
On the west side of the platform north of the airplane area. |
 |
|
|
Boggly Woods
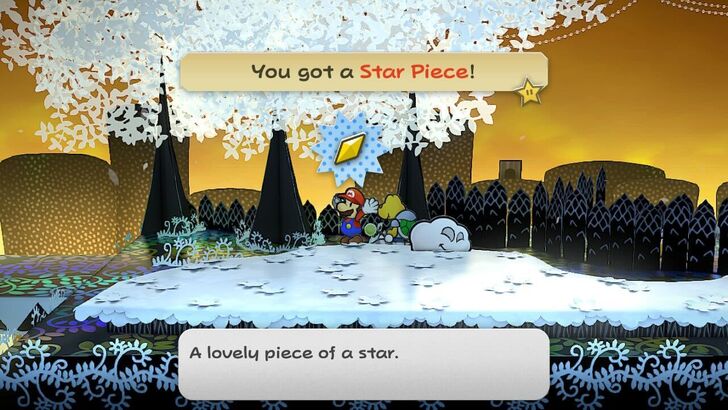
In the third tree in the scene with Flurrie's house. |
 |
|
|
Boggly Woods
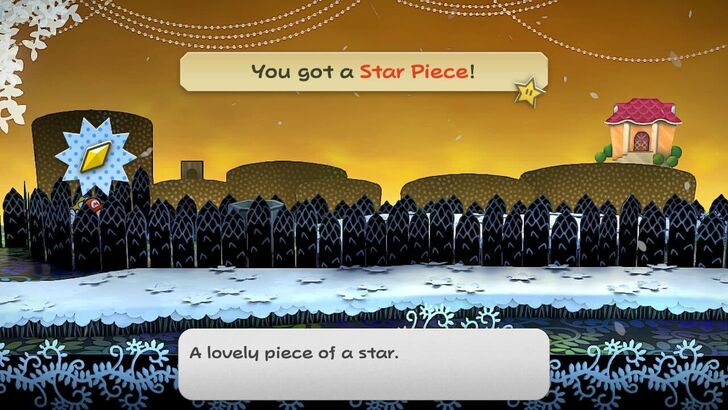
Towards the left of the pipe leading to Flurrie's house. |
 |
|
|
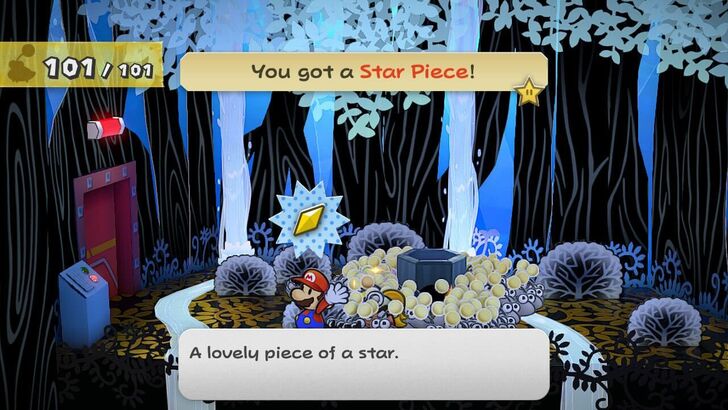
The Great Tree
Underneath a floor panel before escaping with the Punis. |
 |
|
|
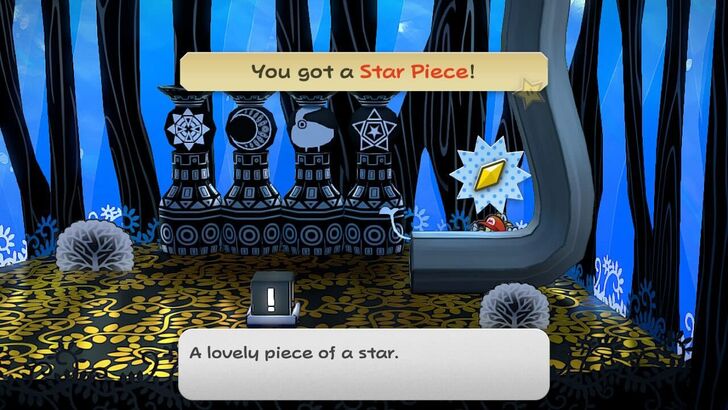
The Great Tree
Behind a pipe that leads to the left of the trap. |
 |
|
|
The Great Tree
Behind a pipe in the room below the trap. |
 |
|
|
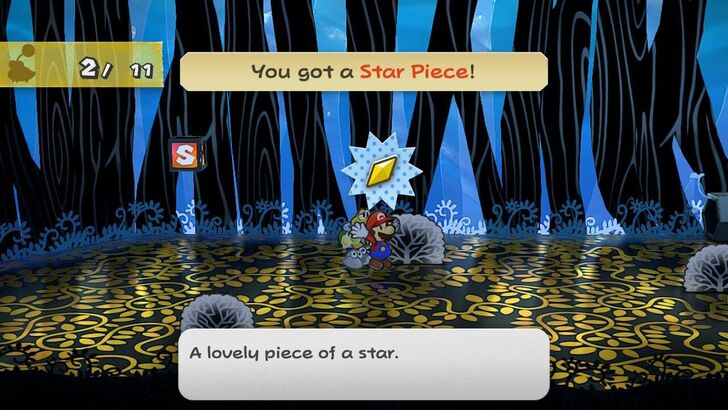
The Great Tree
In the southwest bush in the room with the shortcut. |
 |
|
|
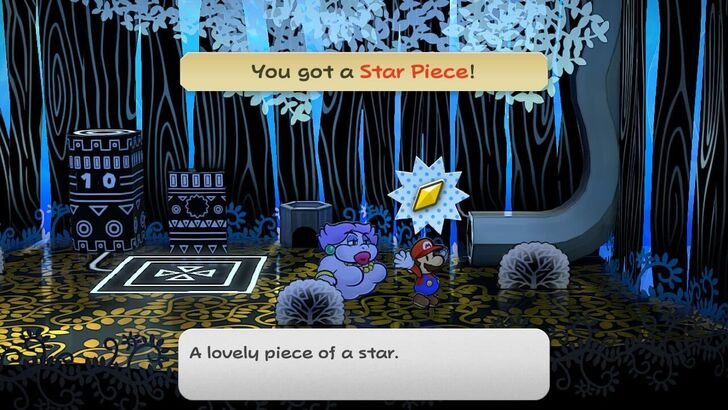
The Great Tree
Under a panel in the southeast room above the entrance. |
 |
|
|
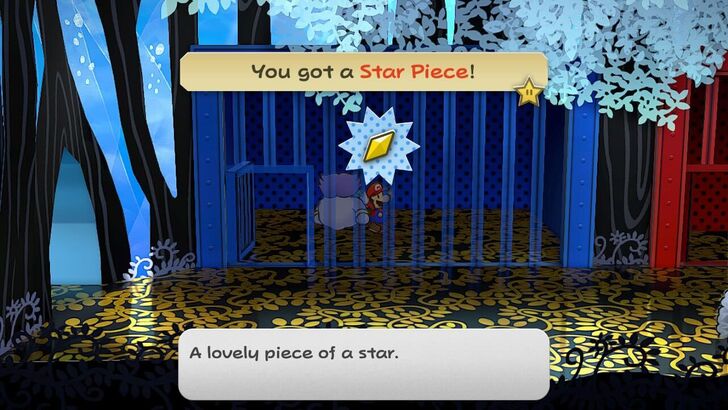
The Great Tree
Beneath a panel in the blue cell at the top of the Great Tree. |
 |
|
|
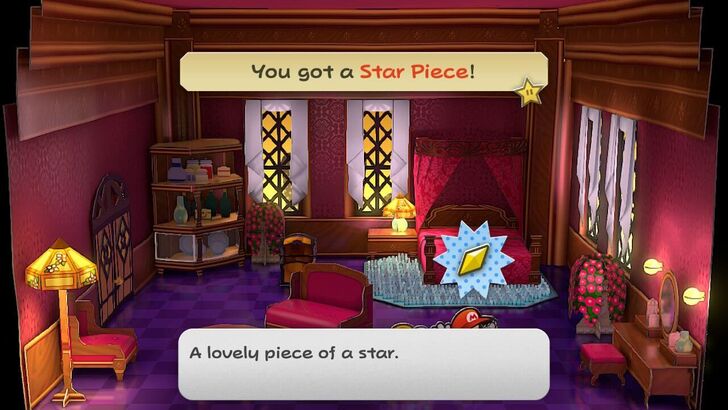
Boggly Woods
Beneath a panel in the southeast area of Flurrie's room inside Flurrie's House., accessible after obtaining the Spin Jump. |
 |
|
|
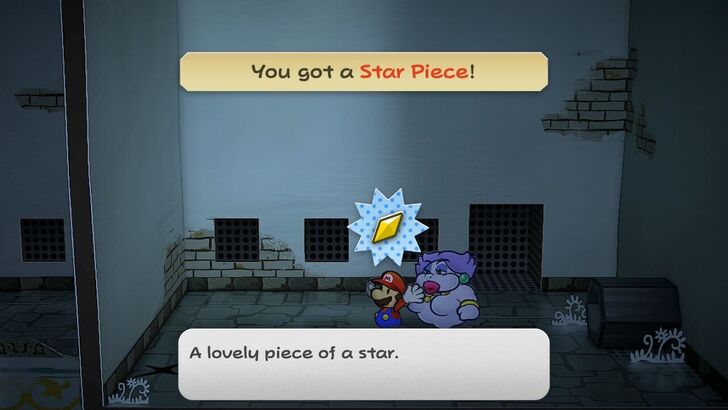
Rogueport Sewers
Beneath a panel in the room with a pipe leading to Boggly Woods on B3F. |
 |
|
|
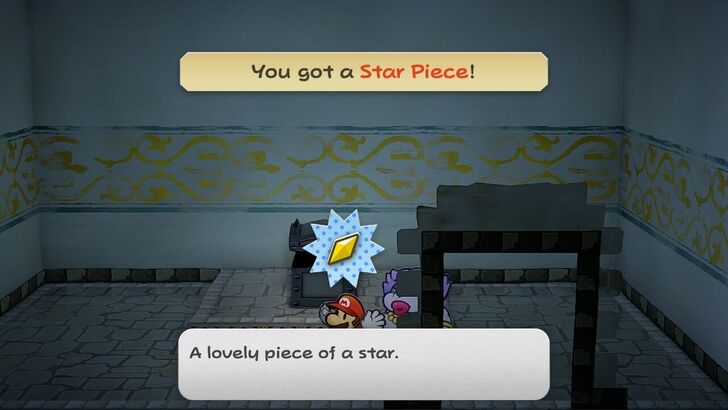
Rogueport Sewers
Beneath a panel in front of the black chest in B3F. |
 |
|
|
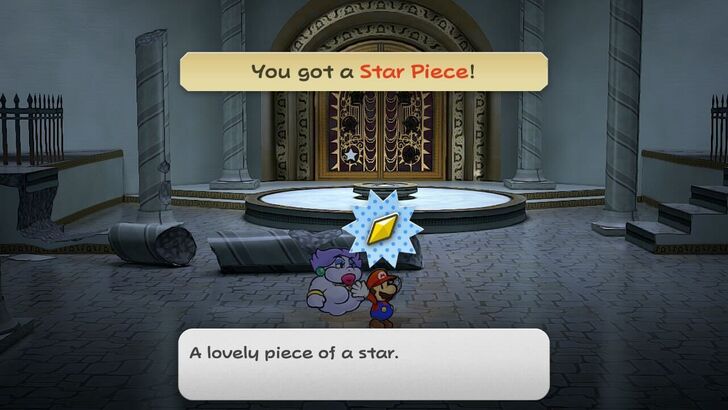
Rogueport Sewers
Beneath a panel in the south area of the Thousand-Year Door room on B3F. |
 |
|
|
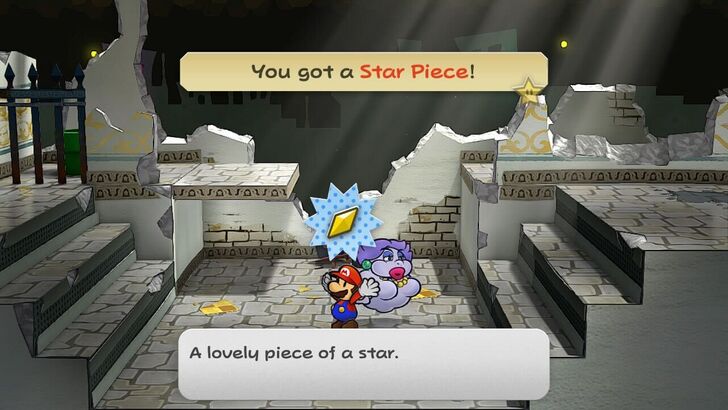
Rogueport Sewers
Beneath a panel in the sunken area by the east entrance of B1F. |
 |
|
|
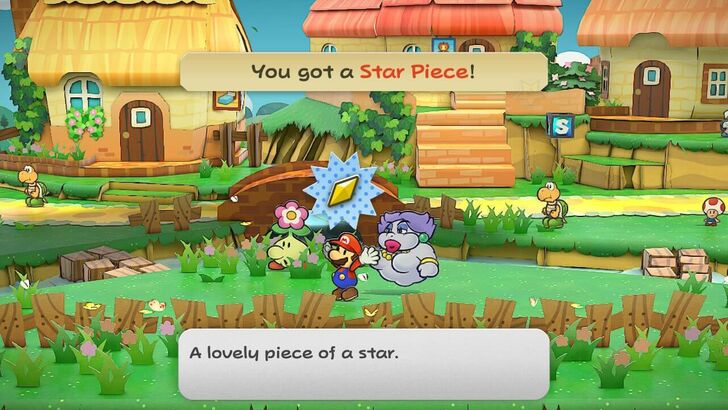
Petalburg
Beneath a panel in the south part of the west area. |
 |
|
|
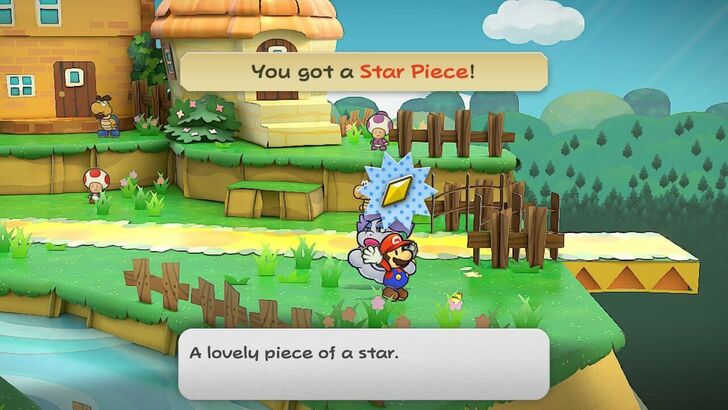
Petalburg
Beneath a panel south of the east gate. |
 |
|
|
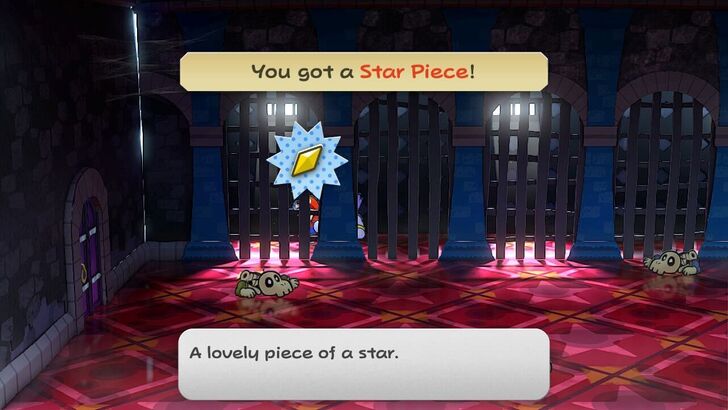
Hooktail Castle
Beneath a panel behind the leftmost cell in the room with cells, accessible after obtaining the Spin Jump. |
 |
|
|
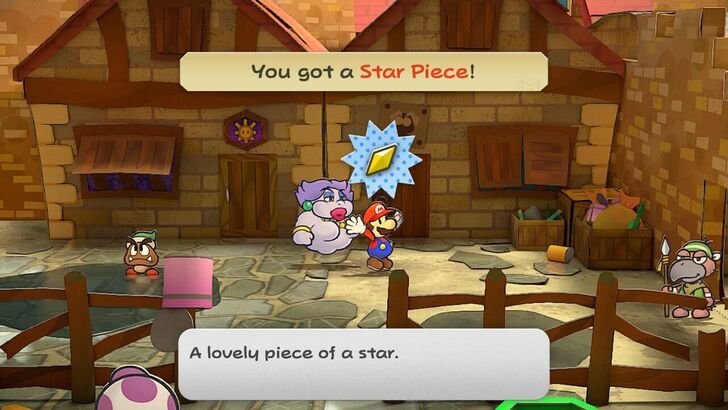
Rogueport
Beneath a panel in front of Professor Frankly's house. |
 |
|
|
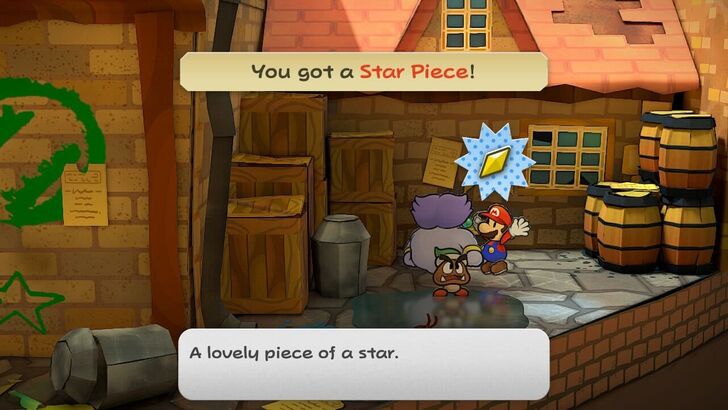
Rogueport
Beneath a panel behind Zess T's house. |
 |
|
|
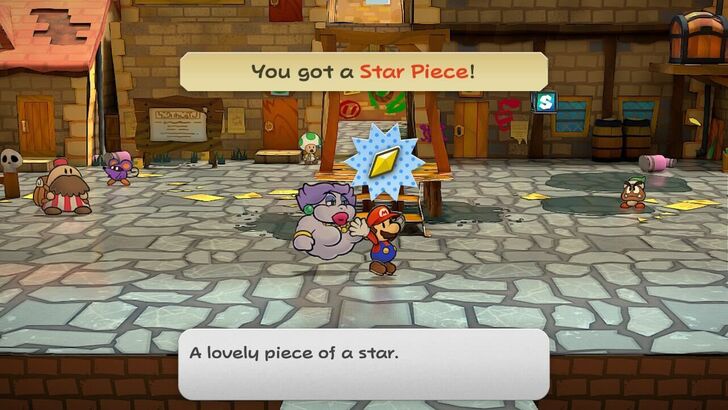
Rogueport
Beneath a panel in front of the gallows. |
 |
|
|
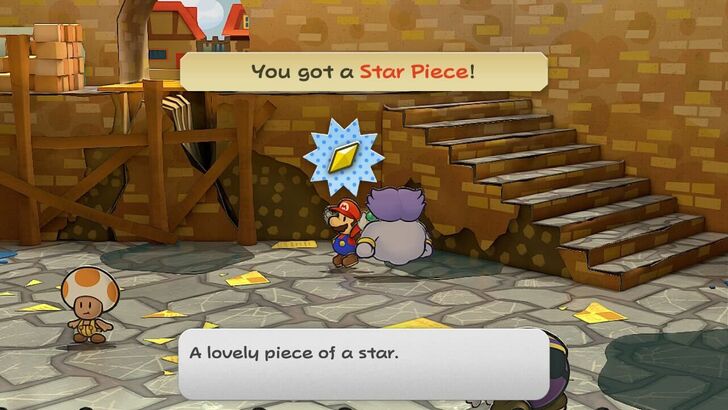
Rogueport
Beneath a panel by the north platform and northeast stairs of Rougueport Harbor. |
 |
|
|
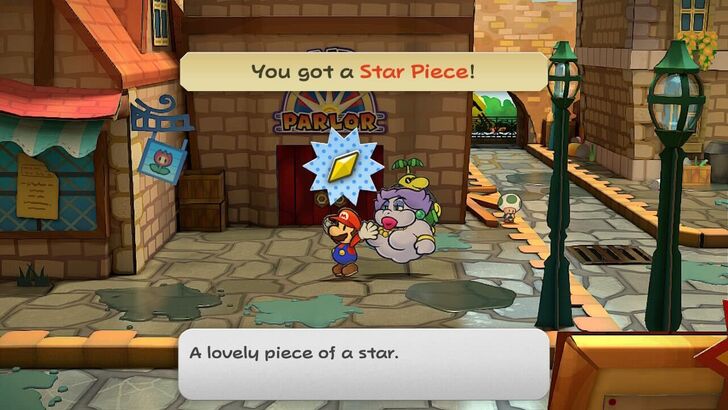
Rogueport
Beneath a panel in front of the door to Pianta Parlor. |
 |
|
|
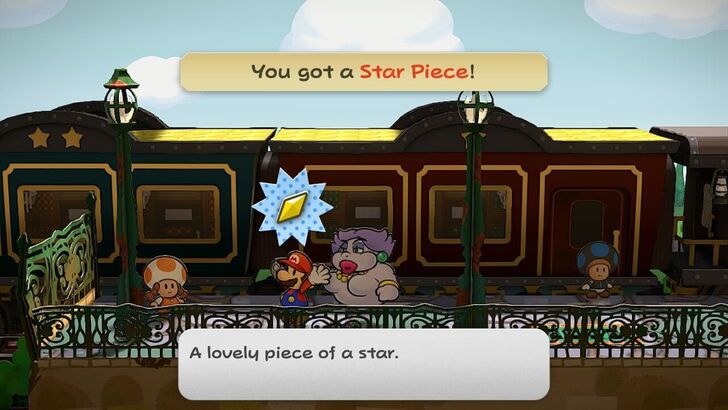
Rogueport
Beneath a panel on the left side of the train platform for Excess Express. |
 |
|
|
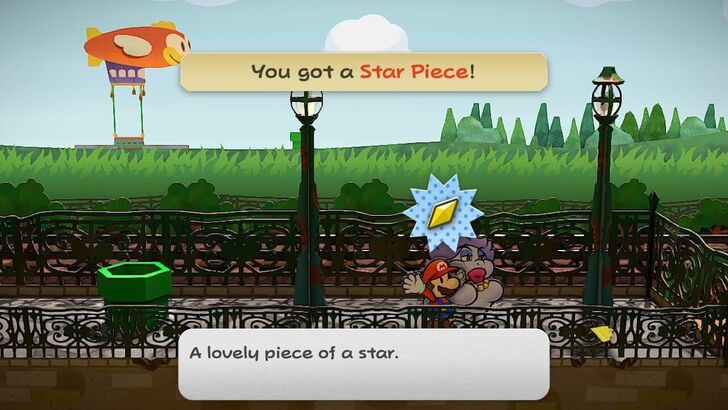
Rogueport
Beneath a panel to the right of the pipe leading to the blimp landing area. |
 |
|
|
Rogueport Sewers
Beneath a panel west of the table in Wonky's house in the center city of B1F. |
 |
Shine Sprites
| Done? | Location | In-Game Image |
|---|---|---|
|
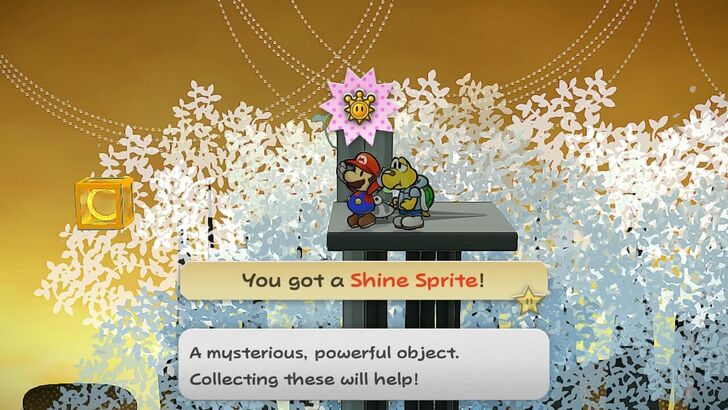
Boggly Woods
To the left of the high paper airplane. |
 |
|
|
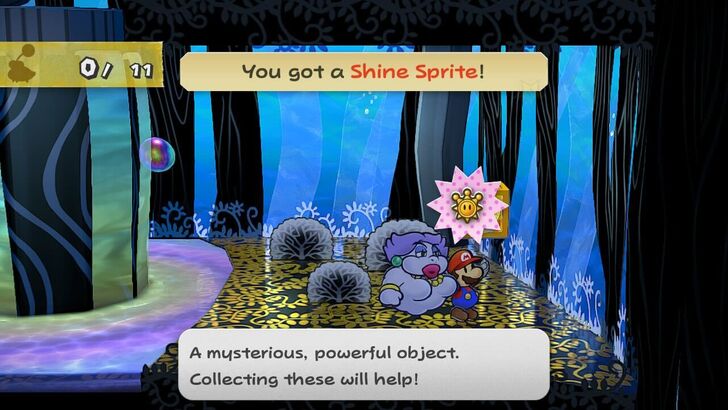
The Great Tree
On the right side of the room where you encase the Punies in bubbles. |
 |
|
|
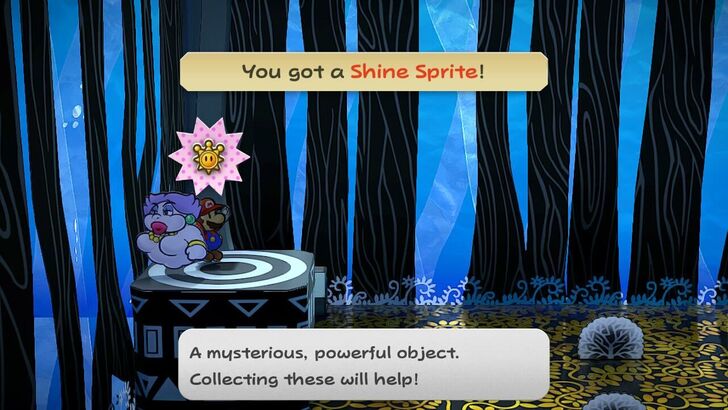
The Great Tree
On top of a pedestal in the room with two paper airplanes. Use Flurrie to remove the vase from the first panel. |
 |
|
|
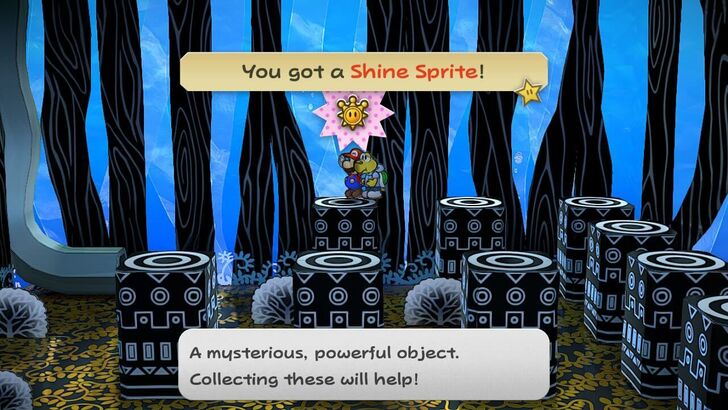
The Great Tree
Found in the room under the first wooden panel seen after acquiring the Super Boots. Use Spin Jump to break through. |
 |
|
|
The Great Tree
Above the lily pads after filling the room with water. |
 |
Blocks
Regular Blocks
| Done? | Location and Item | In-Game Image |
|---|---|---|
|
Boggly Woods
Found in the fourth screen on top of a platform. Item: Quake Hammer |
 |
|
|
The Great Tree
Found in the room between the Jabbi hives. Accessed by tossing Koops at a Hidden Block. Item: Damage Dodge P |
 |
Hidden Blocks
| Done? | Location and Item | In-Game Image |
|---|---|---|
|
Boggly Woods
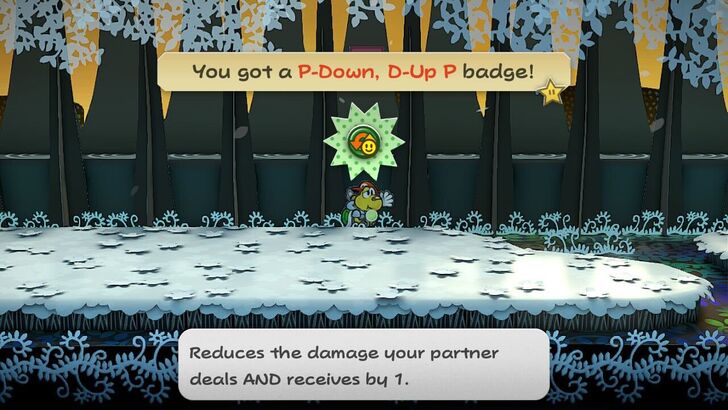
Found in the area with the tall tree stump that allows Mario to go into Airplane Mode. Item: P-Down, D-Up P |
 |
|
|
The Great Tree
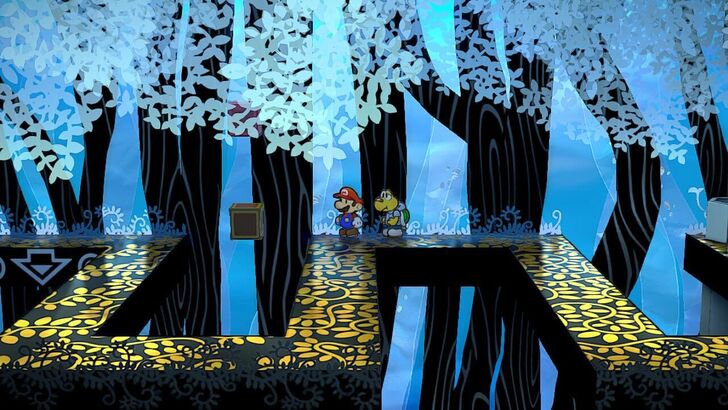
Found in the area with narrow paths and Piders. Throw Koops to reveal the hidden block beneath the block. Item: 1 Coin |
 |
Chapter 2 Enemy List
Boggly Forest Enemies
| List of Enemies in Boggly Forest | |||
|---|---|---|---|
| Enemy | HP | Atk | Def |
| 4 | 2 | 0 | |
| 3 | 2 | 0 | |
| 2 | 2 | 2 | |
The Great Tree Enemies
| List of Enemies in The Great Tree | |||
|---|---|---|---|
| Enemy | HP | Atk | Def |
| 4 | 2 | 0 | |
| 5 | 2 | 0 | |
| 9 | 4 | 0 | |
| 3 | 2 | 0 | |
| 1 | 0 | 0 | |
Chapter 2 Boss Guides
Shadow Sirens Mini-Boss Guide
| Enemy | HP | Atk | Def |
|---|---|---|---|
| 9 | 1 | 0 | |
| 12 | 2 | 0 | |
| 10 | 1 | 0 |
Target Beldam First
In the Palace of Shadow fight with the Shadow Sirens, try to take out Beldam first as she has additional attacks to use which can get annoying.
Use Earth Tremor or Koops' Shell Slam
Use an Earth Tremor or Koops' Shell Slam attack to quickly whittle down the sisters.
Magnus Von Grapple Boss Guide
| Enemy | HP | Atk | Def |
|---|---|---|---|
| 30 | 2 | 1 |
Use Powerful Jump and Hammer Attacks
As a major boss, Magnus Von Grapple has lots of health, so it is suggested to use hard-hitting attacks like Power Jump or Power Smash to deal as much damage as possible.
Use Flurrie's Gale Force on X-Fists
Later during the fight, the robot can send out its fists and get it ready for an attack that will hit whoever is in front on Mario's side. You can use Flurrie's Gale Force to send them flying. You can also use jump attacks to deal damage to the fists.
How to Beat Magnus Von Grapple
Locations Available in Chapter 2
Boggly Woods and The Great Tree
| New Locations Available in Chapter 2 | |
|---|---|
 Boggly Woods Boggly Woods |
 The Great Tree The Great Tree |
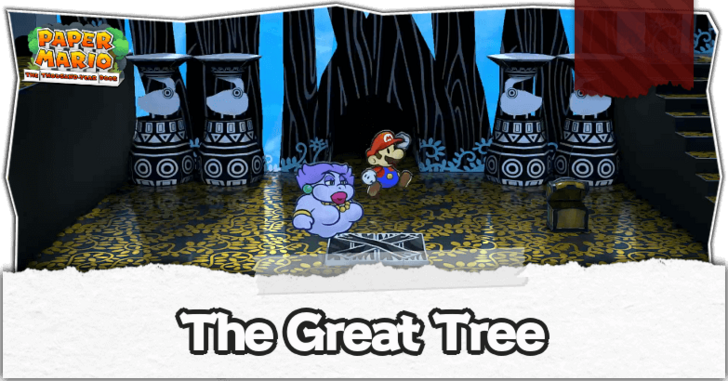
Upon starting Chapter 2, you will gain access to Boggly Woods and The Great Tree. There is a shortcut to Boggly Forest you can unlock after beating Chapter 2 and unlocking the Pipe in the Pipe Zone!
Chapter 2 Trouble Center Quests
The following Troubles will be unlocked after completing Chapter 2.
| Done? | Client | Details and Rewards |
|---|---|---|
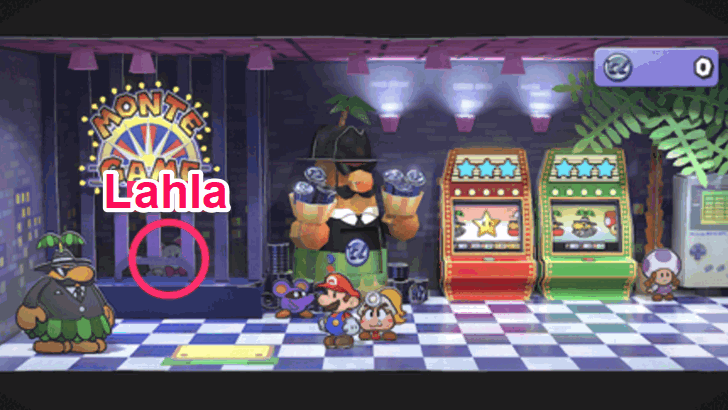 |
Request: Come Over And Play! Reward: 10 Piantas Unlock: After Chapter 2 Go to the Pianta Parlor on the west side of Rogueport. Talk to Lahla the Boo at the counter. |
|
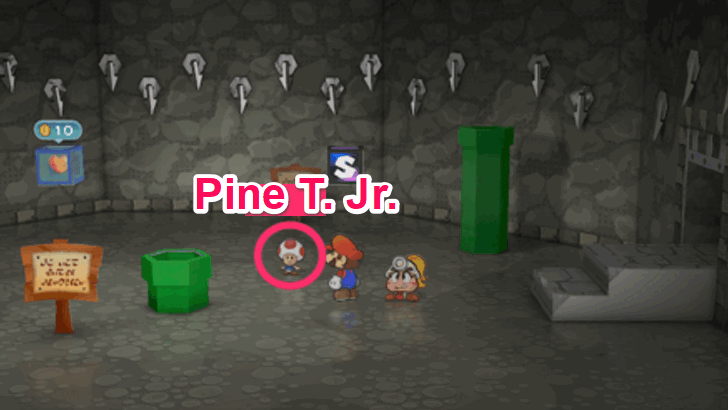 |
Request: Help My Daddy! Reward: Silver Card Unlock: After Chapter 2 Head into the Pit of 100 Trials until the 20th floor. Pine T. Jr's dad can be found on the 18th floor, and you can talk to him after defeating the enemy on that level. |
|
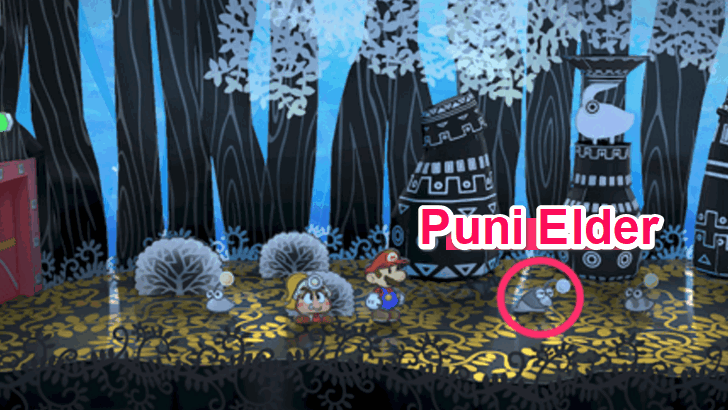 |
Request: Life Mushroom! Reward: 50 Coins Unlock: After Chapter 2 Once you have a Life Shroom in your inventory, all you have to do is go to the Great Tree in Boggly Woods and give it to the Puni Elder. |
Paper Mario: The Thousand-Year Door Related Guides

Chapter Walkthroughs
Other Walkthroughs
| Other Walkthroughs | ||
|---|---|---|
 Peach Intermissions Peach Intermissions |
 Bowser Intermissions Bowser Intermissions |
 Trouble Center Trouble Center |
Comment
On the steps it might be worth noting that if you want to upgrade your partners with Shine Sprites that you must leave to do so prior to taking the lift down to the final boss. Once you go down, you’re essentially stuck as you can’t go back up.
Author
Paper Mario: The Thousand-Year Door (TTYD) Walkthrough & Guides Wiki
Chapter 2: The Great Boggly Tree Walkthrough
improvement survey
03/2026
improving Game8's site?

Your answers will help us to improve our website.
Note: Please be sure not to enter any kind of personal information into your response.

We hope you continue to make use of Game8.
Rankings
- We could not find the message board you were looking for.
Gaming News
Popular Games

Genshin Impact Walkthrough & Guides Wiki

Honkai: Star Rail Walkthrough & Guides Wiki

Umamusume: Pretty Derby Walkthrough & Guides Wiki

Pokemon Pokopia Walkthrough & Guides Wiki

Resident Evil Requiem (RE9) Walkthrough & Guides Wiki

Monster Hunter Wilds Walkthrough & Guides Wiki

Wuthering Waves Walkthrough & Guides Wiki

Arknights: Endfield Walkthrough & Guides Wiki

Pokemon FireRed and LeafGreen (FRLG) Walkthrough & Guides Wiki

Pokemon TCG Pocket (PTCGP) Strategies & Guides Wiki
Recommended Games

Fire Emblem Heroes (FEH) Walkthrough & Guides Wiki

Diablo 4: Vessel of Hatred Walkthrough & Guides Wiki

Yu-Gi-Oh! Master Duel Walkthrough & Guides Wiki

Super Smash Bros. Ultimate Walkthrough & Guides Wiki

Pokemon Brilliant Diamond and Shining Pearl (BDSP) Walkthrough & Guides Wiki

Elden Ring Shadow of the Erdtree Walkthrough & Guides Wiki

Monster Hunter World Walkthrough & Guides Wiki

The Legend of Zelda: Tears of the Kingdom Walkthrough & Guides Wiki

Persona 3 Reload Walkthrough & Guides Wiki

Cyberpunk 2077: Ultimate Edition Walkthrough & Guides Wiki
All rights reserved
© Nintendo. Games are property of their respective owners. Nintendo of America Inc. Headquarters are in Redmond, Washington, USA
The copyrights of videos of games used in our content and other intellectual property rights belong to the provider of the game.
The contents we provide on this site were created personally by members of the Game8 editorial department.
We refuse the right to reuse or repost content taken without our permission such as data or images to other sites.
 Prologue: A Rogue's Welcome
 Chapter 1: Castle and Dragon
 Chapter 3: Of Glitz and Glory
 Chapter 4: For Pigs the Bell Tolls
 Chapter 5: The Key to Pirates
 Chapter 6: 3 Days of Excess
 Chapter 7: Mario Shoots the Moon
 Chapter 8: The Thousand-Year Door




![Monster Hunter Stories 3 Review [First Impressions] | Simply Rejuvenating](https://img.game8.co/4438641/2a31b7702bd70e78ec8efd24661dacda.jpeg/thumb)
![Slay the Spire 2 Review [Early Access] | Still the Deckbuilder to Beat](https://img.game8.co/4433115/44e19e1fb0b4755466b9e516ec7ffb1e.png/thumb)


I upgraded Koops to super rank with 3 shrine sprites.