Ruin C-02 Walkthrough and Treasure Chest Locations
Please note that the Tower of Fantasy Team has stopped covering the game as of Update 2.0. Information on certain pages may not be up-to-date. Thank you for continuing support!
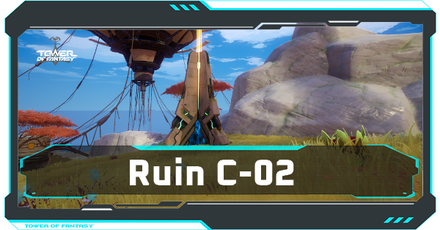
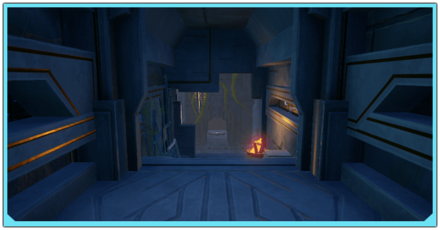
Ruin C-02 is one of the Ruins that you will encounter in Tower of Fantasy. Read on to learn about Ruin C-02's level requirements, rewards, secret chest locations, how to beat the boss, and other strategies to clear it.
| All Navia Ruins Walkthroughs | ||
|---|---|---|
 Ruin C-01 Ruin C-01 |
 Ruin C-02 Ruin C-02
|
 Ruin C-03 Ruin C-03 |
List of Contents
Ruin C-02 Secret Chest Locations
 |
|
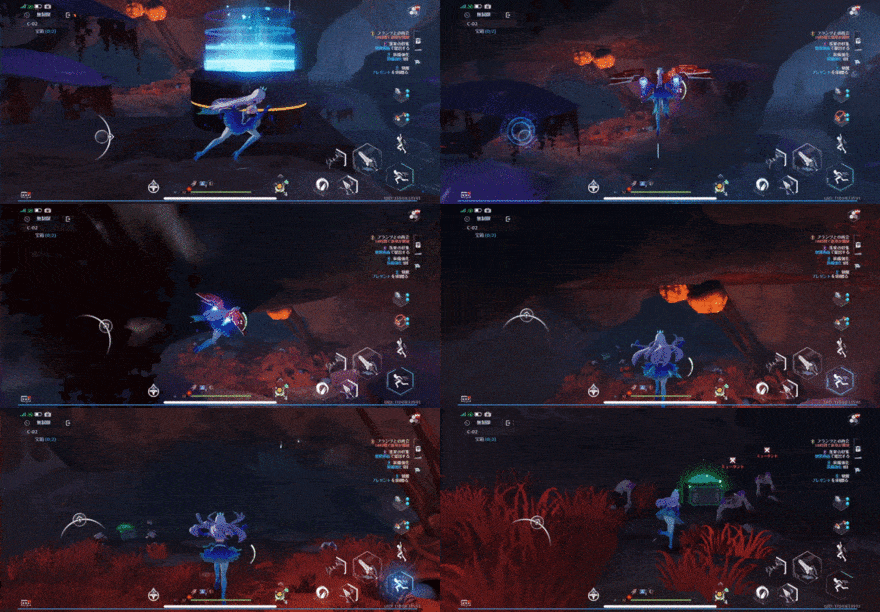
| Secret Chest 1 (Easy) | Jump on the elevated platform leading to the room on the left-side with aberrants. |
|---|---|
 |
|
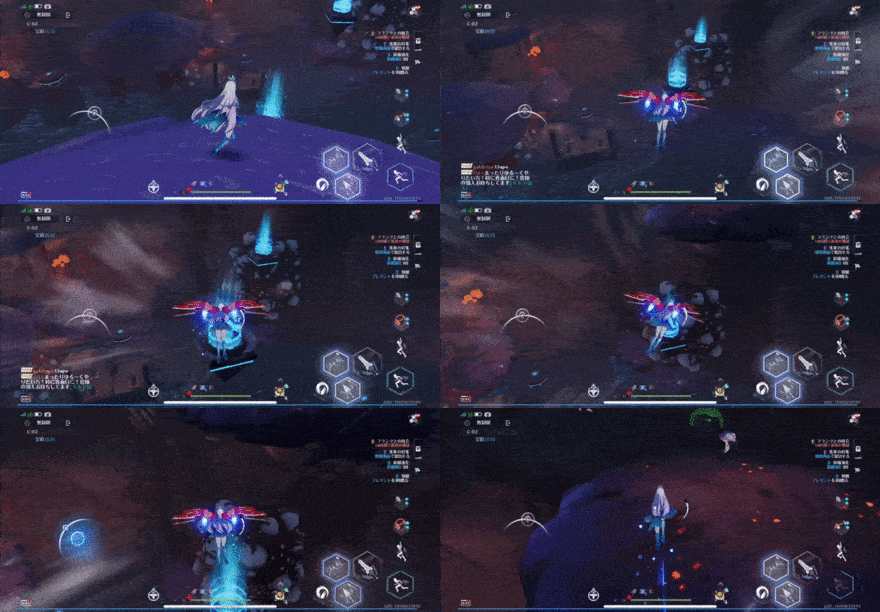
| Secret Chest 2 (Easy) | Use the platform to fly towards the mushroom. Fly towards three more platforms to reach the area with the second treasure chest. |
 |
|
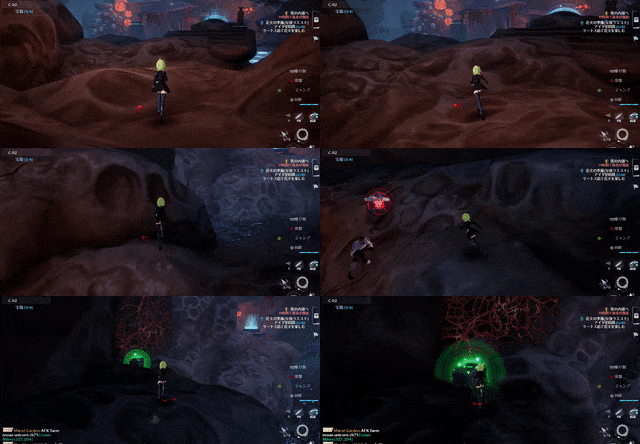
| Secret Chest 3 (Normal & Hard) | Climb the cliff on the left side after entering the ruins. |
 |
|
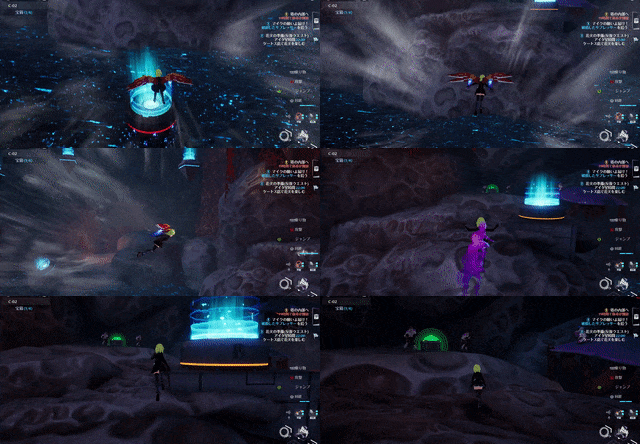
| Secret Chest 4 (Normal & Hard) | Use the same path leading to the second treasure chest to reach the fourth treasure chest. |
Ruin C-02 Walkthrough
| 1 | Head to the platform with the blue aura to fly to the other side of the area. (Normal mode) Climb on the left side after entering the ruins to open the treasure chest (3). |
|---|---|
| 2 | Activate the stone structures until all of the colors are switched to blue. |
| 3 | Use the pink platform to land on the mushroom. |
| 4 | Jump and dash to the red platform in the water to fly to the other side. |
| 5 | Jump on the orange platform and fly to the area with the aberrants. Open the treasure chest (1) in the area. |
| 6 | Use the platforms again to go back to the other side. If you fall in the water, you can swim towards the red platform and climb back up. (Normal mode) Open the treasure chest (4) once you get back to the other side. |
| 7 | Use the orange platform to jump on the mushroom across the area. |
| 8 | Jump on the three devices to land on the area with the treasure chest (2). |
| 9 | Fly towards the green platform and defeat all the enemies. Head to the linear path to find the boss on the bottom of the next area. Defeat the boss to complete the ruin. |
Ruin C-02 Tips and Strategies
Rotate the Stone Structures

The puzzle solution in this ruin requires you to rotate the stone structure until it shows a blue gem.
When all stone structures are activated, it will turn on the platforms that you can use with the jetpack to fly around the area.
Fly Through the Air Using the Platforms

You can run towards the platform with the blue aura to automatically fly up in the air. Avoid unequipping the jetpack as you cannot equip it normally without running towards the platform.
Ruin C-02 Location and Rewards
Map and Location
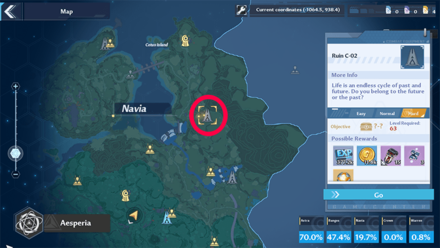 |
Level Requirements and Rewards
| Difficulty Level | Details |
|---|---|
| Easy |
Required Level: 31 Possible Rewards: • EXP x27,700 • Gold x4,300 • Lava Bomb Shard x5 • Potent Omnium Crystal • Falcon Shoulderguards x1 • Astra Exploration Points x40 |
| Normal | Required Level: 50 Possible Rewards: • EXP x132,400 • Gold x8,300 • Lava Bomb Shard x10 • Potent Omnium Crystal x2 • Energy Crystal Dust x300 |
| Hard | Required Level: 63 Possible Rewards: • EXP x377,200 • Gold x11,800 • Lava Bomb Shard x15 • Potent Omnium Crystal x3 • Energy Crystal Dust x300 |
How to Defeat Ruin C-02 Boss
Barbarossa Boss Overview
| Barbarossa | ||||
|---|---|---|---|---|
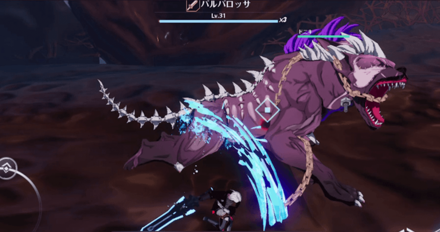
|
||||
| Difficulty | HP | Level | Element | Weakness |
| Easy | 3 Gauges | 31 | Grievous | None |
| Normal | 3 Gauges | 50 | Volt | None |
| Hard | 3 Gauges | 63 | TBD | TBD |
Use Ranged Attacks
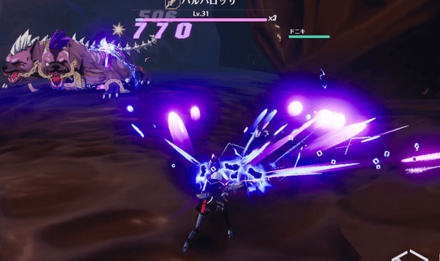
Barbarossa has mostly close-range attacks so it is recommended to use a long-range weapon and attack from a distance.
Run Away If a Purple Circle Appears
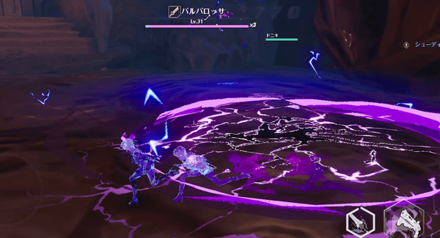
If Barbarossa's maximum gauge fills up completely, it will pounce on the ground and creates a purple electric circle. Run away once it jumps to avoid this attack.
Tower of Fantasy Related Guides

List of Ruins and Walkthroughs
All Ruins Guides
| List of All Ruins | ||
|---|---|---|
 Ruin A-01 Ruin A-01 |
 Ruin A-02 Ruin A-02 |
 Ruin A-03 Ruin A-03 |
 Ruin B-01 Ruin B-01 |
 Ruin B-02 Ruin B-02
|
 Ruin B-03 Ruin B-03 |
 Ruin C-01 Ruin C-01 |
 Ruin C-02 Ruin C-02
|
 Ruin C-03 Ruin C-03 |
 Ruin D-01 Ruin D-01 |
 Ruin D-02 Ruin D-02
|
 Ruin D-03 Ruin D-03 |
 Ruin E-01 Ruin E-01 |
 Ruin E-02 Ruin E-02
|
 Ruin E-03 Ruin E-03 |
Author
Ruin C-02 Walkthrough and Treasure Chest Locations
improvement survey
03/2026
improving Game8's site?

Your answers will help us to improve our website.
Note: Please be sure not to enter any kind of personal information into your response.

We hope you continue to make use of Game8.
Rankings
- We could not find the message board you were looking for.
Gaming News
Popular Games

Genshin Impact Walkthrough & Guides Wiki

Honkai: Star Rail Walkthrough & Guides Wiki

Umamusume: Pretty Derby Walkthrough & Guides Wiki

Pokemon Pokopia Walkthrough & Guides Wiki

Resident Evil Requiem (RE9) Walkthrough & Guides Wiki

Monster Hunter Wilds Walkthrough & Guides Wiki

Wuthering Waves Walkthrough & Guides Wiki

Arknights: Endfield Walkthrough & Guides Wiki

Pokemon FireRed and LeafGreen (FRLG) Walkthrough & Guides Wiki

Pokemon TCG Pocket (PTCGP) Strategies & Guides Wiki
Recommended Games

Diablo 4: Vessel of Hatred Walkthrough & Guides Wiki

Fire Emblem Heroes (FEH) Walkthrough & Guides Wiki

Yu-Gi-Oh! Master Duel Walkthrough & Guides Wiki

Super Smash Bros. Ultimate Walkthrough & Guides Wiki

Pokemon Brilliant Diamond and Shining Pearl (BDSP) Walkthrough & Guides Wiki

Elden Ring Shadow of the Erdtree Walkthrough & Guides Wiki

Monster Hunter World Walkthrough & Guides Wiki

The Legend of Zelda: Tears of the Kingdom Walkthrough & Guides Wiki

Persona 3 Reload Walkthrough & Guides Wiki

Cyberpunk 2077: Ultimate Edition Walkthrough & Guides Wiki
All rights reserved
TOWER OF FANTASY©HOTTA STUDIO, A PERFECT WORLD COMPANY. ALL RIGHTS RESERVED.
©2022 PROXIMA BETA PTE, LTD. ALL RIGHTS RESERVED
The copyrights of videos of games used in our content and other intellectual property rights belong to the provider of the game.
The contents we provide on this site were created personally by members of the Game8 editorial department.
We refuse the right to reuse or repost content taken without our permission such as data or images to other sites.





![Everwind Review [Early Access] | The Shaky First Step to A Very Long Journey](https://img.game8.co/4440226/ab079b1153298a042633dd1ef51e878e.png/thumb)

![Monster Hunter Stories 3 Review [First Impressions] | Simply Rejuvenating](https://img.game8.co/4438641/2a31b7702bd70e78ec8efd24661dacda.jpeg/thumb)


