Ruin B-03 Walkthrough and Treasure Chest Locations
Please note that the Tower of Fantasy Team has stopped covering the game as of Update 2.0. Information on certain pages may not be up-to-date. Thank you for continuing support!
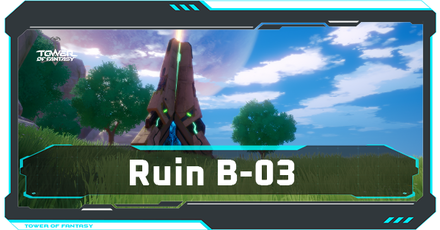
Ruin B-03 is one of the Ruins that you will encounter in Tower of Fantasy. Read on to learn about Ruin B-03's level requirements, rewards, secret chest locations, how to beat the boss, and other strategies to clear it.
| All Banges Ruins Walkthroughs | ||
|---|---|---|
 Ruin B-01 Ruin B-01 |
 Ruin B-02 Ruin B-02
|
 Ruin B-03 Ruin B-03 |
List of Contents
Ruin B-03 Secret Chest Locations
 |
|
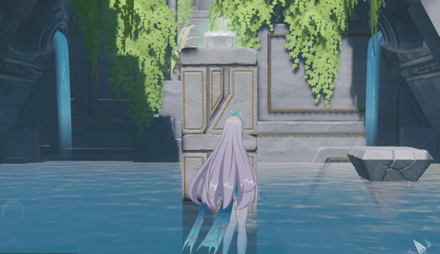
| Secret Chest 1 (Easy) | Enter the area and ride the moving platform to reach the treasure chest on the tall pillar. |
|---|---|
 |
|
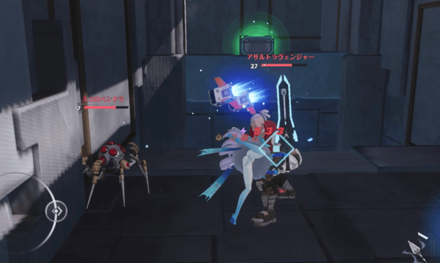
| Secret Chest 2 (Easy) | You can find the second treasure chest on a platform in the room with the lever. |
 |
|
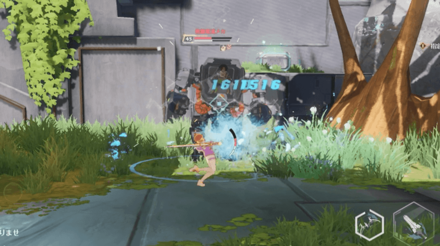
| Secret Chest 3 (Normal & Hard) | Find the treasure chest in the room after crossing the laser hallway. |
 |
|
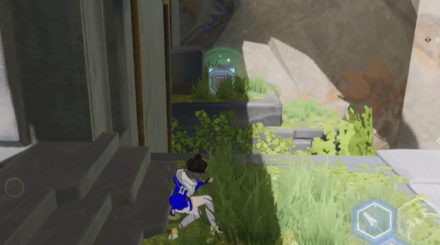
| Secret Chest 4 (Normal & Hard) | Look for the treasure chest on the left side when heading towards the exit. |
Ruin B-03 Walkthrough
| 1 | Jump on the moving platform and pull the lever on the left. |
|---|---|
| 2 | Jump on the moving platform and wait for it move behind the pillar in the middle to reach the first treasure chest. |
| 3 | Defeat the enemies in the next room and open the second treasure chest. |
| 4 | Jump on the pillars that appear from the sides. If you fall down, swim towards the yellow ladder to climb up. |
| 5 | Avoid the red lasers to move to the next area. |
| 6 | Defeat all the enemies in the area. If you have a bow equipped, you can use it to defeat the flying enemies. (Normal mode) Look for the treasure chest (3) on the right side of the area. |
| 7 | Jump on the floating platforms while avoiding the laser beam from the rotating ball. |
| 8 | Defeat the boss to complete the ruin. |
| 9 | (Normal mode) Look for the treasure chest (4) on the left side as you make your way to the exit. |
Ruin B-03 Tips and Strategies
Jump on the Horizontal Platforms
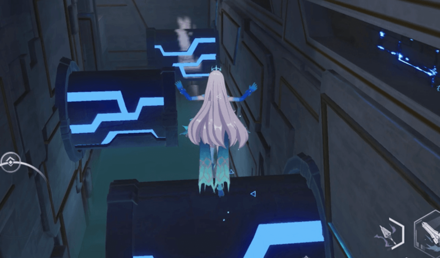
The platforms in this area appear from the sides of the wall. Jump on them once they extend to move to the next area.
Climb up the ladder if you fall down
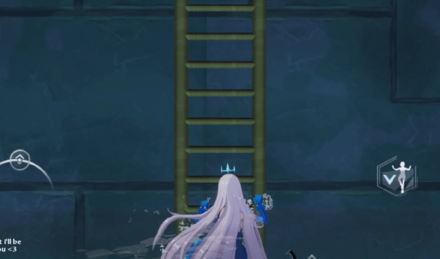
If you fall down, you can swim back towards the yellow ladder to get back up and try again.
Walk towards the Hallway to Avoid Lasers
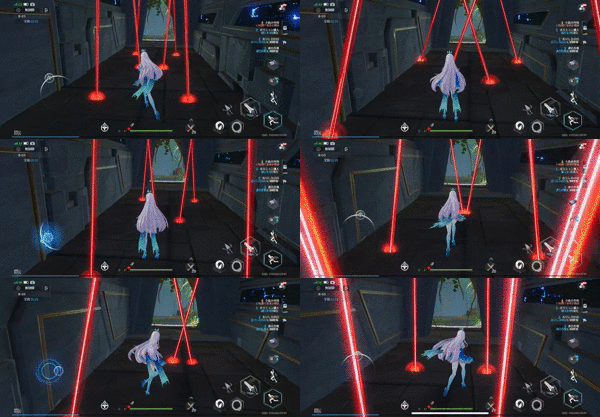
Move slowly in this area to avoid getting hit by the red lasers. You will receive damage if you touch the laser beams.
Laser Ball Rotates in a Clockwise Position
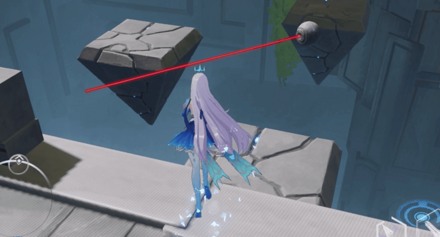
Defeat all the enemies in this area before moving on to the platform. The laser ball rotates in a clockwise position, so be sure to wait for it to rotate before jumping on the floating platforms.
Ruin B-03 Location and Rewards
Map and Location
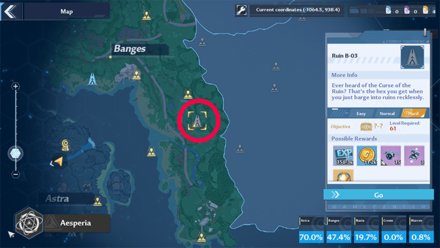 |
Level Requirements and Rewards
| Difficulty Level | Details |
|---|---|
| Easy |
Required Level: 27 Recommended CS: 3530 Possible Rewards: • EXP x18,900 • Gold x3,700 • Couant Shard x5 • Potent Omnium Crystal • Vanguard Suit x1 • Vanguard Gloves x1 • Astra Exploration Points x40 |
| Normal | Required Level: 45 Recommended CS: 19000 Possible Rewards: • EXP x62,800 • Gold x7,100 • Couant Shard x10 • Potent Omnium Crystal x2 • Energy Crystal Dust x200 |
| Hard | Required Level: 61 Recommended CS: 59320 Possible Rewards: • EXP x358,300 • Gold x11,200 • Couant Shard x15 • Potent Omnium Crystal x3 • Energy Crystal Dust x300 |
How to Defeat Ruin B-03 Boss
Robarg Boss Overview
| Robarg | ||||
|---|---|---|---|---|
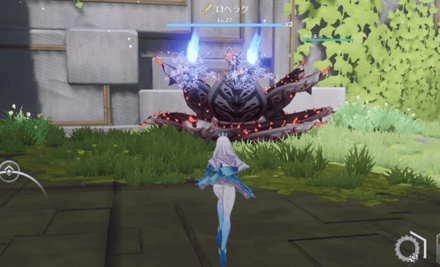
|
||||
| Difficulty | HP | Level | Element | Weakness |
| Easy | 3 Gauges | 27 | Grievous | None |
| Normal | 3 Gauges | 45 | Grievous | Flame |
| Hard | 3 Gauges | 61 | TBD | TBD |
Pay Attention to Robarg's Arm to Avoid Its Attack from Below
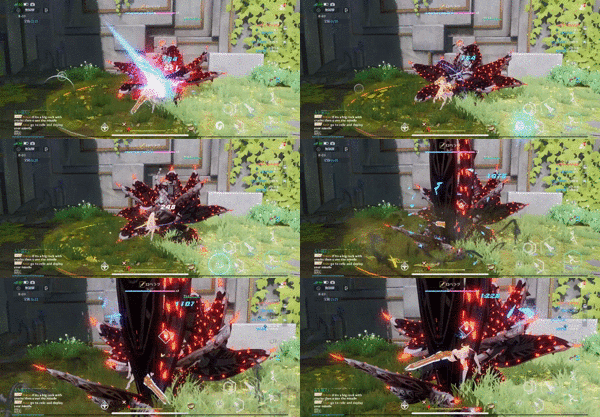
When Robarg summons its attack from below, no red circle will appear to warn you of the incoming attack. You can see if Robarg raises its right arm and use that as the cue to avoid the attack.
Focus on Defeating the Boss
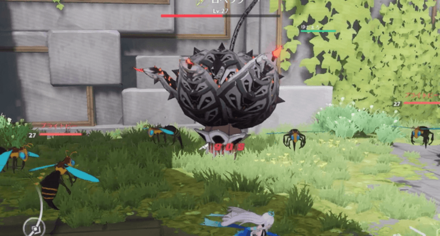
Robarg will spawn plenty of bee-like enemies that will slowly follow you around the area. Ignore them and focus on reducing Robarg's HP instead.
Leave the Area to Avoid Its Poison Attack
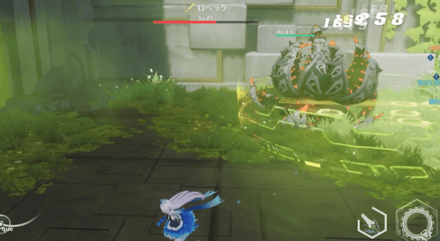
If Robarg's maximum gauge fills up, it will perform an attack that covers the entire area with poison. You can leave the area to avoid this attack and return once the poison disappears.
Tower of Fantasy Related Guides

List of Ruins and Walkthroughs
All Ruins Guides
| List of All Ruins | ||
|---|---|---|
 Ruin A-01 Ruin A-01 |
 Ruin A-02 Ruin A-02 |
 Ruin A-03 Ruin A-03 |
 Ruin B-01 Ruin B-01 |
 Ruin B-02 Ruin B-02
|
 Ruin B-03 Ruin B-03 |
 Ruin C-01 Ruin C-01 |
 Ruin C-02 Ruin C-02
|
 Ruin C-03 Ruin C-03 |
 Ruin D-01 Ruin D-01 |
 Ruin D-02 Ruin D-02
|
 Ruin D-03 Ruin D-03 |
 Ruin E-01 Ruin E-01 |
 Ruin E-02 Ruin E-02
|
 Ruin E-03 Ruin E-03 |
Author
Ruin B-03 Walkthrough and Treasure Chest Locations
improvement survey
03/2026
improving Game8's site?

Your answers will help us to improve our website.
Note: Please be sure not to enter any kind of personal information into your response.

We hope you continue to make use of Game8.
Rankings
- We could not find the message board you were looking for.
Gaming News
Popular Games

Genshin Impact Walkthrough & Guides Wiki

Honkai: Star Rail Walkthrough & Guides Wiki

Umamusume: Pretty Derby Walkthrough & Guides Wiki

Pokemon Pokopia Walkthrough & Guides Wiki

Resident Evil Requiem (RE9) Walkthrough & Guides Wiki

Monster Hunter Wilds Walkthrough & Guides Wiki

Wuthering Waves Walkthrough & Guides Wiki

Arknights: Endfield Walkthrough & Guides Wiki

Pokemon FireRed and LeafGreen (FRLG) Walkthrough & Guides Wiki

Pokemon TCG Pocket (PTCGP) Strategies & Guides Wiki
Recommended Games

Diablo 4: Vessel of Hatred Walkthrough & Guides Wiki

Cyberpunk 2077: Ultimate Edition Walkthrough & Guides Wiki

Fire Emblem Heroes (FEH) Walkthrough & Guides Wiki

Yu-Gi-Oh! Master Duel Walkthrough & Guides Wiki

Super Smash Bros. Ultimate Walkthrough & Guides Wiki

Pokemon Brilliant Diamond and Shining Pearl (BDSP) Walkthrough & Guides Wiki

Elden Ring Shadow of the Erdtree Walkthrough & Guides Wiki

Monster Hunter World Walkthrough & Guides Wiki

The Legend of Zelda: Tears of the Kingdom Walkthrough & Guides Wiki

Persona 3 Reload Walkthrough & Guides Wiki
All rights reserved
TOWER OF FANTASY©HOTTA STUDIO, A PERFECT WORLD COMPANY. ALL RIGHTS RESERVED.
©2022 PROXIMA BETA PTE, LTD. ALL RIGHTS RESERVED
The copyrights of videos of games used in our content and other intellectual property rights belong to the provider of the game.
The contents we provide on this site were created personally by members of the Game8 editorial department.
We refuse the right to reuse or repost content taken without our permission such as data or images to other sites.





![Monster Hunter Stories 3 Review [First Impressions] | Simply Rejuvenating](https://img.game8.co/4438641/2a31b7702bd70e78ec8efd24661dacda.jpeg/thumb)


