Coral Memories: The Greedy Walkthrough and How To Unlock
This is a guide on Coral Memories: The Greedy, a Side Mission in Stranger of Paradise: Final Fantasy Origin. Read on to see a detailed walkthrough of the mission, including its rewards and how to unlock them!
List of Contents
Coral Memories: The Greedy Overview
Basic Information
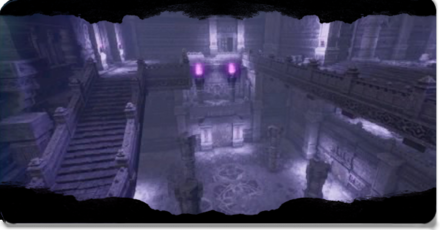 Coral Memories: The Greedy Coral Memories: The Greedy
|
|
| Mission Level | 68 |
|---|---|
| How to Unlock | Unlocked by collecting a Purple Orb from the quest: To Remember |
| First Completion Rewards |
・Anima Shard (x1/x4/x7)
・
・
|
| Repeating Completion Rewards |
・Anima Shard (x7/x8/x9)
・
|
Certain rewards are only eligible in non-story difficulties. Quantities of items such as Anima Shards also vary depending on which difficulty you're on.
How to Unlock Coral Memories: The Greedy
Collect the Purple Orb in To Remember
| Objectives | |
|---|---|
| 1 | 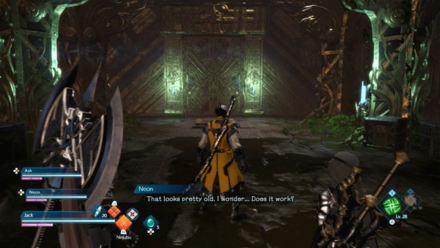 ・Progress Through the Level In order to unlock this Side Mission, players will need to play through a majority of the Main Mission To Remember. |
| 2 | 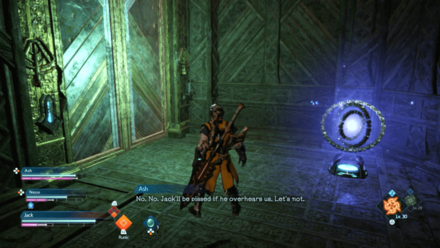 ・Reach the Bridge Area The Purple Orb that needs to be collected can be found towards the very end of the level, where players will need to cross a bridge where a gun firing an energy beam will try to knock them out. The are before this bridge will have a Cube, which makes it easy for players to try running through the bridge repeatedly if they fail. |
| 3 | 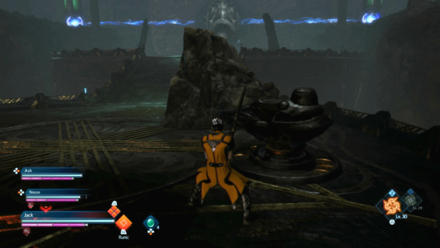 ・Collect the Purple Orb You can find the Purple Orb just behind the last piece of rock that you can hide behind to subdue the gun's beams. It is right next to another gun turret that you must destroy to have some semblance of free movement while the main gun at the head of the bridge fires. |
To Remember Walkthrough and Rewards
Coral Memories: The Greedy Walkthrough
| Objectives | |
|---|---|
| 1 | 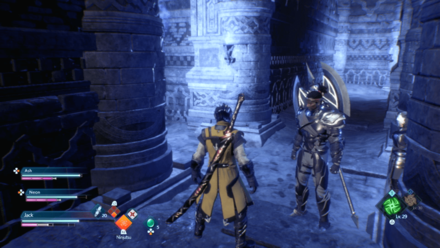 ・Head to the First Corridor Junction The primary objective of this Side Mission is collect the Trident found at the very end of the level. From where you spawn in, follow the path until you reach a junction in the corridors that split your path into three ways. Take the left path. |
| 2 | 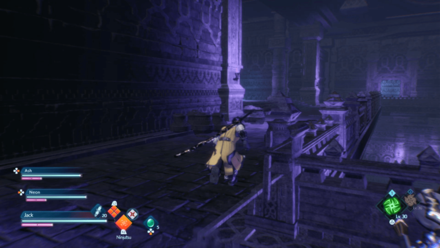 ・Reach the Stairs Follow the left-most path until the corridors splits off into a left and right direction. Take the path to the right and follow the stairs up. At the top floor, move down the path and circle to the back area of the top floor. |
| 3 |  ・Find the Trident You'll reach an area where youll presented with two Dark Skeletons and an Ogre. Defeat them, then unlock the chest they are guarding to get the Trident. |
Tips and Strategies
Go Up and Not Down
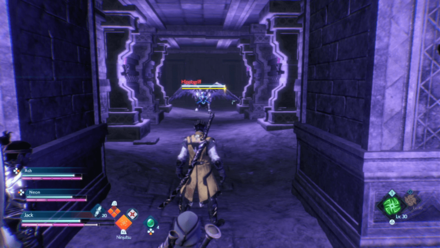
With the enemies of this Side Mission not really being that difficult to take care of, the only real challenge is in the level design. This Side Mission has several unfortunate level designs that are meant to lead players down false paths and corridors that will lead them back to the very beginning of the level. It can be quite easy to find yourself back at the starting area.
A general piece of advice for players, even for those following the set guide above, is to simply avoid taking any paths that make them go down floors. If you're descending and not ascending any floors, then you're going the wrong way.
Stranger of Paradise: Final Fantasy Origin Related Guides

All Side Missions and How to Unlock
Side Missions
Author
Stranger of Paradise: Final Fantasy Origin Walkthrough & Guides Wiki
Coral Memories: The Greedy Walkthrough and How To Unlock
Rankings
- We could not find the message board you were looking for.
Gaming News
Popular Games

Genshin Impact Walkthrough & Guides Wiki

Umamusume: Pretty Derby Walkthrough & Guides Wiki

Crimson Desert Walkthrough & Guides Wiki

Monster Hunter Stories 3: Twisted Reflection Walkthrough & Guides Wiki

Honkai: Star Rail Walkthrough & Guides Wiki

Pokemon Pokopia Walkthrough & Guides Wiki

The Seven Deadly Sins: Origin Walkthrough & Guides Wiki

Wuthering Waves Walkthrough & Guides Wiki

Zenless Zone Zero Walkthrough & Guides Wiki

Arknights: Endfield Walkthrough & Guides Wiki
Recommended Games

Fire Emblem Heroes (FEH) Walkthrough & Guides Wiki

Diablo 4: Vessel of Hatred Walkthrough & Guides Wiki

Cyberpunk 2077: Ultimate Edition Walkthrough & Guides Wiki

Yu-Gi-Oh! Master Duel Walkthrough & Guides Wiki

Super Smash Bros. Ultimate Walkthrough & Guides Wiki

Pokemon Brilliant Diamond and Shining Pearl (BDSP) Walkthrough & Guides Wiki

Elden Ring Shadow of the Erdtree Walkthrough & Guides Wiki

Monster Hunter World Walkthrough & Guides Wiki

The Legend of Zelda: Tears of the Kingdom Walkthrough & Guides Wiki

Persona 3 Reload Walkthrough & Guides Wiki
All rights reserved
© 2022 KOEI TECMO GAMES/SQUARE ENIX CO., LTD. All Rights Reserved. CHARACTER DESIGN: TETSUYA NOMURA LOGO ILLUSTRATION: ©2021 YOSHITAKA AMANO
The copyrights of videos of games used in our content and other intellectual property rights belong to the provider of the game.
The contents we provide on this site were created personally by members of the Game8 editorial department.
We refuse the right to reuse or repost content taken without our permission such as data or images to other sites.
 Azure Memories: The Believer
 Azure Memories: The Betrayer
 Azure Memories: The Overconfident
 Azure Memories: The Rebel
 Azure Memories: The Sacrifice
 Azure Memories: The Stymied
 Bound by Crimson Memories
 Coral Memories: The Avenger
 Coral Memories: The Greedy
 Ebon Memories: The Guided
 Ebon Memories: The Power-Hungry
 Ebon Memories: The Soul Seeker
 Ebon Memories: The Tragic Cynic
 Ebon Memories: The Truthseeker
 Ebon Memories: The Warrior
 Ebon Memories: The Yearner
 Indigo Memories: The Damned
 Indigo Memories: The Deceived
 Indigo Memories: The Humiliated
 Indigo Memories: The Stabbed
 Indigo Memories: The Trapped
 Scarlet Memories: The Erudite
 Scarlet Memories: The Fallen
 Scarlet Memories: The Savior


![Warframe Review [Switch 2] | Old Ninjas Can Learn New Tricks](https://img.game8.co/4455326/d5811d4c48e5fa4bbc3250cc4c10aedc.png/thumb)


The chest containing the Trident has been confirmed to move between all chest in the mission.