Indigo Memories: The Humiliated Walkthrough and How To Unlock
This is a guide on Indigo Memories: The Humiliated, a Side Mission in Stranger of Paradise: Final Fantasy Origin. Read on to see a detailed walkthrough of the mission, including its rewards and how to unlock them!
List of Contents
Indigo Memories: The Humiliated Overview
Basic Information
 Indigo Memories: The Humiliated Indigo Memories: The Humiliated
|
|
| Mission Level | 50 |
|---|---|
| How to Unlock | Unlocked by collecting a Purple Orb from the quest: Memories of Poison |
| First Completion Rewards |
・Anima Shard (x1)
・Ore of Courage (x10)
・Ore of Devotion (x10)
・Ore of Hope (x10)
・Ore of Passion (x10)
|
| Repeating Completion Rewards |
・Anima Shard (x1)
・Shard of Courage (x5)
・Shard of Devotion (x5)
・Shard of Hope (x5)
・Shard of Passion (x5)
|
Certain rewards are only eligible in non-story difficulties. Quantities of items such as Anima Shards also vary depending on which difficulty you're on.
How to Unlock Indigo Memories: The Humiliated
Play the Memories of Poison
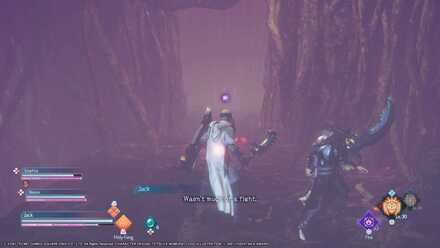
Indigo Memories: The Humiliated is unlocked by collecting a Purple Orb from the quest: Memories of Poison
| How to Unlock |
|---|
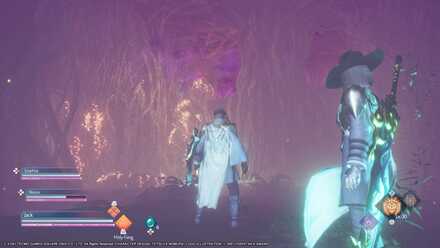 Enter the Cave in the mission. Keep going further inside until you reach an area with a hole nearby, and a flower on the top. |
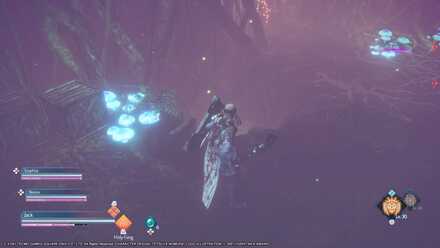 Go down the hole, which leads to a path upwards and to the flower. Be careful in this area, as there is a Tonberry waiting for you. |
 After beating the Tonberry and destroying the flower. Break the roots near the hole, and retrieve the Purple Orb. This Orb is also near the 3rd Cube before the mission's boss fight. |
Memories of Poison Walkthrough and Rewards
Indigo Memories: The Humiliated Walkthrough
| Objectives | |
|---|---|
| 1 | 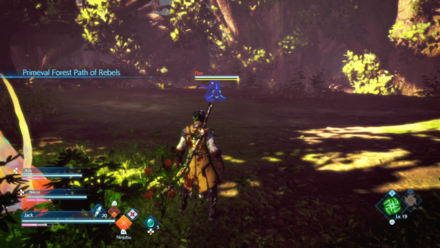 ・Defeat 5 Flans ・Defeat the First Flan The primary objective for this hidden side quest is to defeat all 5 Flans scattered throughout the level. Each Flan you fight are generally easy to take care of, with the most effective attacks against them being any ability that uses Slash. The way to the first Flan is straightforward – from the cave you spawn in, head forwards and turn right past the waterfall. There is a rope at the end that you can get up to the plateau where the first Flan is. It will be guarded by three wolves, so deal with them first before dealing with the Flan. |
| 2 | 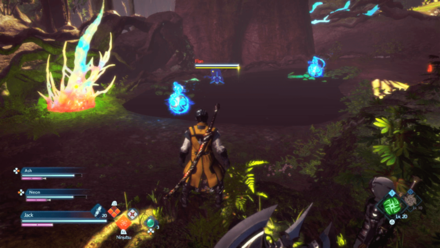 ・Defeat the Second Flan From the area of the first Flan, move towards the opposite edge of the plateau from where you climb up to it. There will be a tree trunk that you can move across and into a cavern – another trunk will be on the opposite side, where you will see a Water Elemental on a hill. Defeat the foes here and climb the hill, where you will find the second Flan at the clearing at the top surrounded by two Water Elementals. |
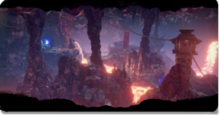
| 3 | 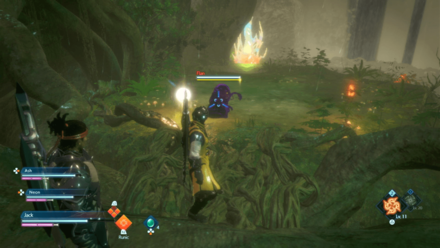 ・Defeat the Third Flan After defeating the second Flan, you will see a White Orb near the hill you descend from when getting to the Flan. Use it to change the weather, and then climb up the tree trunk to the left-most side of the area near a glowing crystal-like plant. At the end, drop down from the trunk and you will see the third Flan directly ahead of you. There will be a Malboro and a Fire Elemental here, but they can be taken care of later due to their distance from the Flan. |
| 4 | 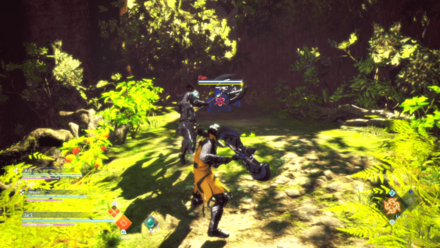 ・Defeat the Fourth Flan Near the third Flan, activate the white orb, then proceed up the path until you eventually reach a Cube which you can use to replenish your health or MP. Head up the path to the left of the cube where you'll fine the fourth Flan at the end. |
| 5 | 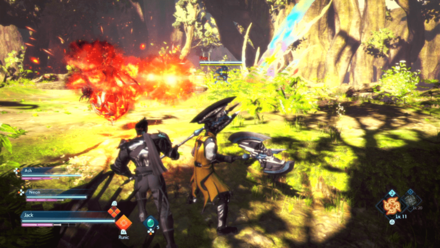 ・Defeat the Fifth Flan Return back to the Cube after defeating the fourth Flan – you will see a rope next to it, so climb it up to the plateau to find the Fifth Flan. There will be a Fire Elemental, two Black Widows, and a Bucephalus guarding this last Flan. You can deal directly with the Flan as it isn't that difficult to defeat to quickly end the side mission. |
Tips and Strategies
Follow the Glowing Crystals

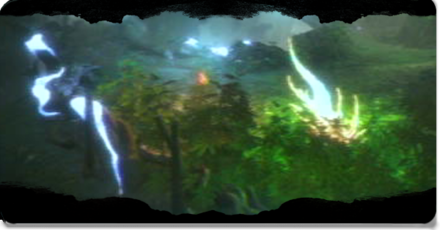
In the forest, you may find it difficult to navigate the environment due to how cluttered the screenspace is with vegetation. As a general rule of thumb, if you get lost, you can follow the glowing crystal to get to your next objective in this particularly linear level.
Stranger of Paradise: Final Fantasy Origin Related Guides

All Side Missions and How to Unlock
Side Missions
 Azure Memories: The Betrayer
 Azure Memories: The Believer
 Azure Memories: The Overconfident
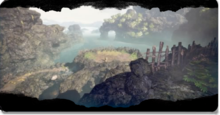 Indigo Memories: The Damned
 Bound by Crimson Memories
 Scarlet Memories: The Savior
 Scarlet Memories: The Erudite
 Indigo Memories: The Humiliated
 Indigo Memories: The Trapped
 Azure Memories: The Stymied
 Indigo Memories: The Deceived
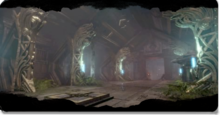 Azure Memories: The Sacrifice
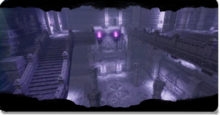 Coral Memories: The Greedy
 Ebon Memories: The Tragic Cynic
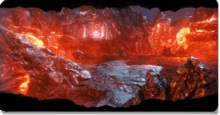 Ebon Memories: The Truthseeker
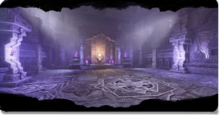 Ebon Memories: The Yearner
 Ebon Memories: The Power-Hungry
 Azure Memories: The Rebel
 Scarlet Memories: The Fallen
 Coral Memories: The Avenger
 Indigo Memories: The Stabbed
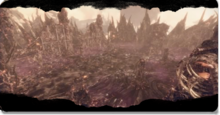 Ebon Memories: The Soul Seeker
 Ebon Memories: The Warrior
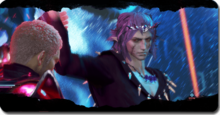 Ebon Memories: The Guided
Author

Stranger of Paradise: Final Fantasy Origin Walkthrough & Guides Wiki
Indigo Memories: The Humiliated Walkthrough and How To Unlock
Rankings
- We could not find the message board you were looking for.
Gaming News


![Warframe Review [Switch 2] | Old Ninjas Can Learn New Tricks](https://img.game8.co/4455326/d5811d4c48e5fa4bbc3250cc4c10aedc.png/thumb)

Popular Games

Genshin Impact Walkthrough & Guides Wiki
Umamusume: Pretty Derby Walkthrough & Guides Wiki
Crimson Desert Walkthrough & Guides Wiki
Monster Hunter Stories 3: Twisted Reflection Walkthrough & Guides Wiki
Honkai: Star Rail Walkthrough & Guides Wiki
Pokemon Pokopia Walkthrough & Guides Wiki
The Seven Deadly Sins: Origin Walkthrough & Guides Wiki
Wuthering Waves Walkthrough & Guides Wiki
Zenless Zone Zero Walkthrough & Guides Wiki
Arknights: Endfield Walkthrough & Guides Wiki


Recommended Games
Fire Emblem Heroes (FEH) Walkthrough & Guides Wiki
Diablo 4: Vessel of Hatred Walkthrough & Guides Wiki
Cyberpunk 2077: Ultimate Edition Walkthrough & Guides Wiki
Yu-Gi-Oh! Master Duel Walkthrough & Guides Wiki
Super Smash Bros. Ultimate Walkthrough & Guides Wiki
Pokemon Brilliant Diamond and Shining Pearl (BDSP) Walkthrough & Guides Wiki
Elden Ring Shadow of the Erdtree Walkthrough & Guides Wiki
Monster Hunter World Walkthrough & Guides Wiki
The Legend of Zelda: Tears of the Kingdom Walkthrough & Guides Wiki
Persona 3 Reload Walkthrough & Guides Wiki


All rights reserved
© 2022 KOEI TECMO GAMES/SQUARE ENIX CO., LTD. All Rights Reserved. CHARACTER DESIGN: TETSUYA NOMURA LOGO ILLUSTRATION: ©2021 YOSHITAKA AMANO
The copyrights of videos of games used in our content and other intellectual property rights belong to the provider of the game.
The contents we provide on this site were created personally by members of the Game8 editorial department.
We refuse the right to reuse or repost content taken without our permission such as data or images to other sites.