Control Map Pool and Best Heroes
The Halloween Terror event is now live!
★10/25/2022 Patch Notes | Dev Blog #6
★ Hero Tier List: Best Characters to Play
┗Best Tanks | Best DPS | Best Supports
★ Heroes | Beginner's Guide | Competitive Mode Explained
┗Tank Guides | DPS Guides | Support Guides
In Overwatch 2's Control maps, two teams fight to secure and hold the central control point until their meter reaches 100%. Read on to see a list of all Control maps, the best heroes to play in Control, and the game mode's mechanics.
List of Contents
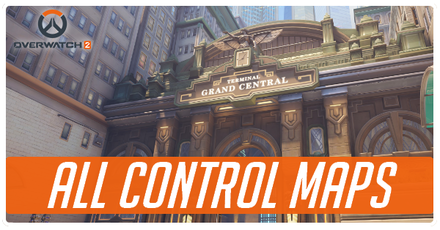
List of Control Maps
All Control Maps
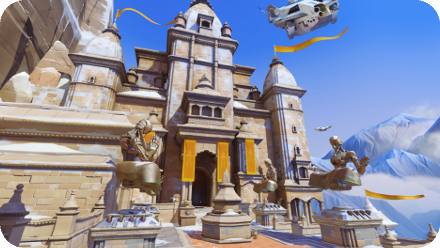
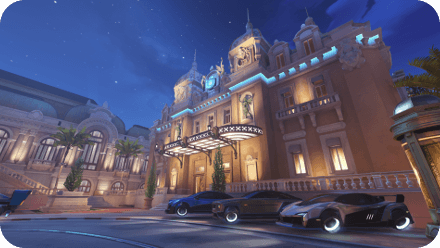
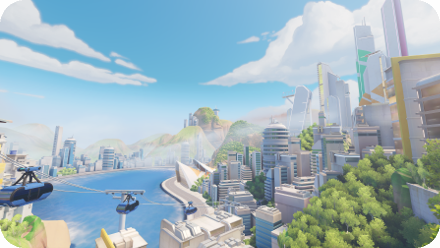
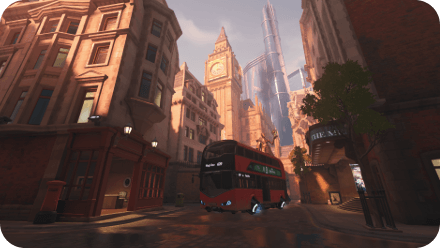
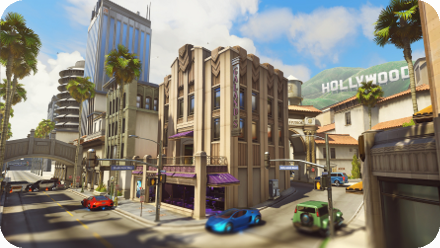
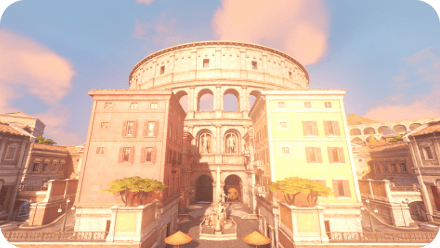
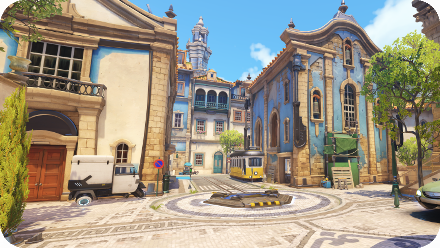
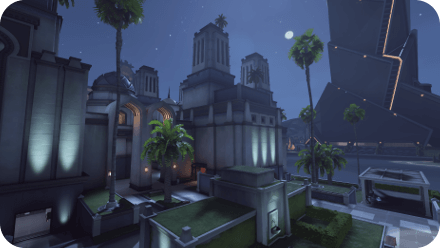 Oasis Oasis
|
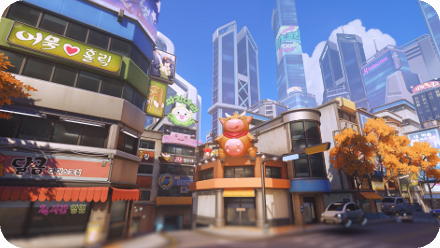
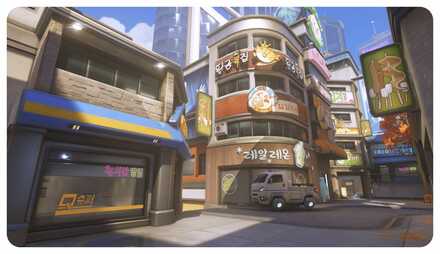
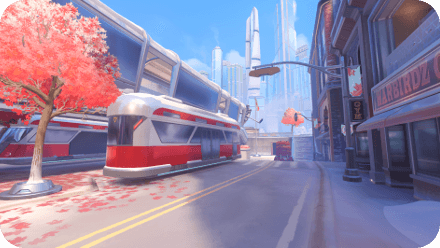
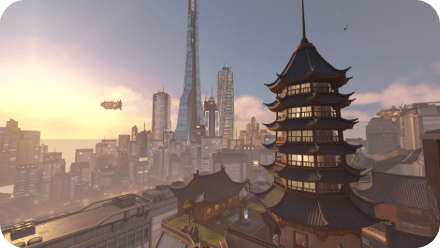 Lijiang Tower Lijiang Tower
|
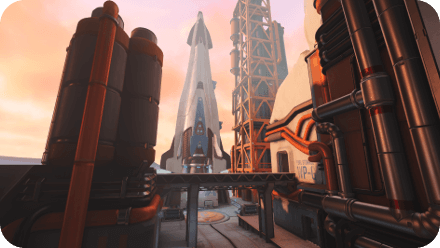
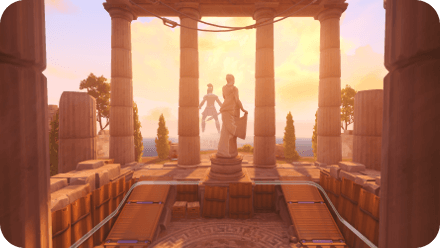 Ilios Ilios
|
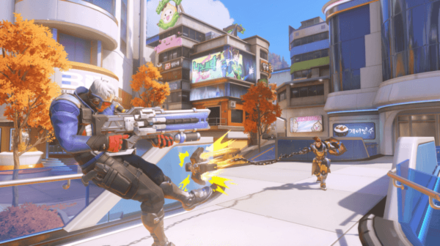
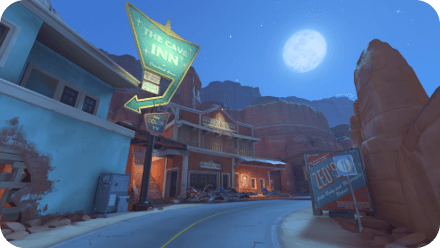
 Busan Busan
|
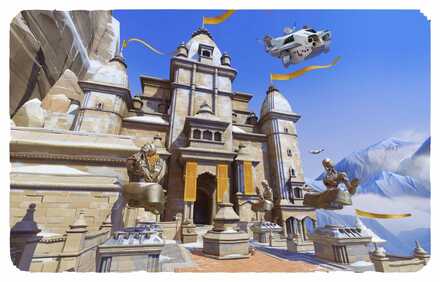
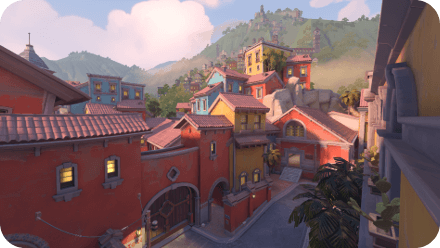
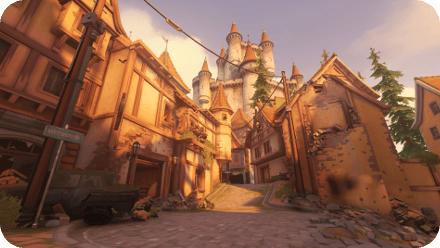
 Nepal Nepal
|
Best Control Heroes
Best Control Team
| Best Tank | 
|
|---|---|
| Best DPS | 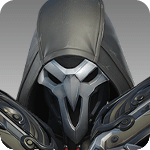

|
| Best Supports | 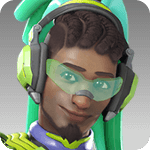

|
| Criteria | Explanation |
|---|---|
| Map-specific Potential | One of the primary factors we considered was the team's capability and strength in Control maps. We formulated this team around Heroes that excel in middle and close-range firefights and pushing and defending control points. |
| Team Synergy | Another major factor we considered when creating this team composition is how well each Hero synergizes with their allies. We mainly chose Heroes that cover up their allies' weaknesses and have powerful ability combos. |
| Mobility | Reaching and securing the control point first is crucial in Control, which is why we also heavily prioritized mobility in our team composition. |
These four factors were considered in the context of Competitive 5v5 Play.
Team Explanation
In general, Control maps have compact rooms and hallways, ample natural cover, and an increased number of environmental hazards. Heroes that can use these characteristics to their strength are more potent in this game mode.
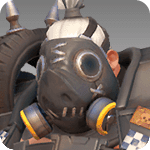
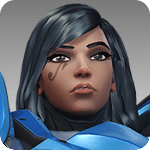
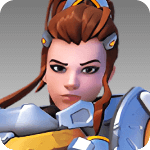
Sigma is an excellent Tank in Control maps as his kit strikes a good balance between offense and defense, able to disrupt teams with Accretion and Gravitic Flux and hold down control points with Experimental Barrier and Kinetic Grasp.
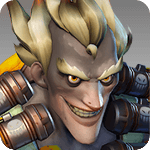
Reaper thrives in Control due to his insane close-range damage output and ability to take advantage of flanking routes and enclosed spaces. His Hellfire Shotguns excel in close-range engagements, taking down crucial enemy targets with a few well-placed shots. Reaper's Wraith Form and Shadow Step are also potent in Control maps, allowing him to engage from multiple angles and retreat toward numerous forms of cover. Lastly, his Death Blossom tears through teams of enemies, giving him a way to dispatch attacking and defending enemy teams on his own.
Tracer is one of the most potent flanking Heroes in Control due to her high mobility and evasion. Tracer maintains a high damage uptime by being able to rapidly rotate between combat and cover with Blink and Recall, especially with Control maps having shorter flanking routes and a tighter spread of Health Pack locations.
Mercy's incredible teammate-to-teammate mobility and single-target support potential make her a great pick for Control maps. While her primary role is to provide Reaper with healing and damage boosts, she can quickly reach other teammates with Guardian Angel and turn around losing fights with a crucial Resurrect.
Lúcio offers amazing utility and survivability for his teammates in Control maps. His Speed Boost is incredibly effective in this game mode as it lets his team secure positioning around the control point and return to the fray faster. Sound Barrier's massive temporary health boost allows Lúcio to support his team when pushing toward the control point or save them from deadly enemy ultimates. Lastly, his Soundwave is excellent for pushing foes away from the point and shoving enemies toward environmental hazards.
Alternatives (Situational Picks)
| Tank | Damage | Support |
|---|---|---|


|


|
|
Alternative Tanks
- Doomfist and Roadhog: These two can work as alternative Tanks in offense-focused teams, as they both excel in disrupting the enemy team and singling-out vital enemy targets. Roadhog picks apart teams with his Chain Hook and Whole Hog, while Doomfist beats foes down with his Rocket Punch and Meteor Strike.
- Reinhardt: Reinhardt fits better in defensive and poke-oriented teams due to his massive Barrier Field and high-damage Fire Strikes. His Charge and Earthshatter are also potent crowd-control abilities in Control maps due to their narrow rooms and hallways.
- Orisa: For those who don't prefer using Sigma, Orisa is another well-rounded Tank that excels in both offense and defense. Her Fortify and Javelin Spin provide her with a high amount of survivability, allowing her to push and defend control points with ease. In addition, her Terra Surge can make short work of enemy teams that stick too close together.
Alternative Damage
- Cassidy: Cassidy can work in place of Reaper as the team's frontline Damage Hero. With Control maps being suited for medium and close-range firefights, he can make short work of most foes with his Peacekeeper and Tactical Grenade. Each Control map's abundant amount of flanking routes also allow Cassidy to set up his Deadeye easier.
- Junkrat: Junkrat is another alternative due to his strong area of effect damage and area control with each of his abilities. Frag Launcher allows him to bombard grenades from or toward the control point, and his Rip-Tire excels at clearing out groups of enemies in tight areas and corridors. Concussion Mine and Steel Trap are also versatile area denial tools that Junkrat can use to defend the control point.
- Mei: Mei can work in place of Tracer as the team's flanking Damage Hero. Control's shorter flanking routes cover up her low mobility and allow her to have an easier time using her Endothermic Blaster and Blizzard. In addition, her Ice Wall is one of the best area denial tools in the game, allowing her to completely block sightlines and pathways from the enemy team.
- Pharah: In Control Maps with ample verticality and against team compositions without much hitscan or crowd control, Pharah can be an excellent alternative frontline Damage Hero. Coupled with her aerial mobility, Pharah's Rocket Launcher and Barrage lets her take down grouped-up enemies and hold down choke points easily. In addition, her Concussive Blast allows her to break enemy formations and shove foes toward environmental hazards.
Alternative Supports
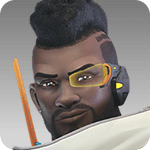
- Baptiste: Baptiste works well as an alternative Support for team compositions that prefer plenty of area of effect healing due to his Biotic Launcher and Regenerative Burst. His Immortality Field and Amplification Matrix are also potent in Control maps as they allow Baptiste's allies to attack and defend control points more effectively.
- Brigitte: Brigitte is another great alternative Support as the tight spaces of Control maps make it easier for her to maintain her offense and Inspire activations. Rally is also a strong ultimate for defending and attacking control points, allowing Brigitte to move around faster while providing temporary health to her allies. In addition, Brigitte can take advantage of environmental hazards with her high-knockback Whip Shot and Shield Bash.
Control Map Mechanics and Features
Control the Capture Point
Control maps in Overwatch 2 feature one capture point, which is randomly determined from 3 potential capture points in each round. This capture point unlocks 30 seconds into the round. When a team captures an uncontested capture point, their percentage score begins to gradually increase.
This is boosted with more players occupying the control point, reaching the maximum percentage increase speed with 3 players from a team occupying simultaneously.
Timer and Point Rules
Matches Are Not Time-Based
In Control Mode, there is no time limit. The winning team is determined once their control point percentage reaches 100%.
Overtime Mechanics
If a team reaches 99% and a player fom the opposing team enters the capture point, Overtime is activated. During Overtime, as long as an opposing player is in the control point, it will not start to count down.
Once all opposing players have been cleared out, the count-down begins. This count-down is shortened the longer that overtime persists. If control of the control point is lost to the opposing team during overtime, overtime resets and the match continues.
Match Formats
Best of 3 in Competitive and Casual Play
Each Control game is played under a Best of 3 format, where the winner per round is immediately declared once a team's percentage reaches 100%.
How to Play and Tips
Don't go Immediately to the Point
The Control Point will only unlock after a few seconds. It's best to focus on the enemy team first, to try and get a kill before capturing the point.
Have a Lucio
Holding Objectives is one of the Lucio's greatest strengths. In particular, Wall Ride ability allows him to avoid attacks in enclosed spaces.
Many Control Maps are also located alongside ledges. Use Lucio's alternate attack to get easy kills.
Push the Enemy Team to a Chokepoint
After gaining control of the point, instead of staying on the point itself, move up to a chokepoint that will make it hard for the enemy team to go through.
These chokepoints are usually entrances to the main area and have little to no flanking spots.
Overwatch 2 Related Guides

Control Maps
| Ilios |
Lijiang Tower |
| Oasis |
 Busan Busan |
 Nepal Nepal |
Escort Maps
 Circuit RoyalNEW Circuit RoyalNEW |
 Dorado Dorado |
 Route 66 Route 66 |
 Watchpoint: Gibraltar Watchpoint: Gibraltar |
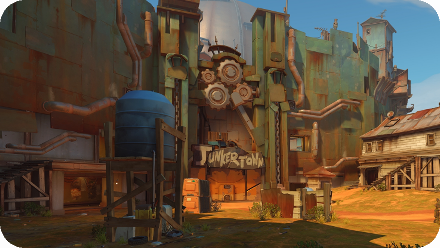 Junkertown Junkertown |
Hybrid Maps
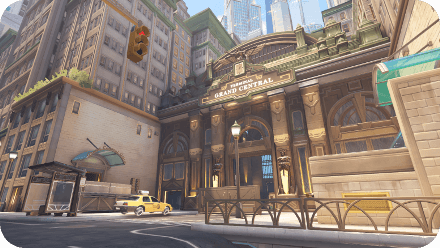 MidtownNEW MidtownNEW |
 ParaísoNEW ParaísoNEW |
 Eichenwalde Eichenwalde |
 King's Row King's Row |
 Hollywood Hollywood |
Push Maps
 ColosseoNEW ColosseoNEW |
 New Queen StreetNEW New Queen StreetNEW |
 EsperançaNEW EsperançaNEW |
Author

Control Map Pool and Best Heroes
Rankings
- We could not find the message board you were looking for.
Gaming News

![Star Savior Review [First Impressions] | Engaging, Entertaining, and Expensive](https://img.game8.co/4447603/8f500e9bf666bdb8adb1af478e9dfdbd.png/show)

![Death Stranding 2: On The Beach Review [PC] | A Port That Delivers](https://img.game8.co/4447392/15310a0c9aa1b6843bb713b2ea216930.jpeg/thumb)
Popular Games

Genshin Impact Walkthrough & Guides Wiki
Umamusume: Pretty Derby Walkthrough & Guides Wiki
Crimson Desert Walkthrough & Guides Wiki
Monster Hunter Stories 3: Twisted Reflection Walkthrough & Guides Wiki
Honkai: Star Rail Walkthrough & Guides Wiki
Pokemon Pokopia Walkthrough & Guides Wiki
The Seven Deadly Sins: Origin Walkthrough & Guides Wiki
Wuthering Waves Walkthrough & Guides Wiki
Zenless Zone Zero Walkthrough & Guides Wiki
Arknights: Endfield Walkthrough & Guides Wiki


Recommended Games
Fire Emblem Heroes (FEH) Walkthrough & Guides Wiki
Diablo 4: Vessel of Hatred Walkthrough & Guides Wiki
Cyberpunk 2077: Ultimate Edition Walkthrough & Guides Wiki
Yu-Gi-Oh! Master Duel Walkthrough & Guides Wiki
Super Smash Bros. Ultimate Walkthrough & Guides Wiki
Pokemon Brilliant Diamond and Shining Pearl (BDSP) Walkthrough & Guides Wiki
Elden Ring Shadow of the Erdtree Walkthrough & Guides Wiki
Monster Hunter World Walkthrough & Guides Wiki
The Legend of Zelda: Tears of the Kingdom Walkthrough & Guides Wiki
Persona 3 Reload Walkthrough & Guides Wiki


All rights reserved
©2022 BLIZZARD ENTERTAINMENT, INC. ALL RIGHTS RESERVED. All trademarks referenced herein are the properties of their respective owners.
The copyrights of videos of games used in our content and other intellectual property rights belong to the provider of the game.
The contents we provide on this site were created personally by members of the Game8 editorial department.
We refuse the right to reuse or repost content taken without our permission such as data or images to other sites.