Best Weapons and Equipment
☆ How to Unlock All 36 Characters
★ Tier Lists: Best Characters and Best Jobs
☆ Farming Guides: EXP, JP, Money
★ Forbidden Weapon Locations
☆ Battle-Tested Equipment Locations
★ Endings Guide | Post-Game Guide
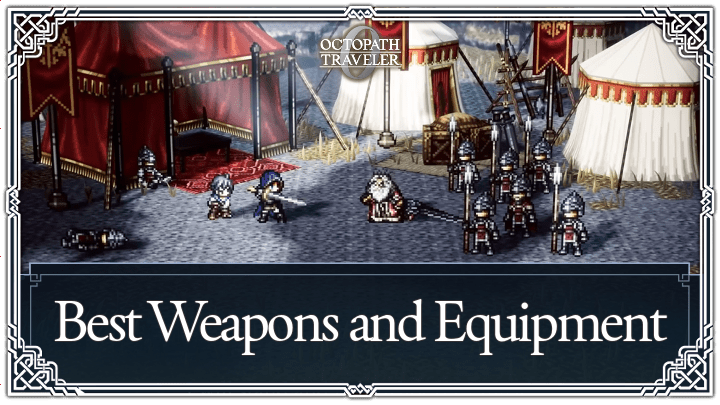
This is a list of all the best weapon and equipment in Octopath Traveler 0. Read on to know all the best weapons and equipment found in the game and learn their effects.
List of Contents
Best Weapons
Battle-Tested Weapons
| Weapon | Type | Phys Atk | Other Stats |
|---|---|---|---|
| Battle-Tested Axe |
|
+350 |
Elem Atk: +250 Extra Effect: Raise potency of ice/lightning-based attacks. |
| Battle-Tested Bow |
|
+390 |
Crit: +120 Extra Effect: Small chance to reduce target's Phys. Def. |
| Battle-Tested Dagger |
|
+380 |
Eva: +120 Extra Effect: Small chance to reduce target's Accuracy. |
| Battle-Tested Fan |
|
+362 |
Elem Atk: +382 Extra Effect: Small chance to reduce target's Evasion. |
| Battle-Tested Spear |
|
+390 |
Crit: +148 Extra Effect: Small chance to blind target. |
| Battle-Tested Staff |
|
+212 |
Elem Atk: +399 Extra Effect: Small chance to reduce target's Speed. |
| Battle-Tested Blade |
|
+400 |
Crit: +150 Extra Effect: Raise potency of physical attacks. |
| Battle-Worn Tome |
|
+198 |
Elem Atk: +418 Extra Effect: Raise potentcy of all elemental attacks. |
Battle-Tested Equipment are considered the strongest gear you can get in Octopath Traveler 0, offering some of the highest attack stats and powerful bonus effects.
Each one can be Contended from level 60 NPCs using Path Actions, these are end game weapons so make sure your level is high enough to match the weaponholders.
All 9 Battle-Tested Equipment Locations
Sacred Weapons
| Weapon | Type | Phys Atk | Other Stats |
|---|---|---|---|
| Spirit Axe |
|
+300 |
Elem Atk: +350 Extra Effect: Raise potency of all elemental attacks. |
| Moonlit Bow |
|
+363 |
Elem Atk: +370 Extra Effect: Small chance to reduce target's Speed. |
| Deathclaw Dagger |
|
+360 |
Crit: +132 Extra Effect: Small chance to paralyze target. |
| Evenfall Fan |
|
+352 |
Elem Atk: +373 Extra Effect: Small chance to reduce target's Elem. Def. |
| Tempest Spear |
|
+375 |
Spd: +99 Extra Effect: Small chance to raise potency of own physical attacks. |
| Staff of Discipline |
|
+198 |
Elem Atk: +380 Extra Effect: Restore 6 SP every turn. |
| Storm Blade |
|
+380 |
Phys Def: +120 Extra Effect: Deal 1 additional attack. |
| Solaris Tome |
|
+186 |
Elem Atk: +400 Extra Effect: Reduce SP cost by 25%. |
The Sacred Weapons are treasures you get during the Eight Sacred Weapons side quest, these weapons are unlocked inside pedestals only opened by the 8 Crested Keys scattered all over Orsterra.
These weapons are a solid alternative if you haven't had the Battle-Tested Weapons yet.
Forbidden Weapons
| Weapon | Type | Phys Atk | Other Stats |
|---|---|---|---|
| Forbidden Axe |
|
+391 |
Spd: +80 Acc: -50 |
| Forbidden Greatbow |
|
+350 |
Elem Atk: +350 Spd: -100 |
| Forbidden Dagger |
|
+285 |
Elem Atk: +155 Extra Effect: Reduce potency of fire and dark-based attacks. |
| Forbidden Fan |
|
+390 |
Elem Atk: -90 Extra Effect: Deal 1 additional attack. |
| Forbidden Spear |
|
+320 |
Spd: -120 Eva: +50 |
| Forbidden Staff |
|
-210 |
Elem Atk: +342 Elem Def: -120 |
| Forbidden Blade |
|
+310 |
Spd: +120 Extra Effect: Small chance to raise target's Phys. Atk. |
| Forbidden Tome |
|
+130 |
Elem Atk: +390 Extra Effect: Small chance to raise target's Elem. Atk. |
Forbidden Weapons are strong in power, but each comes with notable downsides. While they can dish out strong attacks and useful stat boosts, drawbacks like reduced speed, accuracy penalties, or negative elemental effects require careful consideration before equipping them.
All 9 Forbidden Weapon Locations
Best Equipment
Best Shields
| Equipment | Phys. Def. | Elem. Def. | Extra Effects |
|---|---|---|---|
| Champion's Shield | +145 | +145 |
Reduce damage taken by 20% |
| Battle-Tested Shield | +132 | - |
Eva: -88 Restore 200 HP and 8 SP after performing an action. |
| Forbidden Shield | +116 | +133 |
Eva: -171 |
These shields offer the strongest defensive options, all boast excellent Defense and bonus effects.
Champion’s Shield is the strongest all-around choice thanks to its damage reduction, while both the Battle-Tested and Forbidden Shields have high Defense overall, but require you to lose a chunk of evasion in exchange.
Best Headgear
| Equipment | Phys. Def. | Elem. Def. | Extra Effects |
|---|---|---|---|
| Champion's Helm | +192 | +192 |
SP: +99 |
| Crystal Helm | +180 | - |
-
|
| Anchorite's Hat | - | +133 |
Elem. Atk.: +70 SP: +50 |
These headgear pieces represent the best options in the game, covering great defense and additional effects.
Champion’s Helm is the best choice for your headgear due to it's excellent defense for both physical and elemental attacks, while Crystal Helm and Anchorite’s Hat comes as a great second option depending on the situation.
Best Body Armor
| Equipment | Phys. Def. | Elem. Def. | Extra Effects |
|---|---|---|---|
| Champion's Armor | +280 | +280 |
HP: +990 |
| Crystal Vest | +205 | +205 | |
| Anchorite's Robe | +121 | +220 |
Restore 200 HP after performing an action. |
These are the best body armor choices in the game, with additional HP boost effects.
Champion’s Armor dominates for tank builds and is the best overall, while Crystal Vest and Anchorite’s Robe are great alternatives if you don't have the Champion's Armor yet.
Best Accessories
| Accessory | Effect |
|---|---|
| Lucky Coin |
Raise the chance of encountering rare monsters |
| Prosperity Charm |
Receive additional leaves received at the end of battle |
| Spurring Ribbon |
Ward off all enemy encounters. |
| EXP Augmentor |
Receive Additional EXP |
| JP Augmentor |
Receive Additional JP |
| Sacred Flame Charm |
Phys. Def: +10% Elem. Def: +10% |
| Fighter's Wristband |
Phys. Atk.: +10% |
| Promise Charm |
Elem. Atk.: +10% |
| Kitty Cape |
At the start of battle, grant the ability to dodge physical attacks 3 times. |
| Illusory Cape |
At the start of battle, grant the ability to dodge elemental attacks 3 times. |
| Belt of the Seas |
Phys. Atk.: +30 Phys. Def: +30 HP: +500 SP: +50 |
| Gale Feather |
At the start of battle, raise Evasion and Speed (3 turns). |
| Finisher's Claws |
Raise damage dealt when landing critical hits. |
| Assistant's Amulet |
HP: +1200 Deal more damage the lower your current HP is. |
These accessories are the best in the game because they directly enhance farming efficiency, character stats, and combat performance.
Lucky Coin and Prosperity Charm, along with the EXP and JP Augmentors are essential for farming, and the remaining accessories improve offense, defense, speed, evasion, or grant powerful start-of-battle effects.
Octopath Traveler 0 (Octopath 0) Recommended Guides
Guides by Category
 Walkthrough Walkthrough |
 Tips and Tricks Tips and Tricks |
 Characters Characters |
 Jobs Jobs |
 Bosses Bosses |
 Side Stories Side Stories |
 Maps Maps |
 Weapons Weapons |
 Equipment Equipment |
 Skills Skills |
 Items Items |
 Town Structures Town Structures |
 Town Residents Town Residents |
 Dishes Dishes |
 News and Updates News and Updates |
- |
Recommended Guides
 Best Characters Tier List
 Best Jobs Tier List
 EXP Farming Guide
 JP Farming Guide
 Money Farming Guide
 Cait Farming Guide
 Octopuff Farming Guide
 Trophy Guide and Achievements List
 Does the Protagonist Have a Canon Name?
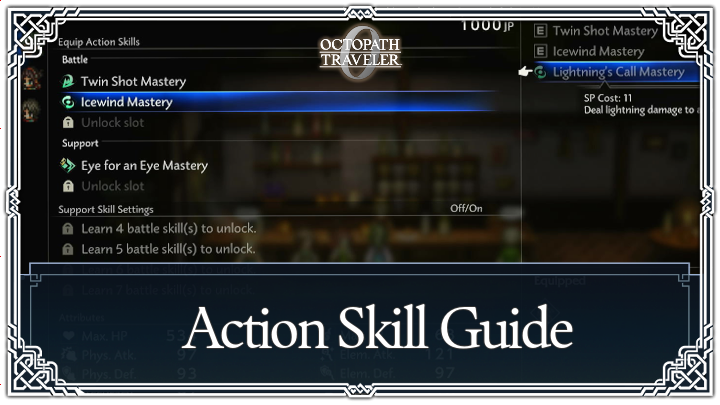 Action Skill Guide
 Town Building Guide
 All Music Score Locations
 Best NPCs to Recruit
 Best Skills to Use in Combat
 List of Missables and Points of No Return
 Best Dishes
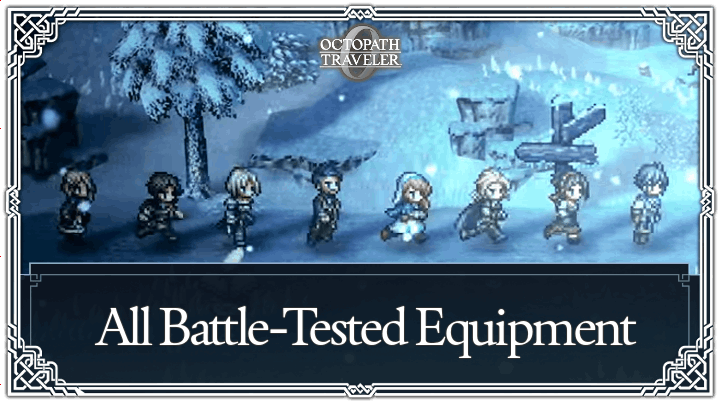 All 9 Battle-Tested Equipment Locations
 Best Masteries and How to Get Them
 List of All Temporary Characters
 Endings Guide
 Post Game Guide
 New Game Plus Guide
 Character Customization Guide
 Best Starting Choices
 Best Learned Skill to Choose
 Best Favorite Dish
 Best Belongings
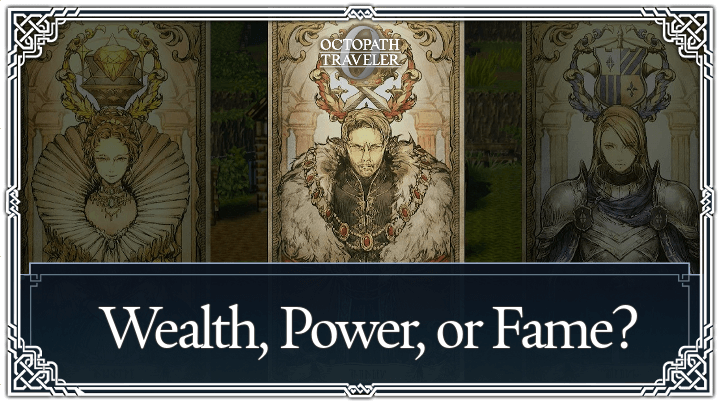 Wealth, Power, or Fame?
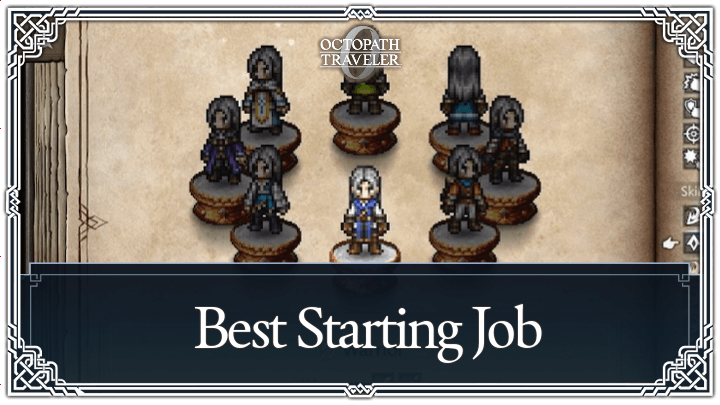 Best Starting Job
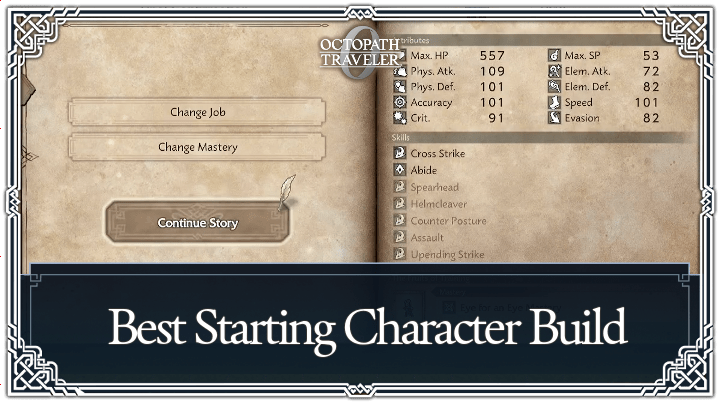 Best Starting Character Build
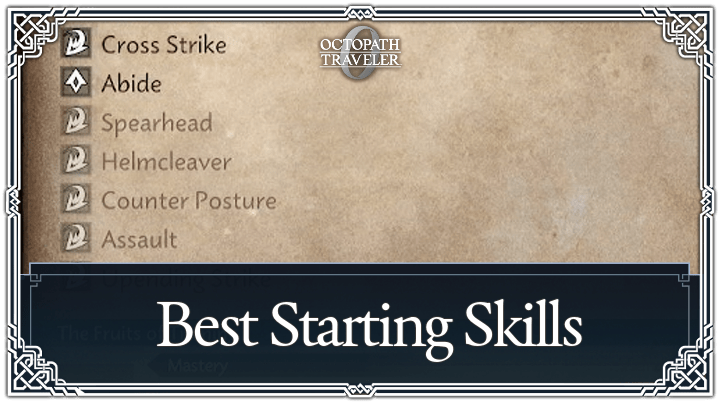 Best Starting Skills Per Job
 Best Starting Mastery
Author

Best Weapons and Equipment
Rankings
- We could not find the message board you were looking for.
Gaming News

![The Liar Princess and the Blind Prince Review [PC] | Lovely to Look at but Tedious to Play](https://img.game8.co/4442586/8d95f5faf05780f1765ce7e0938bd825.jpeg/show)

![Monster Hunter Stories 3 Review [First Impressions] | Simply Rejuvenating](https://img.game8.co/4438641/2a31b7702bd70e78ec8efd24661dacda.jpeg/thumb)
![The Seven Deadly Sins: Origin Review [First Impressions] | A Promising Start](https://img.game8.co/4440581/584e0bfb87908f12c4eab6e846eb1afd.png/thumb)
Popular Games

Genshin Impact Walkthrough & Guides Wiki
Umamusume: Pretty Derby Walkthrough & Guides Wiki
Pokemon Pokopia Walkthrough & Guides Wiki
Honkai: Star Rail Walkthrough & Guides Wiki
Monster Hunter Stories 3: Twisted Reflection Walkthrough & Guides Wiki
Arknights: Endfield Walkthrough & Guides Wiki
Wuthering Waves Walkthrough & Guides Wiki
Zenless Zone Zero Walkthrough & Guides Wiki
Pokemon TCG Pocket (PTCGP) Strategies & Guides Wiki
Monster Hunter Wilds Walkthrough & Guides Wiki


Recommended Games
Fire Emblem Heroes (FEH) Walkthrough & Guides Wiki
Diablo 4: Vessel of Hatred Walkthrough & Guides Wiki
Cyberpunk 2077: Ultimate Edition Walkthrough & Guides Wiki
Yu-Gi-Oh! Master Duel Walkthrough & Guides Wiki
Super Smash Bros. Ultimate Walkthrough & Guides Wiki
Pokemon Brilliant Diamond and Shining Pearl (BDSP) Walkthrough & Guides Wiki
Elden Ring Shadow of the Erdtree Walkthrough & Guides Wiki
Monster Hunter World Walkthrough & Guides Wiki
The Legend of Zelda: Tears of the Kingdom Walkthrough & Guides Wiki
Persona 3 Reload Walkthrough & Guides Wiki


All rights reserved
© SQUARE ENIX
The company names, product names and system names are trademarks or registered trademarks of their respective companies.
The copyrights of videos of games used in our content and other intellectual property rights belong to the provider of the game.
The contents we provide on this site were created personally by members of the Game8 editorial department.
We refuse the right to reuse or repost content taken without our permission such as data or images to other sites.
Finisher's Claws and Assistant's Amulet are some of the best accessories endgame for phys damage.