Complete Walkthrough and Chapters List
☆ How to Unlock All 36 Characters
★ Tier Lists: Best Characters and Best Jobs
☆ Farming Guides: EXP, JP, Money
★ Forbidden Weapon Locations
☆ Battle-Tested Equipment Locations
★ Endings Guide | Post-Game Guide
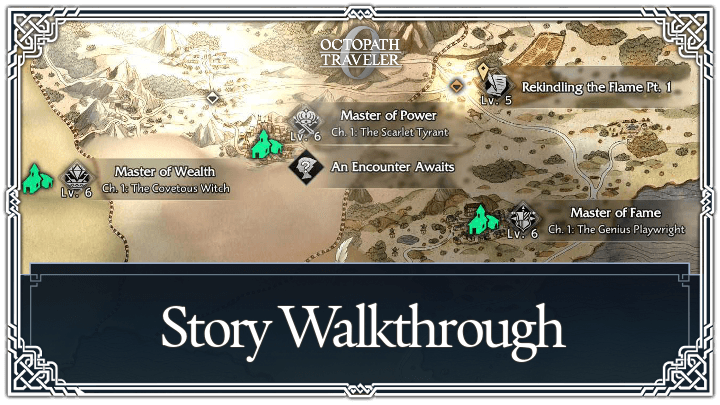
Here is a walkthrough for all the Chapters in Octopath Traveler 0 (Octopath 0). See walkthrough guides for all Chapters and how to complete them here!
List of Contents
List of All Main Quests
Recommended Quest Completion Order
Do Kindlers of the Flame 1 and 2 Before the “Master Of” Questlines
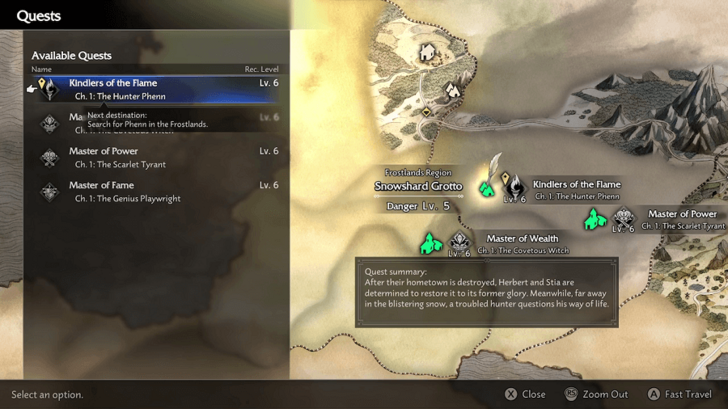
We recommend starting with the first two chapters of the Kindlers of the Flame questline before doing the Master of Wealth, Power, or Fame quests. The questline can be started immediately after the Prologue by talking to Stia in Wishvale and completing Rekindling the Flame Pt. 1.
Completing these grants early access to the companion Phenn and unlocks key Wishvale facilities such as the Hub and Farm. Furthermore, it unlocks additional town structures you can build.
Prologue Walkthrough
| 1 | 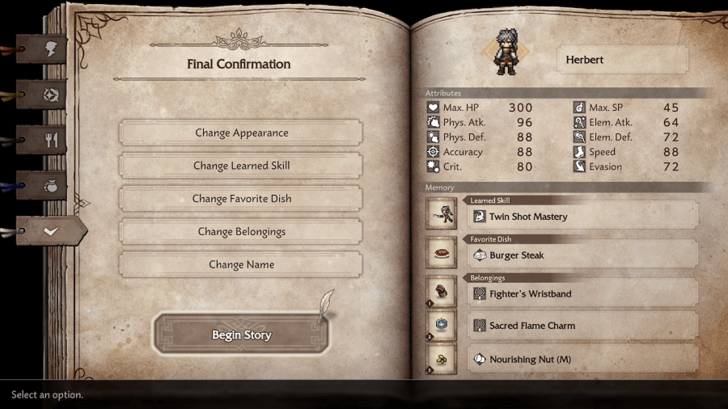 Create your character. In the character creation screen, you can select your hero's Appearance, Learned Skill, Favorite Dish, and Belongings. Choose wisely, as you cannot change these after finishing character creation. ▶︎ Best Starting Choices |
|---|---|
| 2 | 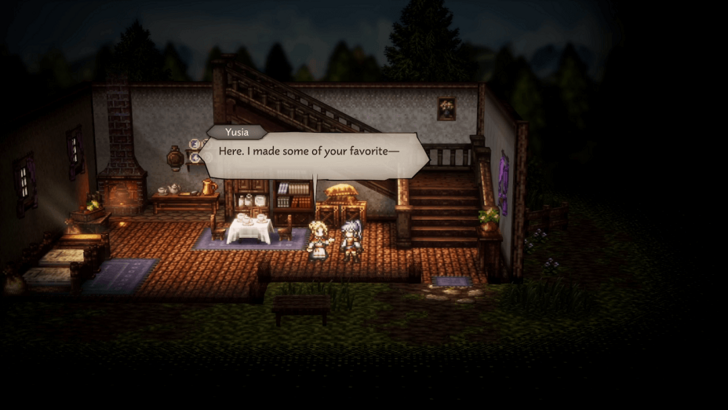 Go outside and see your father. Starting in your room, go downstairs and meet your mother, who will give you your Favorite Dish. Then, head outside into town. ▶︎ Which Favorite Dish Should You Choose? |
| 3 | 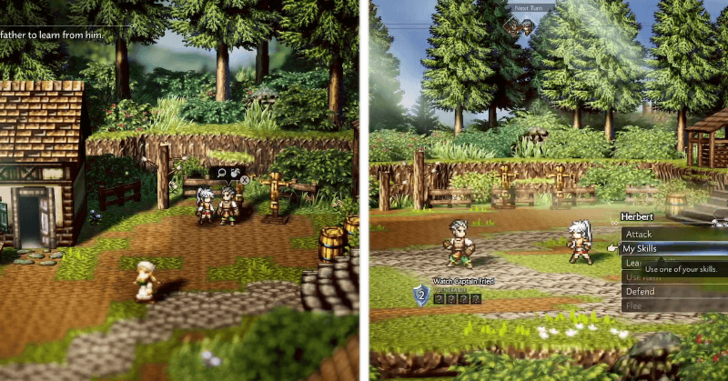 "Contend" with your father to learn from him. Meet your father directly to the right of your house, and interact with him to Contend against him, leading to a sparring match. Make sure to use your Boost when he's broken to finish him off quickly. This nets you the Vacuum Slice Mastery Action Skill. |
| 4 | 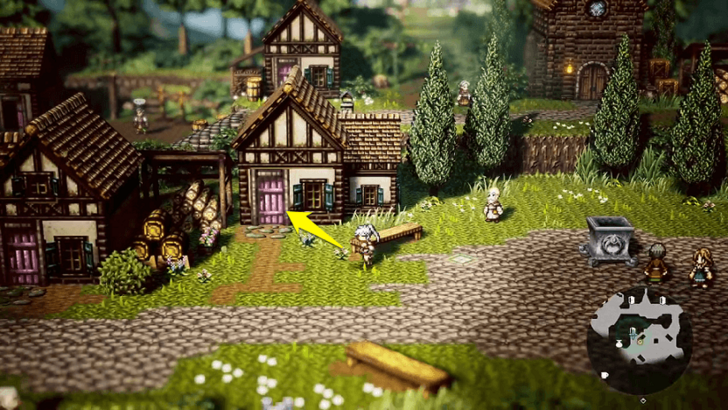 Visit the carpenter Lavore's house. Head south towards Lavore's house. After entering and watching the cutscene, you will be joined by a new companion: Stia. |
| 5 | 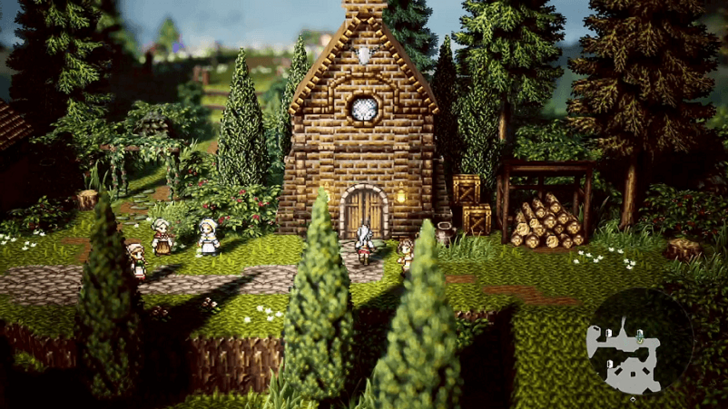 Head to the church. With Stia, head to the church north of the town. Once inside, accept the volunteer job to find an Azure Flamestone. |
| 6 | 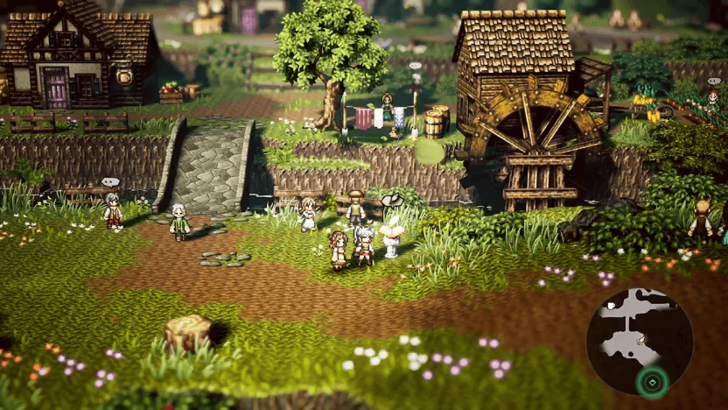 Head to the cavern outside of town. With Stia, head to the church north of the town. Once inside, accept the volunteer job to find the Azure Firestone. You can find a save point just before exiting Wishvale at the south end of town. ▶︎ How to Save |
| 7 | 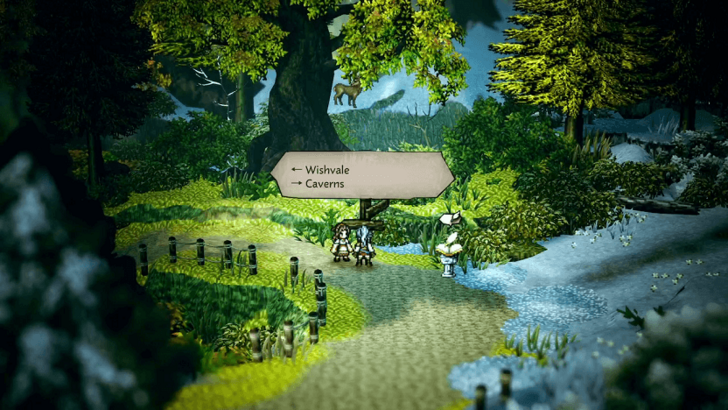 South of the town, enter the Wishvale Trail, then continue east to find the Cerulean Cavern. You will encounter random Monsters along the way, which are easy to defeat and provide quick XP. Avoid spending too much SP during combat, as you will need it for the upcoming boss fight. |
| 8 | 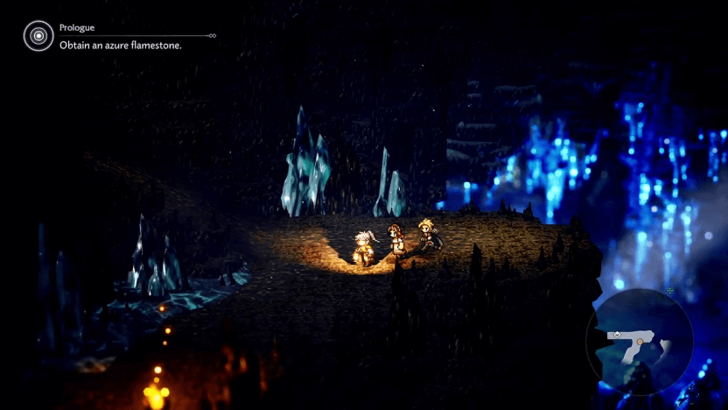 Obtain an azure flamestone. Past the mysterious scholar, enter the cavern and meet Phenn, a new companion. Continue deeper until you reach the glowing blue area on the east side, starting the encounter with the Emerald Direwolf boss. |
| 9 | 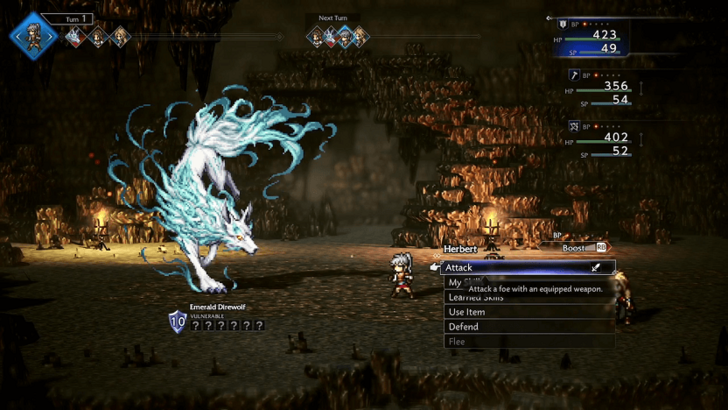 The Emerald Direwolf deals heavy damage, but the fight is easy to manage as long as you immediately heal whoever it attacks with Stia’s First Aid healing skill on her turn, and capitalize on Max Boost Attack opportunities when the boss’s guard breaks. ▶︎ Emerald Direwolf Weaknesses and Boss Guide |
| 10 | 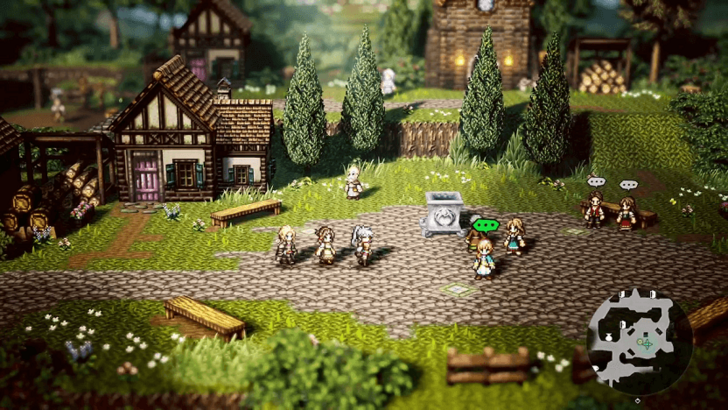 Give the azure flamestone to Laurana. Head back to Wishvale and give the item to Laurana, located in the town center. After giving it to her, head back to your home and rest on the bed. |
| 11 | 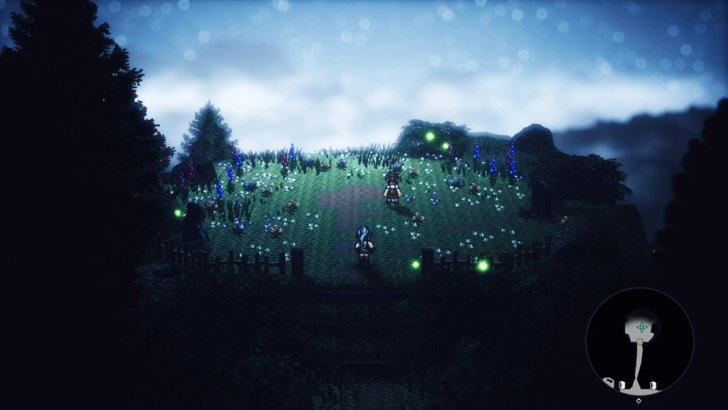 Take a walk around Wishvale at night. At night, find Stia at the northern end of town. After speaking to her, you can head back to the house and finally go to sleep. |
| 12 | 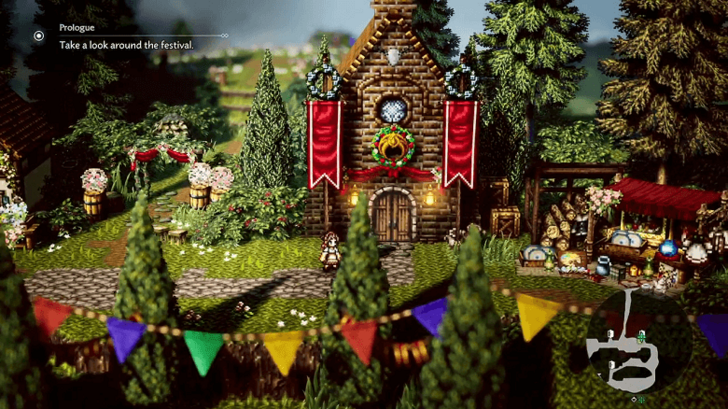 Take a look around the festival. The next day, join Stia and visit three locations around the town festival, interacting with the townsfolk at each one. You must stop by the church, farm, and tavern before you can continue. |
| 13 | 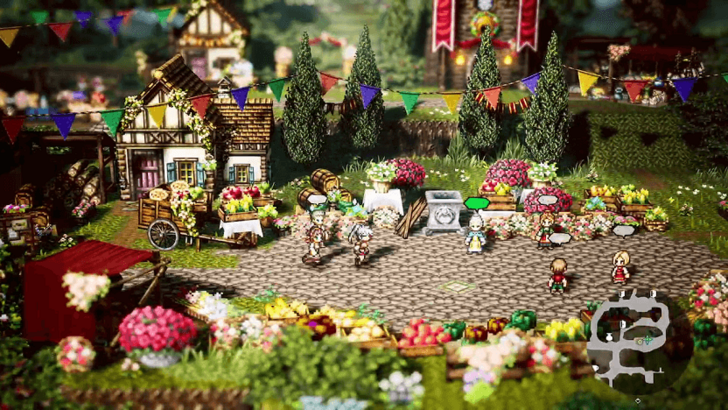 After visiting all locations, head to the town center and speak with the elder to begin the Enkindling ritual. Before you start, this is your final chance to explore the town, complete Path Actions, and collect any remaining Treasures. |
| 14 | 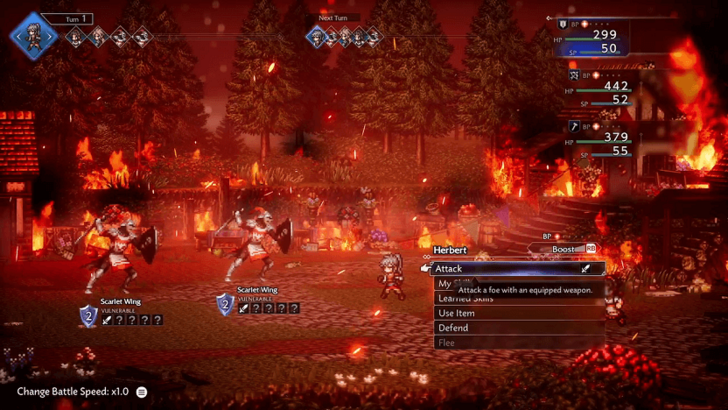 Survive the attack. Defeat the Scarlet Wings Soldiers. Your companions will join the battle after two turns. Once the enemies are defeated, head south toward the Wishvale Trail to escape. |
| 15 | 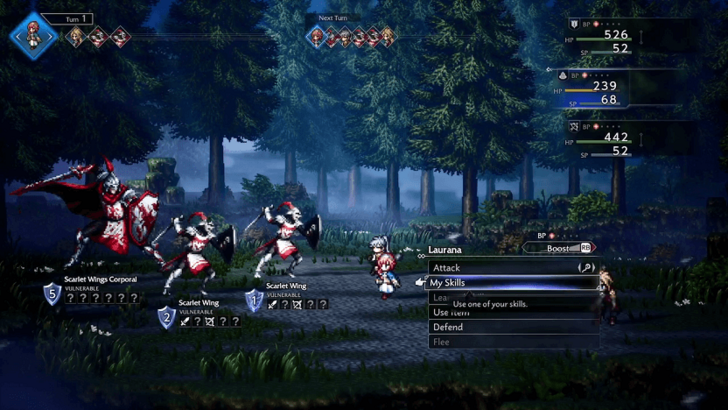 At the Wishvale Trail, you will be ambushed by another set of soldiers, this time with a powerful Scarlet Wings Corporal. Make sure to use Laurana's Healing Light skill on party members who get heavily damaged by him. ▶︎ List of All Skills |
| 16 | 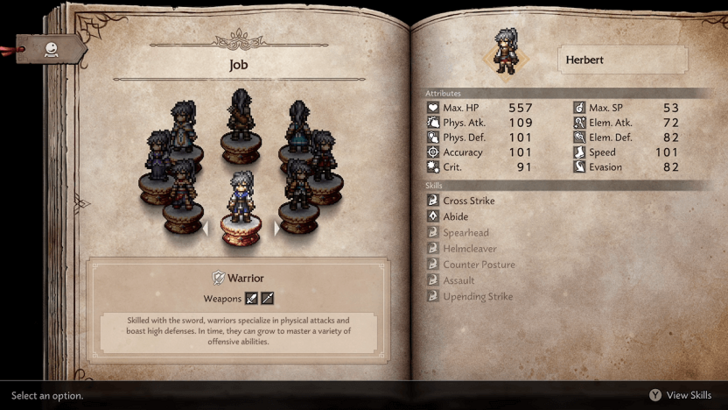 Select your job. After the timeskip, you can select one of eight Jobs for your hero, and one of three Mastery Skills. ▶︎ How to Change Jobs |
| 17 | 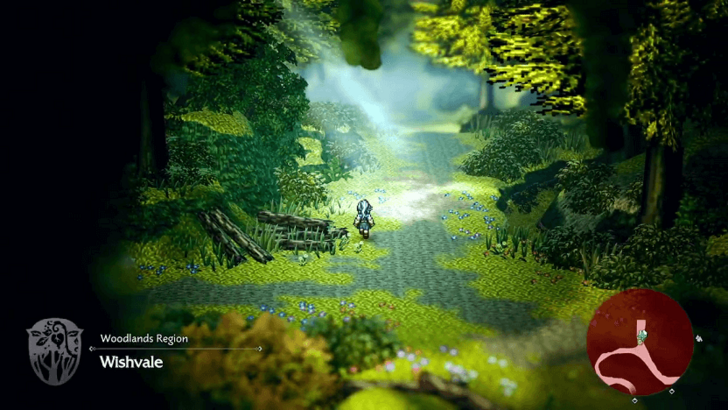 Head to Wishvale. From Nomos' hideout, head back to Wishvale to the west. |
| 18 | 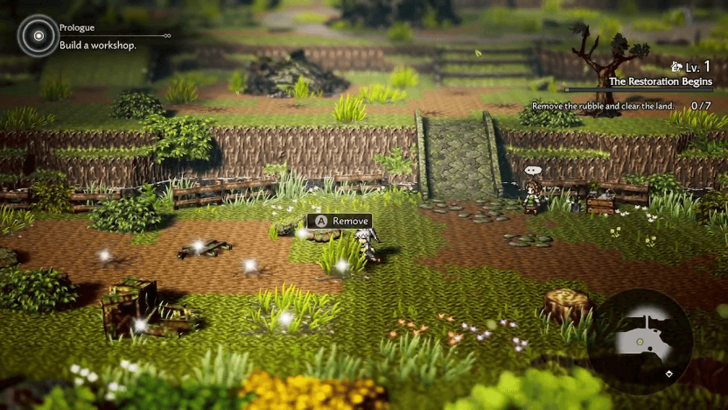 Build a workshop. Once there, meet up with Stia, then clear the rubble in the area. Clearing the rubble and debris also grants you Stone and Lumber materials for the workshop. |
| 19 | 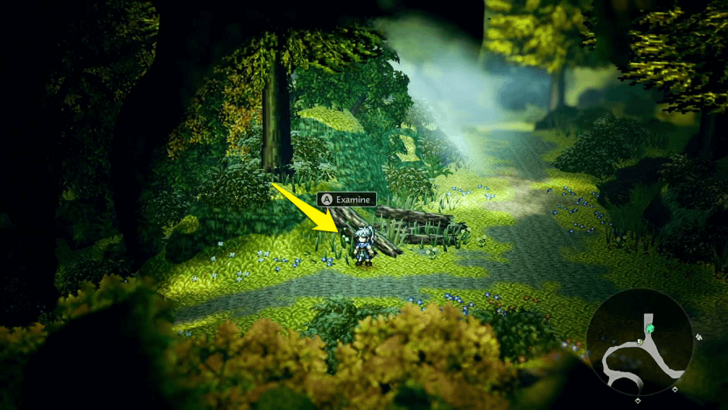 You can find the last bit of Lumber you need just outside the village, at the Wishvale Trail. Once you have it, head back and build the workshop with Stia. |
| 20 | 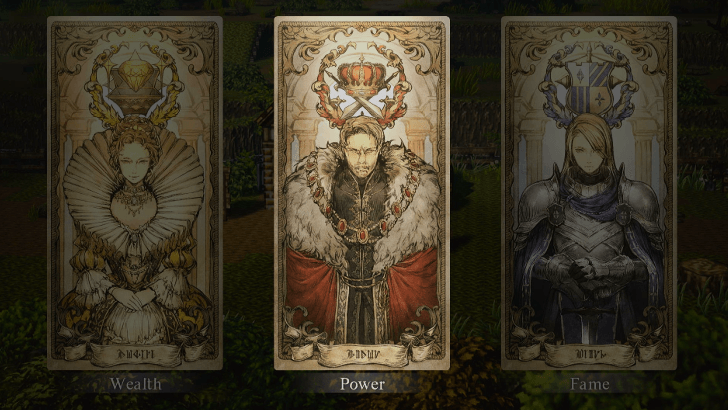 Select what you seek. After the workshop is built, Nomos will ask which path you seek: Wealth, Power, or Fame. Regardless of your choice, all three questlines can be done at any point in the story. ▶︎ Should You Choose Wealth, Power, or Fame? |
| 21 | 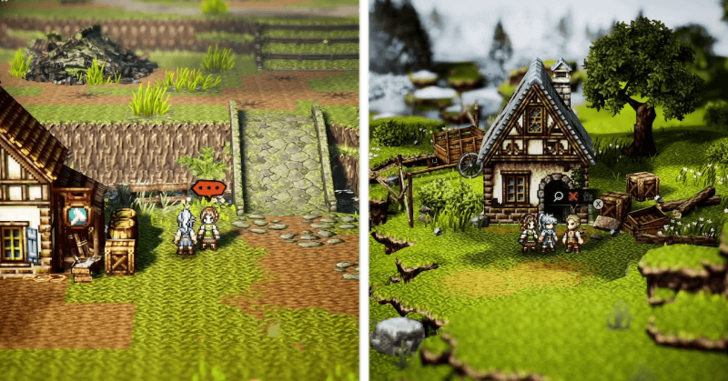 Speak to Stia to start a short sidequest called Rekindling the Flame Pt. 1 where you'll need to invite your first villager, Tyme, back to Wishvale. Completing this short quest will unlock the Kindlers of Flame Questline. |
Kindlers of the Flame Walkthrough (Part 1)
Rekindling the Flame Pt.1
| 1 | 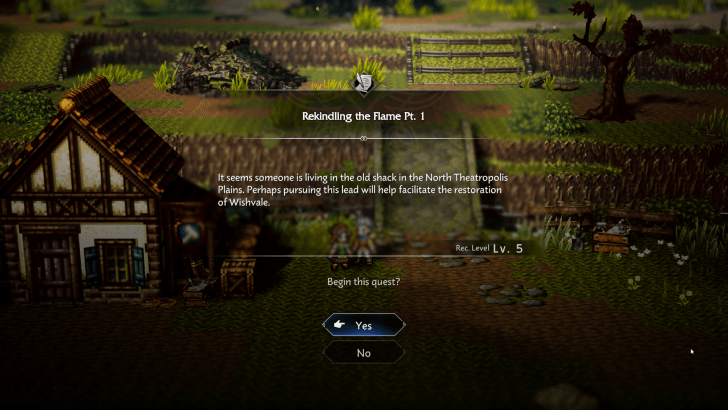 Speak to Stia Speak to Stia in Wishvale and she'll ask you to help her look for former residents of Wishvale. She'll then ask you to look for clues in North Theotropolis Plains. |
|---|---|
| 2 | 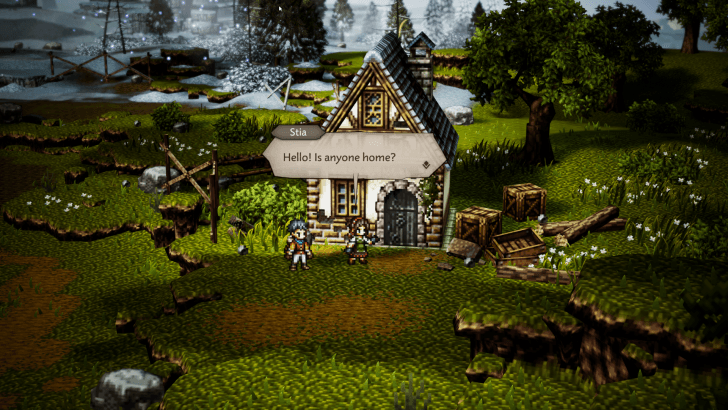 Approach the House Once you arrive at North Theotropolis Plains, approach the house in the clearing for a cutscene with Tyme, a former resident of Wishvale. |
| 3 | 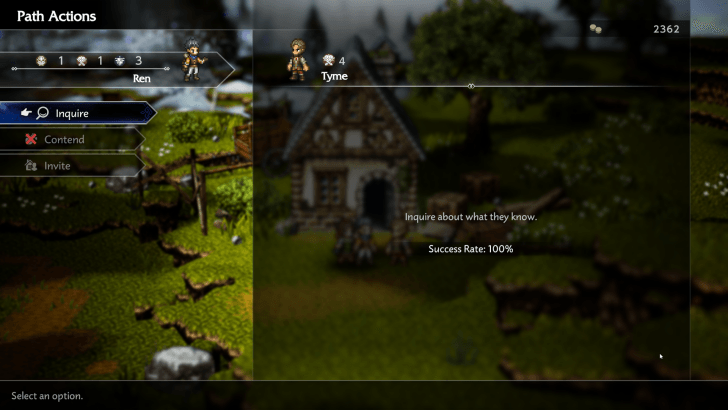 Invite Tyme Using Path Action Once the cutscene ends, you'll need to use a Path Action to invite Tyme back into Wishvale. Interact with him and choose Inquire first, then Invite him back to Wishvale. |
| 3 | 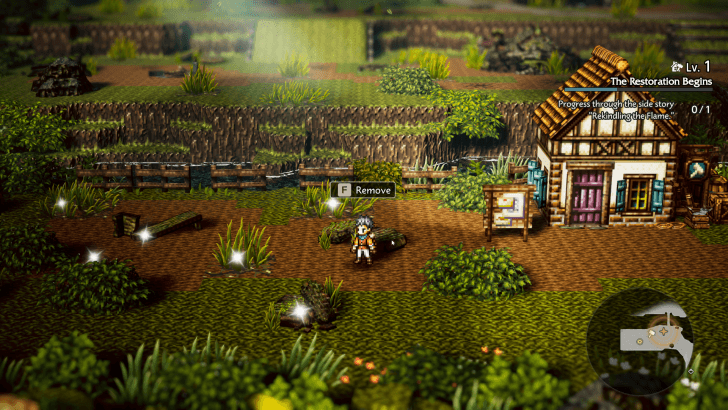 Clear the Rubble Near the Workshop After inviting Tyme, fast travel back to Wishvale for a short cutscene. You'll then need to clear the rubble near the Workshop so you can have a place to build Tyme's home. |
| 3 | 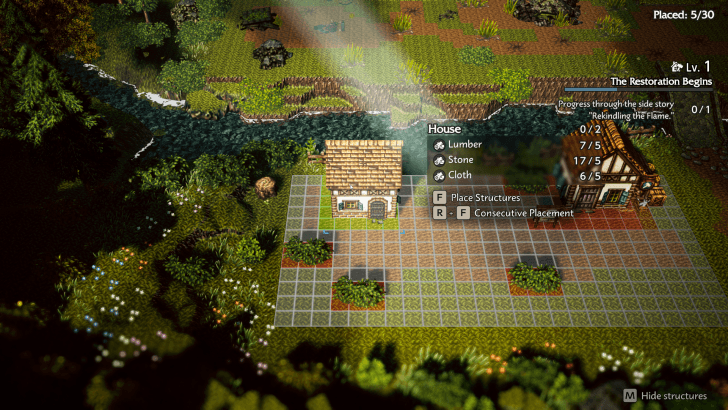 Build a House for Tyme Once the rubble is cleared, speak to Sia to start building a house for Tyme. You can place it wherever you like on the cleared path, and you can move it around later. |
| 3 | 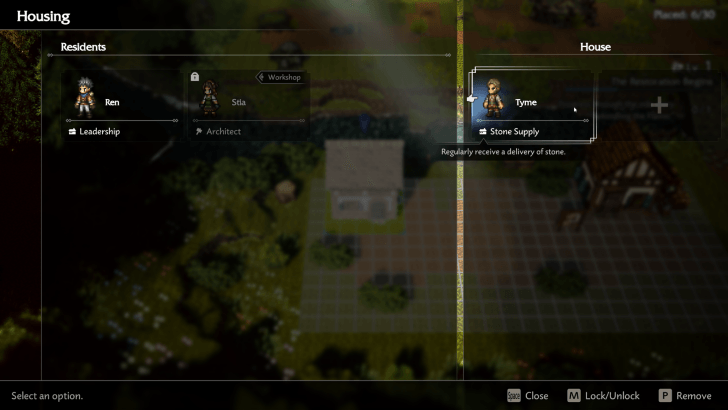 Move in Tyme Once the house is placed, click on the house and move in Tyme to set him as the resident of the newly built house. |
| 4 | 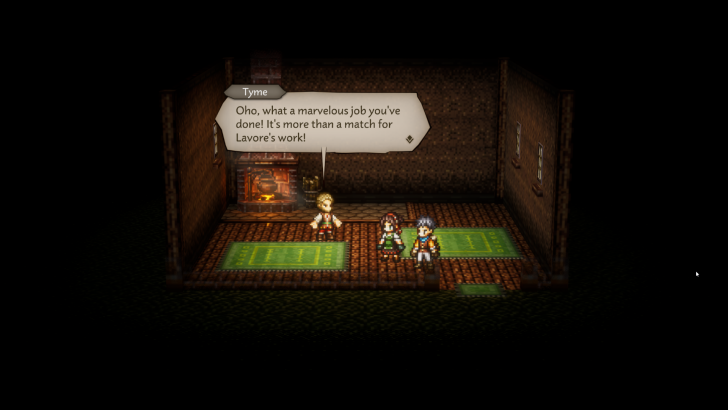 Once you move in Tyme, a short cutscene will play. Tyme will be grateful and Stia will wish to rebuild Wishvale and look for more survivors, which also completes the quest. |
Rekindling the Flame Pt.1 Walkthrough
The Hunter Phenn
| Kindlers of the Flame Questline | |
|---|---|
| Ch. 1 | The Hunter Phenn |
| Ch. 2 | The Young Boy Basil |
| Ch. 3 | The Merchant Ludo |
| Ch. 4 | The Cleric Laurana |
| Ch. 5 | The Protagonist |
| 1 | 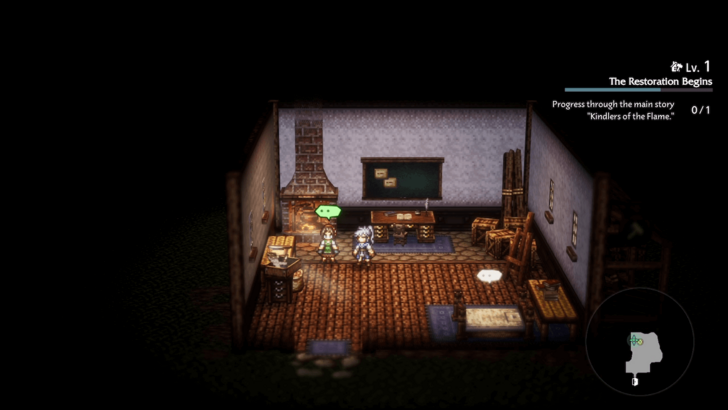 Speak to Stia in Wishvale In Wishvale, speak to Stia who is inside the workshop. A flashback cutscene will play, and the two of you will begin searching for Phenn. |
|---|---|
| 2 | 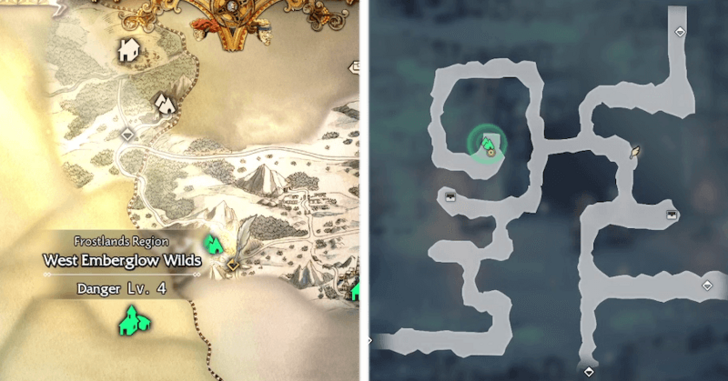 Search for Phenn in the Frostlands. Head to the West Emberglow Wilds, southeast of Wishvale. In the northwest portion of this snowy area is the cave where Phenn is. |
| 3 | 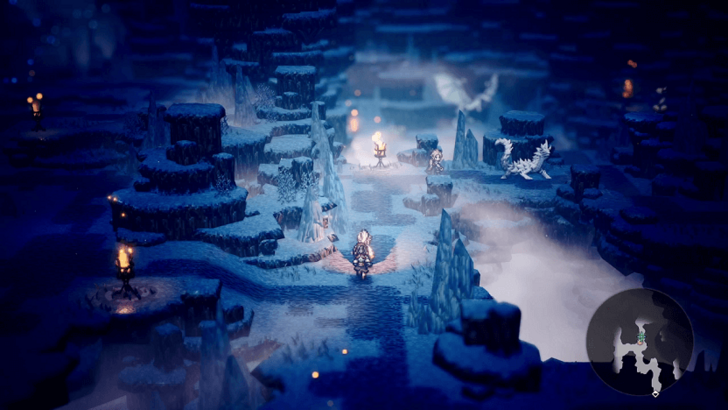 Enter the cave and Phenn will be right up ahead. As you approach, another cutscene will play. |
| 4 | 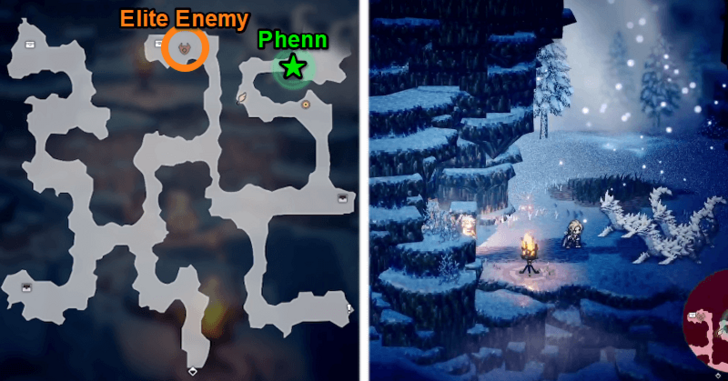 Head deep inside the Snowshard Grotto. After the cutscene, head back into the cave to find Phenn. He is located in the northeast section, and the area has Treasure Chests and Monsters to fight. An Elite Enemy, the Menacing Frostwing Serpent, can also be found on the north side of the cave. ▶︎ List of All Bosses and Elite Enemies |
| 5 |  Approaching Phenn triggers a battle against three Spiked Skinks, manageable especially with Phenn now fighting alongside you. The monsters are weak to Swords, Daggers, Bows, Tomes, and Lightning, which your party should have mostly covered. |
| 6 |  Invite Phenn. After the battle, you can invite Phenn to Wishvale. Inquire with him first (100% success rate) to unlock the Invite option. |
| 7 | 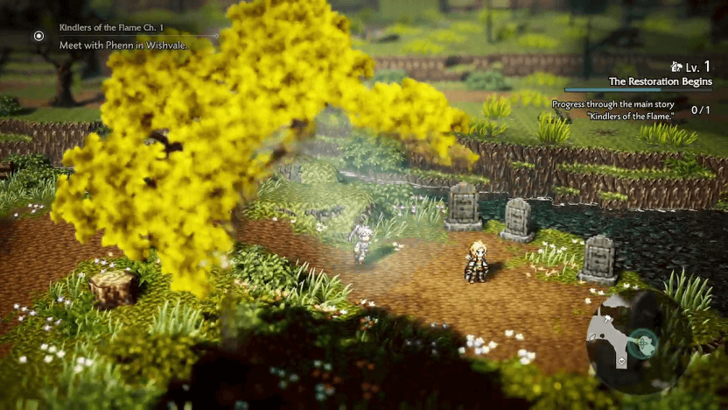 Meet with Phenn in Wishvale. Return to Wishvale and speak to Phenn, who is visiting the graves. After this scene, Phenn becomes a permanent companion and establishes the Hub, where you can cook food and use it as Wishvale’s tavern. This concludes The Hunter Phenn chapter. |
| 8 |  To continue the Kindlers of the Flame questline, cook a meal at the Hub and have at least five residents in Wishvale. You, Stia, Thyne, and Phenn already count as four, so invite one more if needed. After building one more house, you can start the next chapter, The Young Boy Basil. |
The Young Boy Basil
| Kindlers of the Flame Questline | |
|---|---|
| Ch. 1 | The Hunter Phenn |
| Ch. 2 | The Young Boy Basil |
| Ch. 3 | The Merchant Ludo |
| Ch. 4 | The Cleric Laurana |
| Ch. 5 | The Protagonist |
| 1 | 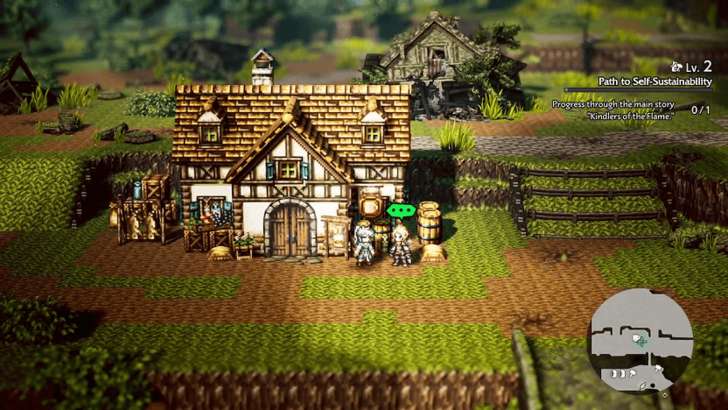 Speak to Phenn in Wishvale. Once you hit town Level 2 and finish clearing the rubble west of the Hub. Speak to Phenn outside the Hub to start Chapter 2, The Young Boy Basil. |
|---|---|
| 2 | 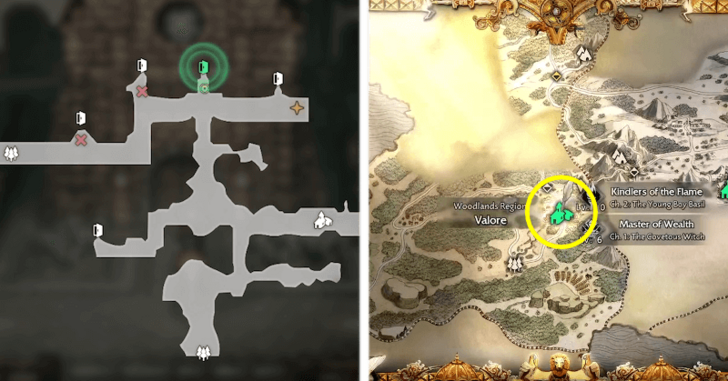 Search for Margot in Valore. Head to the church in the Valore: Main Boulevard, and speak to the lady inside who will give you more information. |
| 3 |  Find Margot on the path to Herminia Manse. Find Margot in the path south of the main boulevard. She is located on the northwest corner of the area. There will be monsters around the path, so be ready to fight. |
| 4 |  Invite Margot. After approaching Margot and the ensuing cutscene, you can invite her to Wishvale. Inquire with her first (100% success rate) to unlock the Invite option. |
| 5 | 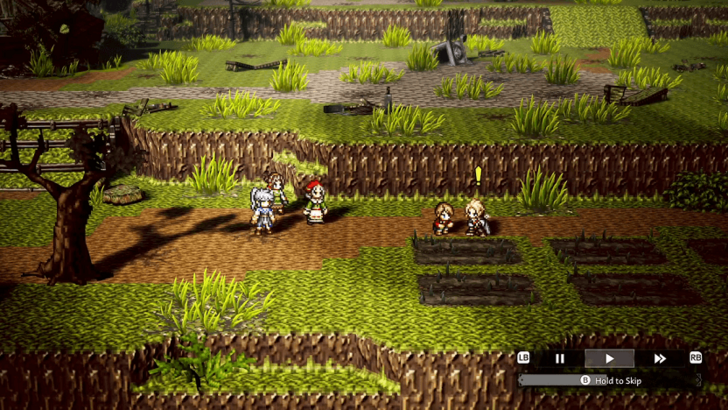 Bring Margot back to meet Basil. Travel back to Wishvale and speak to Basil, who is by the farm in the area's second level. |
| 6 | 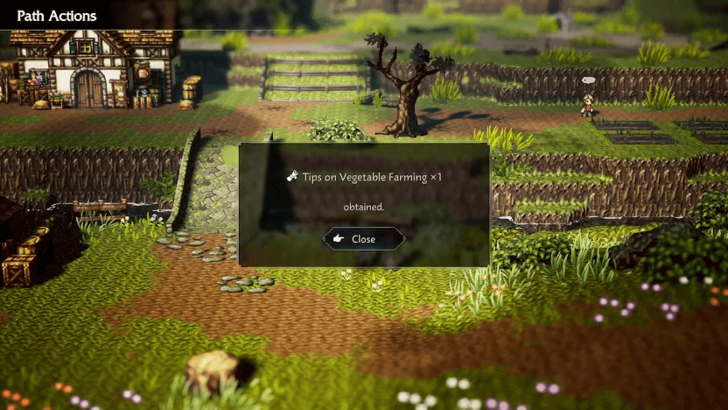 Learn how to grow vegetables from Margot. See Margot nearby and use the Inquire Path Action to get the Tips on Vegetable Farming note that you can hand to Basil. |
| 7 | 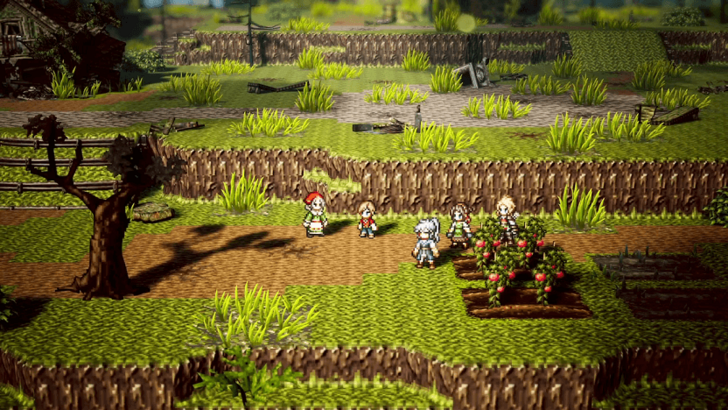 Speak to Basil. Return to Basil, after which you can plant tomatoes and other vegetables on the farm, concluding Chapter 2 of the questline. To begin Chapter 3, continue progressing through Path of Self-Sustainability Lv. 2 in Wishvale. |
The Young Boy Basil Walkthrough
Chapter 1 (Master) Walkthrough
The Covetous Witch (Master of Wealth)
| Master of Wealth Questline | ||
|---|---|---|
| Chapter 1 | Chapter 2 | Chapter 3 |
| The Covetous Witch | A Flower Blooms | Herminia the Huntress |
| 1 | 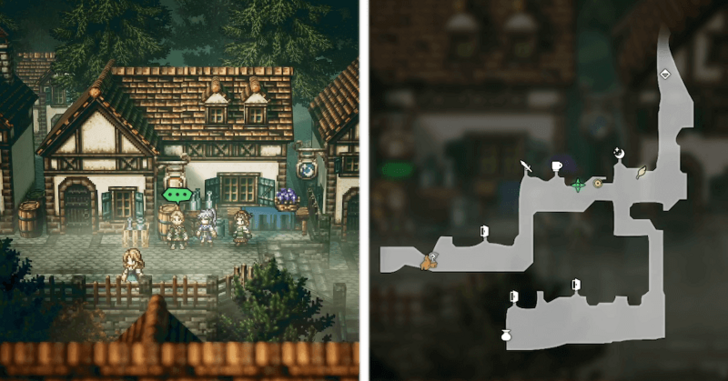 Gather information about Herminia. Head to Valore, located south of Wishvale, which is also in the Woodlands Region. Once there, speak to the Fierce-Looking Man standing in the center of town to start the quest. |
|---|---|
| 2 | 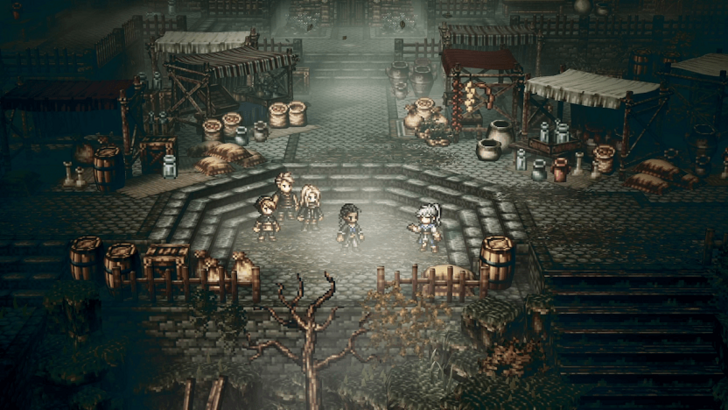 Head west to the Volare: Main Boulevard area and meet Bargello in the central plaza. The dialogue choices you pick in the cutscene do not matter, as the story will progress without any differences. |
| 3 | 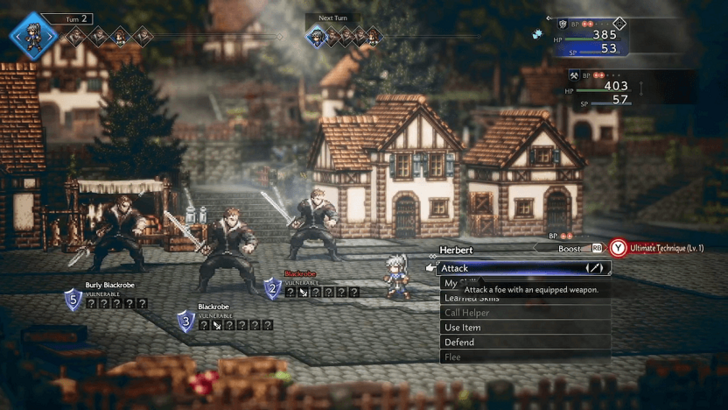 At the end of the cutscene, you will battle a group of Blackrobes, who are fairly easy to defeat. Afterward, join Bargello’s plan to infiltrate one of Herminia’s parties. |
| 4 |  Head to Herminia's Manse. Head south of the plaza to an alternate path towards Herminia's mansion. Before heading there, we recommend taking the time to recruit Celsus at the tavern to the west of the plaza, and gather Helpers around town. |
| 5 | 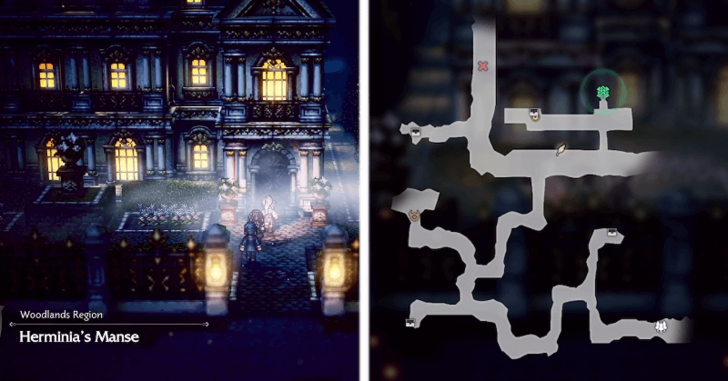 The path to Herminia’s estate has hostile Monsters and several Treasure Chests with useful resources. Fighting the Monsters is recommended, as the extra EXP will help in the upcoming boss fight. |
| 6 | 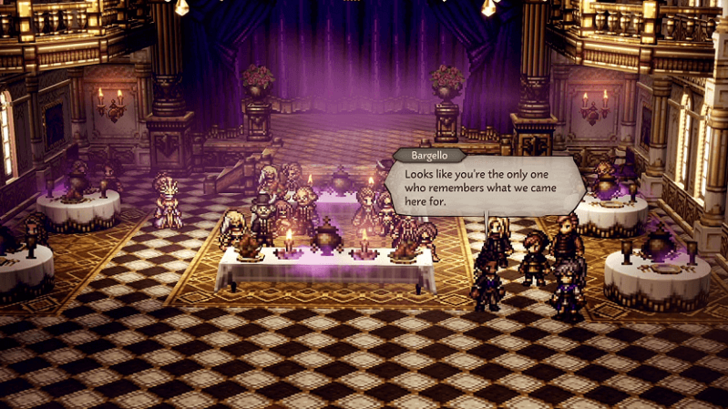 Inside Herminia’s mansion, the party sequence is entirely dialogue. After the cutscenes, you will return outside with your party and Bargello. |
| 7 | 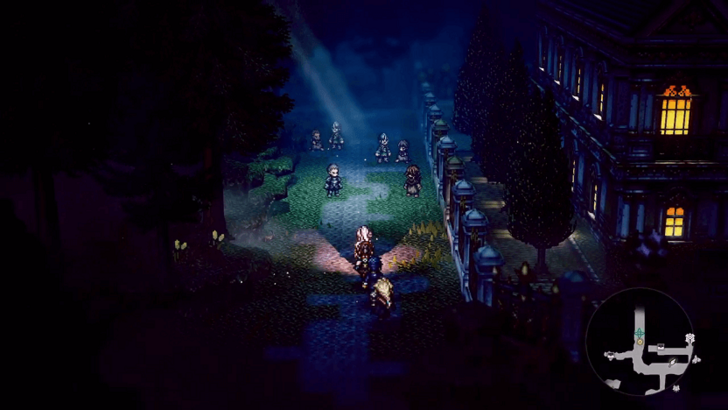 Confront the man who killed the slaves. Once outside, you must help Bargello confront the man, triggering the boss fight. Before engaging, make sure your party's HP and SP are topped up, and you have a few Healing Grapes on hand. You do not have to confront him immediately, so feel free to go back to Valore or leave town to stock up on items or recruit more allies. Being at least Lvl. 10 with more than three party members is recommended for a smoother boss fight. |
| 8 | 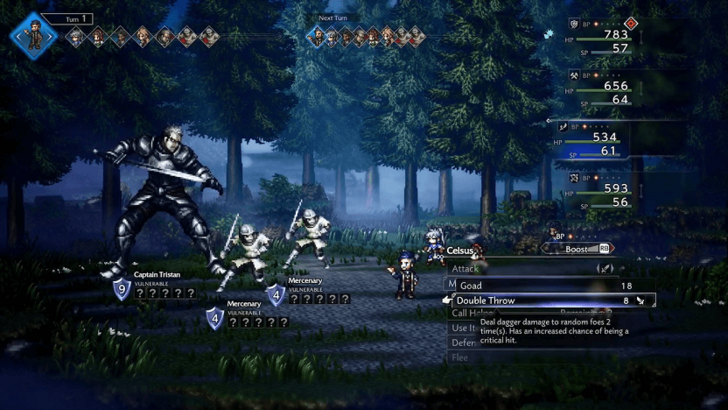 Defeat Captain Tristan. Captain Tristan is a tough early boss, with him and his minions dealing heavy damage. Try to deal with the Mercenaries first before focusing Captain Tristan. ▶︎ Captain Tristan Weaknesses and Boss Guide |
| 9 | 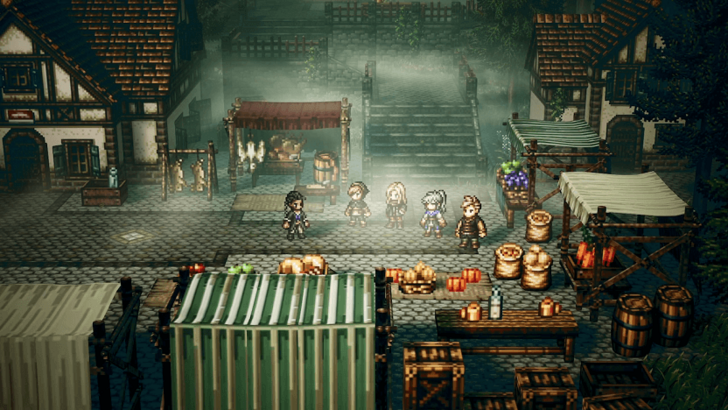 Go to Taivani's hideout and speak to Bargello. After defeating the boss, return to Valore to regroup with Bargello and his gang. Following the cutscene, the next chapter, A Flower Blooms, is immediately available when you speak to Bargello again in town. |
The Covetous Witch Walkthrough
The Scarlet Tyrant (Master of Power)
| Master of Power Questline | ||
|---|---|---|
| Chapter 1 | Chapter 2 | Chapter 3 |
| The Scarlet Tyrant | A Dream of Snow | Tytos the Thunderblade |
| 1 | 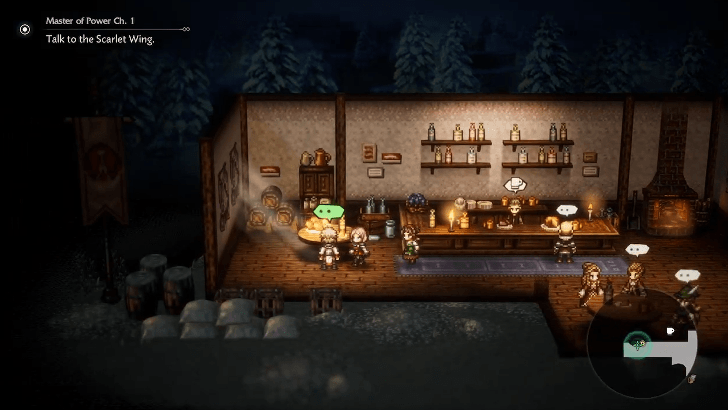 Talk to the Scarlet Wing Talk to the Scarlet Wing named Velnorte on the left side of the room. |
|---|---|
| 2 | 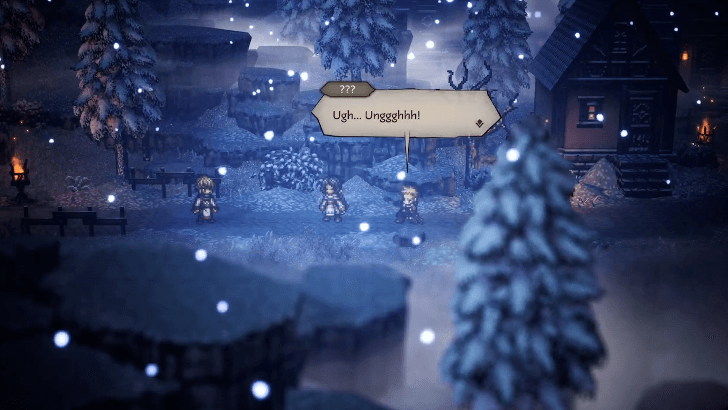 Follow Velnorte east Exit the pub and move one screen to the east to follow Velnorte. Upon entering the next area, a battle will immediately start against the Abnormal Ruffian. |
| 3 | 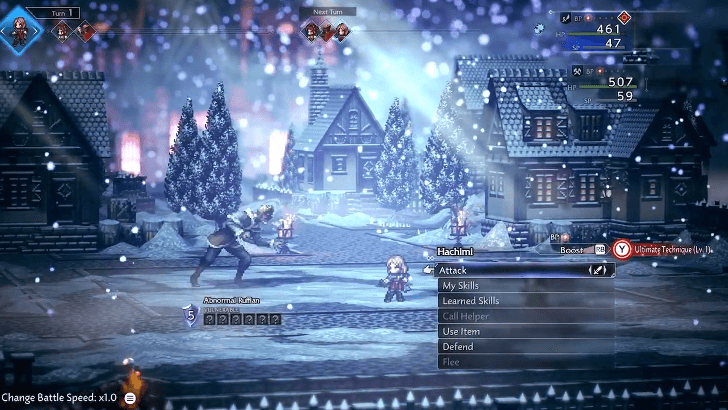 This miniboss is weak to Swords and Knives. It also hits hard, especially if you went straight to this main quest without doing other side quests or any EXP grinding. Have the protagonist focus on breaking the Abnormal Ruffian's shield points while Stia heals either of you each turn. |
| 4 |  Go to Velnorte's house Head east and enter the second house along the street. |
| 5 | 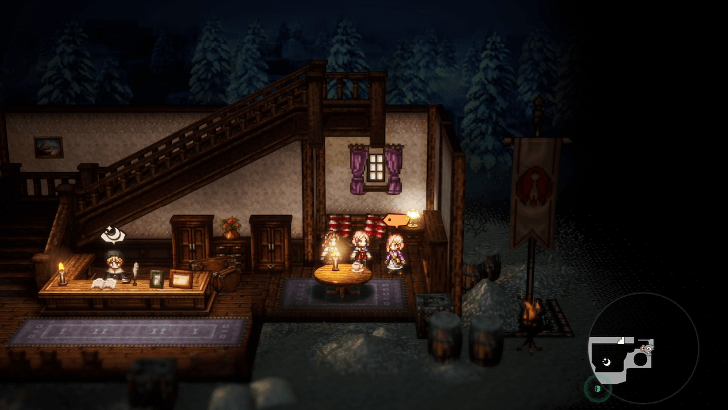 Before proceeding, we strongly recommend making a detour first and completing An Encounter with Macy before proceeding as this adds another healer to your team. You can find her inside the Inn near the entrance of Emberglow. |
| 6 |  Follow Velnorte Go back outside and move another screen to the east to reach Emberglow Laboratory: Entrance. Follow the path until you reach the top of the first staircase. |
| 7 | 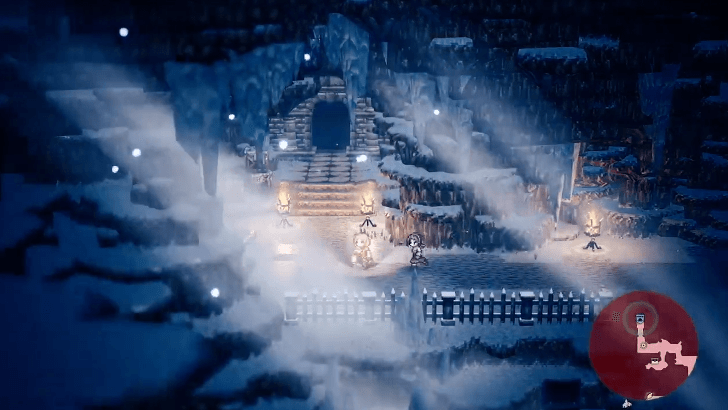 Turn left then go up where the path splits. To your right is an Elite Enemy that you can take on if you're up for a challenge. Follow the path further to the left to find the entrance to Emberglow Laboratory. |
| 8 | 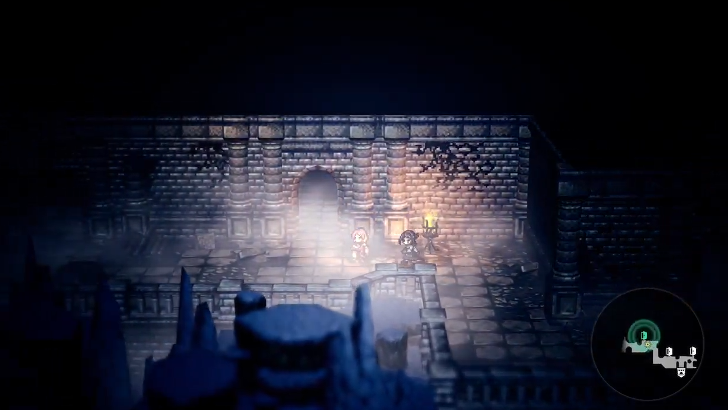 Follow the corridor to the left and enter through the first door after the turn to find another staircase that will take you to the upper floor. |
| 9 |  Turn right and go through the doorway with the torches, then go up another staircase to reach a floor with a Save Point. |
| 10 |  Exiting to the left leads you to the floor where Velnorte went. Follow the objective marker to the right side of the floor to trigger a cutscene. |
| 11 | 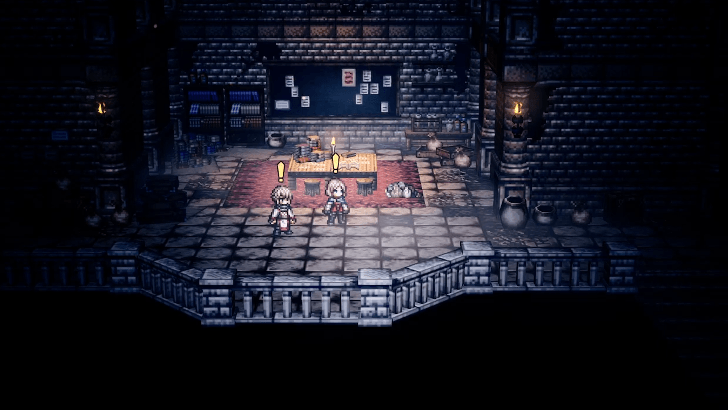 Search for the servant Al Go back downstairs and you'll find Al just past the Save Point. Approach him when you're ready to fight the main boss of this chapter: Al the Servant. |
| 12 | 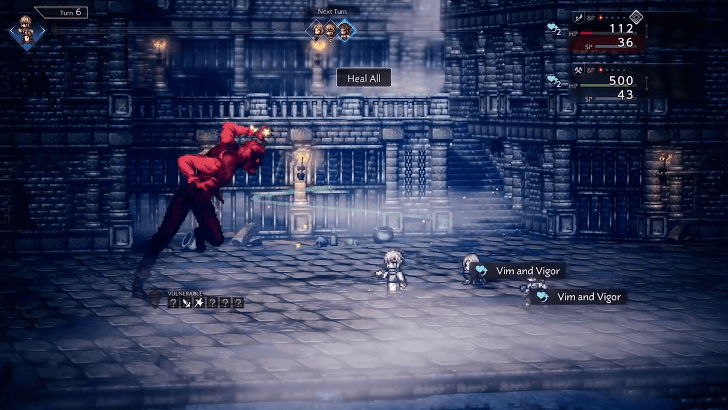 This boss fight almost requires two healers and an attacker as Al's attacks will hurt a lot even at Lv.10. Velnorte will also provide support in this battle by giving you various buffs and healing. |
| 13 | 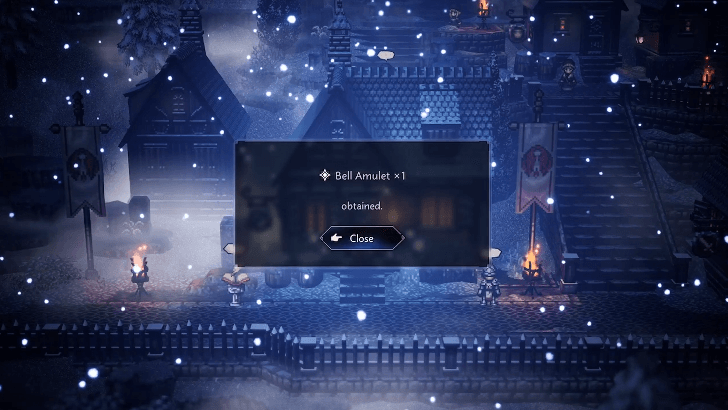 Observe Velnorte You'll end up at the inn after the fight and a couple of cutscenes with Velnorte and Rinyuu, who will give you the Bell Amulet quest item. Exit the inn and return to Velnorte's house to complete the quest. |
The Scarlet Tyrant Walkthrough
The Genius Playwright (Master of Fame)
| Master of Fame Questline | ||
|---|---|---|
| Chapter 1 | Chapter 2 | Chapter 3 |
| The Genius Playwright | Fit for a Tragedy | Auguste, Prince of Thieves |
| 1 | 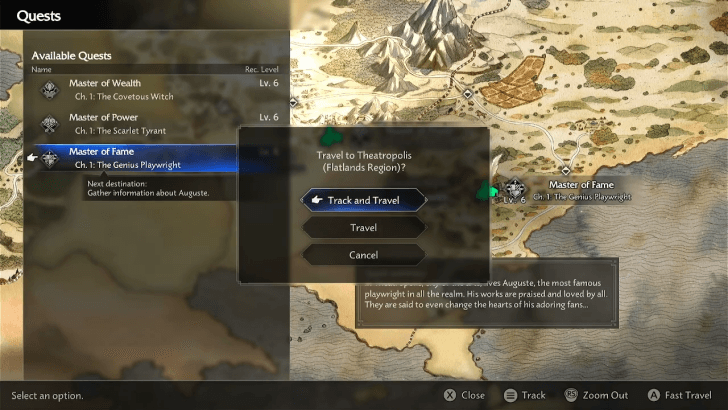 Travel to Theatropolis. After accepting the Fame path in the prologue, travel to Theatropolis in the Flatlands Region where you need to gather information about Auguste. |
|---|---|
| 2 | 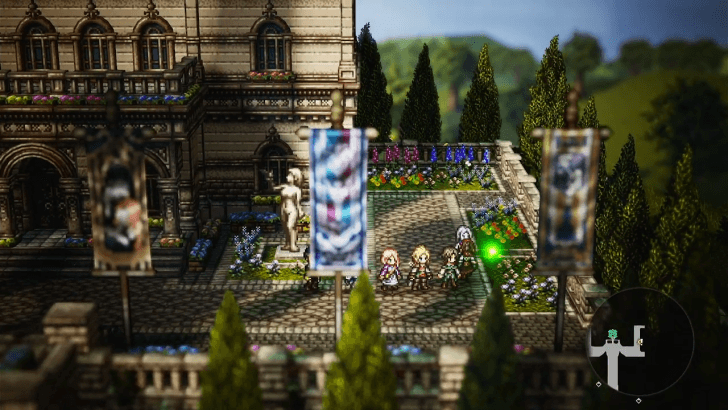 Grab the Flowers Near the Amphitheatre. Head north towards the Amphitheatre and grab the Flowers on the right side flower bed before entering the building. |
| 3 | 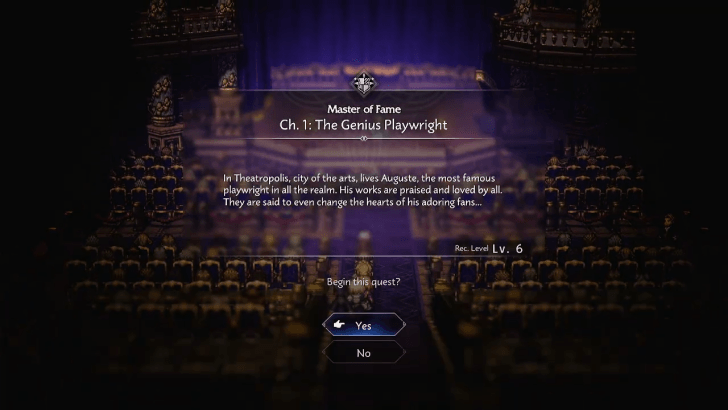 Accept the Quest. Once inside, head up the staircase and head inside the north room. Once inside the theatre, make your way to the stage and accept the The Genius Playwright quest. |
| 4 | 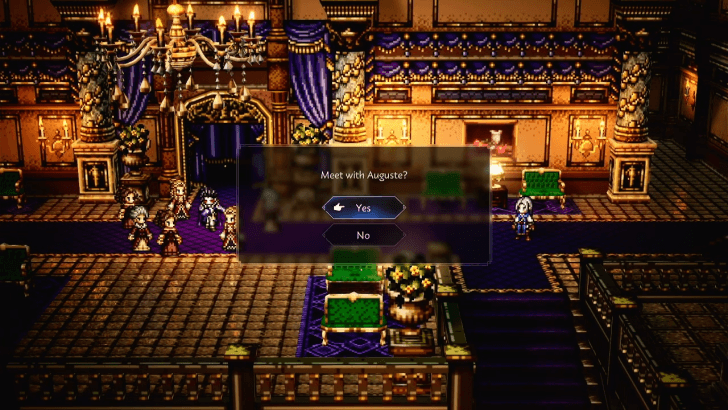 A cutscene will play and there will be a prompt to progress Auguste's dialogue. You can choose any response to complete his dialogue.. |
| 5 | 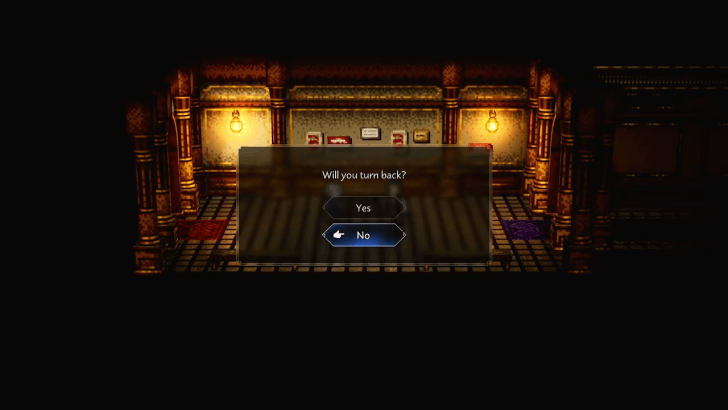 After the cutscene, head left into the left hallway and a mysterious individual named Schwartz will ask you to turn back. You can choose any response to his demand to continue the cutscene. Note: You can save your game progress after the cutscene by interacting with the nearby monument. |
| 6 |  Open the Chest South of the Monument. Follow the path south of the save point and open the treasure chest to get a Healing Grape.  Open the Chest South of the Stage. Make your way down the stage area and open another treasure chest to get a Thunder Soulstone.  Open the Chest South of the Hallway. There's another chest on the right side of the room that contains a Buckler which you can equip on one of your characters.  Open the Chest Inside the Hallway. Enter the passageway north and up the staircase. There's another chest on the right hallway that contains 250 Leaves. |
| 7 |  Open the Chest in the Left Room Enter the leftmost room and open the chest inside to obtain a Double Slam Mastery. 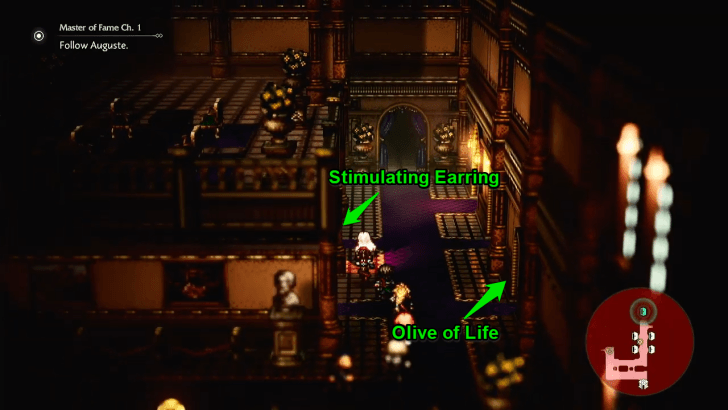 Open the Chests Inside the Two Rooms. Enter the next room for a cutscene with Francesca the Actress. Once you regain control, head to the hallway on the right and enter the first room on the right side to get an Olive of Life from a chest. Next, enter the second room on the left side wall and open a chest to get a Stimulating Earring. |
| 8 | 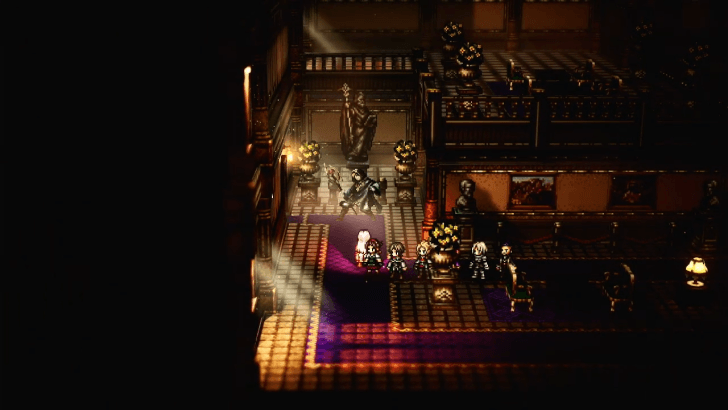 Defeat the Menacing Thespian (Leader). Before heading to the next area, head back to the left side of the room where you can fight an Elite Enemy called the Menacing Thespian (Leader). Note: You don't need to fight this elite enemy to progress, but defeating it will reward valuable items that can improve your town facilities. |
| 9 | 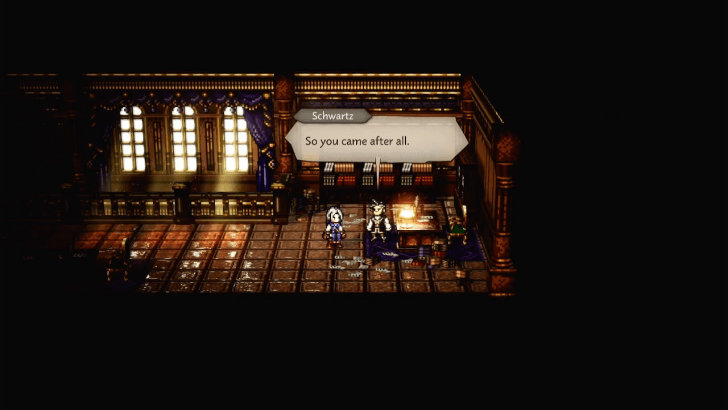 In the next area, head up the stairs to the left and approach Schwartz for a cutscene where Auguste discovers you. |
| 10 | 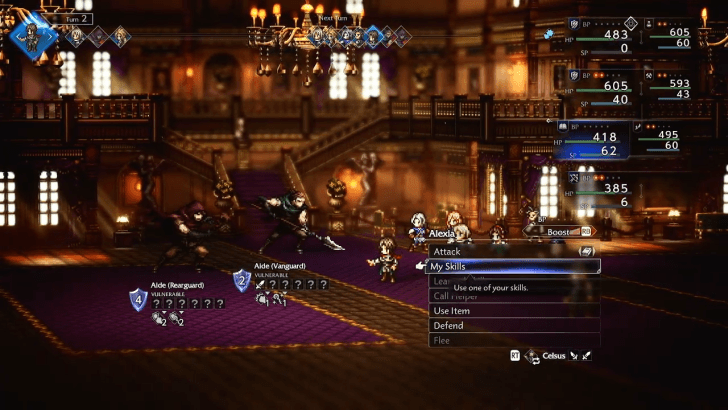 Defeat the Aide (Rearguard) and Aide (Vanguard). You'll need to fight an Aide (Rearguard and Aide (Vanguard) after the cutscene. They are not particularly tough enemies so keep using your strongest attacks and healing when necessary to defeat them. |
| 11 | 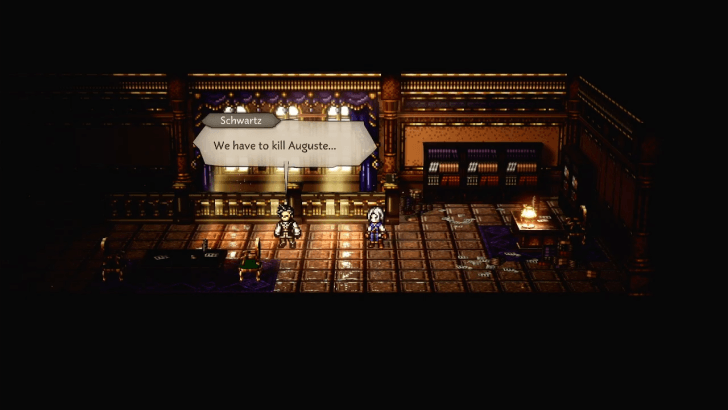 After the battle, a cutscene will play where Schwartz reveals the need to kill Auguste to prevent more innocent deaths, which also ends the chapter. |
The Genius Playwright Walkthrough
Chapter 2 (Master) Walkthrough
A Flower Blooms (Master of Wealth)
| Master of Wealth Questline | ||
|---|---|---|
| Chapter 1 | Chapter 2 | Chapter 3 |
| The Covetous Witch | A Flower Blooms | Herminia the Huntress |
| 1 | 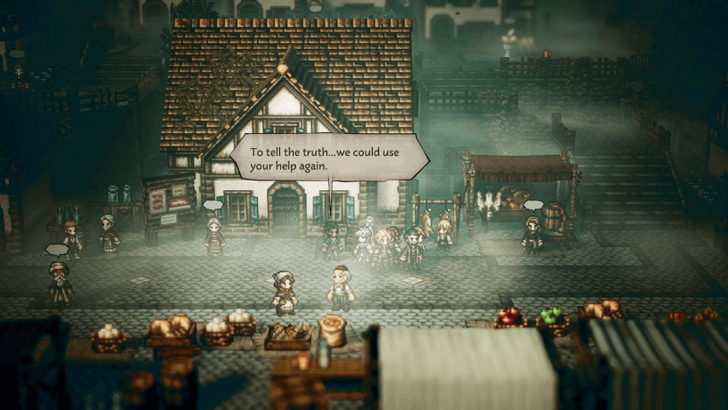 Speak to Bargello. Speak to Bargello on the south side of town in Valore and accept his offer to help him again. |
|---|---|
| 2 | 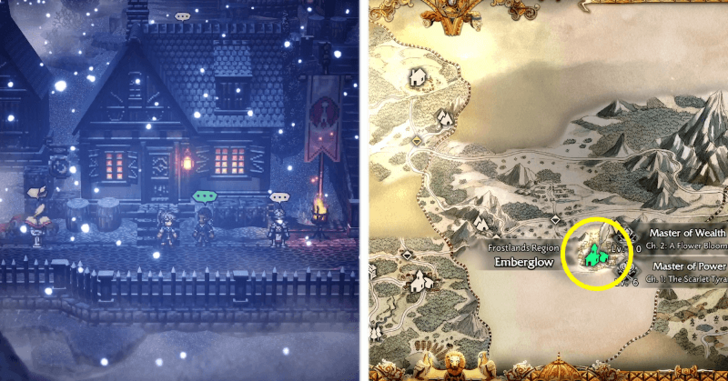 Go to Emberglow in the Frostlands. Travel to Emberglow, located east of Valore via the Valore Trail and the Emberglow Wilds. Once you arrive, meet Bargello near the town entrance. |
| 3 |  Meet up with Taviani at the Snowbloom Ruins. After speaking with Bargello, head to the Snowbloom Ruins in the northern part of the Emberglow Wilds. Meet the crew inside to continue. |
| 4 | 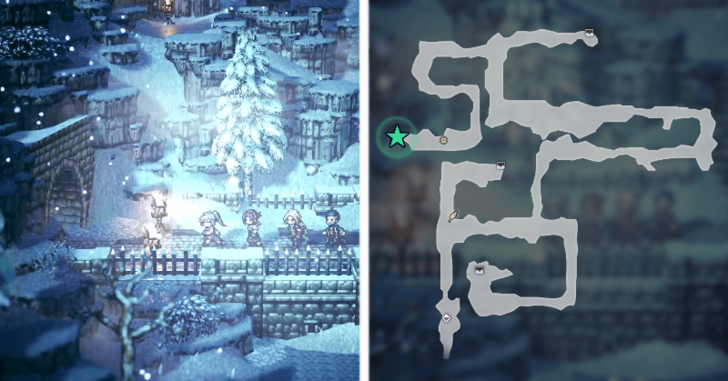 Go to the Subterranean Snow Ruins. Traverse the ruins and make your way to the Subterranean Snow Ruins at the end. The path going there contains Monsters and Treasure Chests for loot. |
| 5 | 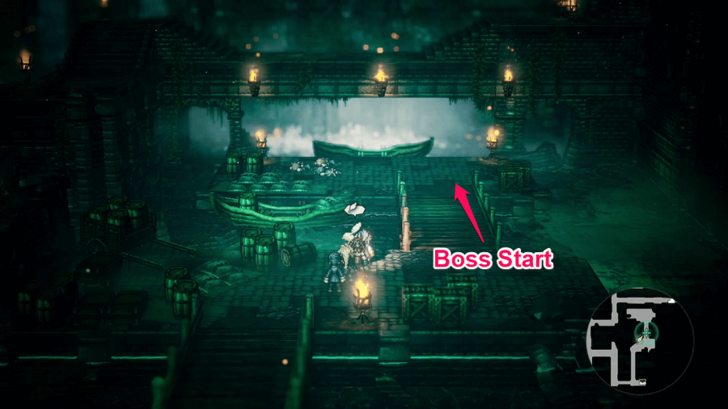 Interfere with Herminia's business deal. Now underground, fight through the Monsters and collect the Treasure Chests along the way. At the end of the path, you will reach a save point. Past the bridge near the save point is the start of the tough Sonia boss fight. Before starting the boss fight, you can return anytime to stock up on paralysis cures and reach at least Lvl. 12. Having a full party of 8 travelers also makes the fight more forgiving. |
| 6 | 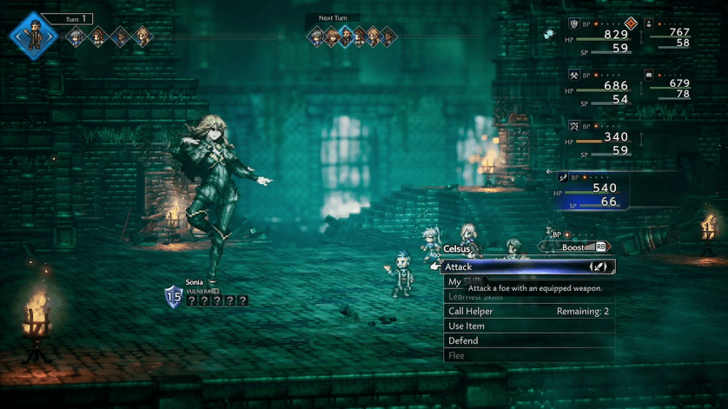 Defeat Sonia. Sonia is fast, evasive, and hits hard with rapid attacks. She can also inflict Paralysis, so bring items like Herbs of Vigor to recover. She ramps up her attacks around 50% HP, so be ready with plenty of healing skills and recovery items. |
| 7 | After defeating Sonia and watching the cutscene, you will be transported back to Valore. Speak to Bargello once more, located inside his tavern on the south side of town, to begin Chapter 3, Herminia the Huntress. |
A Dream of Snow (Master of Power)
| Master of Power Questline | ||
|---|---|---|
| Chapter 1 | Chapter 2 | Chapter 3 |
| The Scarlet Tyrant | A Dream of Snow | Tytos the Thunderblade |
| 1 | 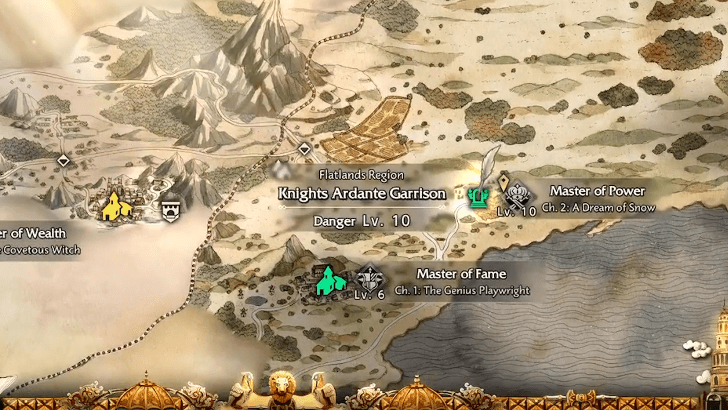 Give the text to the Flatlands' Knights Ardante Your first task is to deliver the text that records Tytus' crimes to the Knights Ardante. Their nearest garrison is found in the Flatlands Region, which is a long way from Emberglow. |
|---|---|
| 2 | 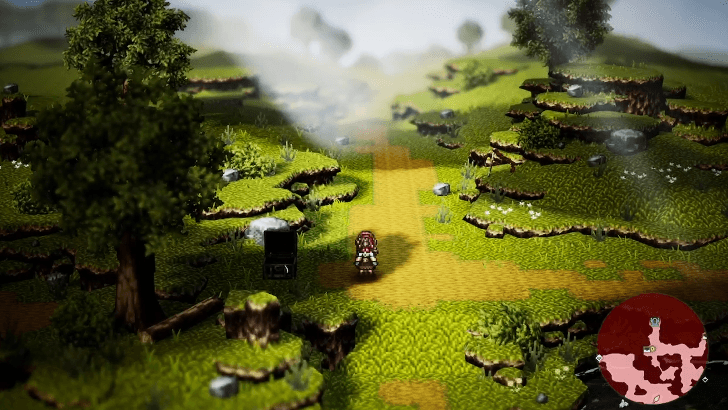 To reach the garrison, exit Emberglow through Emberglow Wilds then head northeast to North Theatropolis Plains. Move one area east from here to reach the central Theatropolis Plains. Go around the area and take the northeast path to reach the Knights Ardante Garrison. |
| 3 | 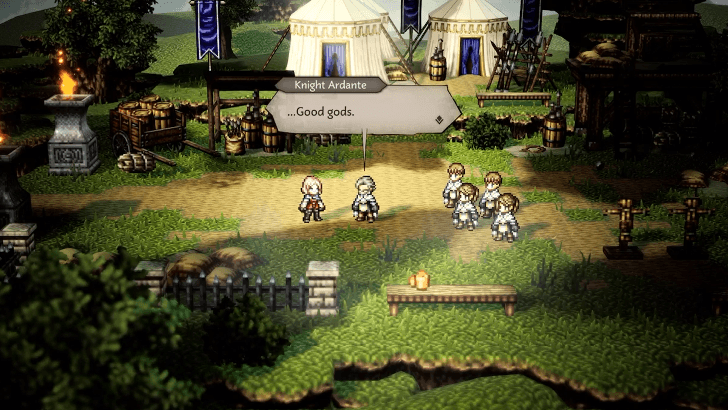 Fight your way to the northeast until you reach the part where the leader of the garrison's Knights Ardante is and trigger a cutscene. |
| 4 | 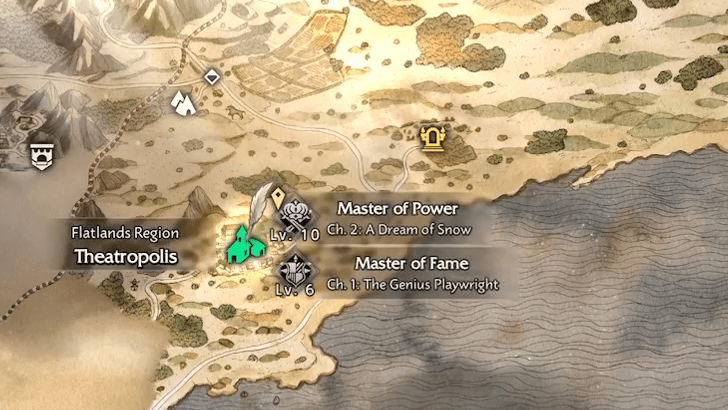 Go to the inn in Theatropolis in the Flatlands Unless you've reached Theatropolis before, you'll have to walk through the garrison maze again to exit the area. Either way, your next destination can be reached by taking the southwest path of Theatropolis Plains. |
| 5 | 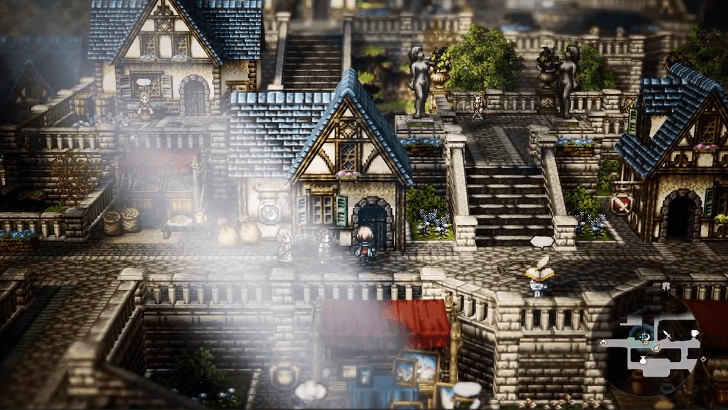 Head to the west side of the first district to find the inn, marked with a "crescent moon" on the map. Enter the inn to trigger a cutscene, as well as rest your entire party. |
| 6 |  Before heading out, go to the northwest section of the district to find Alexia. Complete her very short quest, An Encounter with Alexia, to recruit her and have a Scholar in your party! |
| 7 | 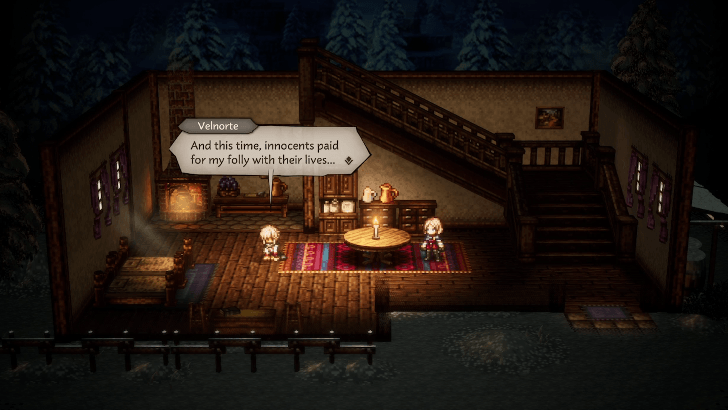 Report the incident to Velnorte Fast travel back to Emberglow and report what happened to the garrison to Velnorte. |
| 8 |  Gather information in Emberglow Go back outside and head for Emberglow's inn. Two cutscenes will trigger once you reach the plaza, one with Tytos and a bishop in front of the cathedral, and one with Rinyuu. Once the cutscenes are over, enter the inn for a couple more cutscenes. |
| 9 |  Follow Velnorte to the mountains The path to the snowswept mountains is just north of Velnorte's house. Return to the East District and take the northeast path to Emberglow Slopes. |
| 10 |  Search for Rinyuu in the mountains Make your way to the northwest section of the area as you follow the objective marker. After crossing the bridge at the top, make sure to save your progress at the Save Point first before proceeding as a boss fight against Jurgen will immediately start after the cutscene. |
| 11 |  Deal with his two Scarlet Wing bodyguards first, as they can get in extra hits that you'd need to use a turn to heal for. Using AoE attacks like Alexia's spells are recommended for this task as they can chip Jurgen's HP as well. Once the Scarlet Wings are defeated, focus on breaking Jurgen's defenses, then go all out with Sword, Axe, or Dark attacks to quickly finish the boss fight. |
Fit for a Tragedy (Master of Fame)
| Master of Fame Questline | ||
|---|---|---|
| Chapter 1 | Chapter 2 | Chapter 3 |
| The Genius Playwright | Fit for a Tragedy | Auguste, Prince of Thieves |
| 1 | 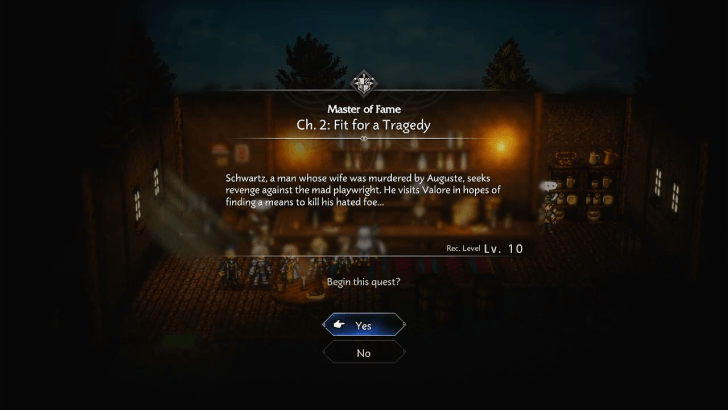 Speak to Schwartz in Valore Make your way to Valore in the Woodlands Region and speak to Schwartz inside the bar after completing The Genius Playwright to start the quest and a cutscene. |
|---|---|
| 2 | 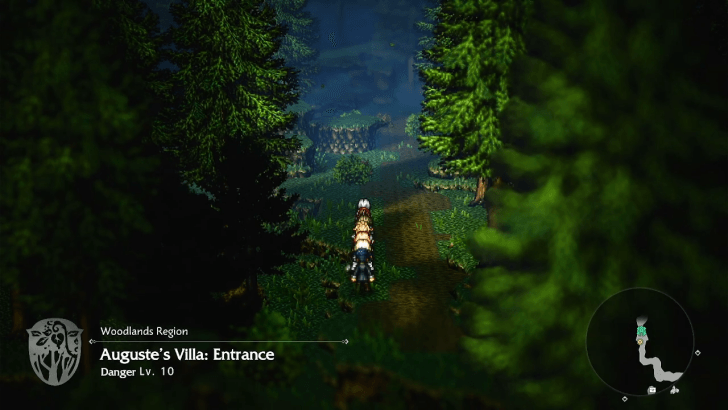 Head Northwest to Reach Auguste's Villa Exit the bar and head right and then north to Valore Trail where you need to travel northwest to reach Auguste's Villa: Entrance. |
| 3 | 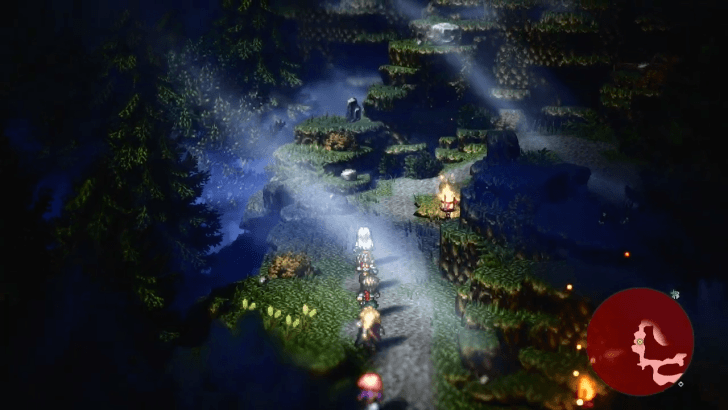 There's a save monument as soon as you enter Auguste's Villa: Entrance. When ready, follow the path west and cutscene will play as you follow the path northwest. Once the cutscene ends, keep following the path until you reach the villa up north. |
| 4 | 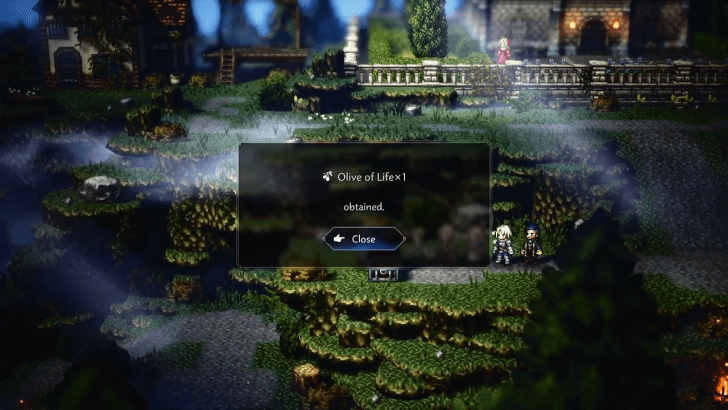 Open the Chest Outside the Villa Open the chest on the left side path just outside the village to get an Olive of Life. 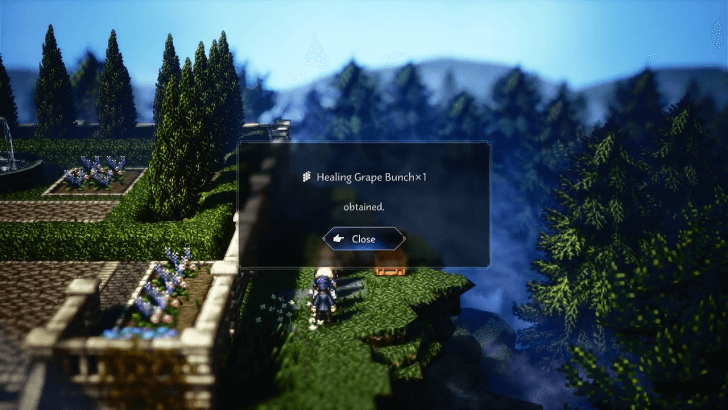 Open the Chest Right of the Villa Head to the right path just outside the villa's entrance and open the chest that contains a Healing Grape Bunch. |
| 5 | 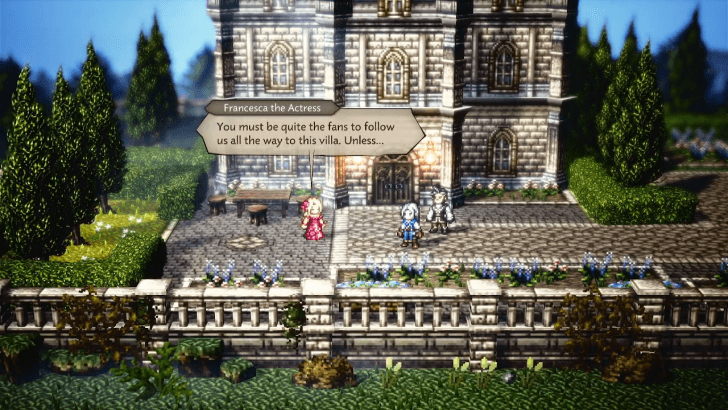 Speak to Francesca Head left and approach Francesca just outside the villa for a cutscene. |
| 6 | 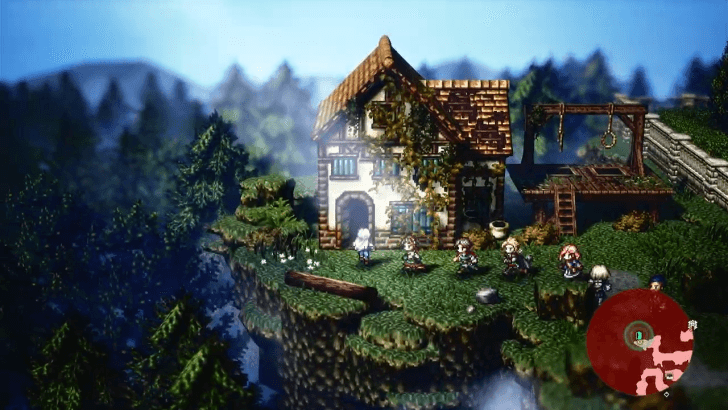 Go to the Cabin Exit the villa premises and head left to the cabin next to the gallows. Head inside and approach Schwartz for another cutscene where you look over Auguste's Journal and discover the key to the villa. Make your way back to the villa and enter for another cutscene. |
| 7 | 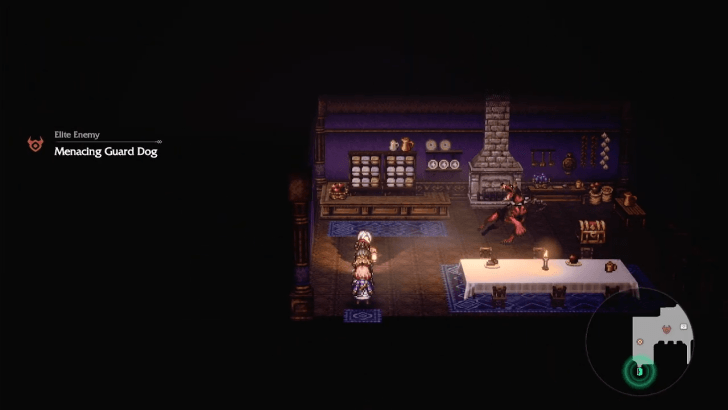 Defeat the Menacing Guard Dog You'll end up inside Auguste's Villa after the cutscene. Head left and into the kitchen where you'll need to fight a Menacing Guard Dog Elite Enemy to open the chest that contains an Invigorate and Inspire Mastery. |
| 8 | 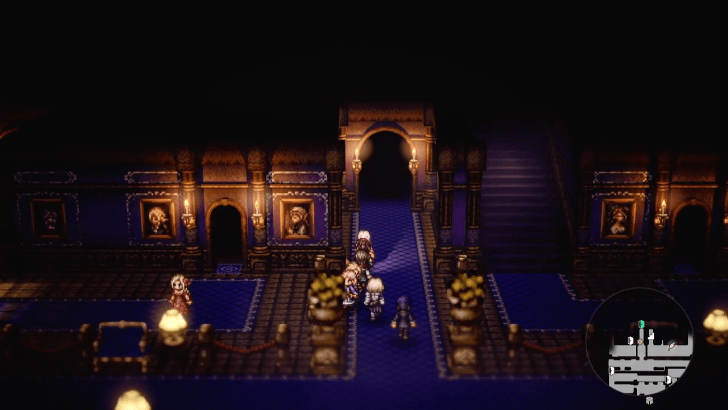 Head up the staircase and follow the path north to the next area. 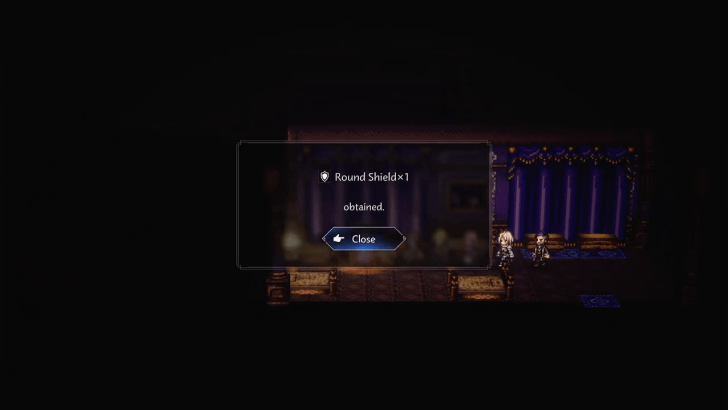 Open the Chest Inside the Room Enter the very first room in this area and open the chest to get a Round Shield that you can equip on one of your characters. |
| 9 | 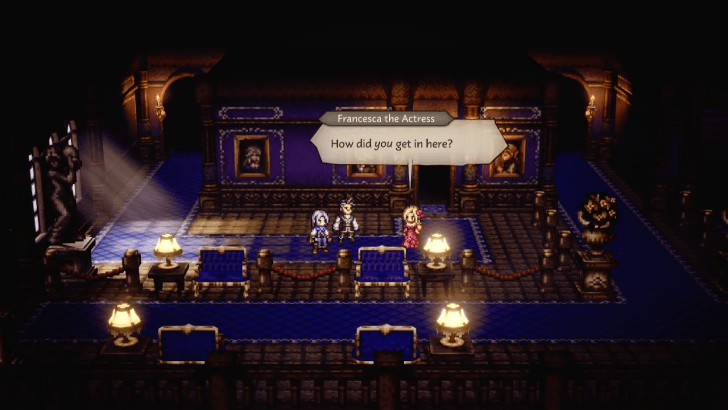 Exit the room with the chest, follow the path left and go to the southern exit to reach Francesca for another cutscene. 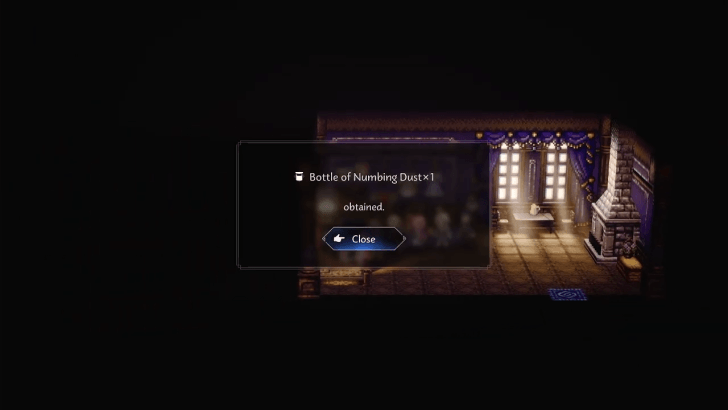 Open the Chest Inside the Room Head inside the room where Francesca was standing outside and open the chest to get a Bottle of Numbing Dust. |
| 10 | 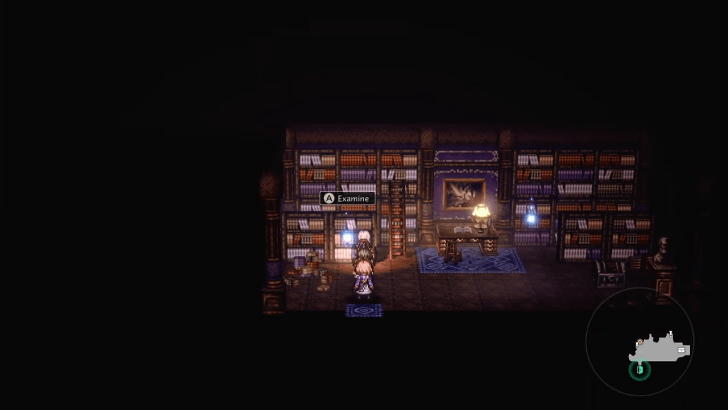 Enter the Library Room Follow the path right and enter the library room next to the Save Monument just before heading up. Inspect the bookcases to receive a Battle Music Score III, Battle Music SCore VIII, and a chest that contains an Ancient Necklace. |
| 11 | 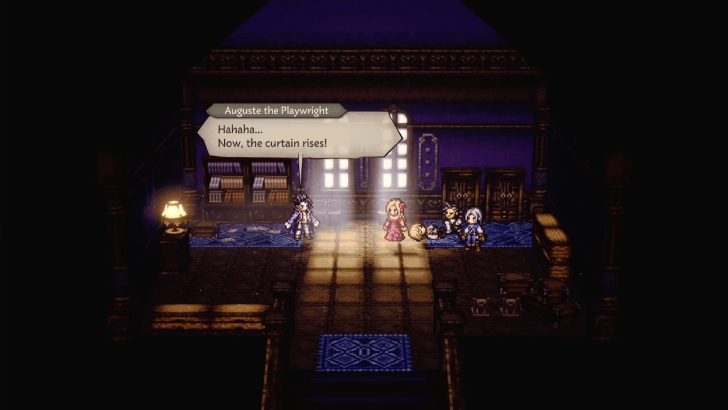 Head up the stairs for a cutscene where Auguste forces Francesca to choose between him and her son. |
| 12 | 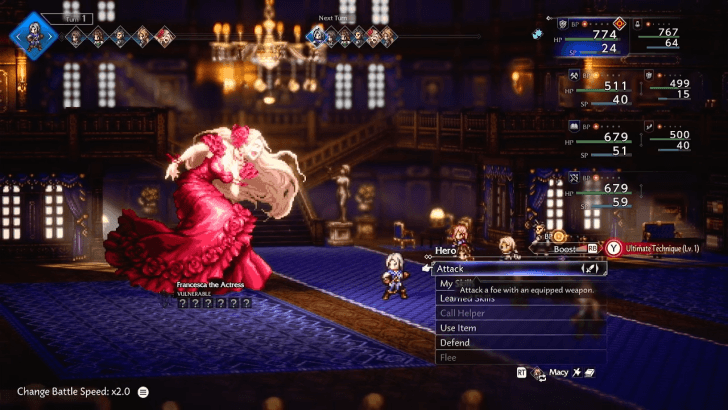 Defeat Francesca the Actress Francesca has lost her mind and will attack you after the cutscene. We recommend stocking up on SP Recovery Items such as Inspiriting Plums since her Song of a Broken Soul will reduce SP on top of dealing damage. We also recommend having one of your characters place debuff on her, particularly Accuracy Down, and Phys.Atk. Down to lower the damage of her attacks. |
| 13 | 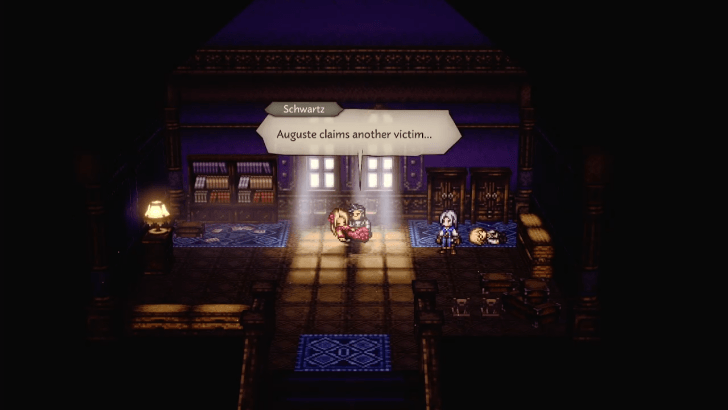 Once Francesca is defeated, she dies in Schwartz's arms and he vows to get revenge on Auguste, which also concludes the chapter. |
Chapter 3 (Master) Walkthrough
Herminia the Huntress (Master of Wealth)
| Master of Wealth Questline | ||
|---|---|---|
| Chapter 1 | Chapter 2 | Chapter 3 |
| The Covetous Witch | A Flower Blooms | Herminia the Huntress |
| 1 |  Speak to Bargello. Find Bargello inside his hideout in Valore to start the quest. The building is at the south end of the first area. |
|---|---|
| 2 | 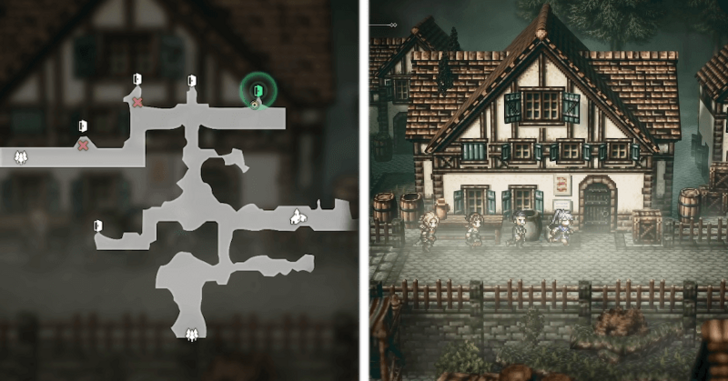 Go to Rosso's hideout. Go to Rosso’s hideout in the Valore Main Boulevard on the north side of the area. Entering the building will trigger the boss fight with Rosso immediately after the cutscene, so make sure you are stocked up on HP and SP, and save beforehand just in case. |
| 2 |  Defeat Rosso. Rosso deals heavy damage and frequently enters a phase where he becomes highly resistant to both Physical and Elemental attacks. Even though your damage will be low during his resistance phases, you can still break his Shield Points, so prioritize multi-hit BP attacks to break his guard. |
| 4 | 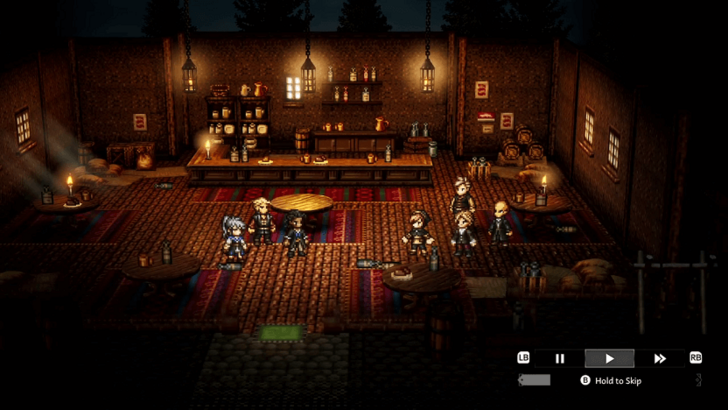 Return to Bargello's hideout. Before returning to Bargello’s hideout, rest to recover your HP and SP, as heading there will automatically transition you to Herminia’s Manse after the cutscene. |
| 5 | 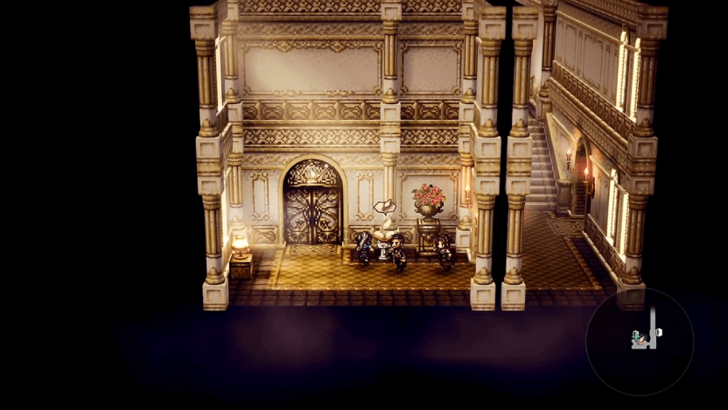 Search for Lady Herminia. Enter the mansion and turn left. The door will be locked, so you must explore the rest of the mansion to find the key. Expect random hostile encounters along the way. |
| 6 | 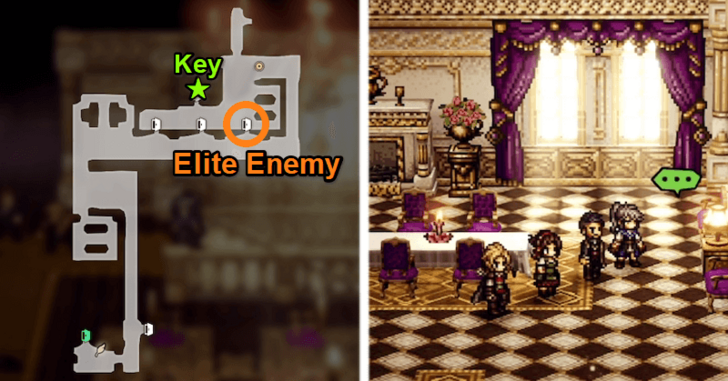 Search for the key to the locked door. The key is located in the northernmost part of the mansion, up the stairs. There are several chests on the way there, as well as the Elite Enemy: Herminia's Mighty Soldier II in the room just before the key room. |
| 7 | 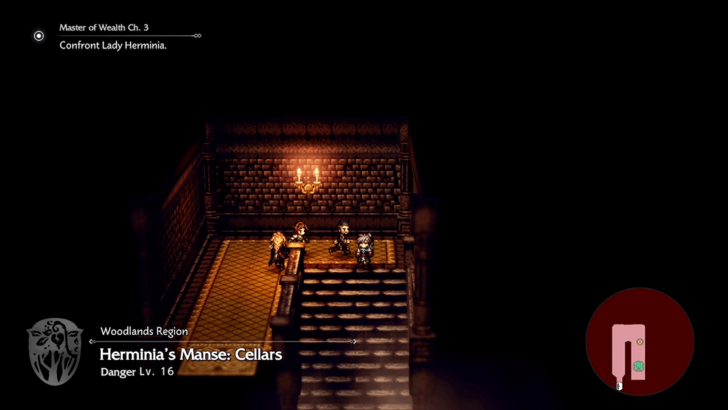 Unlock the door. Head back to the locked door and open it with the key. This leads to the Herminia's Manse Caverns area below. |
| 8 | 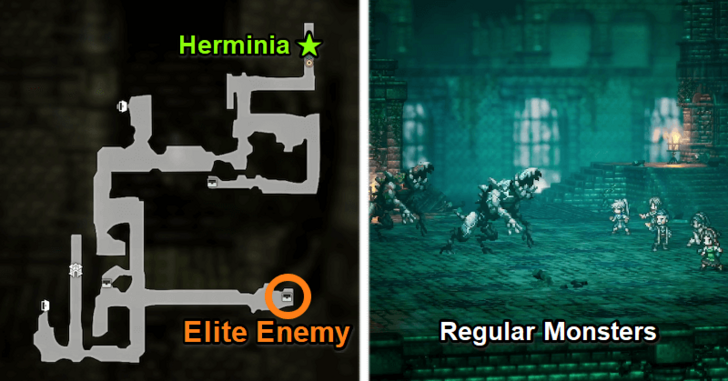 Confront Lady Herminia. Traverse the caverns and defeat the Monsters along the way. An Elite Enemy: Menacing Sticky Slug can be found on the southeast side of the area. The door to the Herminia boss fight is located in the northernmost section of the caverns. |
| 9 | 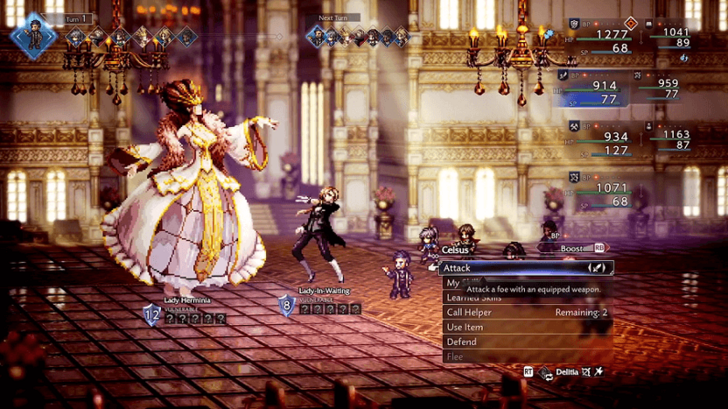 Lady Herminia (First Phase) Lady Herminia is accompanied by her Lady-in-Waiting, who can both attack you and heal Herminia. Focus on Lady Herminia first, breaking her guard to prevent her dangerous sleep attacks. The Lady-in-Waiting’s healing is small, and her attacks are weak compared to Herminia's. She transitions to a second phase after both her and the Lady-In-Waiting are defeated. |
| 10 | 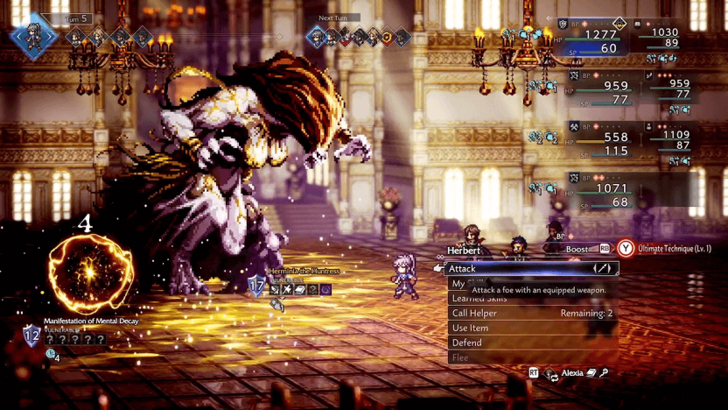 Herminia the Huntress (Second Phase) In her second phase, Herminia has increased HP and Shield Points. Watch out for when she summons the Manifestations of Mental Decay, as they count down to unleash a devastating attack. Prioritize destroying the Manifestations when they appear to avoid the attack, but be careful if one casts the All-Attack Counter Stance. Avoid attacking it until the effect ends. |
| 11 | 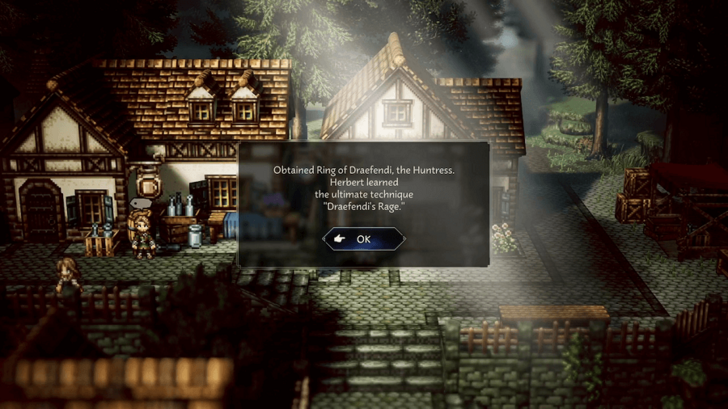 After winning the battle, you will be transported back to Valore and unlock the ultimate technique: Draefendi’s Rage. You can then continue by completing the Master of Power or Master of Fame questlines, or start the The Rings Sealed Away quest once all three are finished. |
Herminia the Huntress Walkthrough
Tytos the Thunderblade (Master of Power)
| Master of Power Questline | ||
|---|---|---|
| Chapter 1 | Chapter 2 | Chapter 3 |
| The Scarlet Tyrant | A Dream of Snow | Tytos the Thunderblade |
| 1 |  Aid the hunter in hunting down a snow yak After the cutscenes at the beginning of the quest, head north to Emberglow Slopes and make your way to the northwest section of the map, exactly where you fought Jurgen during the last quest. |
|---|---|
| 2 |  Make sure to save at the Save Point before approaching the hunter as the two Snow Yaks that you'll fight are actually minibosses that can bulldoze your team. They are weak to Sword, Axe, Fire, and Light attacks. Focus on one of the Snow Yaks first, or use AoE attacks, to make the fight more manageable. |
| 3 | 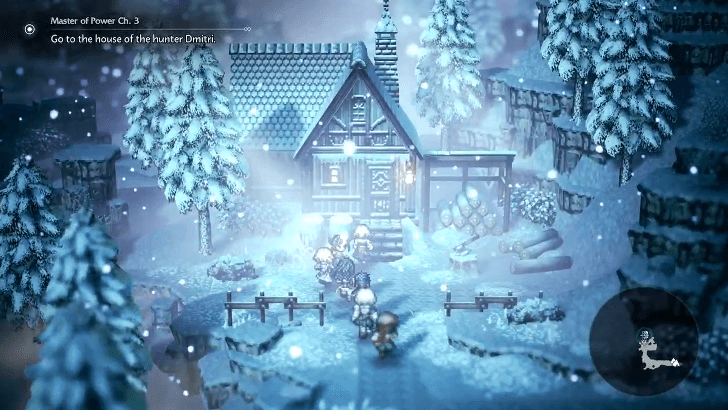 Go to the house of the hunter Dmitri From the Save Point, take the southwest path and follow it all the way to the west until you reach the hunter's house. |
| 4 | 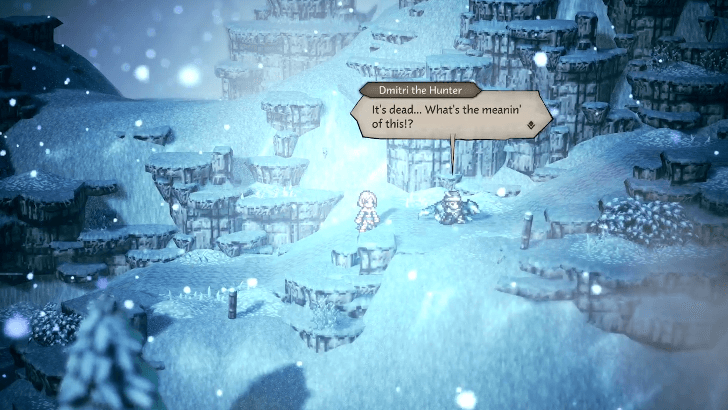 Go to where the monster was heard Go back outside and up the slope to the east to find a dead wolf. Soon after, you'll hear Rinyuu's cry from the cabin, prompting you and the hunter to run back to check on her. |
| 5 | 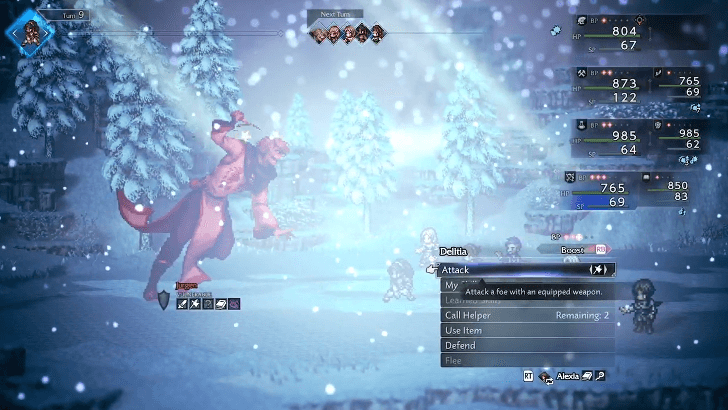 There, you'll find and fight Jurgen again. He will still be weak to Sword, Axe, Bow, Tome, and Dark attacks and will use the same attacks as before. However, he will be much stronger this time around, so keep your party healed at all times. |
| 6 | 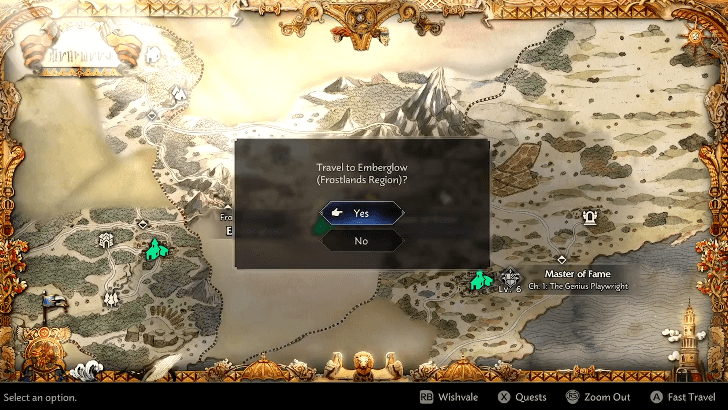 Go to Velnorte's house Fast travel to Emberglow and head to the East District to look for Velnorte. Upon entering his house, you'll notice a green speech bubble on the desk. It's a letter from Velnorte with mentions of his grand plan in the ceremony. |
| 7 |  Go to the Ceremonial Square Exit the house and head west. The Ceremonial Square is just through the pathway north of the main plaza. |
| 8 | 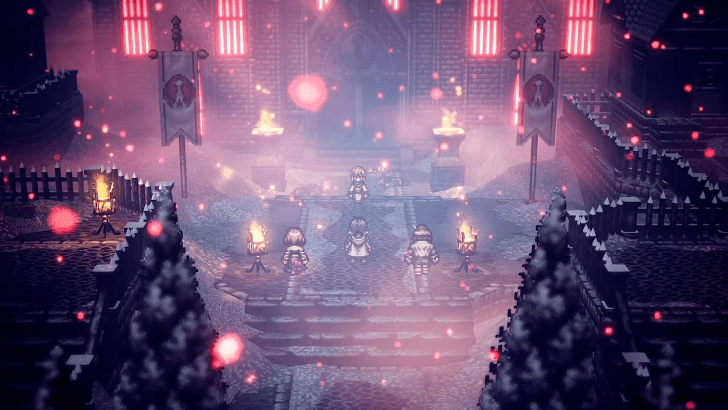 Fight your way up while checking inside houses for chests until you find Velnorte in front of the cathedral. |
| 9 | 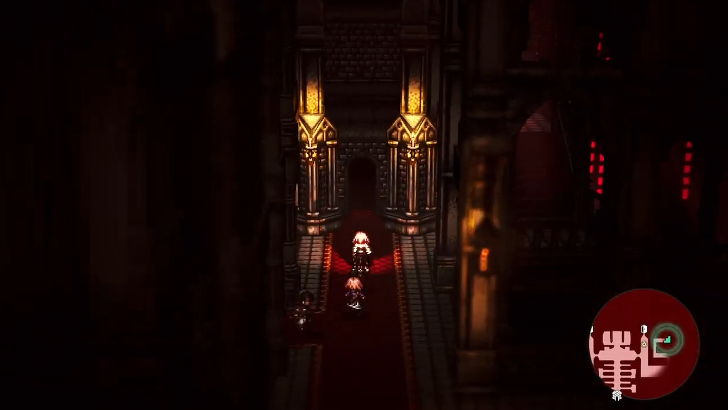 Confront the hero Tytos Enter the cathedral and take the stairs on the right side. Be on the lookout for doorways that don't appear on the minimap until you get close enoough as their rooms might contain chests. |
| 10 |  Once on the second floor, you can either go straight to the main objective by taking the stairs on the other side or continue going up to find an isolated room with a chest. Continue following the objective marker when you're done exploring. |
| 11 |  Go to the central room and take the time to save your progress, as exiting through the south door starts the fight against Commander Tytos. |
| 12 | 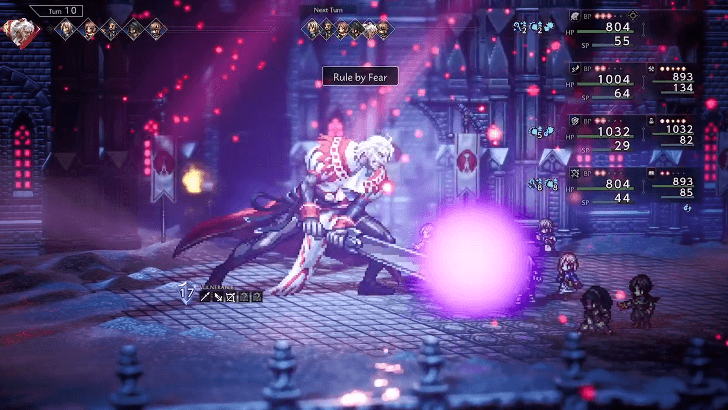 Commander Tytos is weak to Spears, Daggers, Bows, Wind, and Light. Make sure to have plenty of attacks with these types to quickly break Tytos. Have lots of Herb of Valor prepared as well to remove the Terror status that Tytos often inflicts on your members using Rule by Fear. This debuff prevents the target from gaining BP, which puts you in a huge disadvantage when placed on members that can exploit Tytos' weaknesses. |
| 13 | 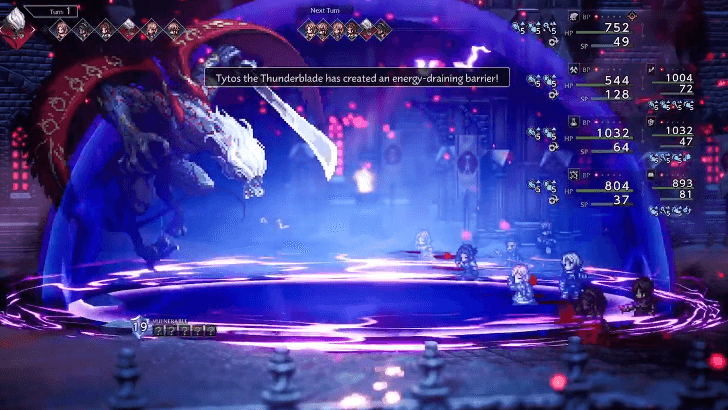 In the second phase, Tytos will start by putting up a barrier that drains 1 BP from the front row members per turn. This will make it harder for your party to break Tytos as he can also still inflict Terror on your members. The only way to break the barrier is to deplete Tytos' Shield Points. Fortunately, those in the back row when the barrier was placed will be unaffected, so you can let them passively gain BP before switching them in for a multi-hit attack. Lastly, check your Skills list for Skills that can multi-hit and exploit Tytos' weaknesses at the same time, as these will be very handy in breaking Tytos. |
Tytos the Thunderblade Walkthrough
Auguste, Prince of Thieves (Master of Fame)
| Master of Fame Questline | ||
|---|---|---|
| Chapter 1 | Chapter 2 | Chapter 3 |
| The Genius Playwright | Fit for a Tragedy | Auguste, Prince of Thieves |
| 1 |  Speak to the Man in the Plaza Speak to the man in the plaza south of the Amphitheatre to start the chapter. After the cutscene, enter the Amphitheatre and up the left staircase for another cutscene. |
|---|---|
| 2 | 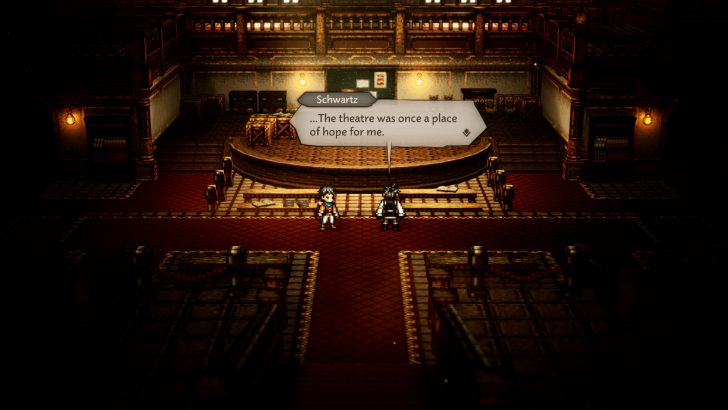 Enter the Rehearsal Room After the cutscene, head left into the Rehearsal Room and approach the stage in the lower floor for another cutscene. After the cutscene, enter the Dressing Room and make your way to the room where you fought the Aide (Vanguard and Rearguard) boss during The Genius Playwright for another cutscene. |
| 3 | 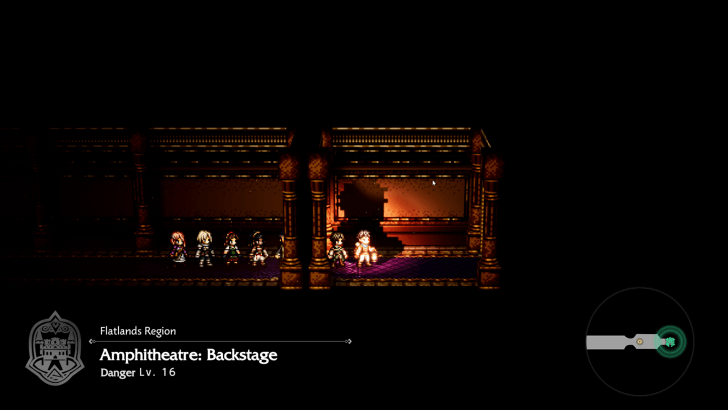 Enter the Backstage Area After the cutscene, exit the room and enter the hallway directly right to reach the Amphitheatre's Backstage area. 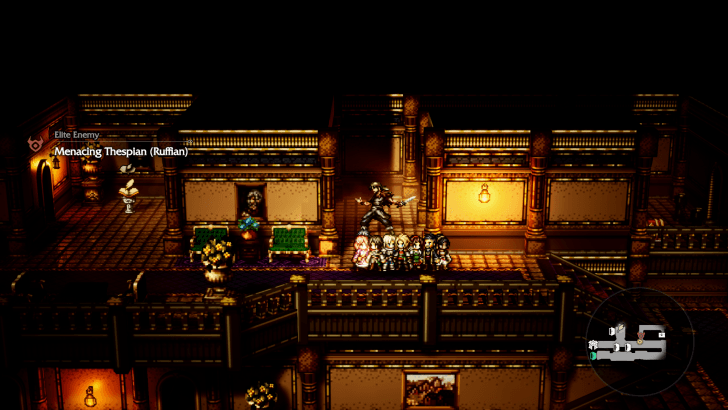 Defeat the Menacing Thespian There's a save monument here as well as a Menacing Thespian (Ruffian) blocking the hallway that leads to a chest that contains a Critical Cuffs. |
| 4 | Defeat the Menacing Thespian There's a save monument here as well as a Menacing Thespian (Ruffian) blocking the hallway that leads to a chest that contains a Critical Cuffs. |
| 5 | 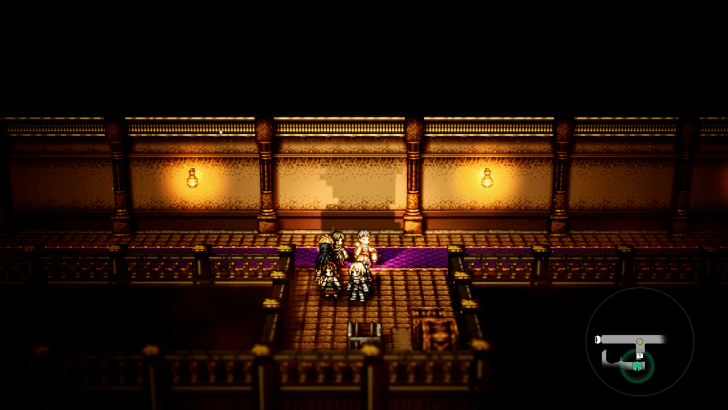 Head down the stairs and follow the path left through the hallway leading south into the next area. Follow the path down and through the staircaise leading to the next area to trigger a cutscene. |
| 6 |  Once you arrive at the Amphitheatre: Underground, enter the very first room and save your game on the Save Monument. Head up the stairs for a short cutscene with Schwartz and prepare for a boss fight. |
| 7 | 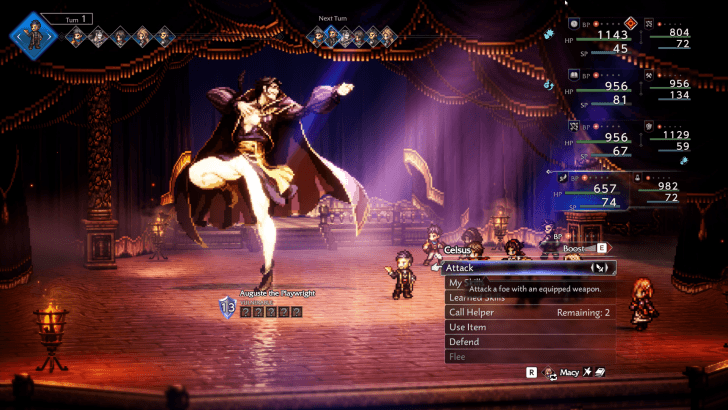 Defeat Auguste the Playwright Auguste the Playwright has a movecalled Fatal Sentence that will instantly kill a character after 6 turns. You'll need to break his shield within six turns to remove the timer and prevent the targeted character from dying. Auguste has hard hitting attacks and can also buff himself, so focus on using Sword, Polearm, Axe, Ice, and Dark attacks to quickly reduce his shield and prevent him from using Fatal Sentence. |
| 8 |  After the fight, a cutscene reveals that the Auguste you've just defeated was an impostor and the Schwartz you've been accompanying was actually Auguste the whole time, and will then transform into a monstrous form for another boss fight. |
| 9 | 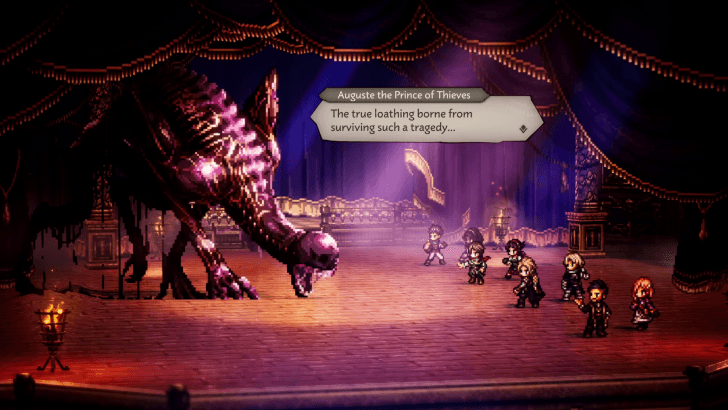 Defeat Auguste the Prince of Thieves A Ruinous Rancor will periodically appear alongside Auguste the Prince of Thieves. You'll want to prioritize breaking and defeating the Ruinous Rancor to get rid of the deadly zone that appears during the fight. Alexia is great for this fight since she can use Duskblight to deal damage to both the Ruinous Rancor and Auguste, which helps speed up breaking both their shields. Auguste the Prince of Thieves will also change his weakness after a few turns. Have Alexia use Analyze to figure out his current weakness, then prioritize breaking his shield to avoid getting hit by his Ire of the Prince of Thieves attack which can easily KO several party members. |
| 10 | 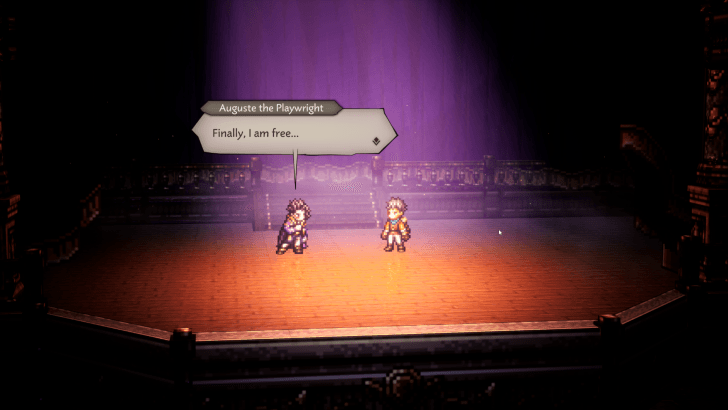 After the fight, Auguste will thank you for finally defeating him and breaking his cycle. A funeral will be held outside the Amphitheatre and Simeon the Poet will reveal that Schwartz was Auguste's name in the past before he became famous, which also concludes the chapter. |
Auguste, Prince of Thieves Walkthrough
The Rings Sealed Away Walkthrough
| 1 | 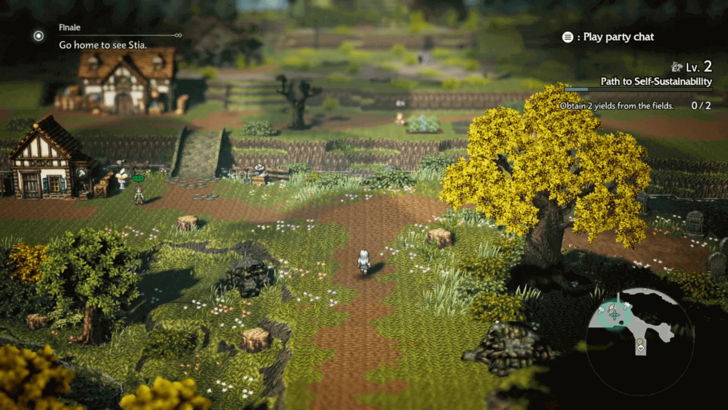 Go home to see Stia. Fast travel to Wishvale and speak with Stia. |
|---|---|
| 2 | 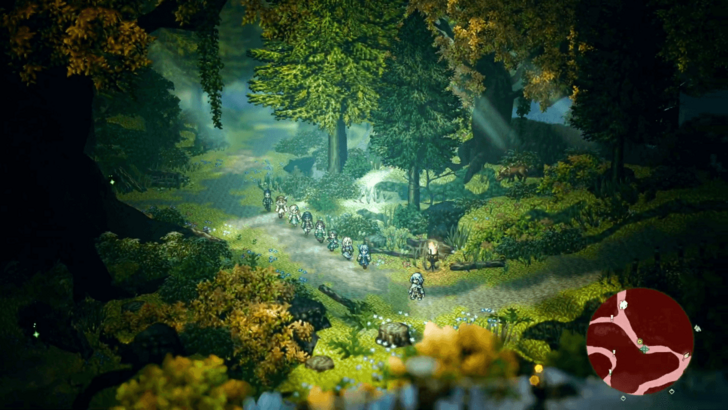 Speak with Sazantos. After the cutscene, head to the Wishvale Trail and talk to Sazantos. |
| 3 | Once the dialogue ends, you'll have to win a fight against Sazantos. Sazantos' Transcendent Light deals heavy damage, so maintain high HP throughout the fight.
▶︎ List of All Skills |
| 4 | 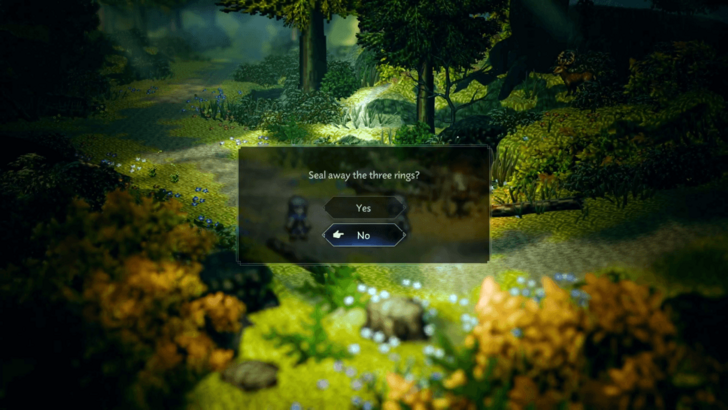 After defeating Sazantos, you will have the choice of sealing away the three rings. Choose any response and Sazantos will join your party. |
| 5 | 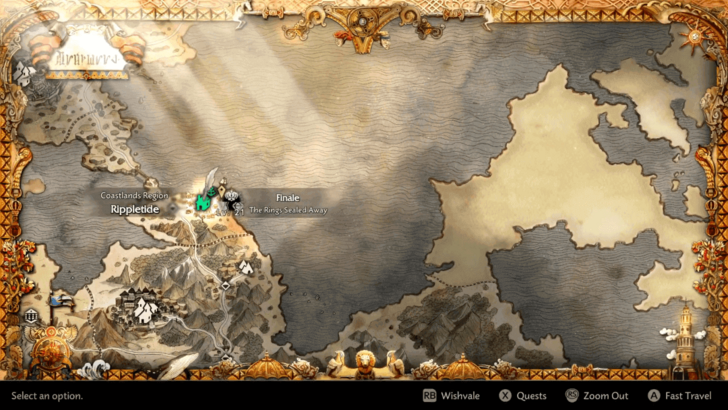 Go to Rippletide in the Coastlands. Go to Rippletide in the Coastlands Region. If you haven't unlocked Rippletide yet, you can fast travel to Theatropolis first, as it's the nearest neighboring town, and then take the road from there. |
| 6 |  Upon arriving at Rippletide, head to the dock and talk to the Flame Knight in front of the ship to trigger a scene. |
| 7 | 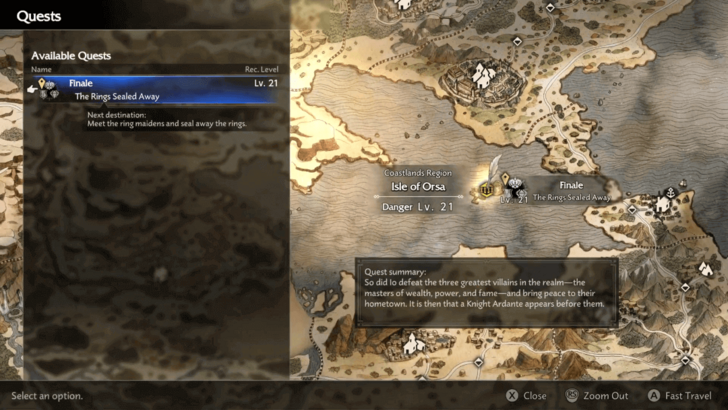 Speak with the Flame Knight Ardante. You can make preparations before heading to the next destination. Once you're ready, speak with the Flame Knight Ardante again to go to the Isle of Orsa. |
| 8 | 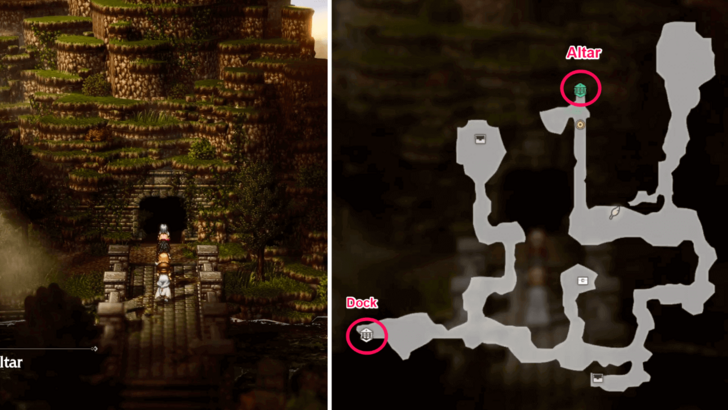 Meet the ring maidens and seal away the rings. When you arrive at the Isle of Orsa, make your way to the northeast to find the Altar and meet the ring maidens who will seal the rings. |
| 9 | 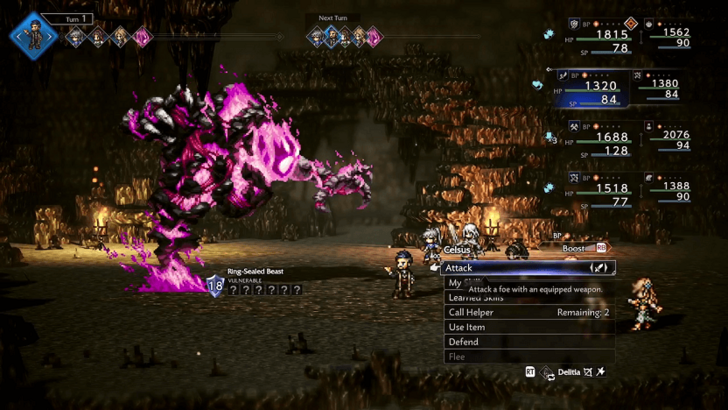 Sealing the rings will fail and you'll end up fighting the monster sealed within. The Ring-Sealed Beast is not very strong, you can easily eliminate it by actively aiming for Break from the start and continuing to deal high damage. |
| 10 | 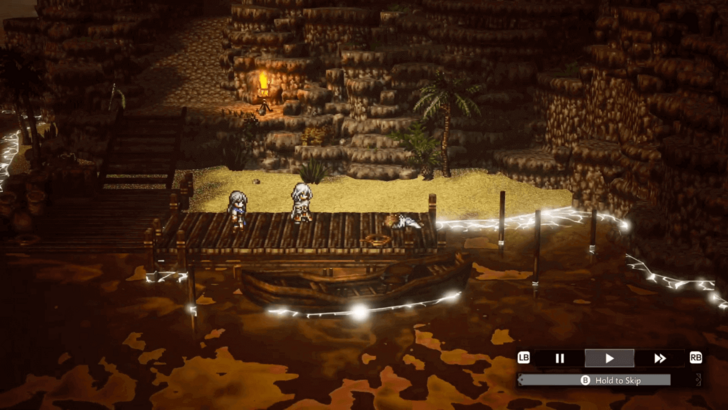 Head to the docks. Once you defeat the Ring-Sealed Beast, the ring maidens will proceed to bind the rings. When you regain control, simply return to the docks to trigger a cutscene and complete the Finale chapter. |
The Rings Sealed Away Walkthrough
Kindlers of the Flame Walkthrough (Part 2)
The Merchant Ludo
| Kindlers of the Flame Questline | |
|---|---|
| Ch. 1 | The Hunter Phenn |
| Ch. 2 | The Young Boy Basil |
| Ch. 3 | The Merchant Ludo |
| Ch. 4 | The Cleric Laurana |
| Ch. 5 | The Protagonist |
| 1 | 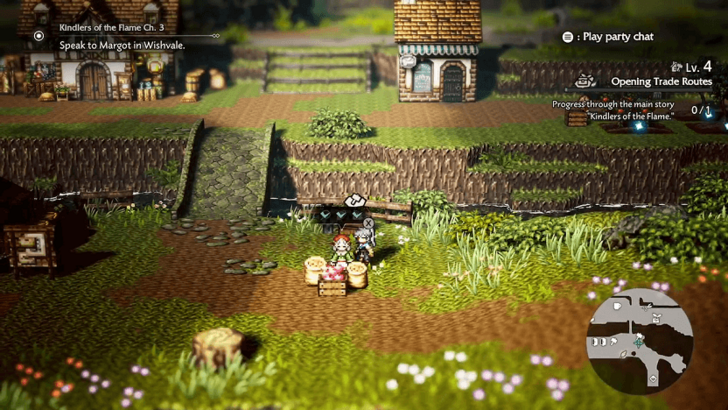 Speak to Margot in Wishvale After reaching Town Level 4 and clearing some rubble, speak to Margot near Wishvale's entrance to begin Chapter 3, The Merchant Ludo. |
|---|---|
| 2 |  Search for skilled merchants in Sunshade. Travel to Sunshade in the Sunlands Region. You can reach it by going east from Clearbrook in the Riverlands Region, or west from Shepherds Rock in the Highlands Region. Once there, speak to the merchants on your right just as you enter the town. |
| 3 |  Search for the merhcant Ludo. Head to the northwest section of the town to get information on Ludo's whereabouts. He is on an eastern trade route fighting lizardmen, so you must go there to help him. |
| 4 | 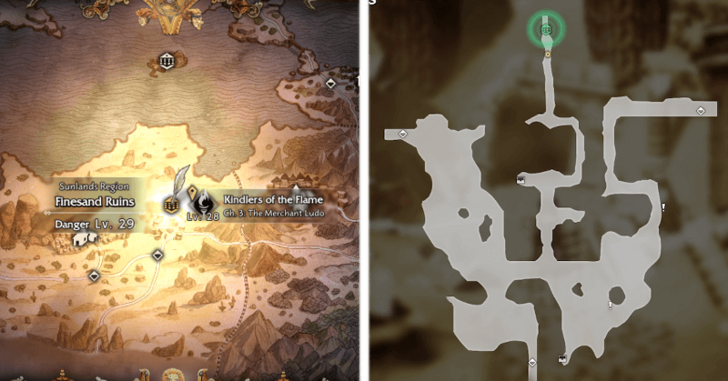 Defeat the lizardmen infesting the trade route. Go outside the town and head east towards the Eastern Sunshade Sands zone. Locate the Finesand Ruins cave in the north of the area. |
| 5 | 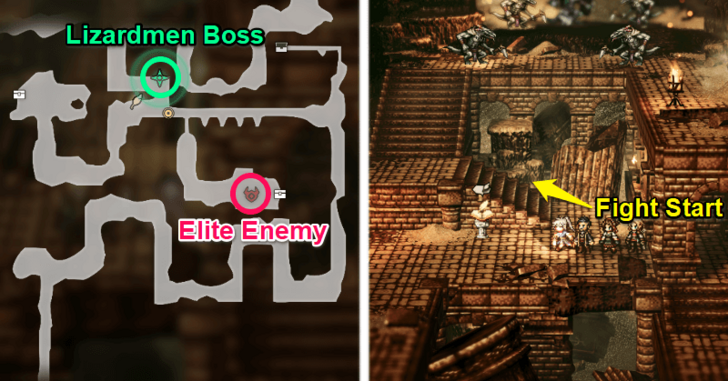 Inside the ruins, the main fight begins as soon as you step on the stairs near the save point, located on the northern side of the area, so make sure you are fully prepared before heading up. The dungeon also contains the Elite Enemy: Menacing Desert Worm in the center. |
| 6 | 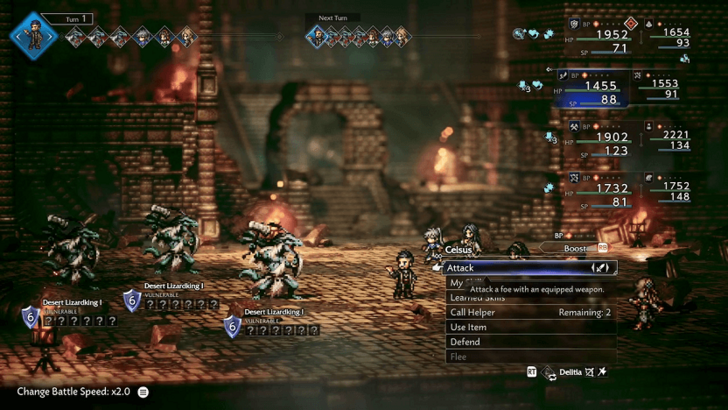 You must first defeat three Desert Lizardking I's. They all have a high Speed stat and will likely turn first before your slower party members. |
| 7 | 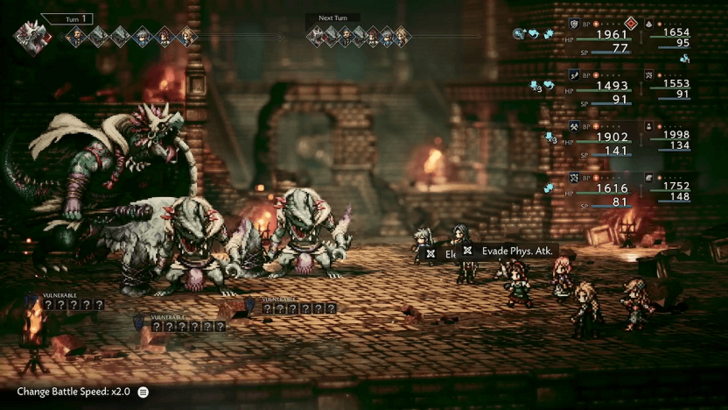 After defeating the Lizardkings, you face the Lizardmen Leader, accompanied by two different Desert Lizardkings. The leader has high Speed and will act early on the turn order, so plan your moves carefully. Bring Herbs of Healing or negative status-nulling Skills to counter the Lizardmen Leader’s poison attacks. |
| 8 | 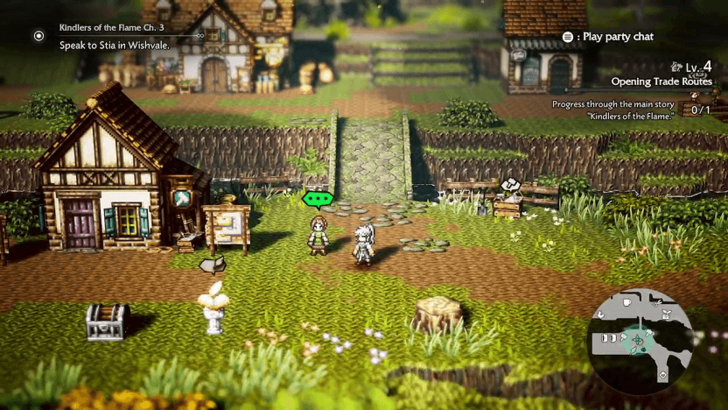 Speak to Stia in Wishvale. Once the enemies are defeated, Ludo joins Wishvale as a resident and becomes an available companion. Afterward, return to Wishvale and speak to Stia to conclude the quest. |
The Cleric Laurana
| Kindlers of the Flame Questline | |
|---|---|
| Ch. 1 | The Hunter Phenn |
| Ch. 2 | The Young Boy Basil |
| Ch. 3 | The Merchant Ludo |
| Ch. 4 | The Cleric Laurana |
| Ch. 5 | The Protagonist |
| 1 | 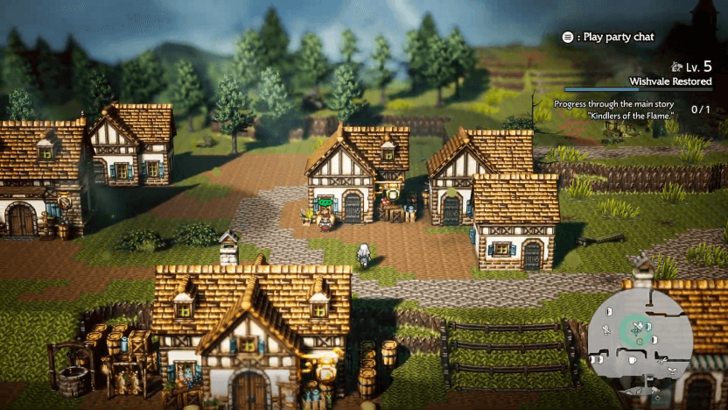 Speak to Ludo in Wishvale. Around the halfway point of the Town Level 5: Wishvale Restored objective bar, speak to Ludo in the village to begin the quest. |
|---|---|
| 2 | 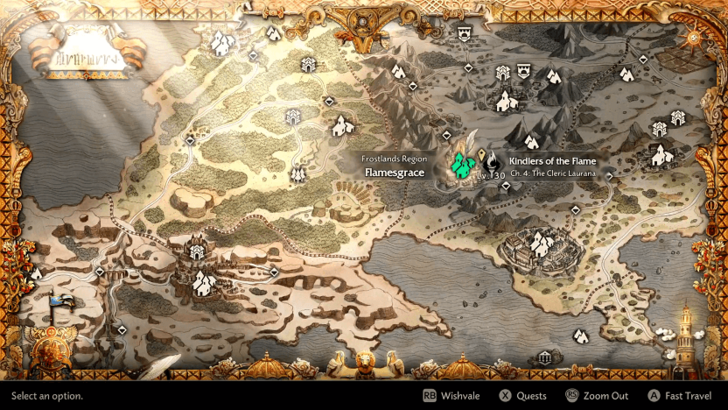 Search for Laurana in Flamesgrace. Head to Flamesgrace, the southernmost city in the Frostlands Region. Laurana will be inside the Flamesgrace Cathedral in the center of town, which you can freely enter and then speak to her. ▶︎ Orsterra Map and List of Regions |
| 3 |  Return to Wishvale. Travel back home, and a cutscene will immediately play. |
| 4 | 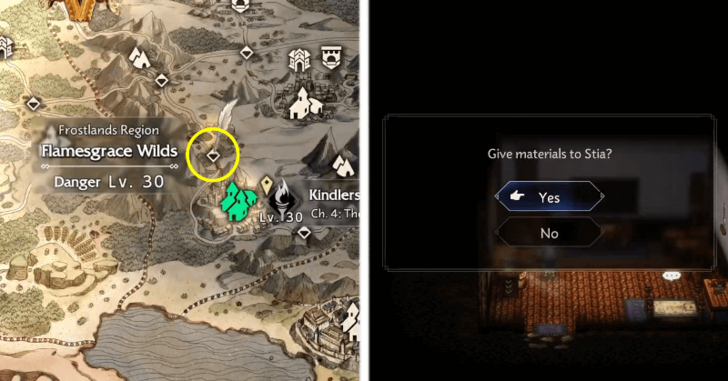 Provide Stia with 3 quality stone. Quality Stones can be found around the Flamesgrace Wilds. Head there through Flamesgrace and grab three quality stones around the area. Once acquired, head back to Wishvale and hand them to Stia in the workshop. |
| 5 |  Search for Laurana. Go inside the newly built church and inspect the altar. You will find Laurana's letter, leading immediately into Kindlers of the Flame Chapter 5, the quest being titled after your protagonist's name. |
The Cleric Laurana Walkthrough
The Protagonist
| Kindlers of the Flame Questline | |
|---|---|
| Ch. 1 | The Hunter Phenn |
| Ch. 2 | The Young Boy Basil |
| Ch. 3 | The Merchant Ludo |
| Ch. 4 | The Cleric Laurana |
| Ch. 5 | The Protagonist |
| 1 | 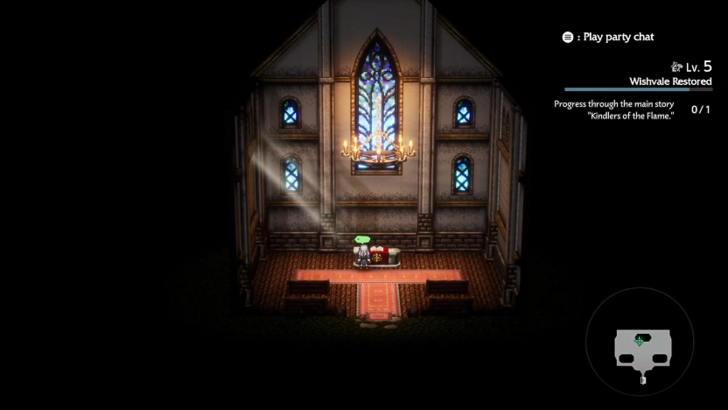 Examine Laurana's letter. Inside the Wishvale Church, examine the note Laurana leaves behind on the altar. |
|---|---|
| 2 | 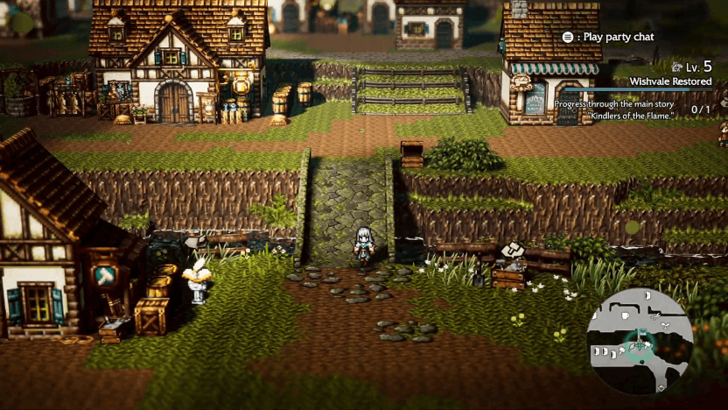 Search for clues as to Laurana's whereabouts. Head towards the town exit to watch a cutscene play regarding clues Laurana left behind. |
| 3 |  Speak to Nomos on the Wishvale Trail. Return to Nomos' cabin in the eastern end of the Wishvale Trail, where you first were taken to during the Prologue. Speak to him and agree to brave the danger with Laurana. |
| 4 | 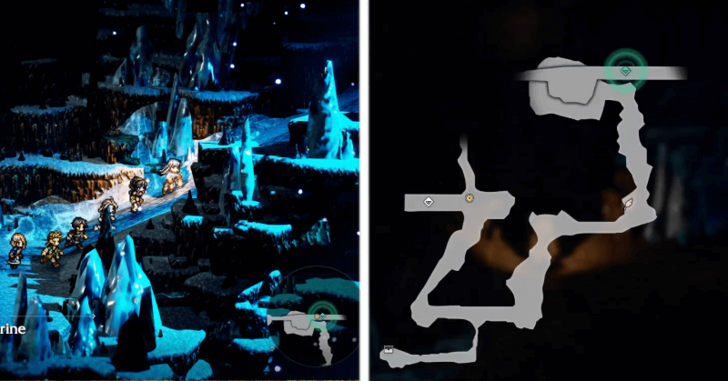 Head to the Cerulean Caverns. Exit Nomos' cabin and go east towards the caverns. Once there, head up the ramp going north to exit to the Path to the Flamebearer's Shrine. |
| 5 |  Chase after Laurana. Outside the caverns, head to the center of the open area to the east. This triggers Laurana’s initial confrontation with the Emerald Direwolf. You control Laurana for this scripted boss fight, and after a few turns and a cutscene, the battle shifts into the real fight. |
| 6 | 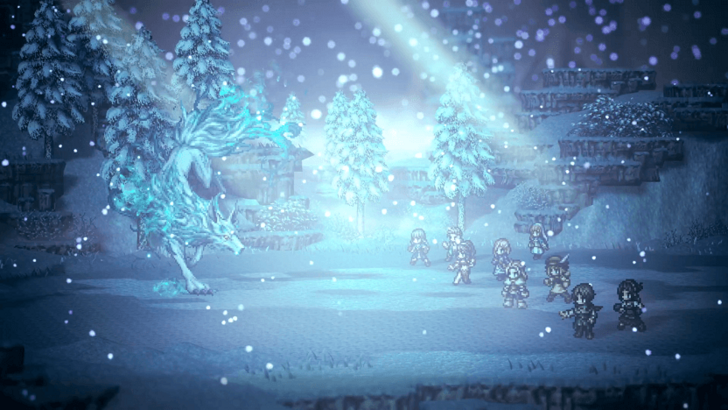 Defeat the Emerald Direwolf. After the cutscene, you and your full party arrives for the rematch against the Emerald Direwolf. Laurana remains in the back as support, providing her skills throughout the fight. |
| 7 | 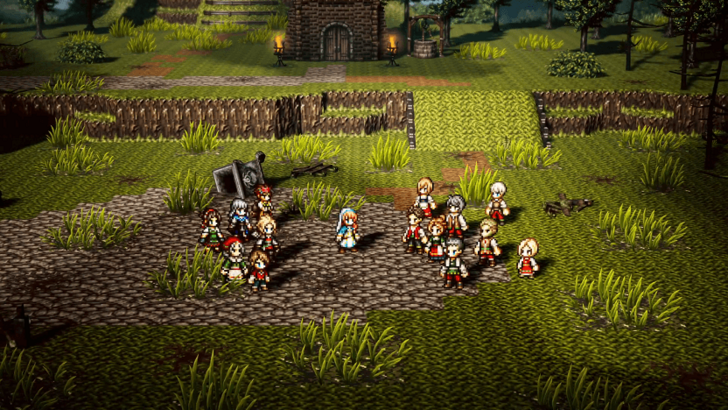 Head to the town square. With the boss defeated, you will automatically travel back to Wishvale. Head to the town square to begin a cutscene. |
| 8 | 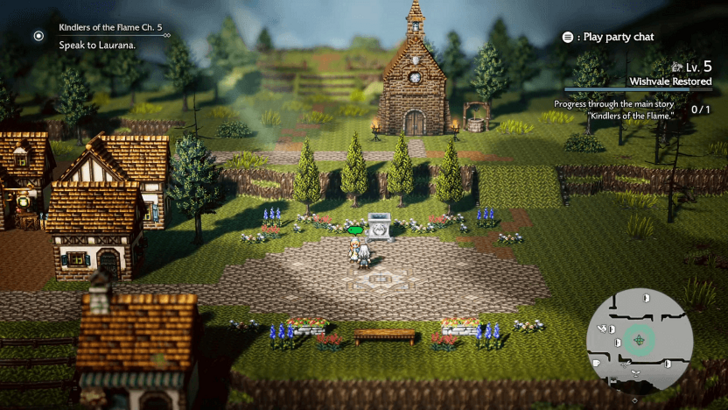 Speak to Laurana. Speak to Laurana afterward, and hand her the Azure Flamestone. This concludes the quest, and unlocks Laurana as a companion, the Wishvale Church, and the ability to throw up to 2 more Azure Flamestones into the Sacred Dais to unlock special abilities. Upgrade the Wishvale Church to Level 3 to unlock the ability to open Blue Chests! ▶︎ All 3 Azure Flamestone Locations |
Master of All Walkthrough
King Pardis III (Master of All)
| Master of All Questline | |||
|---|---|---|---|
| 1 | King Pardis III | 6 | Princess Elrica |
| 2 | General Mahrez | 7 | Princess Alaune |
| 3 | Charles the Traveler | 8 | Pardis the Scholarking |
| 4 | Wise King Solon | 9 | Trial of the Ring |
| 5 | El the Swordsman | - | |
| 1 | 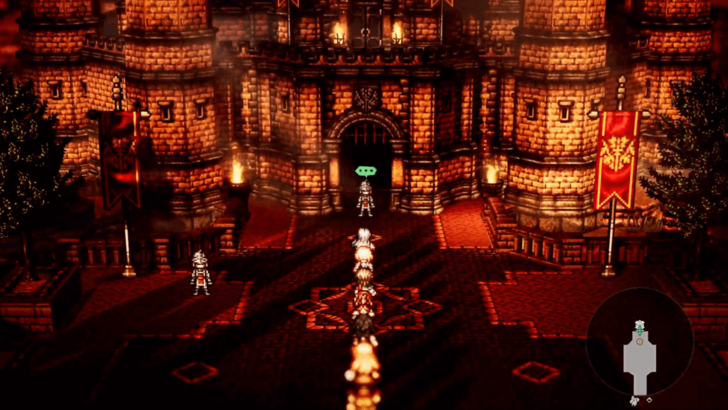 Head to Cragspear. Make your way to Cragspear and speak with the guard in front of the castle to gain an audience with King Pardis III. After the scene, Sazantos will leave your party. |
|---|---|
| 2 | 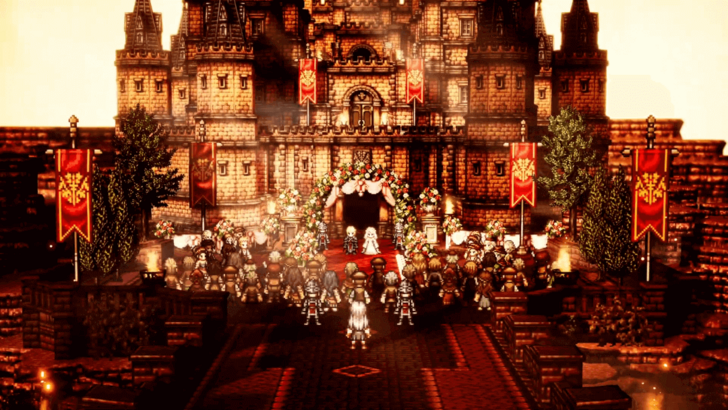 Head to Castle Edoras. When the dialogue with Sazantos ends, you'll be in the plaza. Return to the front of the castle to witness a wedding event. |
| 3 |  Go and observe the wedding. When you regain control, walk forward towards the crowd where you'll be stopped by guards and end up accepting the request of Lebrandt the Attendant. |
| 4 |  Search for adorablooms. Leave Cragspear and head west until you reach Gray Grotto: Depths. The adorablooms are located in the northwest end of the Depths. |
| 5 | Upon getting the adorablooms, you'll be ambushed by Mesara the Thief. He frequently uses powerful physical attacks and is accompanied by two subordinate thieves. Leaving his minions unchecked allows them to take a number of turns and unleash a barrage of attacks, making it easy to take heavy damage. Therefore, prioritize defeating them first to reduce the enemy count before focusing your concentrated attacks on Mesara. |
| 6 |  Deliver the flowers to Princess Alaune. After the fight, fast travel to Cragspear and deliver the flowers to Princess Alaune. |
| 7 |  Speak with General Mahrez. Head to the front of Edoras castle to trigger a cutscene and complete the King Pardis III chapter. |
General Mahrez (Master of All)
| Master of All Questline | |||
|---|---|---|---|
| 1 | King Pardis III | 6 | Princess Elrica |
| 2 | General Mahrez | 7 | Princess Alaune |
| 3 | Charles the Traveler | 8 | Pardis the Scholarking |
| 4 | Wise King Solon | 9 | Trial of the Ring |
| 5 | El the Swordsman | - | |
| 1 | 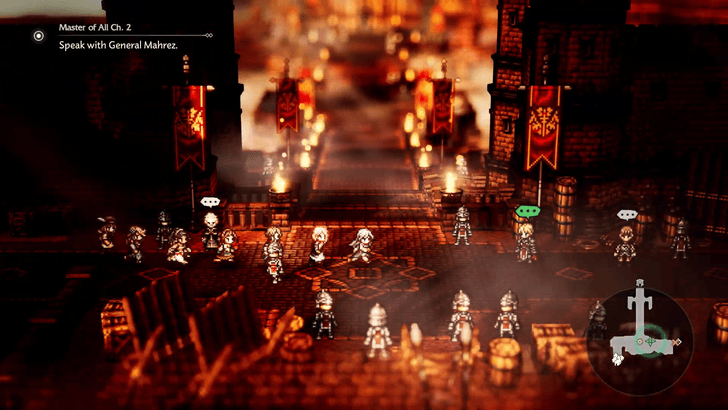 Speak to General Mahrez Upon accepting the quest, head to the opposite side of the entrance of Castle Edoras Gate. You'll find General Mahrez here and speak to him whenever you're ready. |
|---|---|
| 2 |  Go to Geist Canyon General Mahrez will ask you to seek the camp in Geist Canyon. Leave the area from the south exit and head west to the location. Continue following the trail up north, and you should reach the camp shortly. ▶︎ Orsterra Map and List of Regions |
| 3 |  Speak to the Soldier and General Upon your arrival at the camp, speak to the soldier by the entrance. Talk to the general next, but before doing so, be sure to prepare first, as this will lead to a boss battle. |
| 4 |  Defeat M'suhi After speaking to the general, M'suhi will attack the camp. Defeat him and his minions to progress. ▶︎ List of All Bosses and Elite Enemies |
| 5 |  Find King Pardis III After the battle, you'll be tasked to look for King Pardis III. You can find him at the bottom of the camp, just where you entered previously. |
| 6 | 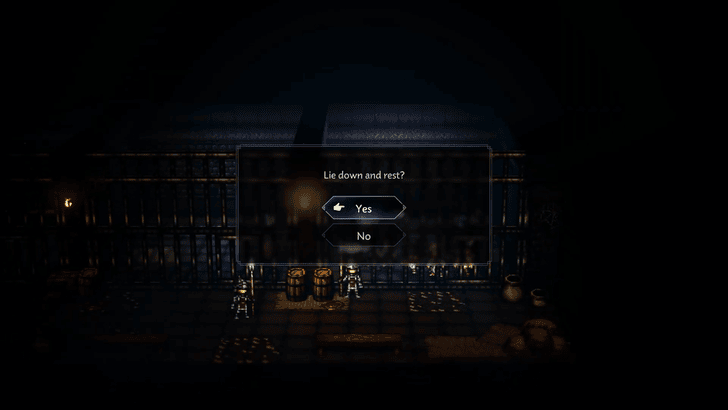 Sleep in the Prison Cell After the cutscene, you'll be sent to prison with seemingly nothing to do but interact with everything around you. Do any of those until enough time has passed, and you'll be prompted to just sleep. The quest ends here, and you'll proceed to the next one after your rest. |
Charles the Traveler (Master of All)
| Master of All Questline | |||
|---|---|---|---|
| 1 | King Pardis III | 6 | Princess Elrica |
| 2 | General Mahrez | 7 | Princess Alaune |
| 3 | Charles the Traveler | 8 | Pardis the Scholarking |
| 4 | Wise King Solon | 9 | Trial of the Ring |
| 5 | El the Swordsman | - | |
| 1 | 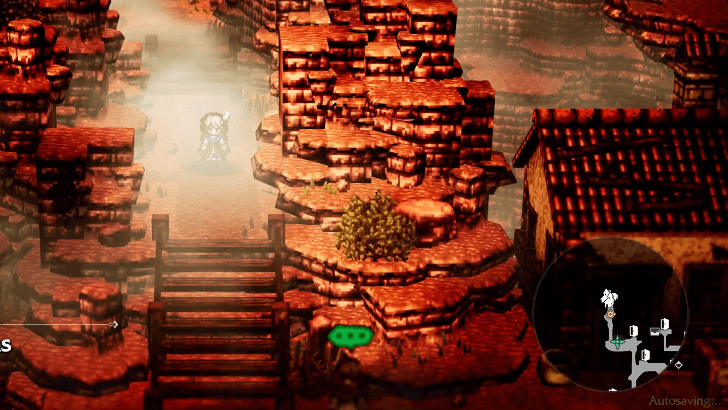 Investigate the Slums Head to the Cragspear: Slums and talk to the woman by the entrance. ▶︎ Orsterra Map and List of Regions |
|---|---|
| 2 | 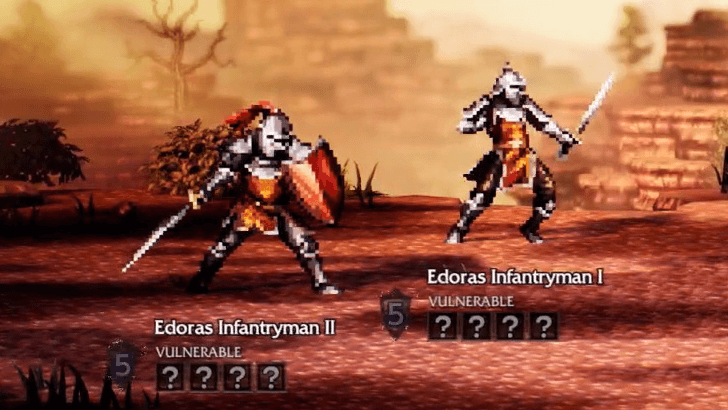 Defeat the Edoras Infantrymen Head further down the slums and you'll witness a scene involving two Edoras Infantrymen. Confront them and you'll start a battle against them. Defeat them to progress. |
| 3 | 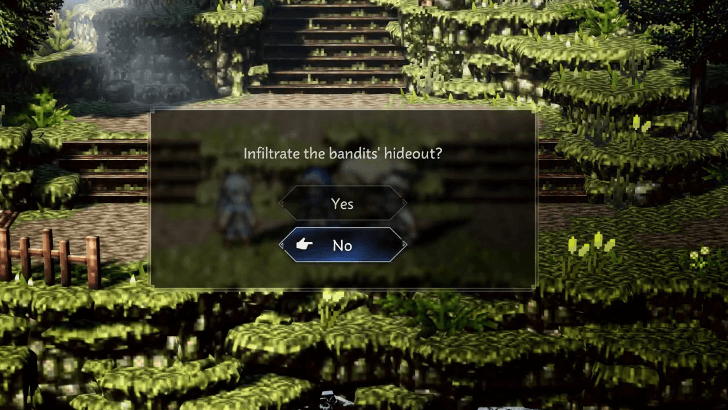 Head to Clearbrooks Fast travel to Clearbrooks next, one of the towns in Riverlands. Proceed and you'll watch a cutscene involving Zeph the Apothecary. |
| 4 | 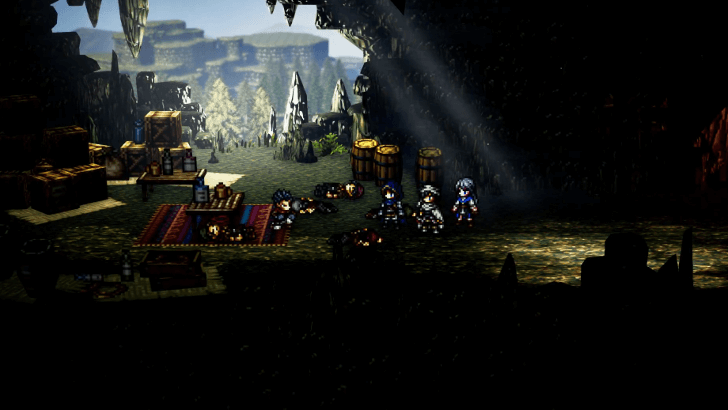 Find the Hideout Once you're ready, infiltrate the bandits' hideout in the Waterpool Caves. From Clearbrooks, simply head east and southwest near the end to find the hideout. |
| 5 |  Defeat Gimel Defeat Gimel once you reach the hideout. He'll be accompanied by two thieves, and it's recommended to defeat them first if possible. |
| 6 | 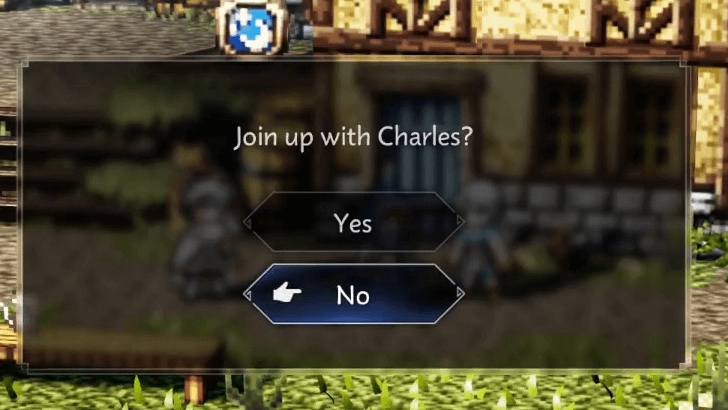 Join Charles Once you've defeated all of them, you'll be taken back to Clearbrooks and Charles will ask you if you could join him. Say yes and you'll proceed to Sunshade as you start Chapter 4. |
Charles the Traveler Walkthrough
Wise King Solon (Master of All)
| Master of All Questline | |||
|---|---|---|---|
| 1 | King Pardis III | 6 | Princess Elrica |
| 2 | General Mahrez | 7 | Princess Alaune |
| 3 | Charles the Traveler | 8 | Pardis the Scholarking |
| 4 | Wise King Solon | 9 | Trial of the Ring |
| 5 | El the Swordsman | - | |
| 1 | 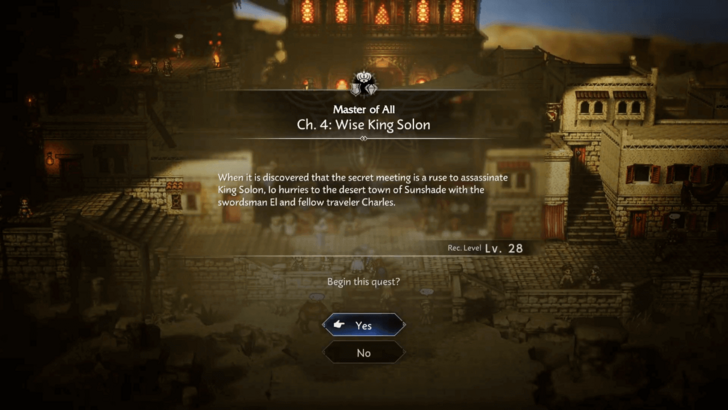 Meet up with Charles in Sunshade. Head to Sunshade and speak with Charles the Traveler to start the quest. |
|---|---|
| 2 | 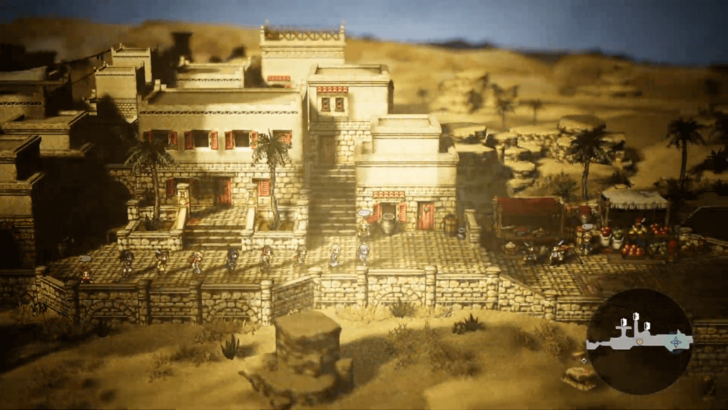 Search for King Solon. After the cutscene, head to the easternmost area of Sunshade to trigger another scene. |
| 3 |  Go to the tavern in Sunshade. Enter the tavern in Sunshade, where King Solon is attending the meeting between nations. You will regain control of your character after a brief scene; take this time to prepare for an upcoming boss fight. |
| 4 | 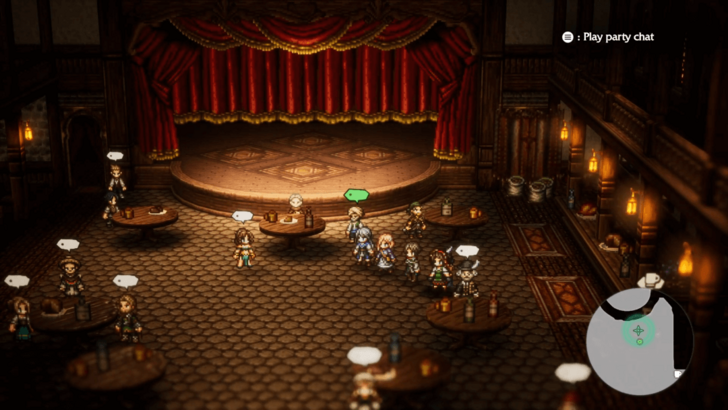 Keep the participants of the meeting safe. Once you're done with your preparations, talk to Mendoza the Attendant. The peace talks will proceed, and you'll end up fighting Cerro the Emissary. Defeat him to progress the quest. |
| 6 | 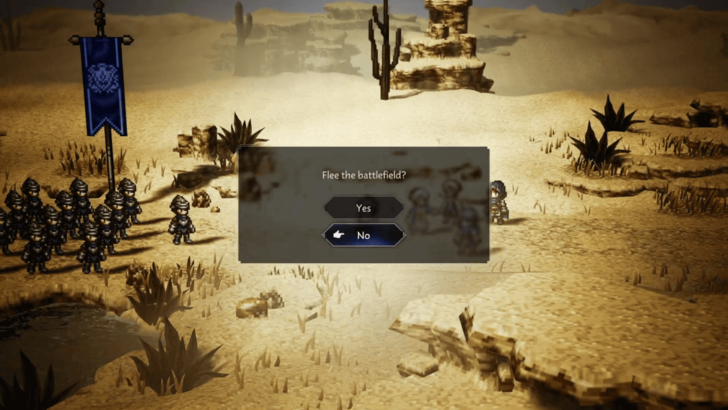 After eliminating Cerro, the Riven Army will arrive. You'll be given the choice to flee the battlefield or stay to aid King Solon; choose to stay. However, no combat will ensue, as the Riven army retreats immediately afterward. The Wise King Solon chapter will be completed after the cutscene ends. |
El the Swordsman (Master of All)
| Master of All Questline | |||
|---|---|---|---|
| 1 | King Pardis III | 6 | Princess Elrica |
| 2 | General Mahrez | 7 | Princess Alaune |
| 3 | Charles the Traveler | 8 | Pardis the Scholarking |
| 4 | Wise King Solon | 9 | Trial of the Ring |
| 5 | El the Swordsman | - | |
| 1 |  Head to the castle in Shepherds Rock. Head to the castle in Shepherds Rock and talk to the guard in front of the gate. After the cutscene, El leaves your party. |
|---|---|
| 2 |  Search for the swordsman El. Make your way to the Valley of Death. To get there, simply exit Shepherds Rock and head southeast through Shepherds Rock Pass. Continue along this path until you reach Valley of Death: East, where you will find El near a cliff. |
| 3 | 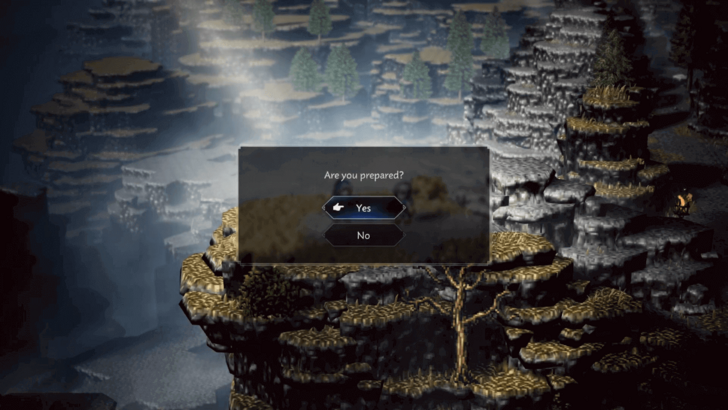 Speak with El to trigger a scene. He will ask if you are prepared to die for a fight not your own; say yes. Afterward, a lengthy scene will play out. |
| 4 |  Proceed through the Valley of Death. Once you regain control, you will be in the Valley of Death: East and El returns to your party. Proceed to the southwest exit, then head to the center of the Valley of Death to trigger the next scene. |
| 5 | Continue to follow the path southward. Your group will be disrupted by a tremor and Gonzalez the Ironarm will block your way. You will need to defeat him to get past. Gonzalez the Ironarm's weaknesses are swords, daggers, tomes, ice, and wind. After depleting his HP, he will run away. |
| 6 |  Head to the main encampment. After the fight, El will suggest you catch Gonzalez to prevent him from revealing your surprise attack plan. Proceed west to reach Valley of Death: West. Continue moving in a westward direction until you approach the northwest exit and witness a scene between General Krauser and Gonzalez the Ironarm. |
| 7 |  You need to defeat General Krauser to get to the enemy's main camp. After the fight, El will spare him. General Krauser does not easily give up, but upon recognizing El, he allows you to pass. |
| 8 | 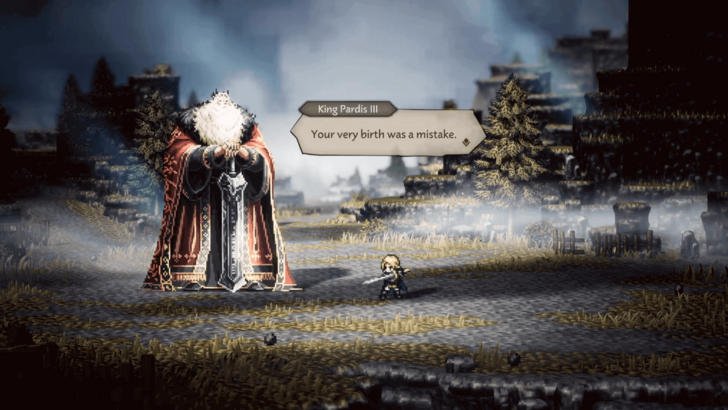 Head north and watch the scene where El's true identity is revealed. You will then engage in combat against King Pardis III with El alone and lose. Afterwards, the El the Swordsman chapter will be completed after the cutscene ends. |
Princess Elrica (Master of All)
| Master of All Questline | |||
|---|---|---|---|
| 1 | King Pardis III | 6 | Princess Elrica |
| 2 | General Mahrez | 7 | Princess Alaune |
| 3 | Charles the Traveler | 8 | Pardis the Scholarking |
| 4 | Wise King Solon | 9 | Trial of the Ring |
| 5 | El the Swordsman | - | |
| 1 | 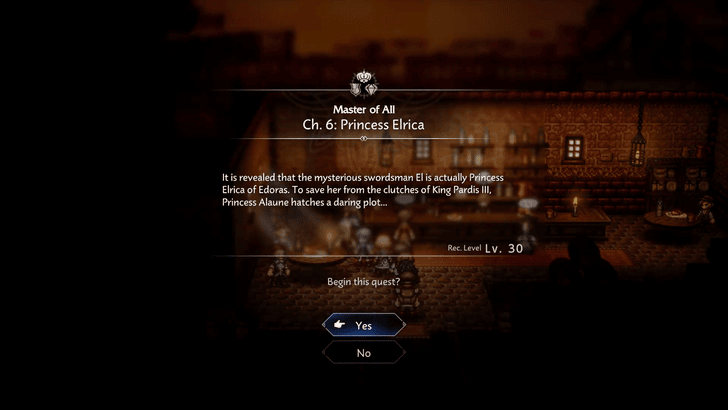 Head to Cragspear To start, go to Cragspear and enter the tavern to the north. Speak with the man there to learn more about Princess Elrica. |
|---|---|
| 2 | 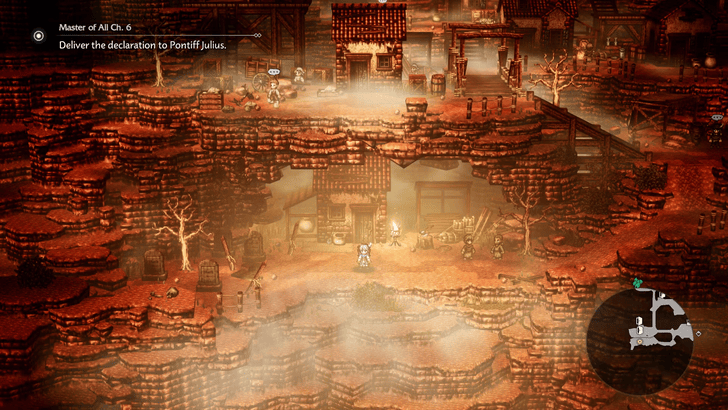 Talk to the Man in the Slums Head to Cragspear: Slums and go further south. Once you find the house inside a cave, approach it and talk to the man in front of it. You'll receive Alaune's Letter of Accusation, which you'll need to bring to Pontiff Julius. |
| 3 | 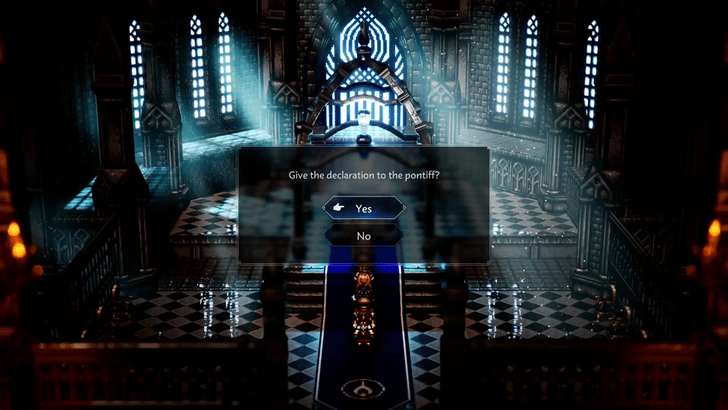 Speak to Pontiff Julius Fast travel to Flamesgrace in Frostlands and proceed to the cathedral to the north. Speak to Pontiff Julius about the letter. |
| 4 | 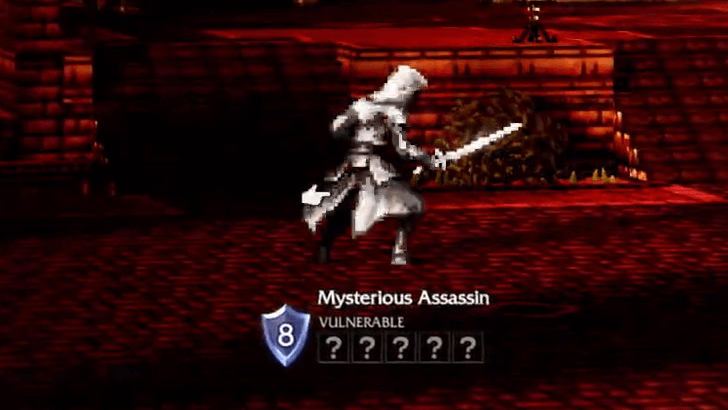 Defeat the Mysterious Assassin Go back to Cragspear and head west. You'll be confronted by a Mysterious Assassin, which you'll need to defeat to progress the story. |
| 5 | 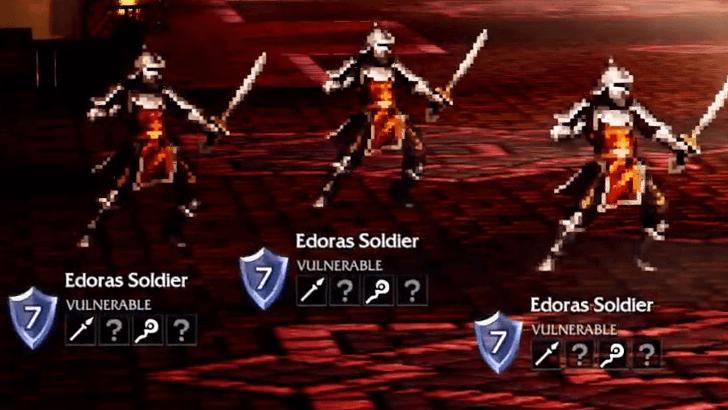 Defeat the Edoras Forces After defeating the Mysterious Assassin, go north to Castle Edoras. Defeat all the soldiers along the way, including the Defenders later on. |
Princess Alaune (Master of All)
| Master of All Questline | |||
|---|---|---|---|
| 1 | King Pardis III | 6 | Princess Elrica |
| 2 | General Mahrez | 7 | Princess Alaune |
| 3 | Charles the Traveler | 8 | Pardis the Scholarking |
| 4 | Wise King Solon | 9 | Trial of the Ring |
| 5 | El the Swordsman | - | |
| 1 |  Speak to Lebrandt. Speak to Lebrandt in the Cragspear:Slums to start the quest. |
|---|---|
| 2 |  Meet with your ally in the Riverlands. After the cutscene, travel to Clearbrook in the Riverlands Region. Continue east, then southwest to enter the Waterpool Caves, and finally head into the southwesternmost area of the cave. |
| 3 | 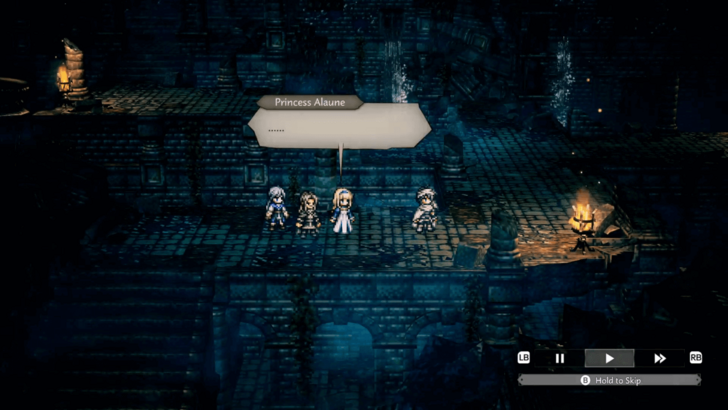 Go to Castle Riven. Head to the center of the Stillwater Subterrane where Alaune and Charles will have a conversation. |
| 4 |  Meet with King Riven. Proceed eastward into Castle Riven until you reach the main hall, triggering a scene that reveals both Charles's true identity and Gonska's hand in the war. Note: There is an optional elite enemy in the castle's main hall. If you approach the large creature with a scythe to the right, you will engage into a fight against the Menacing Guardian Mk. II. |
| 5 |  Confront the jester Gonska. Proceed north into the throne room to chase Gonska. Defeat Gonska the Jester, and the Princess Alaune chapter will conclude after the cutscene. |
Pardis the Scholarking (Master of All)
| Master of All Questline | |||
|---|---|---|---|
| 1 | King Pardis III | 6 | Princess Elrica |
| 2 | General Mahrez | 7 | Princess Alaune |
| 3 | Charles the Traveler | 8 | Pardis the Scholarking |
| 4 | Wise King Solon | 9 | Trial of the Ring |
| 5 | El the Swordsman | - | |
| 1 | 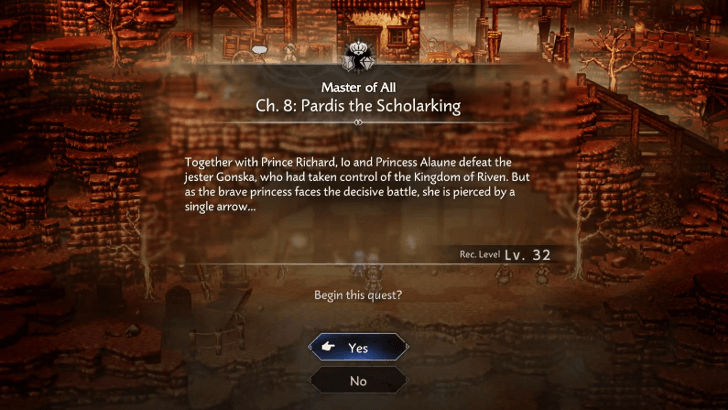 See the Apothecary Head to Cragspear: Slums to see Princess Alaune, who was recently shot. She's being treated by the apothecary here, so check on them to start the quest. |
|---|---|
| 2 |  Defeat General Krauser Go to Castle Edoras and face General Krauser. Defeat him to enter the castle. |
| 3 | 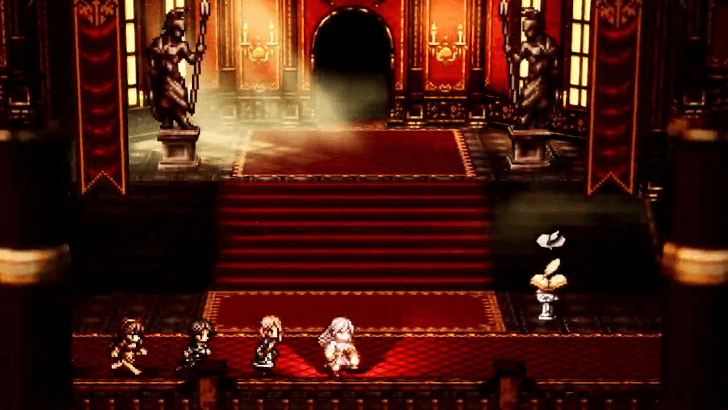 Head to the Throne Room After defeating General Krauser, enter the castle and climb all the way up to the throne room. |
| * | 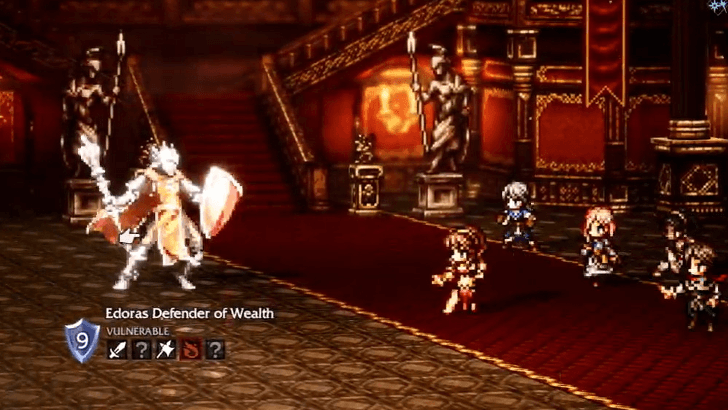 (Optional) Defeat the Defenders Before heading up, the Defenders are available to be challenged again. If you feel like you need to level up first, go challenge them. |
| 4 | 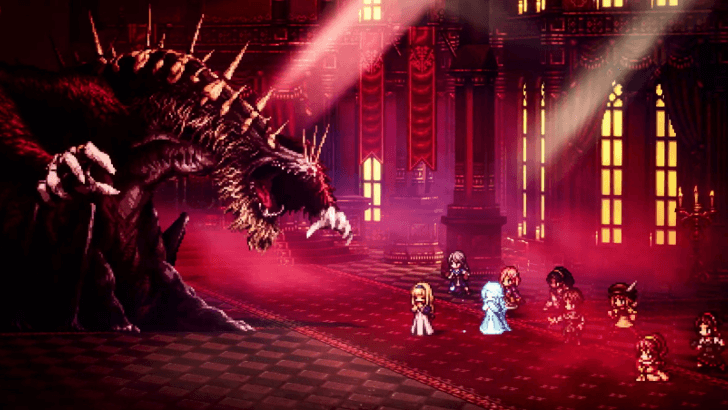 Defeat Pardis Pardis will challenge you to a fight. This is a three-stage battle: first Pardis himself, then Pardis the Scholarking, and finally his last form, the Master of All. Defeat all of them to complete the quest. |
| 5 |  Watch the Credits Once defeated, the story ends and the credits will roll after. You can continue with the Trial of the Ring afterward. |
Pardis the Scholarking Walkthrough
Trial of the Ring (Master of All)
| Master of All Questline | |||
|---|---|---|---|
| 1 | King Pardis III | 6 | Princess Elrica |
| 2 | General Mahrez | 7 | Princess Alaune |
| 3 | Charles the Traveler | 8 | Pardis the Scholarking |
| 4 | Wise King Solon | 9 | Trial of the Ring |
| 5 | El the Swordsman | - | |
| 1 |  Depart Cragspear. Leave Cragspear, then head to Cragspear Pass and speak with Sazantos. |
|---|---|
| 2 |  Make for the altar on the Isle of Orsa. You cannot fast travel directly to the Isle of Orsa, so fast travel to Rippletide instead and ride the ship to the isle from there. Upon arriving in the isle, head straight towards the altar. The ring maidens will inform you that they'll hold the ritual the next day. |
| 3 | 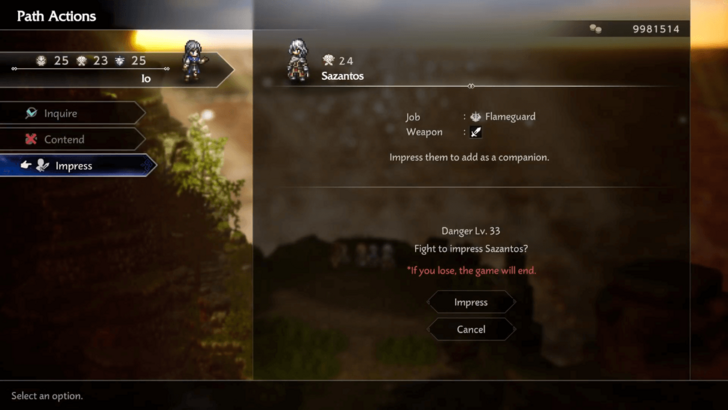 "Impress" Sazantos. Since you have time to spare before the ritual, Sazantos will ask to test your strength. If you manage to defeat him, he will be impressed and become your comrade. However, if you lose, the game will end. Note: Even if you manage to impress him, Sazantos is still not a permanent party member at this time. |
| 4 | 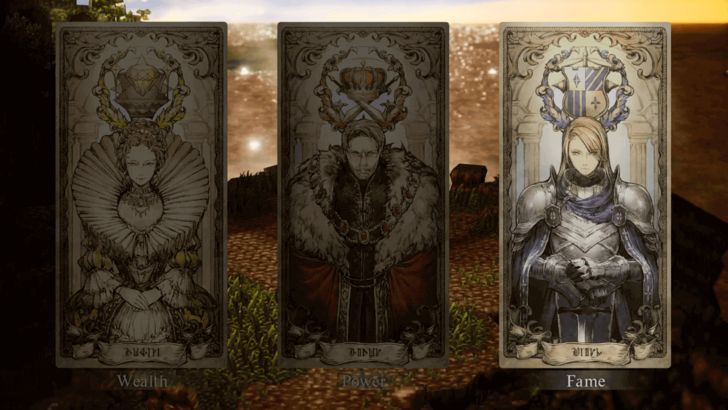 After defeating Sazantos, you will once again be given a choice of which path you wish to take between Wealth, Power, and Fame. Once you're done choosing, you will proceed to the scene of sealing the rings and complete the Trial of the Ring chapter. |
Prologue (Bestower) Walkthrough
The Witch's Fortune (Bestower of Wealth)
| Bestower of Wealth Questline | ||
|---|---|---|
| Prologue | ||
| The Witch's Fortune | ||
| Chapter 1 | Chapter 2 | Chapter 3 |
| The Have-Not | Fool's Gold | Oskha the Trader |
| 1 |  Speak with the flower girl. Head to Valore and speak with the flower girl in front of the Weapons Shop. She will inform you that Bargello wants to see you. Upon meeting with Bargello, you'll be ambushed by Blackrobes. |
|---|---|
| 2 |  Speak with Delcado at LeRuiz. After defeating the Men in Black, Bargello decides to talk to the man who sent them. Head to Valore: Main Boulevard. When you reach the church, a scene will play out and the The Witch's Fortune quest will be completed after. |
The Witch's Fortune Walkthrough
Empress from Abroad (Bestower of Power)
| Bestower of Power | ||
|---|---|---|
| Prologue | ||
| Empress from Abroad | ||
| Chapter 1 | Chapter 2 | Chapter 3 |
| The One That Lays Waste | To Protect What is Dear | Tatloch the Lady of Grace |
| 1 | 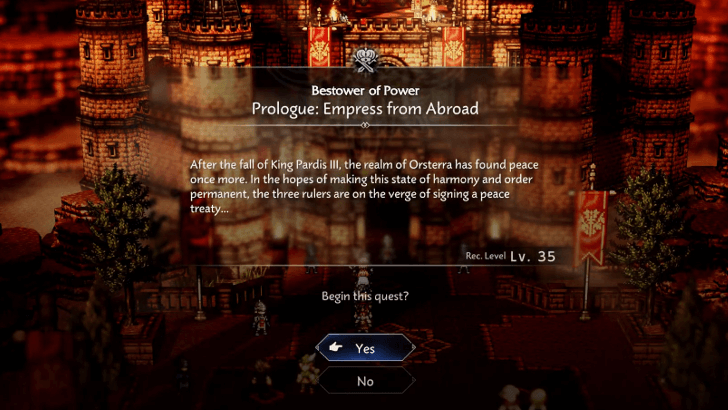 Head to Castle Edoras To start the quest, head to Castle Edoras and proceed ahead. You'll be prompted shortly to begin the quest. |
|---|---|
| 2 | 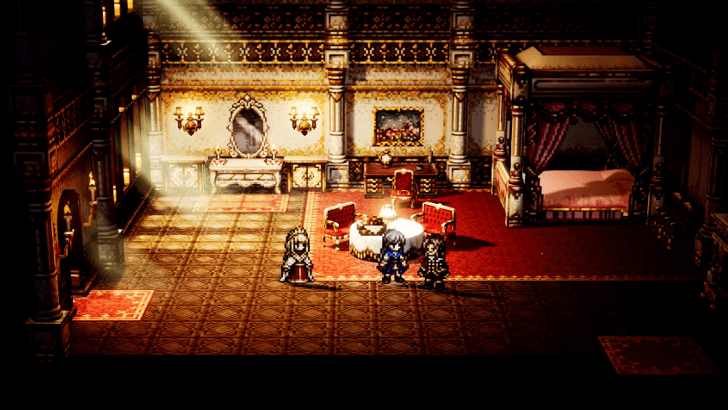 Attend the Ceremony After the cutscene, you'll be given the choice to join the ceremony. Agree to attend and you'll have a small window before the ceremony starts. Use this time to prepare for the battle ahead. |
| 3 | 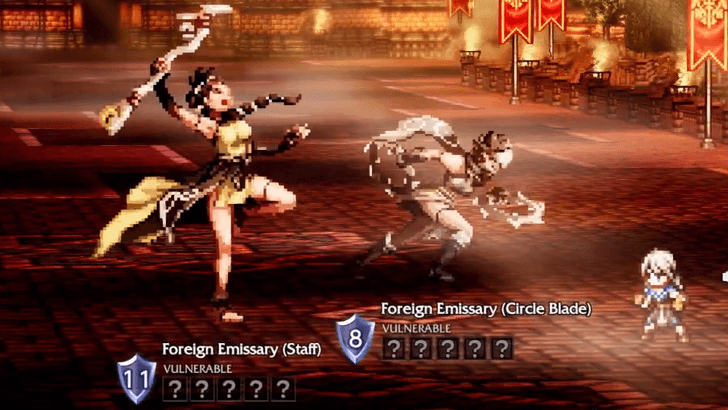 Defeat the Foreign Emissaries Once the ceremony begins, you'll enter a battle with two Foreign Emissaries. Defeat them to end the quest. |
Empress from Abroad Walkthrough
The Shadow Apostate (Bestower of Fame)
| Bestower of Fame | ||
|---|---|---|
| Prologue | ||
| The Shadow Apostate | ||
| Chapter 1 | Chapter 2 | Chapter 3 |
| A New God | Sacred Ashes | Ceraphina the Charitable |
| 1 | 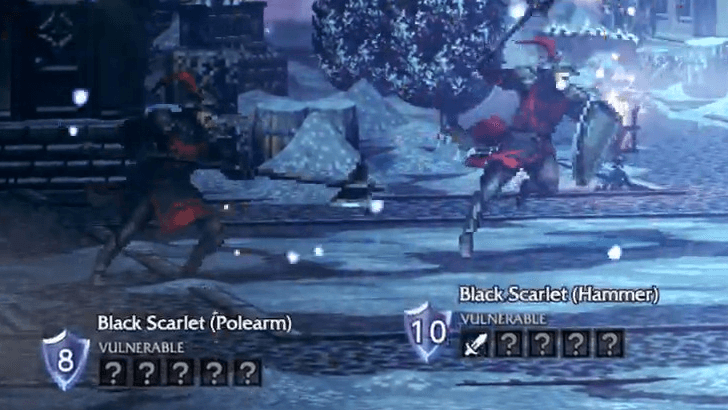 Defeat the Black Scarlet Soldiers As soon as you start the quest, you'll be forced into battle against two Black Scarlet soldiers. Defeat them to progress. |
|---|---|
| 2 |  Head to Flamesgrace Cathedral Next, head to the cathedral in Flamesgrace, located in the northernmost area of the village. Speak to the priest afterward. Sazantos will leave again after this. |
| 3 |  Inquire to Find Information Use Inquire to gather information from all people in the cathedral. This should give you an idea of who the mastermind is. |
| 4 |  Report to the Priest Once you're done with your investigation, report back to the priest. You'll be transported to a room where you can choose who the mastermind is. |
| 5 | 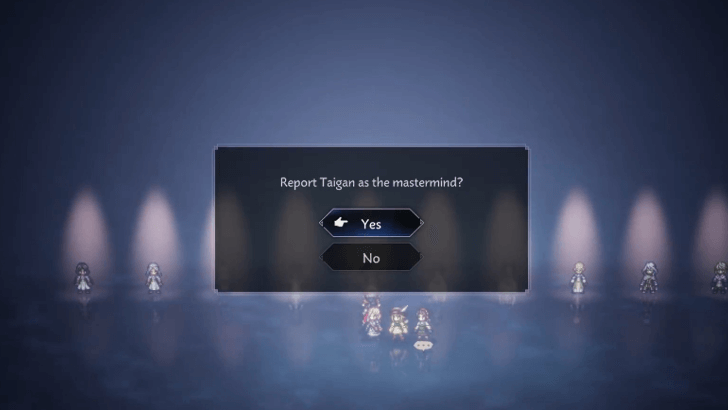 Choose Taigan Among all the people in attendance, simply choose Taigan. This completes the prologue, and you can continue onwards afterward. Sazantos will then rejoin after. |
The Shadow Apostate Walkthrough
Chapter 1 (Bestower) Walkthrough
The Have-Not (Bestower of Wealth)
| Bestower of Wealth Questline | ||
|---|---|---|
| Prologue | ||
| The Witch's Fortune | ||
| Chapter 1 | Chapter 2 | Chapter 3 |
| The Have-Not | Fool's Gold | Oskha the Trader |
| 1 |  Speak to Bargello. Enter the building in front of the tavern in Valore and speak to Bargello. You'll meet Levina, who shares the rumor that wealthy people are being murdered by someone called the Have-Not, making Bargello all the more convinced to meet up with Delvecchio. |
|---|---|
| 2 | 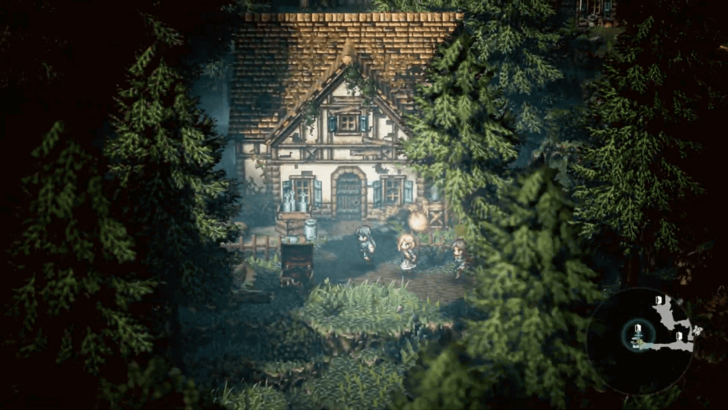 Meet with Delvecchio. Proceed to Victors Hollow and head to the southwesternmost house in the Old Quarter. Delvecchio is willing enough to say why he targeted Bargello, but he will not let you all walk away alive. After defeating Delvecchio, Levina will be able to extract information from him about his patron. |
| 3 |  Go to the location identified on the map. Move to the location marked on the map, which is just beside the house near the entrance to the Old Quarter. |
| 4 | 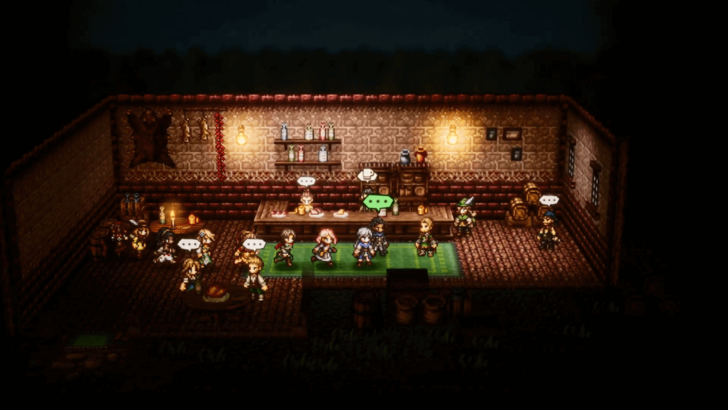 Head to the tavern. Bargello's group will split up to gather information. Go to the tavern and talk to Bargello. |
| 5 | 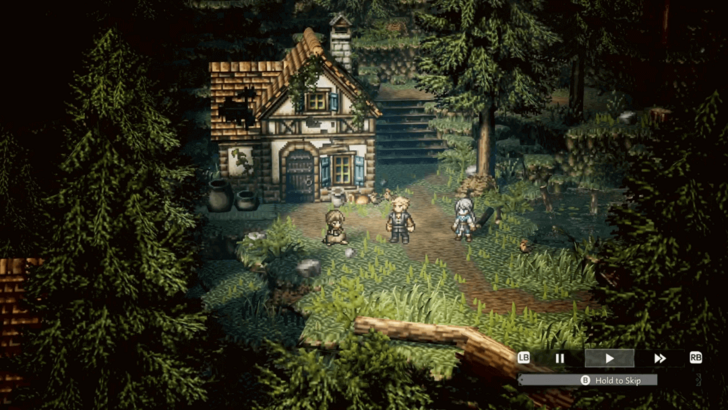 Check in on your companions. After getting intel about Leopaldi in the tavern, Bargello will ask you to check on the others. All there locations are marked on the map. Levina - Beside the church, west of the tavern. Pierro Della - In front of the house near the the west exit towards Old Quarter. Fra - In front of the stall near the east exit of Victors Hollow. Rosso - Westernmost house in the Old Quarter, just above Delvecchio's hideout. |
| 6 |  Speak to Bargello. After you're done checking on the others, return to Bargello. He's waiting near the arena. |
| 7 |  Speak the password to the gatekeeper. Head inside the arena and speak with the Gatekeeper to enter the arena grounds. |
| 8 |  Search for Leopaldi. Proceed to the lowest level of the arena grounds to find Leopaldi and trigger a cutscene. Leopaldi will leave and sic his thugs, Mandarino and Remone, against you, blocking you from chasing after him. |
| 9 |  Follow Leopaldi. After defeating Mandarino and Remone, follow Leopaldi and watch the scene to complete The Have-Not chapter. |
The One That Lays Waste (Bestower of Power)
| Bestower of Power | ||
|---|---|---|
| Prologue | ||
| Empress from Abroad | ||
| Chapter 1 | Chapter 2 | Chapter 3 |
| The One That Lays Waste | To Protect What is Dear | Tatloch the Lady of Grace |
| 1 |  Head to Donescu Castle After accepting the quest from Alaune, head to Donescu Castle in the Riverlands. You can reach this place easily from Sunshade. |
|---|---|
| 2 |  Go to the Throne Room Head to the throne room once you arrive in Donescu Castle. |
| 3 |  Join Queen Alaune After the discussions in the throne room, follow Alaune to the rooftop of the castle, which you can access from the right staircase next to the throne room entrance. Speak to her and accept her invitation afterward. |
| 4 |  Head to Cyphlo Banks Go west to Cyphlo Banks and continue heading in that direction to find Alaune and her army. Be sure to prepare first, as you'll enter consecutive battles against two bosses. |
| 5 |
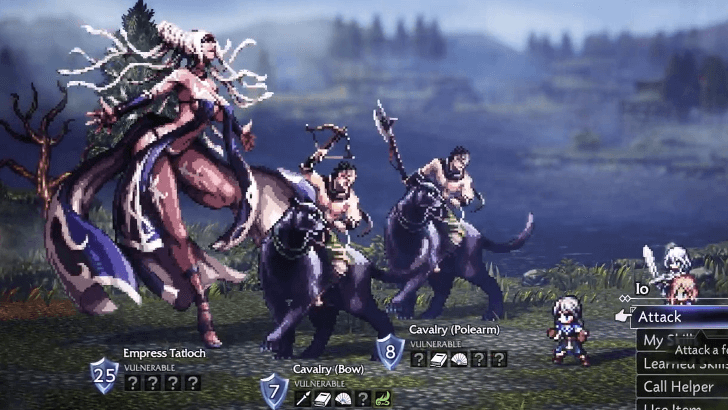 Defeat Captain Na'Gu and Empress Tatloch After a series of battles against cavalry units, Captain Na'Gu will step in and try to defeat you as well. Beat him first to progress, then you'll enter the second phase against Empress Tatloch. Defeat her to end the chapter. |
The One That Lays Waste Walkthrough
A New God (Bestower of Fame)
| Bestower of Fame | ||
|---|---|---|
| Prologue | ||
| The Shadow Apostate | ||
| Chapter 1 | Chapter 2 | Chapter 3 |
| A New God | Sacred Ashes | Ceraphina the Charitable |
| 1 |  Talk to Archbishop Josef After the Prologue's end cutscene, speak to Archbishop Josef to start Chapter 1. |
|---|---|
| 2 | 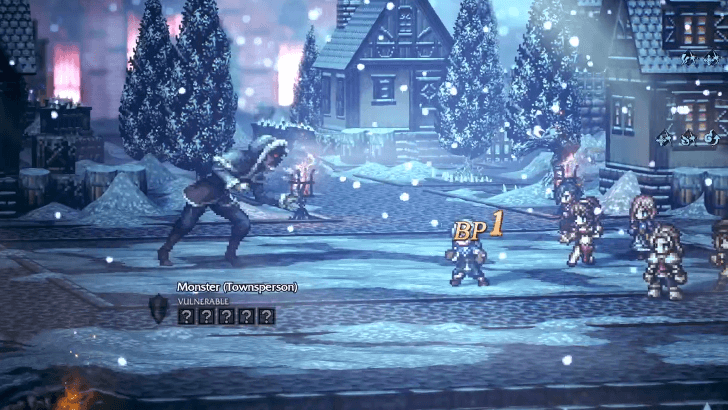 Head to the Cathedral of Tytos. Return to Emberglow and towards the Cathedral of Tytos in town. In the cathedral's courtyard, you will come across the Monster (Townsperson) boss to defeat before you can continue to the main cathedral. |
| 3 | 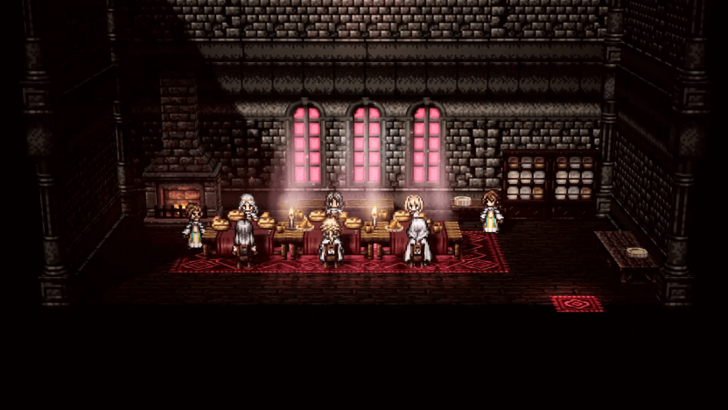 Head to the dining hall. After defeating the Monster (Townsperson), head inside the cathedral and agree to join the supper during the cutscene, then proceed to the dining hall room to the left. |
| 4 |  "Inquire" about important information. After the supper cutscene, you must Inquire two specific NPCs for the information. First, Inquire with the Senior Nun to your immediate right, who will give you the Confessional Information. |
| 5 | 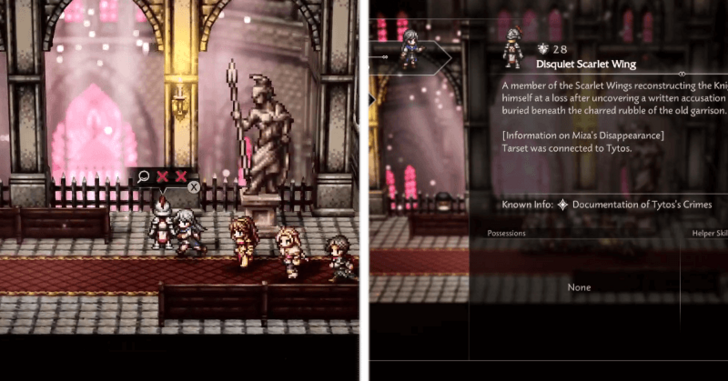 Gather more important information. The next NPC is upstairs on the second-floor balcony, the Disquiet Scarlet Wing. Inquire with him to get the Documentation of Tytos's Crimes. |
| 6 | 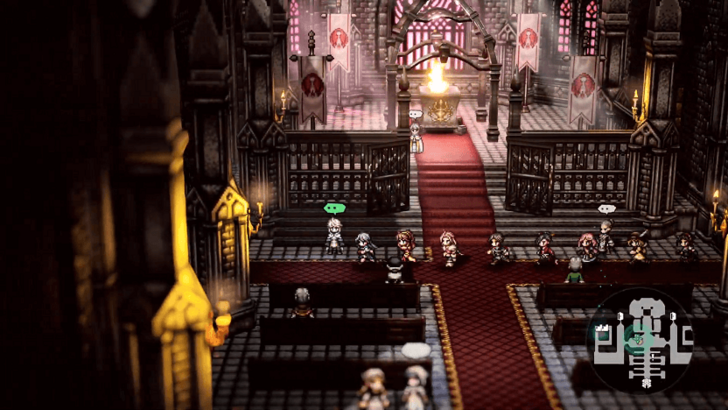 Report to Rondo of the Knights Ardante. With the two pieces of evidences, return to Rondo and report your findings. |
| 7 | 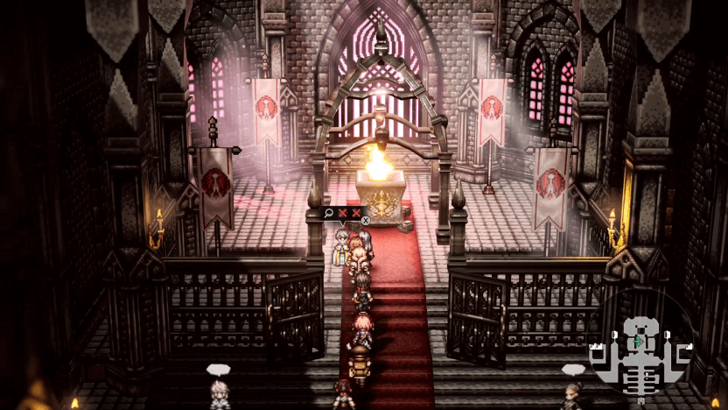 Interrogate Bishop Tarset. Speak to Bishop Tarset by the sacred fire, and Inquire with him to get Tarset's Information. |
| 8 | 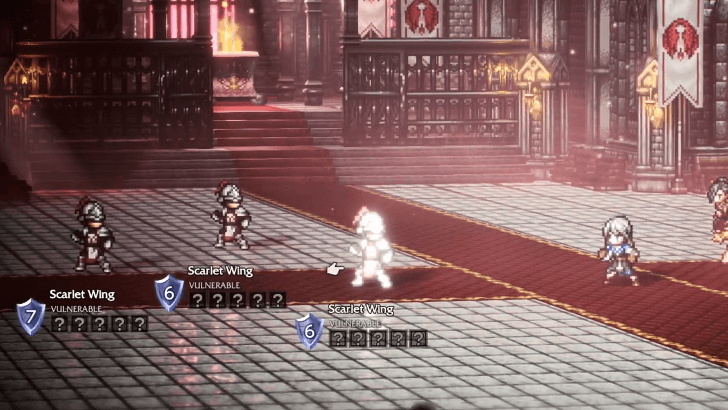 After Inquiring, choose Contend to start a fight against three Scarlet Wing soldiers. Defeat them to receive Tarset’s Secret from Bishop Tarset. |
| 9 | 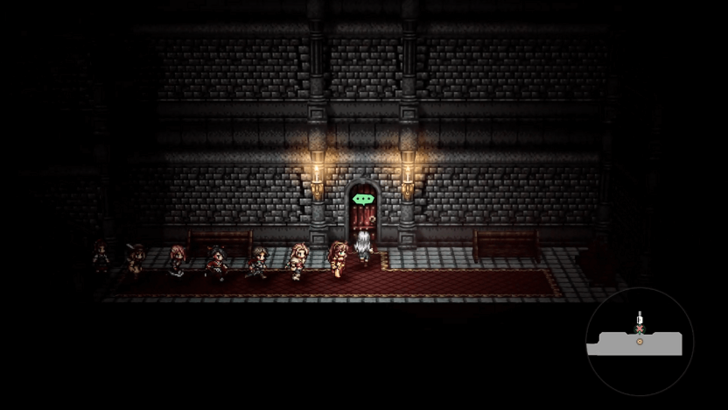 Head to the confessional. Go to the western wing of the cathedral and you'll be brought to the confessional after a cutscene. Once on the lower floor, attempt to go through the door. |
| 10 | 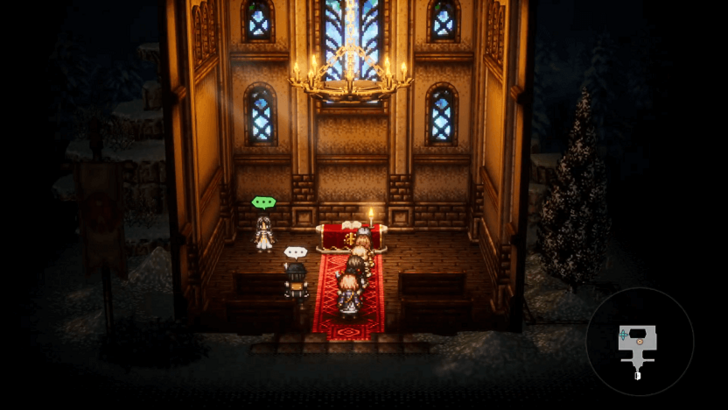 Head to Emberglow Cathedral. After the cutscene by the confessional door, head outside back into the main Emberglow town and go to the church in the northwest of the town. Speak to Rinyuu inside the building. |
| 11 | 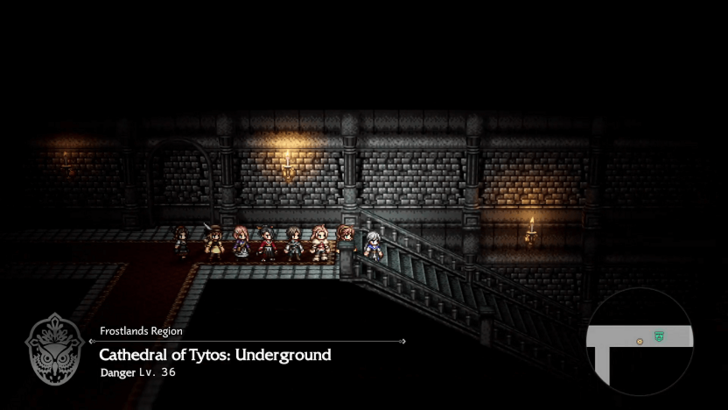 Search the confessional. Head back to the confessional room, where a cutscene will let you enter the newly unlocked door. The path leads into the Cathedral of Tytos: Underground, a large dungeon beneath the cathedral. |
| 12 | 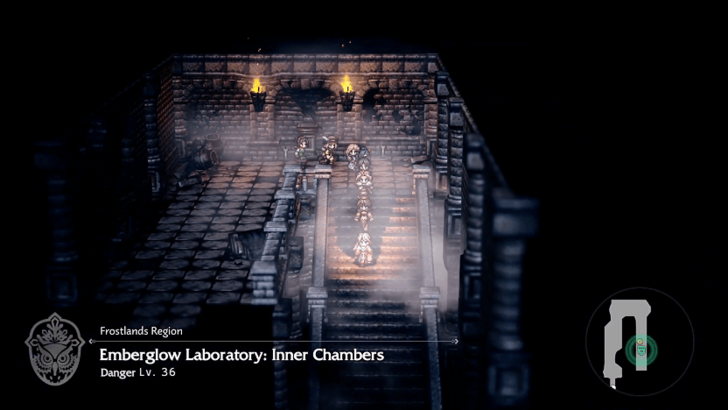 Search for Miza. Underground, head east and you will find a staircase leading down into the Emberglow Laboratory: Inner Chambers. There are plenty of monsters and treasure chests along the way. |
| 13 | 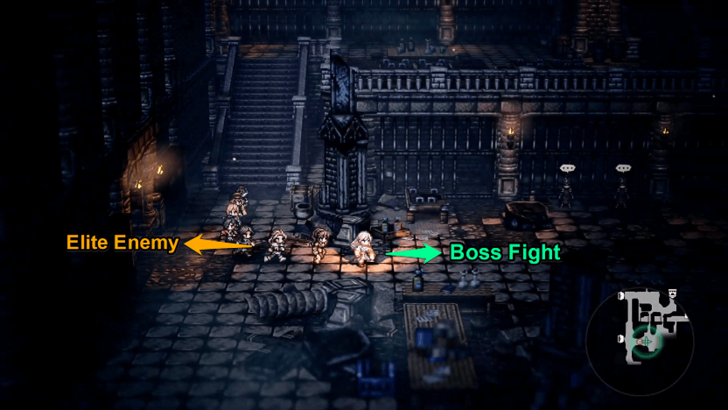 In the Emberglow Laboratory, head downstairs to the central chamber to begin the dual boss fight against Monster (Man) and Monster (Woman). The surrounding rooms contain treasure chests, as well as the Elite Enemy Menacing Test Subject (Big Beast) in the room to the left of the boss area. |
| 14 | 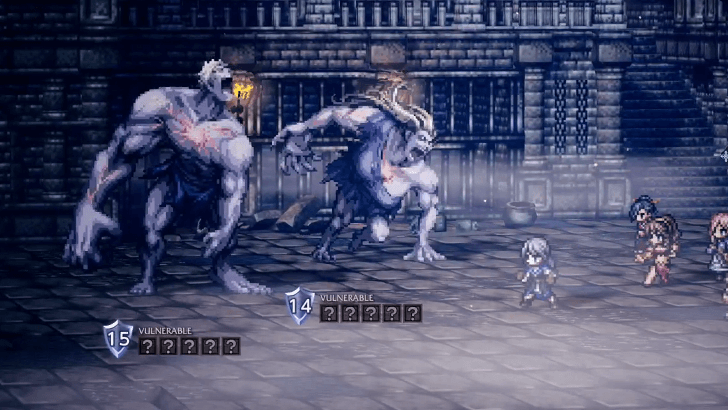 Defeat the Monster Bosses. It is best to focus on one target at a time when fighting Monster (Man) and Monster (Woman). Defeating one quickly lets you concentrate fully on the remaining boss. |
| 15 | 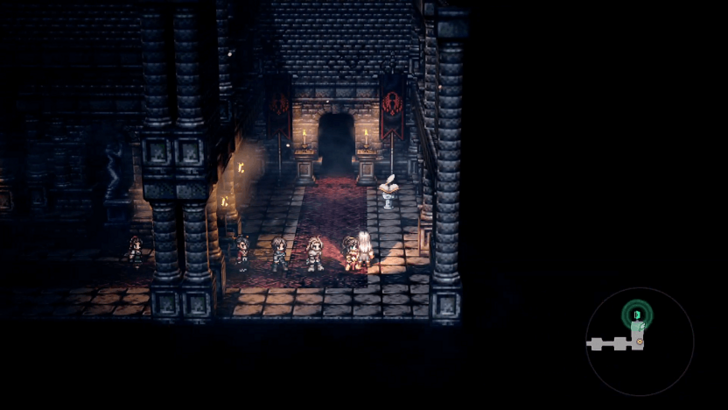 Search for Father Monaris. After defeating the Monster couple, head east down the hallway. Beyond the save point at the end, you will immediately enter the boss fight against Monaris the Monstrous. Make sure your party is fully healed and prepared before proceeding. |
| 16 | 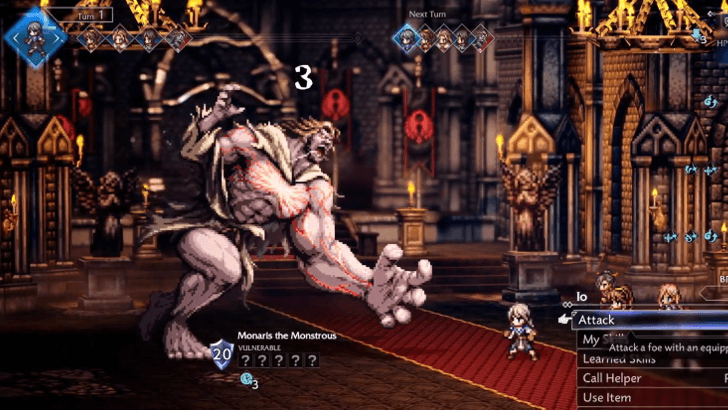 Defeat Monaris the Monstrous. Monaris the Monstrous is the final boss of the chapter and a tough fight with 20 Shield Points. He uses a powerful three-turn countdown attack. If you cannot break his shield in time, move your tankiest characters forward and stack defensive buffs on the front row and so they can withstand the hit. |
Chapter 2 (Bestower) Walkthrough
Fool's Gold (Bestower of Wealth)
| Bestower of Wealth Questline | ||
|---|---|---|
| Prologue | ||
| The Witch's Fortune | ||
| Chapter 1 | Chapter 2 | Chapter 3 |
| The Have-Not | Fool's Gold | Oskha the Trader |
| 1 |  Talk to Pierro. Speak with Pierro to start the quest. Bargello is heavily wounded, so the protagonist teams up with Pierro and the others to go after Oskha. |
|---|---|
| 2 | 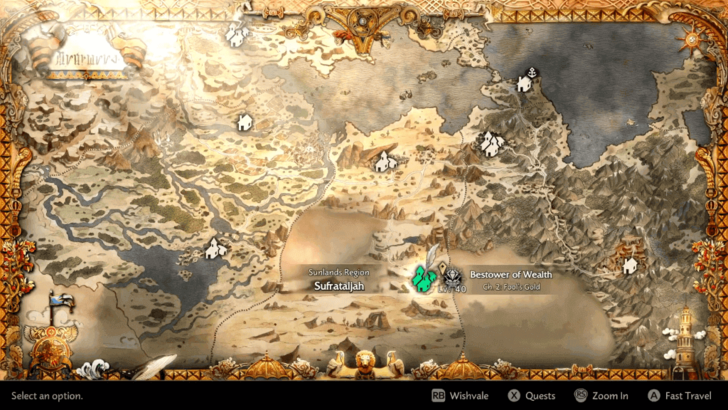 Head to Sufrataljah. Go to Sufrataljah in the Sunlands Region, which is located south of the world map. |
| 3 |  Head to the palace. After the cutscene, head north to the next area towards the palace. |
| 4 | 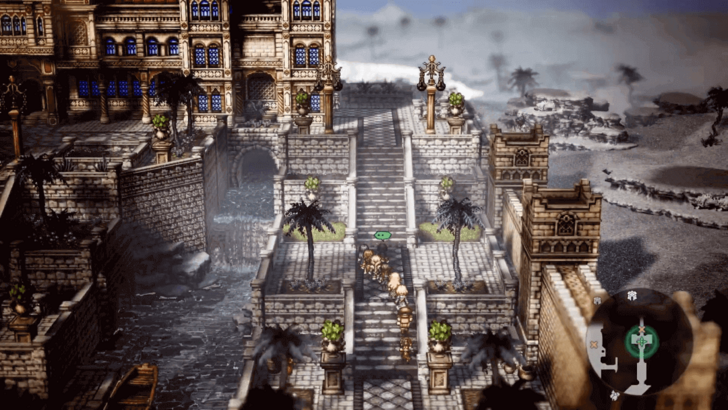 Work together to infiltrate the palace. You need to get inside the palace to confront Oskha. Pierro and Rosso will have different opinions on how to go about it. Speak with Pierro to trigger a scene where you'll end up having to fight Lookouts. |
| 5 | 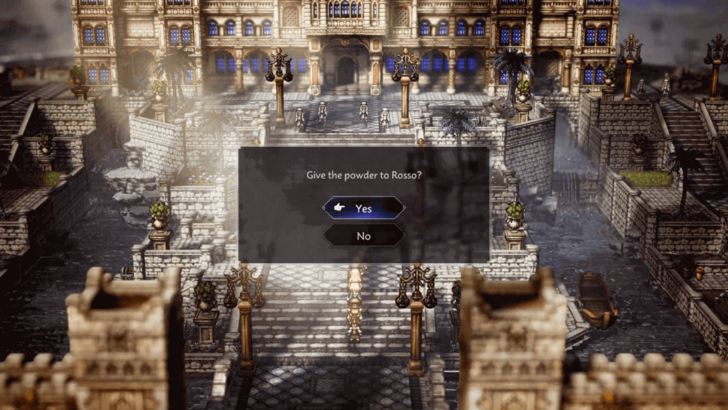 After realizing that you can't sneak inside, Pierro will ask you to find another way. Hand over the powder to Rosso that you got from Levina. Rosso will create a ruckus in the main entrance and you'll have to help him another set of Lookouts. |
| 6 | 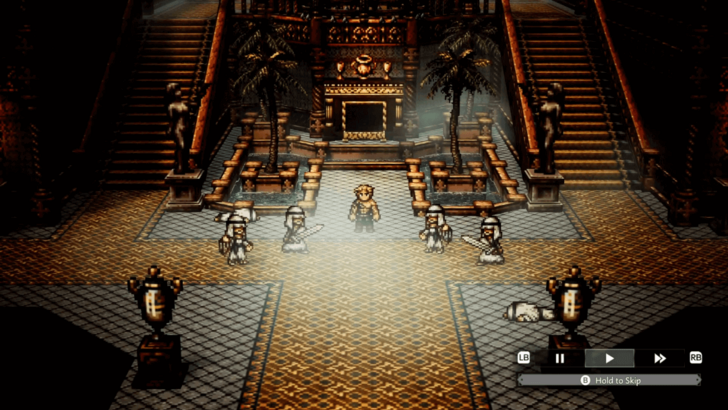 Investigate the palace. Once you are inside the palace, go to the central hall to find Rosso fighting the guards. Make sure to check all the rooms for treasure chests. Note: There is an optional mini-boss, the Menacing Cold Wind Curator, in the second eastern room of the palace's upper floor. |
| 7 |  Head to the Archives. After the scene, look for the Archives in the Upper Floor where you'll find Lord Scarabe's Journal, which contains information about Oskha.. |
| 8 |  Visit the Have-Not. Make your way towards the treasure room in the upper floor of the palace to find Oskha the Have-Not. However, you'll need to defeat Judah the Believer first before you can face. |
To Protect What Is Dear (Bestower of Power)
| Bestower of Power | ||
|---|---|---|
| Prologue | ||
| Empress from Abroad | ||
| Chapter 1 | Chapter 2 | Chapter 3 |
| The One That Lays Waste | To Protect What is Dear | Tatloch the Lady of Grace |
| 1 |  Find Irvi in Grandport Head to Grandport and make your way to the dock on the east. You'll find Irvi and the others here. Speak to them to progress the story. |
|---|---|
| 2 |  Head to the Grandport Estate Continue heading east to find the Lord of the Grandport Estate. Proceed to the estate to continue. |
| 3 |  Speak to Alaune Head back to the main path, and along the way you can find Alaune. Speaking to her locks you into the quest and other Path Actions will become unavailable. Approach her only when you're ready. |
| 4 | 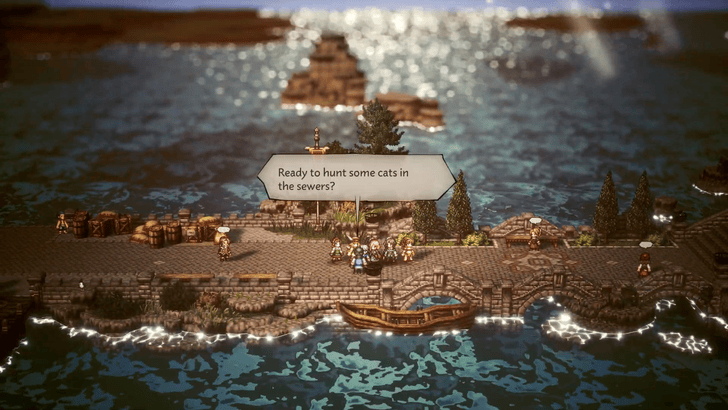 Enter Grandport Sewers Speak to the man to enter the sewers. Once there, head east until you find a ship docked in the far west. |
| 5 |  Defeat the G'roha Commander Once you reach the ship, a G'roha Commander along with several G'roha soldiers will attack you. Defeat them and leave the sewers afterward. |
| 6 | 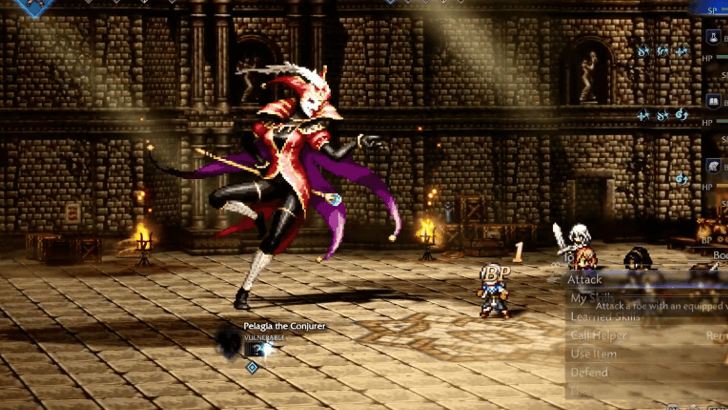 Defeat Pelagia the Conjurer Just as you exit the sewers, Pelagia the Conjurer will confront you. Defeat her to end the chapter. |
To Protect What Is Dear Walkthrough
Sacred Ashes (Bestower of Fame)
| Bestower of Fame | ||
|---|---|---|
| Prologue | ||
| The Shadow Apostate | ||
| Chapter 1 | Chapter 2 | Chapter 3 |
| A New God | Sacred Ashes | Ceraphina the Charitable |
| 1 |  Head to Atlasdam Fast travel to Atlasdam and go to the library within the Atlasdam Palace Gate area. |
|---|---|
| 2 |  Head to Atlasdam Palace Atlasdam Palace is just north of the library. Go back outside then follow the middle path until you trigger a cutscene at the main gate. |
| 3 |  Speak to Princess Mary Enter Atlasdam Palace and go to the second floor room on the right side to find Princess Mary and obtain The Legend of Saint Odypus quest item. |
| 4 |  Speak to Headmaster Yvon Exit the palace and enter the academy on the right side, just across the library, to find Headmaster Yvon on the second floor. After the cutscene that follows, you will obtain The Three Flames. |
| 5 |  Head to the library Return to the library for another cutscene where you read the content of The Accursed Night and review what you have learned so far by answering three questions. You'll loop back to the same options if you picked the wrong answer, so it's okay to just take guesses. The correct answers are: 1. The Lanthorn 2. Black 3. Divine ring & blood |
| 6 |  Go to the location identified on the map Go back outside and walk towards the center for a forced battle against two Elite Black Scarlet. Both minibosses are weak to Spears, Staves, Fans, Ice, and Dark. |
| 7 |  Head to Flamesgrace Open your map and fast travel to Flamesgrace, located northwest of Atlasdam, then head to the Flamesgrace Cathedral and talk to Pontiff Julius once again. |
| 8 |  Speak to Rondo Rondo can be found outside the cathedral, but before you speak to him, make sure you're fully prepared for three consecutive minibosses. |
| 9 |  For the first miniboss, you'll be up against another Monster (Man). Like in the battle against him in the previous quest, he is weak to Daggers, Bows, Staves, Fire, and Light and can increase his Phys. Atk. per turn starting on Turn 6, so you'll have to break or defeat him as soon as possible. |
| 10 | 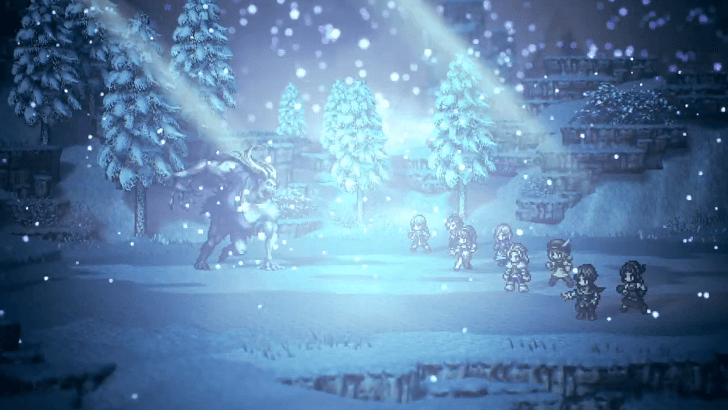 Next up is a Monster (Woman), a miniboss that you've also fought in the previous quest. She is weak to Swords, Spears, Tomes, Ice, and Light and can raise her Speed per turn at the start of Turn 6. |
| 11 | 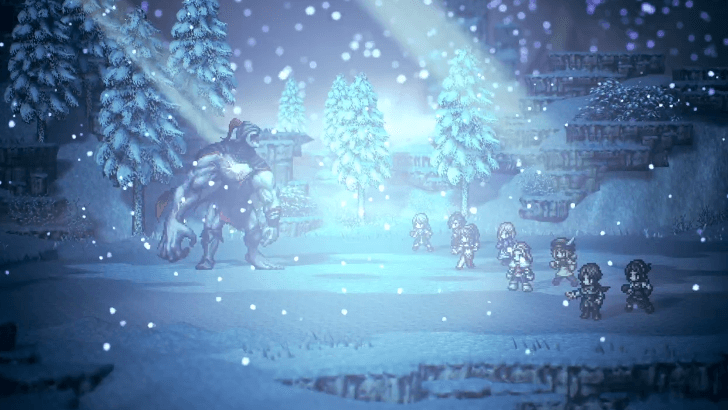 The last miniboss for this quest is a Monster (Black Scarlet). This miniboss can mutate and change its weaknesses each time it is broken. It is weak to Polearms, Bows, Tomes, and Fans, which are all physical attacks, by default. Once you get the "The Black Scarlet's body is mutating...", it will remove its weaknesses to the physical attack types and be weak to Fire, Lightning, Wind, and Light. The third time the Black Scarlet mutates, it will change its weaknesses to Polearms, Bows, Tomes, Fire, and Lightning and prepare for a powerful move. Break all its Shield Points to interrupt the attack. |
| 12 |  Head to the Altar Return to the cathedral and approach the altar for a cutscene that ends with Sazantos leaving your party. |
| 13 |  Head to the Cave of Origin Exit Flamesgrace through the east path to reach Valley of the Flame. Simply cross the bridge until you enter the Path to the Cave of Origin. |
| 14 |  Follow the winding path north and enter the Cave of Origin. Your objective is to find Ceraphina on the northern end of the cave and defeat the Guardian of the Tainted Flame that she summons. |
| 15 |  The Guardian of the Tainted Flame is weak to Daggers, Axes, Staves, Ice, and Wind but can lock these weaknesses with its Dark Wisps. AoE attacks are recommended for this fight as you'll want to take out the Dark Wisps before they finish their countdowns. |
Chapter 3 (Bestower) Walkthrough
Oskha the Trader (Bestower of Wealth)
| Bestower of Wealth Questline | ||
|---|---|---|
| Prologue | ||
| The Witch's Fortune | ||
| Chapter 1 | Chapter 2 | Chapter 3 |
| The Have-Not | Fool's Gold | Oskha the Trader |
| 1 | 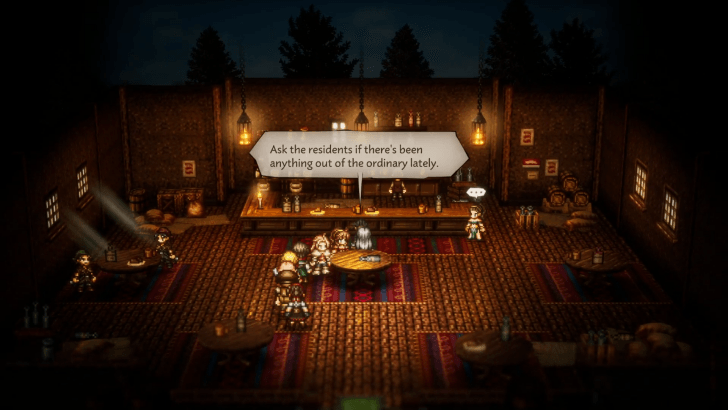 Talk to Pierro in Valore Speak to Pierro standing outside the bar in Valore to accept the quest and a short cutscene. After the cutscene, Bargello will ask you to ask residents around town for information. |
|---|---|
| 2 |  Ask the Three Townspeople for Information You'll need to speak and inquire with three specific townspeople, indicated by a green speech bubble, in Valore to get information for Bargello. The first is the Cragspear Merchant who is standing just north of the bar where Bargello is staying. Next, go west to the Main Boulevard and speak with the Veteran Hunter and the Indomitable Dancer, then head back to Bargello for a cutscene. |
| 3 |  Search for Oskha After the cutscene, make your way to Hermina's Former Manse west of Valore. Once inside, follow the path north and up to reach the mansion's terrace for a short cutscene and prepare for a fight. |
| 4 | Defeat Oskha, the Have-Not Oskha's Dual Ruinous Slash can inflict Phys.Atk.Down for two turns which makes fighting this boss with physical characters challenging, so prioritize using Wind and Dark magic which he's weak to. When he says "Are you prepared?", it means he's about to use a powerful attack. Focus on breaking his shield as fast as possible with Daggers, Wind, and Dark attacks to avoid getting hit. |
| 5 | 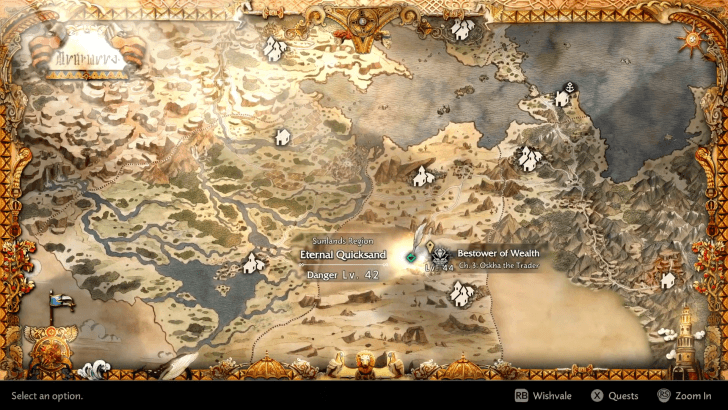 Go to the Eternal Quicksand Fast travel to Sufrataljah, then exit towards Sufrataljah Sands and keep going west until you reach Eternal Quicksand. The marked location is to the north of Eternal Quicksand. |
| 5 | 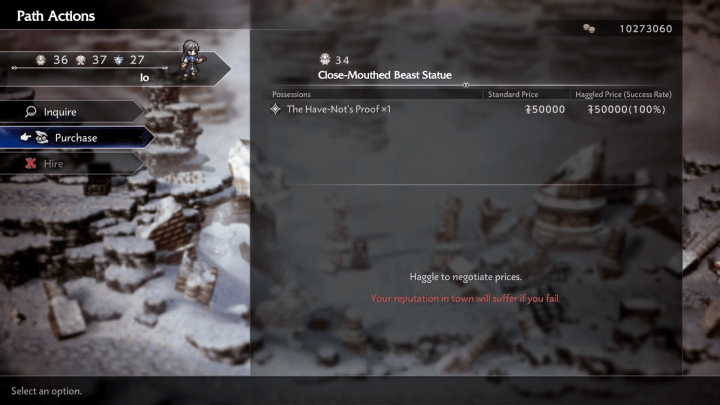 Purchase The Have-Not's Proof from the Statue Approach the large crater for a cutscene, and then you'll need to inspect the left statue and purchase a The Have-Not's Proof for 50,000 Leaves. Once purchased, inspect the right statue and place the newly acquired proof for a short cutscene, and then enter the Golden Palace. ► Money Farming Guide |
| 6 | 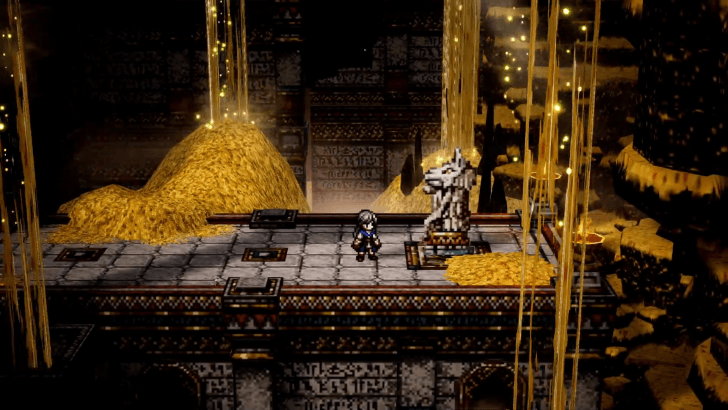 Push the Buttons on the Two Statues Once inside the Golden Palace, you'll need to interact and press the button on the two statues to open the large door. The first statue is directly southwest of the door, while the other statue is located northeast of central area. A short cutscene will play after pressing both statues, and you can now enter the large door in the central area. |
| 7 | 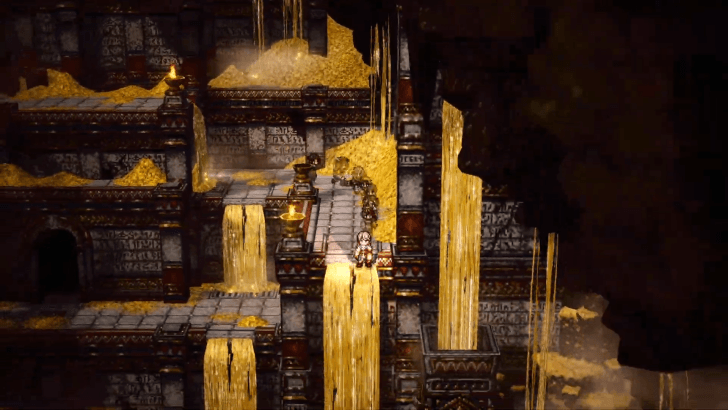 Drop Down the Right Golden Waterfall Drop down the golden waterfall to the right of the entrance to reach the lowest part of the room. |
| 8 |  Go Through the Open Passageway Once at the bottom, enter the large open passageway to reach the next area. |
| 9 | 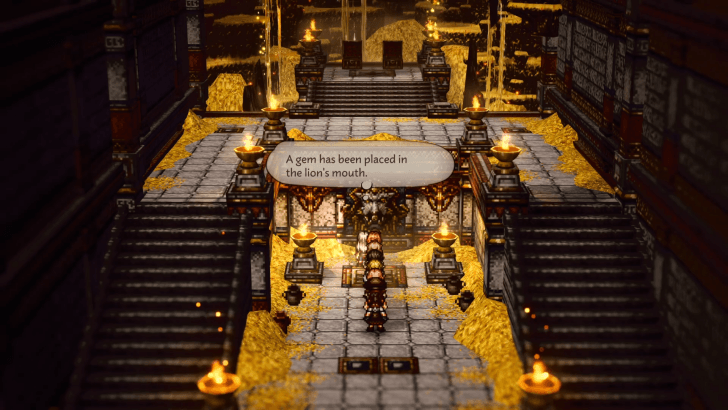 Push the Button on the Statue You'll need to interact and press the buttons on the statues in this room to open the main door. The first statue is located on the lower area south of the door. |
| 10 |  Take the Gem from the Lion's Mouth Head to the right side area of this room and all the way down into an inner area where you can get a gem from a lion's mouth statue. You can then place this gem into one of the statues facing another to activate it, which will cause another statue to appear which you can then press to finally open the door. |
| 11 | 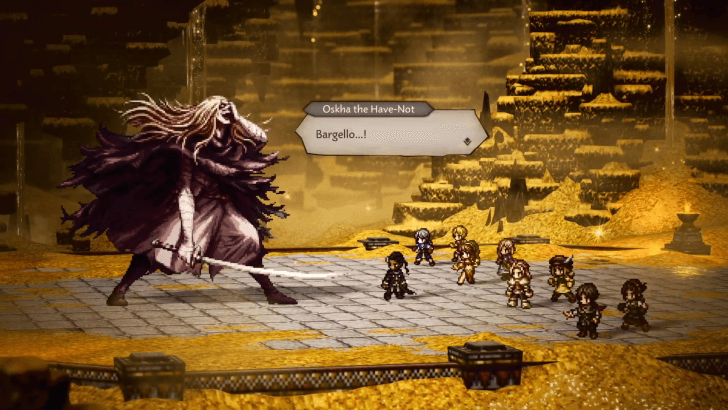 Defeat Oskha the Have-Not Once inside, save your game and approach the central area to the north for a short cutscene. Oskha the Have-Not will once again challenge you to a fight. The boss can summon Altered Gold Remnants during the fight which are weal to Knives, Staves, Ice, and Dark damage, and you'll want to defeat these quickly to avoid getting paralyzed by their Bolt Wave attack. Oskha the Have-Not retains his previous weakness to Knives, Wind, and Dark attacks and these are his most consistent weaknesses. Alexia's Duskblight is useful here since it hits twice and can also damage the Altered Gold Remnant. |
| 12 | 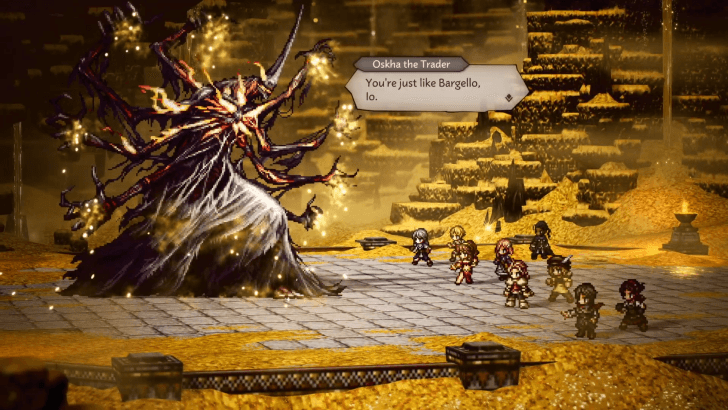 Defeat Oskha the Trader Defeating Oskha the Have-Not will cause him to transform into Oskha the Trader who is weak to Knives, Tomes, Fans, Ice and Dark damage. He'll instantly use A Hundred Arms at the start of the battle which will cause him to move twice on his turn. The boss has many dangerous moves that impart debuffs and Sleep status, but his most dangerous move is when he says Thou shall have not and cause a Stillness Field to affect all front row characters and prevents them from using skills. You can remove this debuff by breaking his shield so make sure you have enough boosts to quickly burst down his shield. You should also have at least Saoirse or Pius for the fight since they can provide healing regeneration or burst healing respectively to keep your team in top shape throughout the fight. |
| 13 | 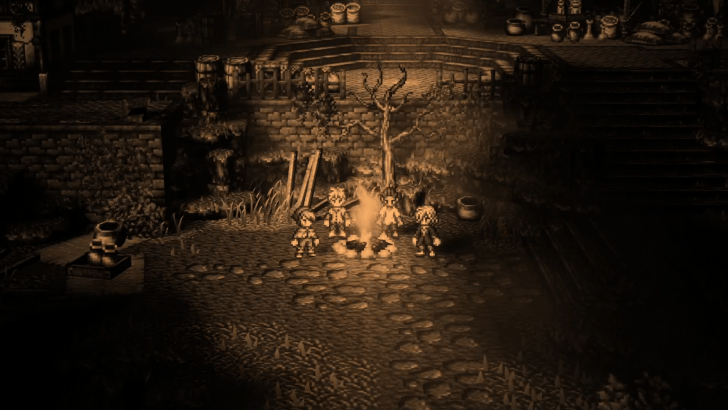 After the fight, a cutscene will play and you'll receive the Ring of Bifelgan the Trader which grants the protagonist the Bifelgan's Bounty ultimate. |
Tatloch the Lady of Grace (Bestower of Power)
| Bestower of Power | ||
|---|---|---|
| Prologue | ||
| Empress from Abroad | ||
| Chapter 1 | Chapter 2 | Chapter 3 |
| The One That Lays Waste | To Protect What is Dear | Tatloch the Lady of Grace |
| 1 | 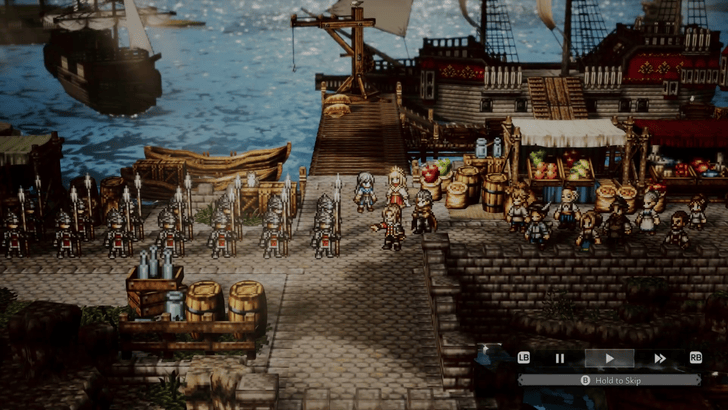 Head to Rippletide Go to Rippletide and meet up with Eltrix. She and the entire army will gather here first before heading to war against the forces of G'roha. |
|---|---|
| 2 | 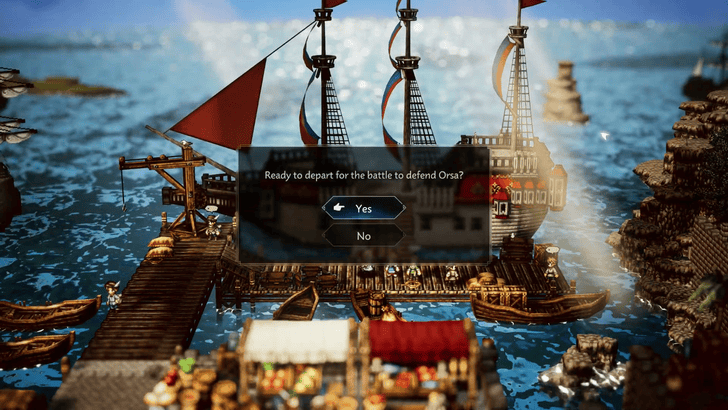 Sail to Orsa Once you're ready, sail to Orsa by interacting with the ship. Keep in mind that you'll face several battles ahead, so prepare first before sailing. |
| 3 |  Defeat the Elite Enemies While heading to Orsa, the path ahead will be filled with Elite Enemies. Some are unavoidable, so be sure to defeat them to reach Tatloch's ship. ▶︎ List of Elite Enemies |
| 4 | 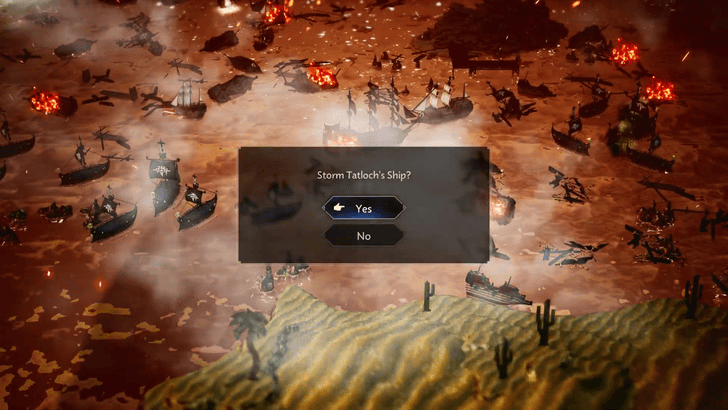 Enter Tatloch's Ship and Defeat Pelagia After defeating the Elite Enemies, Tatloch's Ship will become accessible. Enter it and defeat Pelagia near the entrance. |
| 5 | 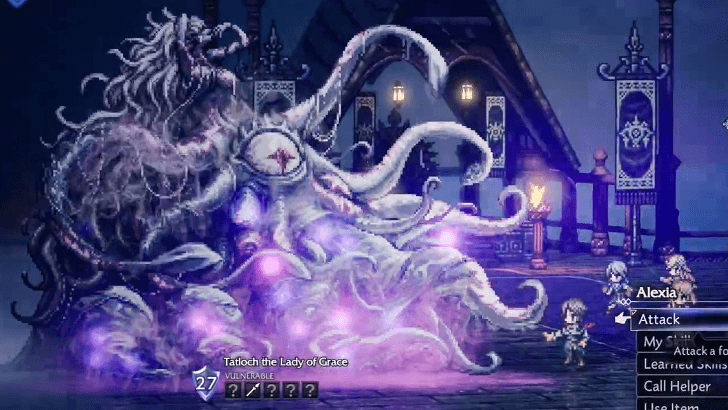 Defeat Tatloch Start by defeating Maa'fa the Black Panther to remove Tatloch's protection. After that, defeat Tatloch to end the first phase of the battle. In the second phase, Tatloch will become Tatloch the Lady of Grace and will grow more powerful. Defeat her in this form as well. |
| 6 | 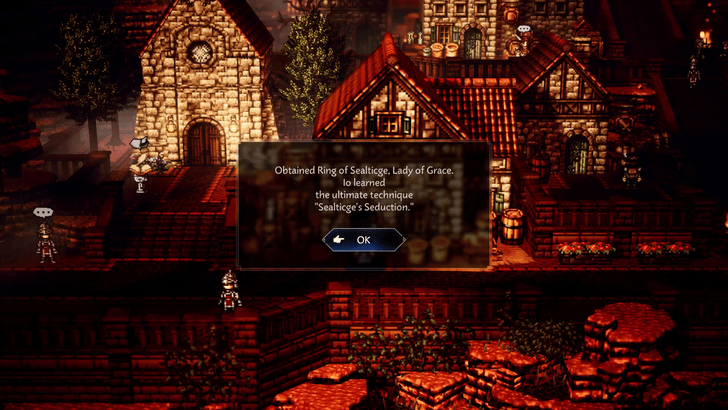 Receive the Ring of Sealticge After defeating Tatloch, the Bestower of Power quest line comes to an end. You'll receive the Ring of Sealticge as your reward. You'll also learn Sealticge's Seduction at the end of this chapter. ▶︎ List of All Ultimate Techniques |
Tatloch the Lady of Grace Walkthrough
Ceraphina the Charitable (Bestower of Fame)
| Bestower of Fame | ||
|---|---|---|
| Prologue | ||
| The Shadow Apostate | ||
| Chapter 1 | Chapter 2 | Chapter 3 |
| A New God | Sacred Ashes | Ceraphina the Charitable |
| 1 | 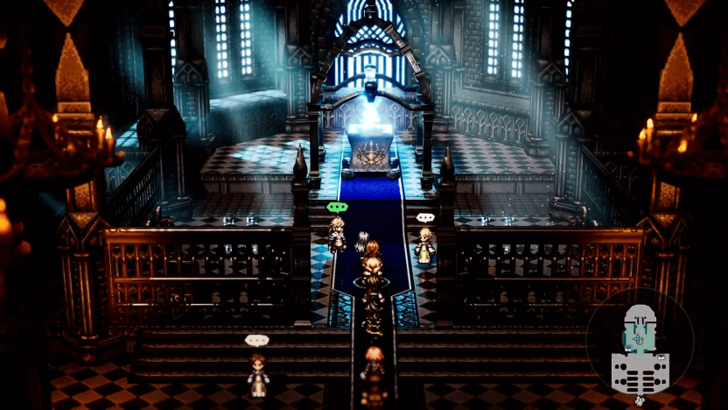 Speak to Rondo. You will find Rondo in the Flamesgrace Cathedral. Speak to him to start the quest. |
|---|---|
| 2 | 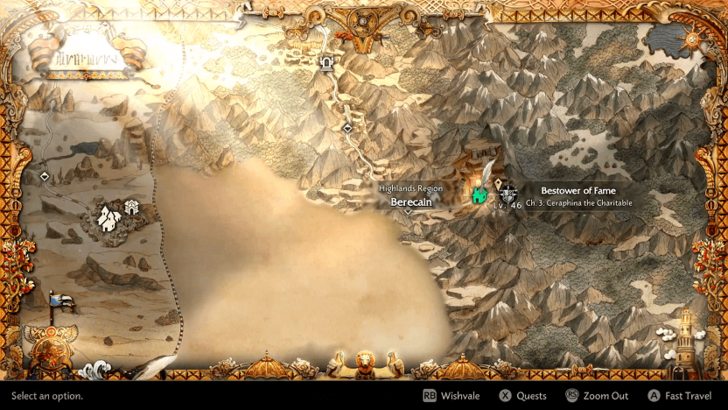 Head to Berecain. Travel to Berecain in the eastern part of the Highlands Region. ▶︎ Orsterra Map and List of Regions |
| 3 | 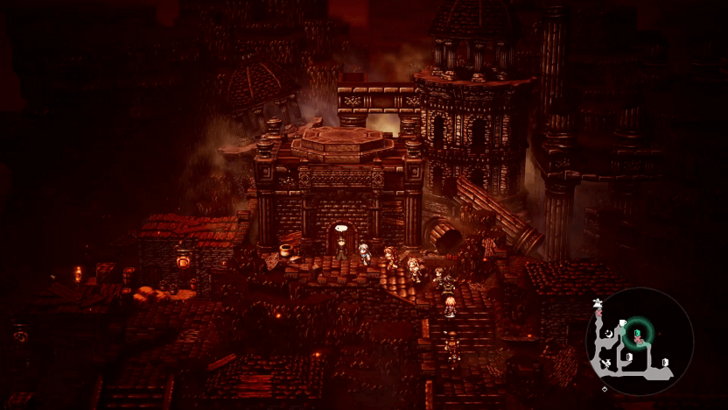 Gather information about Ceraphina. Once there, go up the stairs in the northeast part of the area and speak to the old man. He will not let you in unless you have the password. |
| 4 | 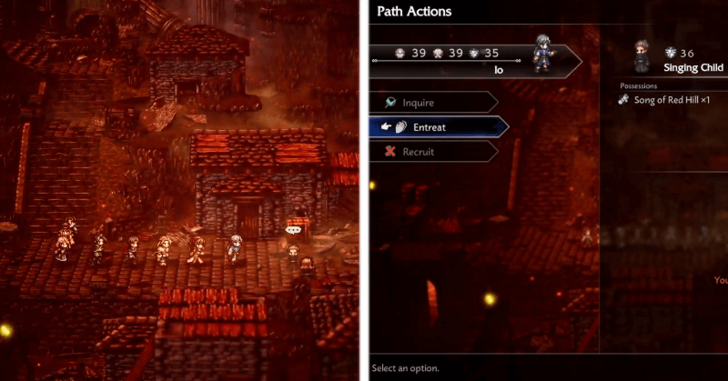 Get the password from the Singing Child NPC, located to the right at the bottom of the steps. Entreat him to get the Song of the Red Hill. |
| 5 | 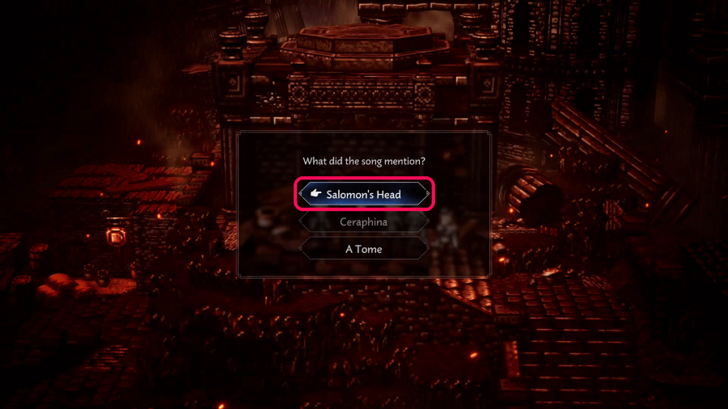 Return to the old man and select the Salomon's Head option, and you are now free to enter the door. |
| 6 |  Head inside and go downstairs, and approach the man in the summoning circle. A cutscene will play as you approach him. |
| 7 | 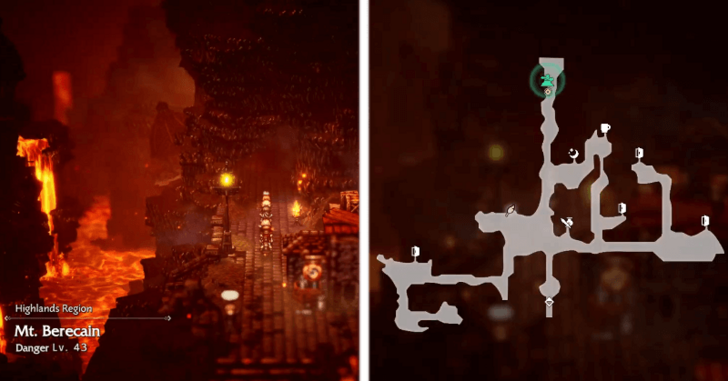 Head to the Forbidden Temple. Go outside the shack and to the north exit of the city towards Mt. Berecain. |
| 8 | 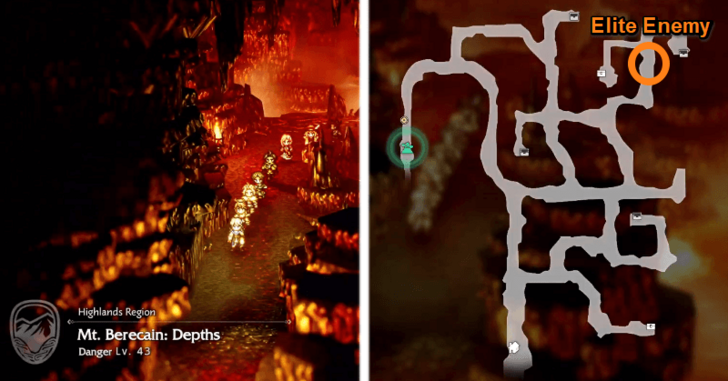 Continue to the Mt. Berecain: Depths entrance in the northwest of the area. There are 4 other chests in the zone, one of them being a Blue Chest. An Elite Enemy: Menacing Quartz Turtle guards the chests on the top right. |
| 9 | 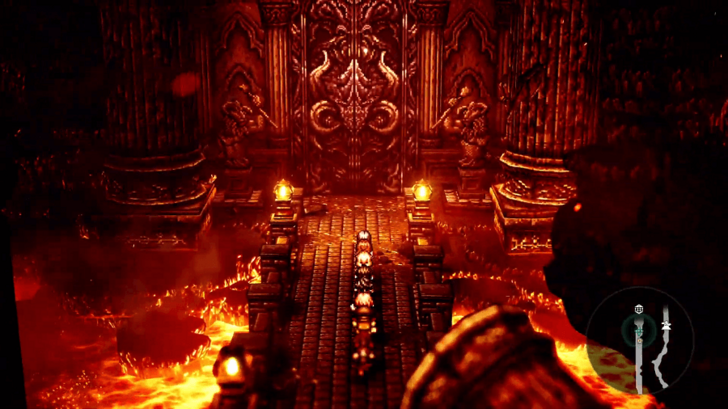 In the depths, head past the save point towards the entrance to the Forbidden Temple. A cutscene will play, and you will enter. |
| 10 | 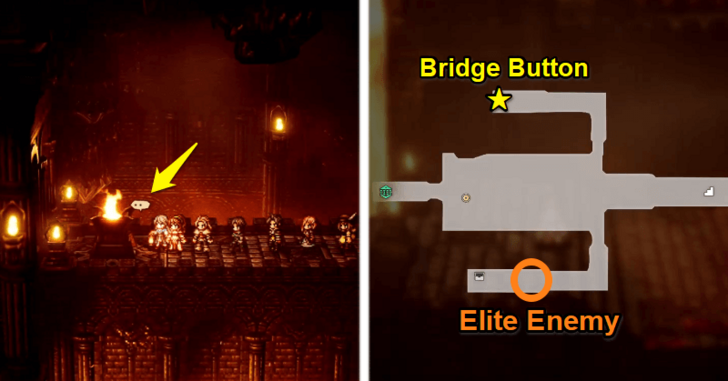 Follow Ceraphina. In the temple, head down the stairs to the left, and you will reach a lava-blocked gap. Press the button at the top of the northern stairs to raise the bridge and cross into the Forbidden Temple: Lower Floor. Before crossing, there is also an Elite Enemy: Menacing Ashen Remnant on the southern stairs of this area. |
| 11 | 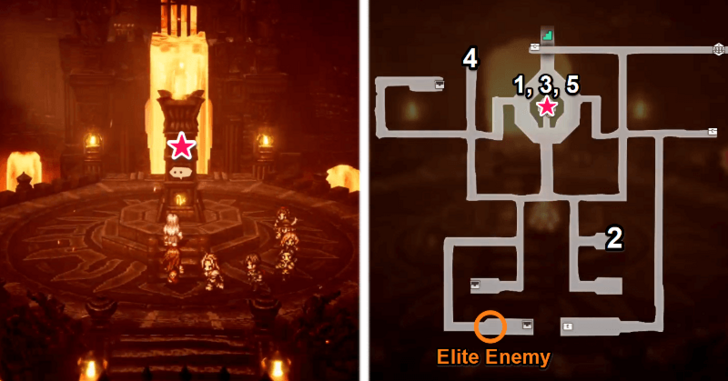 To unlock the path forward that is blocked by flowing lava, activate the area’s buttons in order. Start with the pillar in the center. Button Order: 1. Central Pillar to raise the bridges on the right. 2. First Button near the bridges to open a gate. 3. Central Pillar again to raise the bridge on the left. 4. Second button north of the raised bridge to open a gate. 5. Central Pillar that stops the lava flow ahead so you can go forward. With the 5 interactions pressed in order, the flow of lava blocking the path will stop, and you can move on to the next area. Before going, there are 5 Chests in the zone as well as an Elite Enemy: Menacing Blood Revenant in the southwest corner. |
| 12 | 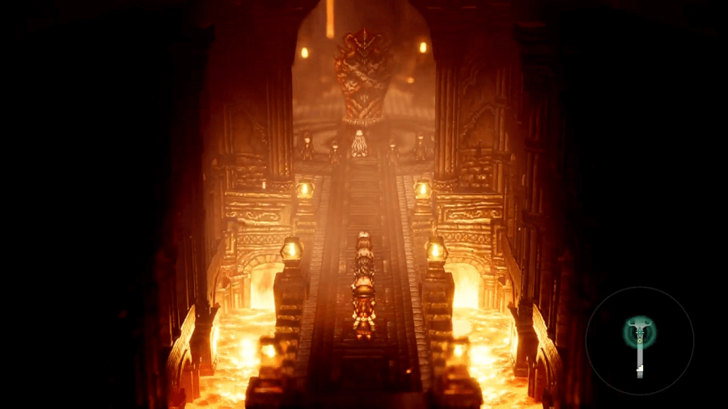 Head past the pillar, where you will find Ceraphina at the end of the hall. Approaching her starts the boss fight with the Towering Idol, so make sure your party is fully healed before proceeding. |
| 13 | 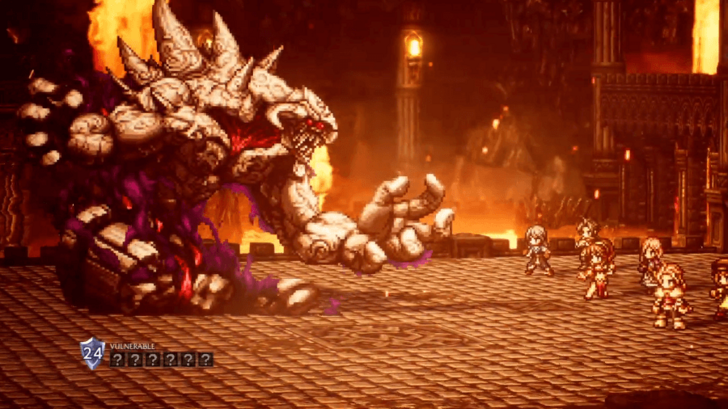 Defeat the Towering Idol. The Towering Idol frequently uses attacks that hit your entire front row. Bring a strong healer like Pius who has a full row heal and use dancer buffs such as Saoirse’s to bolster the whole row at once. The boss is weak to Swords, Axes, Fans, Lightning, Wind, and Light. |
| 14 | 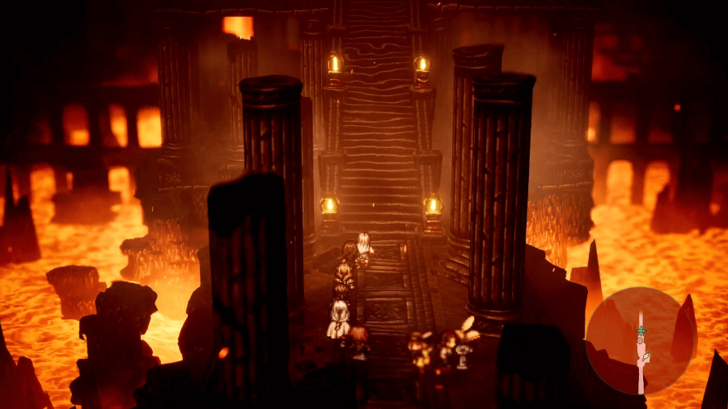 Confront Ceraphina. After the battle, continue north to find Ceraphina. You cannot proceed up the stairs unless Sazantos is in your party, so swap him in if he's already there. Once ready, save your game and head up the stairs for the next major boss fight against Ceraphina herself. |
| 15 | 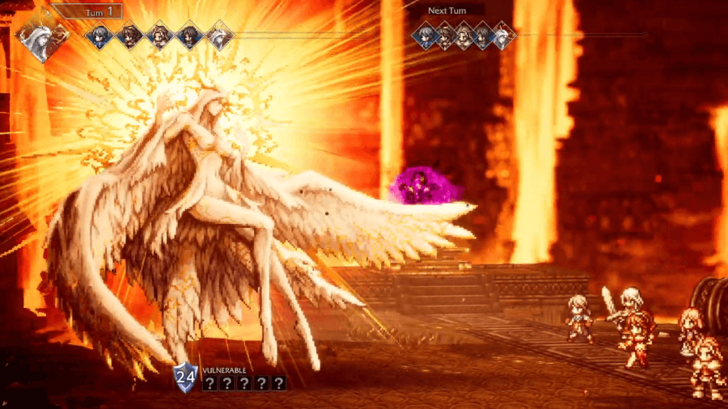 Defeat Ceraphina the Charitable. Ceraphina inflicts frequent debuffs and status ailments on your front row. Carry plenty of Herbs of SP Aid, as you will need the SP for both this boss and the one that immediately follows. Use row-wide buffs to keep your stats up, since she regularly lowers them throughout the battle. The boss Ceraphina is weak to Polearms, Bows, Lightning, Wind, and Dark. |
| 16 | 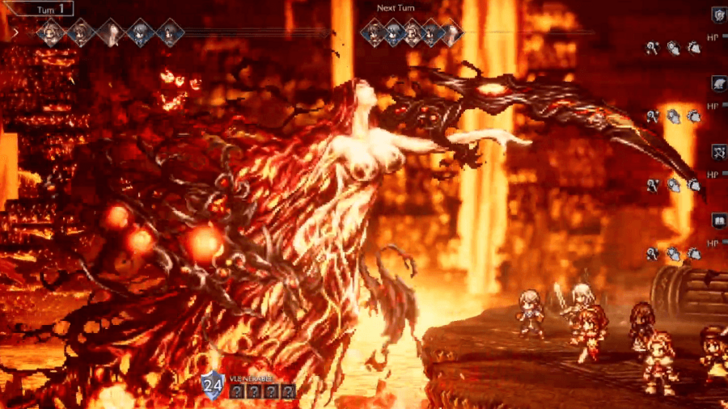 Defeat Lyblac. Lyblac frequently applies debuffs, so keep your party buffed to offset them. Use multi-hit skills like Stormblade to chip through her high 24 Shield Points more quickly. She is weak to Swords, Axes, Wind, and Light. Be mindful of your attack types, as she has fewer weaknesses than the earlier bosses. After defeating the boss, you can continue to the Bestower of All questline (The Black Flame Prologue quest) if you've finished Bestower of Wealth and Power as well. |
Ceraphina the Charitable Walkthrough
Bestower of All Walkthrough
The Black Flame (Bestower of All)
| Bestower of All | |||
|---|---|---|---|
| 0 | The Black Flame | 5 | The Gate of Finis |
| 1 | Between Life and Death | 6 | Precipice of Loss |
| 2 | Hill of the Dead | 7 | Sazantos |
| 3 | Castle of the Hollow Queen | 8 | At Journey's End |
| 4 | A Nation Frozen in Time | 9 | True Ending |
| 1 | 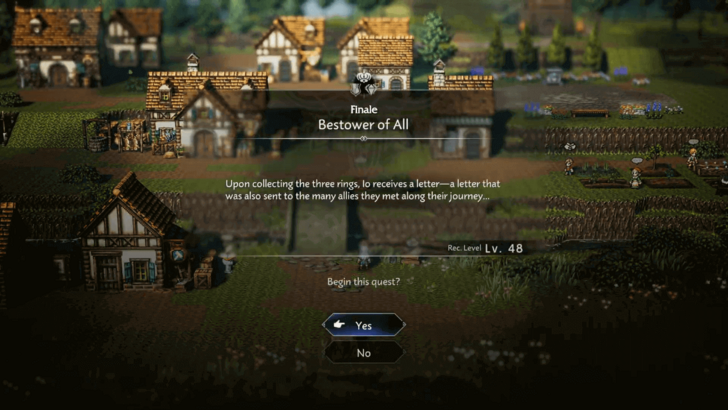 Speak to Stia in Wishvale. Head to Wishvale and speak with Stia to start the quest. |
|---|---|
| 2 | 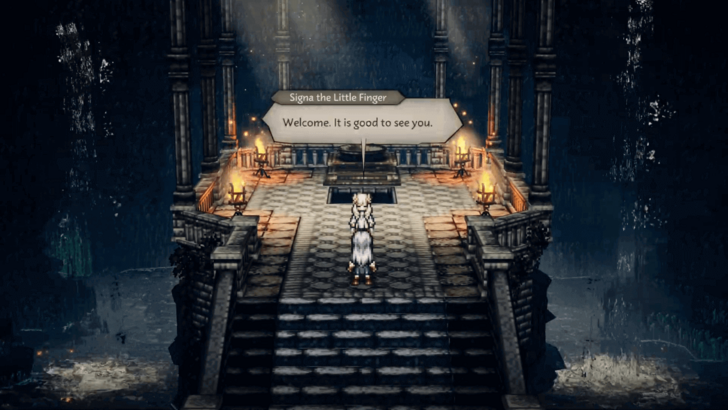 Head to the Isle of Orsa. Fast travel to the Isle of Orsa and make your way to the altar. |
| 3 | 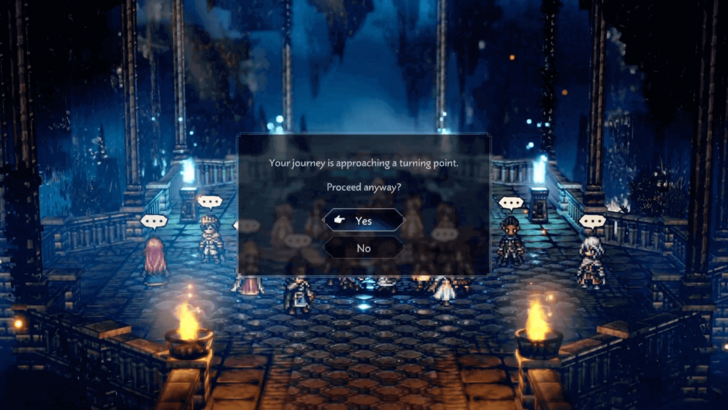 Speak to the ring maidens. Proceed inside where you'll find the other Lights of Orsterra waiting. If you talk to King Richard, you will receive river beans. You can also talk to the others, but you won't receive anything from them. Speaking to the ringmaidens is a turning point in the game, so before continuing you can do other side quests first and upgrade your town. Once you're ready, talk to Signa the Little Finger. |
| 4 |  Give the rings to Finis. After Finis tells his story, hand over the ring to him. You will end up fighting three soul monsters: the Suffering Soul, Seething Soul, and Shrieking Soul. After defeating them, the prologue is completed. |
Between Life and Death (Bestower of All)
| Bestower of All | |||
|---|---|---|---|
| 0 | The Black Flame | 5 | The Gate of Finis |
| 1 | Between Life and Death | 6 | Precipice of Loss |
| 2 | Hill of the Dead | 7 | Sazantos |
| 3 | Castle of the Hollow Queen | 8 | At Journey's End |
| 4 | A Nation Frozen in Time | 9 | True Ending |
| 1 | 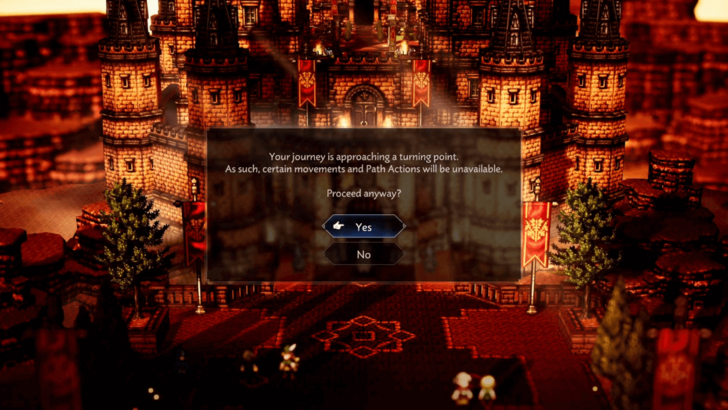 Talk to Krauser. After the cutscene, you'll be in front of the castle in Cragspear. Once you're ready to start the chapter, talk to Krauser. |
|---|---|
| 2 | 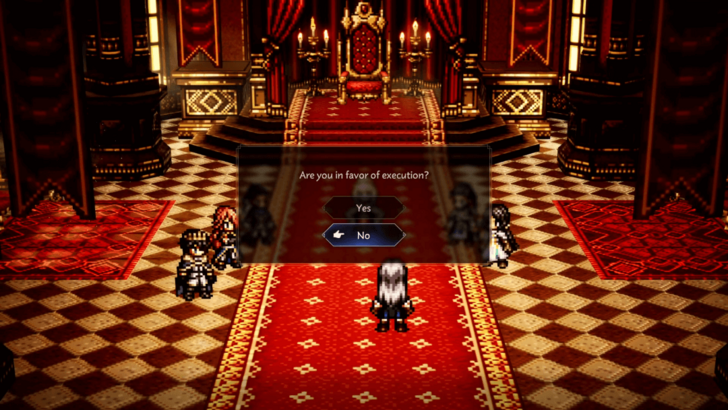 Enter the throne room. Once inside the castle, go inside the throne room. The remaining Guardians of Light will have a meeting regarding Tatloch's fate. You will be asked if you choose to execute Tatloch or spare her. No matter what you choose, it won't affect the story, as the the meeting will be interrupted. |
| 3 | 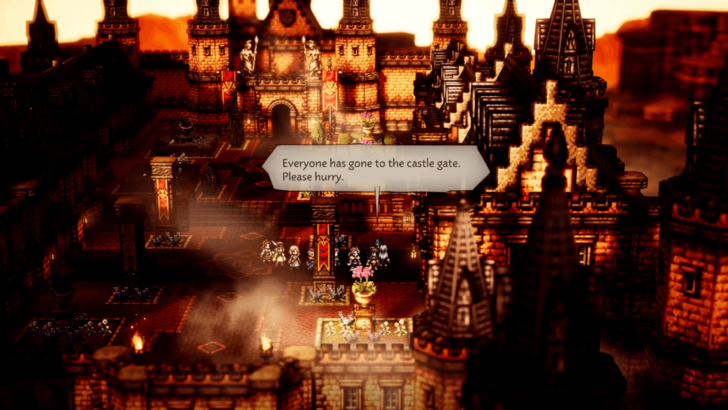 Head to the castle square. Head to the castle square to trigger the next scene. |
| 4 | 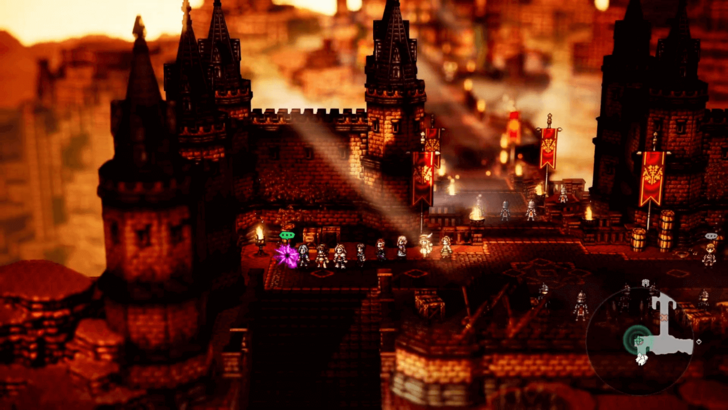 Go to where the ring points. When you regain control, enter the portal. |
| 5 | 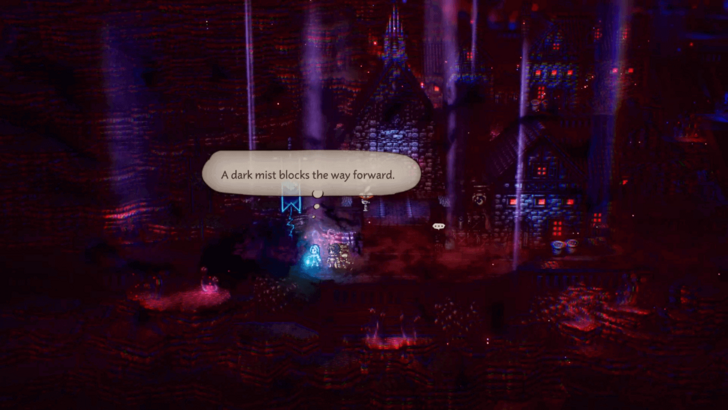 You will arrive in Hell: Cragspear. Head west towards the marked location on the map, you will find that your path is blocked. |
| 6 | 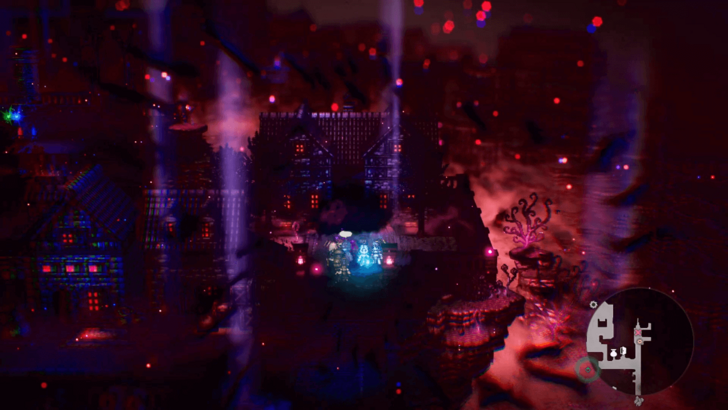 Go northeast and contend against the Power-Drunk Soldier to obtain the Edoras Soldier's Curse that will remove the blocking mist. |
| 7 | 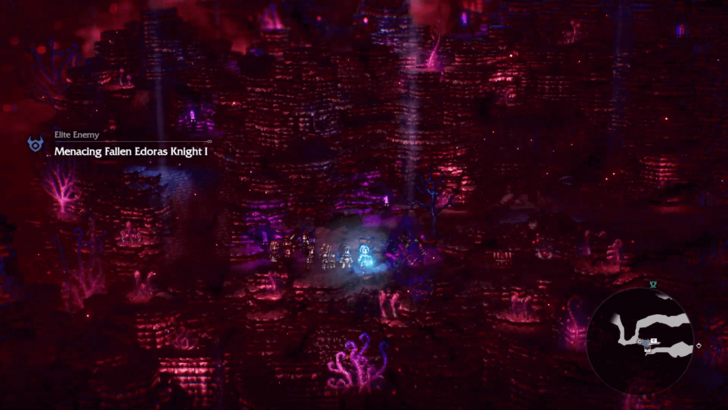 After getting the item, head west until you reach Hell: Geist Canyon. Note: There is a Menacing Fallen Edoras Knight I, an optional elite enemy, to the southwest of Hell: Geist Canyon. The chest behind it contains an Enchanted Rod . |
| 8 | 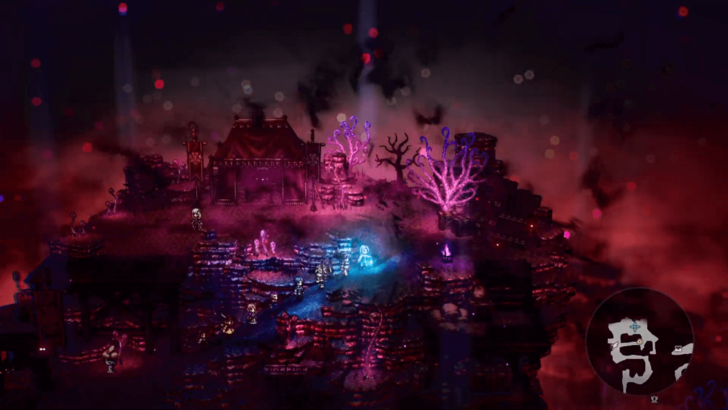 Proceed to the north and prepare for a boss fight. Be sure to save before heading to Signa. She will summon Fallen Mahrez against you. |
| 9 | 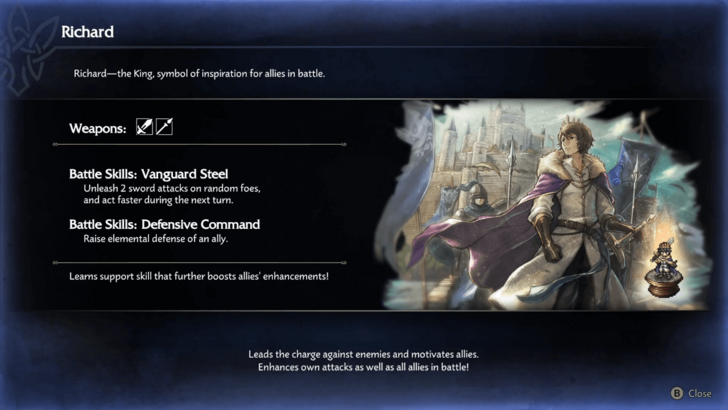 After defeating Fallen Mahrez and finishing the cutscene, Richard will join your party, completing the Between Life and Death chapter. |
Between Life and Death Walkthrough
Hill of the Dead (Bestower of All)
| Bestower of All | |||
|---|---|---|---|
| 0 | The Black Flame | 5 | The Gate of Finis |
| 1 | Between Life and Death | 6 | Precipice of Loss |
| 2 | Hill of the Dead | 7 | Sazantos |
| 3 | Castle of the Hollow Queen | 8 | At Journey's End |
| 4 | A Nation Frozen in Time | 9 | True Ending |
| 1 | 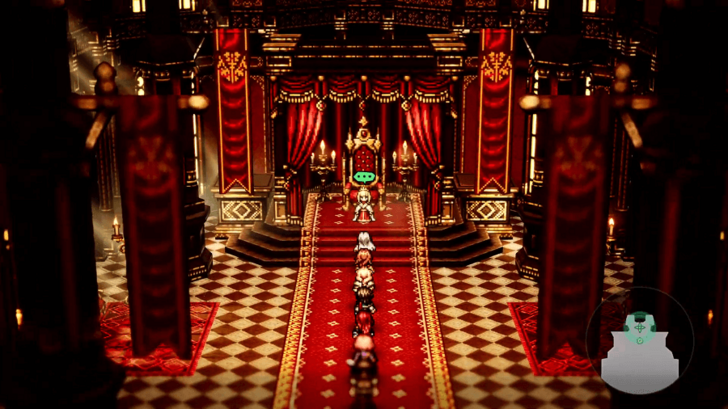 Speak to Alaune. Head to Castle Edoras in the Cliftlands Region, and speak to Alaune in the throne room to start the quest. |
|---|---|
| 2 | 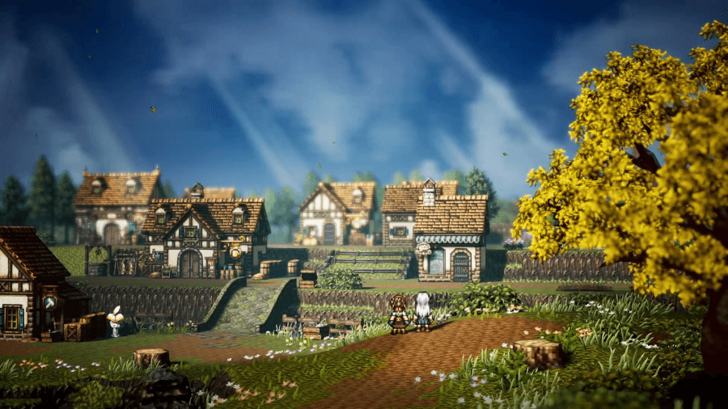 Speak to Stia in Wishvale. Go to Wishvale and speak to Stia, who is near the entrance. A cutscene will play where you vow to go after Sazantos. |
| 3 | 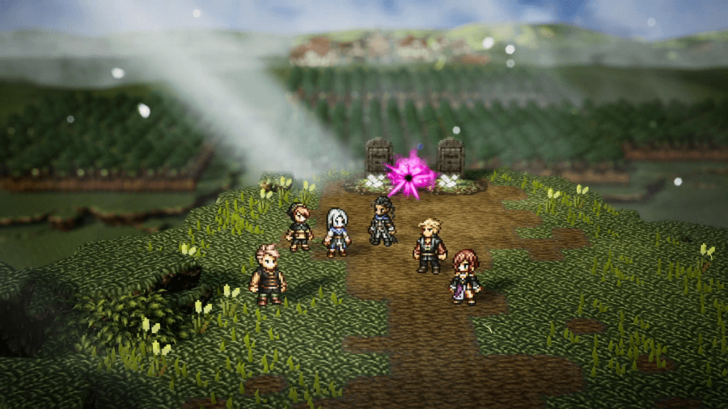 Head to Bargello's hideout. Head to Valore and go to Bargello's spot at the southern part of town. During the cutscene, agree to go back to Hell with him. |
| 4 | 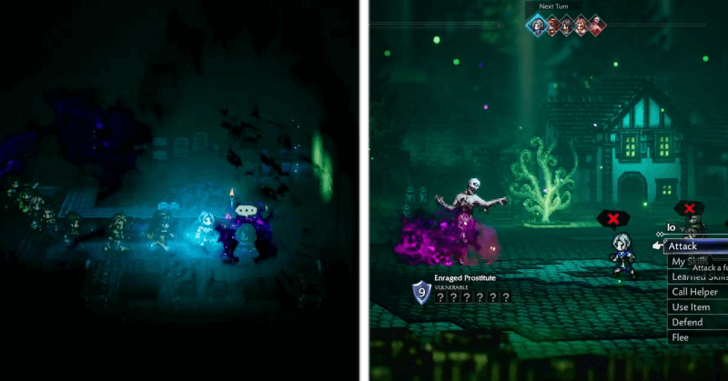 Head to Hell's White Grape Hill. To gain access to the White Grape Hill, you must first defeat two specific enemies in a Contend battle around the area. The first one is the Enraged Prostitute, which you can find in the second building, located to the leftmost on the north side of the area. Contend with and defeat her to get the Enraged Prostitute's Curse that gives you access to the Hell: Valore area to the east. |
| 5 | 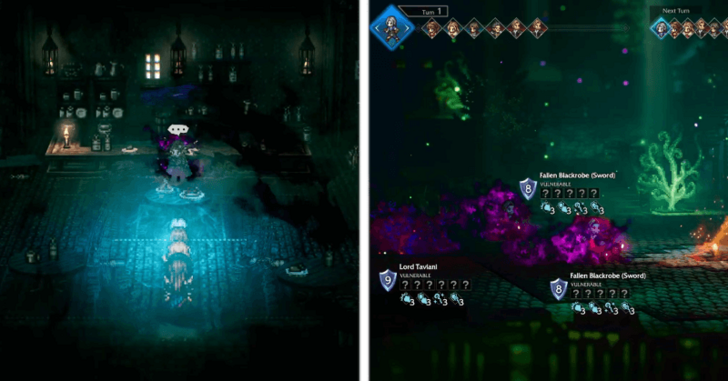 With the path to Hell: Valore open, head there and go to where Bargello’s hideout would be in the real world. Inside, you will find Taivani. Contend with and defeat him as well to obtain his curse, which unlocks the southern path back at the Main Boulevard. |
| 6 | 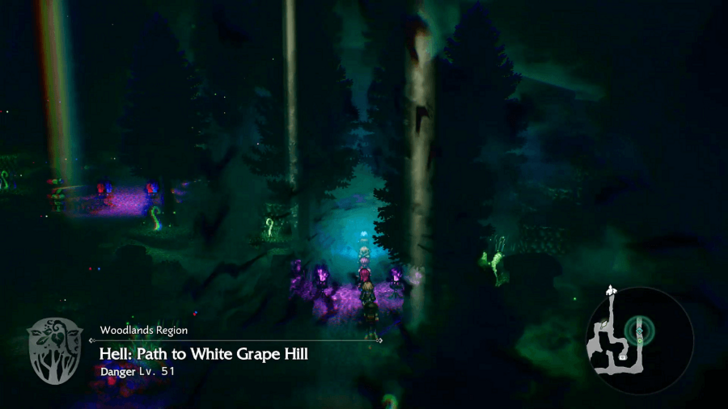 In the Hermina's Manse path, the path that goes closer to White Grape Hill is on the northeast of the area. |
| 7 | 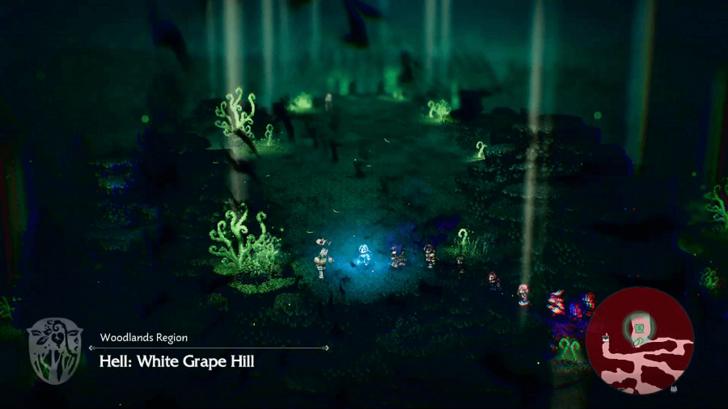 In the path before White Grape Hill are several treasure chests and an Elite Enemy: Menacing Fallen Direfang. The White Grape Hill area entrance is in the north with a save point just before the entrance. |
| 8 | 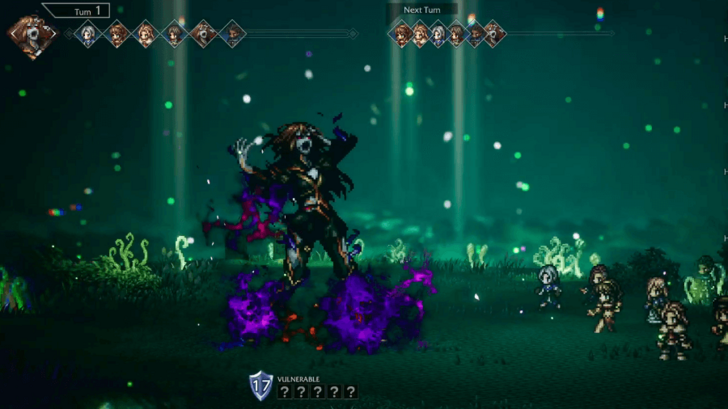 Defeat Fallen Sonia. Approach Sonia on the hill to start the boss fight against Fallen Sonia, your rematch with her in Hell. She has high Speed and frequently uses row-wide attacks, so use Speed buffs on your party or debuff her Speed to act earlier in each turn. Fallen Sonia is weak to Swords, Bows, Staves, Ice, and Light. |
| 9 | 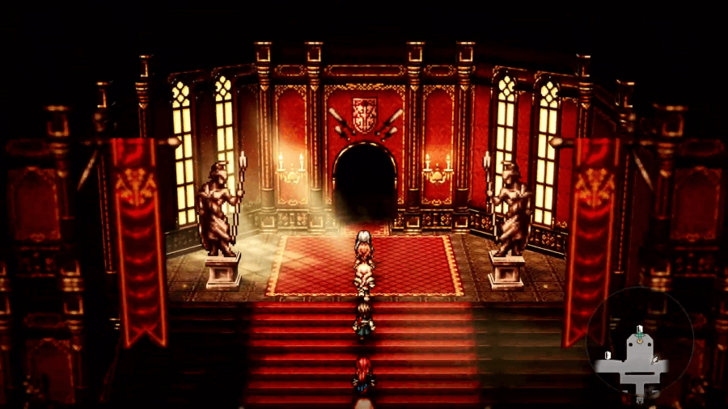 Enter the throne room. After defeating Fallen Sonia, you will be transported back to the real world, and Bargello will officially join your party. Head back to Castle Edoras, but make sure you are fully prepared for another boss fight before entering the throne room. As you enter, a cutscene immediately plays that leads to a boss fight with Fallen Erica. |
| 10 | 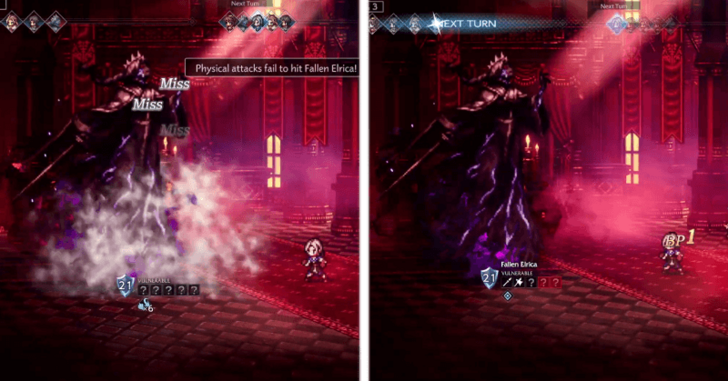 Defeat Fallen Erica. Fallen Erica uses stances that temporarily nullify certain attack types, such as Physical Evasion Stance, which causes most physical attacks to miss, and Stand Firm, which removes her elemental weaknesses. Pay close attention to her active stance each turn and adjust your attacks accordingly. Fallen Erica is weak to Polearms, Axes, Tomes, Lightning, and Dark. |
Castle of the Hollow Queen (Bestower of All)
| Bestower of All | |||
|---|---|---|---|
| 0 | The Black Flame | 5 | The Gate of Finis |
| 1 | Between Life and Death | 6 | Precipice of Loss |
| 2 | Hill of the Dead | 7 | Sazantos |
| 3 | Castle of the Hollow Queen | 8 | At Journey's End |
| 4 | A Nation Frozen in Time | 9 | True Ending |
| 1 | 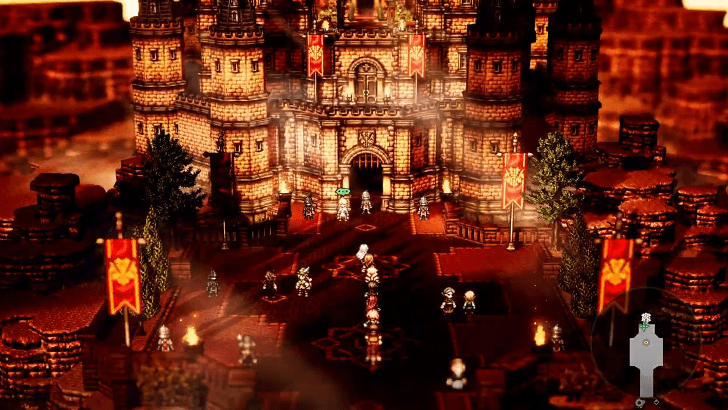 Speak to Rondo You can find Rondo at the entrance of Castle Edoras. Before talking to him, however, make sure you've wrapped up any active Side Stories as fast travel and certain Path Actions will be disabled once you proceed and may affect their progression. |
|---|---|
| 2 | 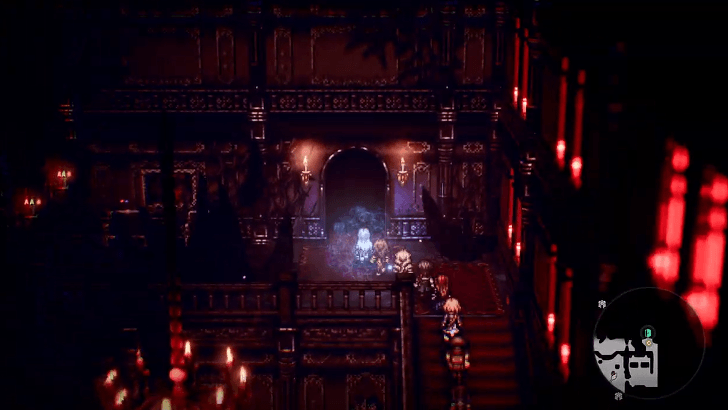 Proceed through Castle Edoras in Hell After the cutscene with Sazantos and regaining control of your character, start exploring the Castle Edoras in Hell by entering the room to the right and going through the door at the top of the stairs. |
| 3 | 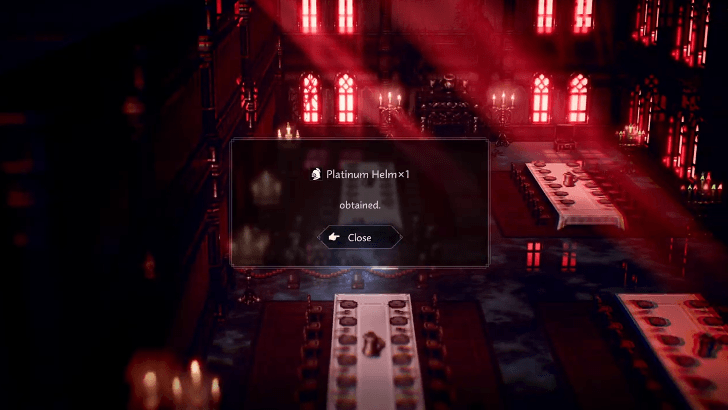 The dining hall contains two chests: one at the top right corner and another on the left wall that is accessible by passing through the room to your left. After getting the chests, exit through the lower left side. |
| 4 | 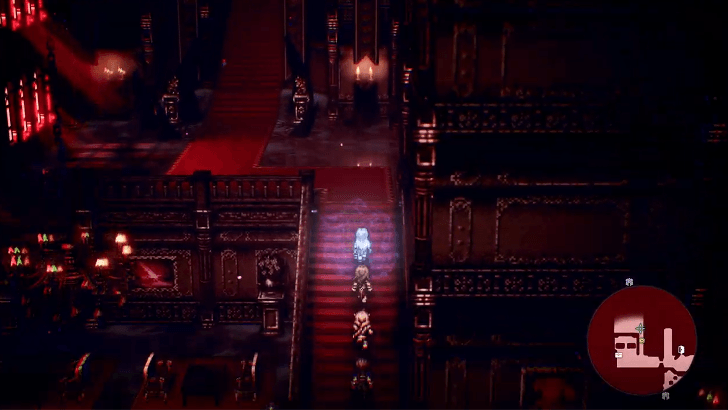 Run to the far left side of the floor, open the chest next to the chairs, then go up the stairs for a cutscene with Sazantos. Go up the stairs to Hell: Castle Edoras - 2F after the cutscene. |
| 5 | 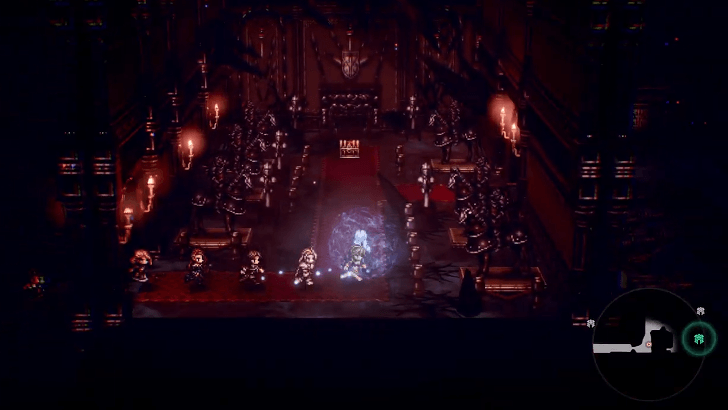 Grab the contents of the chest near the stairs you went up from and the chest in the armor room, then make for the Remembrance Hall on the far right end of the floor. |
| 6 | 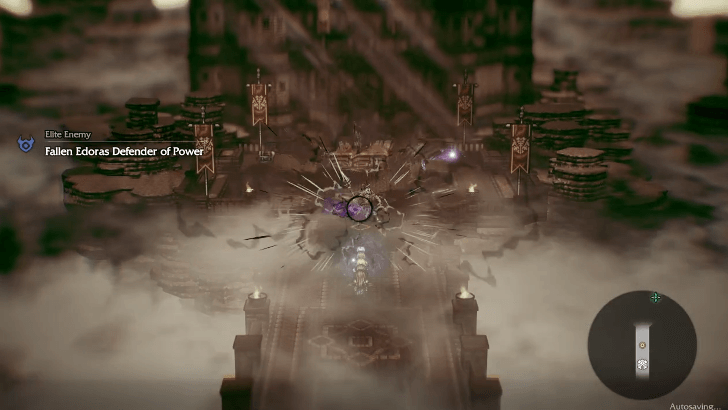 Defeat the Elite Enemy on the bridge, Fallen Edoras Defender of Power. This Elite Enemy doesn't have a special gimmick other than its "roar of anguish" where it increases its own attack stats but lowers its defenses. Use this opportunity to exploit its weakness to Axes, Bows, Staves, Lightning, and Light. |
| 7 | 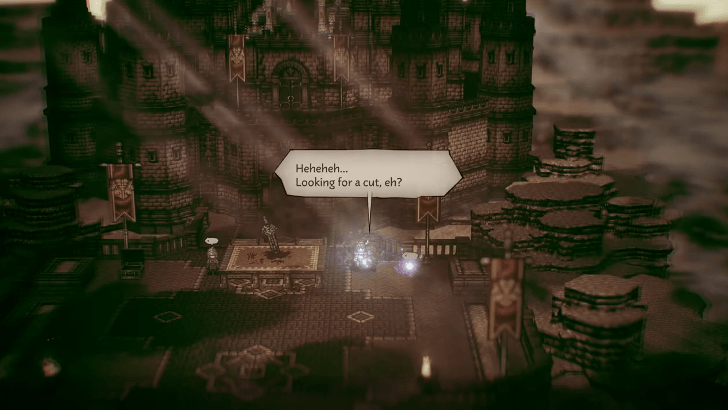 There are two NPCs ahead who you can get items from through Path Actions, as well as a chest to the left. Interact with the glowing orb on the right for a cutscene to get Elrica's Curse - Dying Wish. |
| 8 | 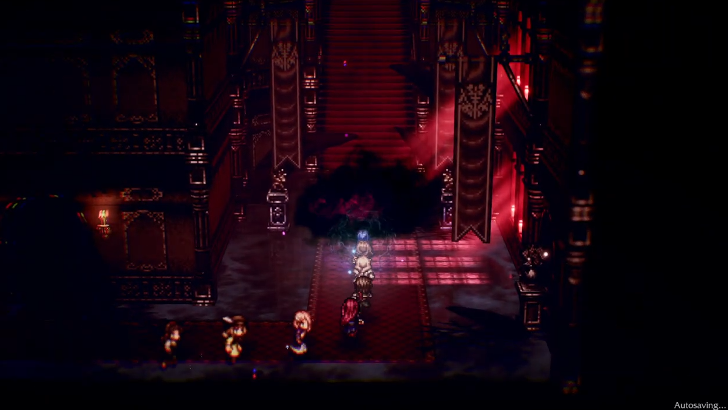 Go back to the previous room and dispel the dark mist blocking the stairs to your right, then go up the stairs to Hell: Castle Edoras - 3F. |
| 9 | 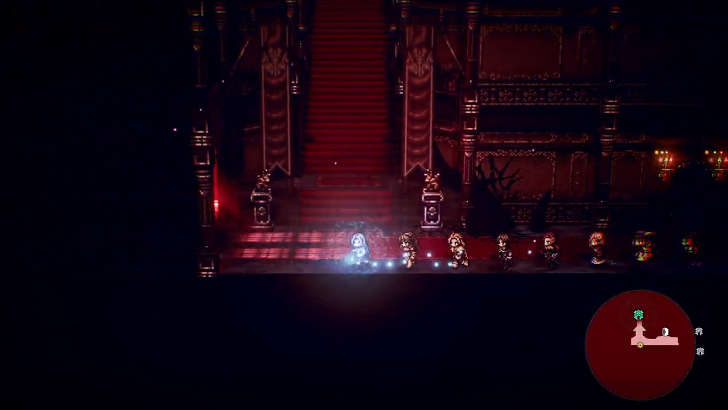 Climb the next staircase on the left and enter the theater where you'll find two chests. Exit to the left and go up to Hell: Castle Edoras - 4F. |
| 10 | 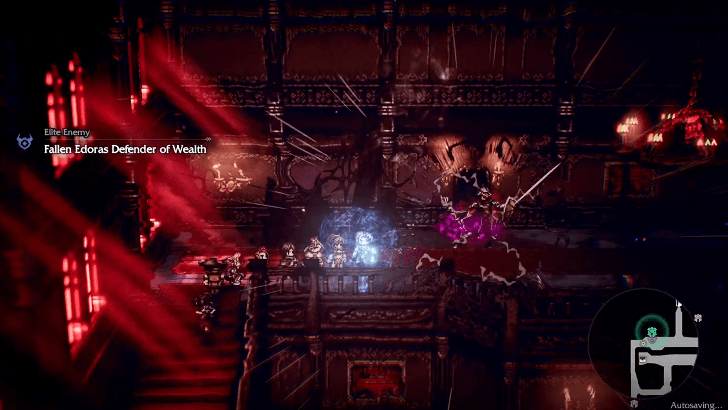 You'll get another cutscene, where Rondo splits from the group to fend off the Fallen, upon entering the room in the middle. Go down to the next room and take an immediate left to find Fallen Edoras Defender of Wealth. This Elite Enemy is weak to Swords, Daggers, Axes, Fire, and Ice. Before passing through the doorway behind it, there are two chests on the hall below and another on the training area outside. |
| 11 | 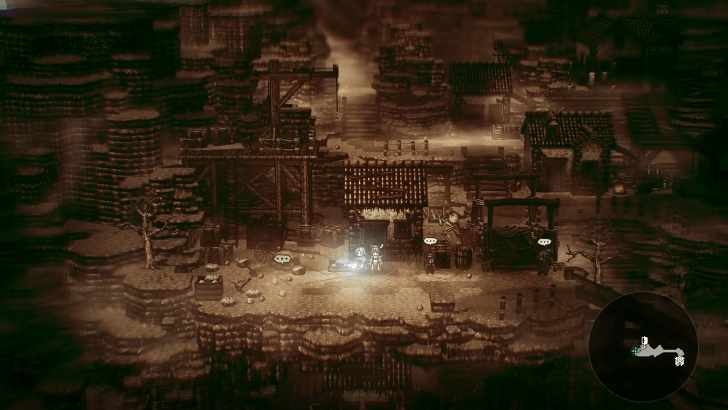 Past where the Defender of Wealth was are two NPCs you can use Path Actions on, a cabin with a chest inside, and the second memory. Interact with the orb to obtain Elrica's Curse - Deepest Desire. |
| 12 | 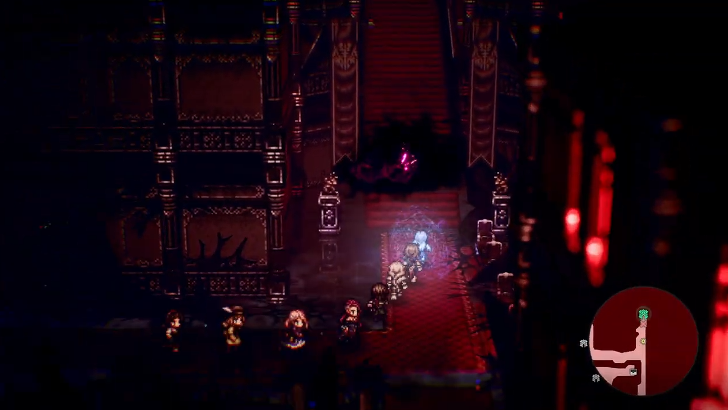 Get back inside the castle and dispel the dark mist on the right side so you can reach Hell: Castle Edoras - 5F. |
| 13 | 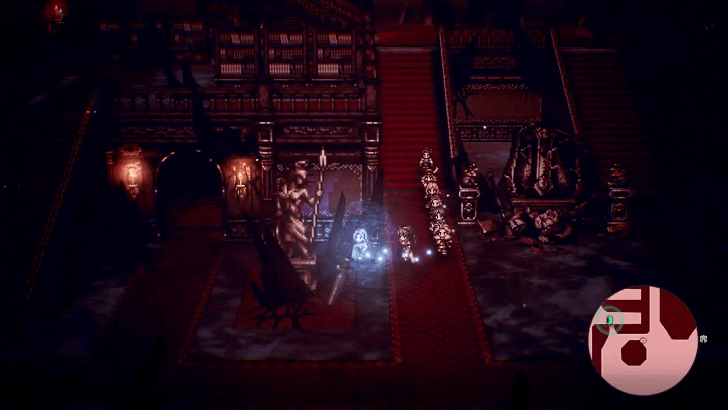 There are several doors here that you can take time to explore for to get items, including the staircase on the bottom right corner that leads to an isolated part of Hell: Castle Edoras - 6F. Once you're ready to proceed, enter the doorway on the left of the statues in the main room. |
| 14 | 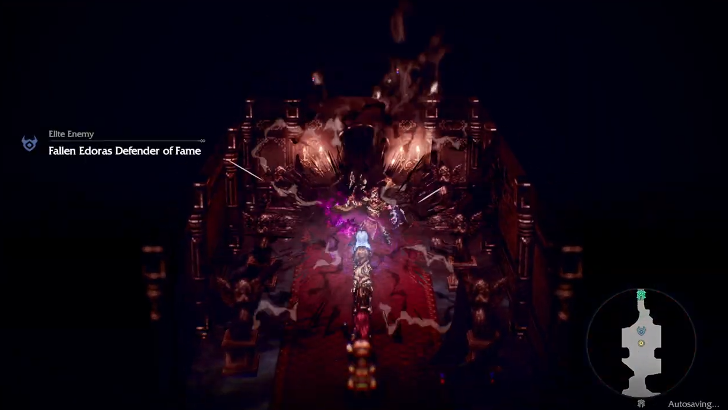 Follow the path until you find the Fallen Edoras Defender of Fame. This Elite Enemy is weak to Spears, Tomes, Fans, Ice, and Wind. After defeating the Fallen Edoras, exit through the door behind it and interact with the memory by the grave to obtain Elrica's Curse - ???. You can also mug the attendant NPC nearby to get some items before you leave. |
| 15 | 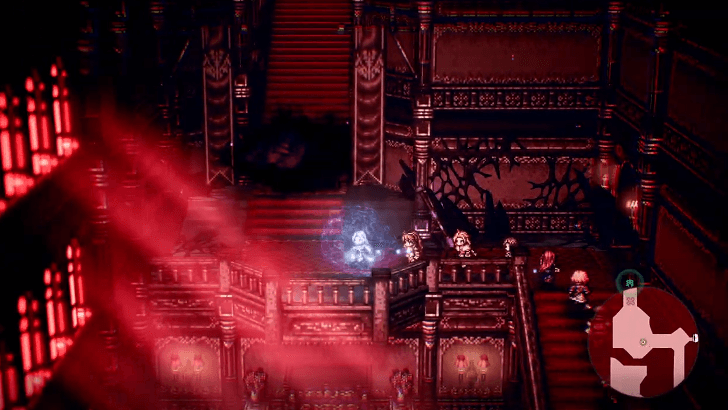 Confront Elrica You can now dispel the final dark mist in the castle. Go back to the main room and go through the door on the top left corner. Climb the stairs and remove the mist to gain access to Hell: Castle Edoras - 6F. |
| 16 | 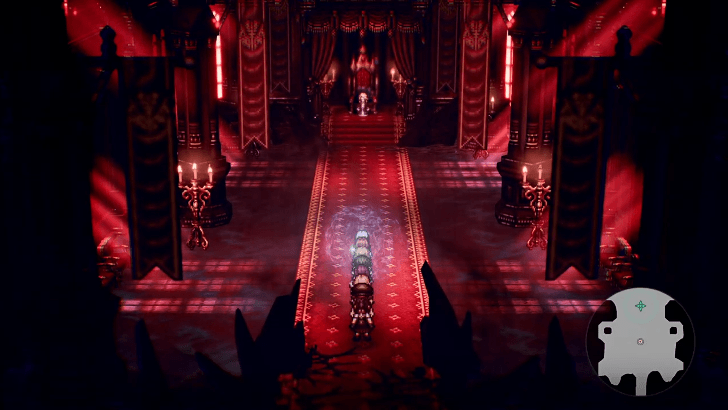 Save before entering the throne room and approach Elrica, who will summon the Fallen Lebrandt to fight. Fallen Lebrandt can use Unwavering to set his Shield Points to 99 and follow up with an attack that will hit the entire front row in the next turn. If you can tank this attack, Fallen Lebrandt will deal huge damage to himself. Fallen Lebrandt is weak to Spears, Bows, Staves, Fire, and Dark. |
| 17 | 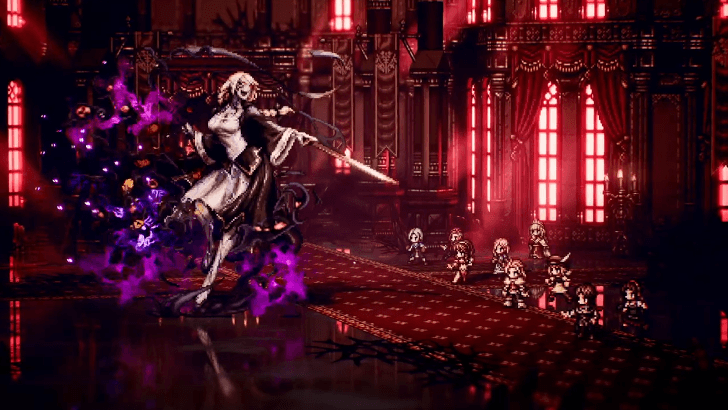 A boss fight against Cursed Princess Elrica will start right after defeating Fallen Lebrandt. Elrica's attacks can inflict Dread, which prevents the target from recovering BP for three turns. She can also disrupt your setup by preventing a party member from switching out. Once her HP drops down to critical level, Elrica will gain 99 Shield Points and prepare the Sword of Darkness attack. As it is impossible to shred that much SP, have your front row stack defense buffs instead so the chosen target can tank the attack. Cursed Princess Elrica is initially weak to Axes, Tomes, Ice, Wind, and Light, but can switch them to Swords, Fans, Fire, Lightning, and Light. |
Castle of the Hollow Queen Walkthrough
A Nation Frozen in Time (Bestower of All)
| Bestower of All | |||
|---|---|---|---|
| 0 | The Black Flame | 5 | The Gate of Finis |
| 1 | Between Life and Death | 6 | Precipice of Loss |
| 2 | Hill of the Dead | 7 | Sazantos |
| 3 | Castle of the Hollow Queen | 8 | At Journey's End |
| 4 | A Nation Frozen in Time | 9 | True Ending |
| 1 | 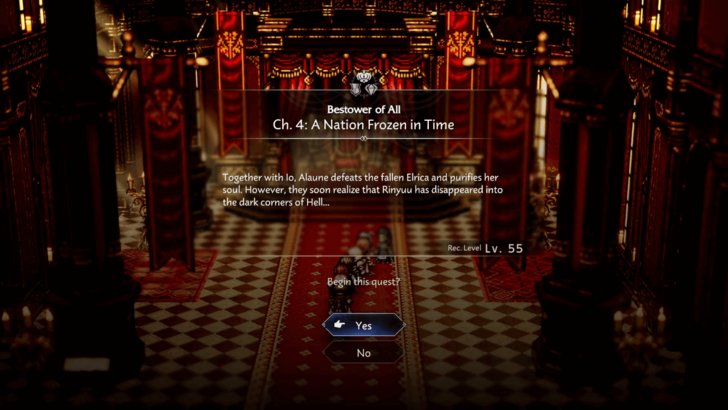 Speak to King Solon. Enter the throne room of Castle Edoras and talk to King Solon. After the cutscene, Tatloch joins your party and can now be a resident of Wishvale. |
|---|---|
| 2 |  Head to the Valley of Death. Head to the Valley of Death and proceed to its west exit. |
| 3 | 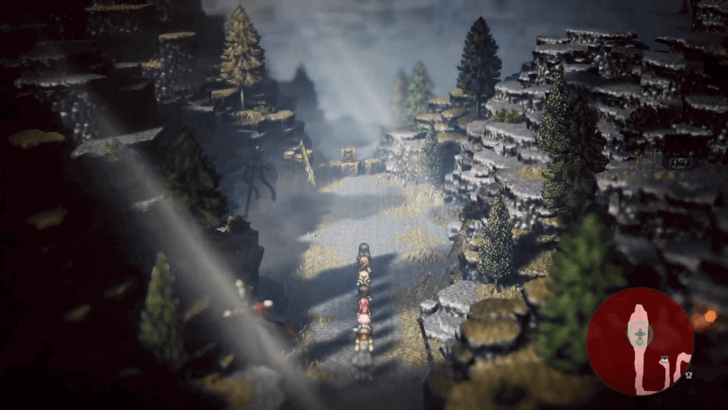 Search for clues to the Gate of Finis. After the dialogue, head for the exit to your left toward the Valley of Death: West. Then, make your way to the northwest part of the area—the location where you previously fought General Krauser—to find a portal. |
| 4 |  Proceed through Hornburg in Hell. Upon entering the portal, you'll be transported to Hell: Hornburg Pass. Collect the nearby chests as you explore. Upon reaching the center of the area, a scene will trigger, revealing your path is blocked. |
| 5 | 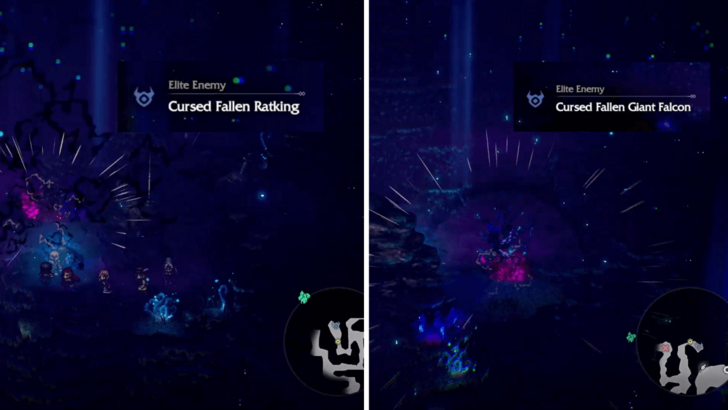 To remove the mist, you need to defeat the Elite Enemies Cursed Fallen Giant Falcon (northeast) and Cursed Fallen Rat King (northwest). Once they are eliminated, take the southwest exit of Hell: Hornburg Pass and continue to Hell: Hornburg Castle's throne room. |
| 6 | 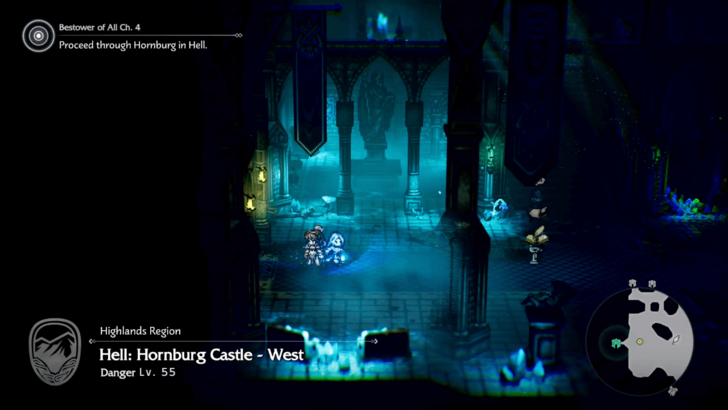 You will find that the path to the throne room is locked. Follow the marker to Hell: Hornburg Castle - West, where King Richard will find a way to open the west door. |
| 7 | 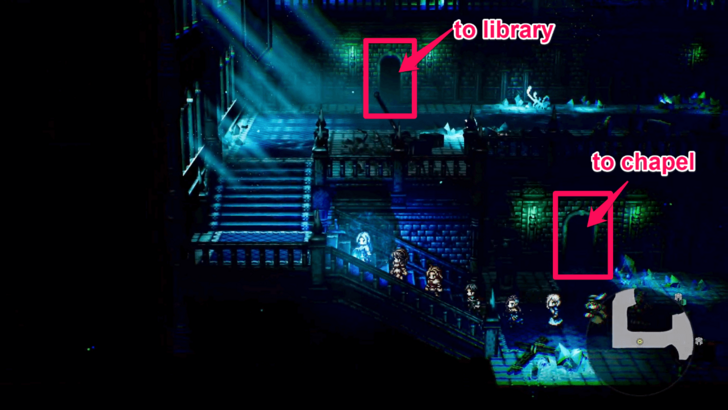 Proceed to the west side of the castle. If you enter the castle's chapel, you'll find that the doors there are also locked, so enter the library upstairs. Note: Inside the castle's chapel, there is an optional Menacing Fallen Hornburg Knight Elite Enemy. Behind him is a chest that contains a Swiftstrike Mastery. |
| 8 | 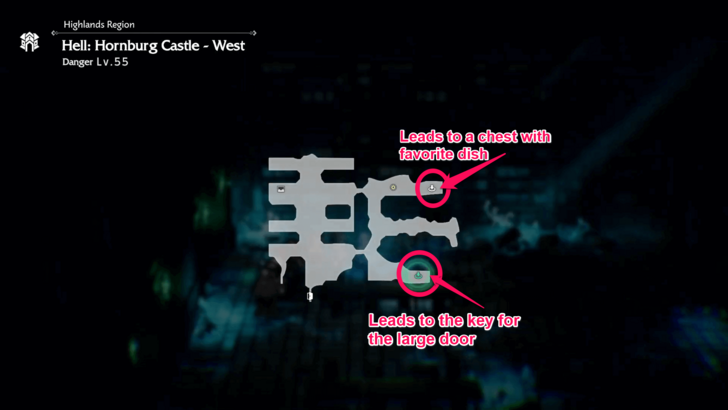 Examine the eastern doors in the library to open them. In the newly accessed room, you will find two holes in the floor. Each hole leads to a room below containing a chest. |
| 9 |  The hole above will lead you to a chest that contains your favorite dish. However, when you approach the chest, you will be forced into a fight against three Fallen Hornburg Soldiers. After defeating them, exit through the left door. This door leads to the chapel, from which you can return to the library. |
| 10 |  Next, enter the second hole which leads to a chest containing an Herb of Vitality and a lever. After collecting the herb, pull the lever on the right side of the room to obtain the Key to the Large Door. Take the exit towards the chapel once again. |
| 11 | 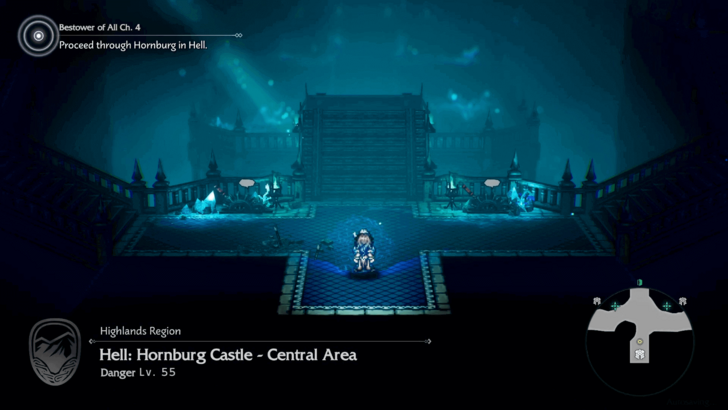 Return to the central area of the castle and use the key you got to unlock the large door. Upon entering, you'll find that the drawbridge to the throne room is lifted up, and you will need two keys to operate the devices located on both sides of the stairs. |
| 12 |  Proceed to Hell: Hornburg Castle - Western Central Area and enter the easternmost room upstairs, then jump down the hole. |
| 13 |  Examine the drawer beside the desk to find a Brass Key, then exit via the door upstairs to return to Hell: Hornburg Castle - Western Central Area. |
| 14 |  Use the Brass Key to open the large door on the second floor—the one you passed through when going to the bedroom. |
| 15 | 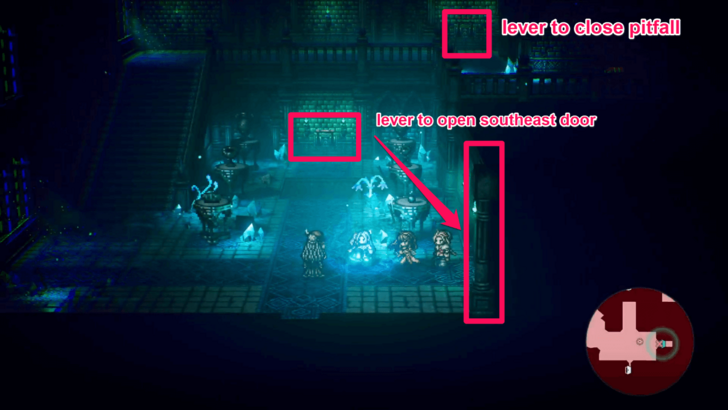 Up ahead in the room is a lever. However, there is a pitfall on the floor in front of it which leads to the room directly below. You can fall through if you wish to get an Inspiriting Plum Basket and unlock the door below. Otherwise, climb the stairs and pull the lever above. This closes the pitfall, allowing you to safely reach the main lever. |
| 16 |  Head downstairs and pull the main lever to open the southeast door in the room. |
| 17 | 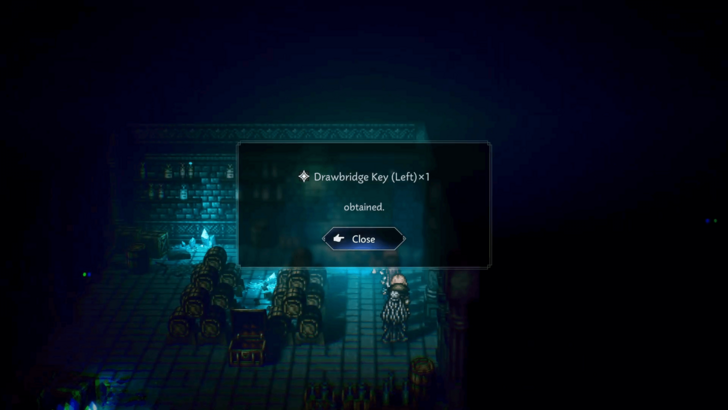 Enter the opened room and jump down the hole. You'll find yourself in the cellar. Examine the shining object on the northeast part of the room to obtain the Left Drawbridge Key. |
| 18 | 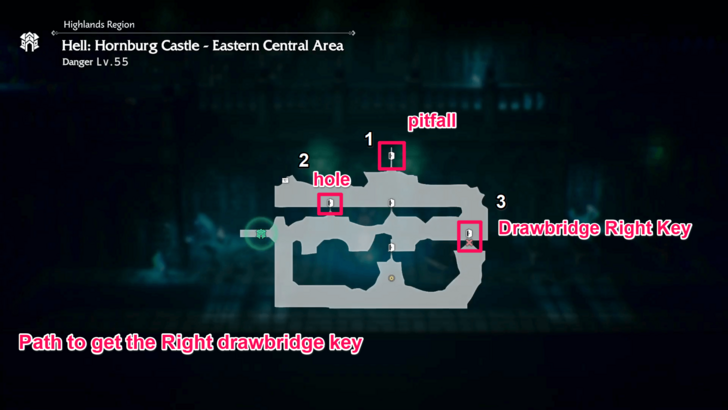 Next, return to the central area and head to Hell: Hornburg Castle - Eastern Central Area. The first room on the first floor of the Eastern Central Area holds an optional elite enemy: the Menacing Sacred Flame Guardian. Defeat it to access a chest containing the Ardante Attire. While the other rooms on the Eastern Central Area only contain chests, the room you need to enter to progress is found on the third floor. |
| 19 |  Proceed to the room on the third floor and jump into the pitfall to reach the room directly below. |
| 20 |  You will land on the right side of the pitfall in the first room on the second floor. From there, move to the right and jump down the hole. |
| 21 | 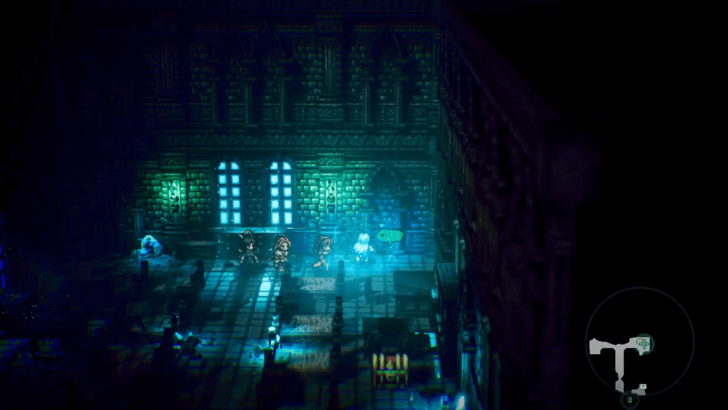 You have now reached the room behind the large door on the first floor. Pick up the shining object located on the northeast part of the area to get the Drawbridge Key Right. |
| 22 | 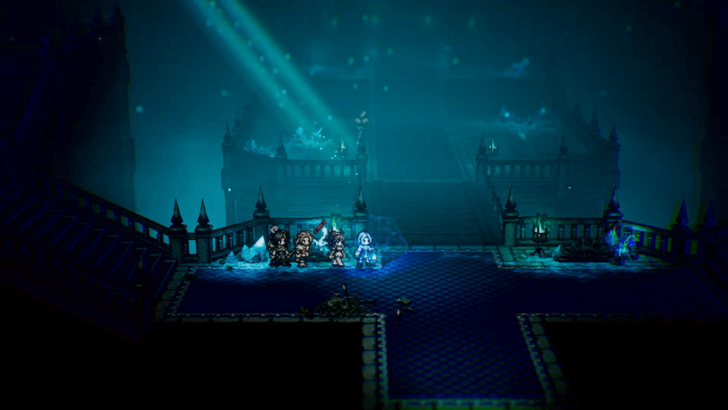 Return to Hell: Hornburg Castle - Central Area and use the left and right keys on the devices on each side of the Drawbridge to lower it. Finally, cross the drawbridge and save. Make sure to prepare for a fight. |
| 23 | 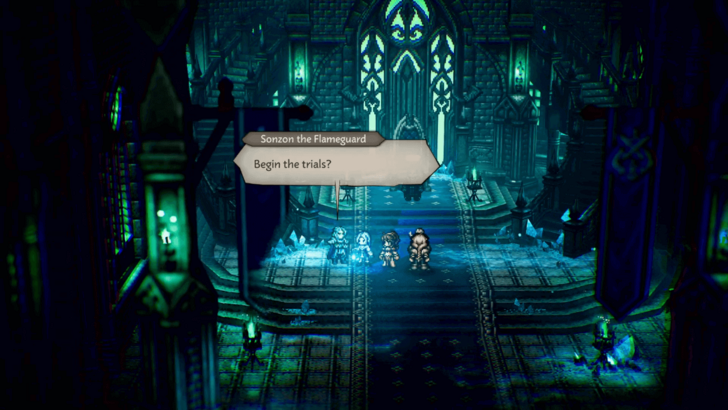 Undertake Sonzon's trial. Enter the throne room and continue forward to trigger a cutscene. Afterwards, talk to Sonzon the Flameguard and choose to begin the trials. You will engage in a fight against Rondo of the Knights Ardante and a couple of Sacred Flames. To pass the trial, you must eliminate all Sacred Flames—both those currently present and any that are summoned later. Defeating Rondo is not required. However, if Rondo is defeated before all the Sacred Flames have been eliminated, you will fail and be forced to repeat the trial. |
| 24 | 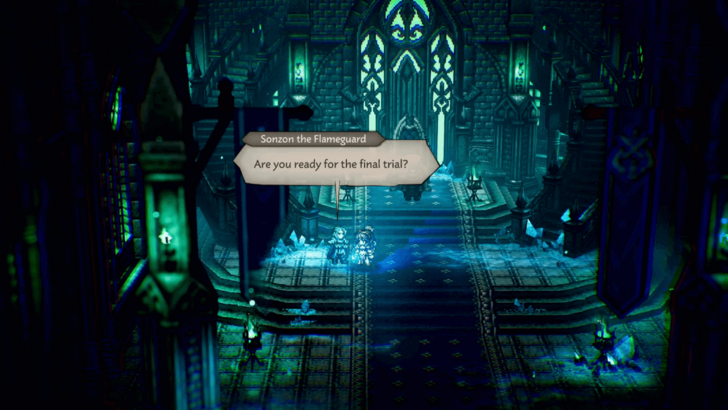 Undertake the final trial. After passing the first trial, speak to Sonzon the Flameguard again to begin the final trial. You'll need to defeat him to succeed. Once the cutscene ends, Rondo the Knight Ardante will now become a member of your party, and the A Nation Frozen in Time chapter is complete. |
A Nation Frozen in Time Walkthrough
The Gate of Finis (Bestower of All)
| Bestower of All | |||
|---|---|---|---|
| 0 | The Black Flame | 5 | The Gate of Finis |
| 1 | Between Life and Death | 6 | Precipice of Loss |
| 2 | Hill of the Dead | 7 | Sazantos |
| 3 | Castle of the Hollow Queen | 8 | At Journey's End |
| 4 | A Nation Frozen in Time | 9 | True Ending |
| 1 |  Speak to Rondo. Head to the Flamesgrace Cathedral entrance and speak to Rondo by the cathedral doors. |
|---|---|
| 2 |  Head to the Castle Edoras gate. Go to the Castle Edoras Gate, by travelling to Cragspear and approaching the castle from the south. A cutscene will play as you walk across the bridge. |
| 3 | 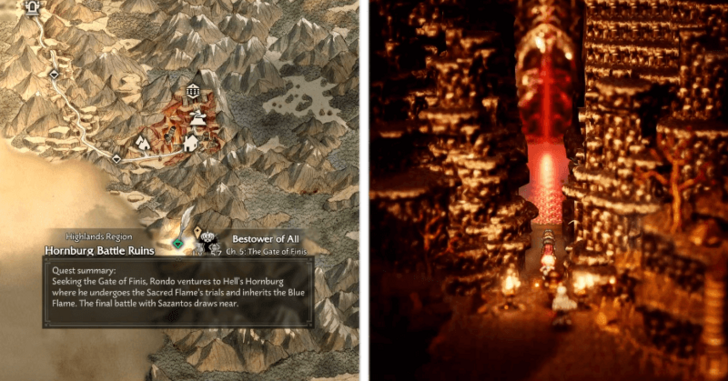 Head to the Gate of Finis. After the cutscene, you can now fast travel to the Hornburg Battle Ruins from the world map. From there, follow the path to the Gate of Finis. |
| 4 | 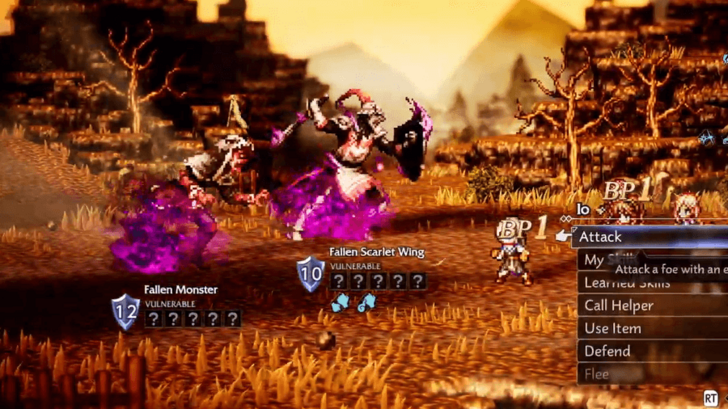 Upon reaching the gate, a cutscene will play, followed by a duo miniboss fight. The Fallen Scarlet Wing and Fallen Monster both have high HP. |
| 5 |  Proceed into the Gate of Finis. After the cutscene that plays once you defeat both monsters, enter through the large door. |
| 6 | 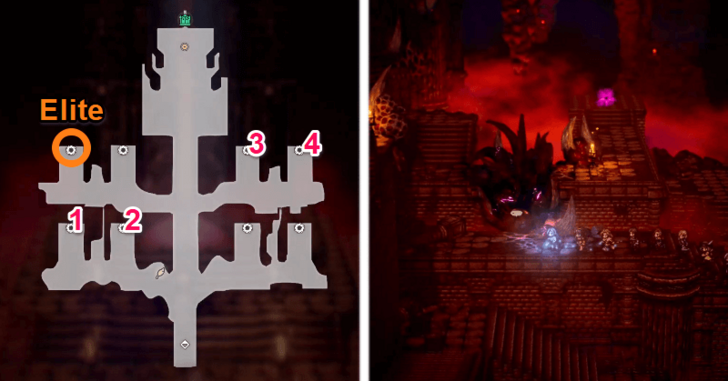 The Corridors of Contrition contain several portals, each leading to a journal entry and a Treasure Chest. To open the path forward, you must destroy the tentacles in four of the portals in order. 1. Bottom left portal. 2. Portal next to portal 1. 3. Top right portal. 4. Portal next to portal 3. The Elite Enemy, Menacing Fallen Monster is found in the top-left most portal in the area. |
| 7 | 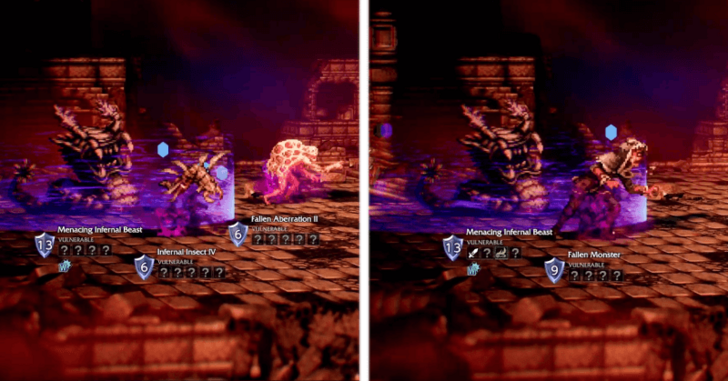 When destroying the tentacles in portals 2 and 4 (the ones next to the bridge), you will face a Menacing Infernal Beast elite along with its minions before destroying it. |
| 8 | 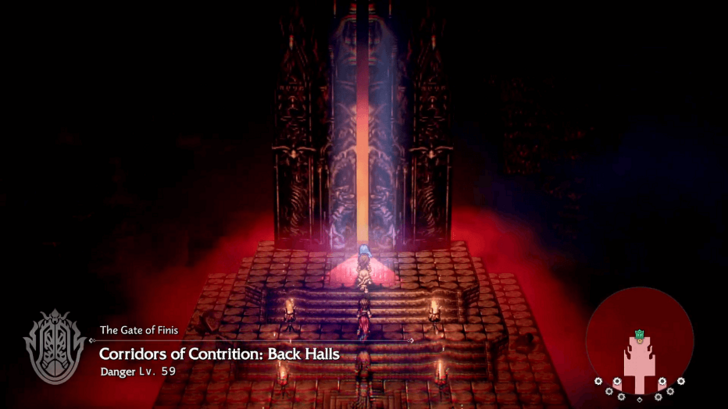 Once all tentacles are clear, head down the middle towards the Corridors of Contrition: Back Halls. |
| 9 | 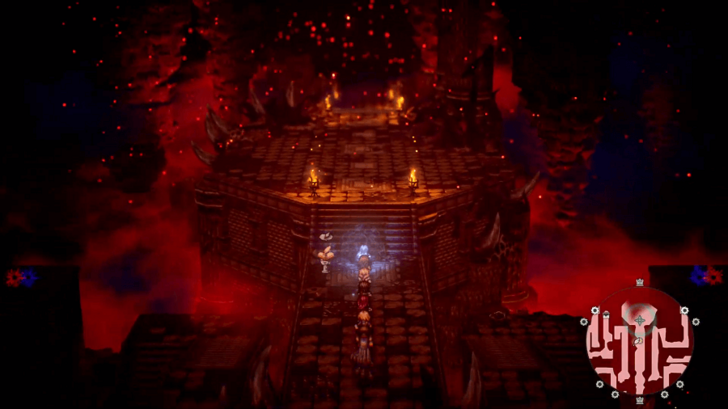 Defeat Cursed Commander Tytos. Keep going down the middle path until you reach the save point. Past it is a boss fight against Cursed Commander Tytos after the cutscene. |
| 10 | 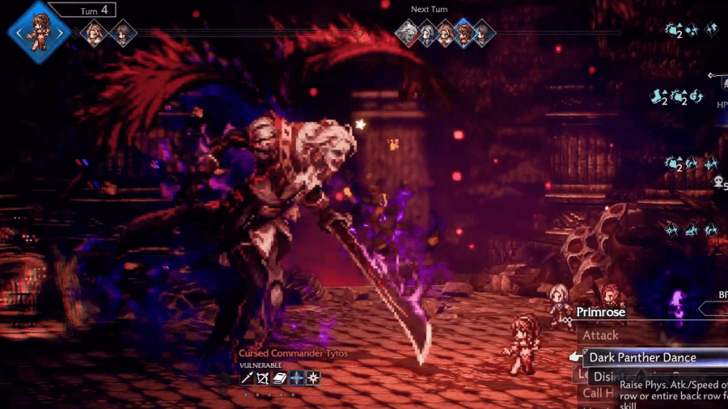 You will face Tytos again in his new Cursed Commander form. The fight is similar to the first phase of his boss fight before, but he now has a massive 25 Shield Points. The Cursed Commander Tytos boss is weak to Polearms, Bows, Tomes, Ice, and Light damage. |
| 11 | 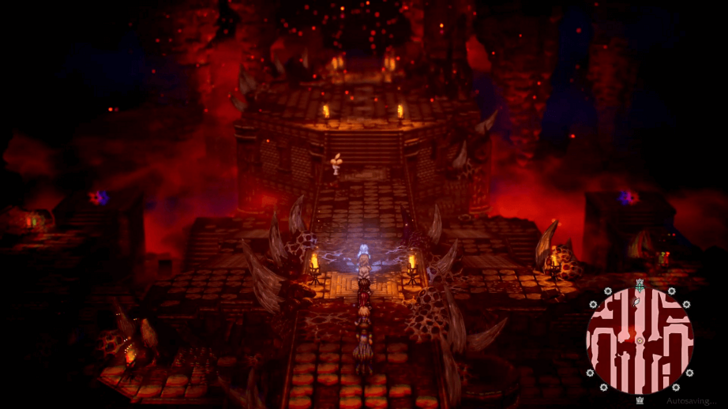 After besting Cursed Commander Tytos, you will be returned outside the gate. Head back into the Corridors of Contrition and return to the area where you fought Tytos to begin Chapter 6: Precipice of Loss. |
Precipice of Loss (Bestower of All)
| Bestower of All | |||
|---|---|---|---|
| 0 | The Black Flame | 5 | The Gate of Finis |
| 1 | Between Life and Death | 6 | Precipice of Loss |
| 2 | Hill of the Dead | 7 | Sazantos |
| 3 | Castle of the Hollow Queen | 8 | At Journey's End |
| 4 | A Nation Frozen in Time | 9 | True Ending |
| 1 | 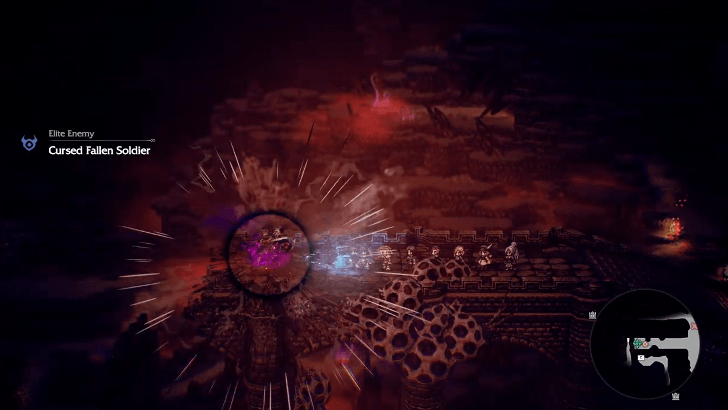 Proceed further into the Gate of Finis Walk along the bridge then turn left from the dark mist to find the Cursed Fallen Soldier Elite Enemy. You'll need to defeat it to find a memory that will dispel the mist and continue onward. The Cursed Fallen Soldier is weak to Spears, Bows, Tomes, Wind, and Dark. |
|---|---|
| 2 | 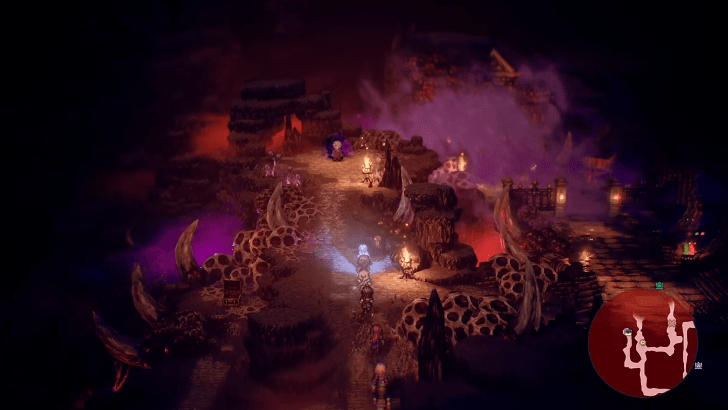 Walk past where the dark mist was, then go left once you reach the split. This slope leads to a simple maze below where you can find chests and the Menacing Infernal Sludge Elite Enemy. |
| 3 |  Make your way to the northwest section of the maze to find a Fallen Lady-in-Waiting, then talk to her to engage her group in combat. Defeat them to clear the fog at the end of the path to your right. |
| 4 | 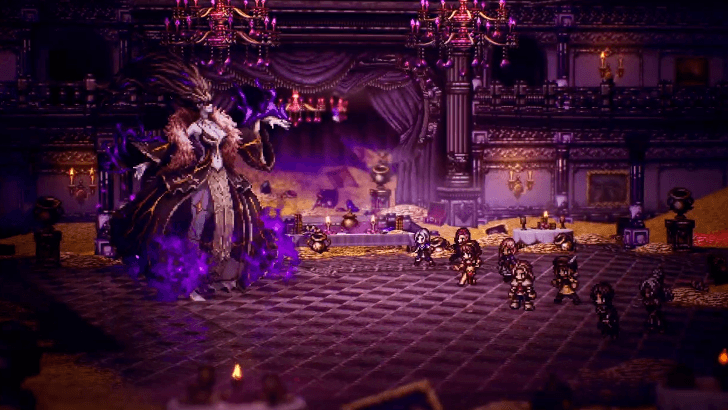 Now, take the right path and enter Wealth's Dominion. Make sure to save and prepare before entering the gold-filled dining hall as a boss fight against Cursed Lady Herminia will immediately follow. Herminia can inflict the SP Sap debuff, which drains SP from targets per turn, on your front row once she has full BP. This won't be that much of a problem if you can rush her with your attacks. She also has a delayed attack that will damage your front row after a countdown, which is not exactly a devastating one especially if you always stack defense buffs on your party. Cursed Lady Herminia is weak to Daggers, Axes, Tomes, Lightning, and Wind. |
| 5 | 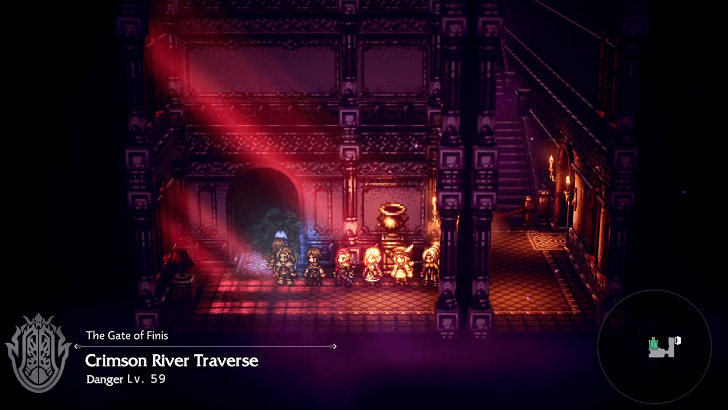 Exit to the left and enter the Crimson River Traverse. |
| 6 | 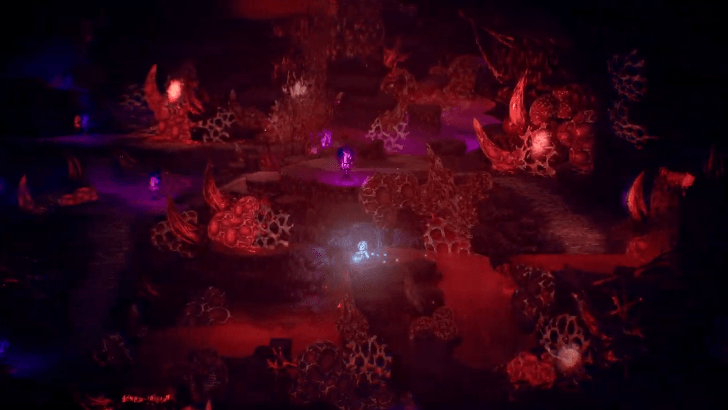 Use the winding paths on the left side to reach the top. Along the way up are also falls marked by downward arrows with a circle that you can utilize to reach platforms with chests. |
| 7 | 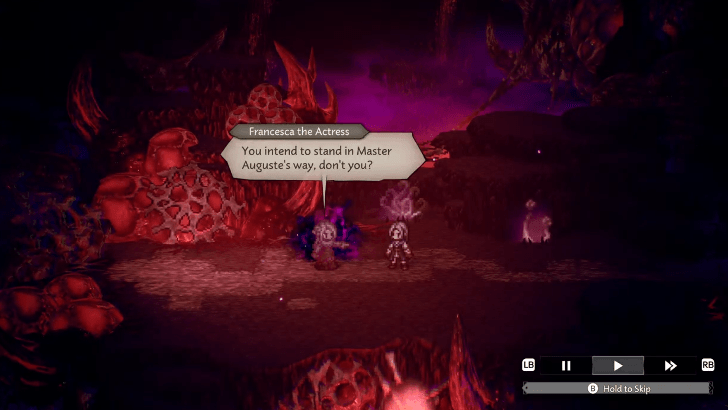 Find the Fallen Francesca at the top and defeat her to unseal the gate below the platform where she is. Fallen Francesca is weak to Polearms, Bows, Fans, Fire, and Lightning. |
| 8 | 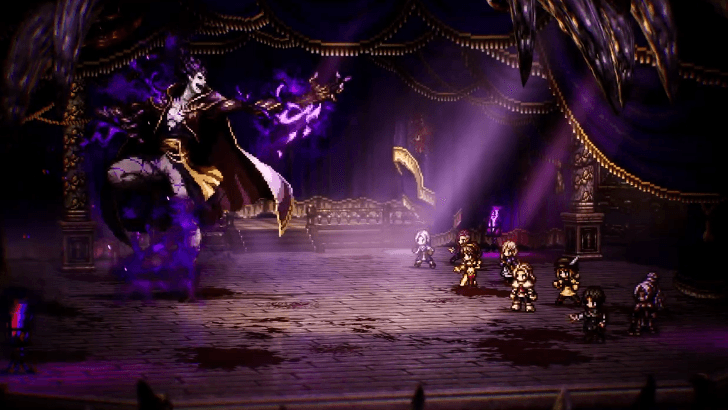 Enter Fame's Dominion through the gate and go up the upper floor. Like earlier, save and prepare before following Auguste inside the theatre to fight his Cursed Master Auguste version. Auguste will start the fight by increasing resistance to all non-weakness attacks. Try to only use attacks he is weak to—Swords, Bows, Fans, Ice, and Light—to make the most out of your turns. He can also use Mass Fatal Sentence to instantly down an entire row of party members after 3 turns. Quickly break Auguste before the countdown ends to dispel this debuff. |
| 9 | 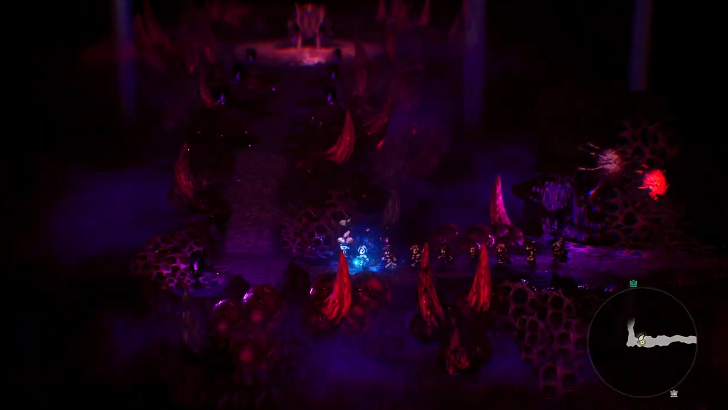 After defeating Cursed Master Auguste, proceed to the "backstage" to enter Hell's Abyss. Follow the path to the end, past the save point, to reach the Ridge of the Imprisoned God. |
| 10 | 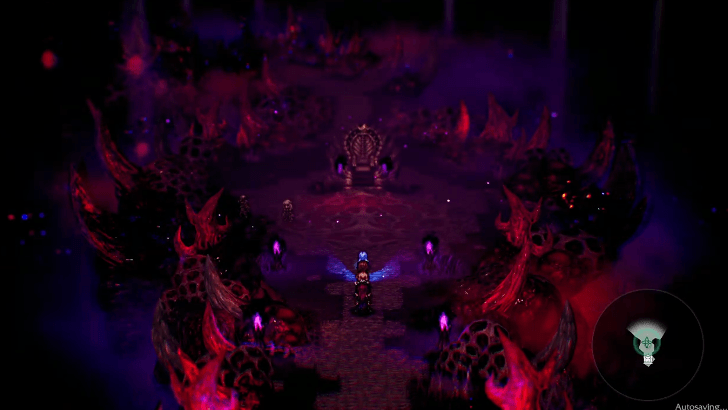 Approach the throne in the middle of the path for a cutscene with Sazantos. |
| 11 | 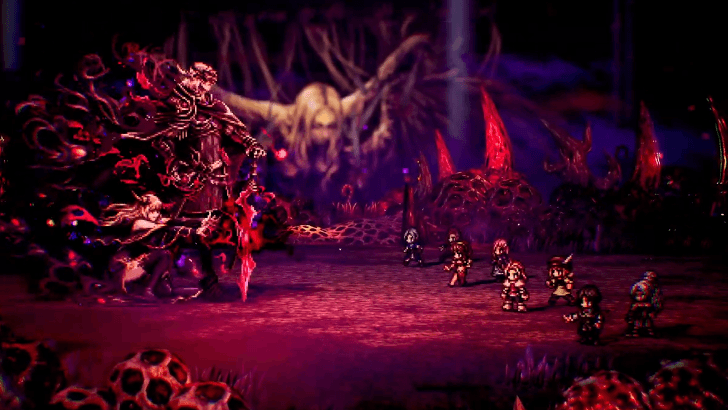 Confront Sazantos Make for the end of the path to find Sazantos and Dark Priestess Signa and defeat them in battle! Signa will protect Sazantos and block all weakpoint attacks from the get-go. While you can still reveal Sazantos' weaknesses, he will not receive increased damage and have his Shield Points depleted even after getting hit with attacks from these types. You'll have to take out Signa first to remove this protection from Sazantos. Signa is weak to Swords, Polearms, Axes, Ice, and Light, while Sazantos is weak to Polearms, Fans, Ice, Lightning, and Light. |
Sazantos (Bestower of All)
| 1 | 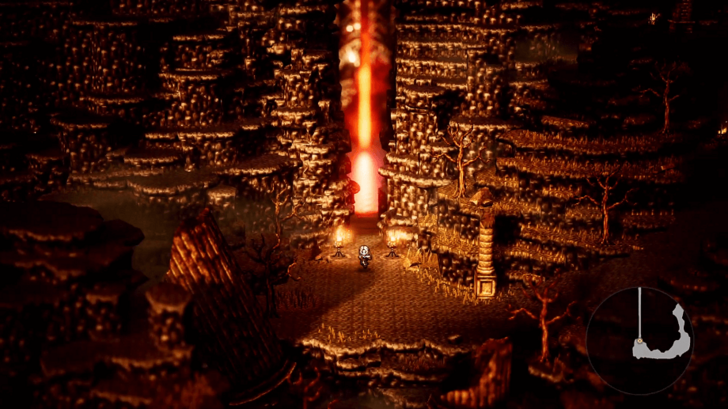 Return to Wishvale. Exit the cavern by going south, and a prompt will pop up for you to fast travel to Wishvale. Return there to progress the quest. |
|---|---|
| 2 |  Leave the Hub. At the hub, exit to be greeted by Stia and the others before you leave. Go to the Wishvale Trail. |
| 3 | 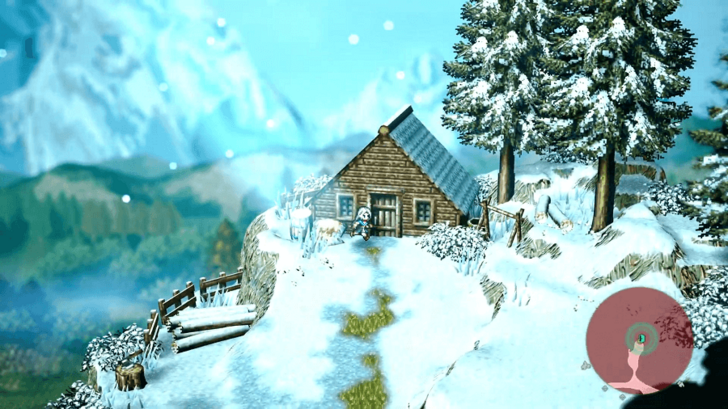 Search for clues. Head to Nomos' hideout to the east near the Cerulean Cavern entrance. |
| 4 |  Interact with the letter left behind in the cabin, prompting you to find Flamebearer's Shrine. |
| 5 | 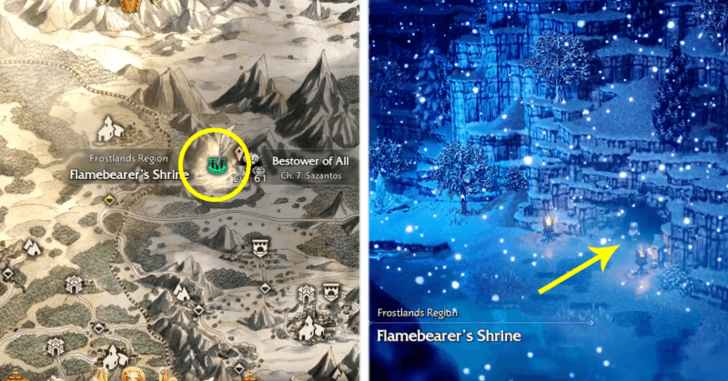 Head to the Flamebearer's Shrine. Continue to the Cerulean Cavern and go towards the exit to the Flamebearer's Shrine in the Frostlands Region. |
| 6 | 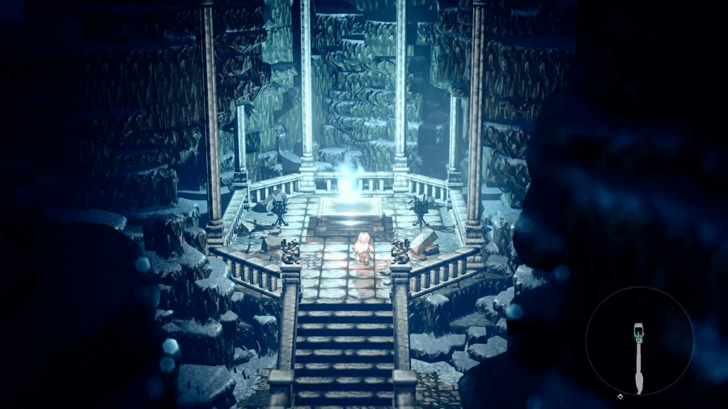 Once inside, interact with the flame to start a cutscene, and the game will transition to a new area. |
| 7 | 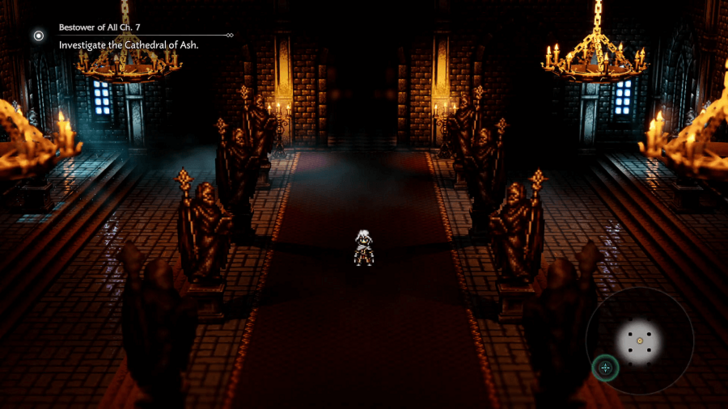 Investigate the Cathedral of Ash. Now playing as Sazantos, you must gather information from two NPCs in the Cathedral of Ash: the Dedicated Cleric and Deacon Guillaume found in the nearby rooms. |
| 8 |  Find the Dedicated Cleric in the room to the left and use the Inquire Path Action to obtain her information. |
| 9 | 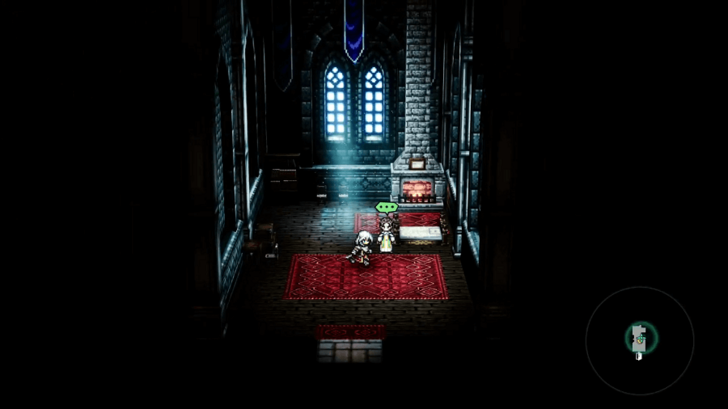 Head to the farthest room to the right of the cleric to meet Deacon Guillaume, then use Inquire to gather his information as well. |
| 10 | 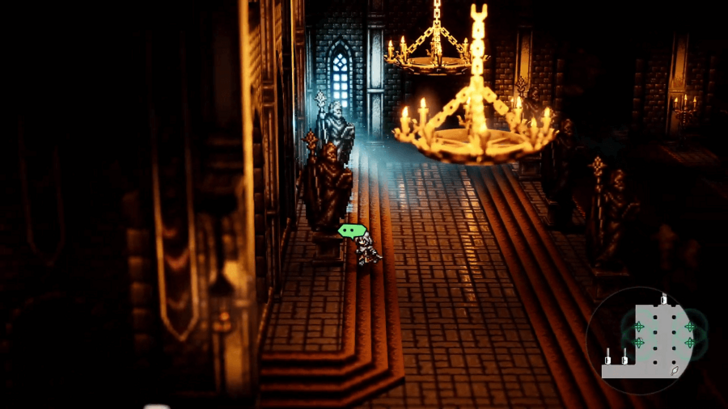 Read the Twelve Heavenly Scriptures. Interact with the four statues in the corner to obtain the required books that unlock the next puzzle. |
| 11 |  Search the rooms in the Great Cathedral. In the second room on the left, interact with the desk and place the books in the correct order to open the hidden door. Book Order: 1. Dreisang, the Archmagus's Writings 2. Balogar, the Runeblade's Writings 3. Winnehild, Warbringer's Writings 4. Steorra, Starseer's Writings |
| 12 | 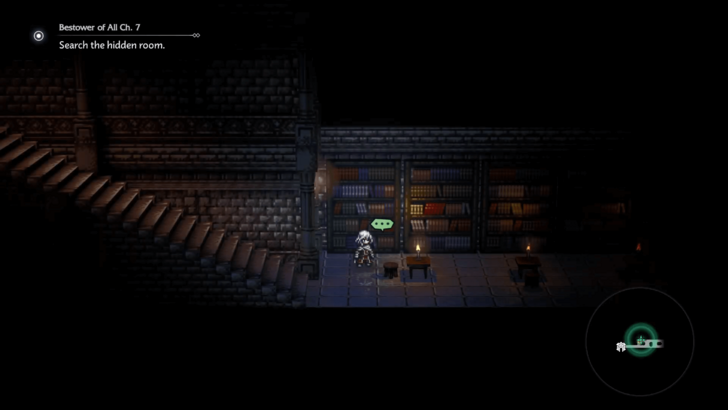 Search the hidden room. Head down the steps into the hidden room and interact with a writing on each bookshelf. After reading the final book at the end of the room, a cutscene will play.. |
| 13 | 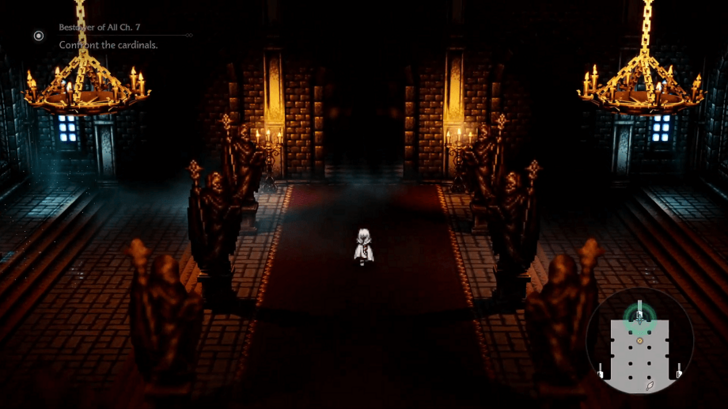 Confront the cardinals. After the cutscene, go through the large central doorway to confront the cardinals. |
| 14 | 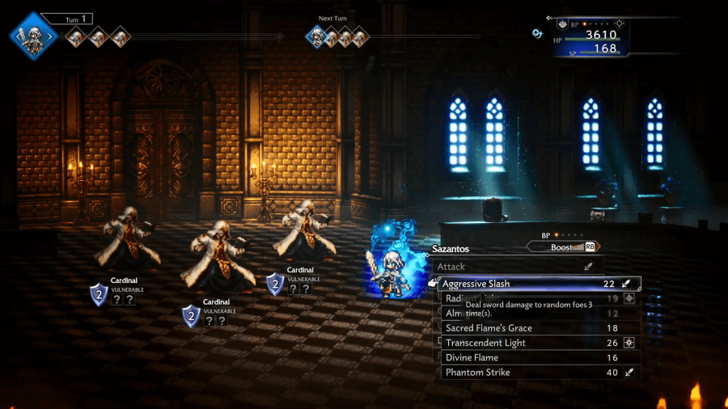 Defeat the three Cardinals in battle, each only having 2 Shield Points and are weak to Sword damage. |
| 15 |  Purge all desire. Head to the Cathedral of Ash: Underground and make your way to the northernmost room to face Cardinal Tegaraf.. |
| 16 | 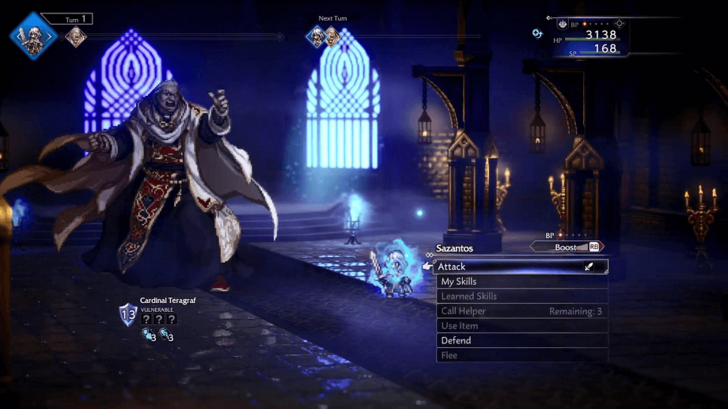 Cardinal Tegaraf has 13 Shield Points and is weak to Sword and Dark damage. Watch for his charge attack, which you can easily interrupt using Sazantos’ multi-hit skills to break his shield. |
| 17 | 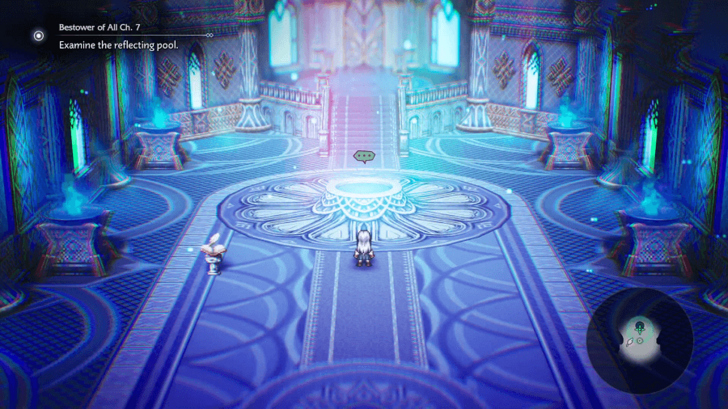 Examine the reflecting pool. Now back to playing as your protagonist, interact with the reflecting pool well straight ahead. |
| 18 | 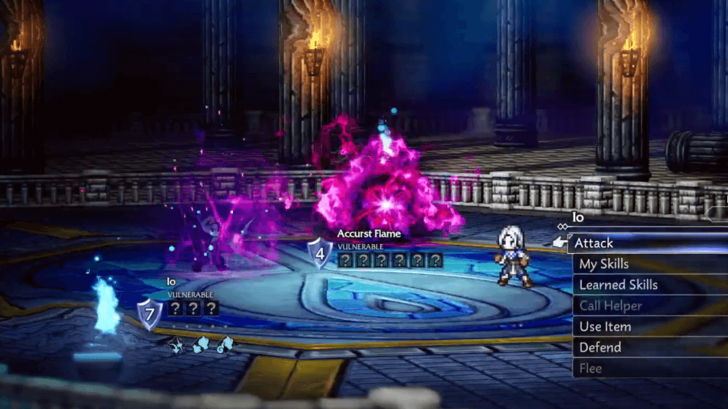 Face off against your shadow. In the room with your shadow, use Inquire to trigger a battle against yourself. |
| 19 | 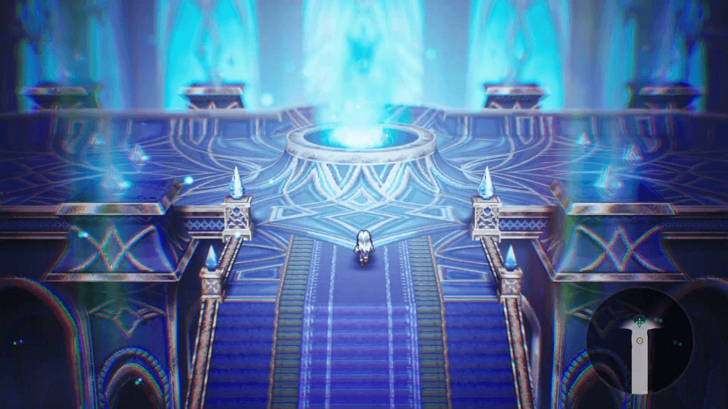 Head further into the sanctum. After the fight, head north to the massive blue flame shrine to complete the quest and immediately begin Chapter 8, At Journey's End. |
At Journey's End (Bestower of All)
| Bestower of All | |||
|---|---|---|---|
| 0 | The Black Flame | 5 | The Gate of Finis |
| 1 | Between Life and Death | 6 | Precipice of Loss |
| 2 | Hill of the Dead | 7 | Sazantos |
| 3 | Castle of the Hollow Queen | 8 | At Journey's End |
| 4 | A Nation Frozen in Time | 9 | True Ending |
| 1 |  Head to the Heaven's from the Shrine. Interact with the shrine to get to the Heavens. |
|---|---|
| 2 |  Proceed into the Heavens. Enter the gate of the Heavens and continue ahead to trigger a cutcsene. |
| 3 |  Explore Wishvale. After the scene ends, step outside the house and explore Utopia: Wishvale. Once you're done exploring, proceed to the village square to progress the quest. Afterwards, several markers will show up on your map. |
| 4 |  Make your way to each marker to trigger a scene: • The church • The theatre (Watch the play) • The planting plot • In front of the watermill |
| 5 |  Speak to Sazantos. Finally, speak to Sazantos at the northern end of Utopia: Wishvale. He will ask if you want to stay in his utopia. If you choose Yes, a brief scene will play out, and then the game will return to the Title Screen, earning a Bad End. You must choose No to continue the game. Note: You can choose yes first if you want to see the Bad End, but make sure to save before talking to Sazantos. ▶ Endings Guide |
| 6 |  Illuminate everyone. After selecting No, you will unlock the Illuminate path action. You only need to illuminate all your companions, NPCs are not included. You can easily identify the ones you can illuminate by the ring symbol that appears in the Path Action bubble above their heads when you get close to them. |
| 7 |  Stia is the nearest one that you can start with, just a bit south from Sazantos. The others are at the following locations: • Reime - Near the protagonist's house. • Ophilia - Next to the church's log storage. • Pius - Inside the church. • Rondo - Beside the pedestal in the village square. • Delitia - Beside the item shop. • Ludo - Behind the counter of the item shop. • Tressa - Beside the counter of the item shop. • Heidne - Next to the round table inside the item shop. • Bargello - Next to the cow pen by the crop plot. • Phenn - Next to the first bench near the crop plot. • Esperre - Beside the tree near the watermill. • Olberic - At the southeastern end of Utopia: Wishvale, where the graveyard should be. • Alfyn - Next to the first bench at the southwestern end of Utopia: Wishvale. • Carinda - Next to the second bench at the southwestern end of Utopia: Wishvale along with Macy. • Macy - Beside Carinda at the southwestern end of Utopia: Wishvale. • Solon - As Trompeur the Merchant, by the table nearest to the tavern's entrance. • Richard - As Charles the Traveler, at the same table with Solon. • Tatloch - Beside a table in the tavern, next to her panther. • Eltrix - At the same table with Tatloch. • Celsus - Inside the tavern's sleeping quarters. • Therion - In front of the horse enclosure at the western end of Utopia: Wishvale. • H'aanit - Inside the house, beside the horse enclosure. • Saoirse - In front of the Theatropolis-based multipurpose building. • Viator - Inside the theater, to the left side of the entrance. • Primrose - Inside the theater, at the left side of the stage. • Goodwin - Inside the theater, at the right side of the stage. • Alexia - In front of the bookshelf in the northeast part of the library. • Xerc - In the middle of the library, by the window. • Cyrus - In front of the bookshelf in the western part of the library. • Laurana - In the salon of the Theatropolis-based multipurpose building, near a chair next to her grandmother. • Alaune - In the salon, behind Laurana and near the couch next to her sister. |
| 8 |  Speak to Sazantos. After illuminating all your companions, return to the northern end of Utopia: Wishvale and speak to Sazantos. He will ask you one last time if you truly think his utopia is abhorrent. Reject Sazantos to progress the quest, however you won't be able to return to Utopia: Wishvale anymore after. |
| 9 |  Proceed into the Heavens. After the dialogue, move up ahead and interact with the northernmonst pedestal to teleport to your next destination, the Seas of Servility. The goal is to activate each pedestal of fire so you can get to the Heavens. |
| 10 |  You will find yourself in the Seas of Servility: Hollow Path. Examine the book near the pedestal and then board the ship. |
| 11 |  In the first level of the Seas of Servility, sail your ship to the easternmost building to activate the blue switch and the northeasternmost building for the green switch. This will light the blue and green crystals and open the door to the second level. Other structures contain chests, while the first building also holds Lyblac's Journal. Note: In the building, where you find the blue switch is also an optional elite enemy, the Sanct Oliphant. Additionally, any inaccessible chests you see can be looted by gaining access from later areas. |
| 12 |  Upon reaching the second level of the Seas of Servility, head to the northwest end to grab the chest. Afterward, enter the nearby building to activate the green switch. |
| 13 |  At the center of the second level are two entrances to the same area, but with access to different passages. The left passage contains a chest, while the right is where you'll find the blue switch. |
| 14 |  Finally, after activating both switches, head to the northeastern building and go through the opened door to reach the third level. Make sure to prepare for a boss fight and save before leaving the Seas of Servility: Divine Path. |
| 15 |  The third level of the Seas of Servility is just a small area. Loot the chest on the west side, then defeat the Sacred Beast of the Seas to clear the path. Afterwards, interact with the marker to exit the area. |
| 16 |  Once you have returned to the Garden of Sin, you will find that the north fire pedestal is lit up. Interact with the pedestal to the left to proceed to the Sands of Rapacity. |
| 17 |  Sands of Rapacity has only one floor, but you'll need to operate several orange switches to create bridges to move forward. Additionally, you will also need to flip a green and blue switch to reach the final orange switch. The waterfall sands in this area will lead you to the inaccessible chests at the Seas of Servility. |
| 18 |  Once you arrive at Sands of Rapacity, examine the book next to the teleport pedestal. Next, continue forward where you'll find the first orange switch. Activating this switch will destroy the bridge to your right and create a bridge to your left. You can opt to flip this later if you want to defeat the optional elite enemy Sanct Garmr. Otherwise, flip it on then cross the bridge to the southwest end of the area. |
| 19 |  Grab the chest to the south, then activate the second orange switch in the passage ahead. This will trigger a bridge leading to the middle part of the Sands of Rapacity. |
| 20 |  Cross the bridge that appeared towards north and head west, then activate the third orange switch. |
| 21 |  You can bypass the fourth orange switch since the bridge further north is already fully formed, but flipping it will reveal a path to a chest to the right. Note that this destroys the northern section of the bridge, so you'll need to hit the switch a second time to restore the path once you're done. |
| 22 |  Once you reach the northern section, operate the fifth orange switch to the northwest to create a path toward the green switch, then head across to activate it. |
| 23 |  Next, use the sixth orange switch to the northeast to create a path, allowing you to reach and activate the blue switch. |
| 24 |  With both the green and blue switches active, the path to the last switch will emerge. Head across and trigger the seventh orange switch, which finally bridges the gap to the northernmost end of the Sands of Rapacity. |
| 25 |  Continue forward to face the Sacred Beast of the Sands. After defeating the area boss, return to the Garden of Sin. |
| 26 |  Back in the Garden of Sin, you will find that the Sands of Rapacity pedestal now glows with fire. With that accomplished, approach and interact with the pedestal to the right to reach the Skies of Vanity. |
| 27 |  The Skies of Vanity is divided into three levels, featuring separate sections on the first floor. To move between them, you must use the various lifts scattered throughout the area. Your goal is to light up the green and blue crystals, to make the central lift to the top level appear. Note: At the eastern end of Skies of Vanity is an optional elite enemy, the Sanct Cauchemar. |
| 28 |  Upon arriving at the first level in Skies of Vanity, start by examining the book next to the teleport pedestal. Afterwards, proceed to the east and take the first lift upward to the second level. |
| 29 |  On the second level level, turn left and head northwest to find the lift leading back down to the first level. |
| 30 |  Once you're back at the first level, head to the northwesternmost side to find and activate the green switch, marking the first step toward unlocking the central lift. |
| 31 |  After activating the green switch, return to the second level using the lift to the south of your current platform. Next, head to the northeast lift, which will carry you down to a separate section of the third level containing the blue switch. |
| 32 |  Proceed to the northernmost end of your current platform to find and activate the blue switch. With both crystals now lit, the central lift will manifest. To reach it, return to the second level and head back to the middle of the area, where you can now ascend to the top floor. |
| 33 |  Prepare for a boss fight and save your game, then ascend to the top floor using the central lift. |
| 34 |  Continue forward to face the Sacred Beast of the Skies. After defeating the area boss, return to the Garden of Sin. |
| 35 |  Back at the Garden of Sin, all three silver pedestals are now lit up, making the central golden pedestal also ablaze with fire. Interact with the golden pedestal to be transported to the Altar of Heavenly Peals. Note: You can fast travel to Wishvale and rest at your bed to fully replenish your HP and SP before proceeding to the major boss fight. |
| 36 |  Confront Sazantos. When you're done preparing, head to the Altar of Heavenly Peals and continue forward to face Sazantos. He has two forms, Saint Sazantos and Orsazantos. |
| 37 |  Touch the Light. After defeating Sazantos' two phases, touch the light that suddenly appears. |
| 38 |  Explore the world. You will find yourself in a wide expanse of snowy landscape with just a single house in the distance. Move north and enter the house to trigger a scene. |
| 39 |  Do what you desire. After the cutscene and speaking with the NPCs, exit the house and keep heading south to leave the area. |
| 40 |  Touch the Light. You will return to the Altar of Heavenly Peals. Touch the light once again, to fight the final boss of this chapter, Bestower of All. Make sure to be prepared and save, as this will be a long fight. |
| 41 |  Head to Castle Edoras. After the final battle and the cutscene, you will regain control of your character. Make your way to the front of Castle Edoras. |
| 42 |  Meet with Alaune. Lastly, enter Castle Edoras and head to Alaune's bedroom for the final scene. Congratulations, you have completed the normal ending of Octopath Traveler 0! |
At Journey's End (True Ending)
| 1 |  Activate the strange monument. After Chapter 8’s ending cutscenes, you will return to the Garden of Sin with a strange monument to the right of the stairs. Activate it and agree to roll back to just after the battle against Orsazantos. We recommend making a save point before doing this. |
|---|---|
| 2 |  Head to Flamebearer's Shrine. After the rollback, travel first to Flamebearer's Shrine to the west of heaven. |
| 3 |  Touch the light. Inside the shrine, touch the blue flame at the end of the hall to travel to the Flamebearer's Shrine: Sanctum. |
| 4 |  In the Sanctum, go up the stairs north into the next room. There is a save point in the hall before the stairs. |
| 5 |  Take on the trial. Keep going north until you reach the large blue flame shrine. Activate it and take on the trial to battle Aelfric the Flamebearer. |
| 6 |  Defeat Aelfric the Flamebearer. Aelfric the Flamebearer is a lengthy boss fight with multiple Aelfrics you must defeat. After defeating the first Aelfric phase, he will respawn a few more times, each with a different set of weaknesses. |
| 7 |  Head to the Heavens. After besting Aelfric, activate the glowing light portal slightly left of the shrine. Accept the prompt to travel back to the Heavens. |
| 8 |  Go to the Altar of Heavenly Peals. Enter the Garden of Sin from the entrance while in the Heavens. |
| 9 |  Keep heading north through until you reach the shrines and save point again, and activate the frontmost fire to travel to the Altar of Heavenly Peals. |
| 10 |  Touch the light at the top of the Altar to travel back to the home of you and Sazantos. |
| 11 |  Head to the cabin. Go north and enter the cabin. |
| 12 |  Do what you desire. Use the Illuminate path action on all three of the NPCs in the cabin to proceed to the true ending: Illuminate Order: 1.: The Protagonist, the baby in the cradle 2.: Pharamea, next to the cradle 3.: Sazantos after Illuminating the first two After Illuminating all three, a cutscene will transition and bring you back to the Altar of Heavenly Peals with Sazantos. |
| 13 |  Confront Galdera. To initiate the true final boss, activate the purple light in front of you and select Save and Proceed. After saving, you can set up your parties, as you will be facing Ol’galdera using all the companions you have unlocked. The battle is divided into eight squads, which rotate each turn to the next party you prepared. Ideally, you should have all 36 Characters available to fully form your teams. Once your parties are ready, proceed to the final battle. ▶︎ List of All Characters and How to Recruit |
| 14 |  Defeat Ol'galdera. Ol’galdera is a lengthy fight but manageable with proper preparation. Make sure each formation has a dedicated healer, and that all characters are well leveled and properly equipped. Focus on destroying the Void-Sundering Arm and Demonic Spear first to make the encounter significantly easier. The boss also has multiple weakness changes, so keep that in mind when selecting your attacks. ▶︎ Or'galdera Weaknesses and Boss Guide |
| 15 |  After defeating Ol'galdera, the rest is watching the true ending unfold before you can enter the post game! Here, you can fight the Optional Super Boss, or finish other content not yet complete. ▶︎ Post Game Guide |
At Journey's End (True Ending) Walkthrough
Octopath Traveler 0 (Octopath 0) Related Guides

Guides by Category
 Walkthrough Walkthrough |
 Tips and Tricks Tips and Tricks |
 Characters Characters |
 Jobs Jobs |
 Bosses Bosses |
 Side Stories Side Stories |
 Maps Maps |
 Weapons Weapons |
 Equipment Equipment |
 Skills Skills |
 Items Items |
 Town Structures Town Structures |
 Town Residents Town Residents |
 Dishes Dishes |
 News and Updates News and Updates |
- |
Recommended Guides
 Best Characters Tier List
 Best Jobs Tier List
 EXP Farming Guide
 JP Farming Guide
 Money Farming Guide
 Cait Farming Guide
 Octopuff Farming Guide
 Trophy Guide and Achievements List
 Does the Protagonist Have a Canon Name?
 Action Skill Guide
 Town Building Guide
 All Music Score Locations
 Best NPCs to Recruit
 Best Skills to Use in Combat
 List of Missables and Points of No Return
 Best Weapons and Equipment
 Best Dishes
 All 9 Battle-Tested Equipment Locations
 Best Masteries and How to Get Them
 List of All Temporary Characters
 Endings Guide
 Post Game Guide
 New Game Plus Guide
 Character Customization Guide
 Best Starting Choices
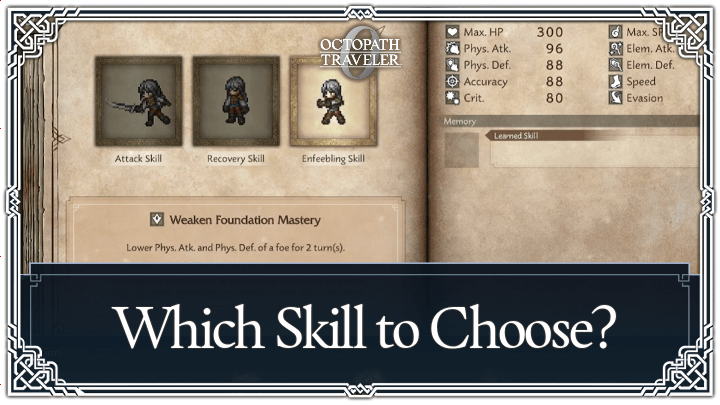 Best Learned Skill to Choose
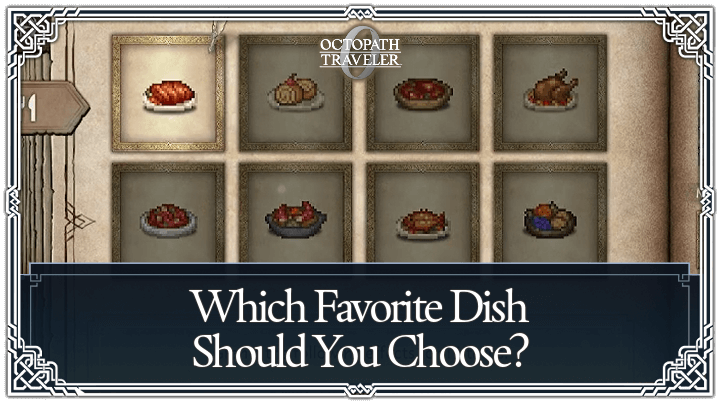 Best Favorite Dish
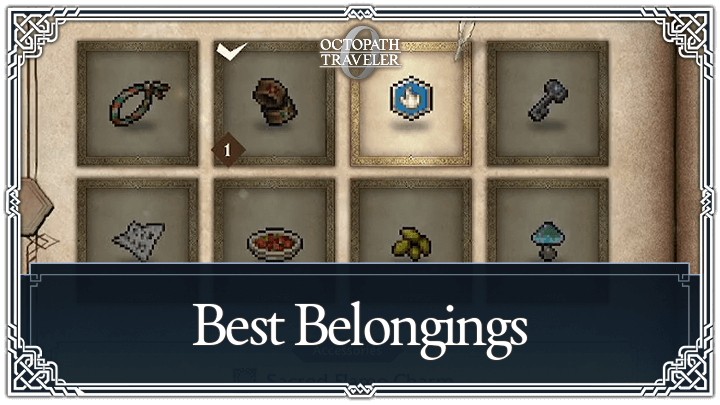 Best Belongings
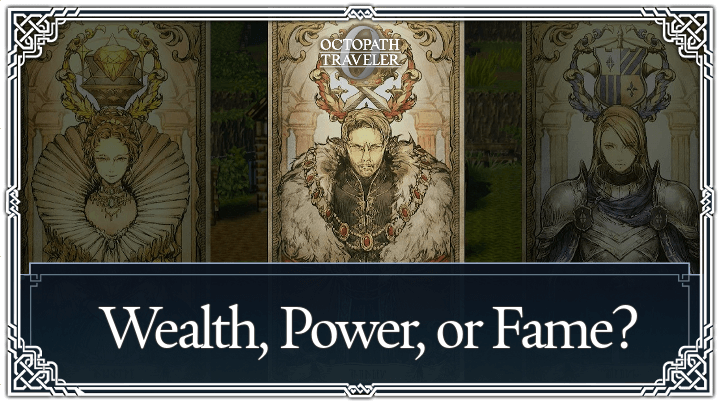 Wealth, Power, or Fame?
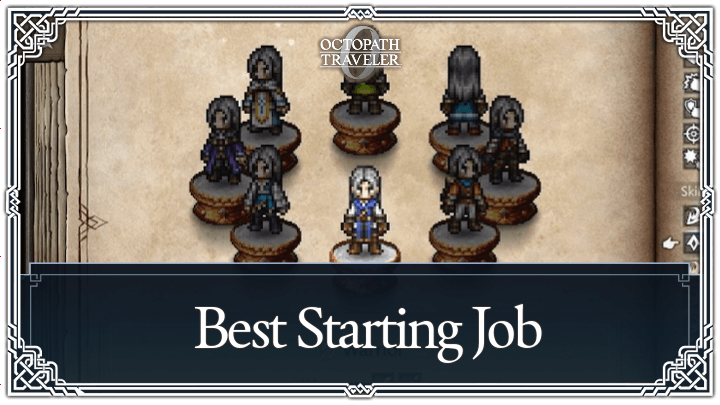 Best Starting Job
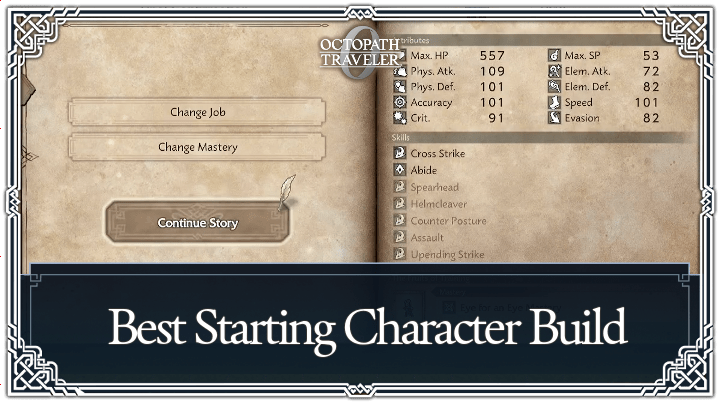 Best Starting Character Build
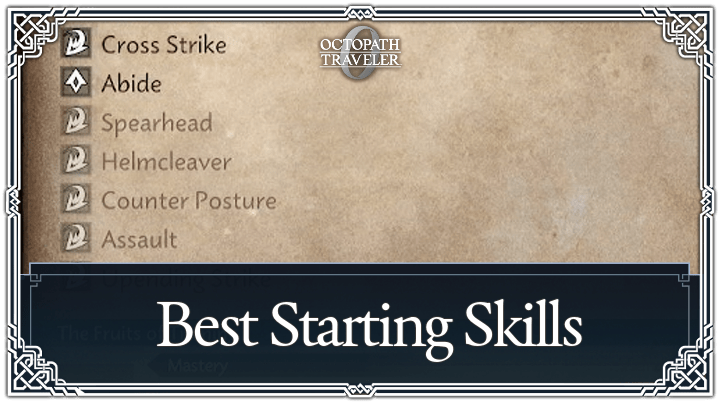 Best Starting Skills Per Job
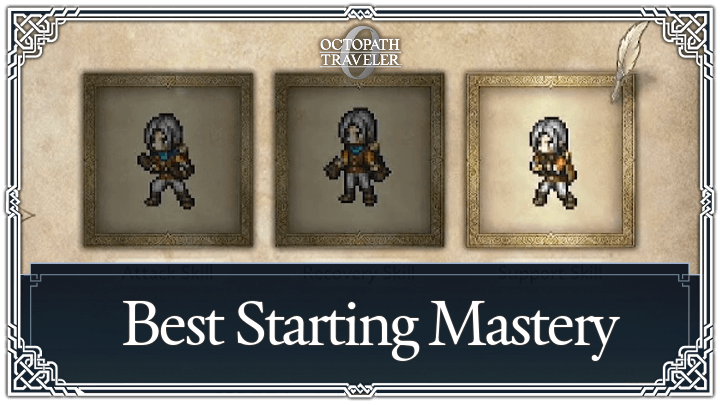 Best Starting Mastery
Comment
Author

Complete Walkthrough and Chapters List
Rankings
- We could not find the message board you were looking for.
Gaming News

![The Seven Deadly Sins: Origin Review [First Impressions] | A Promising Start](https://img.game8.co/4440581/584e0bfb87908f12c4eab6e846eb1afd.png/show)

![Monster Hunter Stories 3 Review [First Impressions] | Simply Rejuvenating](https://img.game8.co/4438641/2a31b7702bd70e78ec8efd24661dacda.jpeg/thumb)
![The Seven Deadly Sins: Origin Review [First Impressions] | A Promising Start](https://img.game8.co/4440581/584e0bfb87908f12c4eab6e846eb1afd.png/thumb)
Popular Games

Genshin Impact Walkthrough & Guides Wiki
Umamusume: Pretty Derby Walkthrough & Guides Wiki
Pokemon Pokopia Walkthrough & Guides Wiki
Honkai: Star Rail Walkthrough & Guides Wiki
Monster Hunter Stories 3: Twisted Reflection Walkthrough & Guides Wiki
Arknights: Endfield Walkthrough & Guides Wiki
Wuthering Waves Walkthrough & Guides Wiki
Zenless Zone Zero Walkthrough & Guides Wiki
Pokemon TCG Pocket (PTCGP) Strategies & Guides Wiki
Monster Hunter Wilds Walkthrough & Guides Wiki


Recommended Games
Fire Emblem Heroes (FEH) Walkthrough & Guides Wiki
Diablo 4: Vessel of Hatred Walkthrough & Guides Wiki
Cyberpunk 2077: Ultimate Edition Walkthrough & Guides Wiki
Yu-Gi-Oh! Master Duel Walkthrough & Guides Wiki
Super Smash Bros. Ultimate Walkthrough & Guides Wiki
Pokemon Brilliant Diamond and Shining Pearl (BDSP) Walkthrough & Guides Wiki
Elden Ring Shadow of the Erdtree Walkthrough & Guides Wiki
Monster Hunter World Walkthrough & Guides Wiki
The Legend of Zelda: Tears of the Kingdom Walkthrough & Guides Wiki
Persona 3 Reload Walkthrough & Guides Wiki


All rights reserved
© SQUARE ENIX
The company names, product names and system names are trademarks or registered trademarks of their respective companies.
The copyrights of videos of games used in our content and other intellectual property rights belong to the provider of the game.
The contents we provide on this site were created personally by members of the Game8 editorial department.
We refuse the right to reuse or repost content taken without our permission such as data or images to other sites.