Bestower of Wealth Chapter 3: Oskha the Trader Walkthrough
☆ How to Unlock All 36 Characters
★ Tier Lists: Best Characters and Best Jobs
☆ Farming Guides: EXP, JP, Money
★ Forbidden Weapon Locations
☆ Battle-Tested Equipment Locations
★ Endings Guide | Post-Game Guide
Oskha the Trader is the third chapter of the Bestower of Wealth questline of Octopath Traveler 0 (Octopath 0). Here's a walkthrough of Oskha the Trader, along with boss guides and tips for completing the quest!
| ◀ Previous Chapter | Next Chapter ▶ |
|---|---|
| Fool's Gold | The Black Flame |
List of Contents
Oskha the Trader Details and Unlock Condition
| Chapter | Bestower of Wealth - Chapter 3 | Location | Woodlands Region, Valore |
|---|---|
| Rec. Level | 44 |
| Quest Description | |
| Oskha, having return to his hometown of Sufratalja, orders his devotees to kill Lord Scarabe. And the next target on his list is none other than Valore. | |
Oskha the Trader is unlocked automatically after completing the previous quest, Fool's Gold.
Oskha the Trader Walkthrough
Quest Objectives
| 1 | 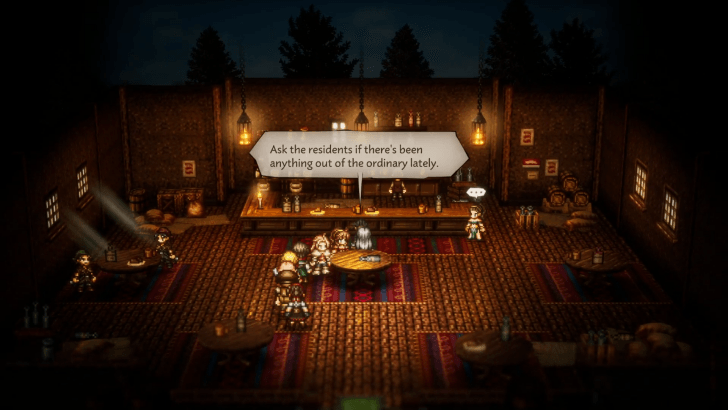 Talk to Pierro in Valore Speak to Pierro standing outside the bar in Valore to accept the quest and a short cutscene. After the cutscene, Bargello will ask you to ask residents around town for information. |
|---|---|
| 2 | 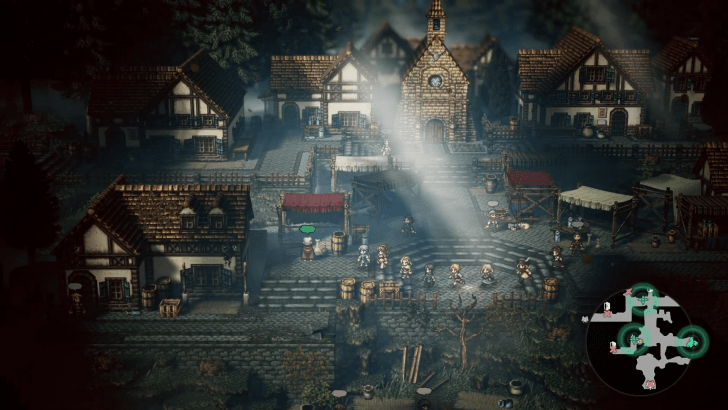 Ask the Three Townspeople for Information You'll need to speak and inquire with three specific townspeople, indicated by a green speech bubble, in Valore to get information for Bargello. The first is the Cragspear Merchant who is standing just north of the bar where Bargello is staying. Next, go west to the Main Boulevard and speak with the Veteran Hunter and the Indomitable Dancer, then head back to Bargello for a cutscene. |
| 3 | 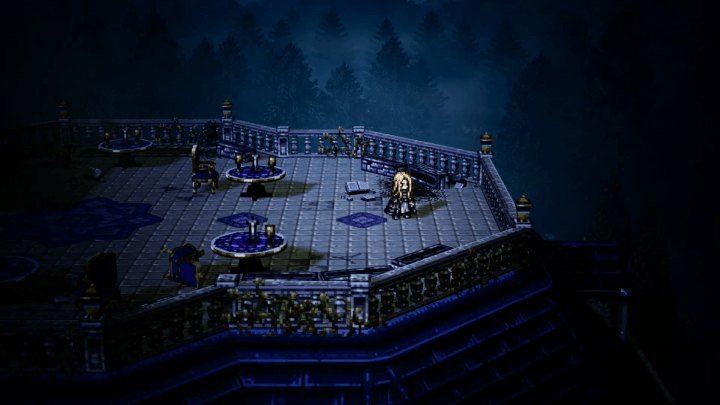 Search for Oskha After the cutscene, make your way to Hermina's Former Manse west of Valore. Once inside, follow the path north and up to reach the mansion's terrace for a short cutscene and prepare for a fight. |
| 4 | Defeat Oskha, the Have-Not Oskha's Dual Ruinous Slash can inflict Phys. Atk. Down for two turns which makes fighting this boss with physical characters challenging, so prioritize using Wind and Dark magic which he's weak to. When he says "Are you prepared?", it means he's about to use a powerful attack. Focus on breaking his shield as fast as possible with Daggers, Wind, and Dark attacks to avoid getting hit. |
| 5 | 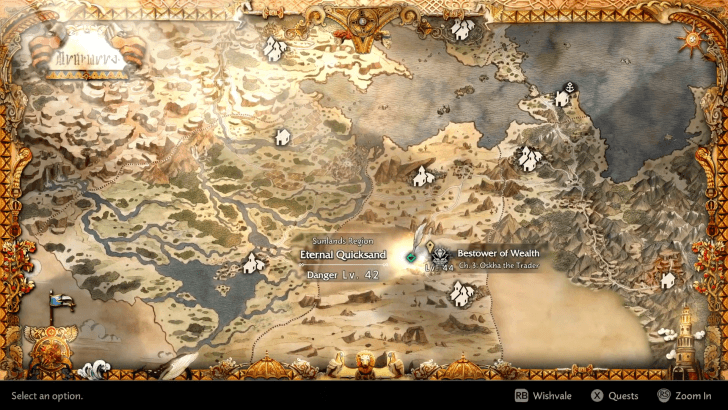 Go to the Eternal Quicksand Fast travel to Sufrataljah, then exit towards Sufrataljah Sands and keep going west until you reach Eternal Quicksand. The marked location is to the north of Eternal Quicksand. |
| 5 | 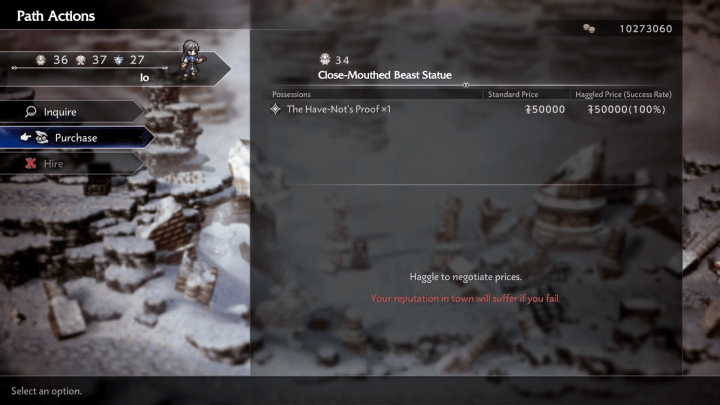 Purchase The Have-Not's Proof from the Statue Approach the large crater for a cutscene, and then you'll need to inspect the left statue and purchase a The Have-Not's Proof for 50,000 Leaves. Once purchased, inspect the right statue and place the newly acquired proof for a short cutscene, and then enter the Golden Palace. ► Money Farming Guide |
| 6 | 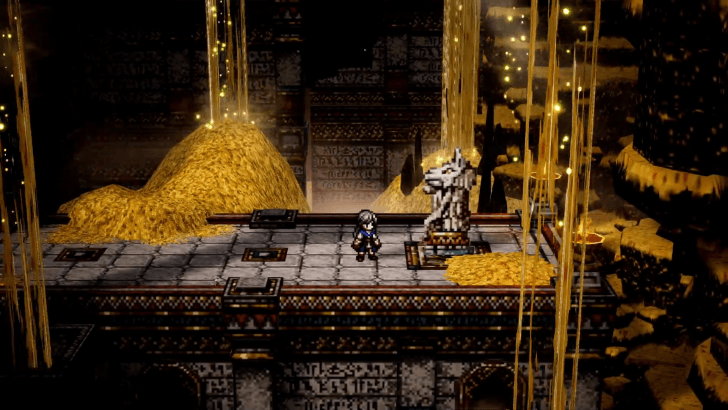 Push the Buttons on the Two Statues Once inside the Golden Palace, you'll need to interact and press the button on the two statues to open the large door. The first statue is directly southwest of the door, while the other statue is located northeast of central area. A short cutscene will play after pressing both statues, and you can now enter the large door in the central area. |
| 7 | 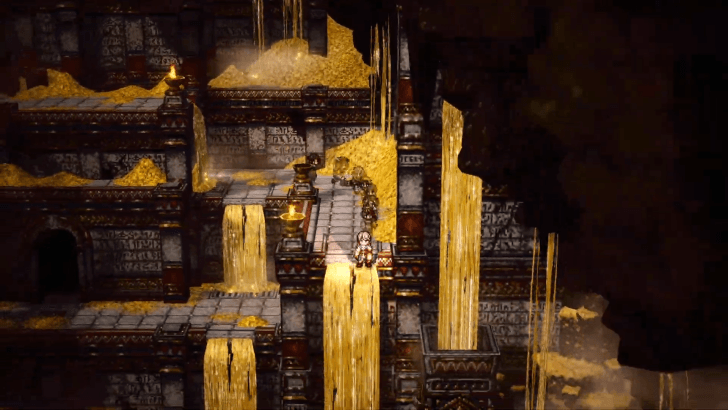 Drop Down the Right Golden Waterfall Drop down the golden waterfall to the right of the entrance to reach the lowest part of the room. |
| 8 |  Go Through the Open Passageway Once at the bottom, enter the large open passageway to reach the next area. |
| 9 | 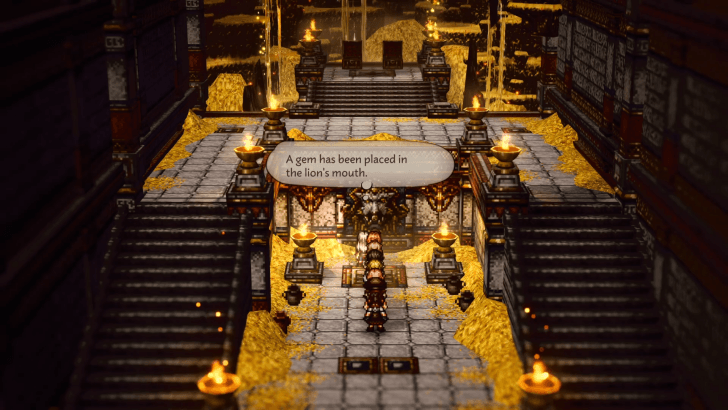 Push the Button on the Statue You'll need to interact and press the buttons on the statues in this room to open the main door. The first statue is located on the lower area south of the door. |
| 10 |  Take the Gem from the Lion's Mouth Head to the right side area of this room and all the way down into an inner area where you can get a gem from a lion's mouth statue. You can then place this gem into one of the statues facing another to activate it, which will cause another statue to appear which you can then press to finally open the door. |
| 11 | 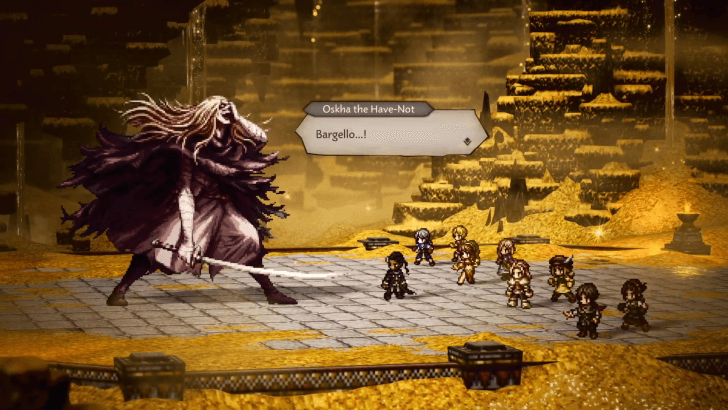 Defeat Oskha the Have-Not Once inside, save your game and approach the central area to the north for a short cutscene. Oskha the Have-Not will once again challenge you to a fight. The boss can summon Altered Gold Remnants during the fight which are weal to Knives, Staves, Ice, and Dark damage, and you'll want to defeat these quickly to avoid getting paralyzed by their Bolt Wave attack. Oskha the Have-Not retains his previous weakness to Knives, Wind, and Dark attacks and these are his most consistent weaknesses. Alexia's Duskblight is useful here since it hits twice and can also damage the Altered Gold Remnant. |
| 12 | 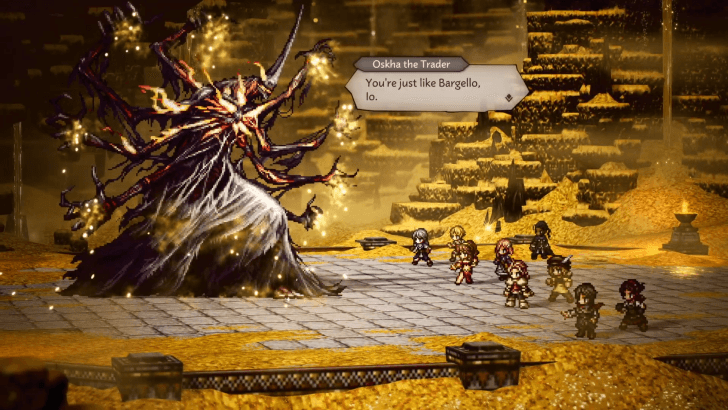 Defeat Oskha the Trader Defeating Oskha the Have-Not will cause him to transform into Oskha the Trader who is weak to Knives, Tomes, Fans, Ice and Dark damage. He'll instantly use A Hundred Arms at the start of the battle which will cause him to move twice on his turn. The boss has many dangerous moves that impart debuffs and Sleep status, but his most dangerous move is when he says Thou shall have not and cause a Stillness Field to affect all front row characters and prevents them from using skills. You can remove this debuff by breaking his shield so make sure you have enough boosts to quickly burst down his shield. You should also have at least Saoirse or Pius for the fight since they can provide healing regeneration or burst healing respectively to keep your team in top shape throughout the fight. |
| 13 |  After the fight, a cutscene will play and you'll receive the Ring of Bifelgan the Trader which grants the protagonist the Bifelgan's Bounty ultimate. |
Oskha the Trader Bosses
Oskha the Have-Not
| Enemy Information | |
|---|---|
 Oskha the Have-Not (Terrace)
|
|
| Shield Points (SP) | 20 SP |
| Weaknesses | |
Oskha the Have-Not is first encountered at Herminia’s Former Manse, on the top-floor Terrace, during the "Search for Oskha" objective.Toward the end of the quest, you will encounter her again as the first phase of the chapter's last boss, before facing Oskha the Trader in her final form.
Oskha the Have-Not Weaknesses and Boss Guide
Oskha the Trader
| Enemy Information | |
|---|---|
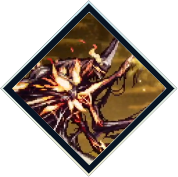 Oskha the Trader
|
|
| Shield Points (SP) | 20 SP |
| Weaknesses | |
| Drop | Twin Strike Mastery |
Oskha the Trader is encountered in the Silver Spring deep in the Golden Palace. This is during the "Proceed through the Golden Palace" objective.
Oskha the Trader Weaknesses and Boss Guide
Octopath Traveler 0 (Octopath 0) Related Guides

All Major Questlines
All Main Quest Walkthroughs
Comment
Author

Bestower of Wealth Chapter 3: Oskha the Trader Walkthrough
Rankings
- We could not find the message board you were looking for.
Gaming News

![The Liar Princess and the Blind Prince Review [PC] | Lovely to Look at but Tedious to Play](https://img.game8.co/4442586/8d95f5faf05780f1765ce7e0938bd825.jpeg/show)

![Monster Hunter Stories 3 Review [First Impressions] | Simply Rejuvenating](https://img.game8.co/4438641/2a31b7702bd70e78ec8efd24661dacda.jpeg/thumb)
![The Seven Deadly Sins: Origin Review [First Impressions] | A Promising Start](https://img.game8.co/4440581/584e0bfb87908f12c4eab6e846eb1afd.png/thumb)
Popular Games

Genshin Impact Walkthrough & Guides Wiki
Umamusume: Pretty Derby Walkthrough & Guides Wiki
Pokemon Pokopia Walkthrough & Guides Wiki
Honkai: Star Rail Walkthrough & Guides Wiki
Monster Hunter Stories 3: Twisted Reflection Walkthrough & Guides Wiki
Arknights: Endfield Walkthrough & Guides Wiki
Wuthering Waves Walkthrough & Guides Wiki
Zenless Zone Zero Walkthrough & Guides Wiki
Pokemon TCG Pocket (PTCGP) Strategies & Guides Wiki
Monster Hunter Wilds Walkthrough & Guides Wiki


Recommended Games
Fire Emblem Heroes (FEH) Walkthrough & Guides Wiki
Diablo 4: Vessel of Hatred Walkthrough & Guides Wiki
Cyberpunk 2077: Ultimate Edition Walkthrough & Guides Wiki
Yu-Gi-Oh! Master Duel Walkthrough & Guides Wiki
Super Smash Bros. Ultimate Walkthrough & Guides Wiki
Pokemon Brilliant Diamond and Shining Pearl (BDSP) Walkthrough & Guides Wiki
Elden Ring Shadow of the Erdtree Walkthrough & Guides Wiki
Monster Hunter World Walkthrough & Guides Wiki
The Legend of Zelda: Tears of the Kingdom Walkthrough & Guides Wiki
Persona 3 Reload Walkthrough & Guides Wiki


All rights reserved
© SQUARE ENIX
The company names, product names and system names are trademarks or registered trademarks of their respective companies.
The copyrights of videos of games used in our content and other intellectual property rights belong to the provider of the game.
The contents we provide on this site were created personally by members of the Game8 editorial department.
We refuse the right to reuse or repost content taken without our permission such as data or images to other sites.