Bestower of Fame Questline Walkthrough
☆ How to Unlock All 36 Characters
★ Tier Lists: Best Characters and Best Jobs
☆ Farming Guides: EXP, JP, Money
★ Forbidden Weapon Locations
☆ Battle-Tested Equipment Locations
★ Endings Guide | Post-Game Guide
Bestower of Fame is a major questline in Octopath Traveler 0 (Octopath 0). Here's a list of all the Main Quests in Bestower of Fame, how to unlock the questline, and walkthroughs for each Main Quest!
| “Bestower of” Quest Line | ||
|---|---|---|
List of Contents
How to Unlock Bestower of Fame
Complete Trial of the Ring
Bestower of Fame is a questline after completing the Trial of the Ring, which is the final questline of the Master of All story arc.
Trial of the Ring (Master of All) Walkthrough
Bestower of Fame Main Quests
| Ch. | Quest | Location | Lv. |
|---|---|---|---|
| Prologue | The Shadow Apostate | Emberglow Frostlands Region |
37 |
| 1 | A New God | Flamesgrace Frostlands Region |
38 |
| 2 | Sacred Ashes | Flamesgrace Frostlands Region |
42 |
| 3 | Ceraphina the Charitable | Flamesgrace Frostlands Region |
46 |
Bestower of Fame Walkthrough
| Jump to a Chapter! | ||
|---|---|---|
| The Shadow Apostate | ||
| A New God | Sacred Ashes | Ceraphina the Charitable |
Prologue: The Shadow Apostate
| 1 | 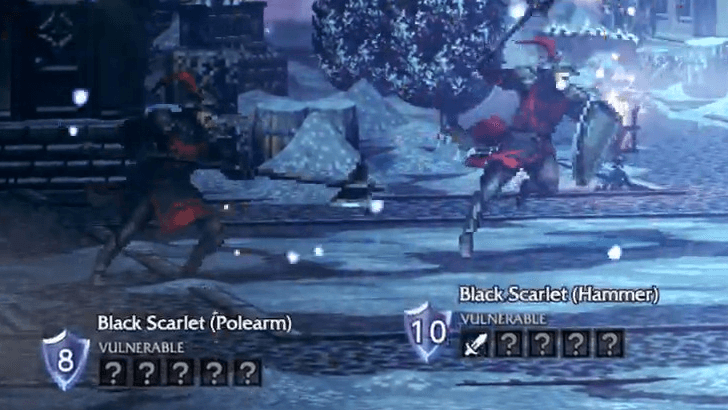 Defeat the Black Scarlet Soldiers As soon as you start the quest, you'll be forced into battle against two Black Scarlet soldiers. Defeat them to progress. |
|---|---|
| 2 | 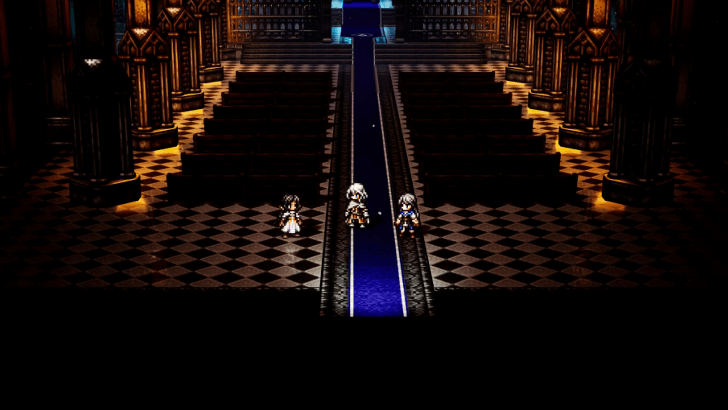 Head to Flamesgrace Cathedral Next, head to the cathedral in Flamesgrace, located in the northernmost area of the village. Speak to the priest afterward. Sazantos will leave again after this. |
| 3 |  Inquire to Find Information Use Inquire to gather information from all people in the cathedral. This should give you an idea of who the mastermind is. |
| 4 | 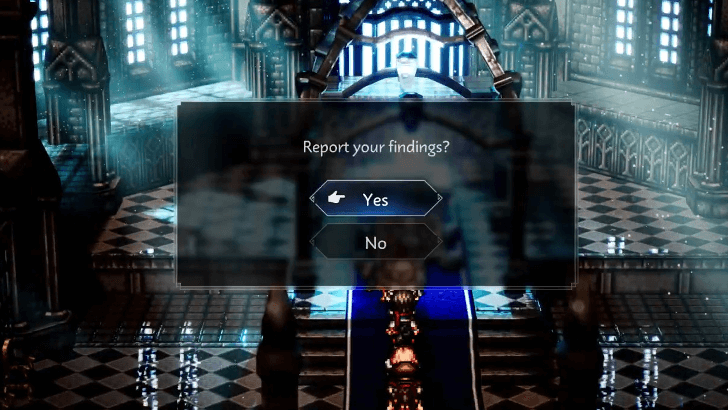 Report to the Priest Once you're done with your investigation, report back to the priest. You'll be transported to a room where you can choose who the mastermind is. |
| 5 | 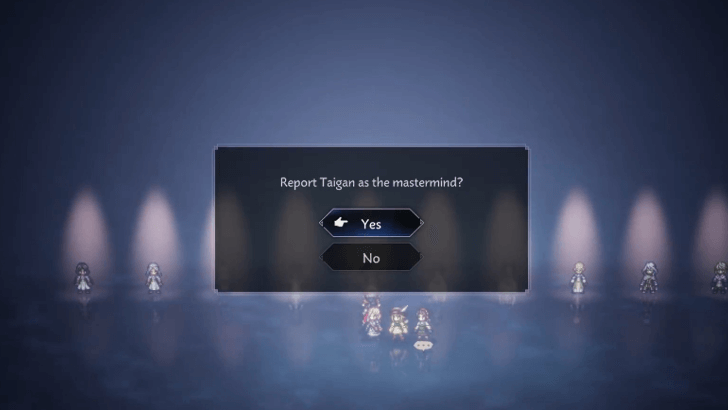 Choose Taigan Among all the people in attendance, simply choose Taigan. This completes the prologue, and you can continue onwards afterward. Sazantos will then rejoin after. |
The Shadow Apostate Walkthrough
Chapter 1: A New God
| 1 |  Talk to Archbishop Josef After the Prologue's end cutscene, speak to Archbishop Josef to start Chapter 1. |
|---|---|
| 2 | 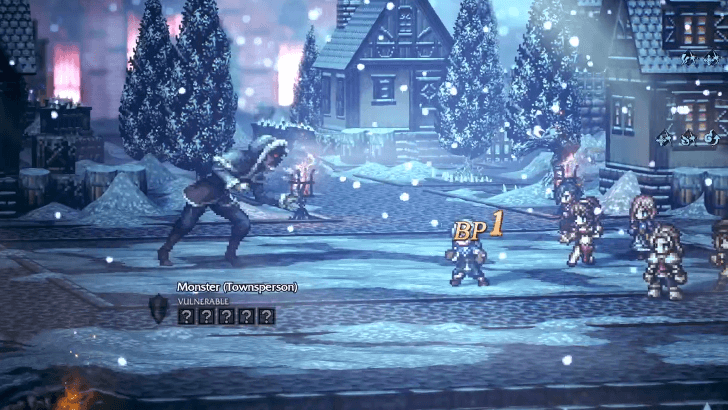 Head to the Cathedral of Tytos. Return to Emberglow and towards the Cathedral of Tytos in town. In the cathedral's courtyard, you will come across the Monster (Townsperson) boss to defeat before you can continue to the main cathedral. |
| 3 | 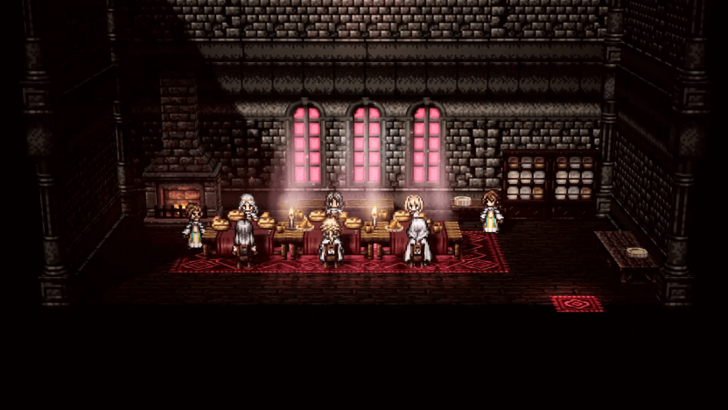 Head to the dining hall. After defeating the Monster (Townsperson), head inside the cathedral and agree to join the supper during the cutscene, then proceed to the dining hall room to the left. |
| 4 |  "Inquire" about important information. After the supper cutscene, you must Inquire two specific NPCs for the information. First, Inquire with the Senior Nun to your immediate right, who will give you the Confessional Information. |
| 5 | 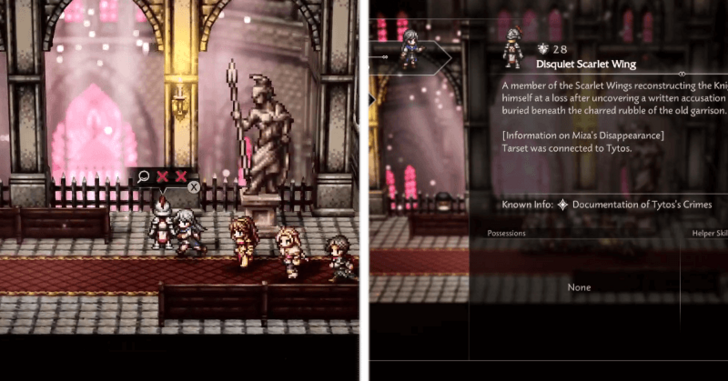 Gather more important information. The next NPC is upstairs on the second-floor balcony, the Disquiet Scarlet Wing. Inquire with him to get the Documentation of Tytos's Crimes. |
| 6 | 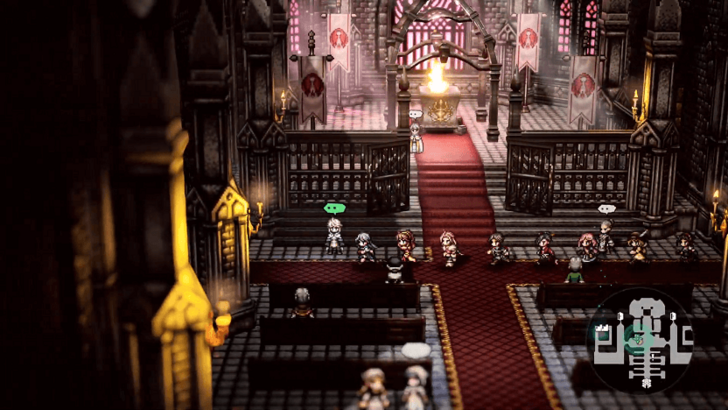 Report to Rondo of the Knights Ardante. With the two pieces of evidences, return to Rondo and report your findings. |
| 7 | 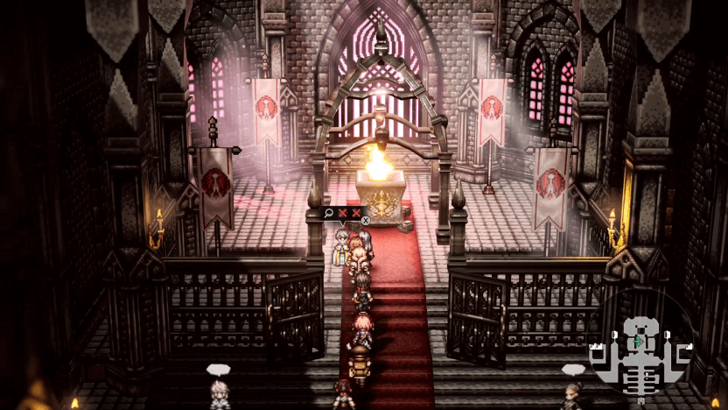 Interrogate Bishop Tarset. Speak to Bishop Tarset by the sacred fire, and Inquire with him to get Tarset's Information. |
| 8 | 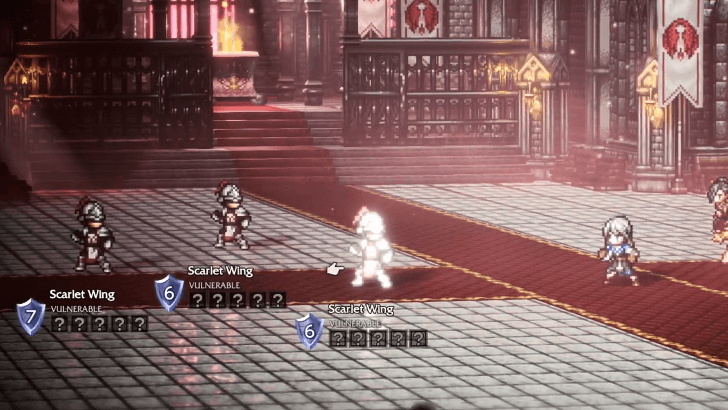 After Inquiring, choose Contend to start a fight against three Scarlet Wing soldiers. Defeat them to receive Tarset’s Secret from Bishop Tarset. |
| 9 | 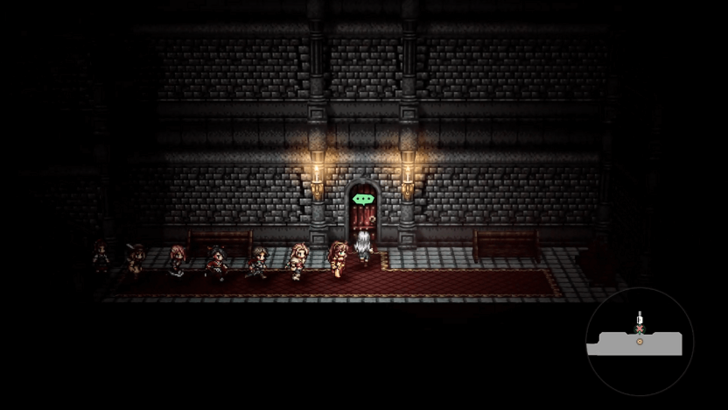 Head to the confessional. Go to the western wing of the cathedral and you'll be brought to the confessional after a cutscene. Once on the lower floor, attempt to go through the door. |
| 10 | 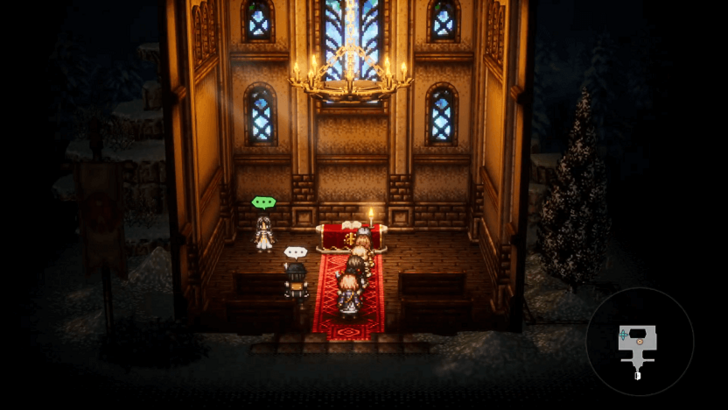 Head to Emberglow Cathedral. After the cutscene by the confessional door, head outside back into the main Emberglow town and go to the church in the northwest of the town. Speak to Rinyuu inside the building. |
| 11 | 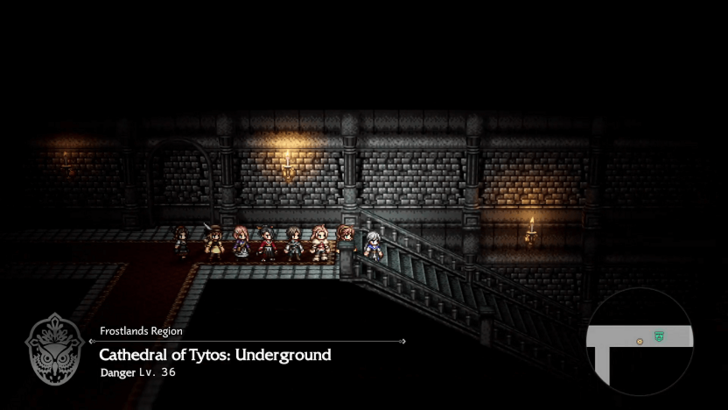 Search the confessional. Head back to the confessional room, where a cutscene will let you enter the newly unlocked door. The path leads into the Cathedral of Tytos: Underground, a large dungeon beneath the cathedral. |
| 12 | 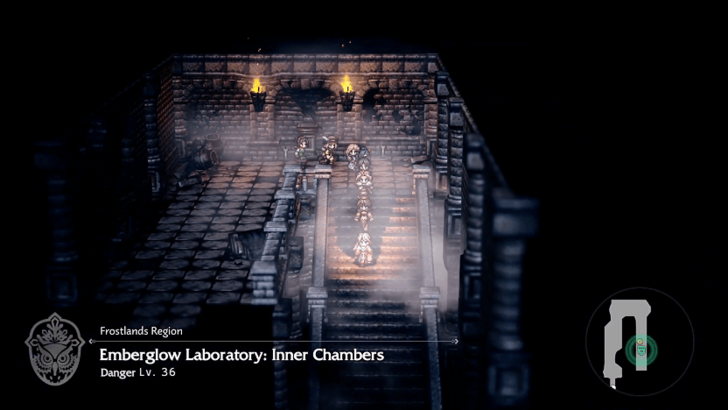 Search for Miza. Underground, head east and you will find a staircase leading down into the Emberglow Laboratory: Inner Chambers. There are plenty of monsters and treasure chests along the way. |
| 13 | 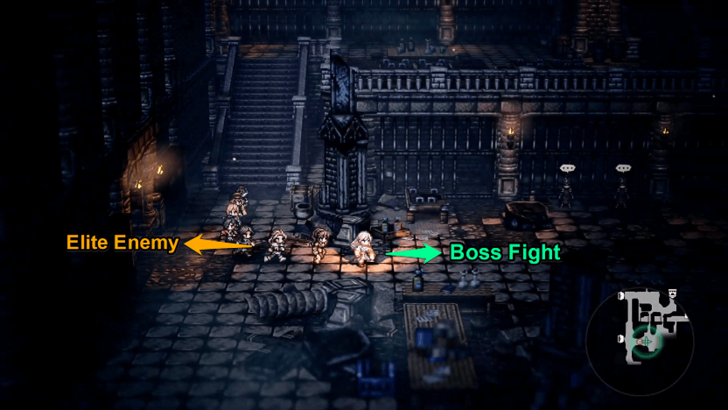 In the Emberglow Laboratory, head downstairs to the central chamber to begin the dual boss fight against Monster (Man) and Monster (Woman). The surrounding rooms contain treasure chests, as well as the Elite Enemy Menacing Test Subject (Big Beast) in the room to the left of the boss area. |
| 14 | 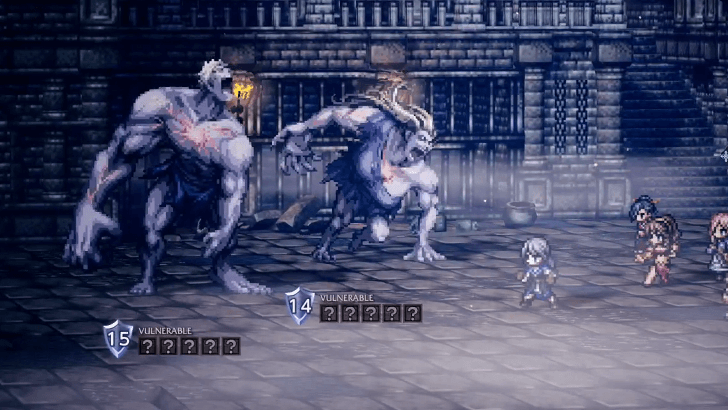 Defeat the Monster Bosses. It is best to focus on one target at a time when fighting Monster (Man) and Monster (Woman). Defeating one quickly lets you concentrate fully on the remaining boss. |
| 15 | 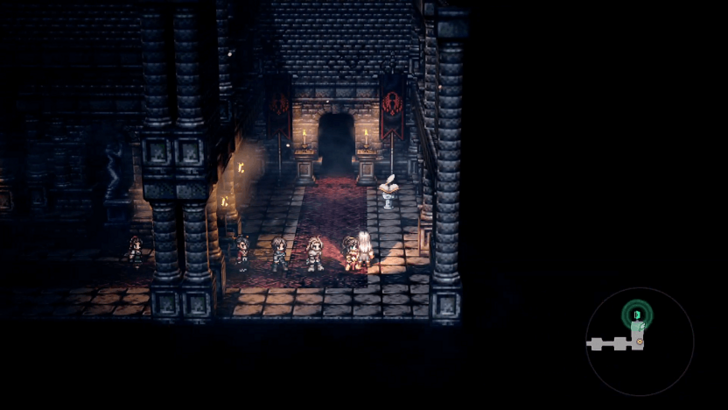 Search for Father Monaris. After defeating the Monster couple, head east down the hallway. Beyond the save point at the end, you will immediately enter the boss fight against Monaris the Monstrous. Make sure your party is fully healed and prepared before proceeding. |
| 16 | 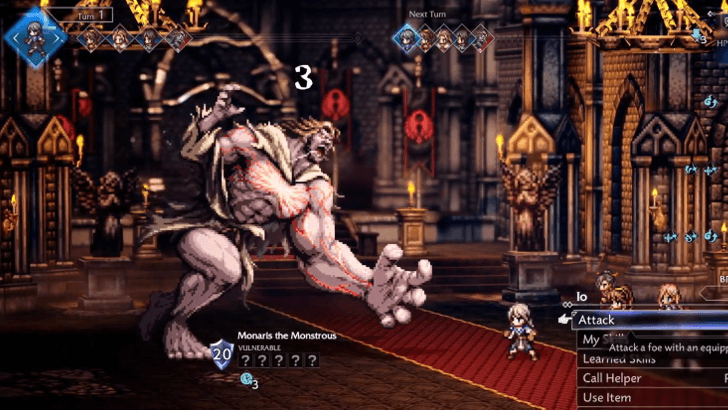 Defeat Monaris the Monstrous. Monaris the Monstrous is the final boss of the chapter and a tough fight with 20 Shield Points. He uses a powerful three-turn countdown attack. If you cannot break his shield in time, move your tankiest characters forward and stack defensive buffs on the front row and so they can withstand the hit. |
Chapter 2: Sacred Ashes
| 1 | 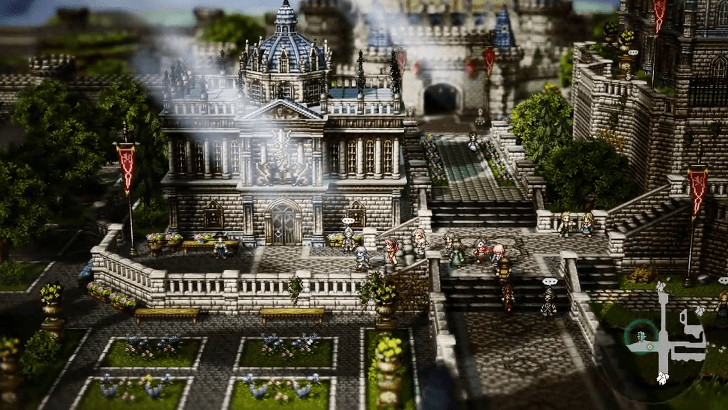 Head to Atlasdam Fast travel to Atlasdam and go to the library within the Atlasdam Palace Gate area. |
|---|---|
| 2 | 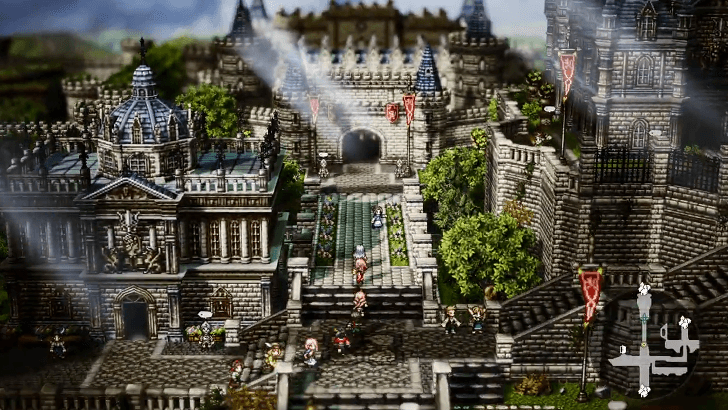 Head to Atlasdam Palace Atlasdam Palace is just north of the library. Go back outside then follow the middle path until you trigger a cutscene at the main gate. |
| 3 | 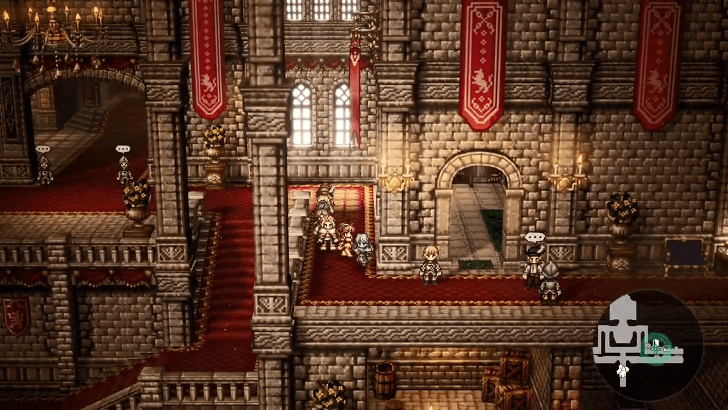 Speak to Princess Mary Enter Atlasdam Palace and go to the second floor room on the right side to find Princess Mary and obtain The Legend of Saint Odypus quest item. |
| 4 |  Speak to Headmaster Yvon Exit the palace and enter the academy on the right side, just across the library, to find Headmaster Yvon on the second floor. After the cutscene that follows, you will obtain The Three Flames. |
| 5 | 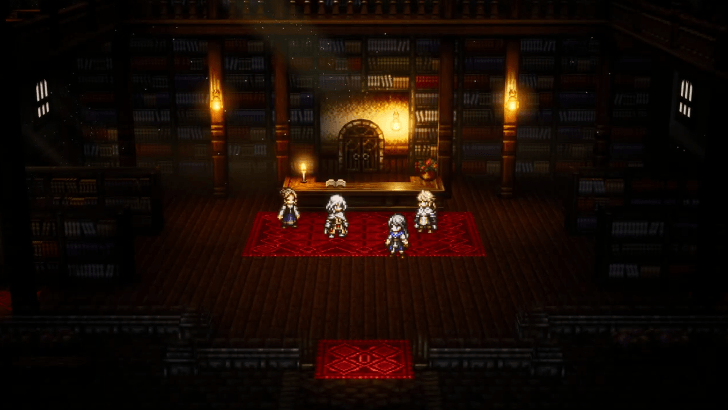 Head to the library Return to the library for another cutscene where you read the content of The Accursed Night and review what you have learned so far by answering three questions. You'll loop back to the same options if you picked the wrong answer, so it's okay to just take guesses. The correct answers are: 1. The Lanthorn 2. Black 3. Divine ring & blood |
| 6 | 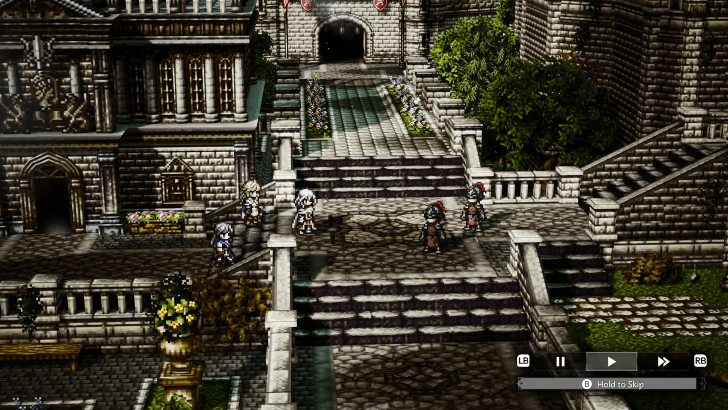 Go to the location identified on the map Go back outside and walk towards the center for a forced battle against two Elite Black Scarlet. Both minibosses are weak to Spears, Staves, Fans, Ice, and Dark. |
| 7 |  Head to Flamesgrace Open your map and fast travel to Flamesgrace, located northwest of Atlasdam, then head to the Flamesgrace Cathedral and talk to Pontiff Julius once again. |
| 8 |  Speak to Rondo Rondo can be found outside the cathedral, but before you speak to him, make sure you're fully prepared for three consecutive minibosses. |
| 9 | 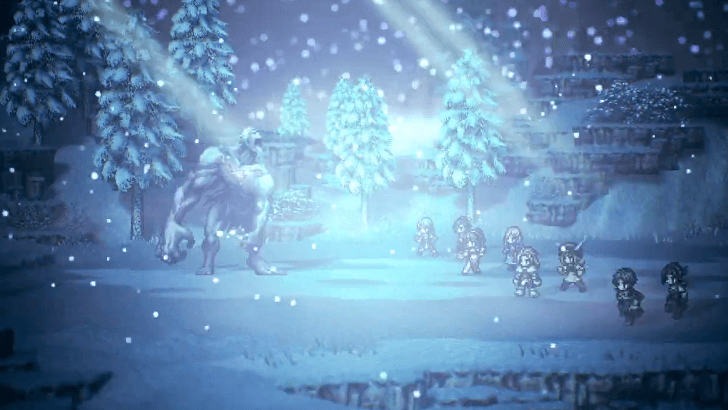 For the first miniboss, you'll be up against another Monster (Man). Like in the battle against him in the previous quest, he is weak to Daggers, Bows, Staves, Fire, and Light and can increase his Phys. Atk. per turn starting on Turn 6, so you'll have to break or defeat him as soon as possible. |
| 10 | 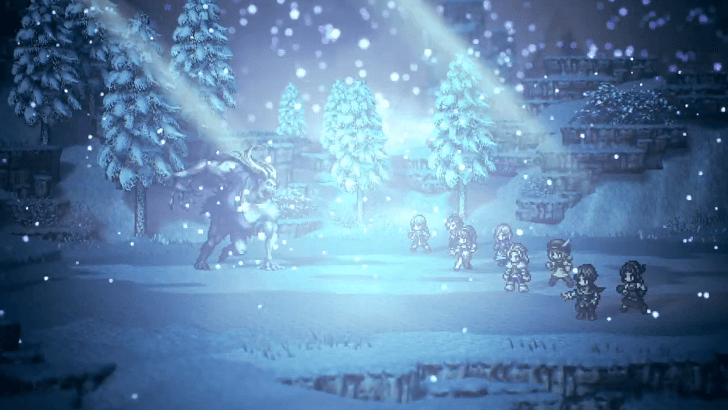 Next up is a Monster (Woman), a miniboss that you've also fought in the previous quest. She is weak to Swords, Spears, Tomes, Ice, and Light and can raise her Speed per turn at the start of Turn 6. |
| 11 | 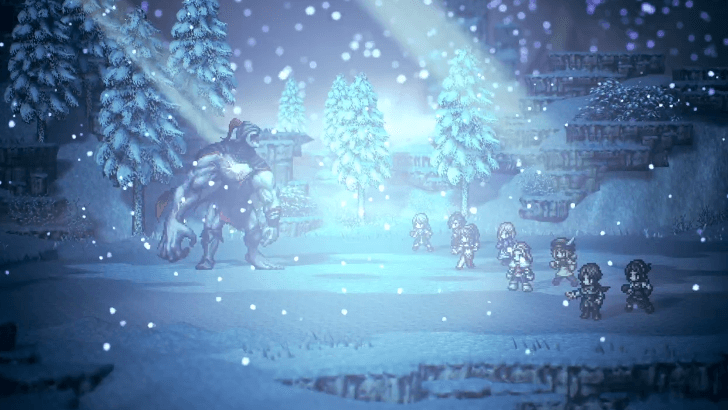 The last miniboss for this quest is a Monster (Black Scarlet). This miniboss can mutate and change its weaknesses each time it is broken. It is weak to Polearms, Bows, Tomes, and Fans, which are all physical attacks, by default. Once you get the "The Black Scarlet's body is mutating...", it will remove its weaknesses to the physical attack types and be weak to Fire, Lightning, Wind, and Light. The third time the Black Scarlet mutates, it will change its weaknesses to Polearms, Bows, Tomes, Fire, and Lightning and prepare for a powerful move. Break all its Shield Points to interrupt the attack. |
| 12 | 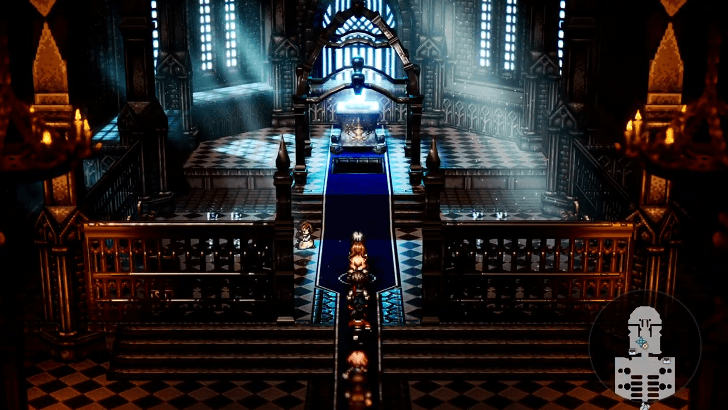 Head to the Altar Return to the cathedral and approach the altar for a cutscene that ends with Sazantos leaving your party. |
| 13 |  Head to the Cave of Origin Exit Flamesgrace through the east path to reach Valley of the Flame. Simply cross the bridge until you enter the Path to the Cave of Origin. |
| 14 |  Follow the winding path north and enter the Cave of Origin. Your objective is to find Ceraphina on the northern end of the cave and defeat the Guardian of the Tainted Flame that she summons. |
| 15 | 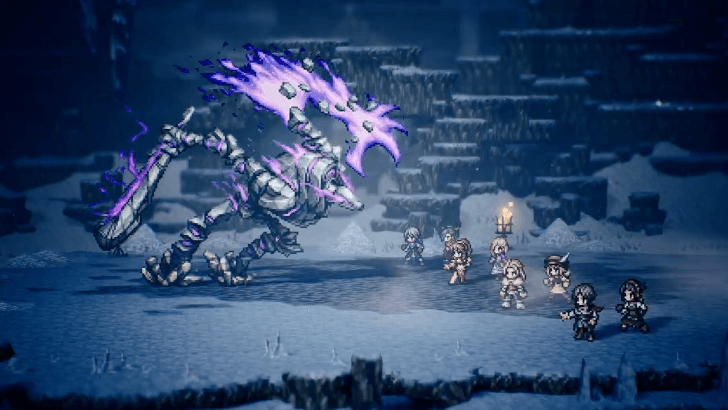 The Guardian of the Tainted Flame is weak to Daggers, Axes, Staves, Ice, and Wind but can lock these weaknesses with its Dark Wisps. AoE attacks are recommended for this fight as you'll want to take out the Dark Wisps before they finish their countdowns. |
Chapter 3: Ceraphina the Charitable
| 1 | 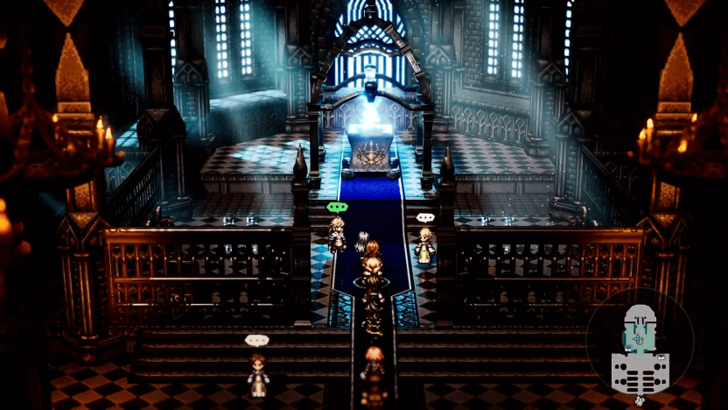 Speak to Rondo. You will find Rondo in the Flamesgrace Cathedral. Speak to him to start the quest. |
|---|---|
| 2 | 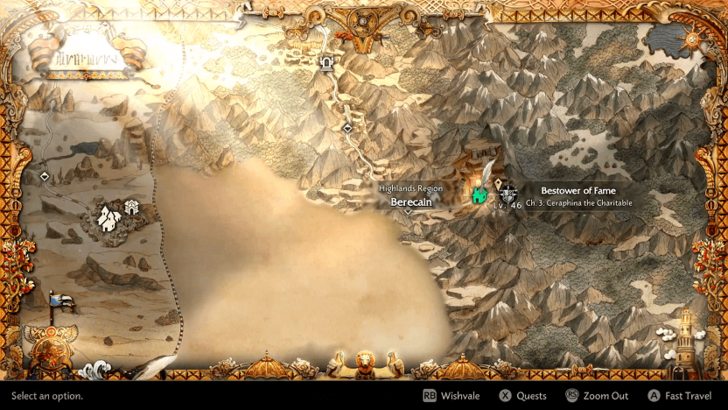 Head to Berecain. Travel to Berecain in the eastern part of the Highlands Region. ▶︎ Orsterra Map and List of Regions |
| 3 | 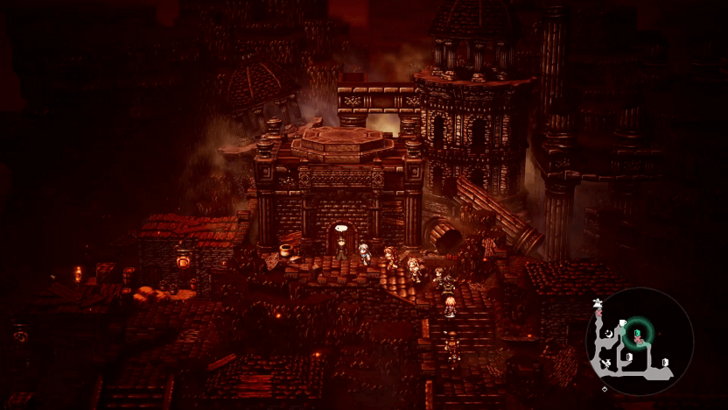 Gather information about Ceraphina. Once there, go up the stairs in the northeast part of the area and speak to the old man. He will not let you in unless you have the password. |
| 4 | 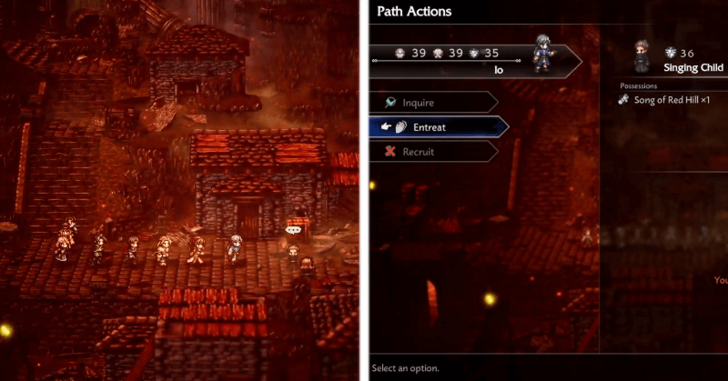 Get the password from the Singing Child NPC, located to the right at the bottom of the steps. Entreat him to get the Song of the Red Hill. |
| 5 | 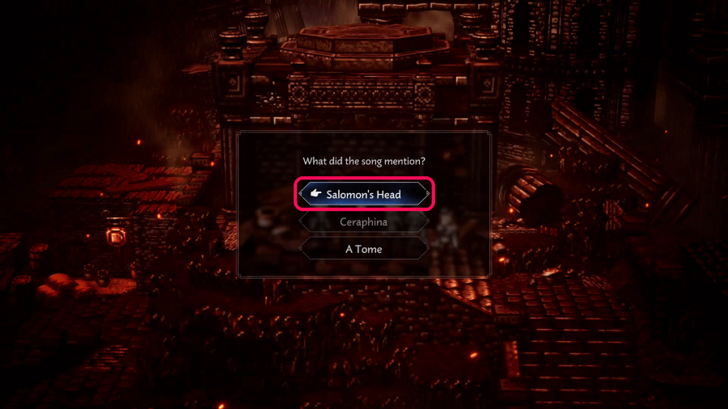 Return to the old man and select the Salomon's Head option, and you are now free to enter the door. |
| 6 | 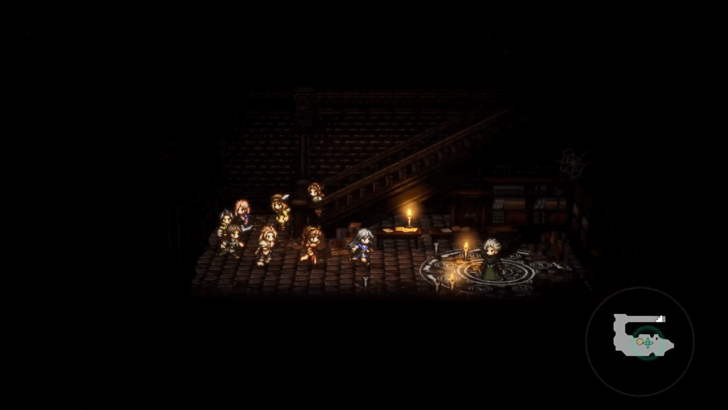 Head inside and go downstairs, and approach the man in the summoning circle. A cutscene will play as you approach him. |
| 7 | 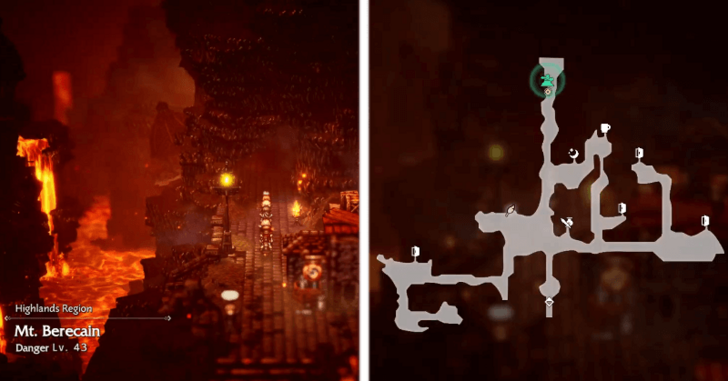 Head to the Forbidden Temple. Go outside the shack and to the north exit of the city towards Mt. Berecain. |
| 8 | 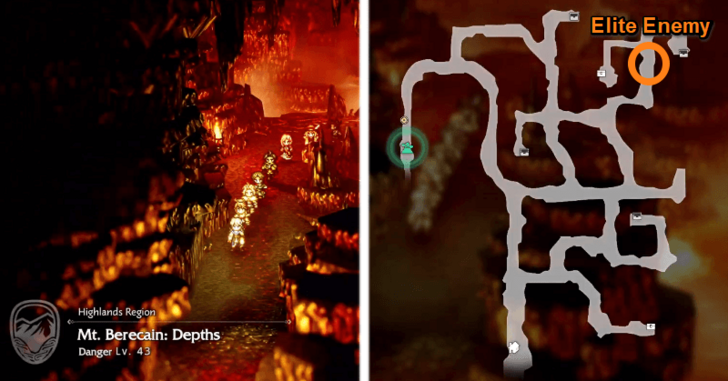 Continue to the Mt. Berecain: Depths entrance in the northwest of the area. There are 4 other chests in the zone, one of them being a Blue Chest. An Elite Enemy: Menacing Quartz Turtle guards the chests on the top right. |
| 9 | 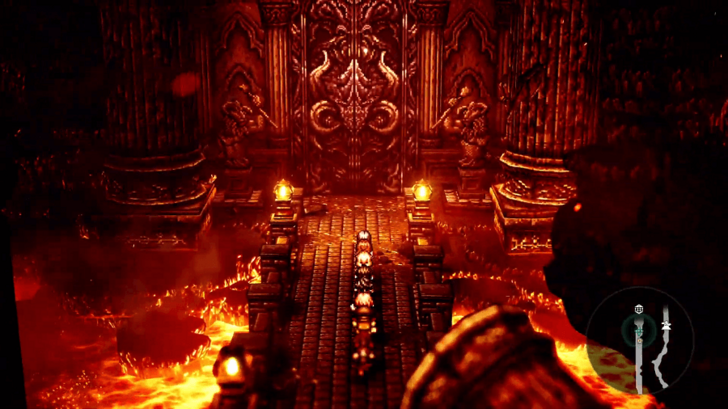 In the depths, head past the save point towards the entrance to the Forbidden Temple. A cutscene will play, and you will enter. |
| 10 | 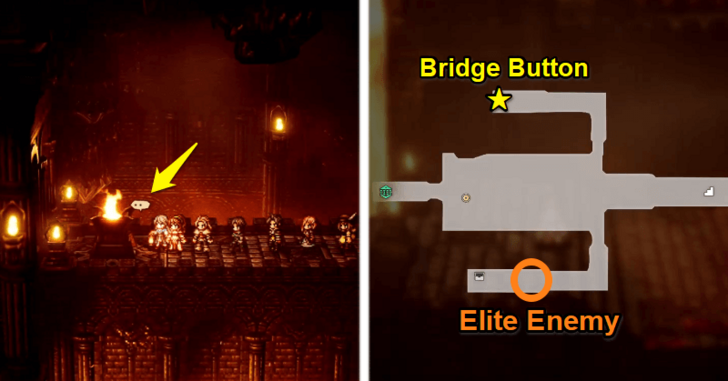 Follow Ceraphina. In the temple, head down the stairs to the left, and you will reach a lava-blocked gap. Press the button at the top of the northern stairs to raise the bridge and cross into the Forbidden Temple: Lower Floor. Before crossing, there is also an Elite Enemy: Menacing Ashen Remnant on the southern stairs of this area. |
| 11 | 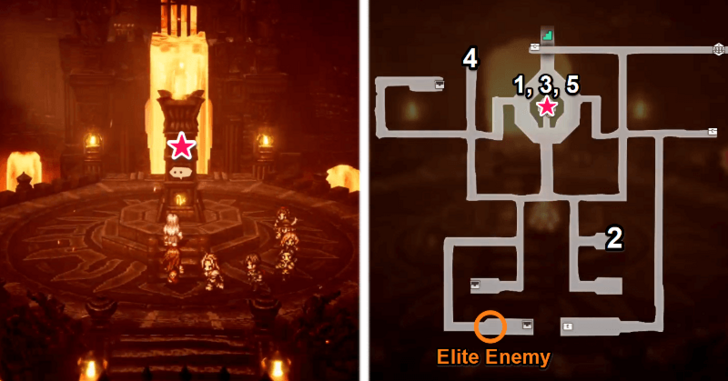 To unlock the path forward that is blocked by flowing lava, activate the area’s buttons in order. Start with the pillar in the center. Button Order: 1. Central Pillar to raise the bridges on the right. 2. First Button near the bridges to open a gate. 3. Central Pillar again to raise the bridge on the left. 4. Second button north of the raised bridge to open a gate. 5. Central Pillar that stops the lava flow ahead so you can go forward. With the 5 interactions pressed in order, the flow of lava blocking the path will stop, and you can move on to the next area. Before going, there are 5 Chests in the zone as well as an Elite Enemy: Menacing Blood Revenant in the southwest corner. |
| 12 | 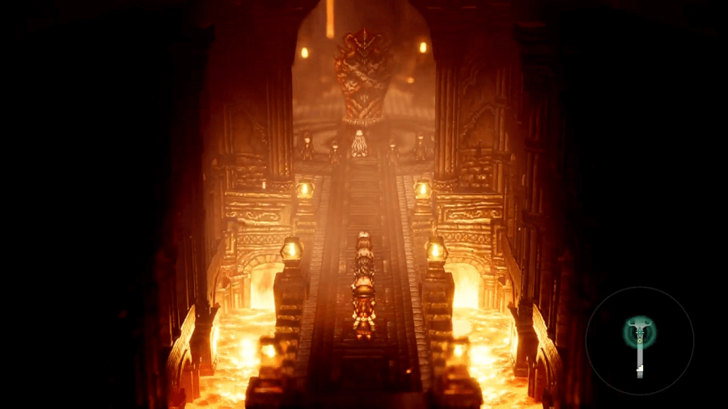 Head past the pillar, where you will find Ceraphina at the end of the hall. Approaching her starts the boss fight with the Towering Idol, so make sure your party is fully healed before proceeding. |
| 13 | 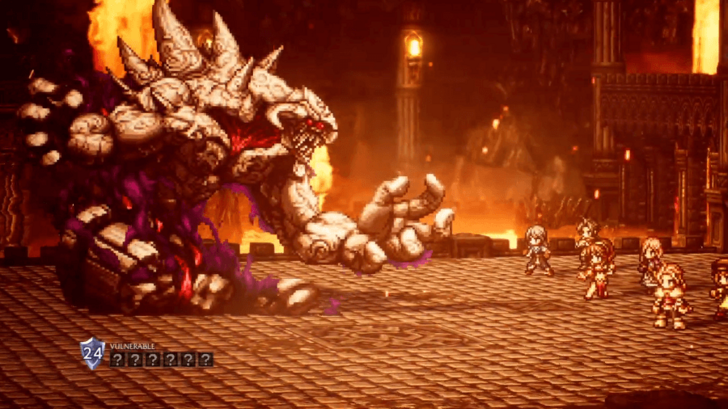 Defeat the Towering Idol. The Towering Idol frequently uses attacks that hit your entire front row. Bring a strong healer like Pius who has a full row heal and use dancer buffs such as Saoirse’s to bolster the whole row at once. The boss is weak to Swords, Axes, Fans, Lightning, Wind, and Light. |
| 14 | 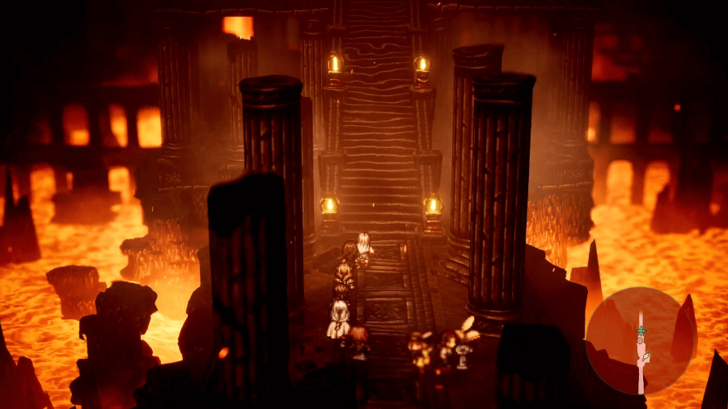 Confront Ceraphina. After the battle, continue north to find Ceraphina. You cannot proceed up the stairs unless Sazantos is in your party, so swap him in if he's already there. Once ready, save your game and head up the stairs for the next major boss fight against Ceraphina herself. |
| 15 | 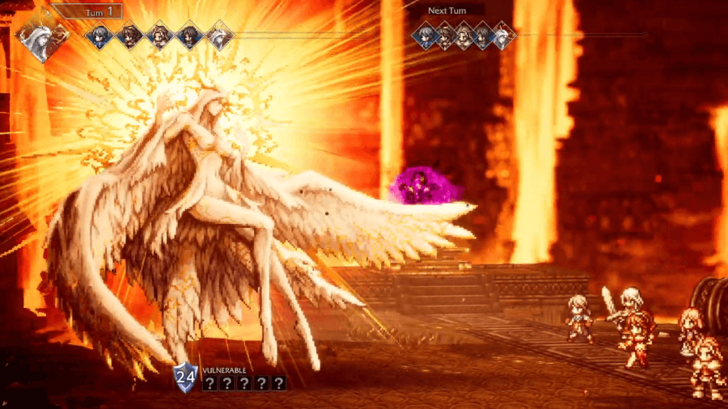 Defeat Ceraphina the Charitable. Ceraphina inflicts frequent debuffs and status ailments on your front row. Carry plenty of Herbs of SP Aid, as you will need the SP for both this boss and the one that immediately follows. Use row-wide buffs to keep your stats up, since she regularly lowers them throughout the battle. The boss Ceraphina is weak to Polearms, Bows, Lightning, Wind, and Dark. |
| 16 | 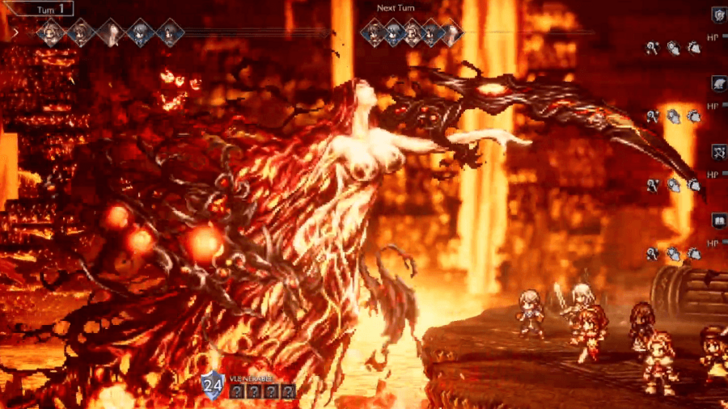 Defeat Lyblac. Lyblac frequently applies debuffs, so keep your party buffed to offset them. Use multi-hit skills like Stormblade to chip through her high 24 Shield Points more quickly. She is weak to Swords, Axes, Wind, and Light. Be mindful of your attack types, as she has fewer weaknesses than the earlier bosses. After defeating the boss, you can continue to the Bestower of All questline (The Black Flame Prologue quest) if you've finished Bestower of Wealth and Power as well. |
Ceraphina the Charitable Walkthrough
Octopath Traveler 0 (Octopath 0) Related Guides
All Major Questlines
All Main Quest Walkthroughs
Author

Bestower of Fame Questline Walkthrough
Rankings
- We could not find the message board you were looking for.
Gaming News

![The Seven Deadly Sins: Origin Review [First Impressions] | A Promising Start](https://img.game8.co/4440581/584e0bfb87908f12c4eab6e846eb1afd.png/show)

![Monster Hunter Stories 3 Review [First Impressions] | Simply Rejuvenating](https://img.game8.co/4438641/2a31b7702bd70e78ec8efd24661dacda.jpeg/thumb)
![The Seven Deadly Sins: Origin Review [First Impressions] | A Promising Start](https://img.game8.co/4440581/584e0bfb87908f12c4eab6e846eb1afd.png/thumb)
Popular Games

Genshin Impact Walkthrough & Guides Wiki
Umamusume: Pretty Derby Walkthrough & Guides Wiki
Pokemon Pokopia Walkthrough & Guides Wiki
Honkai: Star Rail Walkthrough & Guides Wiki
Monster Hunter Stories 3: Twisted Reflection Walkthrough & Guides Wiki
Arknights: Endfield Walkthrough & Guides Wiki
Wuthering Waves Walkthrough & Guides Wiki
Zenless Zone Zero Walkthrough & Guides Wiki
Pokemon TCG Pocket (PTCGP) Strategies & Guides Wiki
Monster Hunter Wilds Walkthrough & Guides Wiki


Recommended Games
Fire Emblem Heroes (FEH) Walkthrough & Guides Wiki
Diablo 4: Vessel of Hatred Walkthrough & Guides Wiki
Cyberpunk 2077: Ultimate Edition Walkthrough & Guides Wiki
Yu-Gi-Oh! Master Duel Walkthrough & Guides Wiki
Super Smash Bros. Ultimate Walkthrough & Guides Wiki
Pokemon Brilliant Diamond and Shining Pearl (BDSP) Walkthrough & Guides Wiki
Elden Ring Shadow of the Erdtree Walkthrough & Guides Wiki
Monster Hunter World Walkthrough & Guides Wiki
The Legend of Zelda: Tears of the Kingdom Walkthrough & Guides Wiki
Persona 3 Reload Walkthrough & Guides Wiki


All rights reserved
© SQUARE ENIX
The company names, product names and system names are trademarks or registered trademarks of their respective companies.
The copyrights of videos of games used in our content and other intellectual property rights belong to the provider of the game.
The contents we provide on this site were created personally by members of the Game8 editorial department.
We refuse the right to reuse or repost content taken without our permission such as data or images to other sites.
How do I reset the buttons in the Forbidden Temple: Lower Floor? I didn’t do them in order initially, & now I seem to be stuck.