Master of All Questline Walkthrough
☆ How to Unlock All 36 Characters
★ Tier Lists: Best Characters and Best Jobs
☆ Farming Guides: EXP, JP, Money
★ Forbidden Weapon Locations
☆ Battle-Tested Equipment Locations
★ Endings Guide | Post-Game Guide
Master of All is a major questline in Octopath Traveler 0 (Octopath 0). Here's a list of all the Main Quests in Master of All, how to unlock the questline, and walkthroughs for each Main Quest!
List of Contents
How to Unlock Master of All
Complete The Rings Sealed Away
The Master of All questline is unlocked after defeating the Ring-Sealed Beast at the end of The Rings Sealed Away and returning to the isle's docks.
The Rings Sealed Away Walkthrough
Master of All Main Quests
| Ch. | Quest | Location | Lv. |
|---|---|---|---|
| 1 | King Pardis III | Cragspear Cliftlands Region |
25 |
| 2 | General Mahrez | Cragspear Cliftlands Region |
26 |
| 3 | Charles the Traveler | Cragspear Cliftlands Region |
28 |
| 4 | Wise King Solon | Sunshade Sunlands Region |
28 |
| 5 | El the Swordsman | Shepherds Rock Highlands Region |
30 |
| 6 | Princess Elrica | Cragspear Cliftlands Region |
30 |
| 7 | Princess Alaune | Cragspear Cliftlands Region |
31 |
| 8 | Pardis the Scholarking | Cragspear Cliftlands Region |
32 |
| Finale | Trial of the Ring (Master of All) | Cragspear Pass Cliftlands Region |
34 |
Master of All Walkthrough
| Jump to a Chapter! | ||
|---|---|---|
| King Pardis III | General Mahrez | Charles the Traveler |
| Wise King Solon | El the Swordsman | Princess Elrica |
| Princess Alaune | Paradis the Scholarking | Trial of the Ring |
Chapter 1: King Pardis III
| 1 | 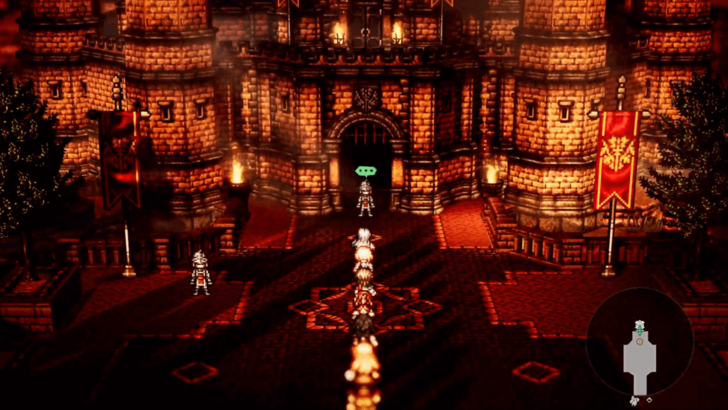 Head to Cragspear. Make your way to Cragspear and speak with the guard in front of the castle to gain an audience with King Pardis III. After the scene, Sazantos will leave your party. |
|---|---|
| 2 | 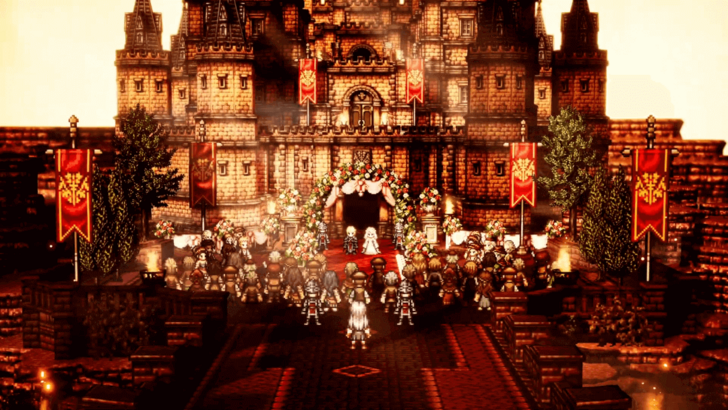 Head to Castle Edoras. When the dialogue with Sazantos ends, you'll be in the plaza. Return to the front of the castle to witness a wedding event. |
| 3 |  Go and observe the wedding. When you regain control, walk forward towards the crowd where you'll be stopped by guards and end up accepting the request of Lebrandt the Attendant. |
| 4 | 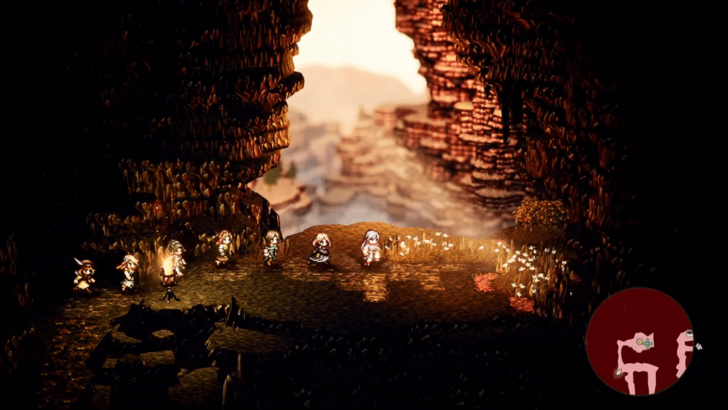 Search for adorablooms. Leave Cragspear and head west until you reach Gray Grotto: Depths. The adorablooms are located in the northwest end of the Depths. |
| 5 | Upon getting the adorablooms, you'll be ambushed by Mesara the Thief. He frequently uses powerful physical attacks and is accompanied by two subordinate thieves. Leaving his minions unchecked allows them to take a number of turns and unleash a barrage of attacks, making it easy to take heavy damage. Therefore, prioritize defeating them first to reduce the enemy count before focusing your concentrated attacks on Messara. |
| 6 |  Deliver the flowers to Princess Alaune. After the fight, fast travel to Cragspear and deliver the flowers to Princess Alaune. |
| 7 | 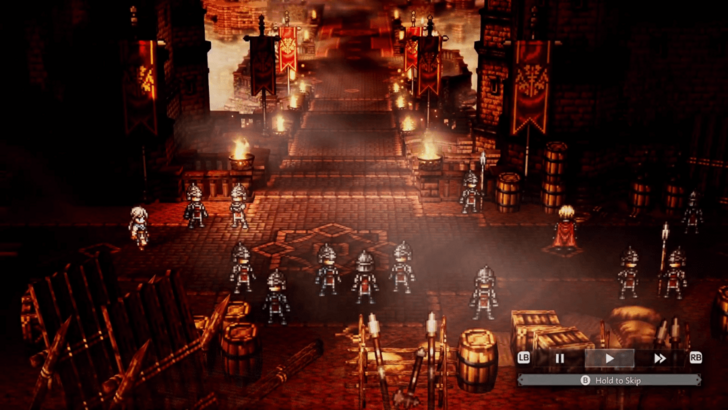 Speak with General Mahrez. Head to the front of Edoras castle to trigger a cutscene and complete the King Pardis III chapter. |
Master of All Chapter 1: King Pardis III Walkthrough
Chapter 2: General Mahrez
| 1 | 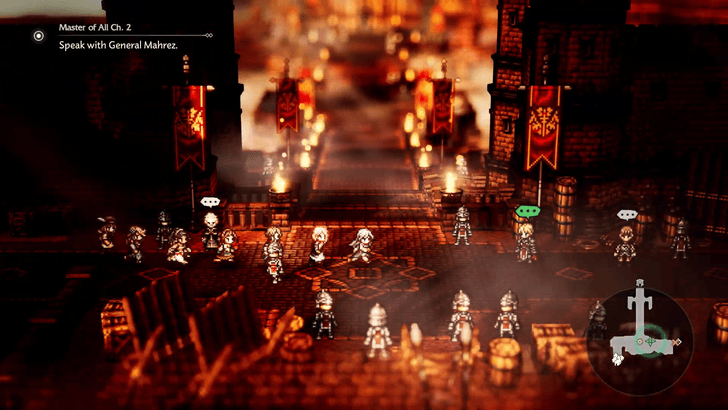 Speak to General Mahrez Upon accepting the quest, head to the opposite side of the entrance of Castle Edoras Gate. You'll find General Mahrez here and speak to him whenever you're ready. |
|---|---|
| 2 | 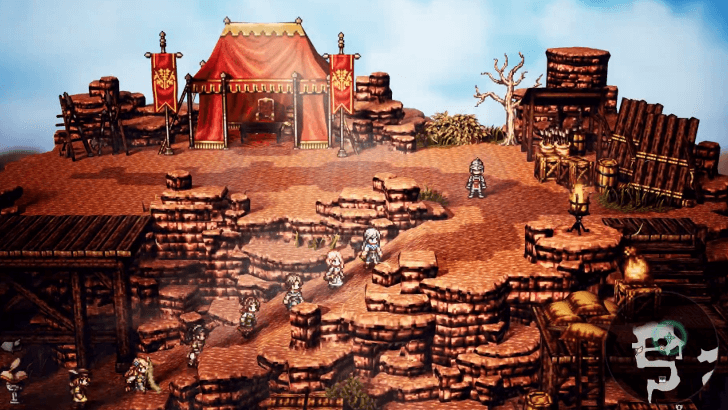 Go to Geist Canyon General Mahrez will ask you to seek the camp in Geist Canyon. Leave the area from the south exit and head west to the location. Continue following the trail up north, and you should reach the camp shortly. ▶︎ Orsterra Map and List of Regions |
| 3 | 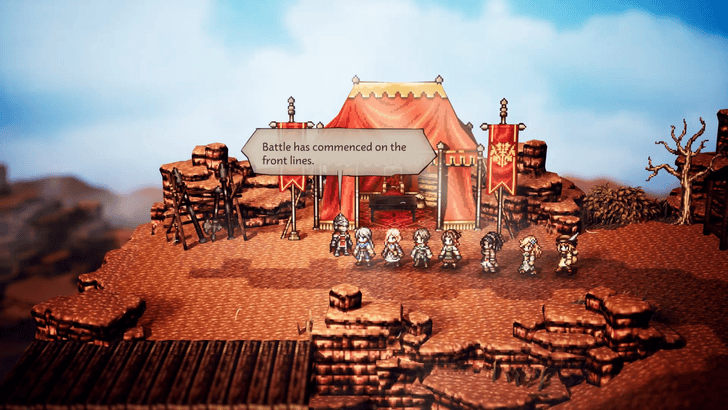 Speak to the Soldier and General Upon your arrival at the camp, speak to the soldier by the entrance. Talk to the general next, but before doing so, be sure to prepare first, as this will lead to a boss battle. |
| 4 | 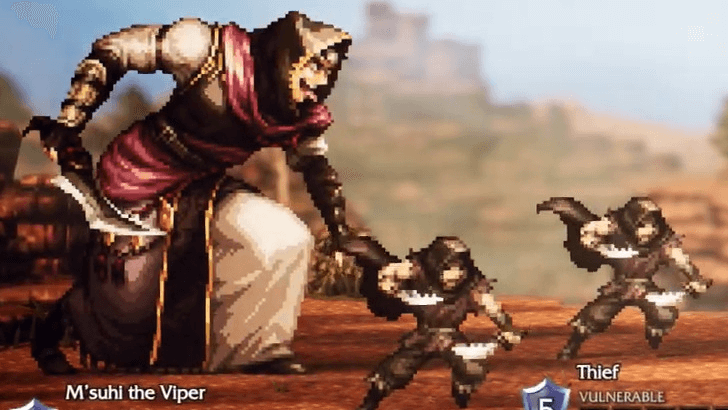 Defeat M'suhi After speaking to the general, M'suhi will attack the camp. Defeat him and his minions to progress. ▶︎ List of All Bosses and Elite Enemies |
| 5 | 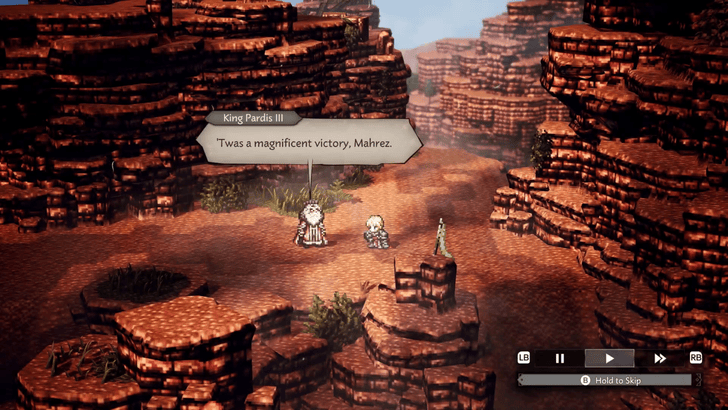 Find King Pardis III After the battle, you'll be tasked to look for King Pardis III. You can find him at the bottom of the camp, just where you entered previously. |
| 6 | 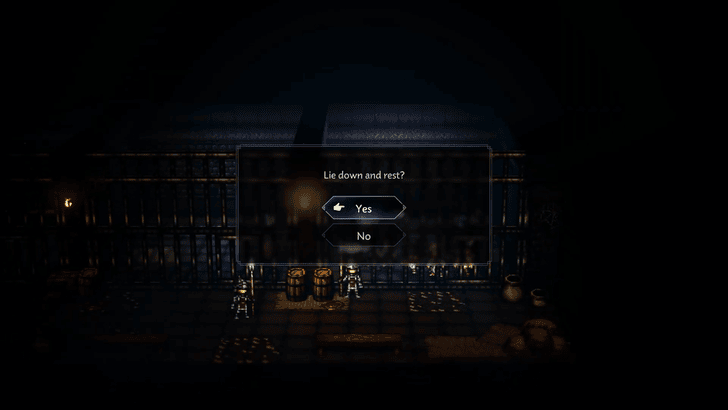 Sleep in the Prison Cell After the cutscene, you'll be sent to prison with seemingly nothing to do but interact with everything around you. Do any of those until enough time has passed, and you'll be prompted to just sleep. The quest ends here, and you'll proceed to the next one after your rest. |
Master of All Chapter 2: General Mahrez Walkthrough
Chapter 3: Charles the Traveler
| 1 | 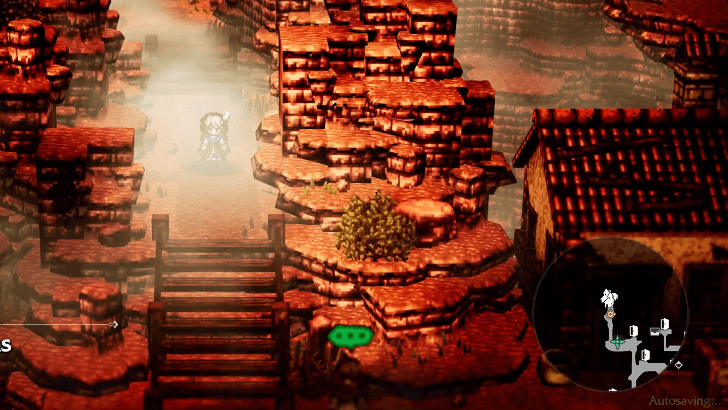 Investigate the Slums Head to the Cragspear: Slums and talk to the woman by the entrance. ▶︎ Orsterra Map and List of Regions |
|---|---|
| 2 | 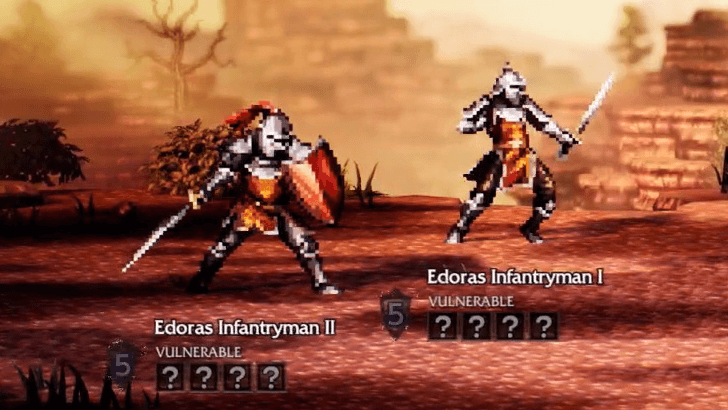 Defeat the Edoras Infantrymen Head further down the slums and you'll witness a scene involving two Edoras Infantrymen. Confront them and you'll start a battle against them. Defeat them to progress. |
| 3 | 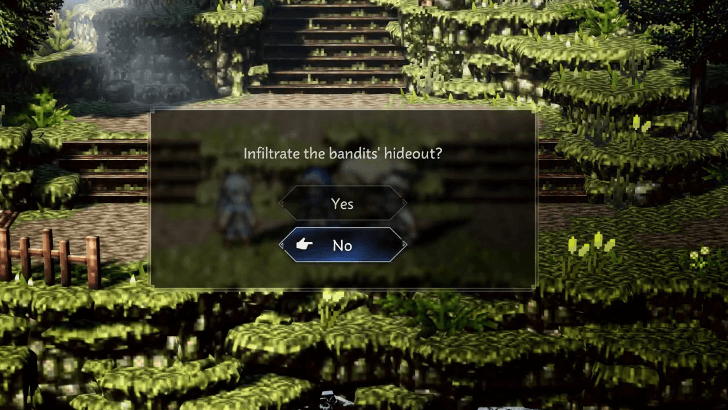 Head to Clearbrooks Fast travel to Clearbrooks next, one of the towns in Riverlands. Proceed and you'll watch a cutscene involving Zeph the Apothecary. |
| 4 | 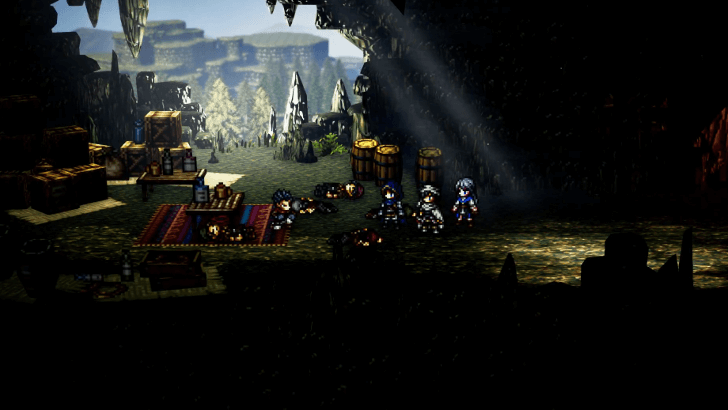 Find the Hideout Once you're ready, infiltrate the bandits' hideout in the Waterpool Caves. From Clearbrooks, simply head east and southwest near the end to find the hideout. |
| 5 | 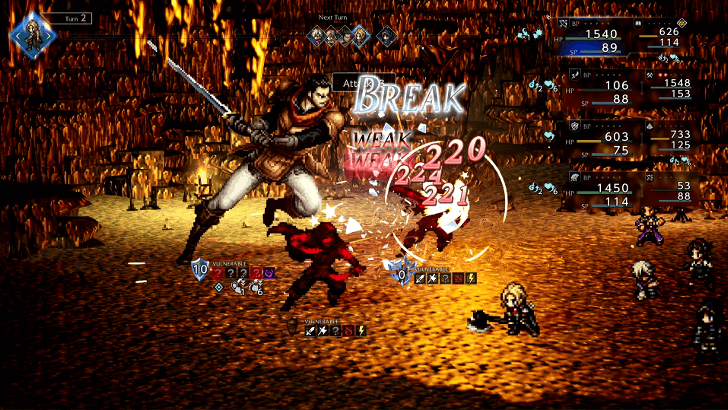 Defeat Gimel Defeat Gimel once you reach the hideout. He'll be accompanied by two thieves, and it's recommended to defeat them first if possible. |
| 6 | 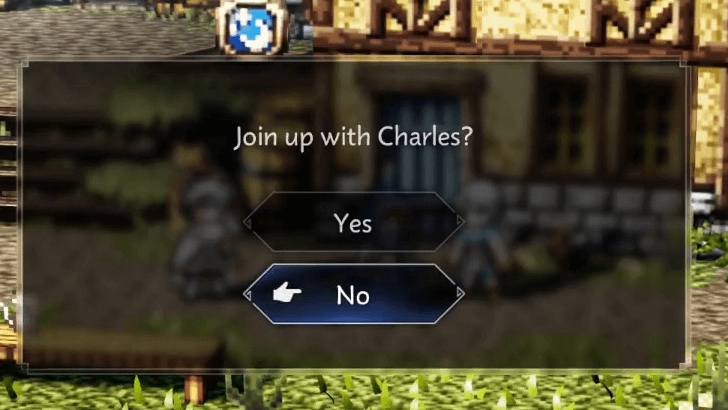 Join Charles Once you've defeated all of them, you'll be taken back to Clearbrooks and Charles will ask you if you could join him. Say yes and you'll proceed to Sunshade as you start Chapter 4. |
Master of All Chapter 3: Charles the Traveler Walkthrough
Chapter 4: Wise King Solon
| 1 | 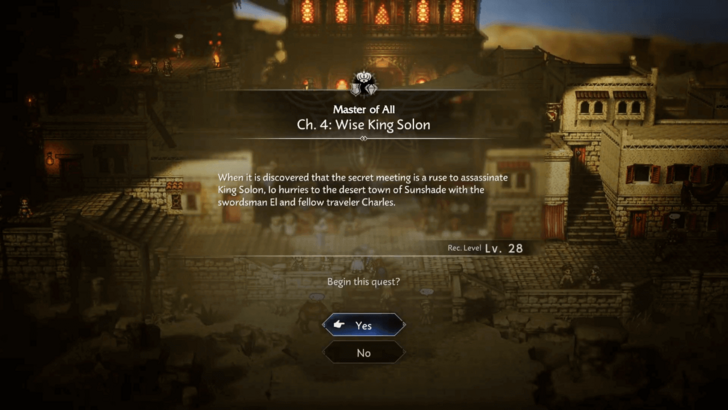 Meet up with Charles in Sunshade. Head to Sunshade and speak with Charles the Traveler to start the quest. |
|---|---|
| 2 | 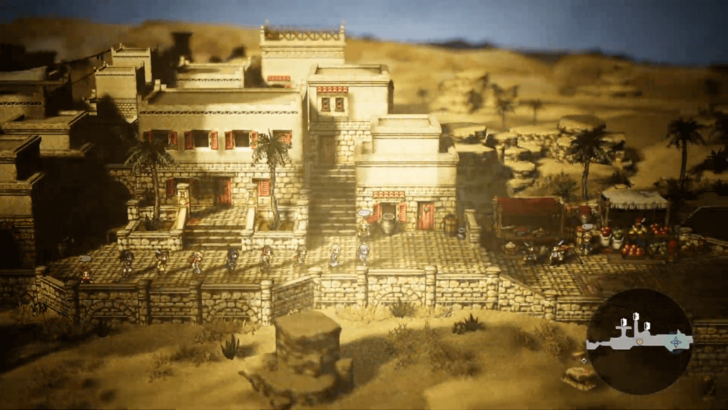 Search for King Solon. After the cutscene, head to the easternmost area of Sunshade to trigger another scene. |
| 3 | 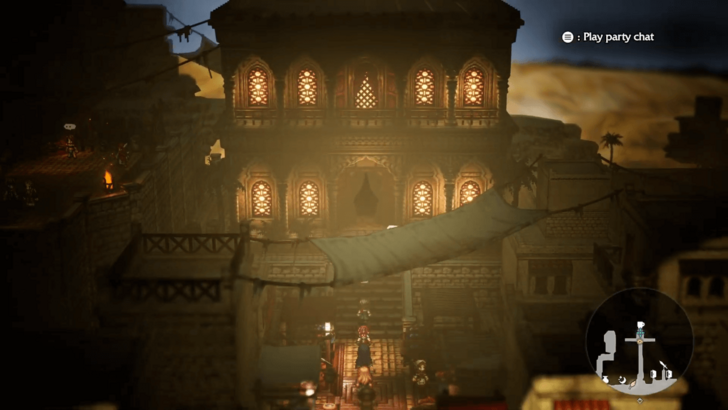 Go to the tavern in Sunshade. Enter the tavern in Sunshade, where King Solon is attending the meeting between nations. You will regain control of your character after a brief scene; take this time to prepare for an upcoming boss fight. |
| 4 | 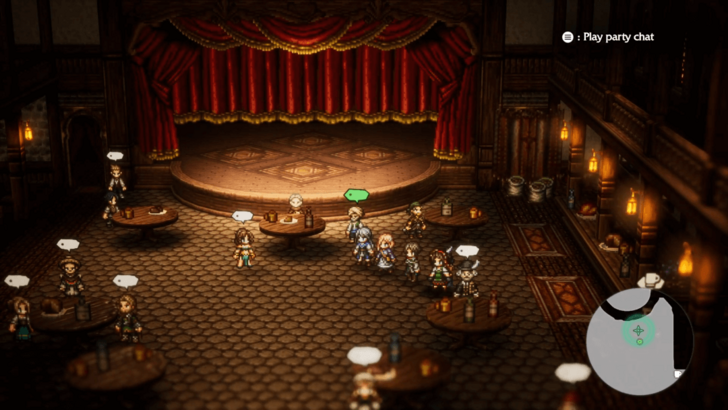 Keep the participants of the meeting safe. Once you're done with your preparations, talk to Mendoza the Attendant. The peace talks will proceed, and you'll end up fighting Cerro the Emissary. Defeat him to progress the quest. |
| 6 | 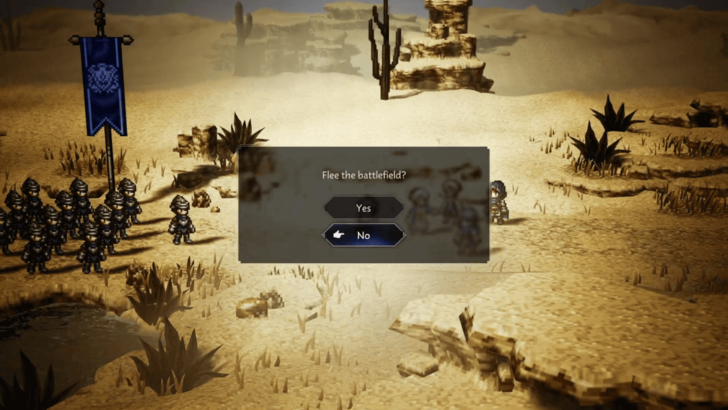 After eliminating Cerro, the Riven Army will arrive. You'll be given the choice to flee the battlefield or stay to aid King Solon; choose to stay. However, no combat will ensue, as the Riven army retreats immediately afterward. The Wise King Solon chapter will be completed after the cutscene ends. |
Master of All Chapter 4: Wise King Solon Walkthrough
Chapter 5: El the Swordsman
| 1 | 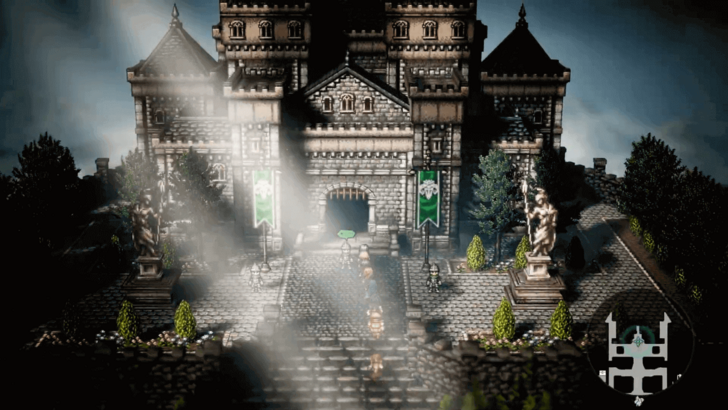 Head to the castle in Shepherds Rock. Head to the castle in Shepherds Rock and talk to the guard in front of the gate. After the cutscene, El leaves your party. |
|---|---|
| 2 |  Search for the swordsman El. Make your way to the Valley of Death. To get there, simply exit Shepherds Rock and head southeast through Shepherds Rock Pass. Continue along this path until you reach Valley of Death: East, where you will find El near a cliff. |
| 3 | 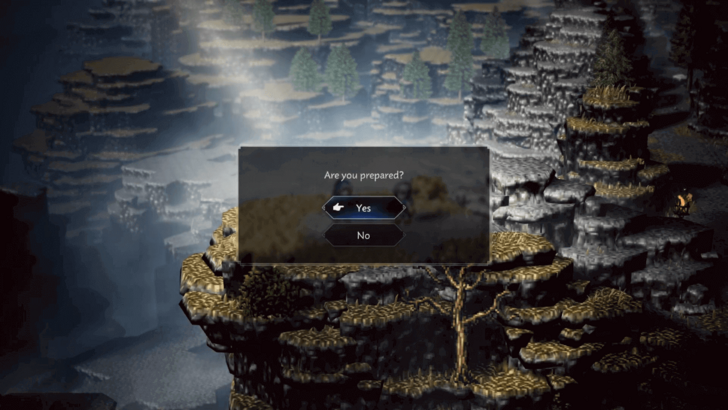 Speak with El to trigger a scene. He will ask if you are prepared to die for a fight not your own; say yes. Afterward, a lengthy scene will play out. |
| 4 |  Proceed through the Valley of Death. Once you regain control, you will be in the Valley of Death: East and El returns to your party. Proceed to the southwest exit, then head to the center of the Valley of Death to trigger the next scene. |
| 5 | Continue to follow the path southward. Your group will be disrupted by a tremor and Gonzalez the Ironarm will block your way. You will need to defeat him to get past. Gonzalez the Ironarm's weaknesses are swords, daggers, tomes, ice, and wind. After depleting his HP, he will run away. |
| 6 |  Head to the main encampment. After the fight, El will suggest you catch Gonzalez to prevent him from revealing your surprise attack plan. Proceed west to reach Valley of Death: West. Continue moving in a westward direction until you approach the northwest exit and witness a scene between General Krauser and Gonzalez the Ironarm. |
| 7 |  You need to defeat General Krauser to get to the enemy's main camp. After the fight, El will spare him. General Krauser does not easily give up, but upon recognizing El, he allows you to pass. |
| 8 | 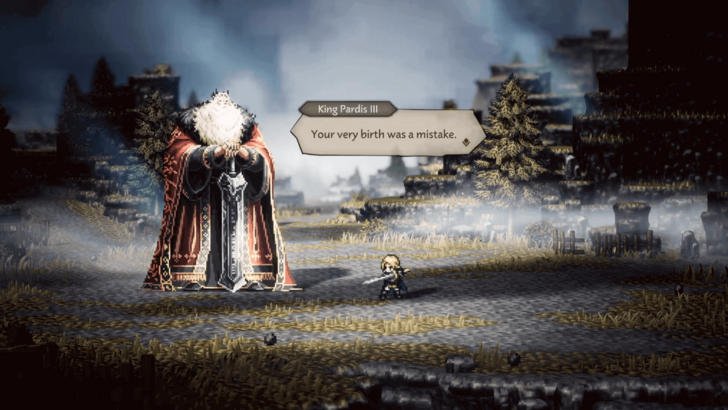 Head north and watch the scene where El's true identity is revealed. You will then engage in combat against King Pardis III with El alone and lose. Afterwards, the El the Swordsman chapter will be completed after the cutscene ends. |
Master of All Chapter 5: El the Swordsman Walkthrough
Chapter 6: Princess Elrica
| 1 | 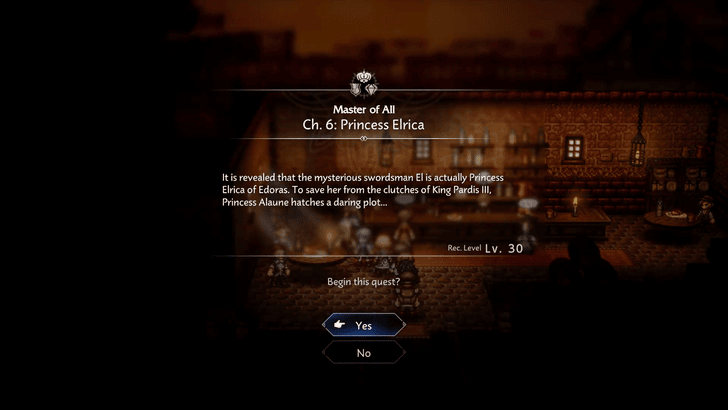 Head to Cragspear To start, go to Cragspear and enter the tavern to the north. Speak with the man there to learn more about Princess Elrica. |
|---|---|
| 2 | 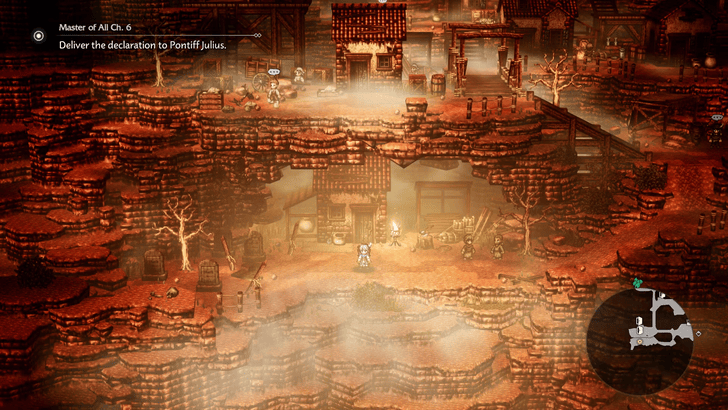 Talk to the Man in the Slums Head to Cragspear: Slums and go further south. Once you find the house inside a cave, approach it and talk to the man in front of it. You'll receive Alaune's Letter of Accusation, which you'll need to bring to Pontiff Julius. |
| 3 | 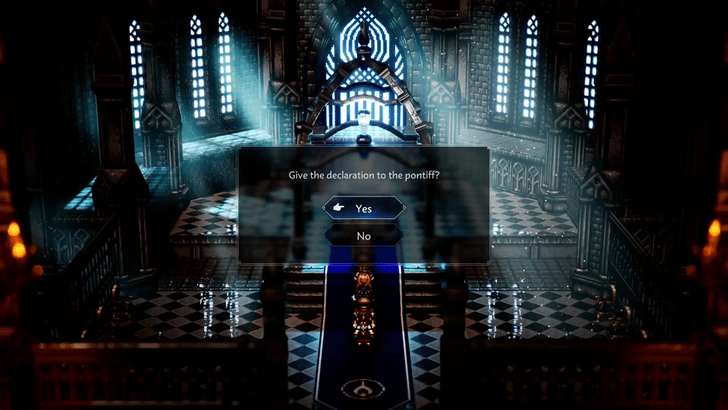 Speak to Pontiff Julius Fast travel to Flamesgrace in Frostlands and proceed to the cathedral to the north. Speak to Pontiff Julius about the letter. |
| 4 | 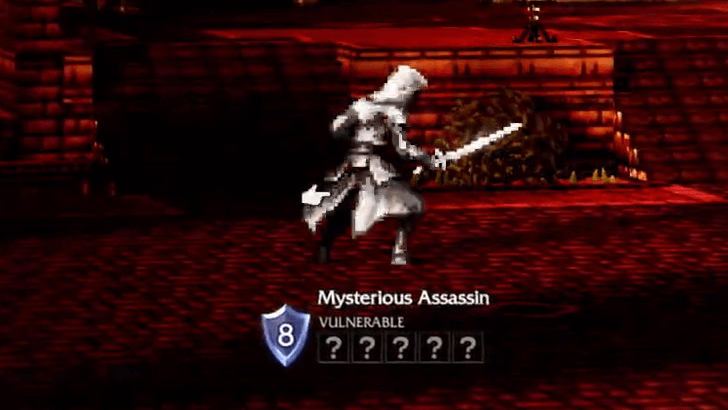 Defeat the Mysterious Assassin Go back to Cragspear and head west. You'll be confronted by a Mysterious Assassin, which you'll need to defeat to progress the story. |
| 5 | 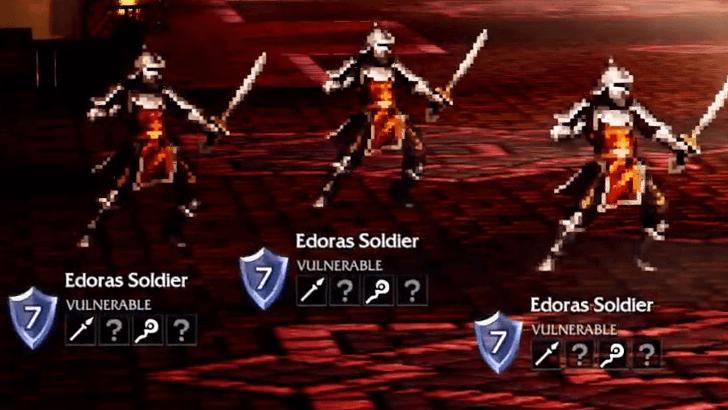 Defeat the Edoras Forces After defeating the Mysterious Assassin, go north to Castle Edoras. Defeat all the soldiers along the way, including the Defenders later on. |
Master of All Chapter 6: Princess Elrica Walkthrough
Chapter 7: Princess Alaune
| 1 |  Speak to Lebrandt. Speak to Lebrandt in the Cragspear:Slums to start the quest. |
|---|---|
| 2 | 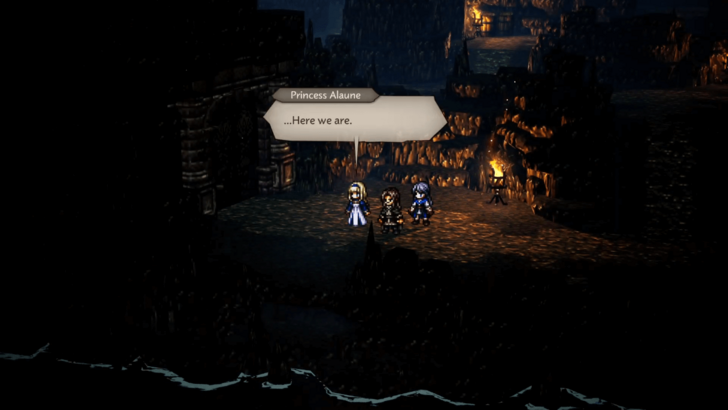 Meet with your ally in the Riverlands. After the cutscene, travel to Clearbrook in the Riverlands Region. Continue east, then southwest to enter the Waterpool Caves, and finally head into the southwesternmost area of the cave. |
| 3 | 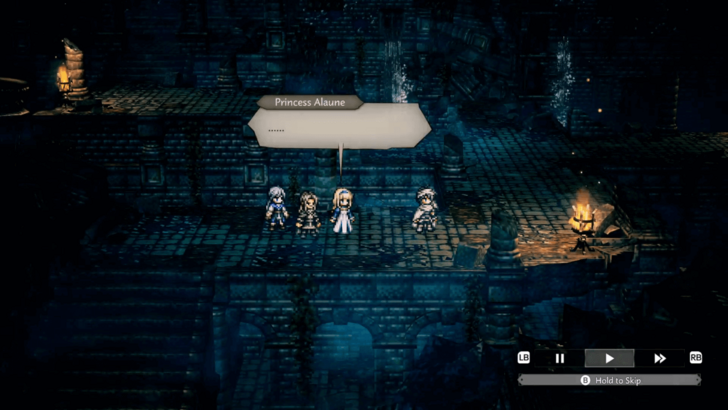 Go to Castle Riven. Head to the center of the Stillwater Subterrane where Alaune and Charles will have a conversation. |
| 4 | 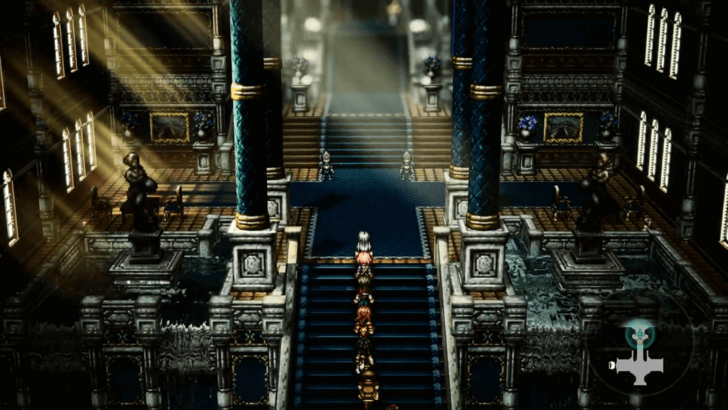 Meet with King Riven. Proceed eastward into Castle Riven until you reach the main hall, triggering a scene that reveals both Charles's true identity and Gonska's hand in the war. Note: There is an optional elite enemy in the castle's main hall. If you approach the large creature with a scythe to the right, you will engage into a fight against the Menacing Guardian Mk. II. |
| 5 | 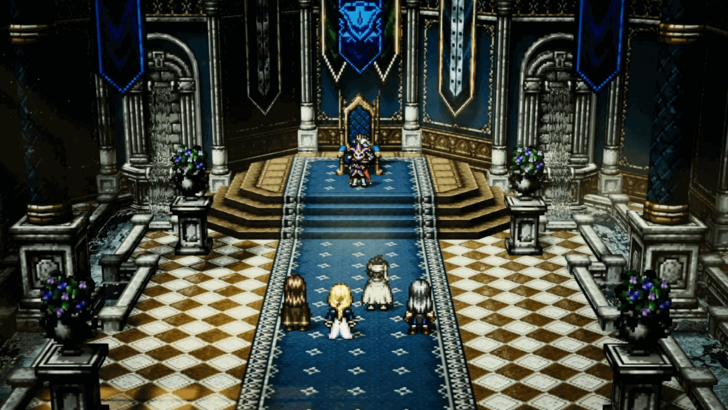 Confront the jester Gonska. Proceed north into the throne room to chase Gonska. Defeat Gonska the Jester, and the Princess Alaune chapter will conclude after the cutscene. |
Master of All Chapter 7: Princess Alaune Walkthrough
Chapter 8: Paradis the Scholarking
| 1 | 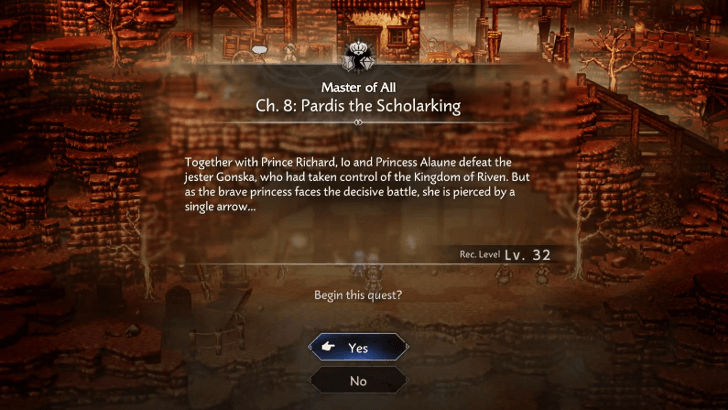 See the Apothecary Head to Cragspear: Slums to see Princess Alaune, who was recently shot. She's being treated by the apothecary here, so check on them to start the quest. |
|---|---|
| 2 |  Defeat General Krauser Go to Castle Edoras and face General Krauser. Defeat him to enter the castle. |
| 3 | 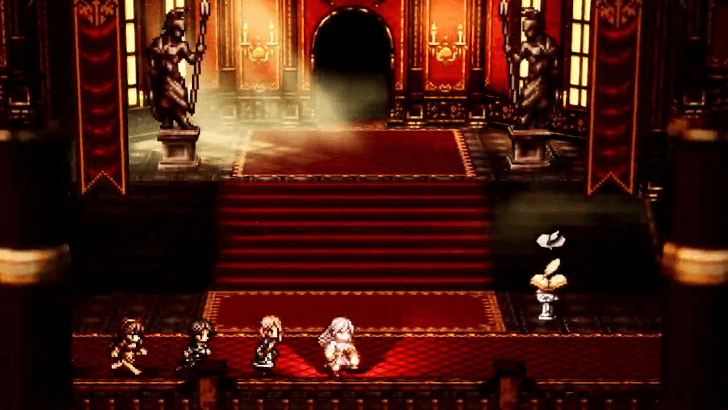 Head to the Throne Room After defeating General Krauser, enter the castle and climb all the way up to the throne room. |
| * | 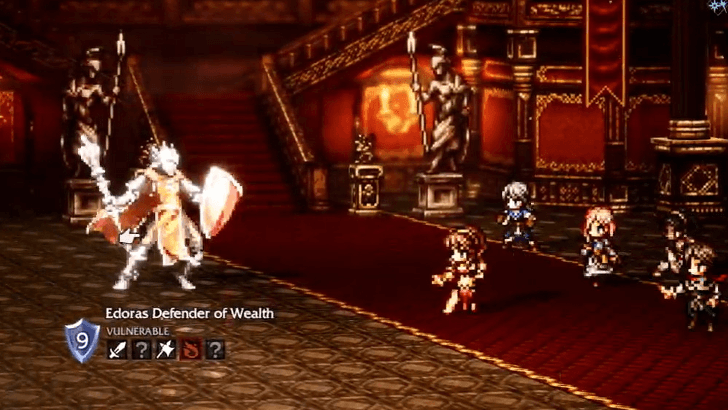 (Optional) Defeat the Defenders Before heading up, the Defenders are available to be challenged again. If you feel like you need to level up first, go challenge them. |
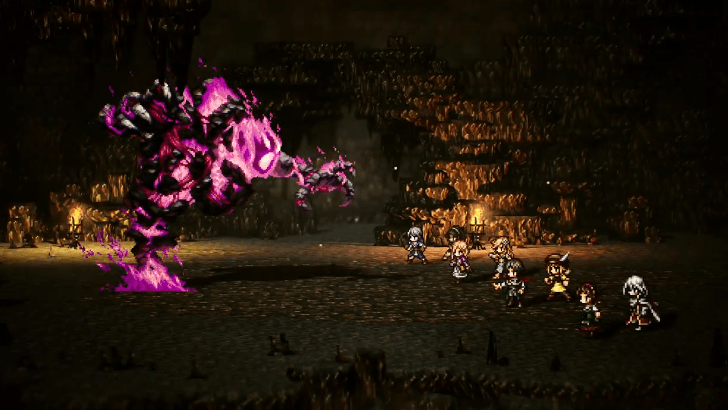
| 4 | 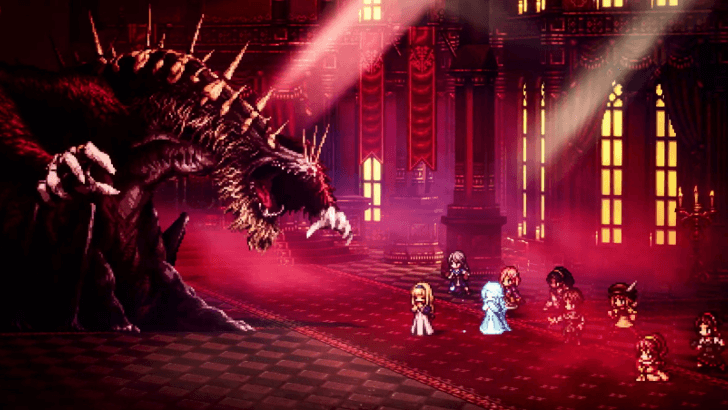 Defeat Pardis Pardis will challenge you to a fight. This is a three-stage battle: first Pardis himself, then Pardis the Scholarking, and finally his last form, the Master of All. Defeat all of them to complete the quest. |
| 5 | 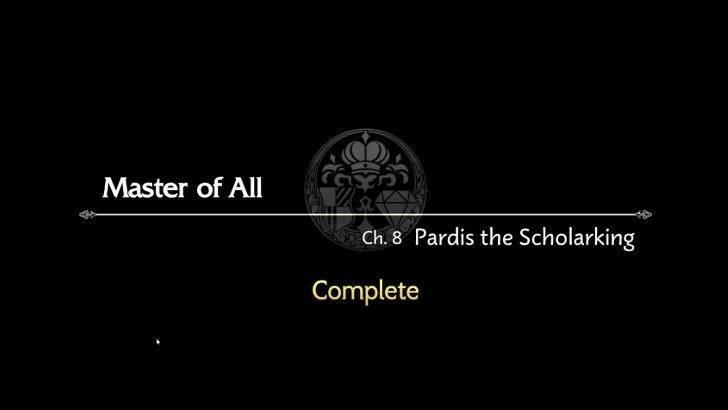 Watch the Credits Once defeated, the story ends and the credits will roll after. You can continue with the Trial of the Ring afterward. |
Master of All Chapter 8: Pardis the Scholarking Walkthrough
Chapter 9: Trial of the Ring
| 1 | 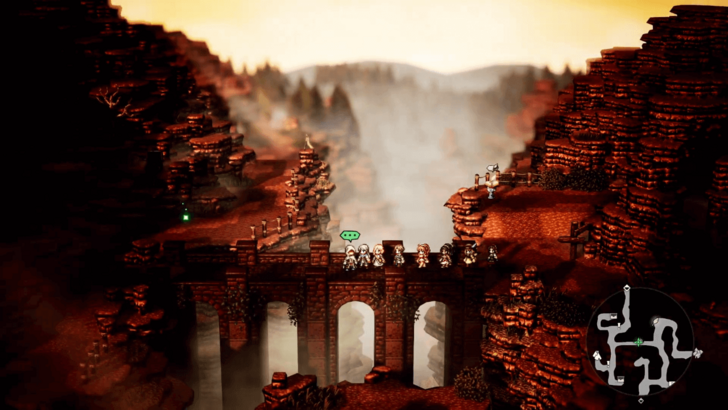 Depart Cragspear. Leave Cragspear, then head to Cragspear Pass and speak with Sazantos. |
|---|---|
| 2 |  Make for the altar on the Isle of Orsa. You cannot fast travel directly to the Isle of Orsa, so fast travel to Rippletide instead and ride the ship to the isle from there. Upon arriving in the isle, head straight towards the altar. The ring maidens will inform you that they'll hold the ritual the next day. |
| 3 | 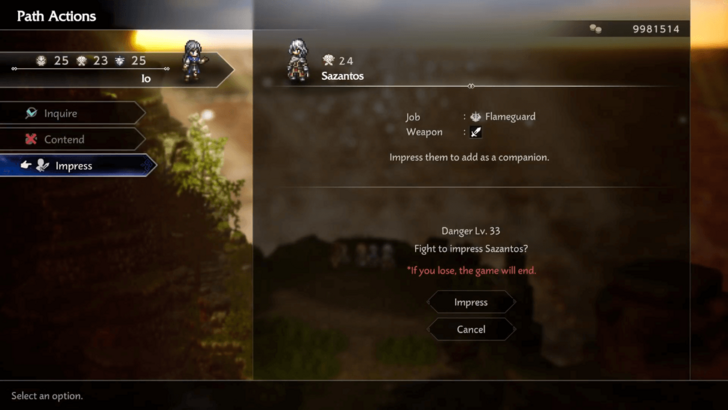 "Impress" Sazantos. Since you have time to spare before the ritual, Sazantos will ask to test your strength. If you manage to defeat him, he will be impressed and become your comrade. However, if you lose, the game will end. Note: Even if you manage to impress him, Sazantos is still not a permanent party member at this time. |
| 4 | 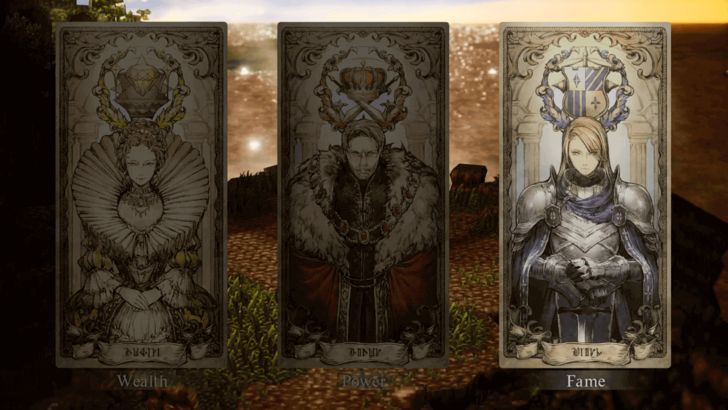 After defeating Sazantos, you will once again be given a choice of which path you wish to take between Wealth, Power, and Fame. Once you're done choosing, you will proceed to the scene of sealing the rings and complete the Trial of the Ring chapter. |
Octopath Traveler 0 (Octopath 0) Related Guides

All Major Questlines
All Main Quest Walkthroughs
Comment
Author

Master of All Questline Walkthrough
Rankings
- We could not find the message board you were looking for.
Gaming News

![The Liar Princess and the Blind Prince Review [PC] | Lovely to Look at but Tedious to Play](https://img.game8.co/4442586/8d95f5faf05780f1765ce7e0938bd825.jpeg/show)

![Monster Hunter Stories 3 Review [First Impressions] | Simply Rejuvenating](https://img.game8.co/4438641/2a31b7702bd70e78ec8efd24661dacda.jpeg/thumb)
![The Seven Deadly Sins: Origin [First Impressions] | A Promising Start](https://img.game8.co/4440581/584e0bfb87908f12c4eab6e846eb1afd.png/thumb)
Popular Games

Genshin Impact Walkthrough & Guides Wiki
Umamusume: Pretty Derby Walkthrough & Guides Wiki
Pokemon Pokopia Walkthrough & Guides Wiki
Honkai: Star Rail Walkthrough & Guides Wiki
Monster Hunter Stories 3: Twisted Reflection Walkthrough & Guides Wiki
Arknights: Endfield Walkthrough & Guides Wiki
Wuthering Waves Walkthrough & Guides Wiki
Zenless Zone Zero Walkthrough & Guides Wiki
Pokemon TCG Pocket (PTCGP) Strategies & Guides Wiki
Monster Hunter Wilds Walkthrough & Guides Wiki


Recommended Games
Fire Emblem Heroes (FEH) Walkthrough & Guides Wiki
Diablo 4: Vessel of Hatred Walkthrough & Guides Wiki
Cyberpunk 2077: Ultimate Edition Walkthrough & Guides Wiki
Yu-Gi-Oh! Master Duel Walkthrough & Guides Wiki
Super Smash Bros. Ultimate Walkthrough & Guides Wiki
Pokemon Brilliant Diamond and Shining Pearl (BDSP) Walkthrough & Guides Wiki
Elden Ring Shadow of the Erdtree Walkthrough & Guides Wiki
Monster Hunter World Walkthrough & Guides Wiki
The Legend of Zelda: Tears of the Kingdom Walkthrough & Guides Wiki
Persona 3 Reload Walkthrough & Guides Wiki


All rights reserved
© SQUARE ENIX
The company names, product names and system names are trademarks or registered trademarks of their respective companies.
The copyrights of videos of games used in our content and other intellectual property rights belong to the provider of the game.
The contents we provide on this site were created personally by members of the Game8 editorial department.
We refuse the right to reuse or repost content taken without our permission such as data or images to other sites.