
 Best Skills to Upgrade
 How to Get the Secret Ending
 List of Characters
 Easter Eggs and References
 Missables and One-Time Events
 Completion Reward
 DLC Guide
 Banandiumtone Puzzle Guide (DLC)
 List of Emerald Perks (DLC)
 Emerald Rush Guide (DLC)
 All Style Shop Locations
 All Stuff Shop Locations
 Bonus Stage Locations
 All 17 Cranky Kong Locations
 All Quiztone Answers and Locations
 All Getaway Locations
 All Elder Locations
 Collectibles List
 Checkpoints
 Void Stakes
 Squawk Statues
This survey will take about 1 minute.
Your answers will help us to improve our website.
Donkey Kong Bananza
Best Outfits
☽ DK Island and Emerald Rush DLC out now!
☽ Learn how to solve Banandiumtone's Puzzles.
☽ All Collectibles: Banandium Gems and Fossils
☽ Learn How to Skip Layers Entirely!
☽ How to Beat the Final Boss
☽ Post-Game: Rehearsal Halls | Secret Ending
A list of the Best Outfits in Donkey Kong Bananza. See the best outfits for Donkey Kong and Pauline, and which ones to prioritize when leveling up.
List of Contents
Best Outfits for Pauline
Prime Feast Apparel
| Outfit | How to Get and Upgrades |
|---|---|
 Prime Feast Apparel Prime Feast Apparel
|
Feast Layer Style Shop
Lv. 1: 5
Lv. 2: 10
Lv. 3: 3
Lv. 1: During Bananzas, your health will gradually recover. Lv. 2: During Bananzas, your health will gradually recover at a 25 percent faster rate. Lv. 3: During Bananzas, your health will gradually recover at a 50 percent faster rate. |
The best outfit for Pauline is the Prime Feast Apparel. The outfit allows Donkey Kong to regenerate health while he is in a Bananza form.
There are many boss fights that require you to transform in Bananza form so having Pauline equip this makes the fights easier. It is also useful when completing the Rehearsal Halls, as you are in a permanent Bananza form state.
Prime Feast Apparel has two outfit variations
|
|
|
The Prime Feast Apparel has two outfit variations: the Neon Feast Apparel and Pastel Feast Apparel. They only differ in appearance and the effects of both outfits are the same as the Prime Feast Apparel.
Lady's Dress
| Outfit | How to Get and Upgrades |
|---|---|
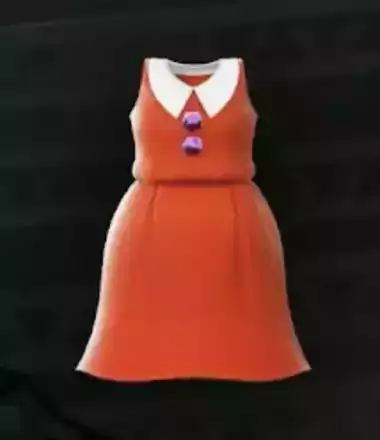 Lady's Dress Lady's Dress
|
Planet Core Style Shop
Lv. 1: 3
Lv. 2: 5
Lv. 3: 3
Lv. 1: Extends all of your Bananza times by 20 percent. Lv. 2: Extends all of your Bananza times by 40 percent. Lv. 3: Extends all of your Bananza times by 60 percent. |
The Lady's Dress is another recommended outfit for Pauline as it extends the time duration while in Bananza form. This is useful in situations where transforming in Bananza form is required especially in cases where swapping in between forms are used.
Lady's Dress has two outfit variations
|
|
|
The Lady's Dress also has two outfit variations. They only differ in appearance and have the same effects as the default Lady's Dress.
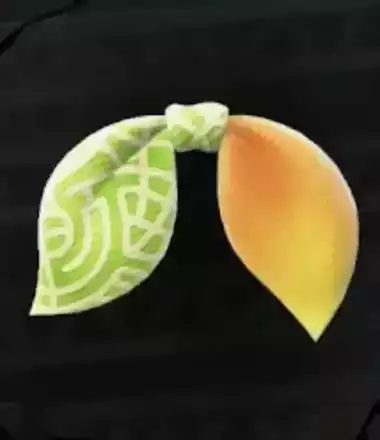
Cyan Lagoon Vest for Banana and Fossil Hunting
| Outfit | How to Get and Upgrades |
|---|---|
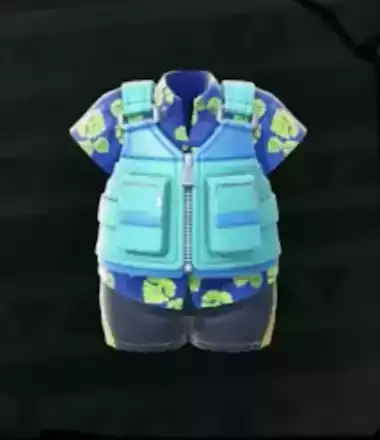 Cyan Lagoon Vest Cyan Lagoon Vest
|
Lagoon Layer Style Shop
Lv. 1: 5
Lv. 2: 10
Lv. 3: 3
Lv. 1: Expands your sonar range during a Bananza by 20 percent. Lv. 2: Expands your sonar range during a Bananza by 60 percent. Lv. 3: Expands your sonar range during a Bananza by 100 percent. |
When collecting Fossils, have Pauline wear the Cyan Lagoon Vest. This has the effect of expanding your sonar range while in Bananza form, increasing the chances of finding Banandium Gems and Fossils.
Cyan Lagoon Vest has two outfit variations
|
|
|
Lilac Lagoon Vest and Green Lagoon Vest are two variations of the Cyan Lagoon Vest. Both outfits have the same effect as the base outfit.
Gold-Mining Gear for Gold Farming
| Outfit | How to Get |
|---|---|
|
|
Complete the main story. Doubles the amount of gold earned while collecting golden items. |
The Gold-Mining Gear doubles the amount of gold you earn when collecting golden items. If you need to farm Gold, such as when unlocking post-game modes or unlocking Getaways, have Pauline wear this outfit.
Diva Dress for Collecting Music Discs
| Outfit | How to Get |
|---|---|
|
|
Complete the post-game Rehearsal Halls or scan the Donkey Kong and Pauline amiibo. Discs will be twice as likely to appear after defeating an enemy. |
Wearing the Diva Dress increases the chance of music discs to drop when defeating an enemy. This is useful when attempting to collect all 110 Music Discs in the game.
If you have the Donkey Kong & Pauline amiibo, you can talk to Collectone and scan the amiibo to obtain the Diva Dress. This is a shortcut option that lets you skip clearing the main story and the post-game Rehearsal Halls to get the outfit immediately.
Best Britches for Donkey Kong
Wear Britches that Offer Environmental Resistance
| Outfit | How to Get and Upgrades |
|---|---|
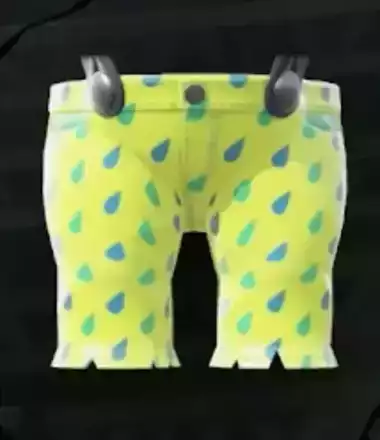
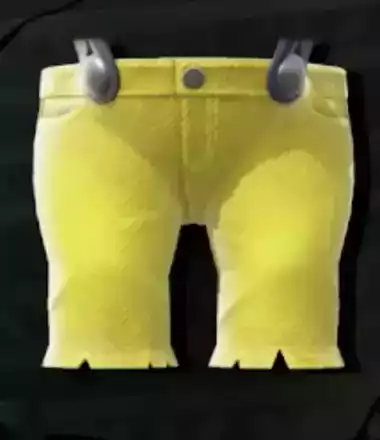 Yellow Britches Yellow Britches
|
Forest Layer Style Shop
Reduces damage from poison water by 10 percent. |
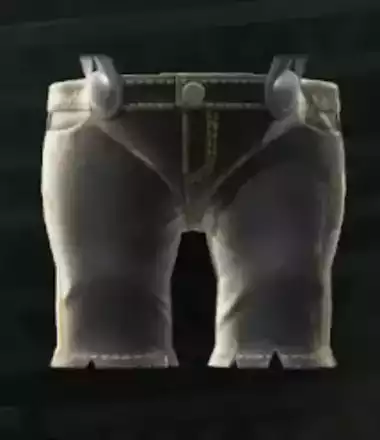 Poison-Proof Britches Poison-Proof Britches
|
Forest Layer Style Shop
Lv. 1: 5
Lv. 2: 10
Lv. 3: 3
Lv. 1: Reduces damage from poison water by 20 percent. Lv. 2: Reduces damage from poison water by 30 percent. Lv. 3: Reduces damage from poison water by 40 percent. |
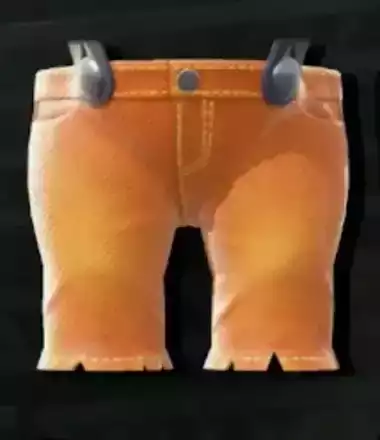 Orange Britches Orange Britches
|
Freezer Layer Style Shop
Reduces damage from ice water by 10 percent. |
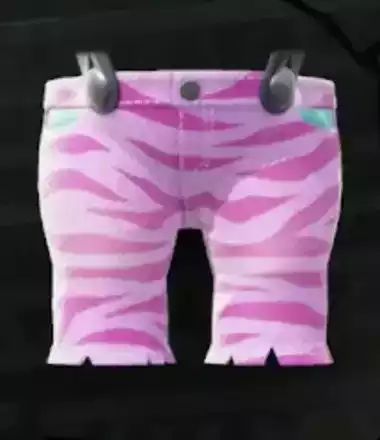 Hot-Pink Britches Hot-Pink Britches
|
Freezer Layer Style Shop
Lv. 1: 5
Lv. 2: 10
Lv. 3: 3
Lv. 1: Reduces damage from ice water by 20 percent. Lv. 2: Reduces damage from ice water by 30 percent. Lv. 3: Reduces damage from ice water by 40 percent. |
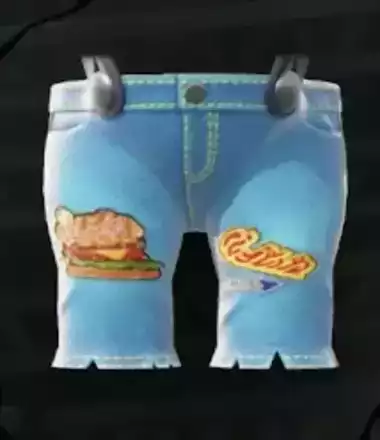
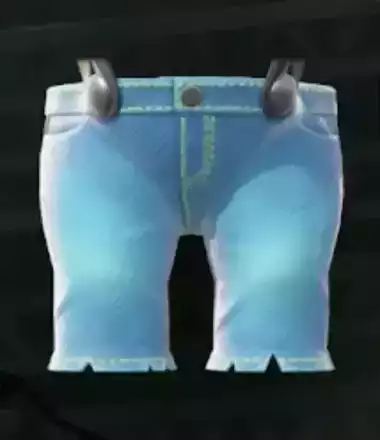 Sky-Blue Britches Sky-Blue Britches
|
Tempest Layer Style Shop
Reduces burn damage from lava or oil by 10 percent. |
 Burn-Proof Britches Burn-Proof Britches
|
Tempest Layer Style Shop
Lv. 1: 5
Lv. 2: 10
Lv. 3: 3
Lv. 1: Reduces burn damage from lava or oil by 20 percent. Lv. 2: Reduces burn damage from lava or oil by 30 percent. Lv. 3: Reduces burn damage from lava or oil by 40 percent. |
 Black Britches Black Britches
|
Radiance Layer Style Shop
Reduces damage from enemies by 10 percent. |
 Defense Britches Defense Britches
|
Radiance Layer Style Shop
Lv. 1: 5
Lv. 2: 10
Lv. 3: 3
Lv. 1: Reduces damage from enemies by 15 percent. Lv. 2: Reduces damage from enemies by 20 percent. Lv. 3: Reduces damage from enemies by 25 percent. |
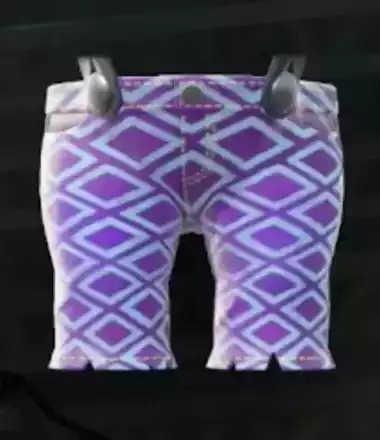
 Purple Britches Purple Britches
|
Feast Layer Style Shop
Reduces shock damage from electrified iron or muck by 10 percent. |
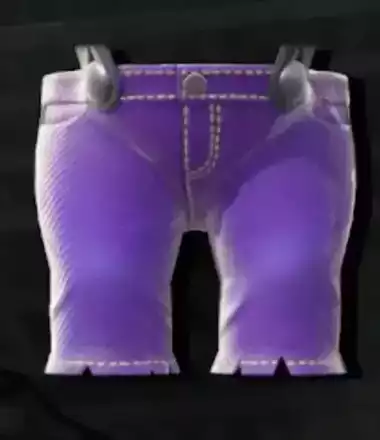
 Shock-Proof Britches Shock-Proof Britches
|
Feast Layer Style Shop
Lv. 1: 5
Lv. 2: 10
Lv. 3: 3
Lv. 1: Reduces shock damage from electrified iron or muck by 20 percent. Lv. 2: Reduces shock damage from electrified iron or muck by 30 percent. Lv. 3: Reduces shock damage from electrified iron or muck by 40 percent. |
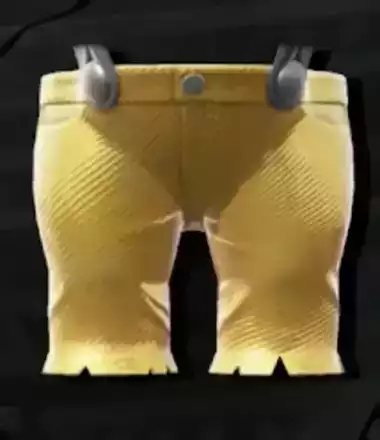 Golden Britches Golden Britches
|
Planet Core Style Shop
Reduces damage from thorns, spikes, and Banandium Mush by 10 percent. |
 Girded Britches Girded Britches
|
Planet Core Style Shop
Lv. 1: 3
Lv. 2: 5
Lv. 3: 3
Lv. 1: Reduces damage from thorns, spikes, and Banandium Mush by 20 percent. Lv. 2: Reduces damage from thorns, spikes, and Banandium Mush by 30 percent. Lv. 3: Reduces damage from thorns, spikes, and Banandium Mush by 40 percent. |
The best britches for Donkey Kong are ones that reduces damage taken from deadly environmental terrain types such as lava, icy water, poison, thorns, and electricity. You encounter most of these in various Layer and in Challenge Ruins.
Best Neckware for Donkey Kong
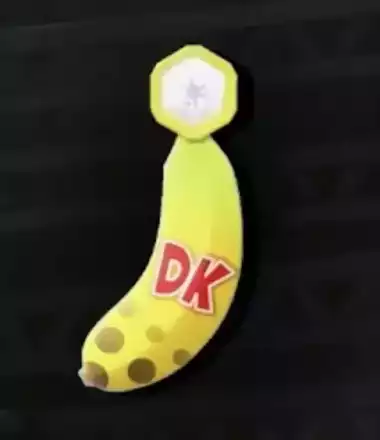
Dig-It Neckerchief for Combat
| Outfit | How to Get and Upgrades |
|---|---|
 Dig-It Neckerchief Dig-It Neckerchief
|
Freezer Layer Style Shop
Lv. 1: 1
Lv. 2: 3
Lv. 3: 1
Lv. 1: Restores your Bananergy as you destroy terrain. Lv. 2: Restores your Bananergy as you destroy terrain with 50 percent greater effectiveness. Lv. 3: Restores your Bananergy as you destroy terrain with 100 percent greater effectiveness. |
The best neckwear to equip is the Dig-It Neckerchief as it allows you to restore your Bananery when destroying terrain, making it possible to use Bananza forms often without relying on looking for gold terrain.
Most terrain in the game are destructible, making this neckwear situable for most situations.
Treasure Tie and Banandium Chip Bolo for Collecting
| Outfit | How to Get and Upgrades |
|---|---|
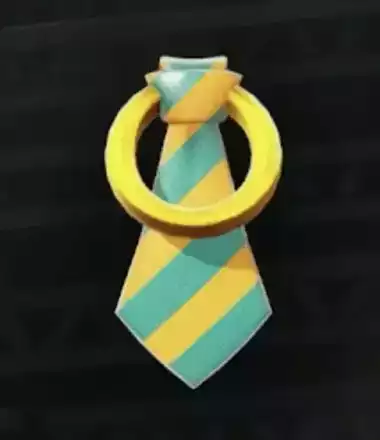 Treasure Tie Treasure Tie
|
Lagoon Layer Style Shop
Lv. 1: 1
Lv. 2: 3
Lv. 3: 1
Lv. 1: Increases the chance a treasure chest will appear as you destroy terrain by 10 percent. Lv. 2: Increases the chance a treasure chest will appear as you destroy terrain by 20 percent. Lv. 3: Increases the chance a treasure chest will appear as you destroy terrain by 30 percent. |
 Banandium Chip Bolo Banandium Chip Bolo
|
Radiance Layer Style Shop
Lv. 1: 1
Lv. 2: 3
Lv. 3: 1
Lv. 1: Increases the chance of doubling any Banandium Chips you collect by 20 percent. Lv. 2: Increases the chance of doubling any Banandium Chips you collect by 30 percent. Lv. 3: Increases the chance of doubling any Banandium Chips you collect by 40 percent. |
You can use the Treasure Tie and Banandium Chip Bolo for obtaining collectibles as they increase the chances of treasure chests and Banandium Chips to spawn in the area respectively.
Treasure Chests contain useful items such as maps for fossils and Banandium Gems while Banandium Chips can be used at the Chip Exchange to trade 10 chips for 1 Banandium Gem.
Donkey Kong Bananza Related Guides
Guides by Category
| List of Categories | |
|---|---|
 Walkthrough Walkthrough |
 Layers Layers |
 Banandium Gems Banandium Gems |
 How-To Guides How-To Guides |
 Challenge Ruins Challenge Ruins |
 Bananza Forms Bananza Forms |
 Outfits Outfits |
 Bosses Bosses |
 Fossils Fossils |
 Post-Game Post-Game |
 Music Discs Music Discs |
 Items Items |
 Terrain Types Terrain Types |
 Skills Skills |
 Message Boards Message Boards |
 Latest News Latest News |
Recommended Guides
Comment
Author
Best Outfits
Please participate in our site
improvement survey
04/2026
improvement survey
04/2026
Would you assist in
improving Game8's site?
improving Game8's site?

×
We are listening to our users' valuable opinions and discussing how to act on them.
The information collected through this survey will be used for the purpose of improving our services. In addition, the information will only be disclosed a part of a statistic in a format that will not allow identification of personal information.
Begin Survey
Not Now
×
Please rate each item regarding Game8.co's Advertisements.
Amount of Ads
Very Dissatisfied
Somewhat Dissatisfied
Fine
Somewhat Satisfied
Highly Satisfied
Placement of Ads
Timing of Ad Display
Ad Loading Speed
Safeness of Ads
Content of Ads
×
Please rate each item regarding Game8.co's Quality of Articles.
Amount of information
Very Dissatisfied
Somewhat Dissatisfied
Fine
Somewhat Satisfied
Highly Satisfied
Frequency of updates
Speed of new information
Accuracy of articles
Understandibility of articles
Readability of sentences
×
Please rate each item regarding Game8.co's Usability of the Site.
Ease of finding information
Very Dissatisfied
Somewhat Dissatisfied
Fine
Somewhat Satisfied
Highly Satisfied
Loading Speed
Use of Color
Font Size
Visibility of Images
Easy to Understand Layout
×
Please rate each item regarding Game8.co's Message Boards, Comments.
Ease of Writing
Very Dissatisfied
Somewhat Dissatisfied
Fine
Somewhat Satisfied
Highly Satisfied
Readability
Ease in Finding Information
Comment Quality
Comment Quantity
Admin Response
×
Please rate each item regarding Game8.co's Site's new design.
Please rate our site's new design
Very Dissatisfied
Somewhat Dissatisfied
Fine
Somewhat Satisfied
Highly Satisfied
Do you think that the website's design change makes the site easier to use?
Has the new design made it easier for you to find information on the site?
Has the new design improved the overall visual appeal of the site?
How would you rate your overall satisfaction with the new design of the site?
×
How likely are you to recommend Game8 to someone you know?
Very Unlikely
0
1
2
3
4
5
6
7
8
9
10
Very Likely
If you have other opinions regarding potential improvement to the website, please share them with us. We would appreciate your honest opinion.
Note: This is a free response section, so you can proceed without entering anything.
Note: Please be sure not to enter any kind of personal information into your response.
Note: Please be sure not to enter any kind of personal information into your response.
×
Thank You
×
Thank you for participating in our survey! Your answers will help us to improve the quality of our website and services.
We hope you continue to make use of Game8.
We hope you continue to make use of Game8.
Close
Rankings
- We could not find the message board you were looking for.
Gaming News


![Forza Horizon 6 Review [Preview] | Beautiful Roads With a Whole Lot of Oversteer](https://img.game8.co/4460981/a7254c24945c43fbdf6ad9bea52b5ce9.png/thumb)
Popular Games

Genshin Impact Walkthrough & Guides Wiki
Crimson Desert Walkthrough & Guides Wiki
Umamusume: Pretty Derby Walkthrough & Guides Wiki
Honkai: Star Rail Walkthrough & Guides Wiki
Monster Hunter Stories 3: Twisted Reflection Walkthrough & Guides Wiki
Wuthering Waves Walkthrough & Guides Wiki
The Seven Deadly Sins: Origin Walkthrough & Guides Wiki
Pokemon TCG Pocket (PTCGP) Strategies & Guides Wiki
Pokemon Pokopia Walkthrough & Guides Wiki
Zenless Zone Zero Walkthrough & Guides Wiki


Recommended Games
Monster Hunter World Walkthrough & Guides Wiki
Fire Emblem Heroes (FEH) Walkthrough & Guides Wiki
Pokemon Brilliant Diamond and Shining Pearl (BDSP) Walkthrough & Guides Wiki
Super Smash Bros. Ultimate Walkthrough & Guides Wiki
Diablo 4: Vessel of Hatred Walkthrough & Guides Wiki
Cyberpunk 2077: Ultimate Edition Walkthrough & Guides Wiki
Yu-Gi-Oh! Master Duel Walkthrough & Guides Wiki
Elden Ring Shadow of the Erdtree Walkthrough & Guides Wiki
The Legend of Zelda: Tears of the Kingdom Walkthrough & Guides Wiki
Persona 3 Reload Walkthrough & Guides Wiki


All rights reserved
© Nintendo. Games are property of their respective owners. Nintendo of America Inc.
The copyrights of videos of games used in our content and other intellectual property rights belong to the provider of the game.
The contents we provide on this site were created personally by members of the Game8 editorial department.
We refuse the right to reuse or repost content taken without our permission such as data or images to other sites.