Forbidden Layer Walkthrough
☽ DK Island and Emerald Rush DLC out now!
☽ Learn how to solve Banandiumtone's Puzzles.
☽ All Collectibles: Banandium Gems and Fossils
☽ Learn How to Skip Layers Entirely!
☽ How to Beat the Final Boss
☽ Post-Game: Rehearsal Halls | Secret Ending
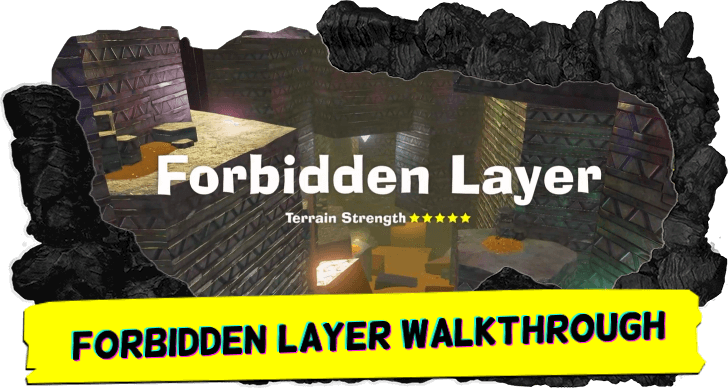
This is a walkthrough guide for Forbidden Layer (SL 1500) in Donkey Kong Bananza. Read on for a complete step-by-step on how to complete the layer and progress the story.
| Forbidden Layer Guides | |
|---|---|
| Walkthrough | Collectibles |
| Previous and Next Layer | |
| ◀︎ Feast Layer | Planet Core ► |
List of Contents
Forbidden Layer Walkthrough
Forbidden Sublayer 1500
| Step-by-Step Guide | |
|---|---|
| 1 | 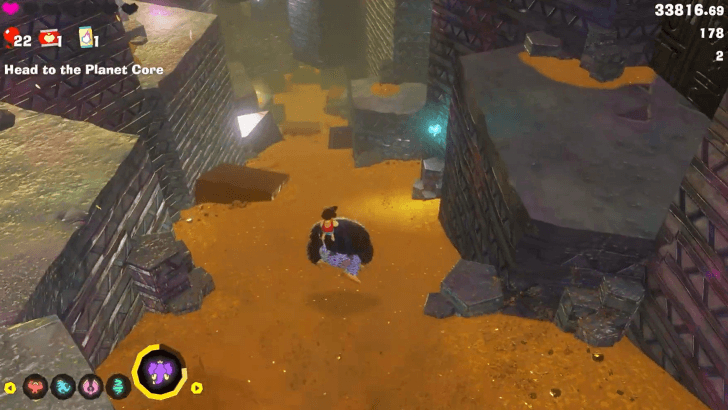 Collect your bananas, and go deeper into the Shuffling Shaft. |
| 2 | 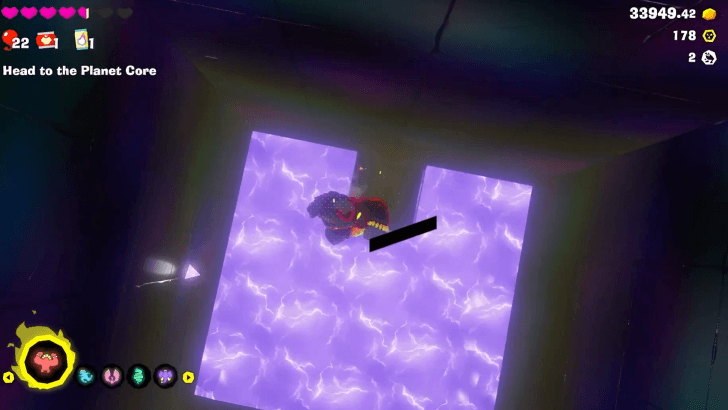 Drop down the pit, aiming for the square with a fossil on the ground. Be careful since the rest of the pit crackles with electricity after every few seconds. |
| 3 | 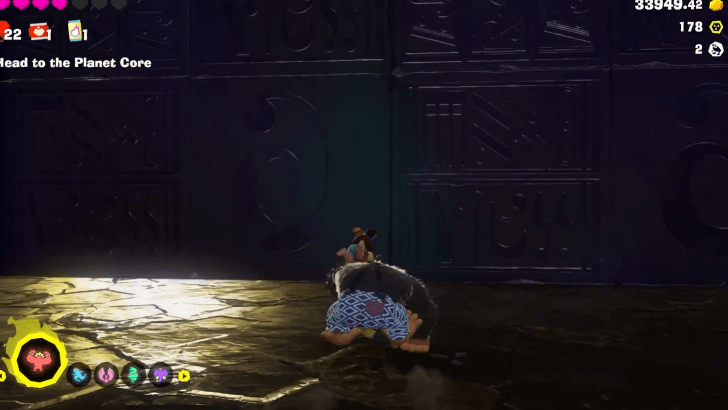 Wait for the electricity to turn off then climb onto the north-facing wall. |
| 4 | 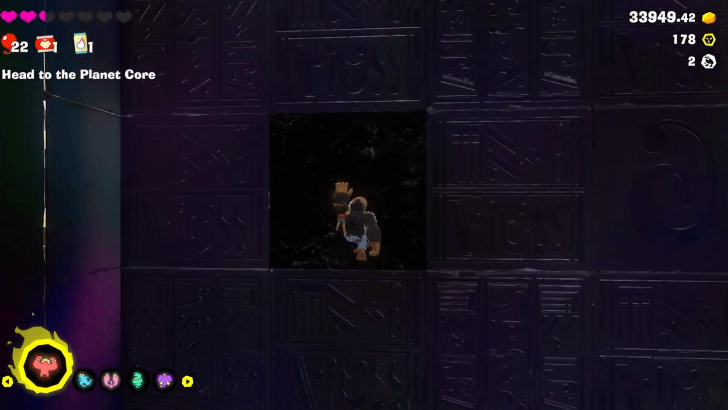 Punch through the darkened square that looks different from the rest. |
| * | 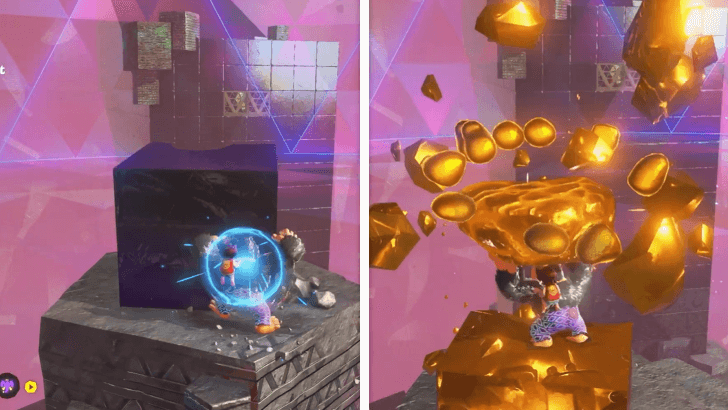 In this layer, certain blocks and terrain will flash between breakable and unbreakable during short intervals of time. Wait for the block to become breakable to interact with it. |
| 5 | 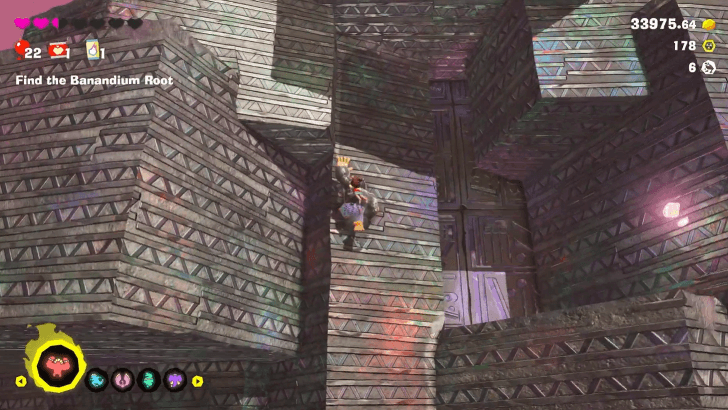 Make your way to the tall concrete structure, then climb up to the top. |
| 6 | 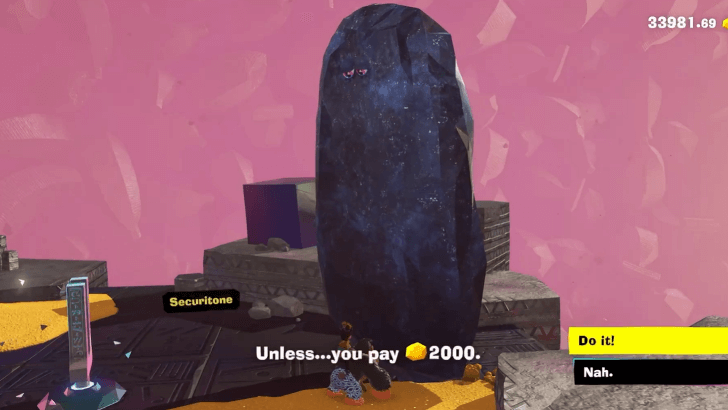 Pay Securitone 2000 Gold. Take note that more Securitones will be in this layer, and you will need around 16,999 Gold in total to pay the ones that allow you to cross to the other side. ► How to Farm Gold |
| * | You can avoid paying this first Securitone by using the Ostrich Bananza form to flutter to the floating cube with a fossil. Then from here, flutter then glide towards the Second Concrete Tower. You need to have the Glide and Better Flutter skills unlocked in order to pull this off. ► How to Use Ostrich Bananza Form |
| 7 | 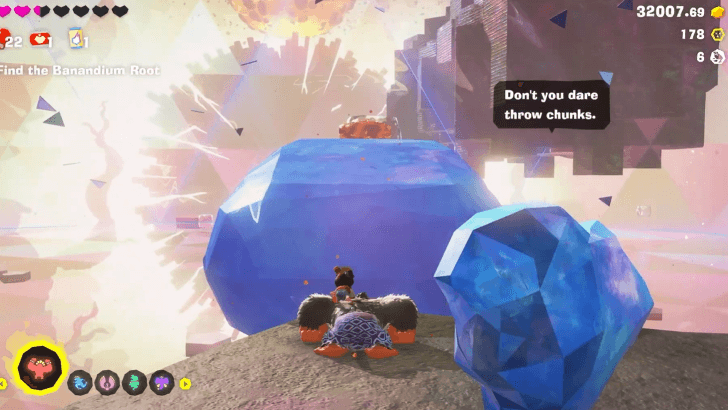 If you've paid the Securitone, you can throw chunks in the air to build bridges. The easiest chunk to get is either the yellow sand or a chunk from the blue Fractone. |
| 8 | 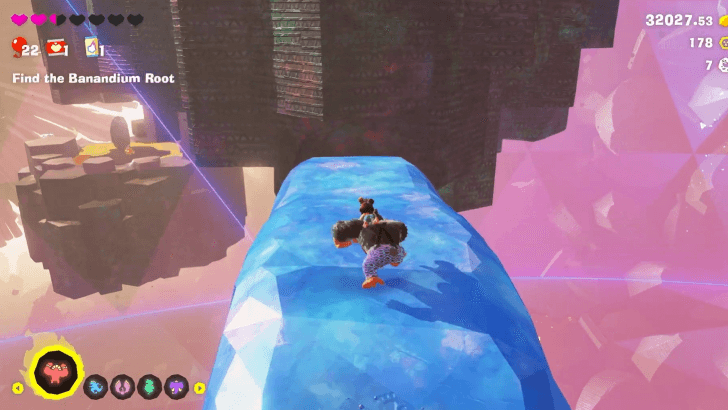 Build a bridge towards the next concrete structure floating in the air. |
| 9 | 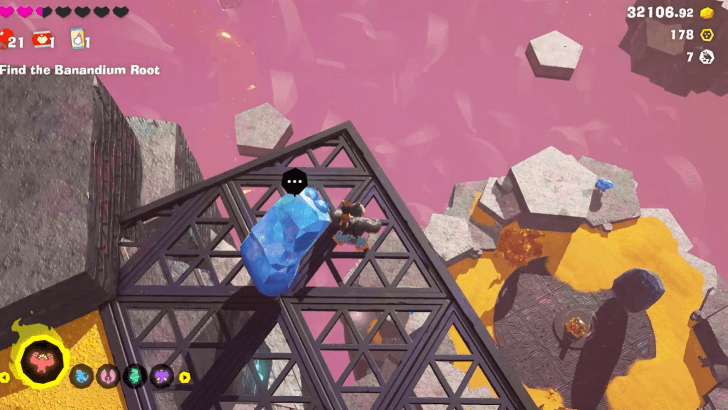 Go to the edge and drop down to the Second Concrete Tower. |
| 10 | Pay the Securitone 5000 Gold, then build a bridge to the Third Concrete Tower. You can also use the Ostrich Bananza form to glide to the Third Concrete Tower if you want to avoid paying. |
| 11 | At the Third Concrete Tower, pay the last Securitone 9,999 Gold. |
| * | If you don't want to pay, you can use your Bananza forms to bypass this, but it's much more complicated compared to the previous times. Climb up on the Securitone for a higher starting point, then use the Snake Bananza form to Charge Jump. Quickly switch to the Ostrich Bananza form to glide to the triangular platform next to the laser. Switch back to Snake Bananza to Charge Jump, then switch again to Ostrich Bananza to glide the rest of the way. |
| 12 | 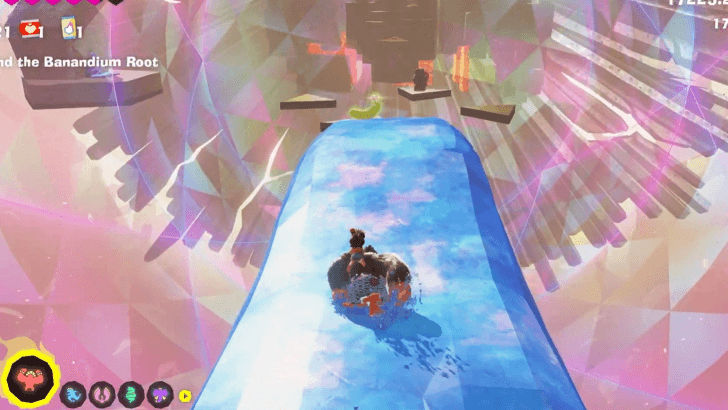 If you opted to pay, build a bridge towards Go-No-Further Gate. Watch out for the laser that will target and attack you. |
| * | 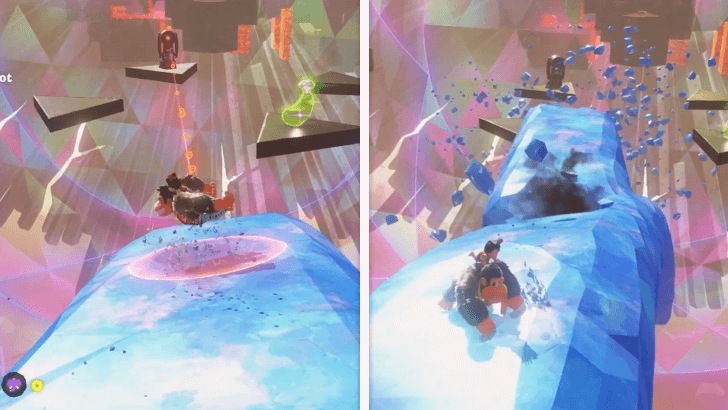 Lasers can also form structures in the air. |
| * | 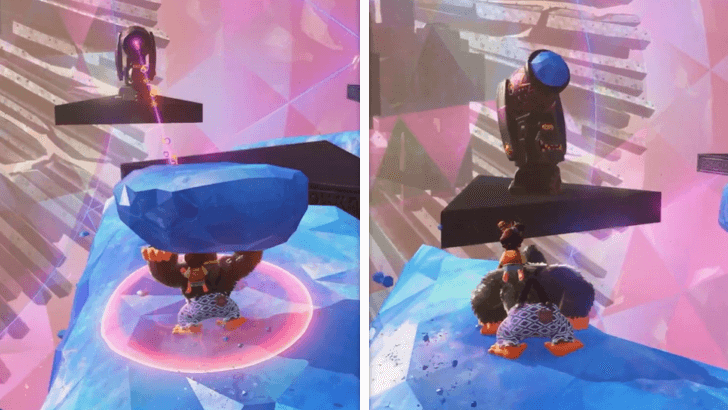 Lasers can be temporarily blocked by throwing chunks at them. |
| 13 | 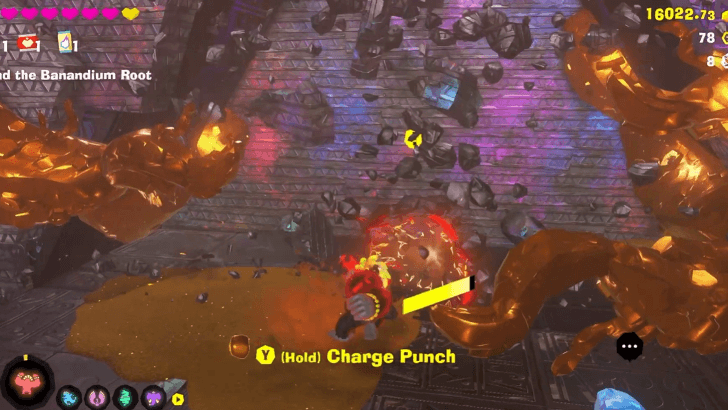 Transform into Kong Bananza and use Charge Punch to break through several layers of concrete at the Go-No-Further Gate. |
| 14 | 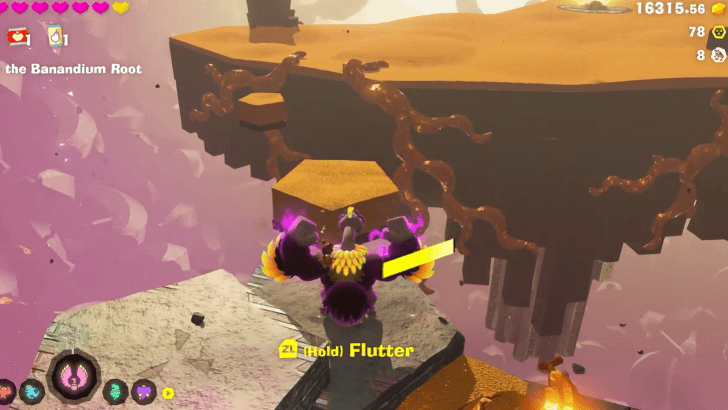 Use Ostrich Bananza to fly over the platforms. |
| 15 | 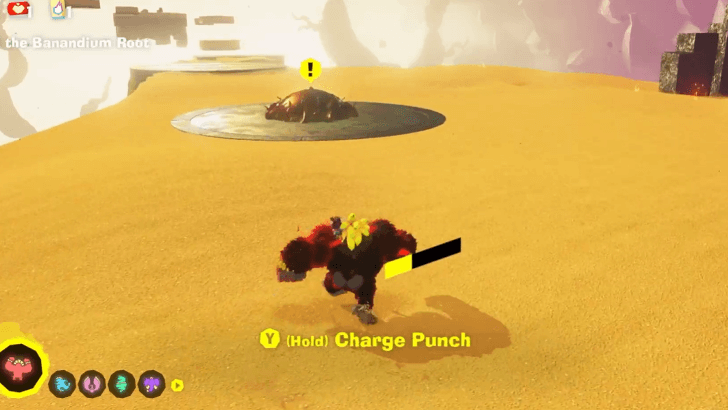 Approach the Banandium Root. Be warned that approaching the root will trigger a boss fight. |
| 16 |  Defeat Void Kong. Throw chunks at Void Kong to damage him. Make sure to dodge out of the way of his attacks. As he flies farther away, build bridges to pursue him. ►How to Beat Forbidden Void Kong |
| * |  When you reach the Golden Core, Void Kong's shield will activate. Destroy the Terravoiders to lower his shield then strike him when he's vulnerable. |
| * | 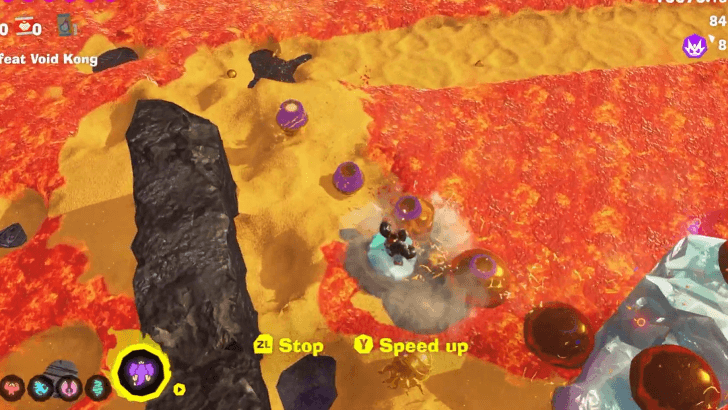 Take an ice chunk and Turf Surf across the lava terrain to avoid damage. ► How to Turf Surf |
| 17 | After the cutscene ends, drop down to the Planet Core. ► Planet Core Walkthrough |
Forbidden Layer Boss
Void Kong

You will have to fight Void Kong once you reach the end of the Forbidden Layer. Dodge Void Kong's lasers and throw chunks to hurt him. As the fight progresses, he will fly farther and farther away, and you will need to create bridges to pursue him.
When you reach the Golden Core, Void Kong will activate a shield. To disable the shield, you will need to destroy the Terravoiders around the arena while dodging his attacks.
How to Beat Forbidden Void Kong
Donkey Kong Bananza Related Guides
All Walkthrough Guides
| # | Layer |
|---|---|
| SL1 | Ingot Isle |
| SL100 | Lagoon Layer |
| SL200 | Hilltop Layer |
| SL300 | Canyon Layer |
| SL400 | The Divide |
| SL500 | Freezer Layer |
| SL600 | Forest Layer |
| SL700 | The Junction |
| SL800 | Resort Layer |
| SL900 | Tempest Layer |
| SL1000 | Landfill Layer |
| SL1100 | Racing Layer |
| SL1200 | Radiance Layer |
| SL1300 | Groove Layer |
| SL1400 | Feast Layer |
| SL1500 | Forbidden Layer |
| SL1600 | Planet Core |
Comment
Author
Forbidden Layer Walkthrough
improvement survey
04/2026
improving Game8's site?

Your answers will help us to improve our website.
Note: Please be sure not to enter any kind of personal information into your response.

We hope you continue to make use of Game8.
Rankings
- We could not find the message board you were looking for.
Gaming News
Popular Games

Genshin Impact Walkthrough & Guides Wiki

Crimson Desert Walkthrough & Guides Wiki

Umamusume: Pretty Derby Walkthrough & Guides Wiki

Honkai: Star Rail Walkthrough & Guides Wiki

Monster Hunter Stories 3: Twisted Reflection Walkthrough & Guides Wiki

Wuthering Waves Walkthrough & Guides Wiki

The Seven Deadly Sins: Origin Walkthrough & Guides Wiki

Pokemon TCG Pocket (PTCGP) Strategies & Guides Wiki

Pokemon Pokopia Walkthrough & Guides Wiki

Zenless Zone Zero Walkthrough & Guides Wiki
Recommended Games

Monster Hunter World Walkthrough & Guides Wiki

Fire Emblem Heroes (FEH) Walkthrough & Guides Wiki

Pokemon Brilliant Diamond and Shining Pearl (BDSP) Walkthrough & Guides Wiki

Super Smash Bros. Ultimate Walkthrough & Guides Wiki

Diablo 4: Vessel of Hatred Walkthrough & Guides Wiki

Cyberpunk 2077: Ultimate Edition Walkthrough & Guides Wiki

Yu-Gi-Oh! Master Duel Walkthrough & Guides Wiki

Elden Ring Shadow of the Erdtree Walkthrough & Guides Wiki

The Legend of Zelda: Tears of the Kingdom Walkthrough & Guides Wiki

Persona 3 Reload Walkthrough & Guides Wiki
All rights reserved
© Nintendo. Games are property of their respective owners. Nintendo of America Inc.
The copyrights of videos of games used in our content and other intellectual property rights belong to the provider of the game.
The contents we provide on this site were created personally by members of the Game8 editorial department.
We refuse the right to reuse or repost content taken without our permission such as data or images to other sites.


![Forza Horizon 6 Review [Preview] | Beautiful Roads With a Whole Lot of Oversteer](https://img.game8.co/4460981/a7254c24945c43fbdf6ad9bea52b5ce9.png/thumb)


