All Checkpoint Locations
☽ DK Island and Emerald Rush DLC out now!
☽ Learn how to solve Banandiumtone's Puzzles.
☽ All Collectibles: Banandium Gems and Fossils
☽ Learn How to Skip Layers Entirely!
☽ How to Beat the Final Boss
☽ Post-Game: Rehearsal Halls | Secret Ending
Checkpoints serve as fast travel points and are scattered across each Layer in Donkey Kong Bananza. Check out our list of all Checkpoints and where to find each of them in every Layer of the Underground World!
List of Contents
All Checkpoint Locations
※ Use the filter/s below to find the layer the Void Stake is located at. You can also track your collection with the checkboxes!
| Layer | Location |
|---|---|
| Ingot Isle |
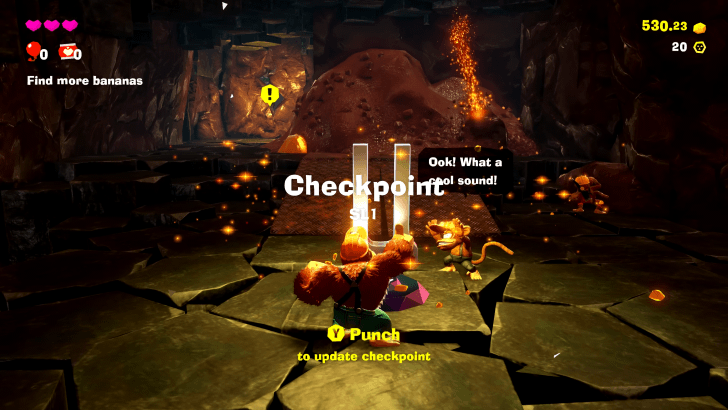  As you progress through the start of the game, you'll come across a Dive Punch Pressure Plate. Triggering it will let you access a larger area with platforms that rise when you perform a Hand Slap. You'll find the first checkpoint by climbing one of these platforms. (SL 1) |
| Ingot Isle |
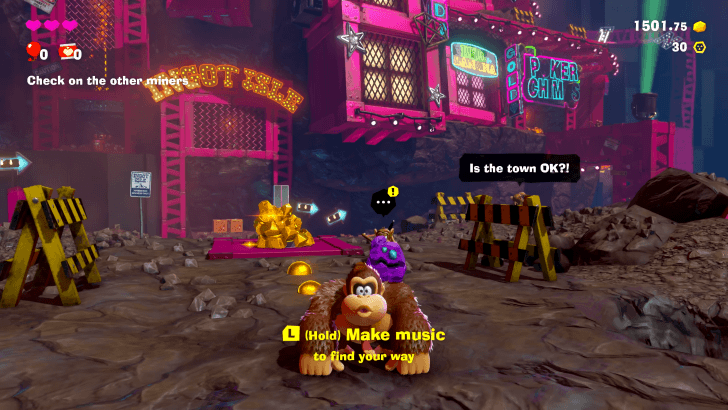 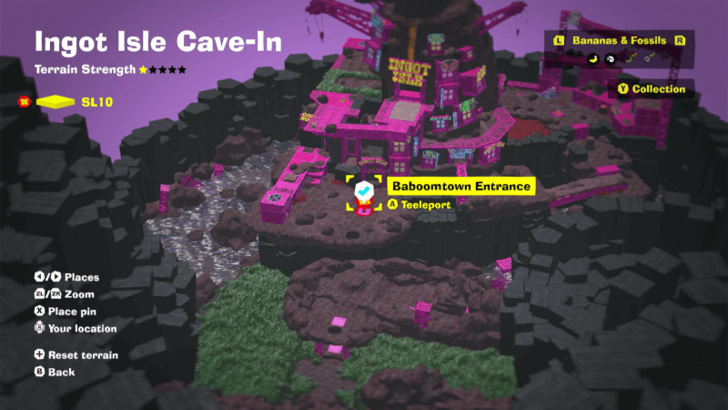 Just in front of the Ingot Isle Town. You'll come across this checkpoint shortly after meeting Odd Rock and clearing the Void Seal on the Barrel Cannon. (SL 10) |
| Ingot Isle |
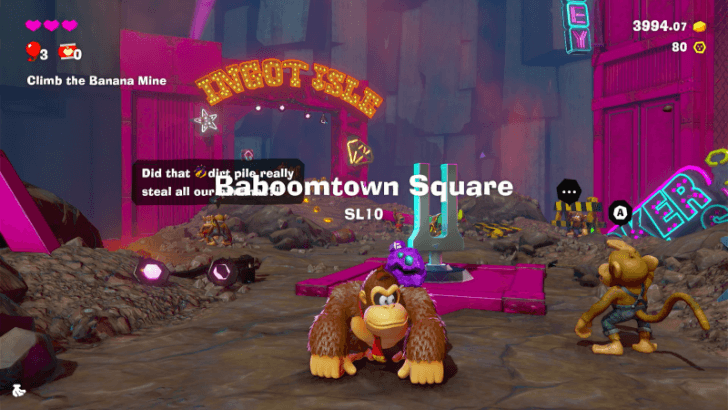  From the Baboomtown Entrance, go up the path on the right, past some dirt-burrowing enemies. (SL 10) |
| Ingot Isle |
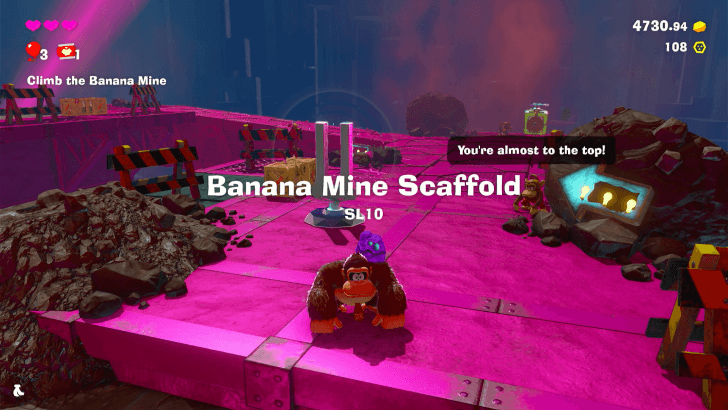 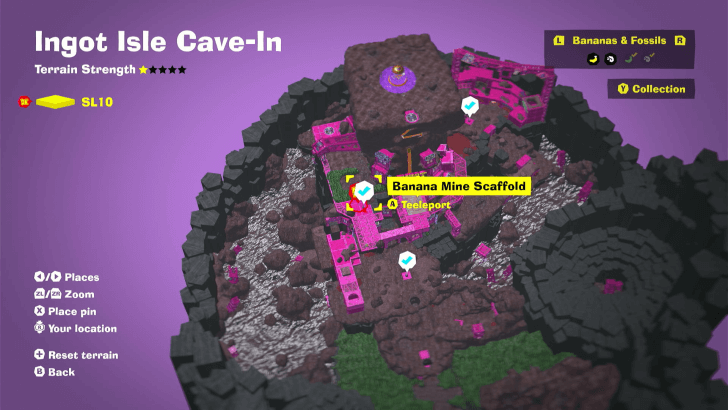 Found above the Baboomtown Entrance. Use the Barrel Cannons to get up here. (SL 10) |
| Lagoon Layer |
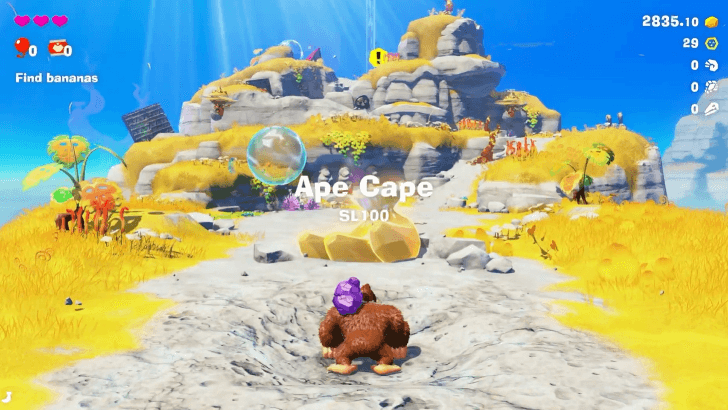  Drop down from the Ingot Isle Sinkhole. This is where you will land. (SL 100) |
| Lagoon Layer |
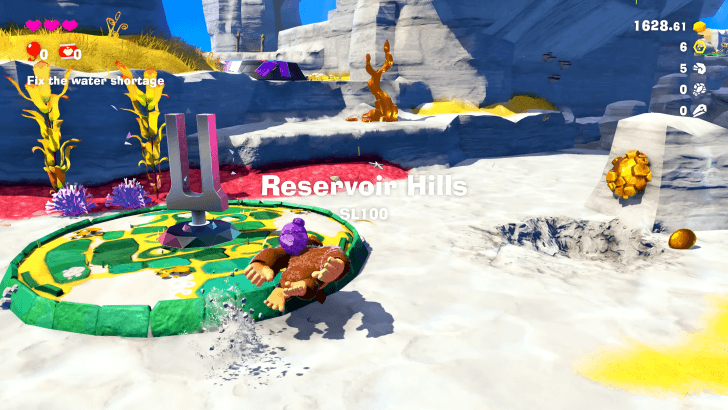 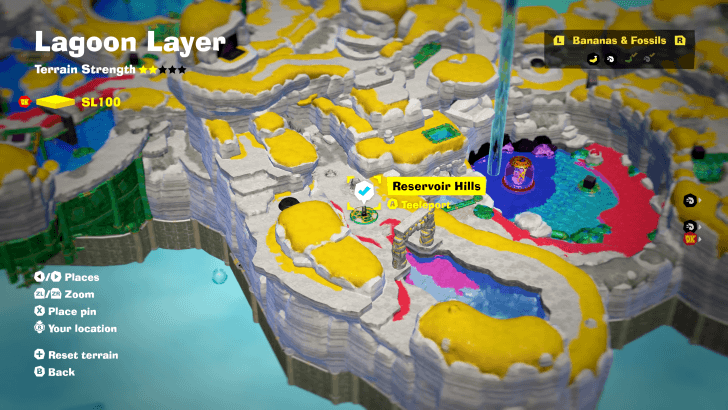 After destroying the first concrete tower, talk to the monkey on the island. Climb the metal tower next to him, then cross through the mesh. Jump into the Barrel Cannon at the end and it will take you to the Reservoir Bank Checkpoint. (SL 100) |
| Lagoon Layer |
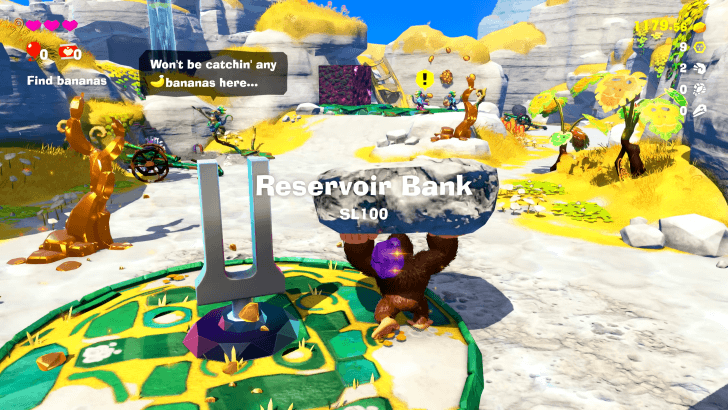 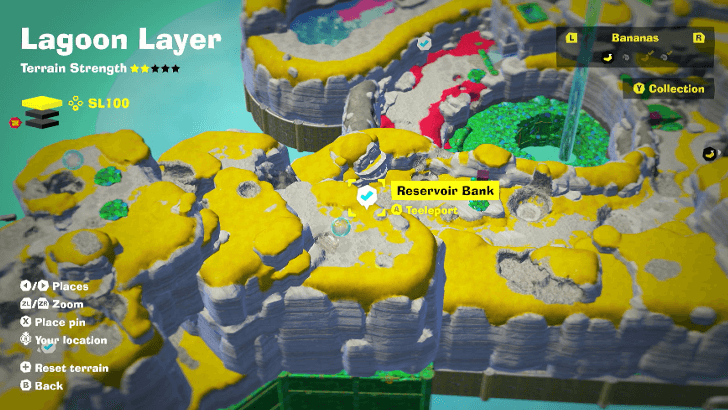 On the other side of the hill from Ape Cape, near where some Salvager Monkeys are busy. (SL 100) |
| Lagoon Layer |
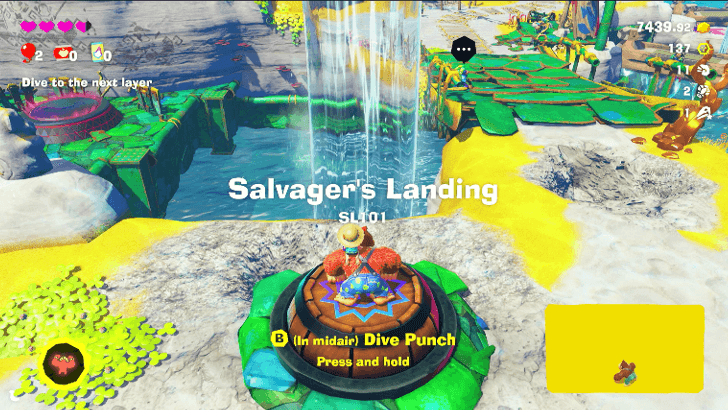 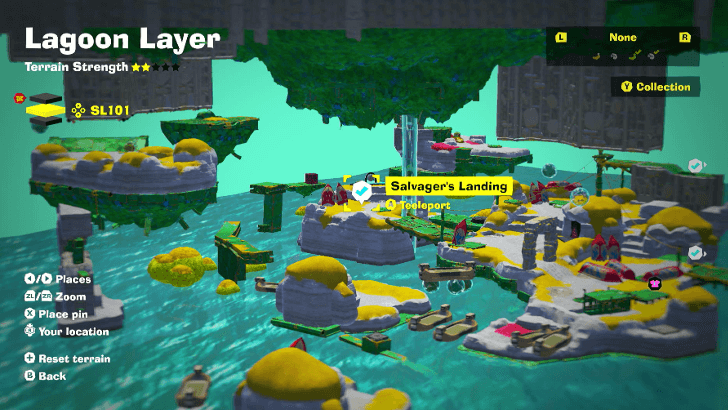 Jump down after destroying the Reservoir Void Stake. (SL 101) |
| Lagoon Layer |
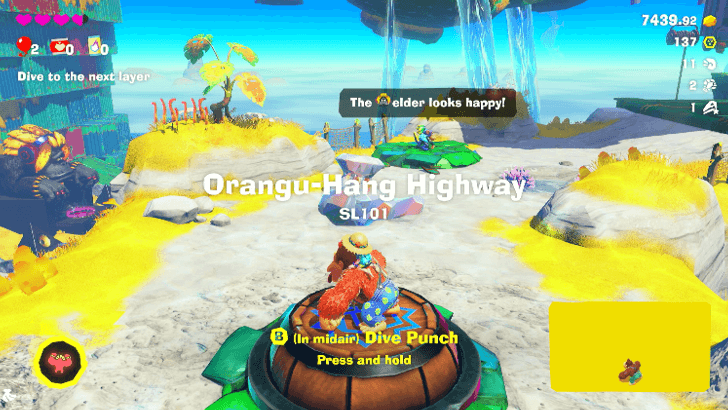 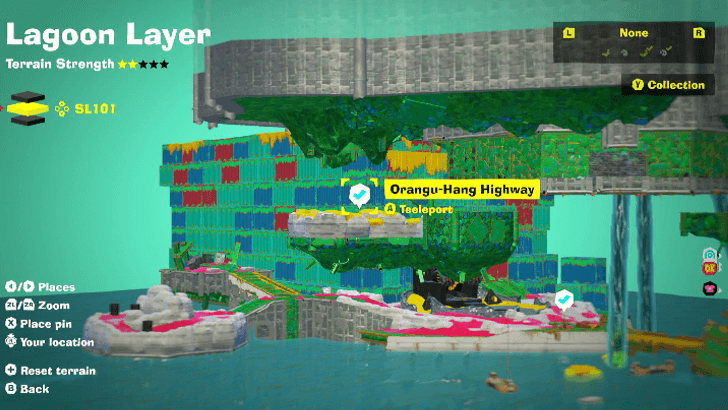 Jump down after destroying the Water Tank Hill Void Stake. (SL 101) |
| Lagoon Layer |
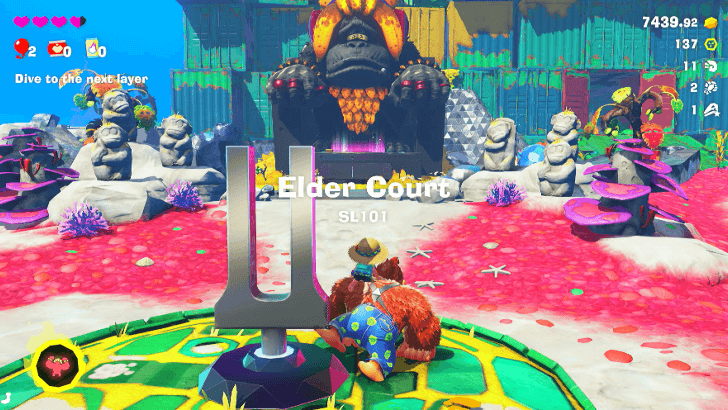 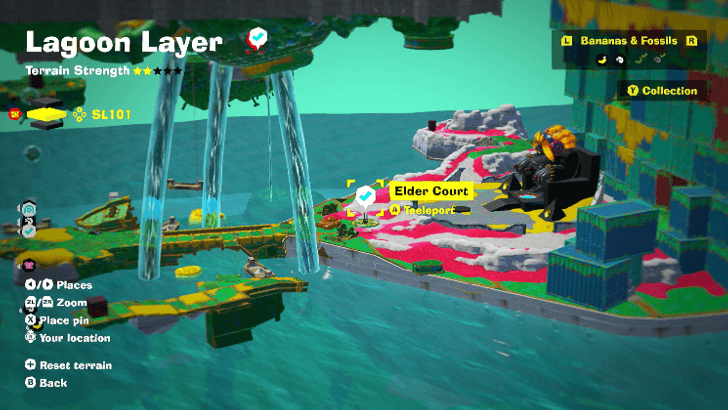 After destroying the concrete tower by Orangu-Hang Highway, drop down on the bridge to the Elder Court. (SL 101) |
| Lagoon Layer |
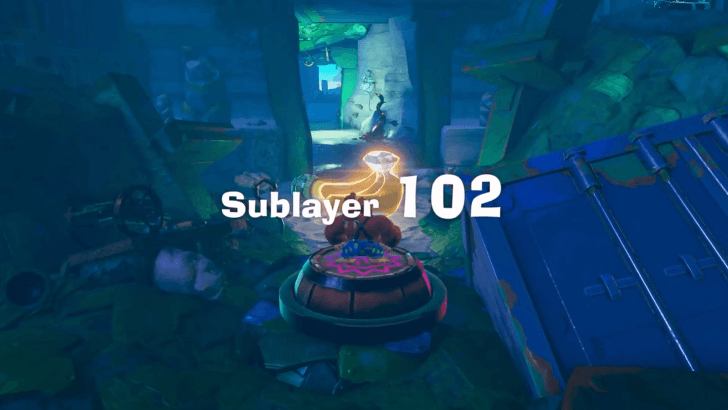 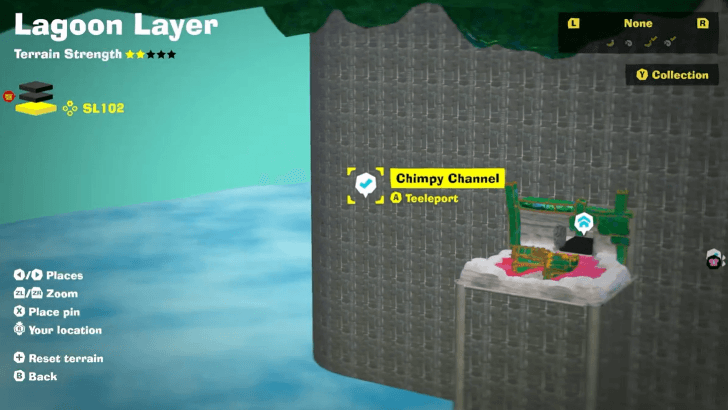 Destroy the Void Stake inside the shipping bin behind the Elder Court. This is where you will land. (SL 102) |
| Lagoon Layer |
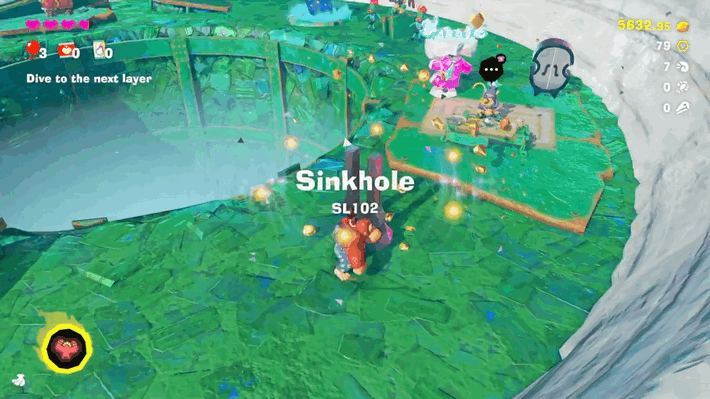 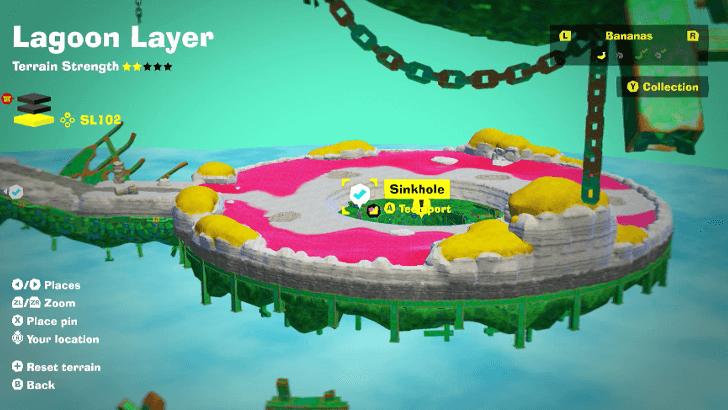 Revealed after defeating Peekabruiser and destroying the Void Stake (SL 102) |
| Hilltop Layer |
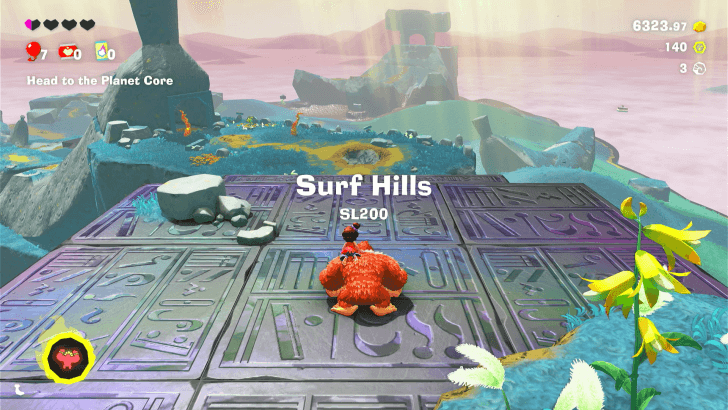 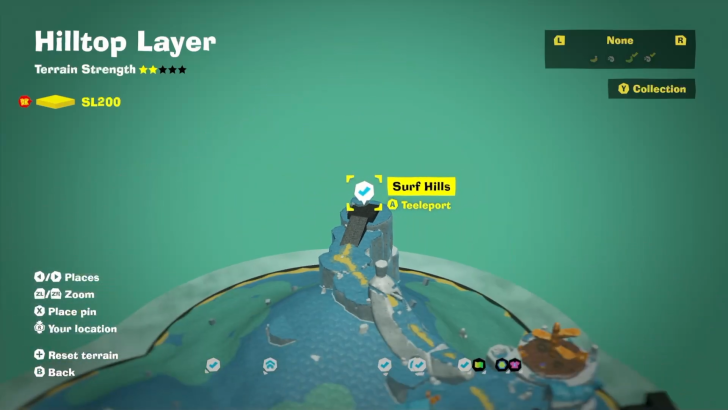 This is the starting point of the Hilltop Layer. (SL 200) |
| Hilltop Layer |
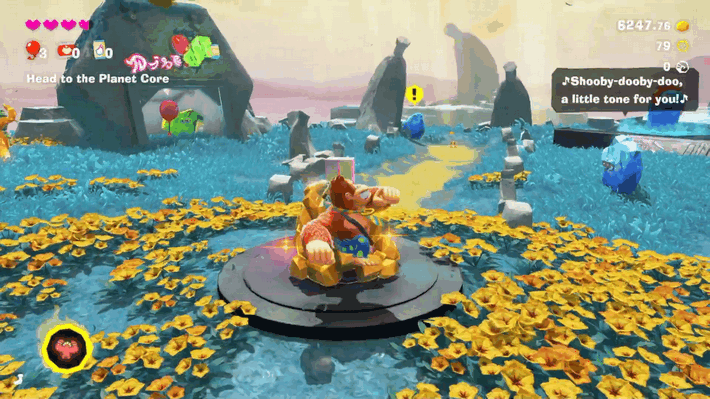 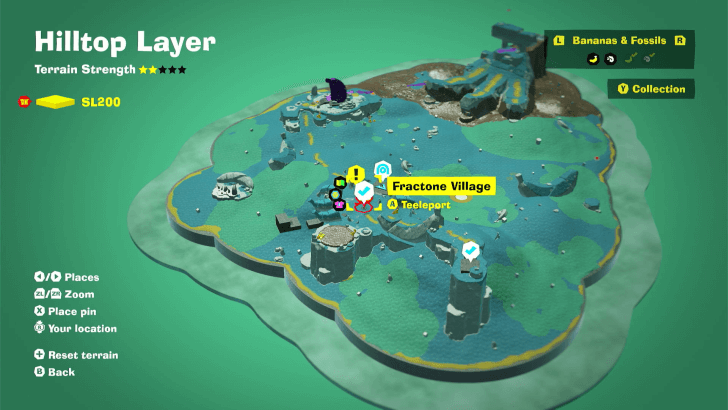 This checkpoint is located in the middle of Fractone Village. (SL 200) |
| Hilltop Layer |
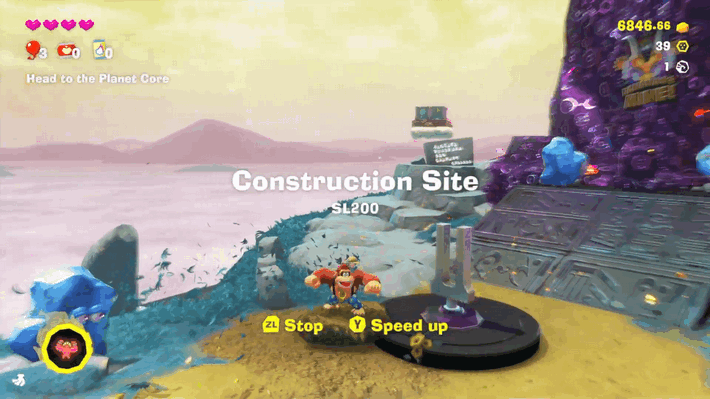 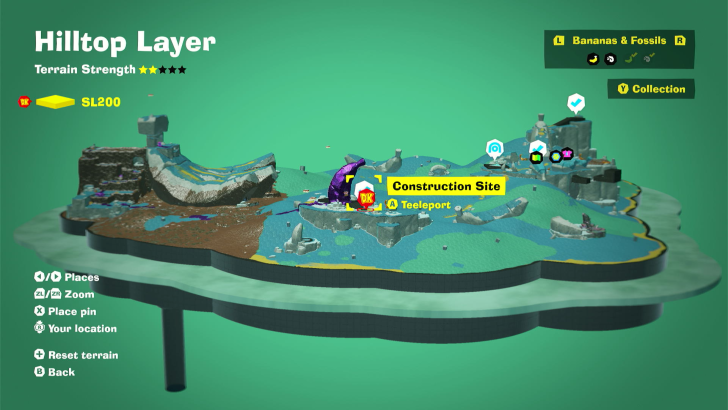 The Construction Site checkpoint is located near Peel Peak. If you haven't demolished it yet, there should be a banana formation in this area. (SL 200) |
| Hilltop Layer |
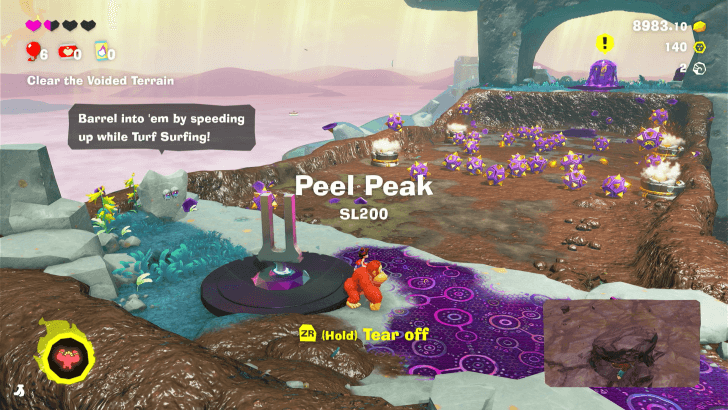 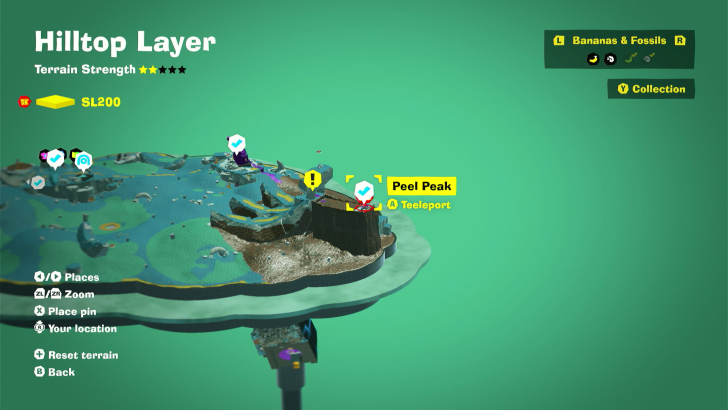 Found on top of the muddy Peel Peak. Use Chunk Jump to climb up to this checkpoint. (SL 200) |
| Hilltop Layer |
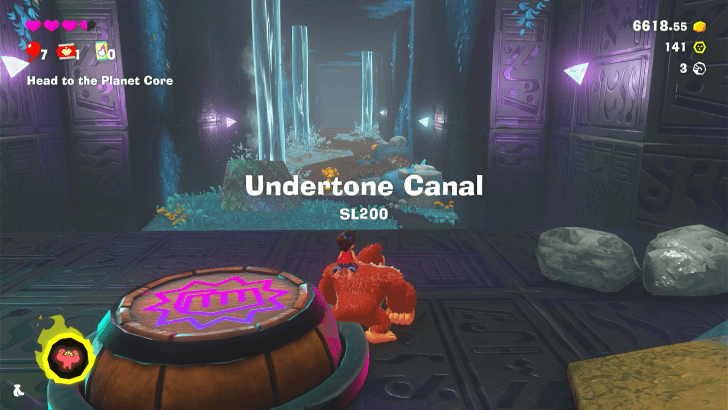 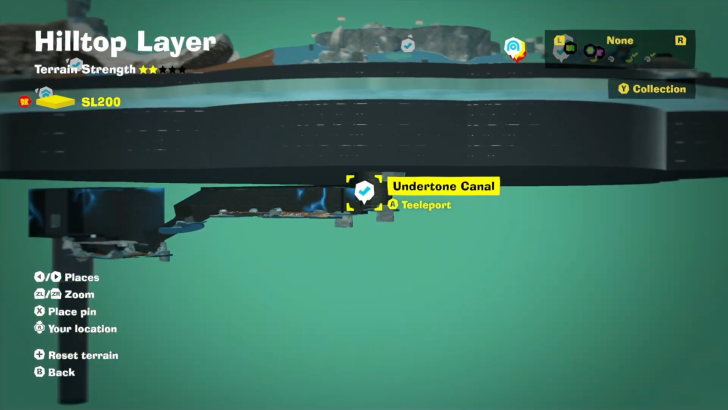 Jump down the hole from the Construction Site to activate the Undertone Canal checkpoint. (SL 200) |
| Canyon Layer |
 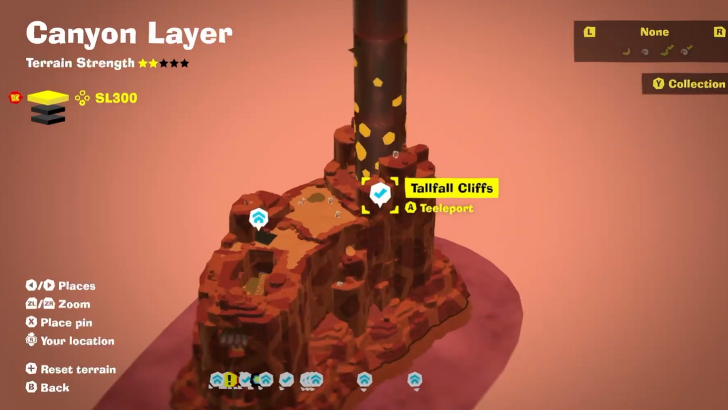 Drop down from the Hilltop Layer Sinkhole. This is where you will start. (SL 300) |
| Canyon Layer |
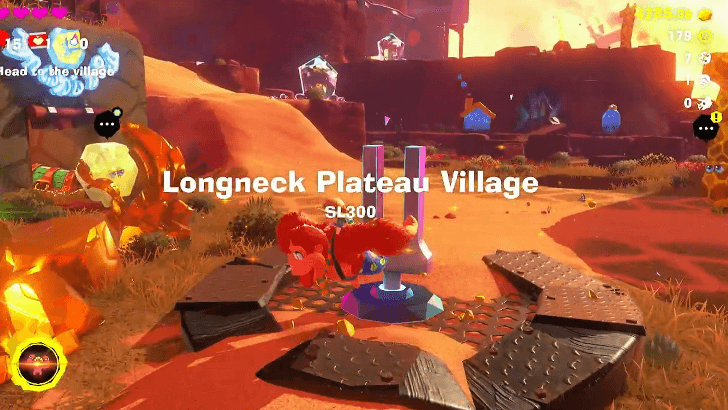 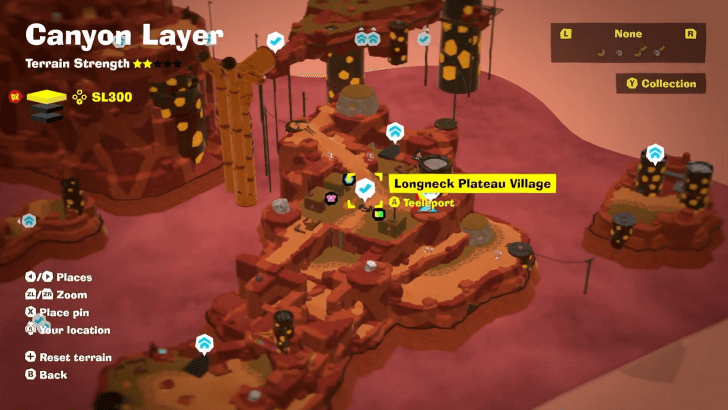 Ride the cart from Tallfall Cliffs and head straight until you reach Longneck Plateu Village Checkpoint. (SL 300) |
| Canyon Layer |
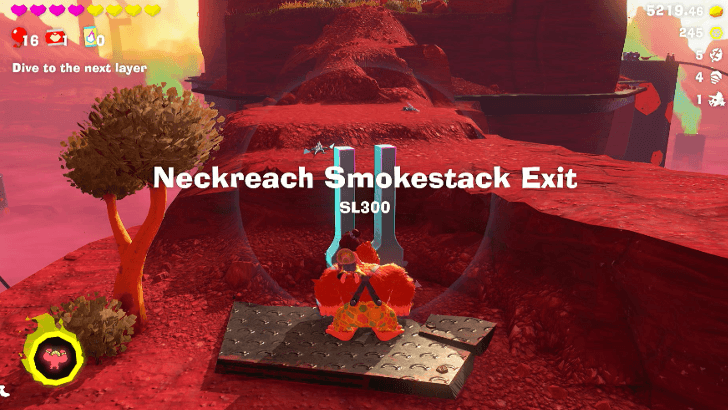 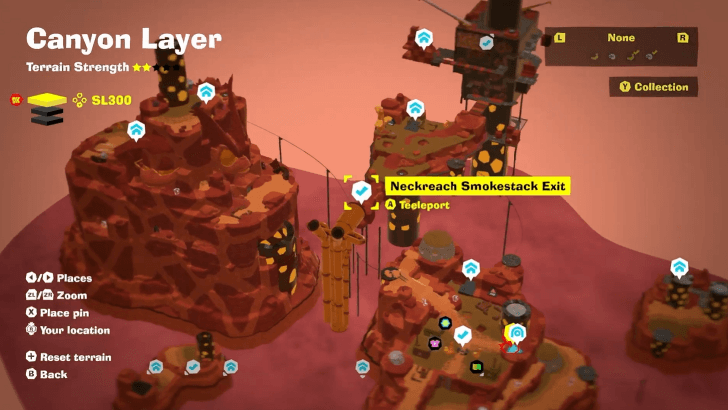 Climb up the Banana Refinery Mixer. Reach outside to get to the Neckreach Smokestack Exit Checkpoint. (SL 300) |
| Canyon Layer |
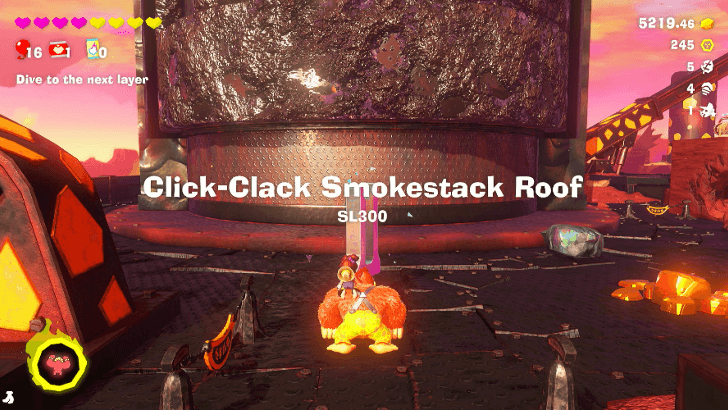 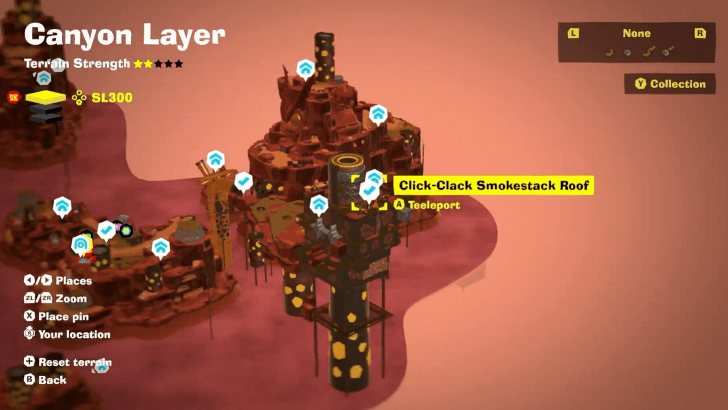 Climb to the top of the Click-Clack Smokestack. (SL 300) |
| Canyon Layer |
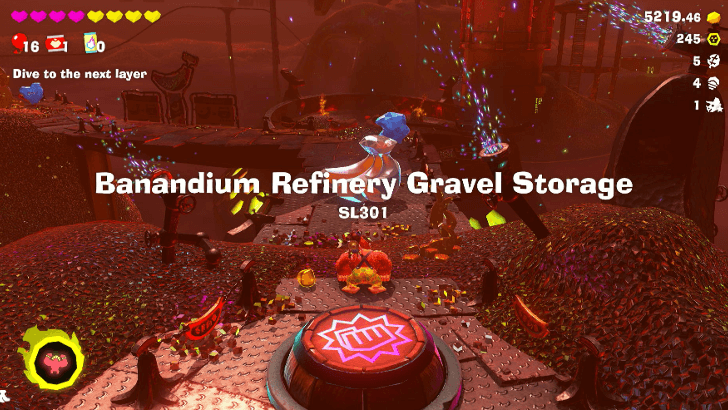 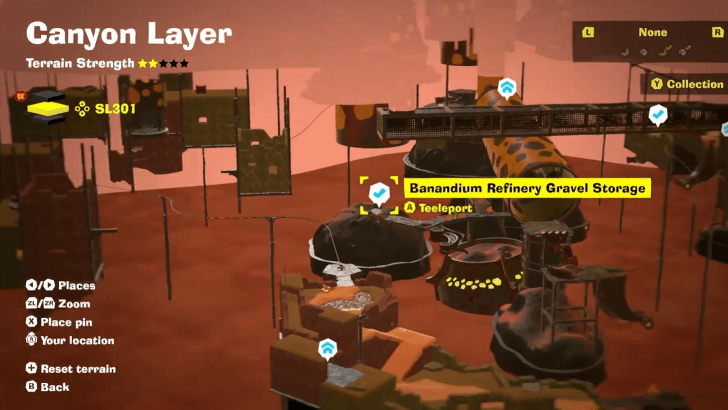 After defeating Grumpy Kong, drop down into the hole in the tower. This is where you will land. (SL 301) |
| Canyon Layer |
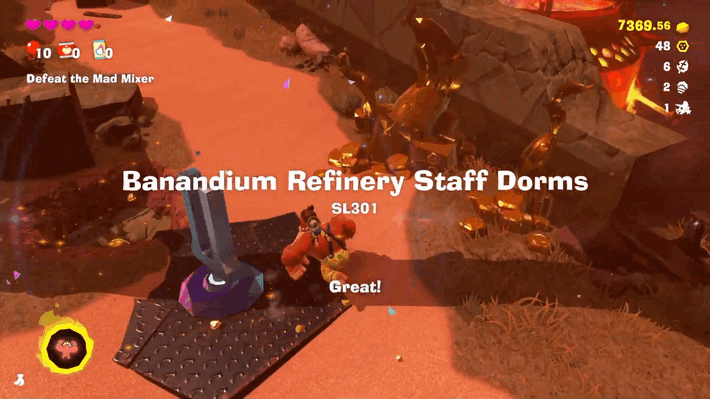 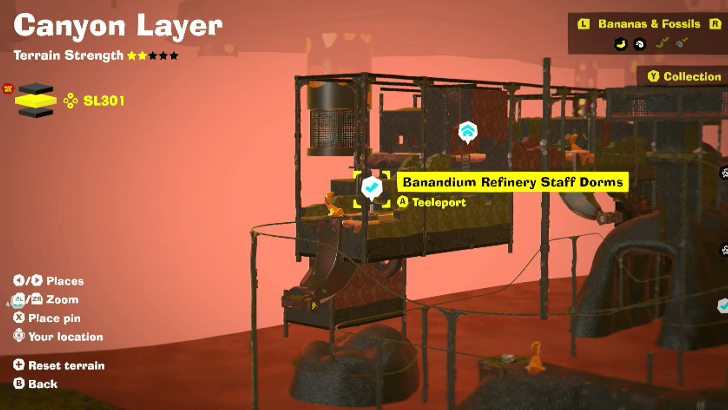 Ride the Cart from Banandium Refinery Staff Office (SL 301) |
| Canyon Layer |
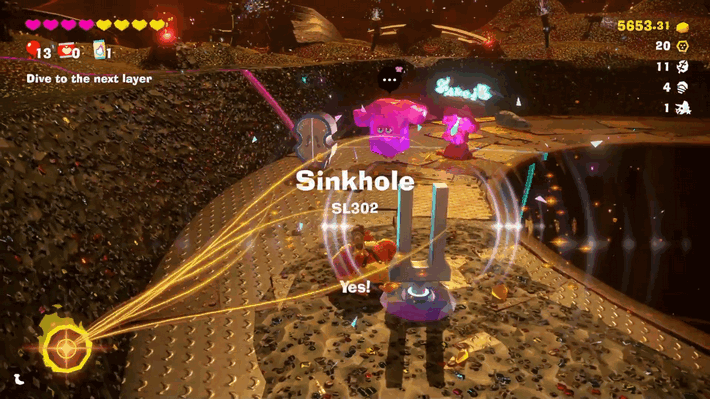 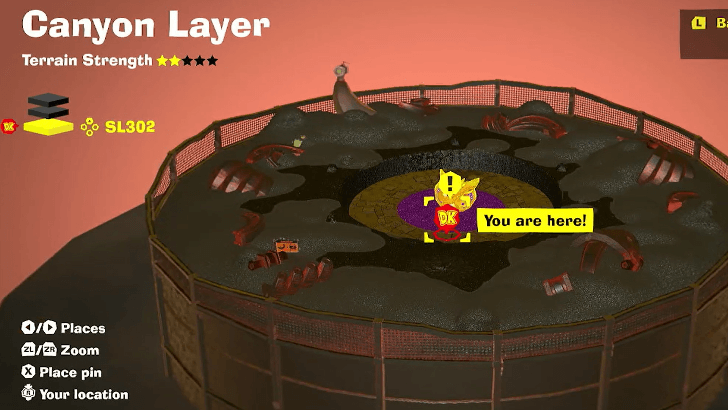 Revealed after defeating Stompenclomper. (SL 302) |
| The Divide |
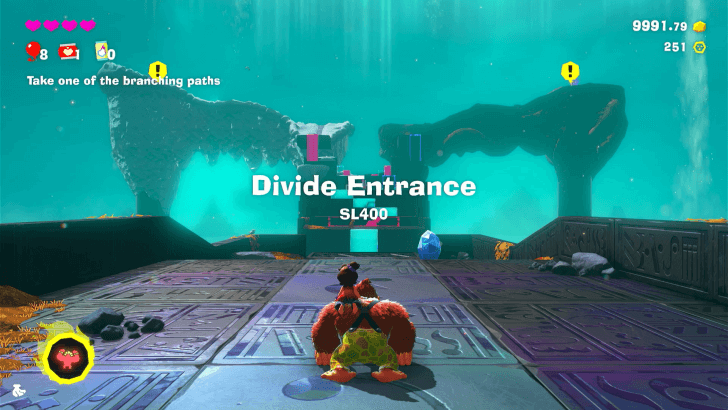 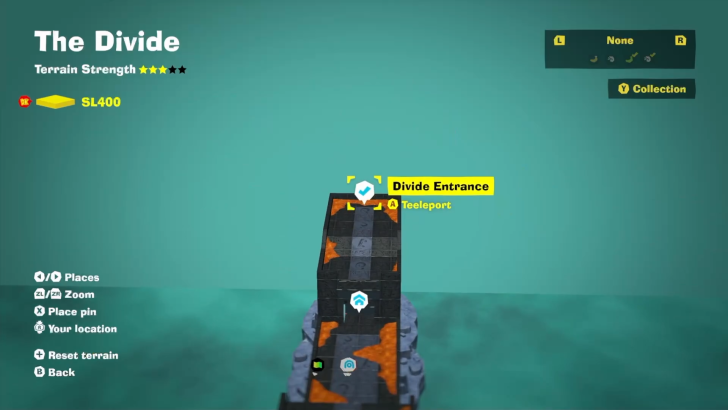 This is the starting point of The Divide. (SL 400) |
| The Divide |
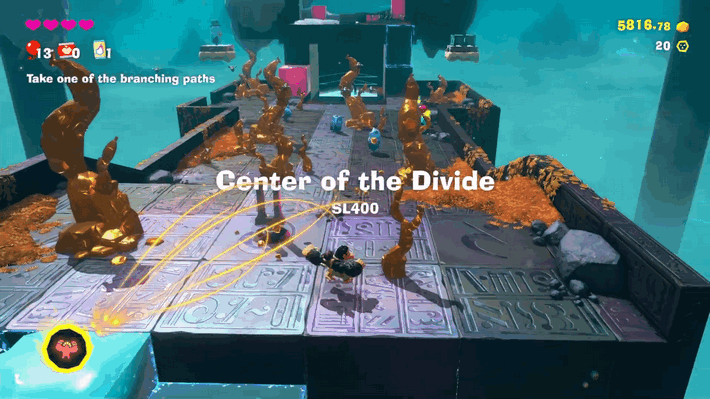 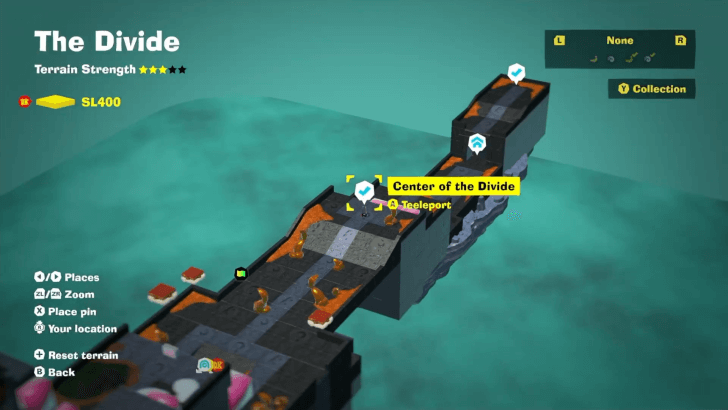 This checkpoint is located in the middle of The Divide, near the Stuff Shop. (SL 400) |
| Freezer Layer |
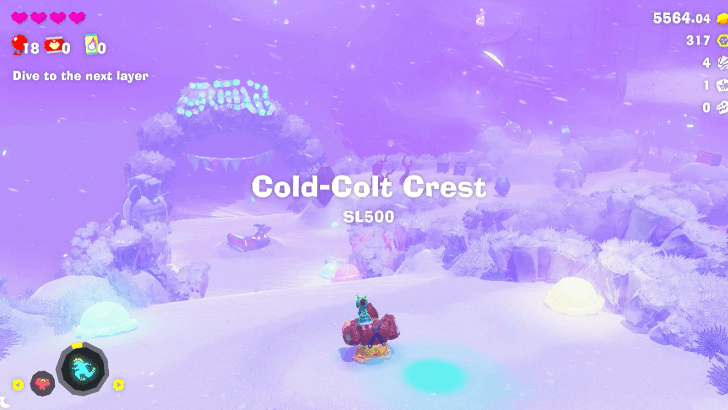 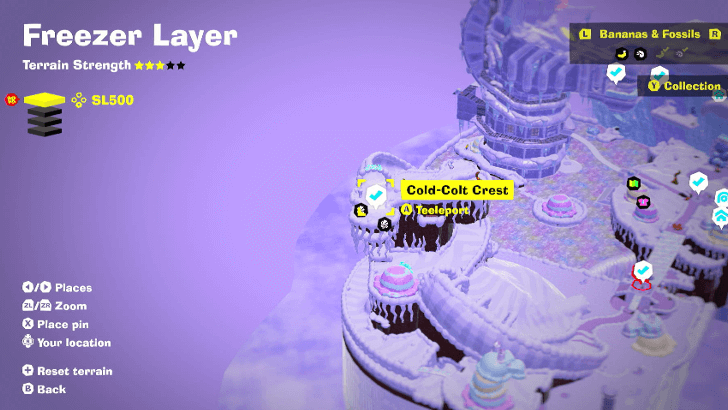 This is where you will arrive after dropping down from The Divide. (SL 500) |
| Freezer Layer |
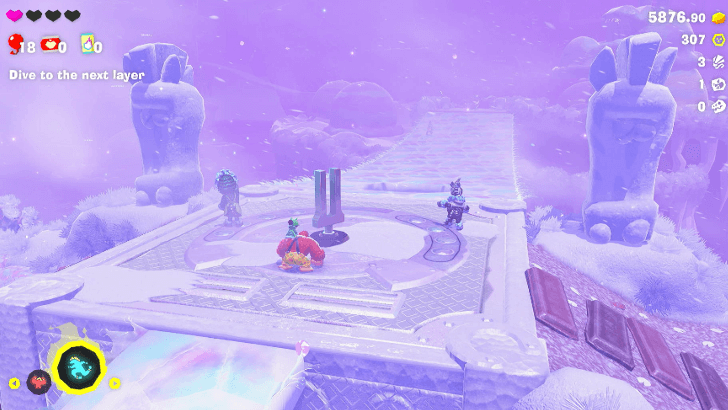 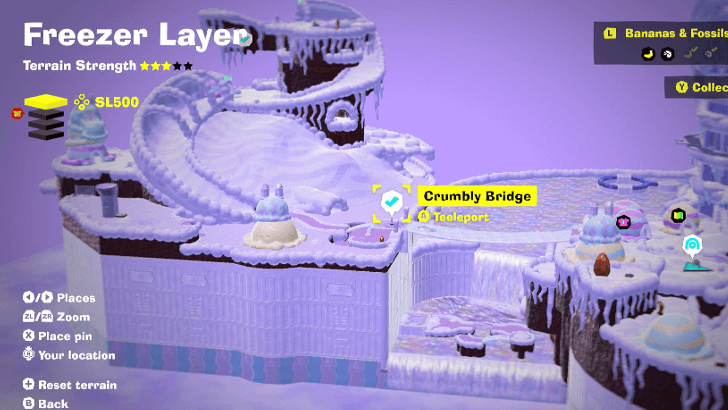 Turf surf to the ground from Cold-Colt Crest. The checkpoint will be located at the end. (SL 500) |
| Freezer Layer |
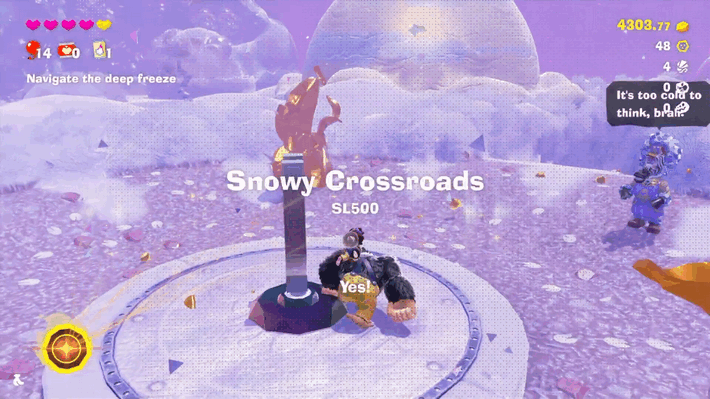 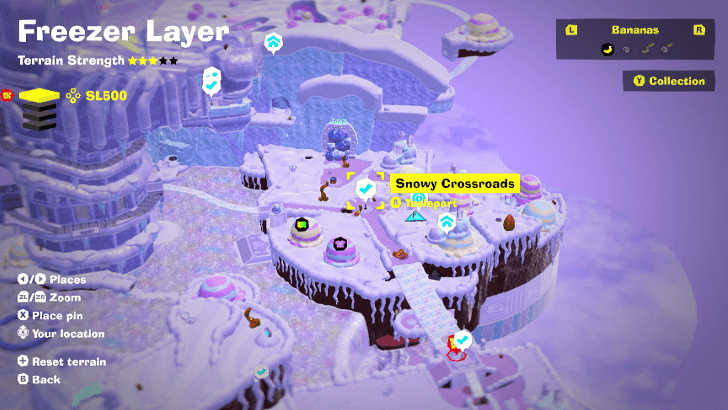 Go through the cavern under the Crumbly Bridge. It will lead to the Snowy Crossroads checkpoint. (SL 500) |
| Freezer Layer |
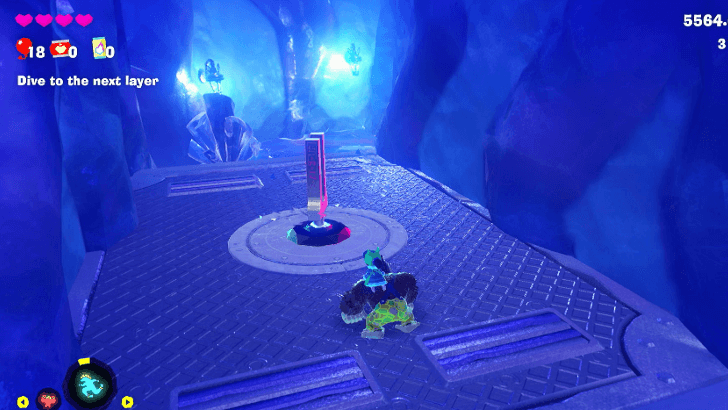 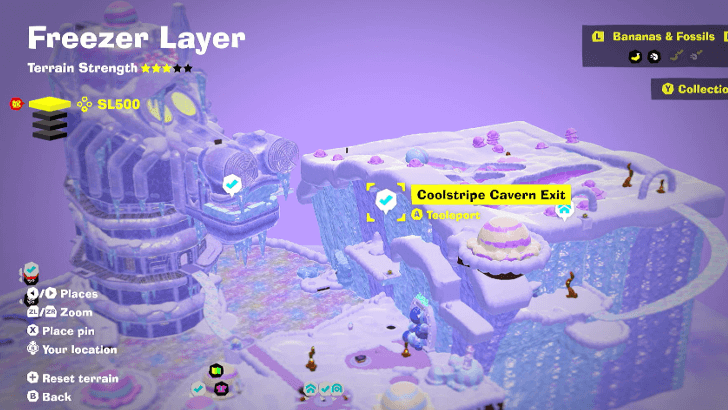 At the end of Coolstripe Cavern. (SL 500) |
| Freezer Layer |
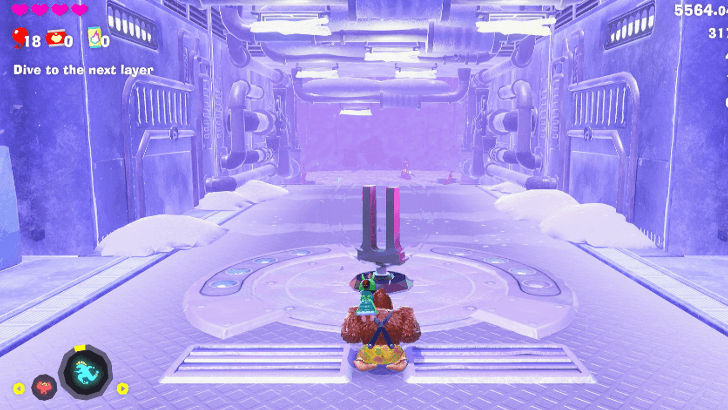 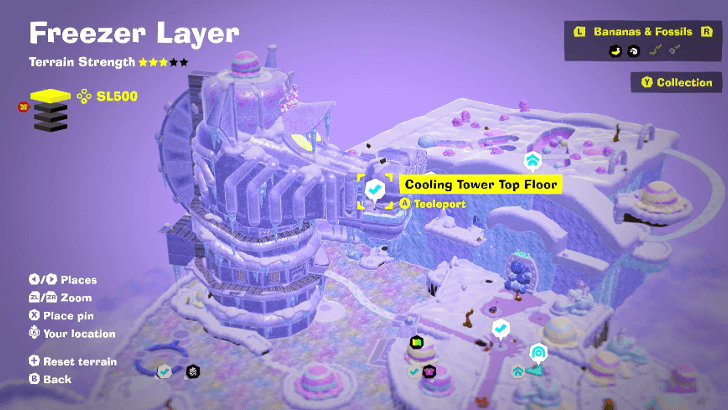 Use the Zebra Bananza Form to go up the ice bridge that leads to the top of the Cooling Tower. (SL 500) |
| Freezer Layer |
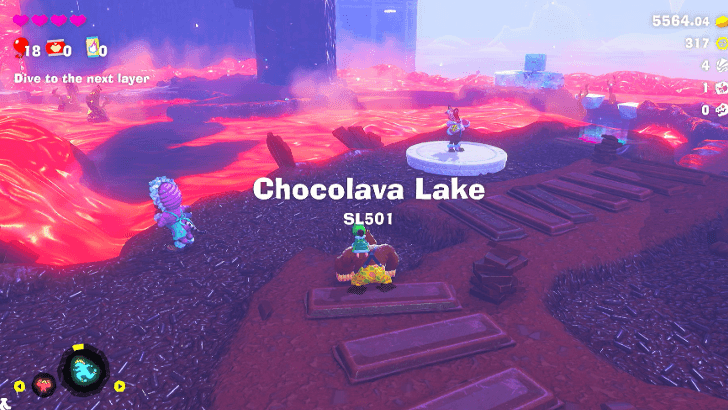 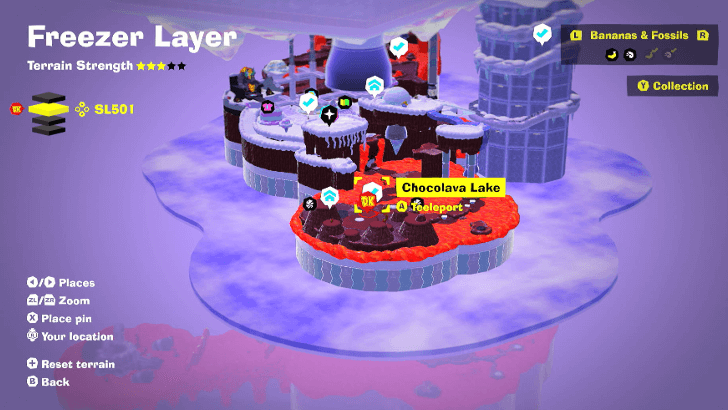 This is where you will arrive after dropping down from Coolstripe Cavern. (SL 501) |
| Freezer Layer |
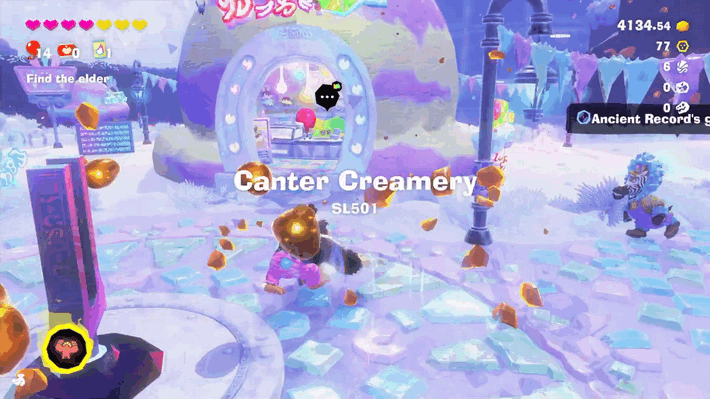 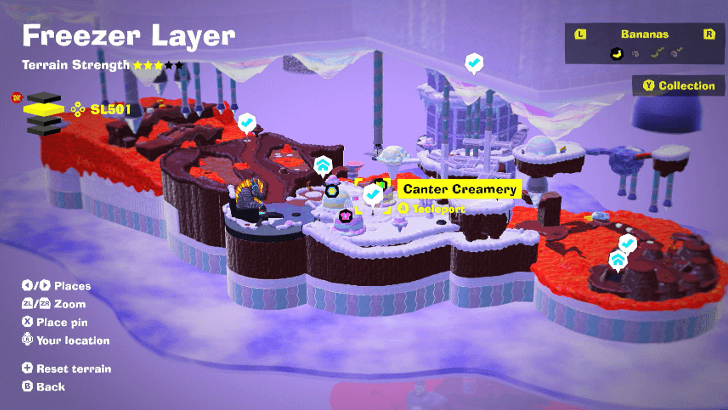 Use the icicles and the ice blocks to build a bridge across Chocolava Lake to get to the Canter Creamery checkpoint. (SL 501) |
| Freezer Layer |
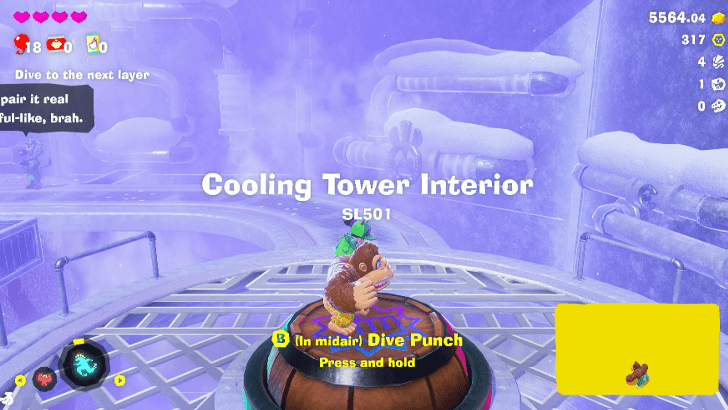 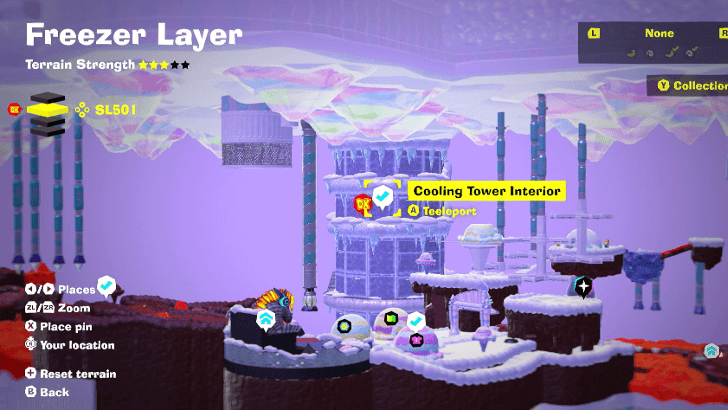 This is where you will drop down to after defeating Poppy Kong. (SL 501) |
| Freezer Layer |
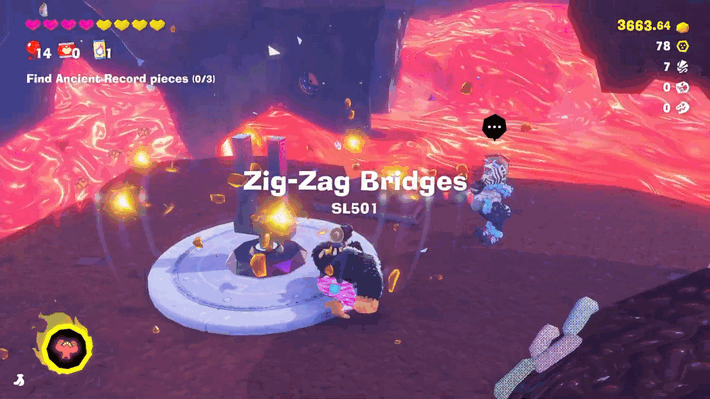 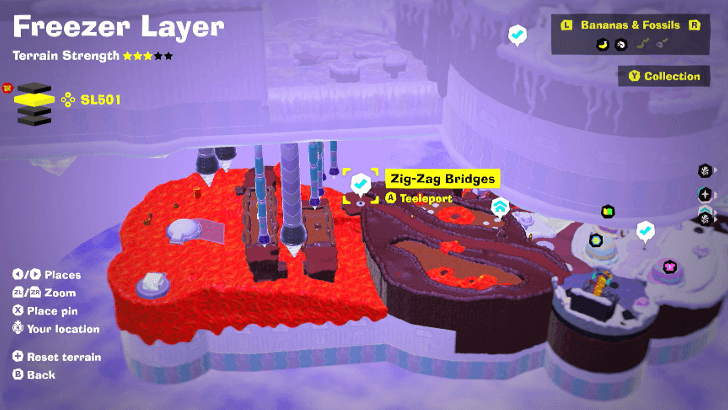 Go through the dirt and chocolate sprinkled path to the right of the Zebra Elder. At the end of the path is the Zig-Zag Bridges checkpoint. (SL 501) |
| Freezer Layer |
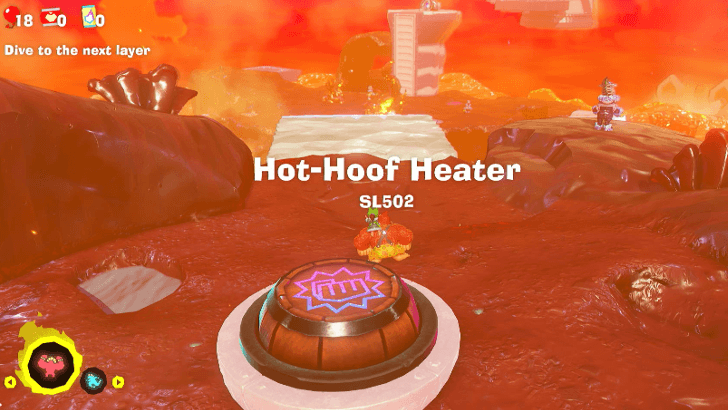 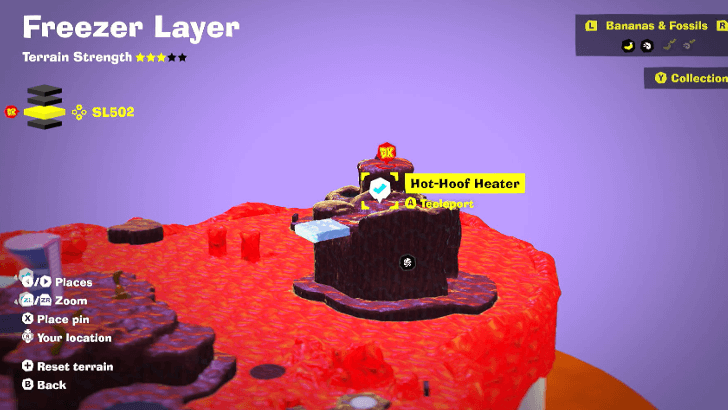 This is where you will arrive after dropping down from the Cooling Tower. (SL 502) |
| Freezer Layer |
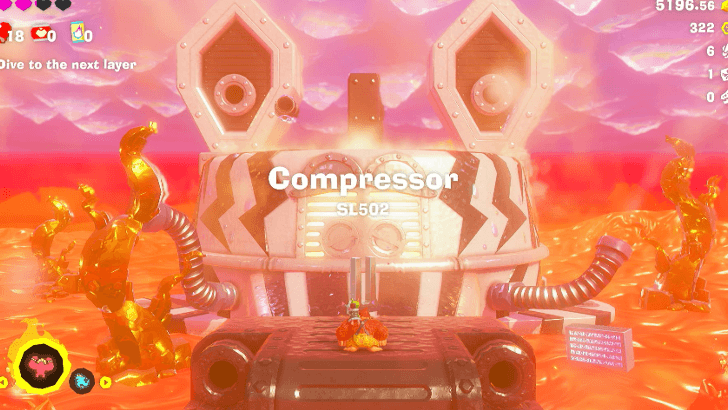 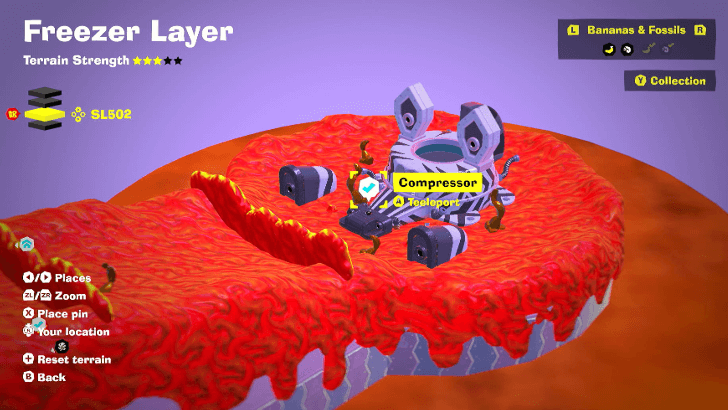 Found at the end of the Hot-Hoof Heater. You will need to activate an ice machine to cross the lava and reach the checkpoint. (SL 502) |
| Freezer Layer |
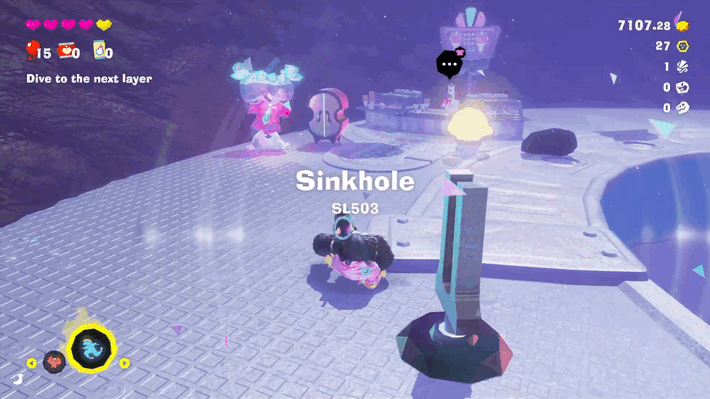 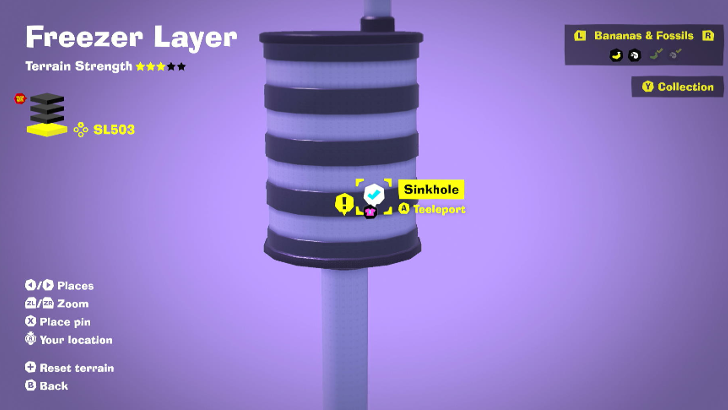 Revealed after defeating Inflammonite. (SL 503) |
| Forest Layer |
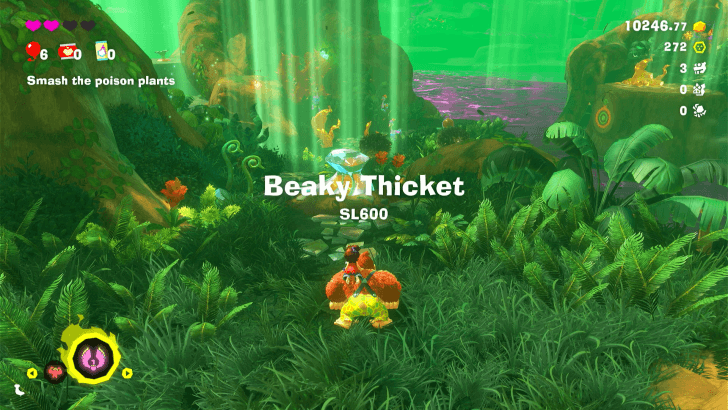 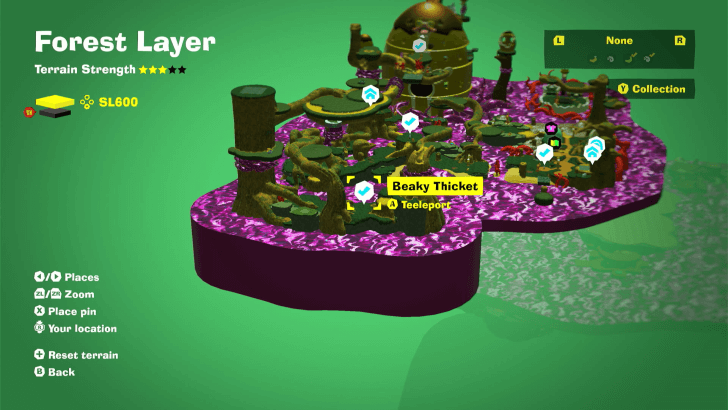 This is the starting point fo the Forest Layer. (SL 600) |
| Forest Layer |
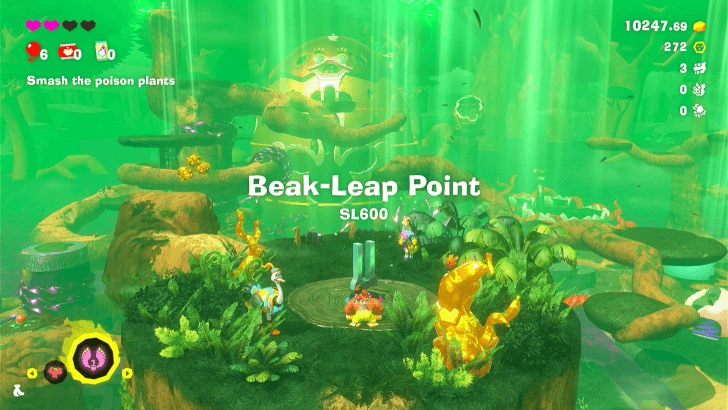 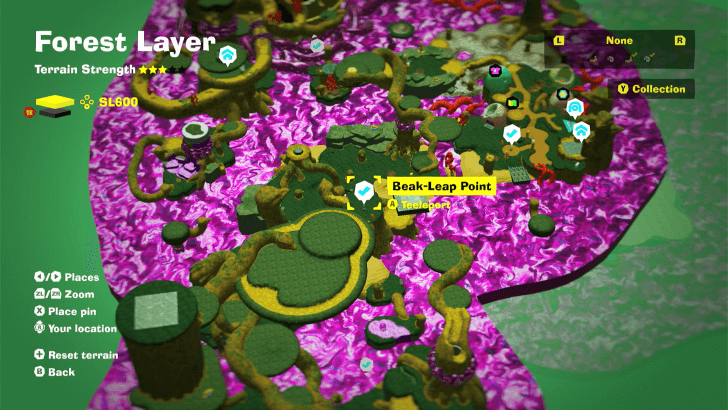 From the starting point of the layer, you can get here by crossing a seed-made bridge and following the path past some red thorns. (SL 600) |
| Forest Layer |
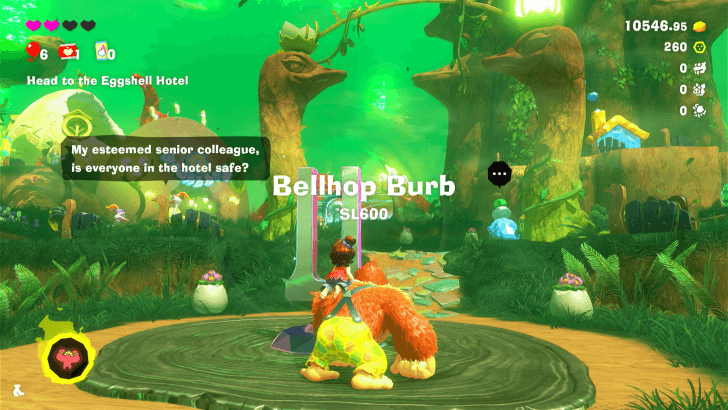 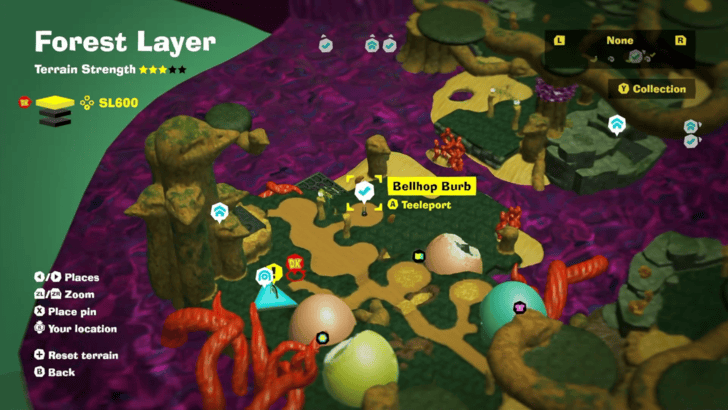 Upon dropping down from Beak-Leap Point, head right. Throw a seed to cross, and you should end up in Bellhop Burb. (SL 600) |
| Forest Layer |
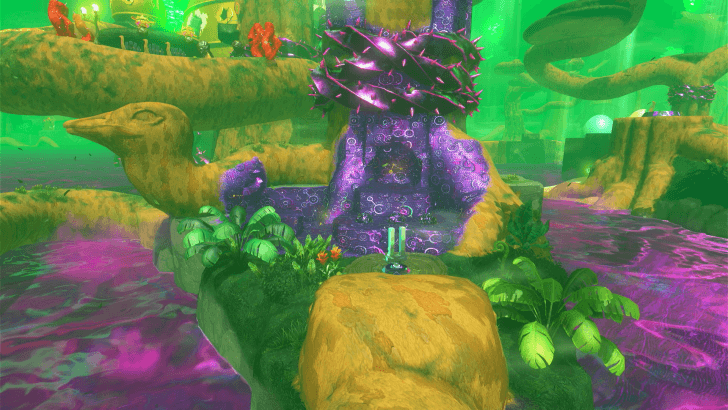 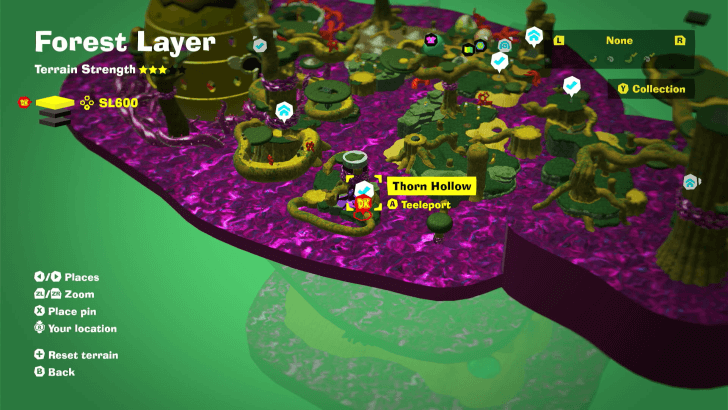 Found on an island with a large tree stump with purple thorns wrapped around it. It is located near the big tree. (SL 600) |
| Forest Layer |
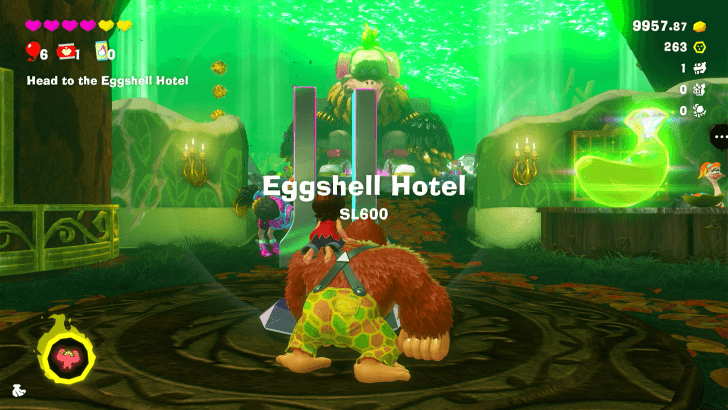 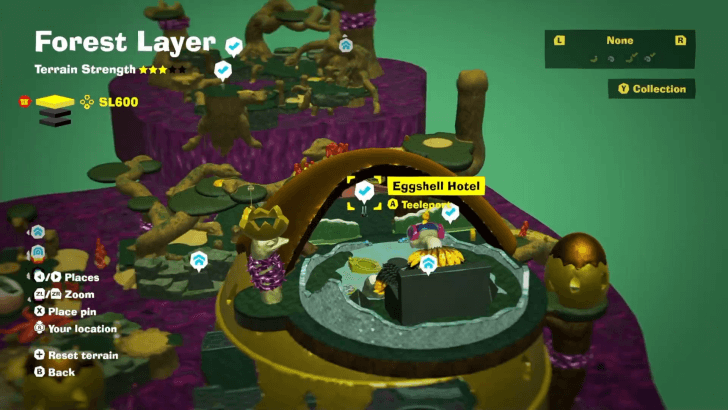 Climb up the big tree, and use the Barrel Cannon to enter Eggshell Hotel. The checkpoint is found right at the entrance. (SL 600) |
| Forest Layer |
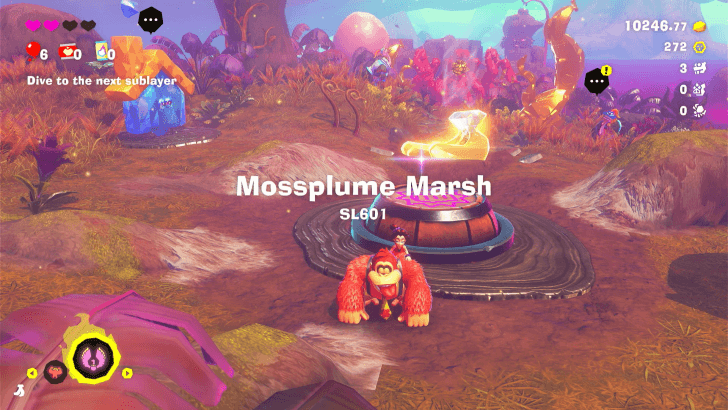 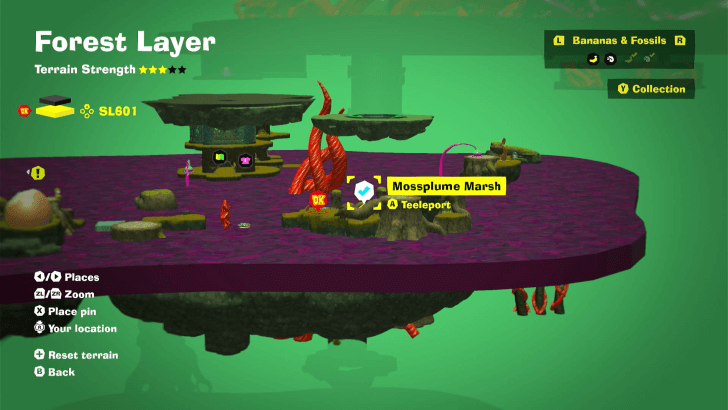 This is where you land upon diving down the Void Stake hole from SL 600. (SL 601) |
| Forest Layer |
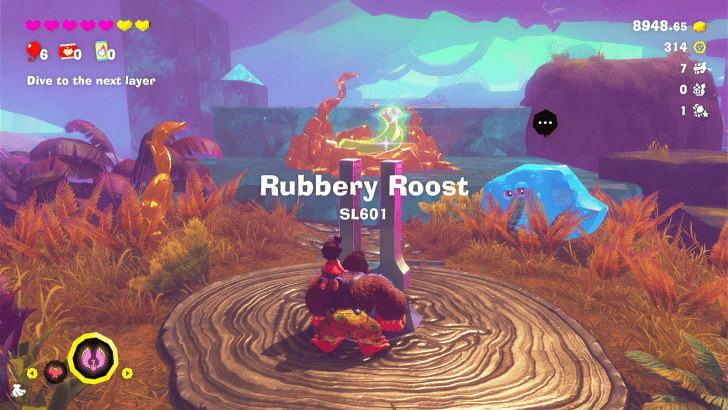 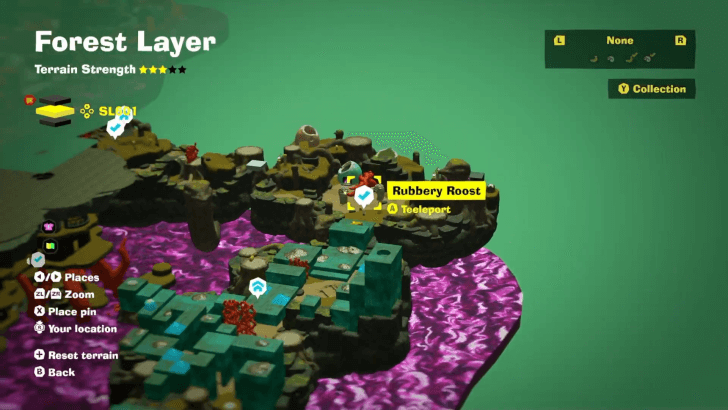 Found at the entrance of the rubber platform area of SL 601. (SL 601) |
| Forest Layer |
 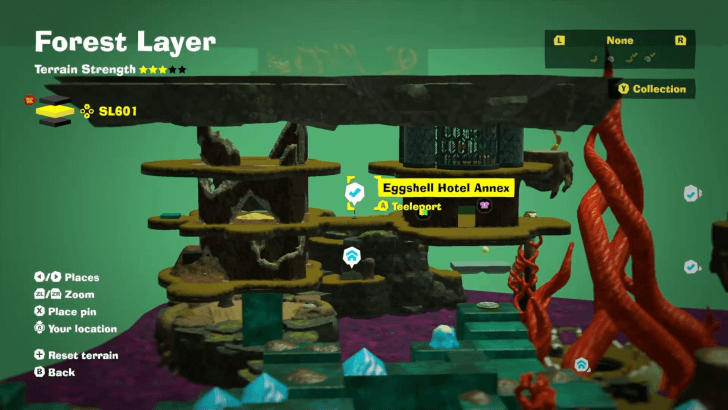 Found on the bridge past the Eggshell Hotel Annex shops. (SL 601) |
| Forest Layer |
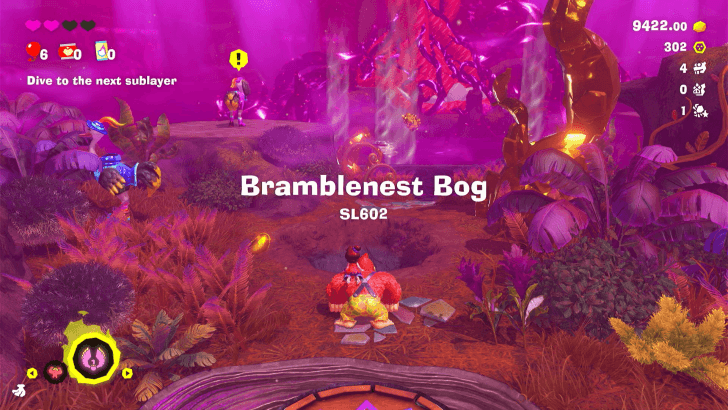 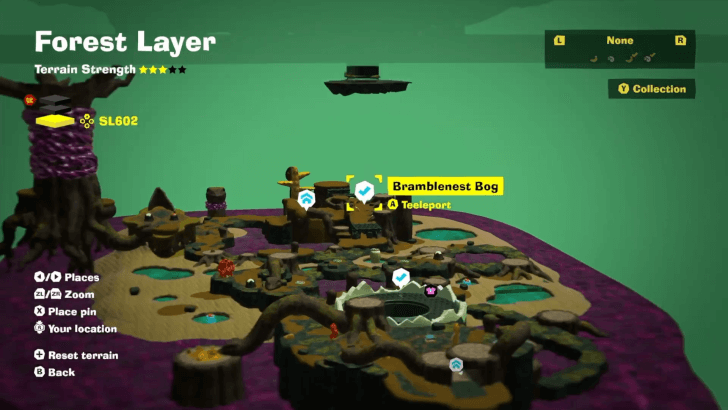 This is where you land upon diving from the hole left by the Void Stake in Sublayer 601. (SL 602) |
| Forest Layer |
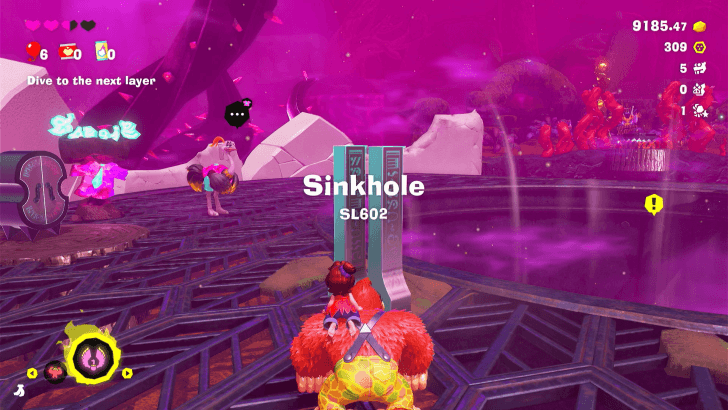 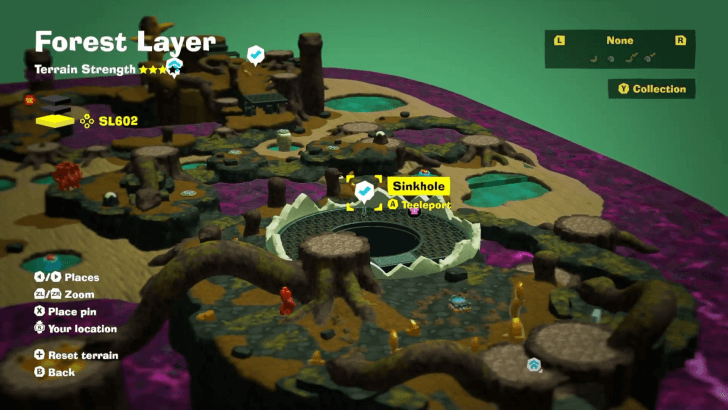 Appears after destroying the Void Stake left by Abracajabya. (SL 602) |
| The Junction |
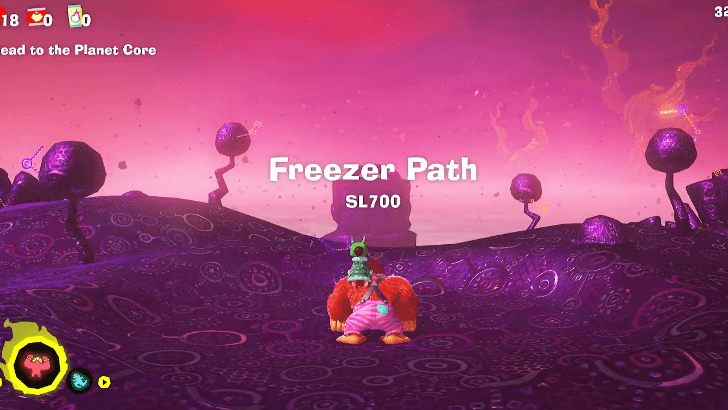 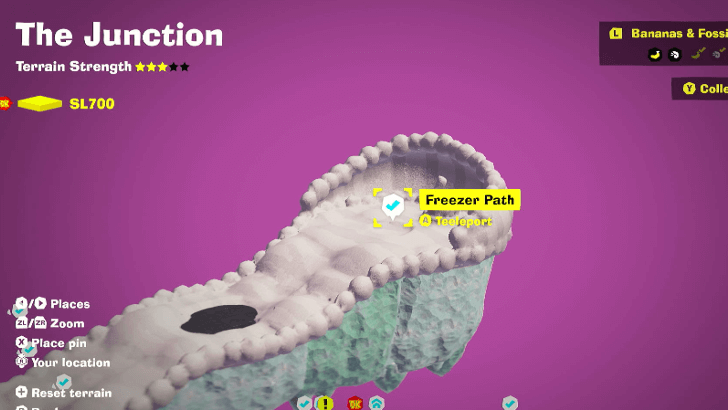 This is where you land in The Junction when coming from the Freezer Layer. (SL 700) |
| The Junction |
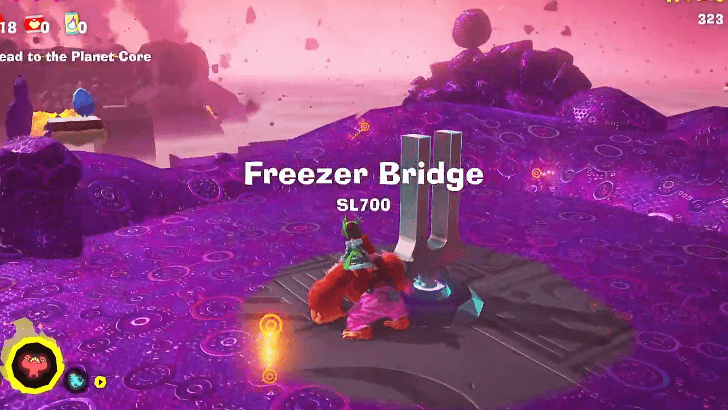 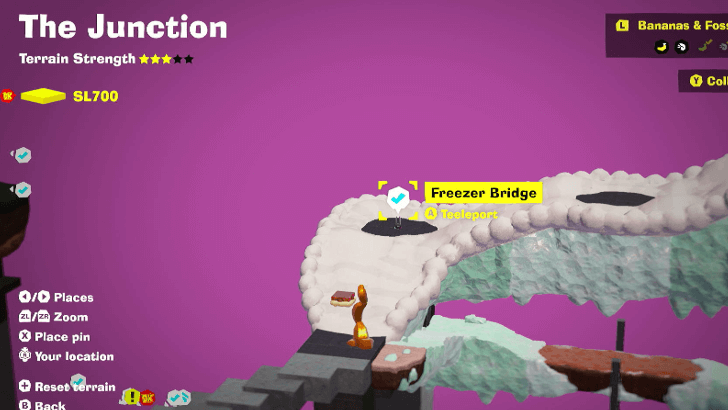 Found in the middle of the Freezer Path of the Junction. (SL 700) |
| The Junction |
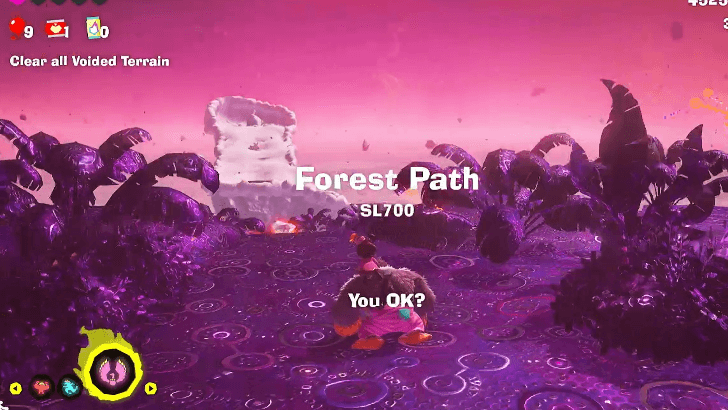 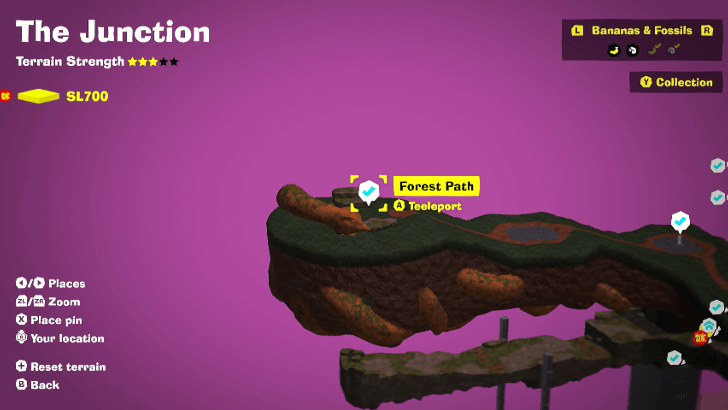 This is where you land in The Junction when coming from the Forest Layer. (SL 700) |
| The Junction |
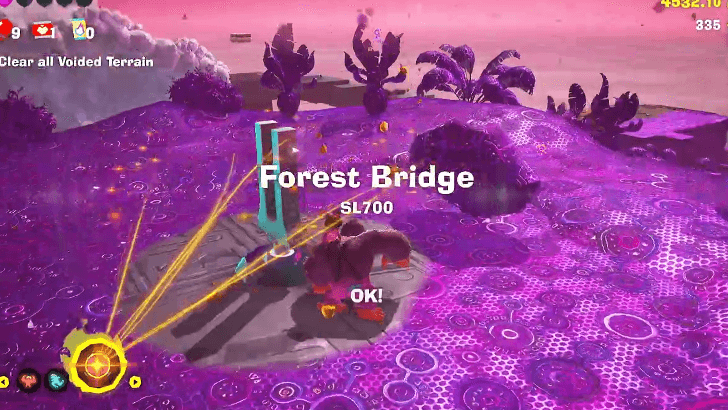 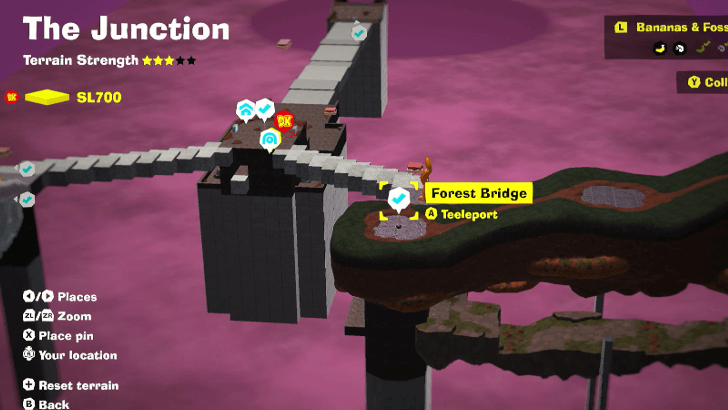 Found in the middle of the Forest Path of the Junction. (SL 700) |
| The Junction |
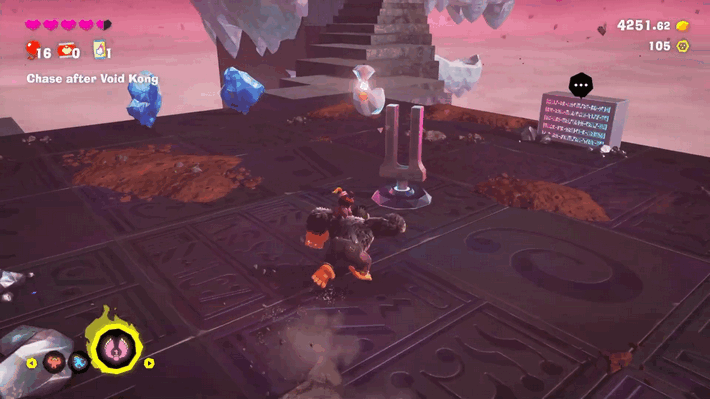 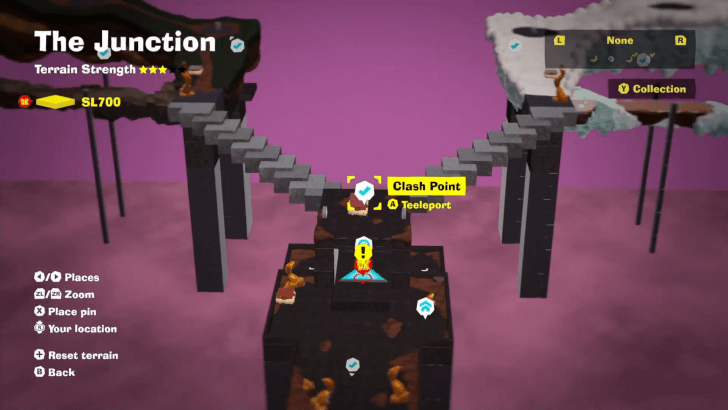 Found at the center of The Junction where the Forest and Freezer paths converge. (SL 700) |
| The Junction |
 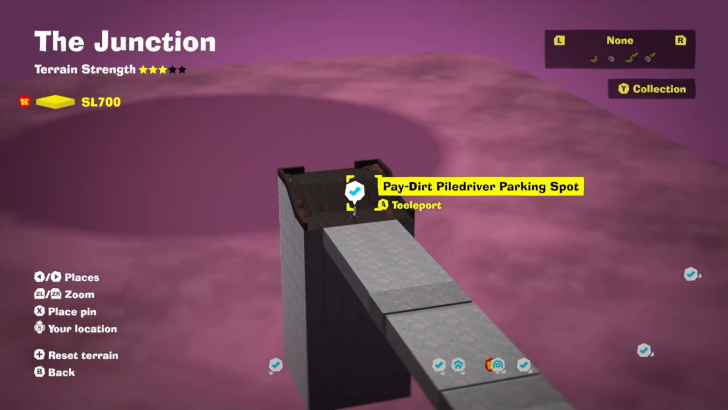 Found at the end of The Junction. (SL 700) |
| Resort Layer |
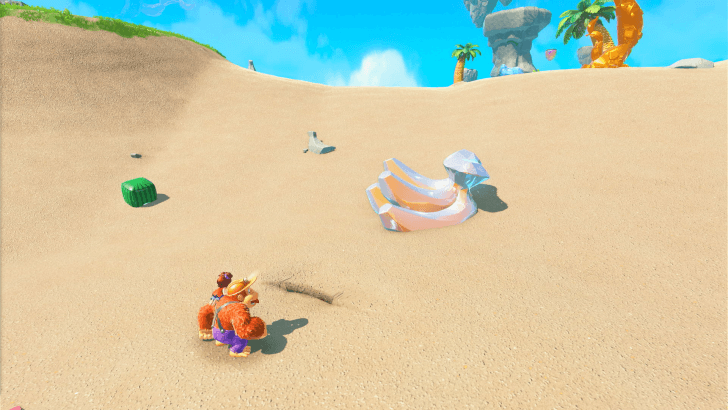 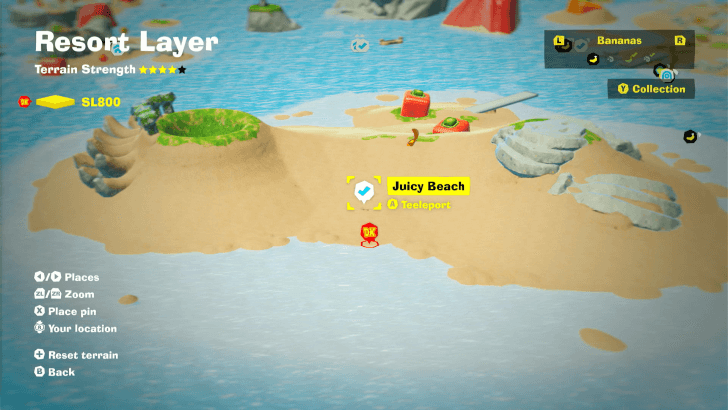 This is where you land in the Resort Layer when coming from The Junction. (SL 800) |
| Resort Layer |
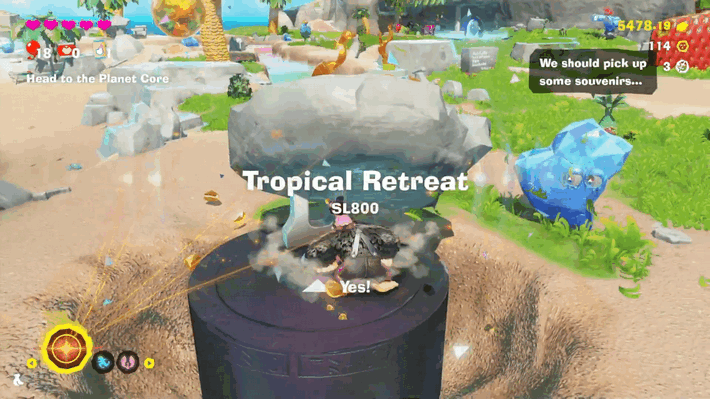 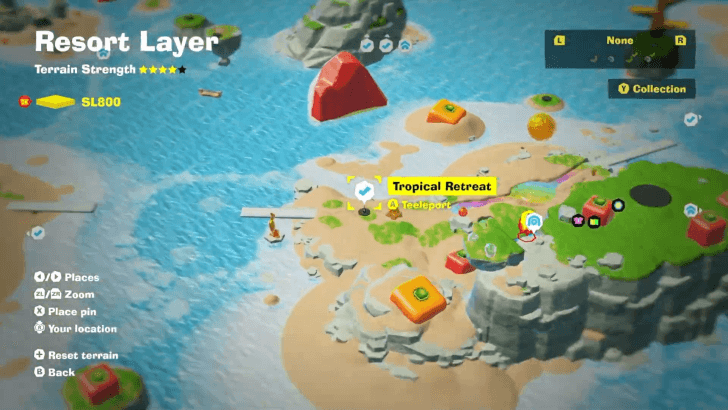 Found at the beach of the Tropical Retreat. (SL 800) |
| Resort Layer |
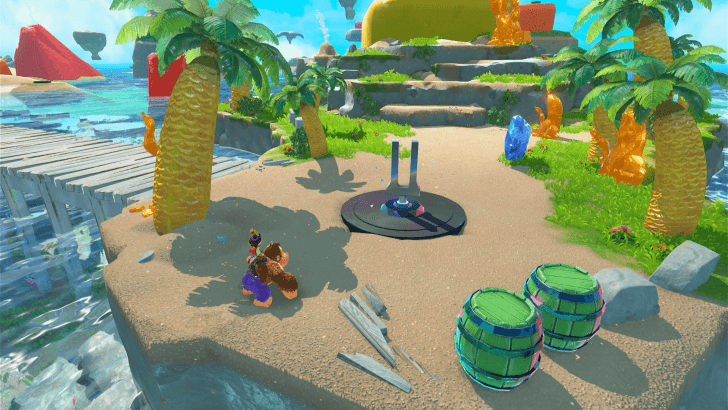 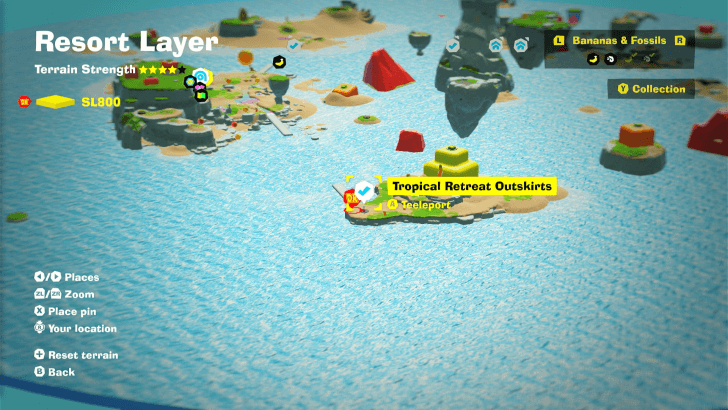 Located near the floating islands leading to the Skydive Isle. (SL 800) |
| Resort Layer |
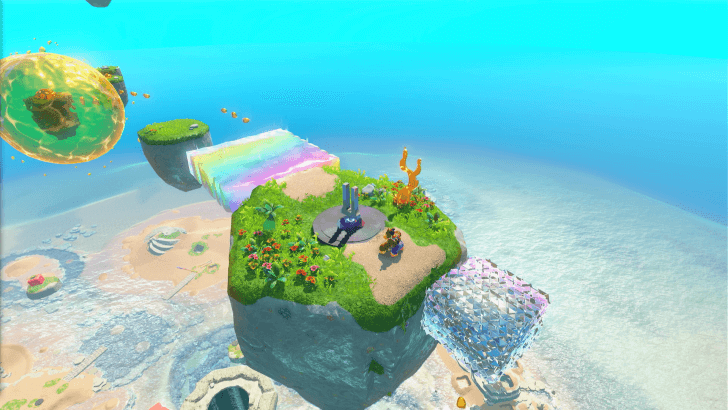 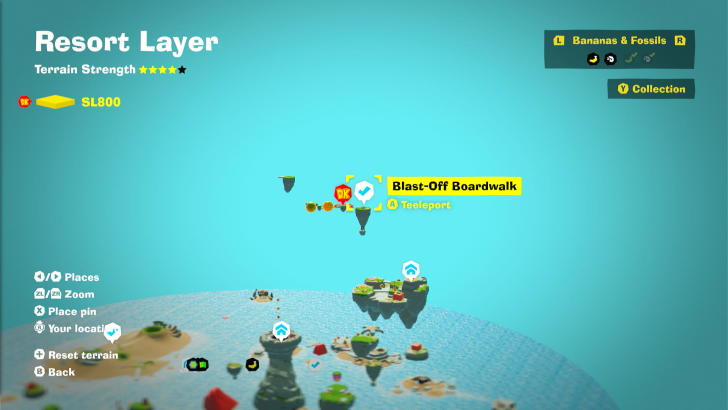 Found on a floating platform in the sky, above the watermelon. (SL 800) |
| Resort Layer |
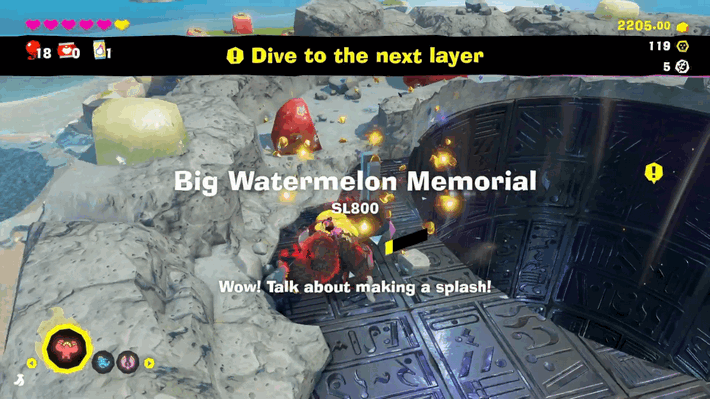 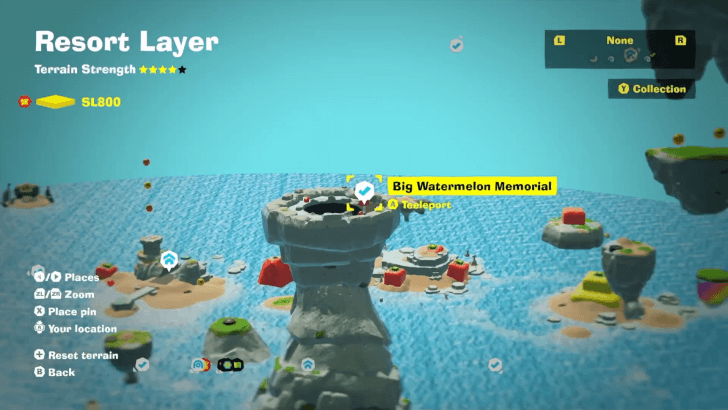 This marks the location of where the big watermelon used to be after you destroy it. (SL 800) |
| Tempest Layer |
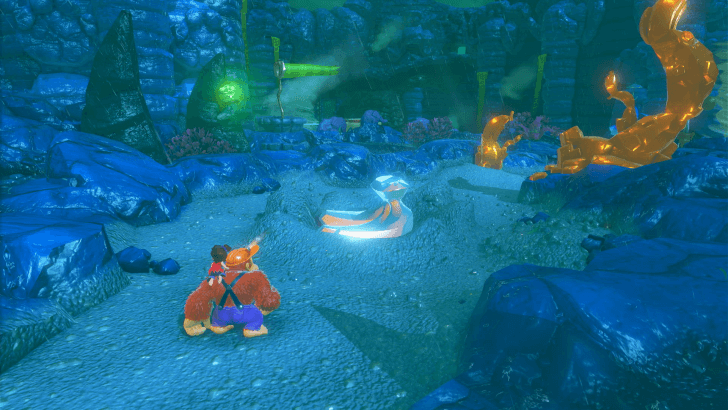 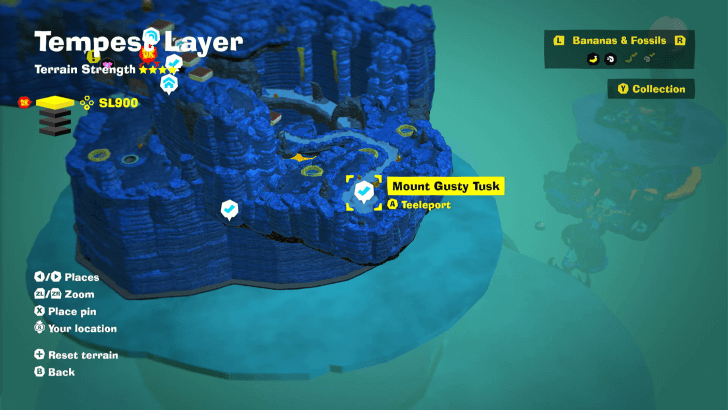 This is the starting point of the Tempest Layer when you drop down from the Resort Layer. (SL 900) |
| Tempest Layer |
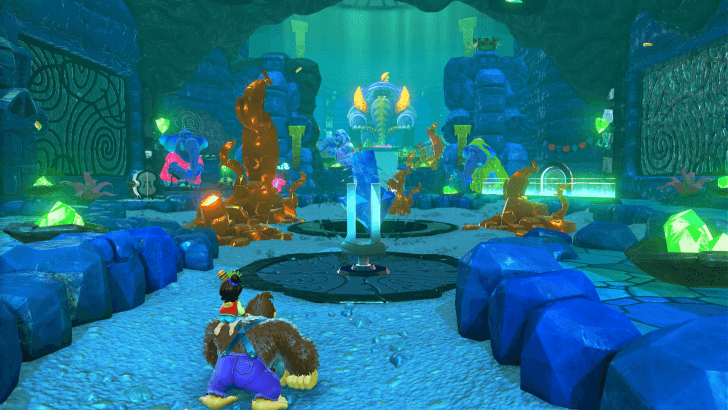 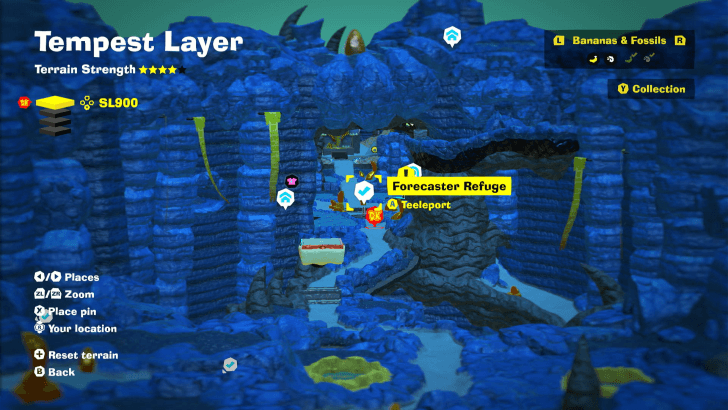 Located near the entrance to the Elephant Elder's room. (SL 900) |
| Tempest Layer |
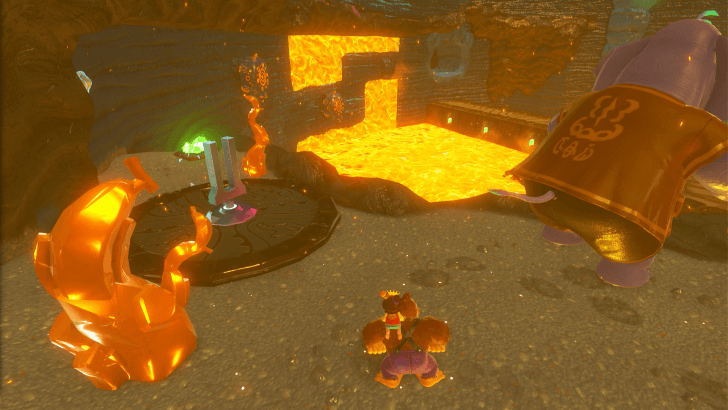 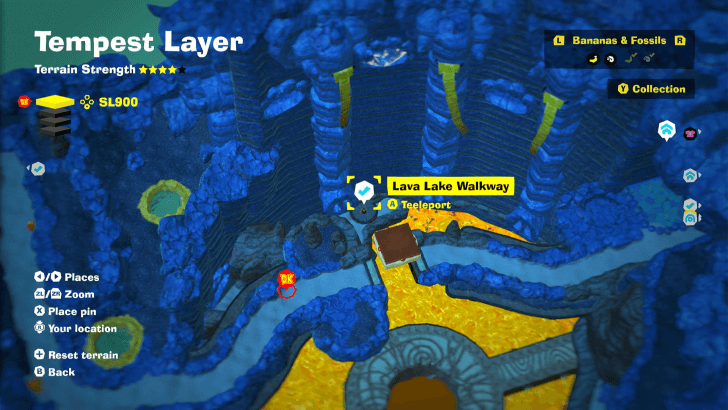 Located below the Forecaster Refuge near the lava pool. (SL 900) |
| Tempest Layer |
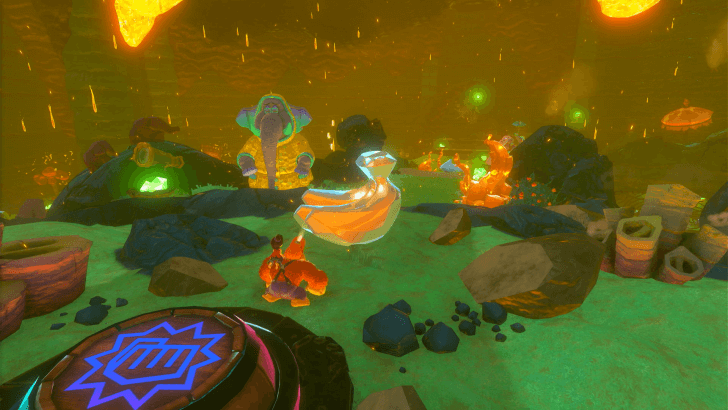 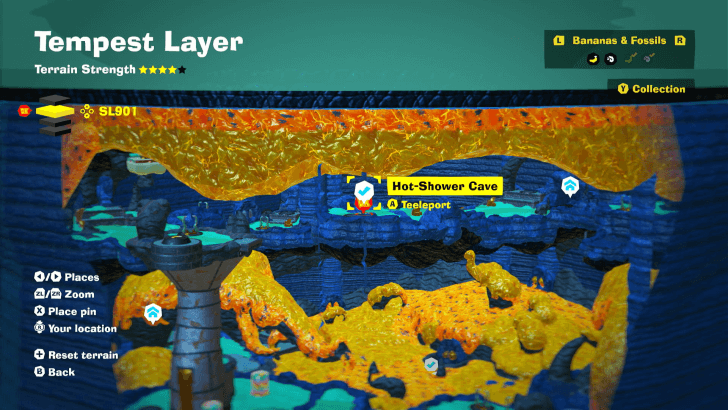 This is where you land after dropping down to SL 901 from Forecaster Refuge. (SL 901) |
| Tempest Layer |
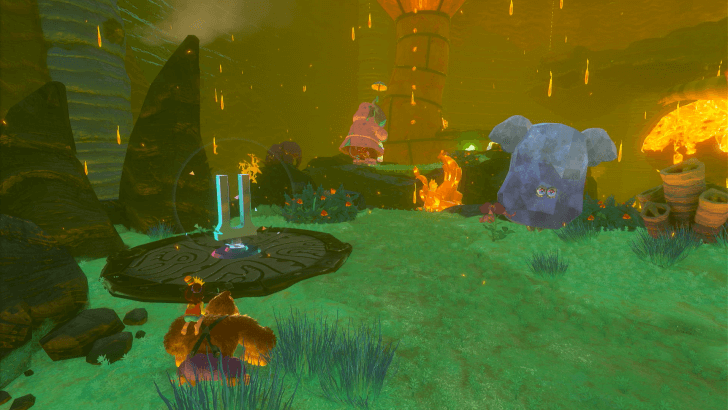 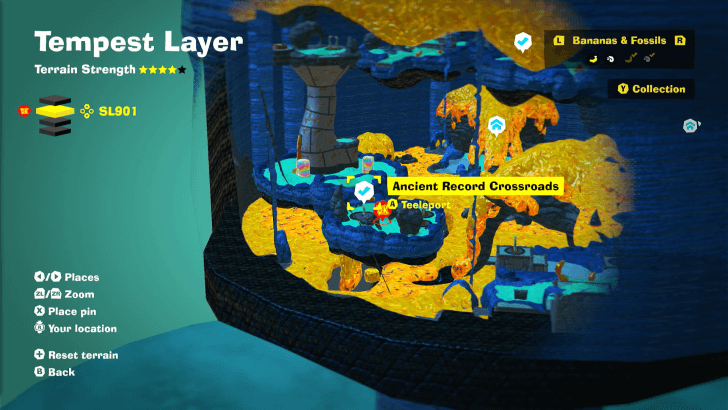 Located below Hot-Shower Cave. (SL 901) |
| Tempest Layer |
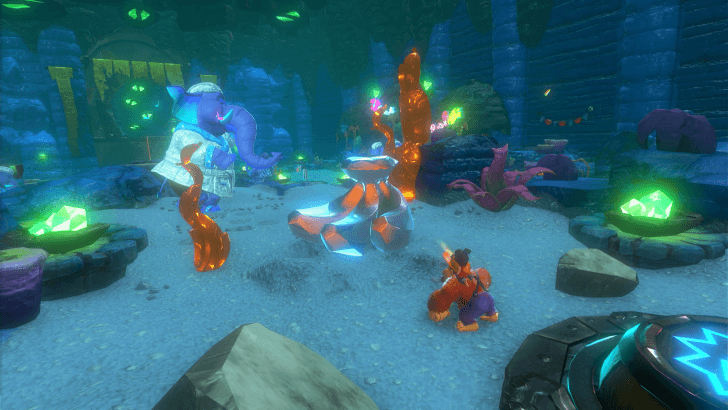 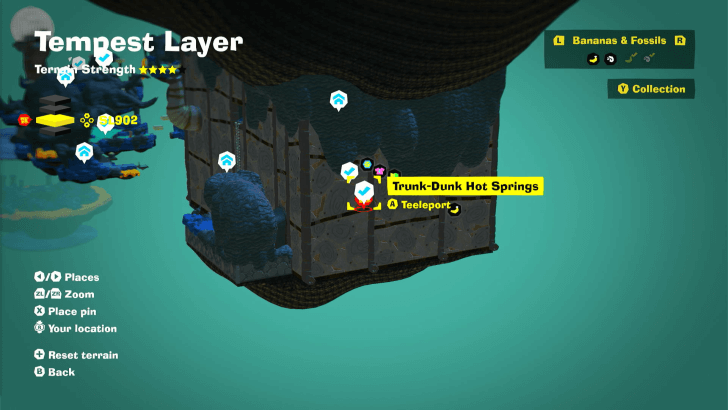 This is where you land after dropping down to SL 902 from Hot-Shower Cave. (SL 902) |
| Tempest Layer |
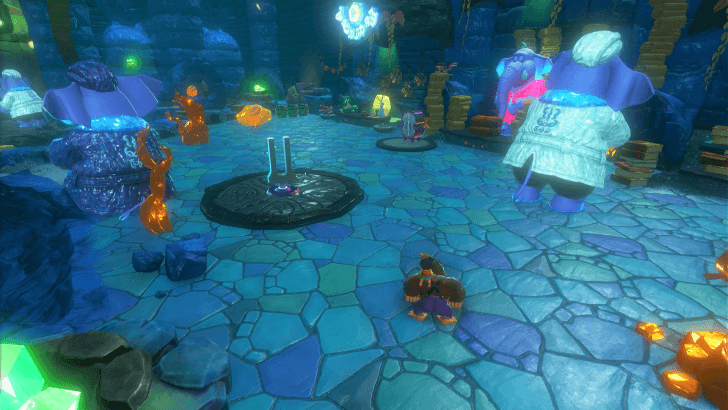 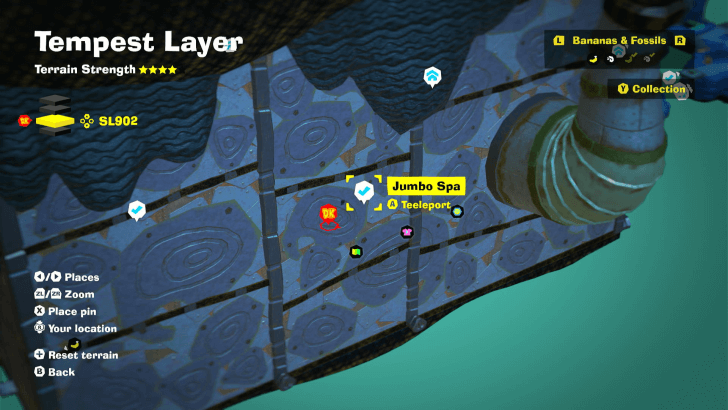 Located at Trunk-Dunk Hot Springs near the shops. (SL 902) |
| Tempest Layer |
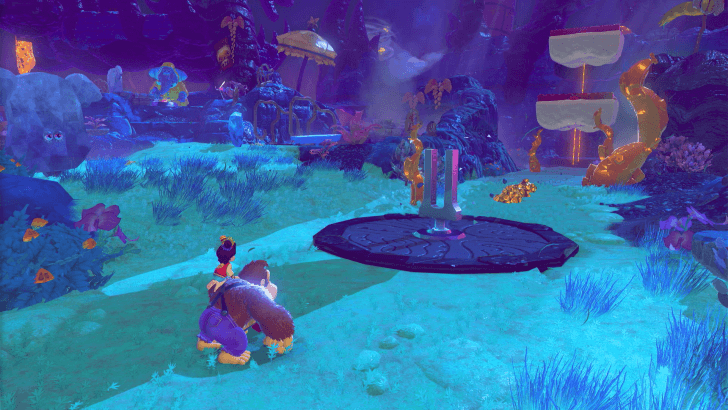 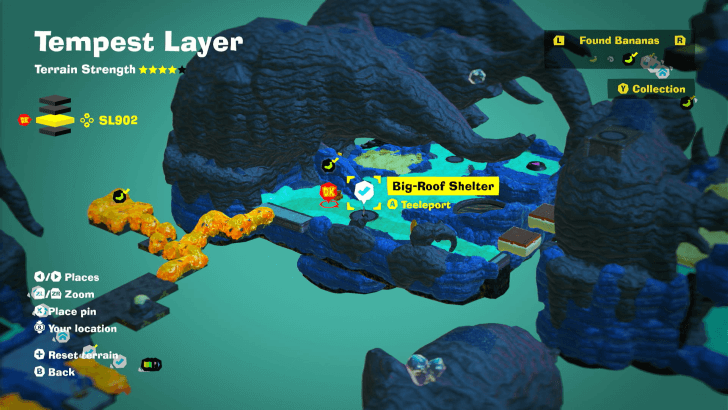 Located near Cliff-Edge Getaway in the middle of Sublayer 902. (SL 902) |
| Tempest Layer |
 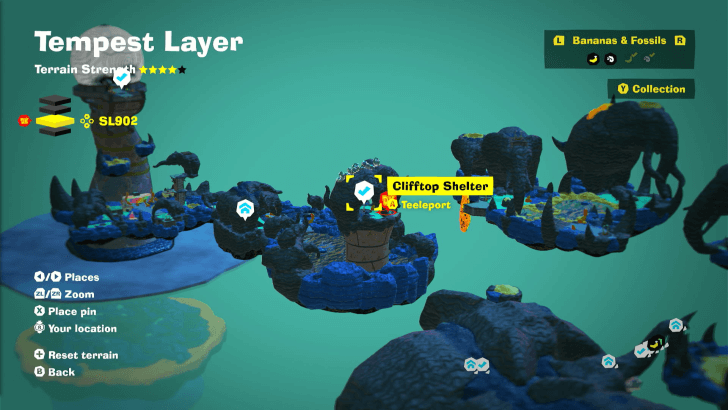 Located near Thundery Getaway before you reach the Stormy Station. (SL 902) |
| Tempest Layer |
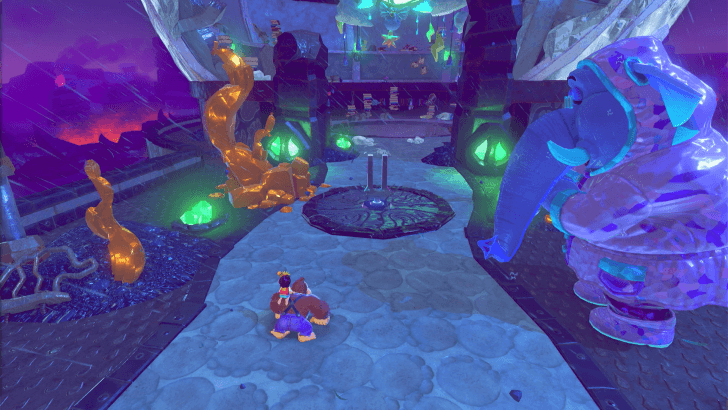 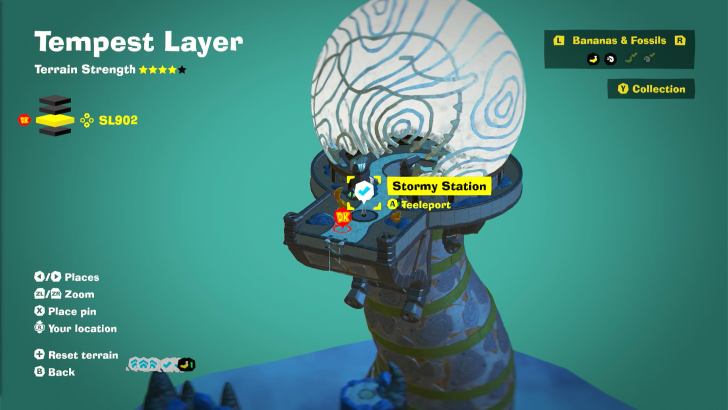 Located at the entrance to the station. (SL 902) |
| Tempest Layer |
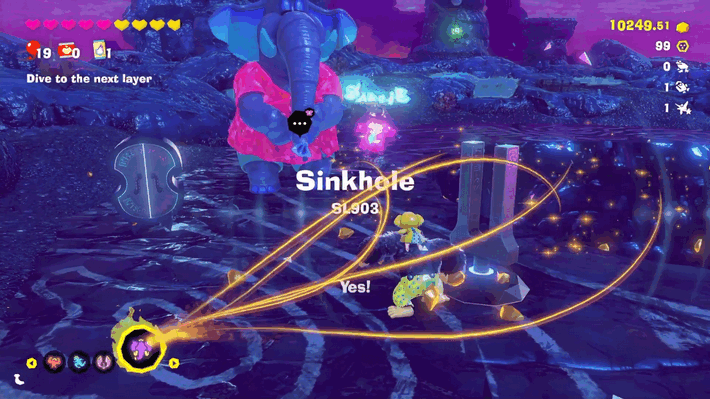 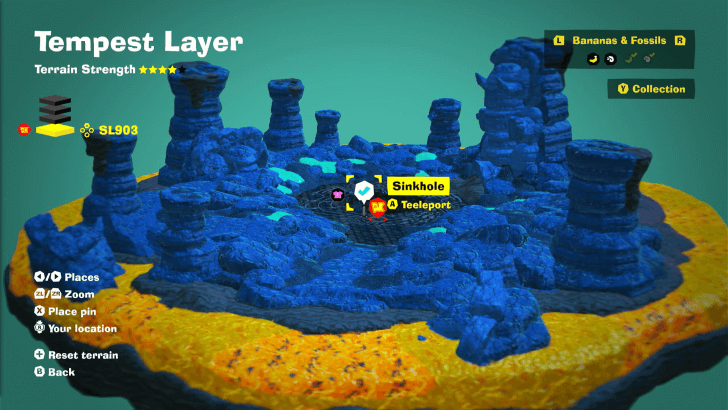 Appears once the skinhole opens up after destroying the Void Stake left by Sinister Blusterwing. (SL 903) |
| Landfill Layer |
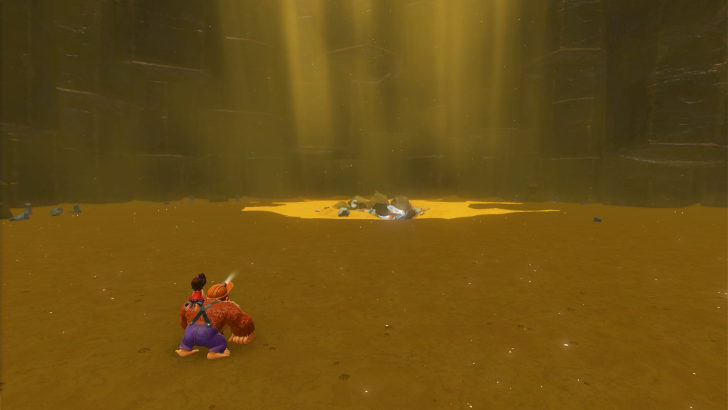 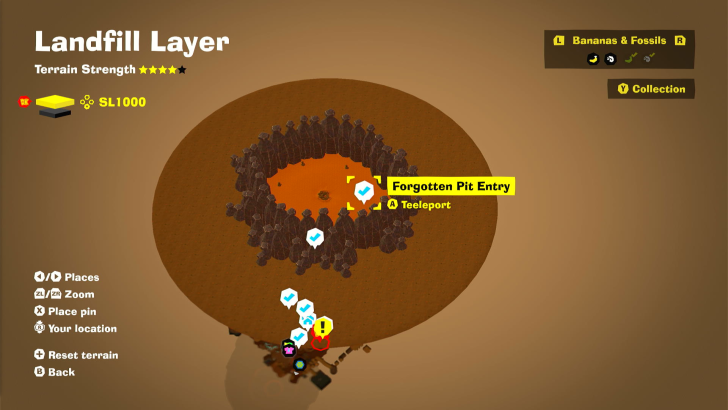 This is the starting point of the Landfill Layer when you drop down from the Tempest Layer. (SL 1000) |
| Landfill Layer |
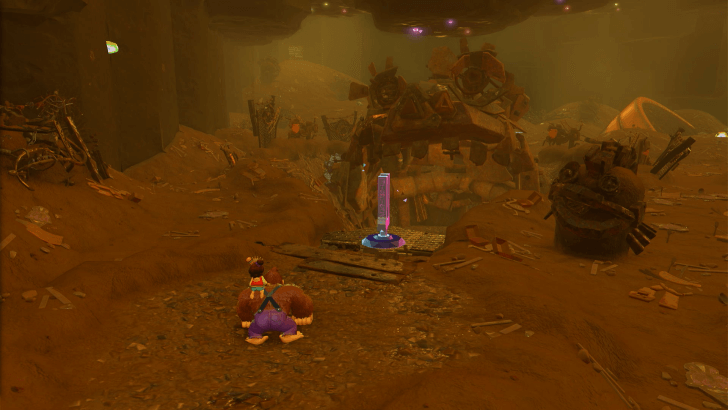 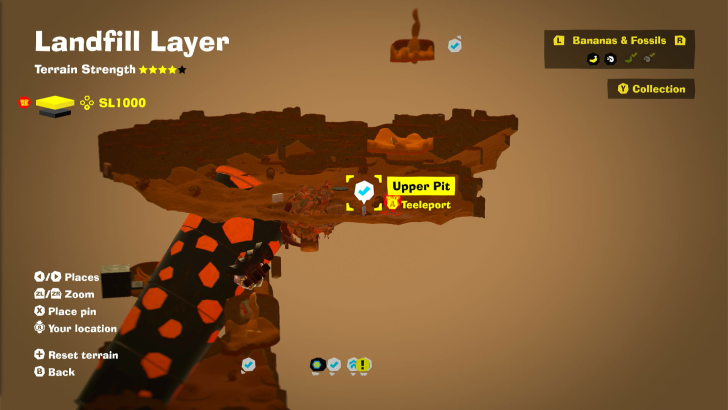 Located below the Forgotten Pit Entry. (SL 1000) |
| Landfill Layer |
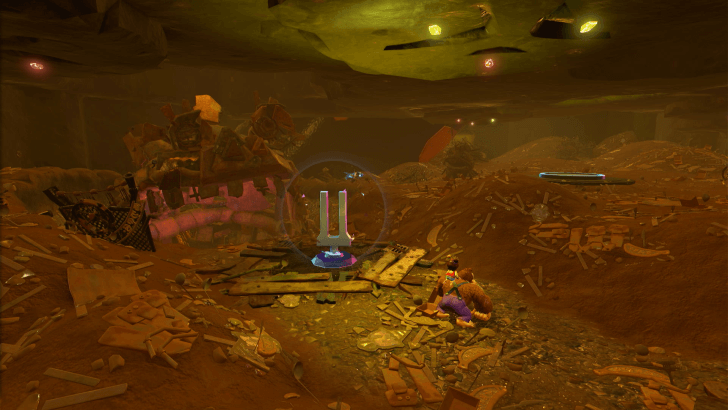 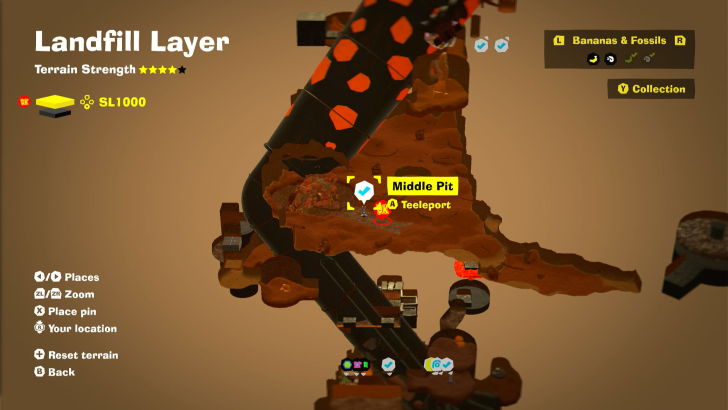 Located below the Upper Pit. (SL 1000) |
| Landfill Layer |
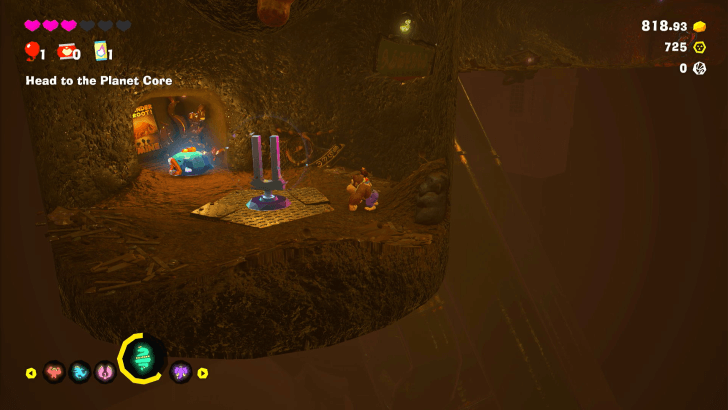 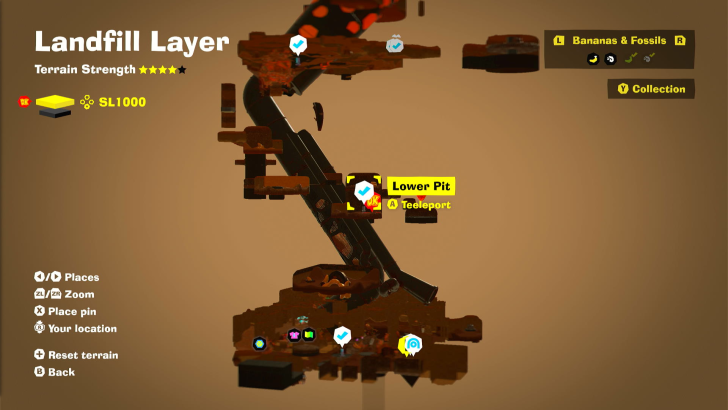 Located below the Middle Pit. (SL 1000) |
| Landfill Layer |
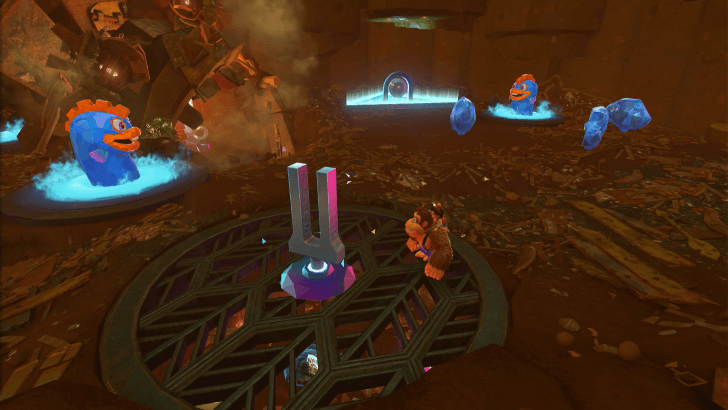 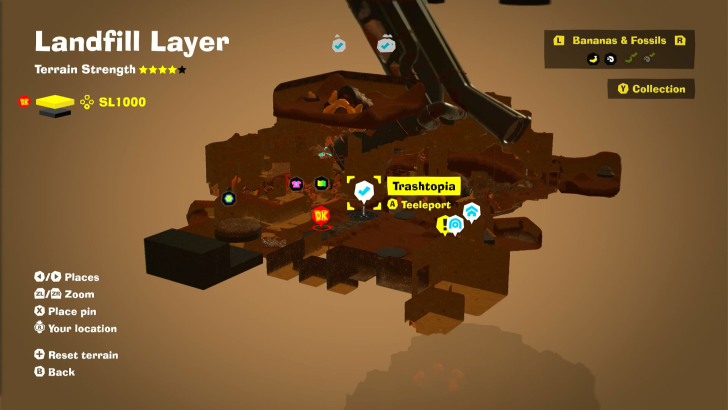 Located below the Lower Pit and next to the Warp Gong. (SL 1000) |
| Landfill Layer |
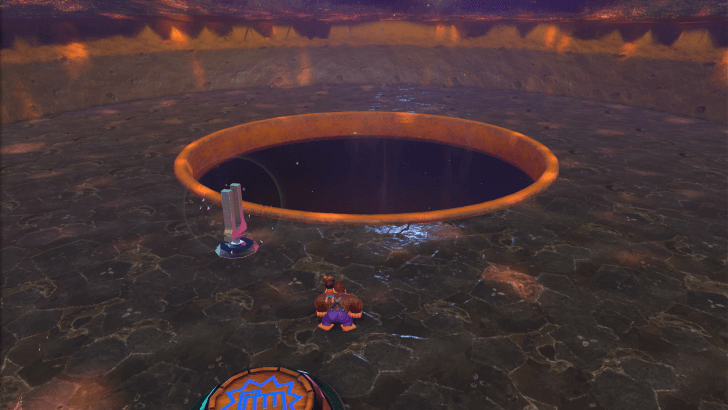 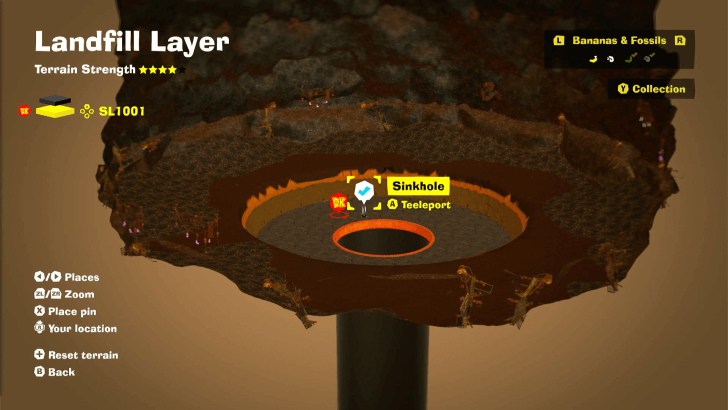 Revealed after beating Re-Peekabruiser and destroying the Void Stake in Landfill Layer. (SL 1001) |
| Racing Layer |
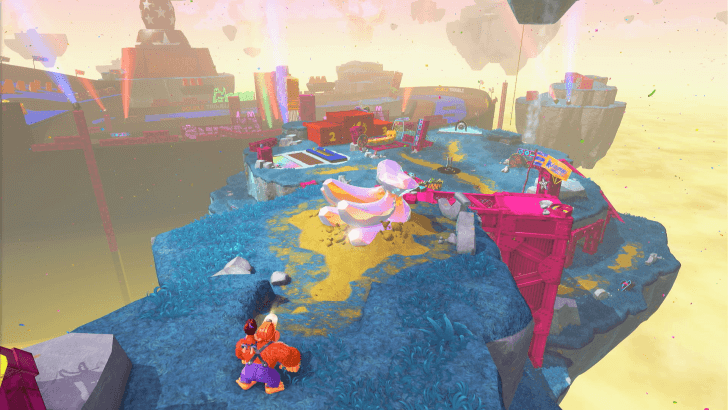 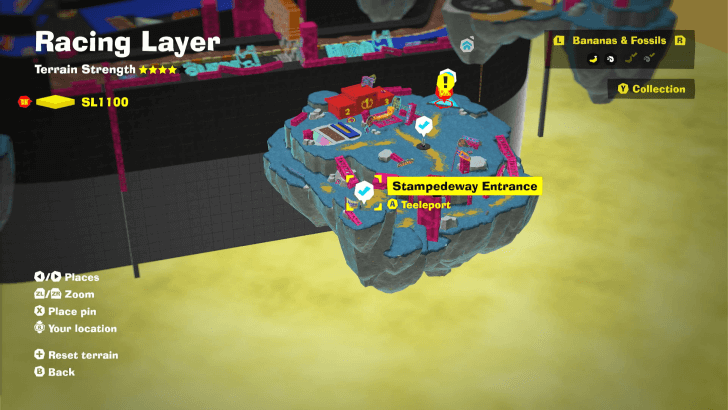 This is where you land after dropping down from the Landfill Layer. (SL 1100) |
| Racing Layer |
 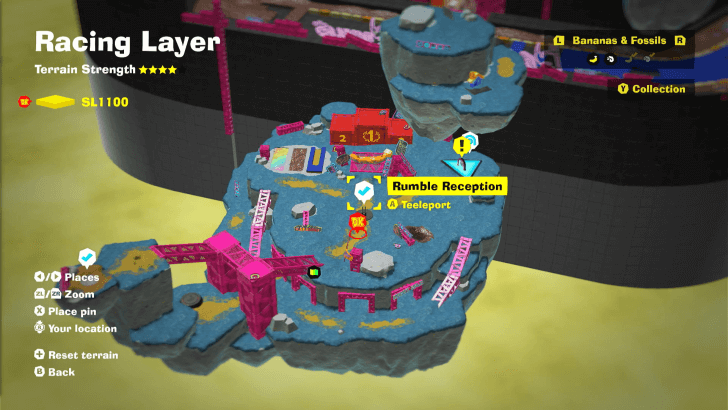 Located at the center of the island. (SL 1100) |
| Radiance Layer |
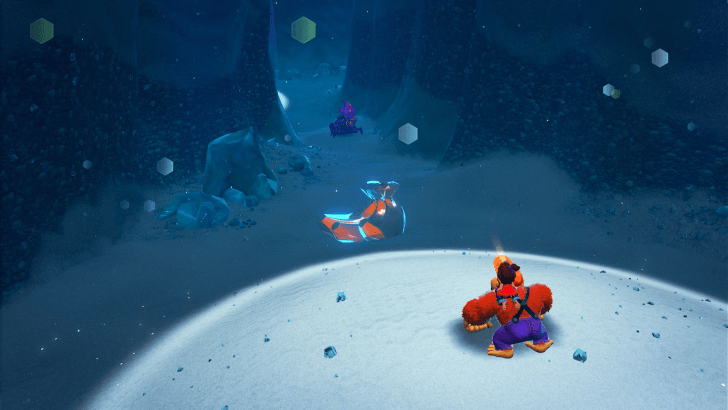 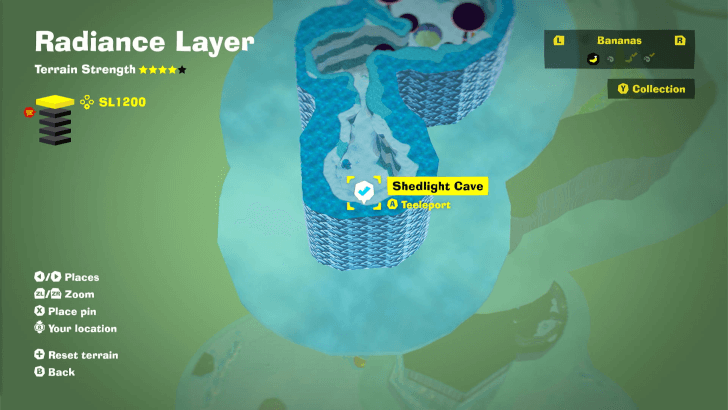 This is the starting point of the Radiance Layer upon dropping down from the Racing Layer. (SL 1200) |
| Radiance Layer |
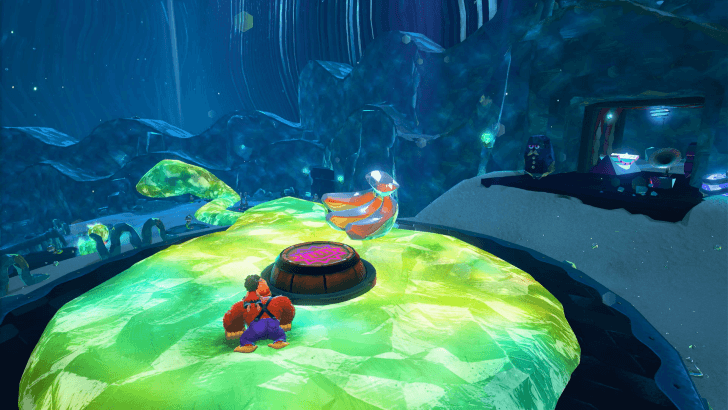 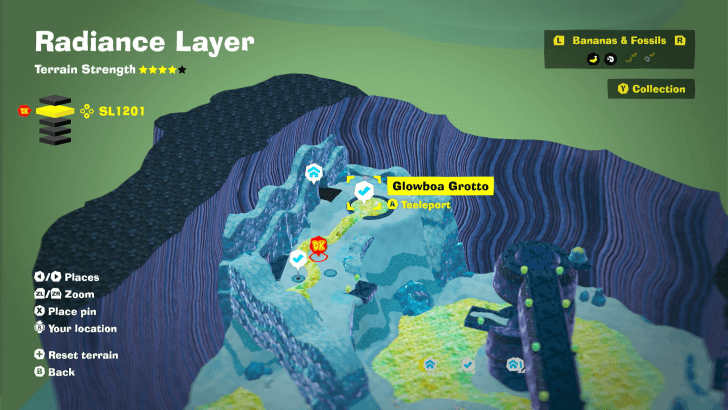 This is where you land upon dropping down from Sublayer 1200. (SL 1201) |
| Radiance Layer |
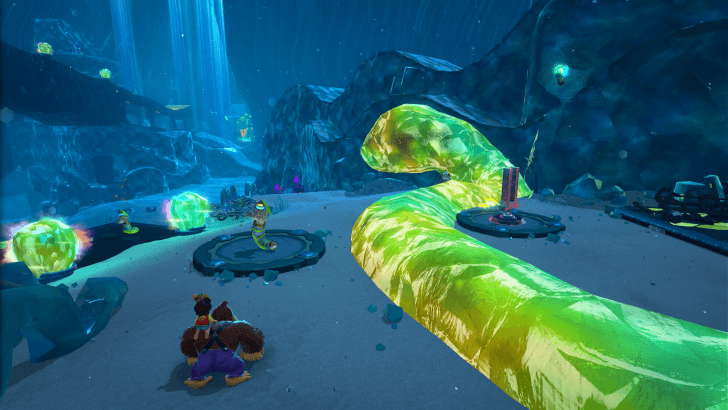 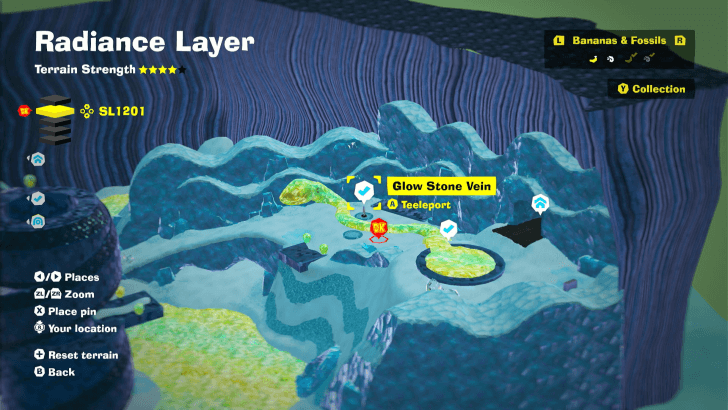 Located at Glowboa Grotto. (SL 1201) |
| Radiance Layer |
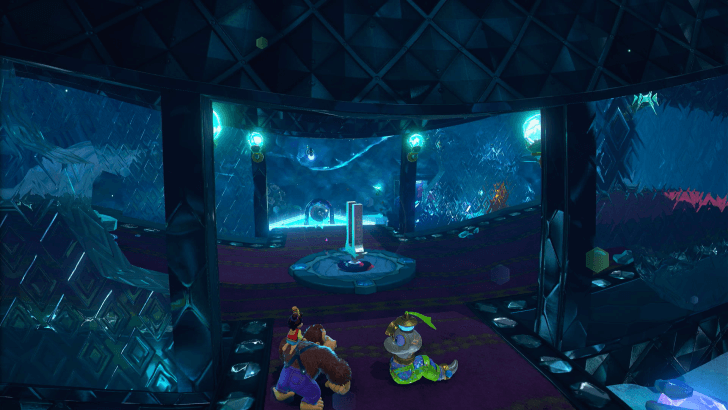 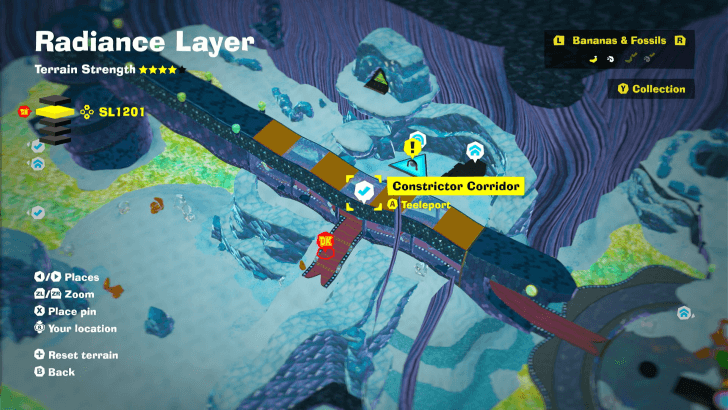 Located near the Radiance Layer Warp Gong. (SL 1201) |
| Radiance Layer |
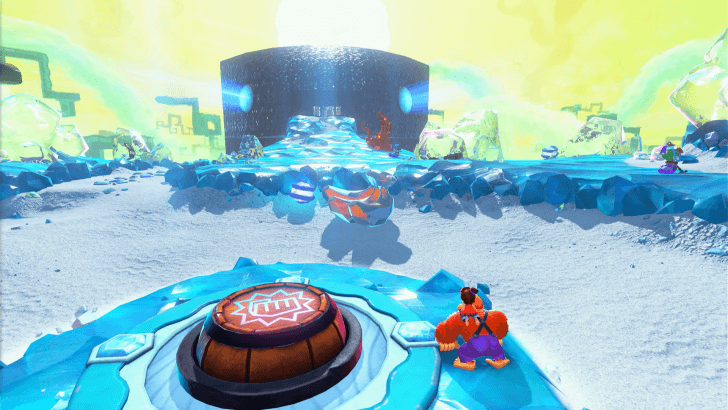 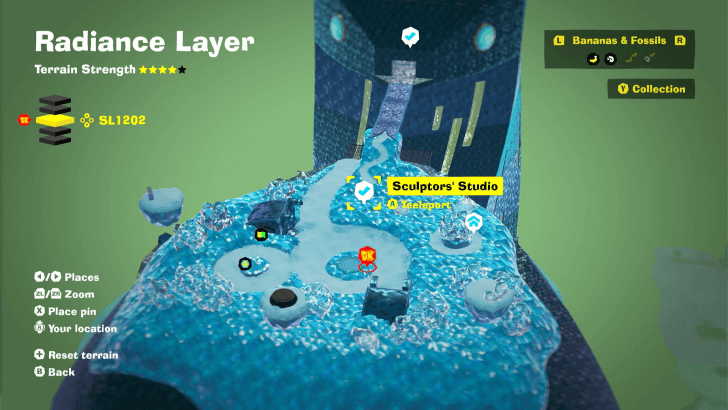 This is where you land upon dropping down from Sublayer 1201. (SL 1202) |
| Radiance Layer |
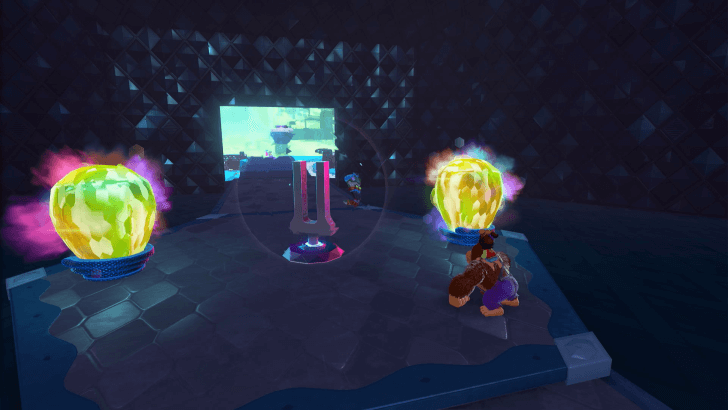 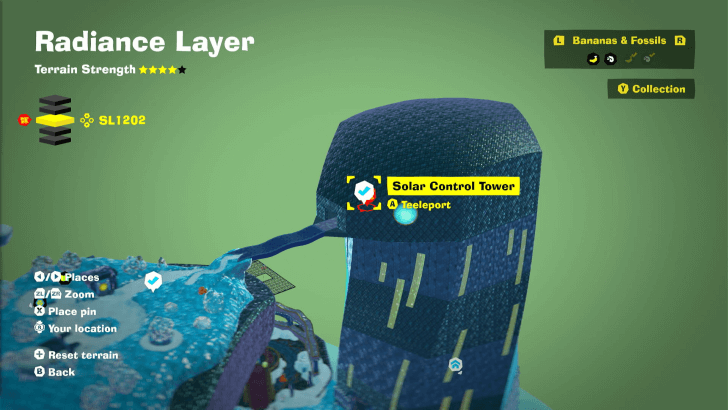 Located across the bridge from the Sculptors' Studio. (SL 1202) |
| Radiance Layer |
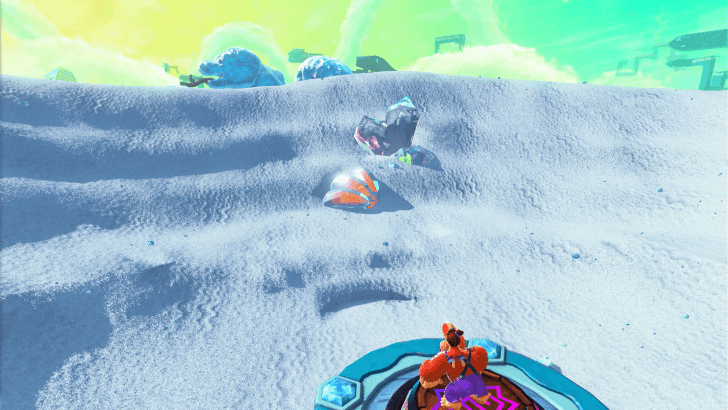 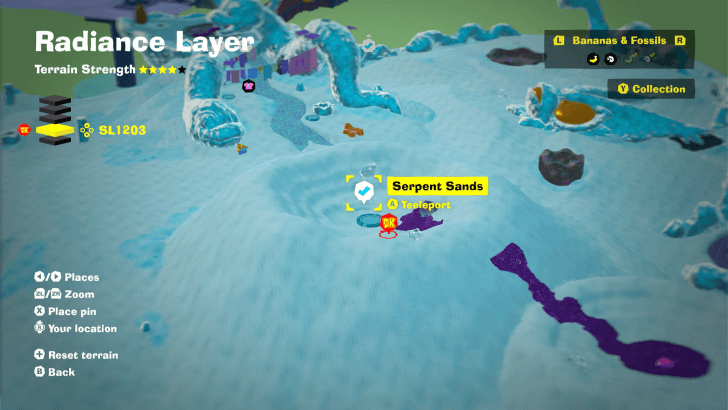 This is where you land upon dropping down from Sublayer 1202. (SL 1203) |
| Radiance Layer |
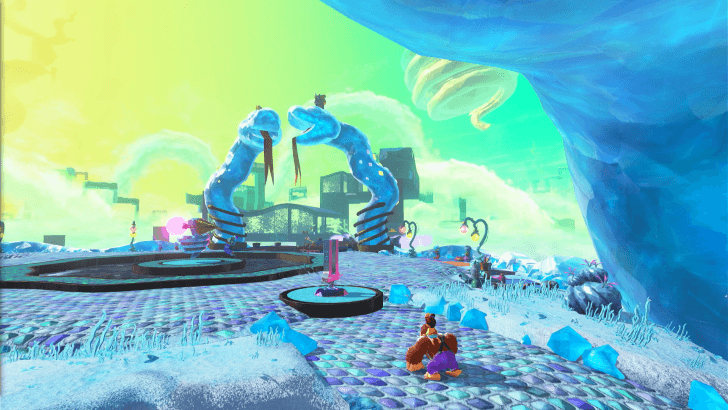 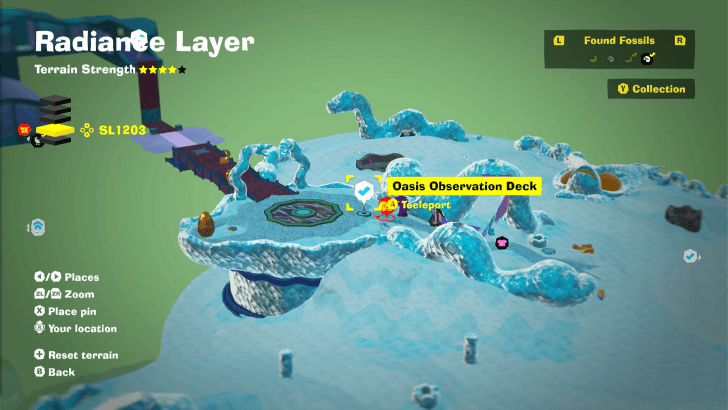 Located near the Serpent Sands and the blue snake structures. (SL 1203) |
| Radiance Layer |
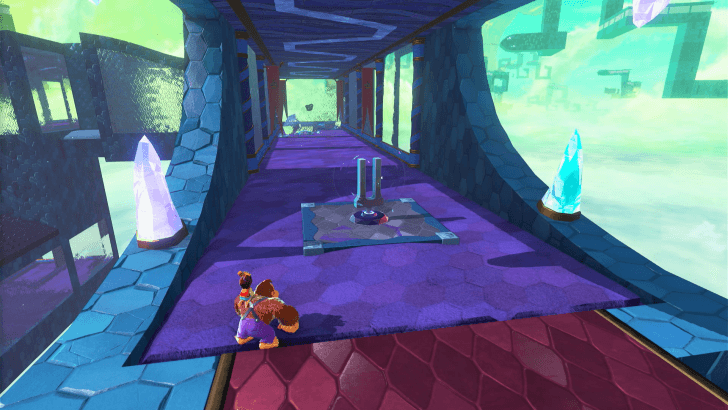 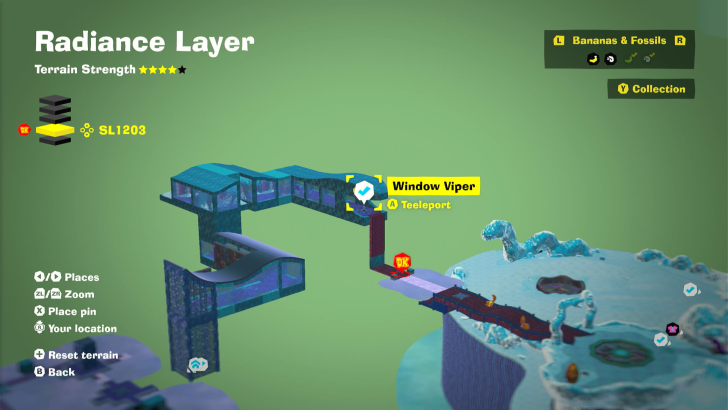 Can be reached by climbing up the wall straight ahead from the Oasis Observation Deck. (SL 1203) |
| Radiance Layer |
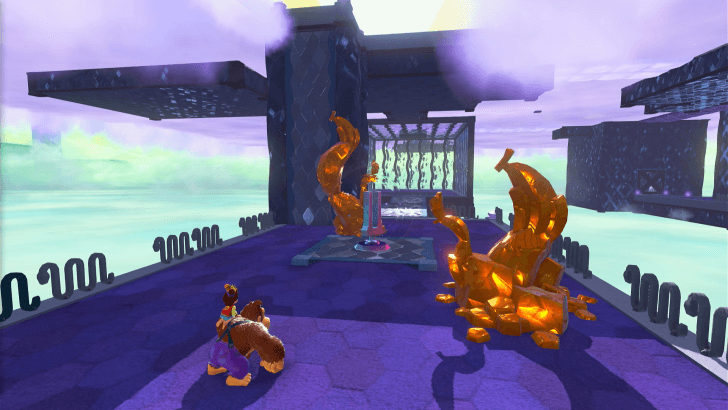 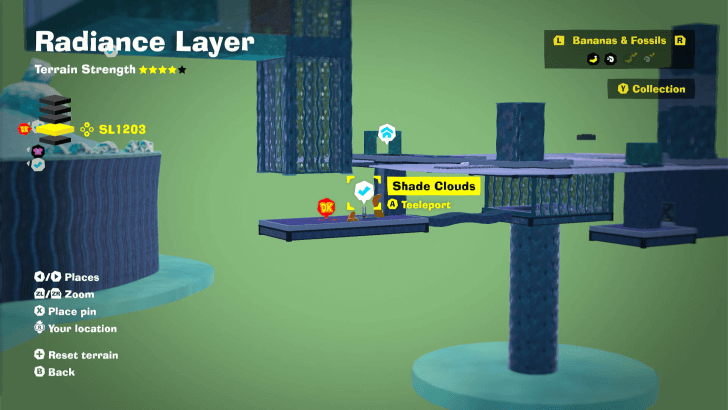 Located near the end of the Window Viper area. (SL 1203) |
| Radiance Layer |
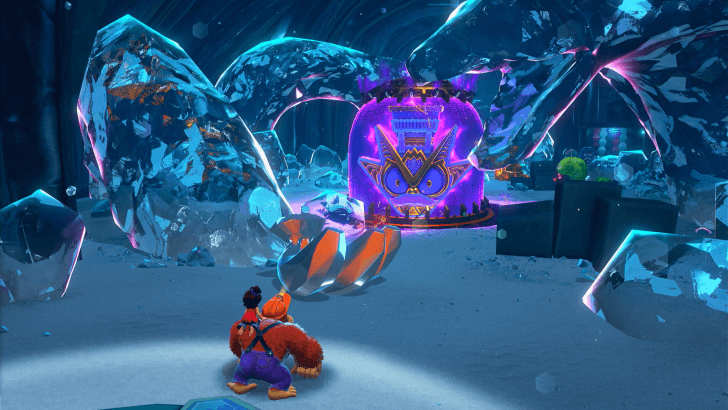 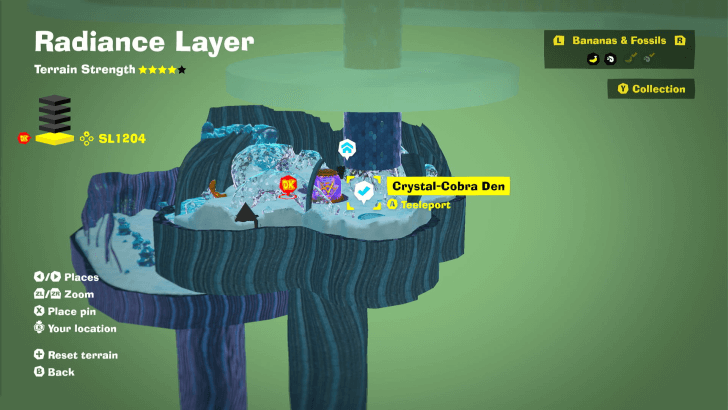 This is where you land upon dropping down from Sublayer 1203. (SL 1204) |
| Groove Layer |
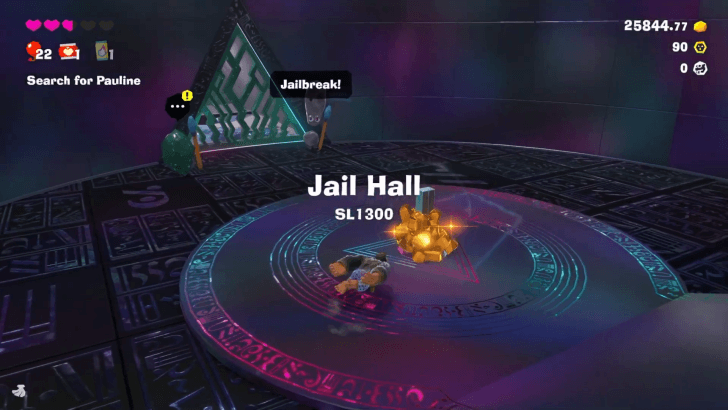 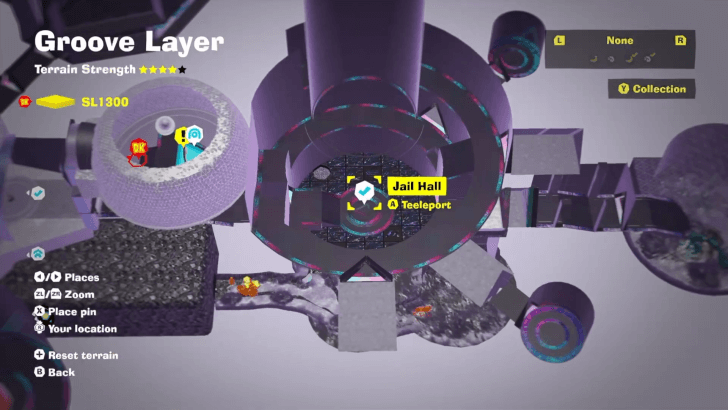 Found outside the jail cell you start in. (SL 1300) |
| Groove Layer |
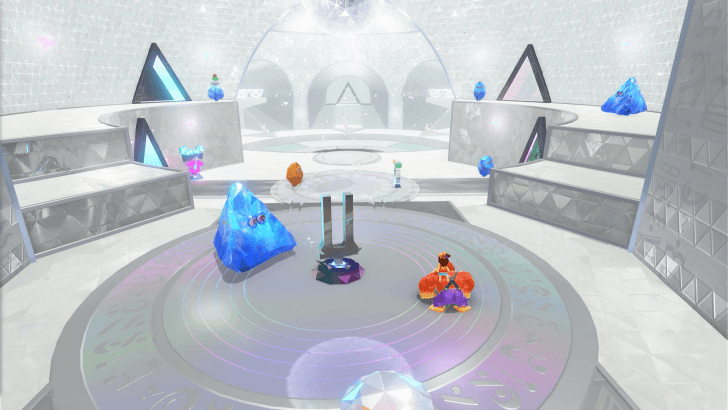 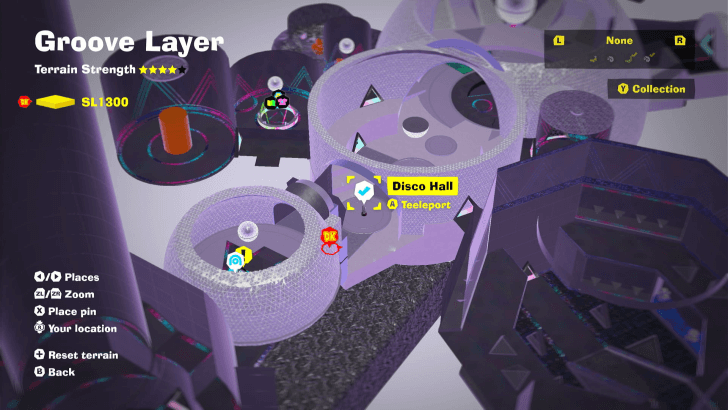 Located in the central area of the Groove Layer. (SL 1300) |
| Feast Layer |
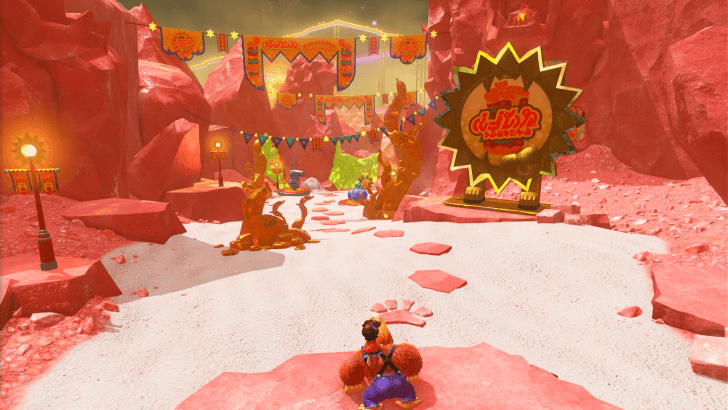 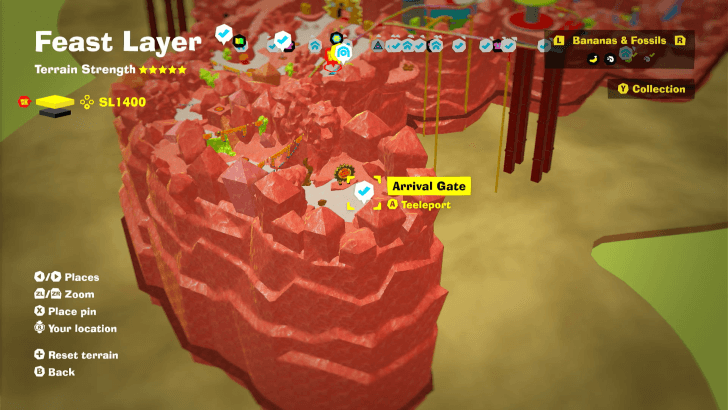 This is the starting point of the Feast Layer after completing Groove Layer. (SL 1400) |
| Feast Layer |
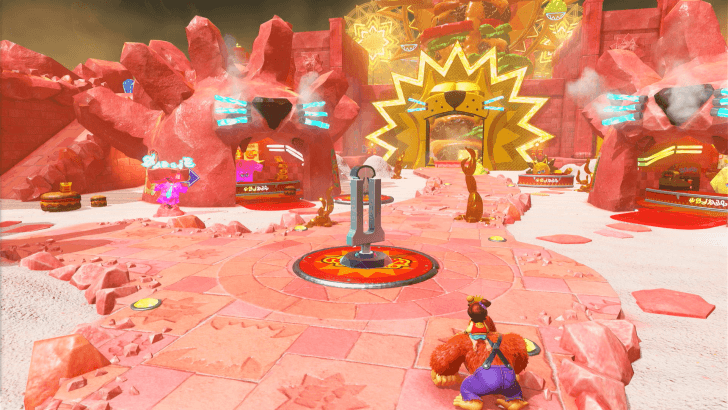 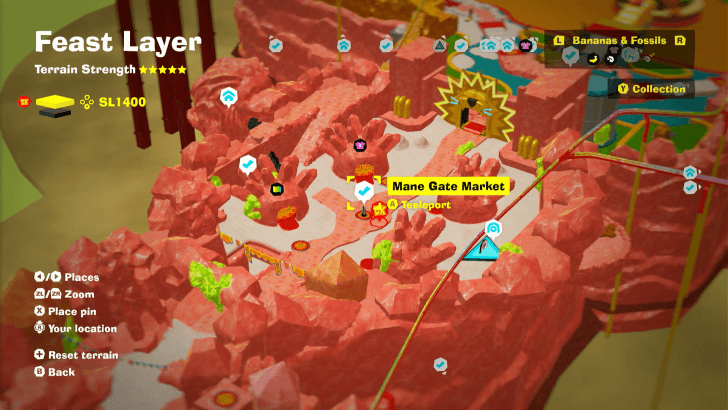 Located at the center of the market, near the Warp Gong. (SL 1400) |
| Feast Layer |
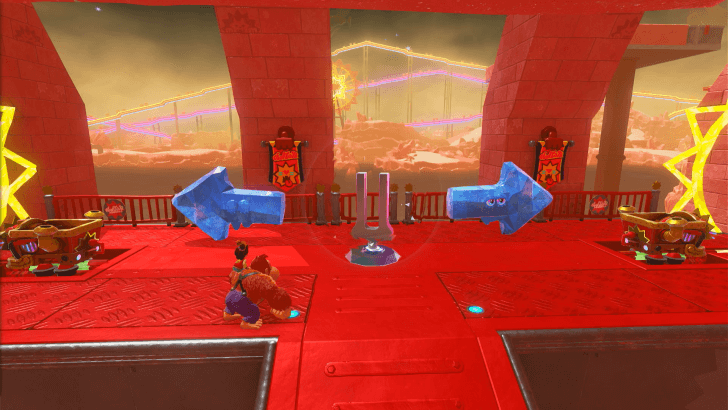 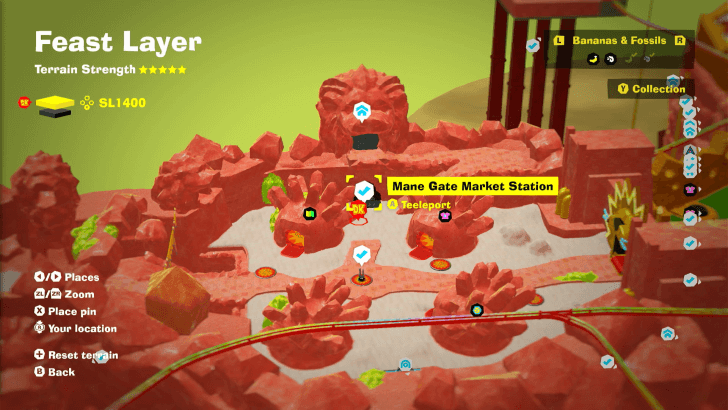 Located below the Mane Gate Market. (SL 1400) |
| Feast Layer |
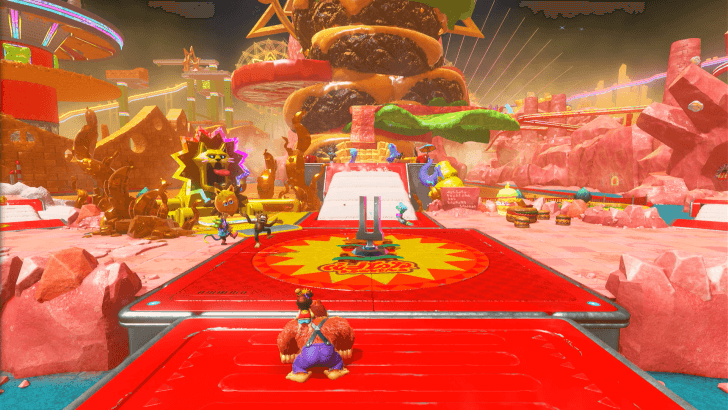 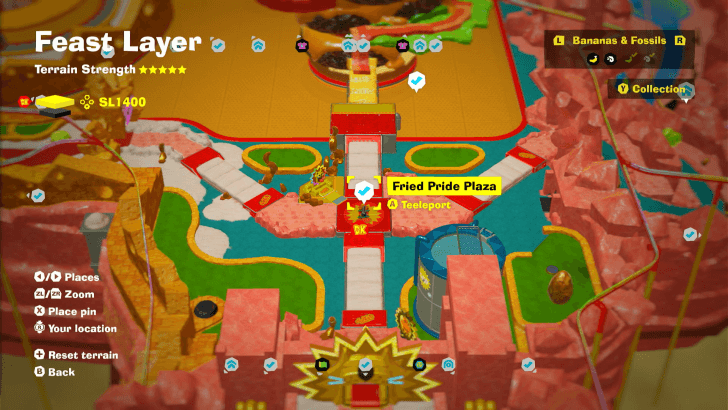 Located at the center of the plaza in front of the burger tower. (SL 1400) |
| Feast Layer |
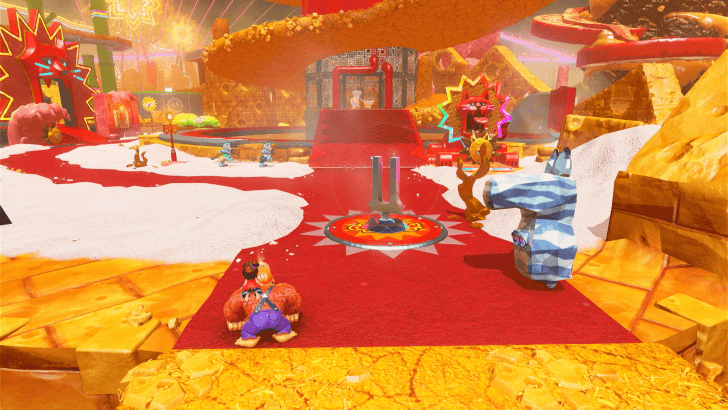 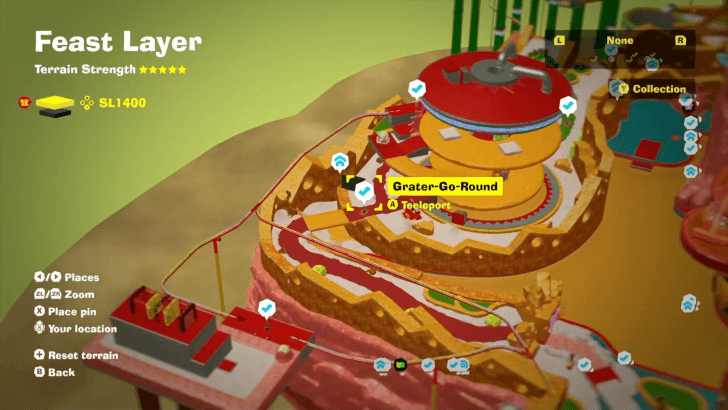 Found in front of the Grater-Go-Round. (SL 1400) |
| Feast Layer |
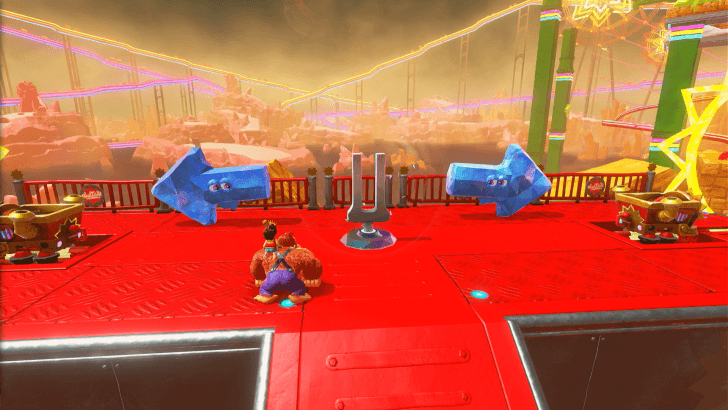 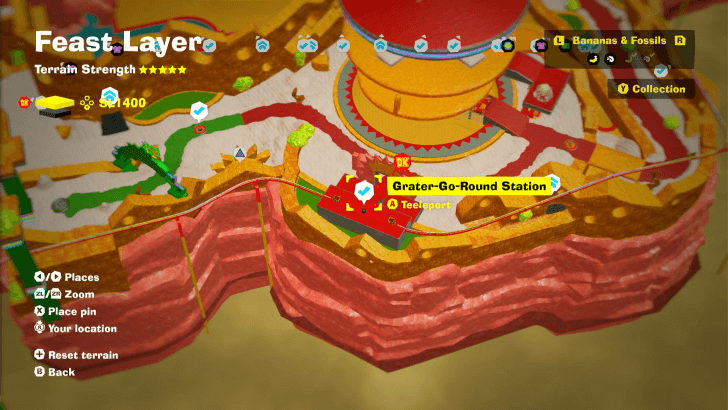 Located at the side of the Grater-Go-Round, near the Kingly Swings area. (SL 1400) |
| Feast Layer |
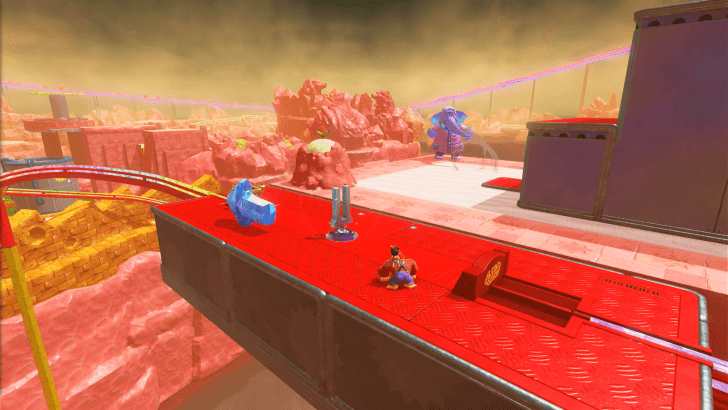 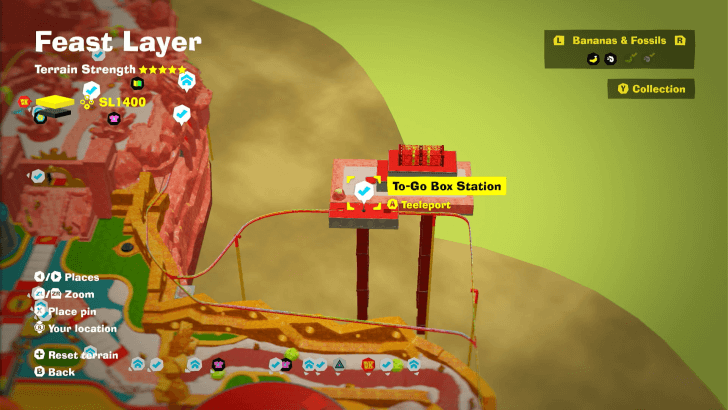 Ride the left cart at Grater-Go-Round Station to find this checkpoint. (SL 1400) |
| Feast Layer |
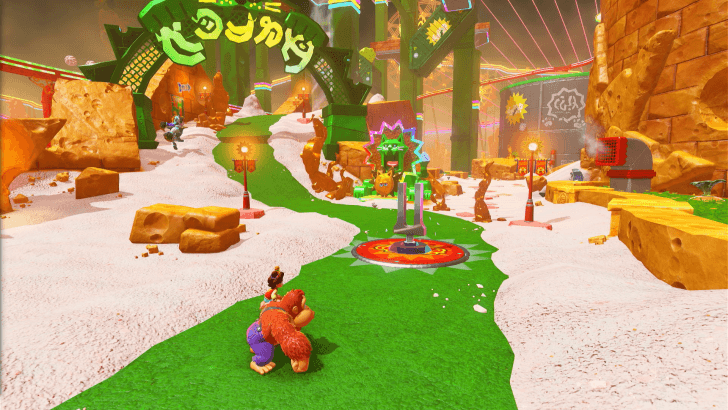 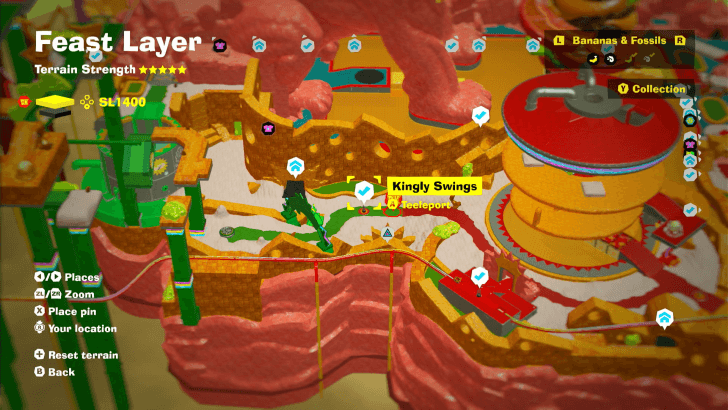 Located behind the Grater-Go-Round. (SL 1400) |
| Feast Layer |
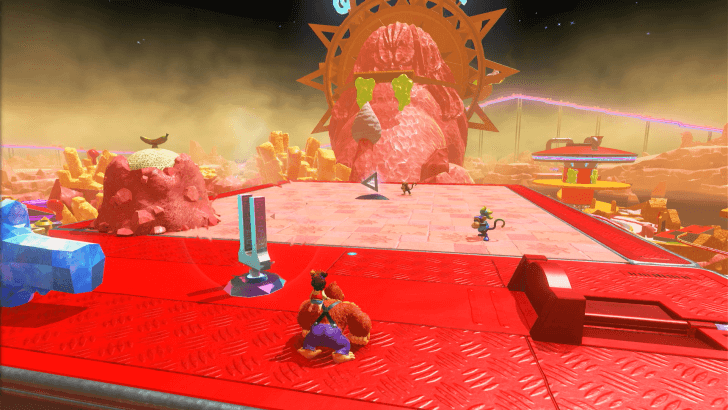 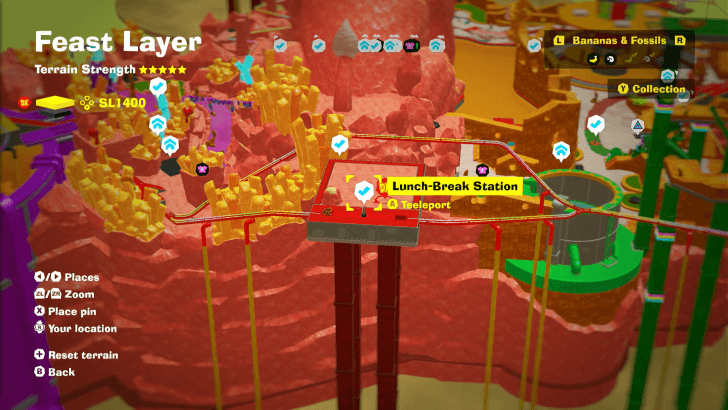 Ride the right cart at Grater-Go-Round Station to find this checkpoint. You can also ride the cart from the Ferocious Fryhouse Station to get here. (SL 1400) |
| Feast Layer |
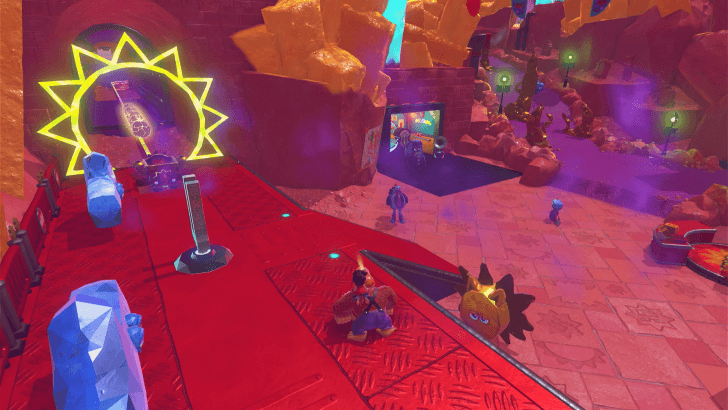 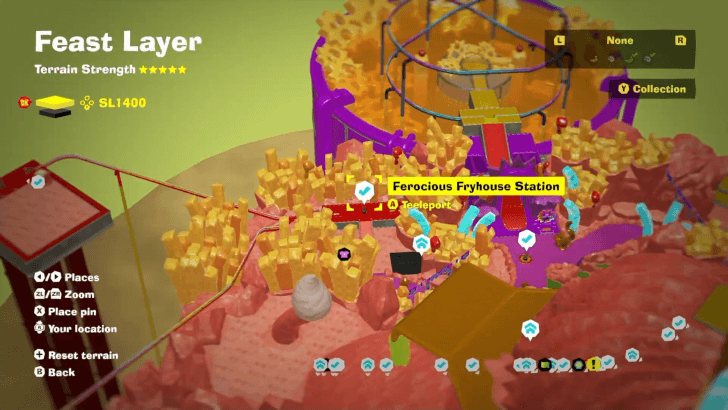 Found on a platform surrounded by the french fry structures near a Style Shop. This can be reached from the Lunch-Break Station. (SL 1400) |
| Feast Layer |
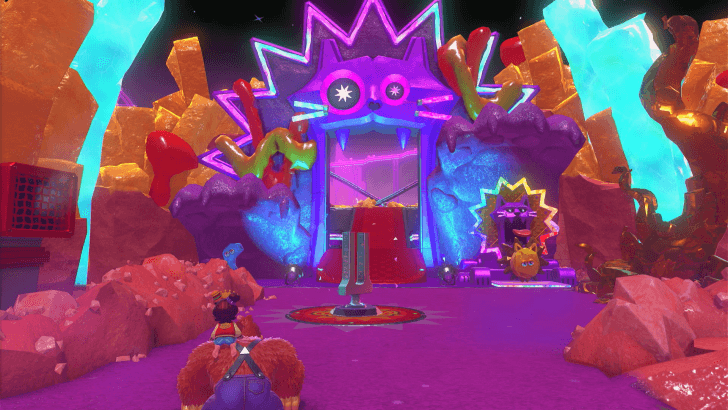 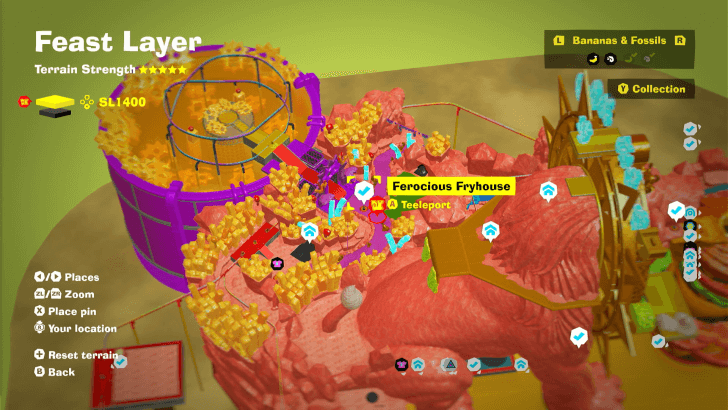 Found in front of the entrance to an arena in the french fry area. (SL 1400) |
| Feast Layer |
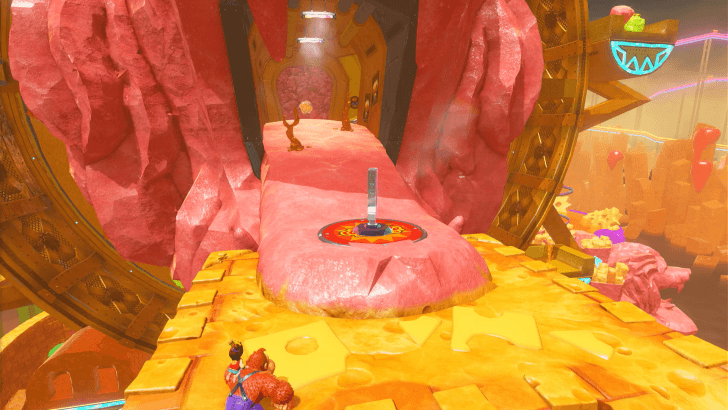 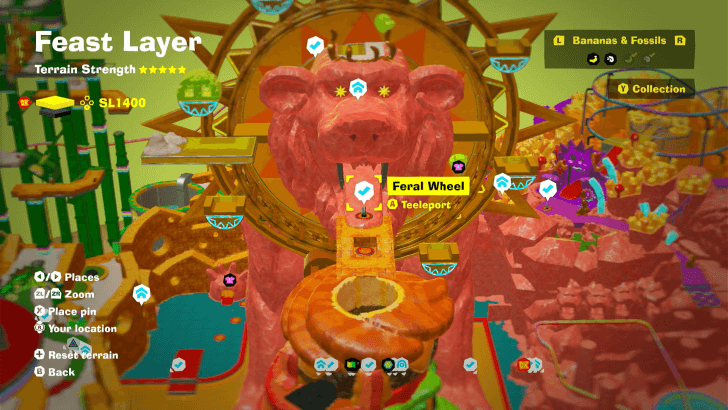 Located on the tongue of the large stone lion ferris wheel in the middle of the layer. (SL 1400) |
| Feast Layer |
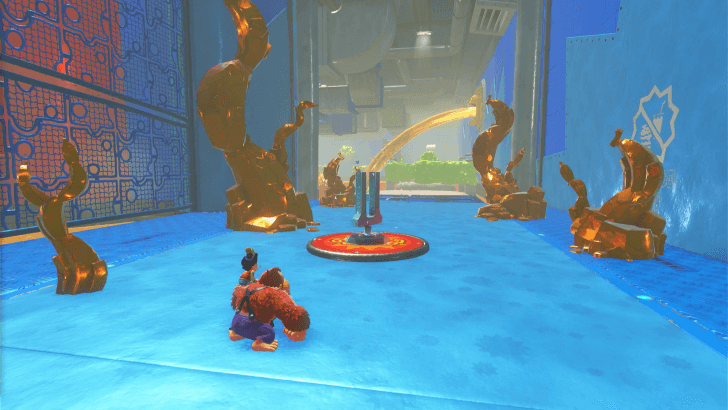 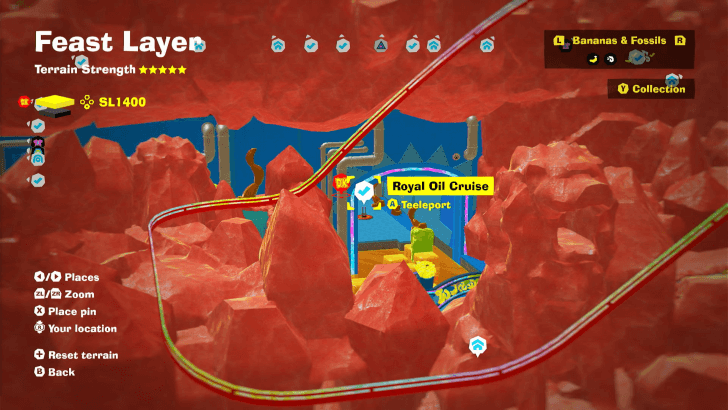 Located near the refinery. This is found below the burger tower. (SL 1400) |
| Feast Layer |
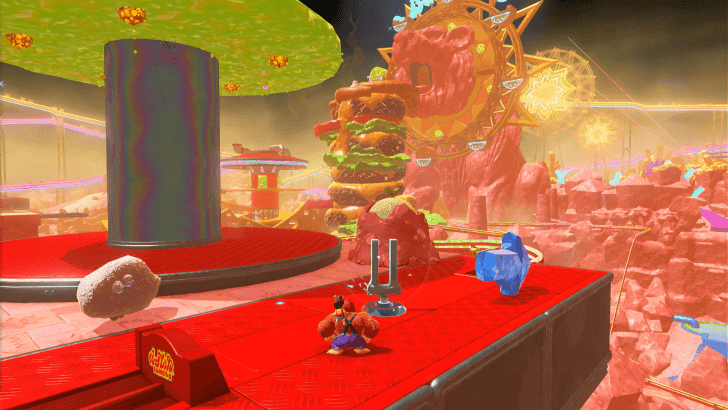 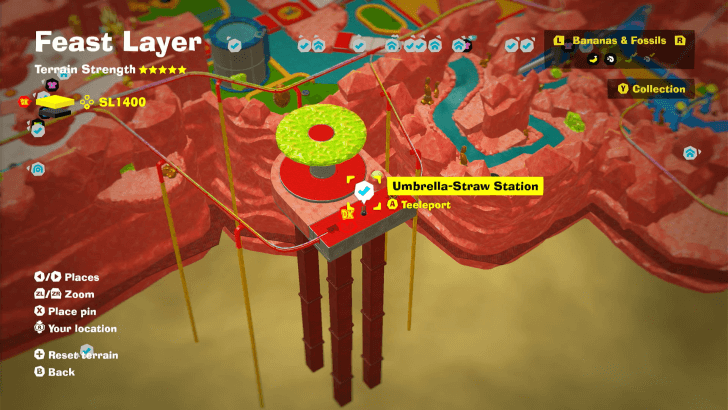 Get on the ride from Mane Gate Market Station or from the Ferocious Fryhouse Station to reach this area. (SL 1400) |
| Feast Layer |
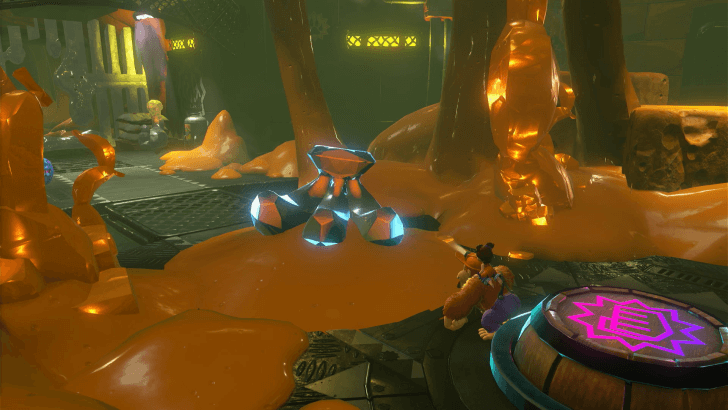 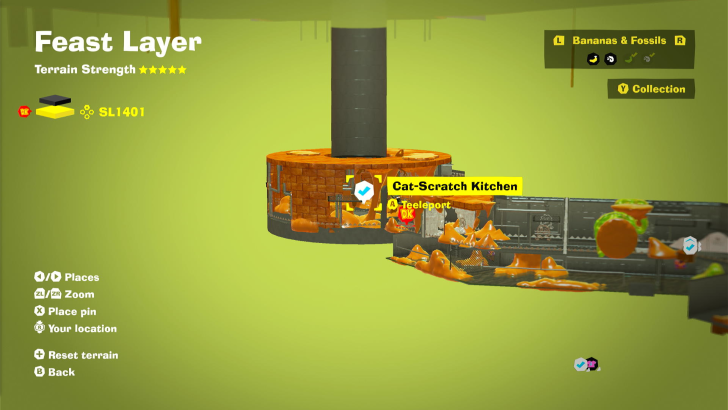 Unlocks after dropping from Sublayer 1400. (SL 1401) |
| Feast Layer |
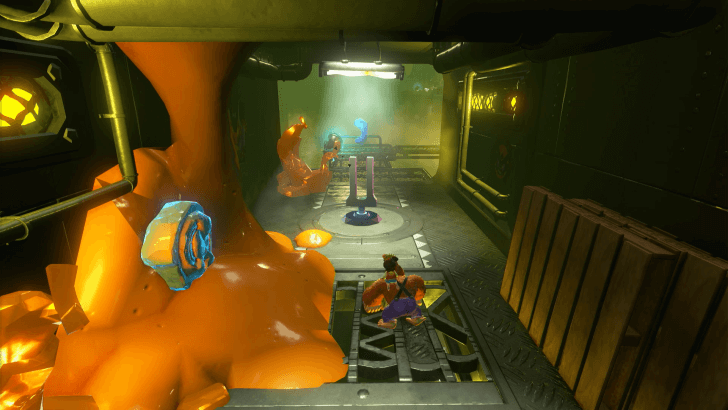  Follow the path from the Cat-Scratch Kitchen to reach this checkpoint. (SL 1401) |
| Feast Layer |
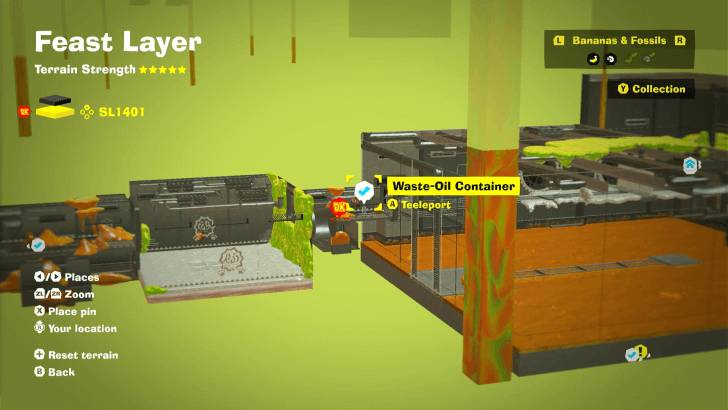
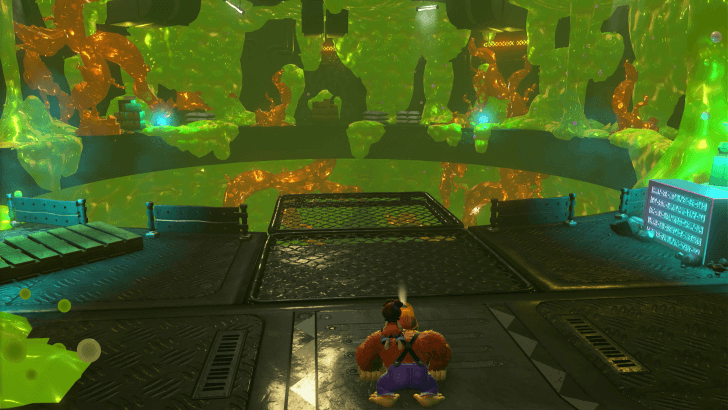 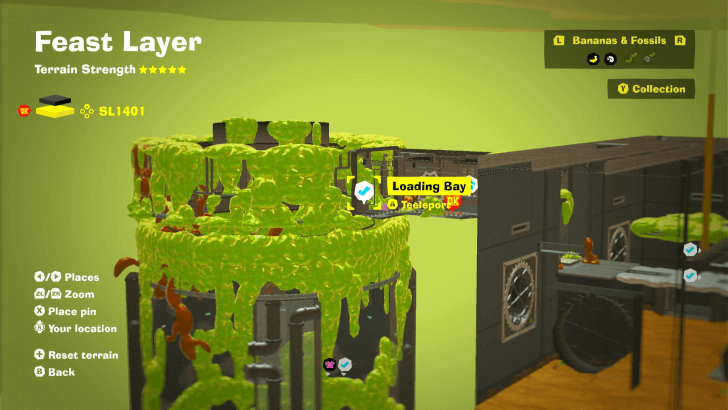 Unlocked after crossing the Waste-Oil Container. (SL 1401) |
| Feast Layer |
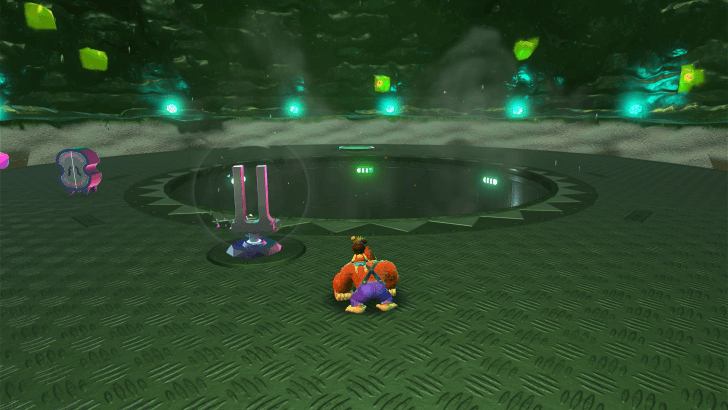 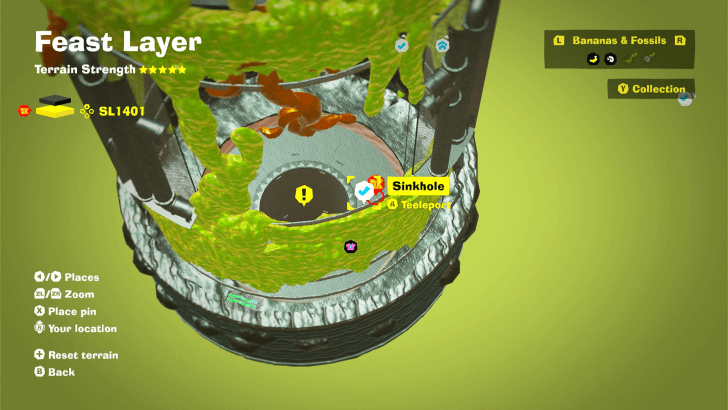 Located below the Loading Bay. (SL 1401) |
| Forbidden Layer |
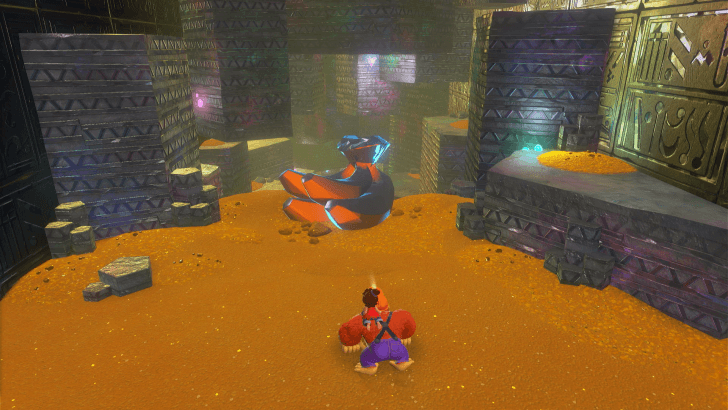 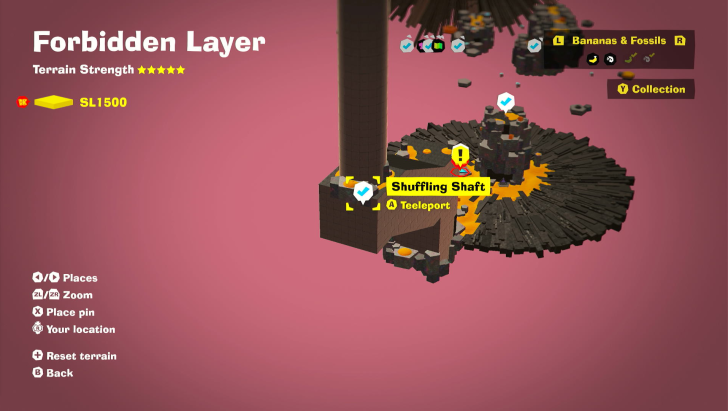 This is the starting point of the Forbidden Layer after completing the Feast Layer. (SL 1500) |
| Forbidden Layer |
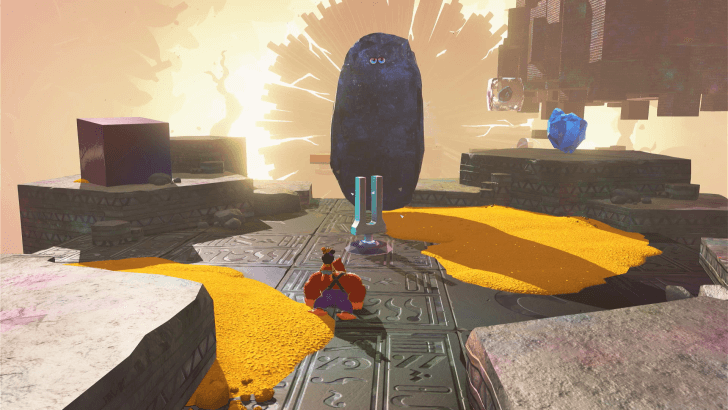 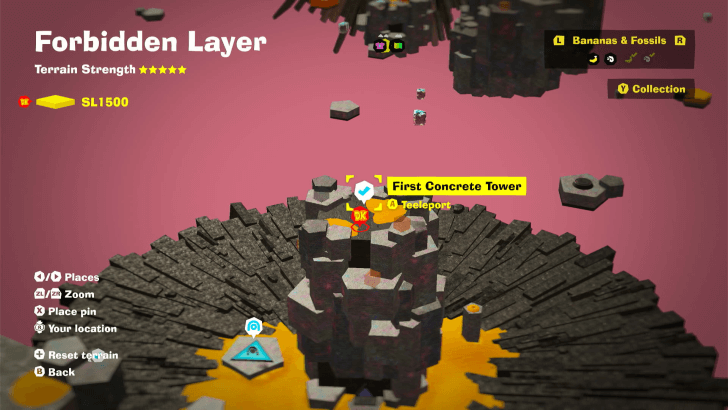 Located near the Warp Gong. Climb the tower to activate it. (SL 1500) |
| Forbidden Layer |
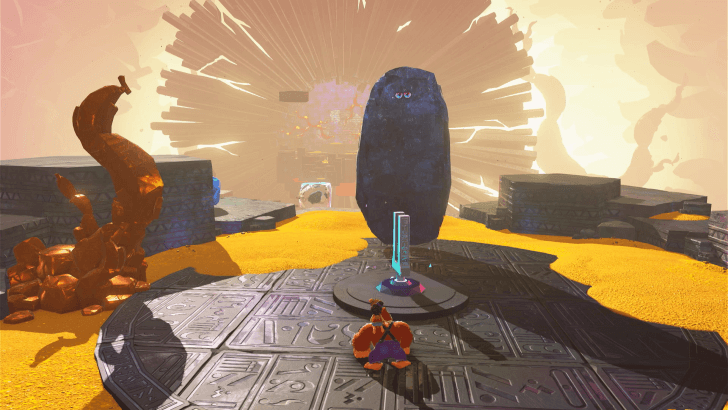 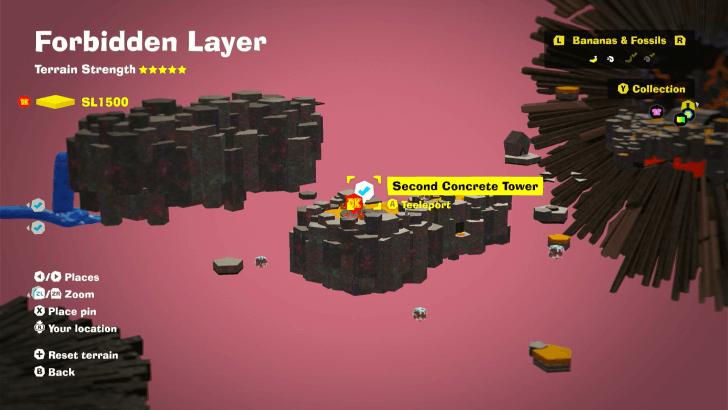 Located on the platform across from the First Concrete Tower. (SL 1500) |
| Forbidden Layer |
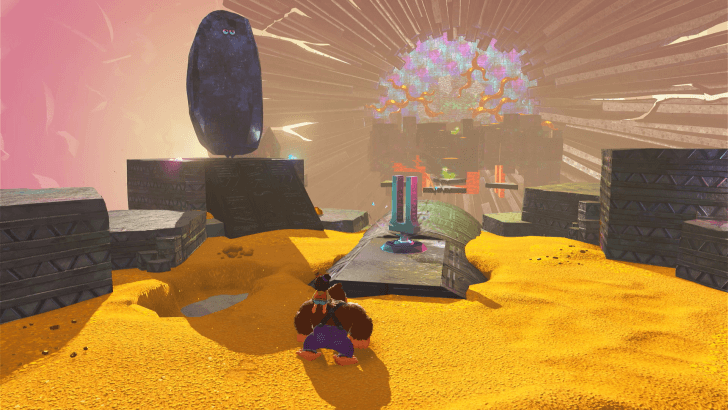 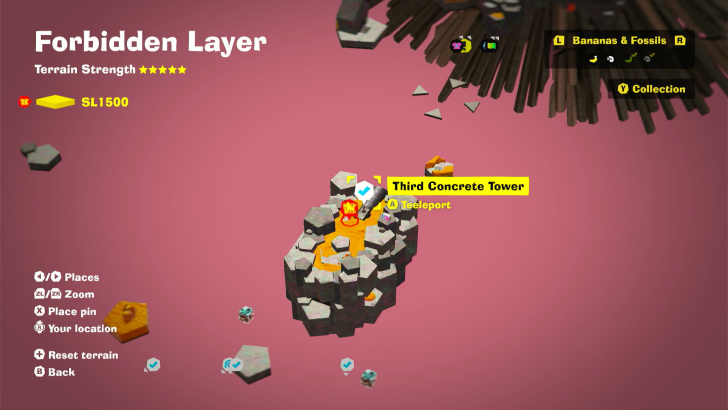 Located on the platform across from the Second Concrete Tower. (SL 1500) |
| Forbidden Layer |
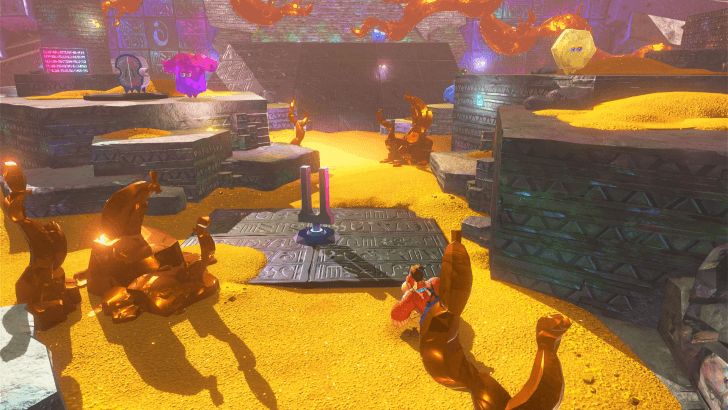 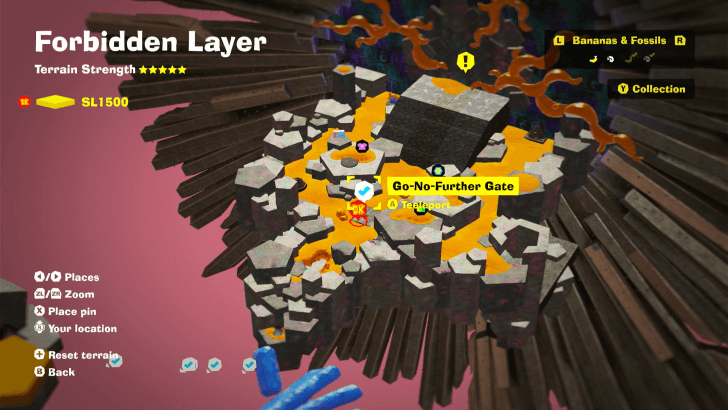 Located past the Third Concrete Tower and in front of the Go-No-Further Gate. Shops can be found nearby. (SL 1500) |
| Forbidden Layer |
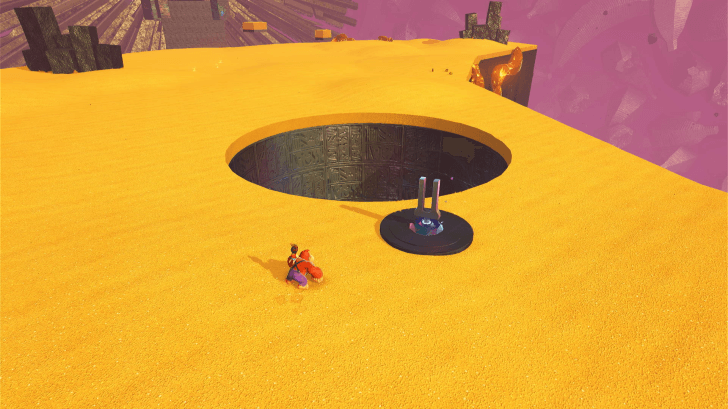 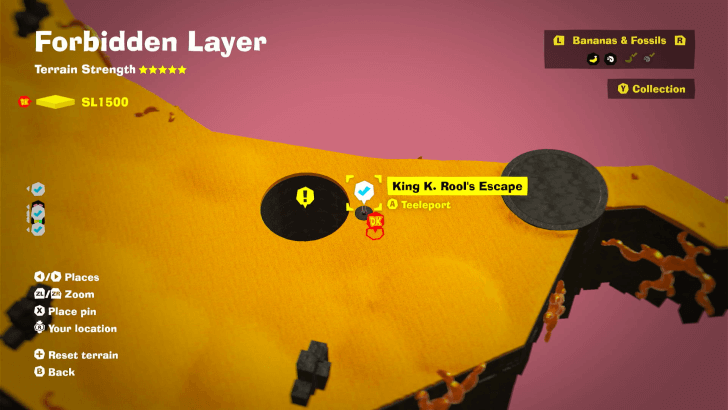 Located past the Go-No-Further Gate. (SL 1500) |
| Planet Core |
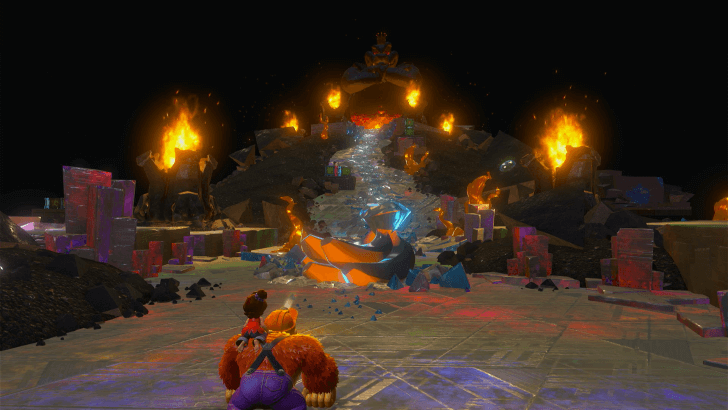 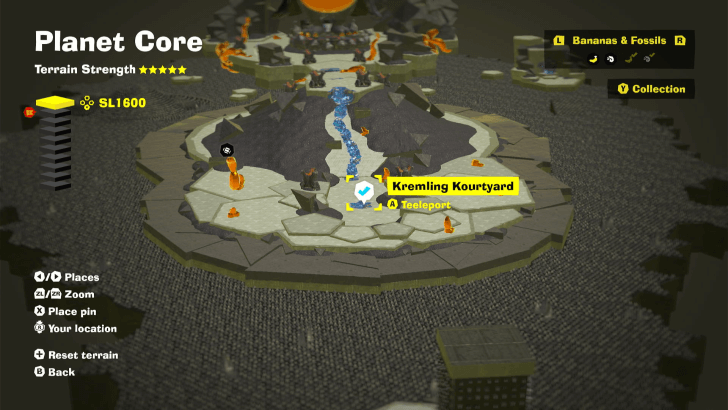 This is the starting point of the Planet Core layer upon dropping down from the Forbidden Layer. (SL 1600) |
| Planet Core |
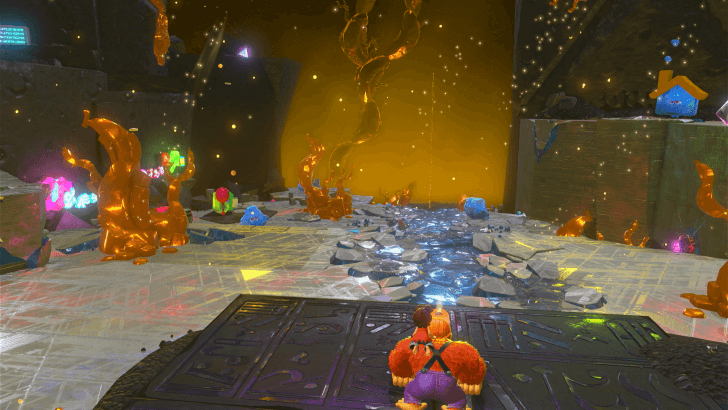 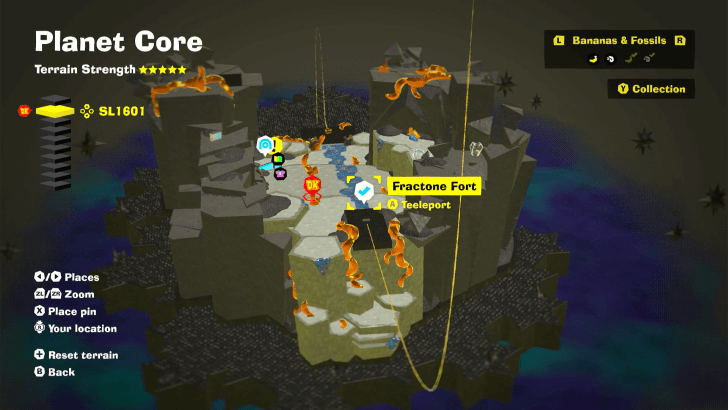 Unlocked after riding the minecart down from Sublayer 1600. (SL 1601) |
| Planet Core |
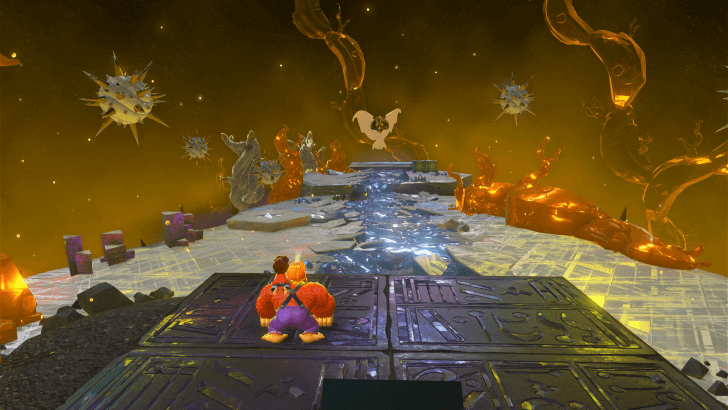 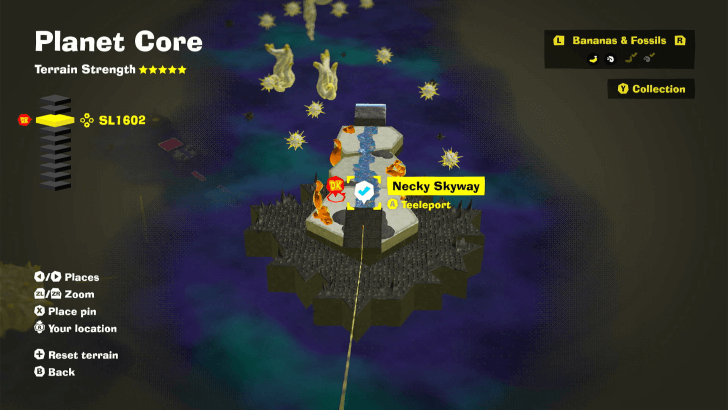 Unlocked after riding the minecart down from Sublayer 1601. (SL 1602) |
| Planet Core |
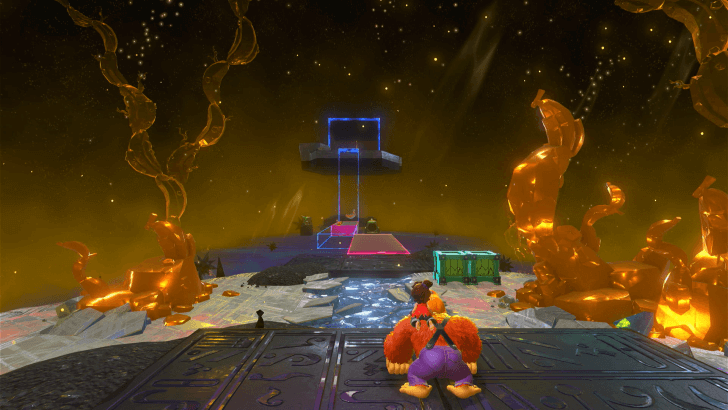 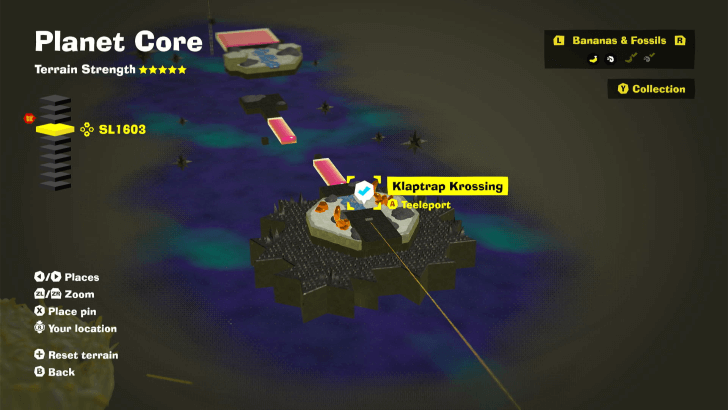 Unlocked after riding the minecart down from Sublayer 1602. (SL 1603) |
| Planet Core |
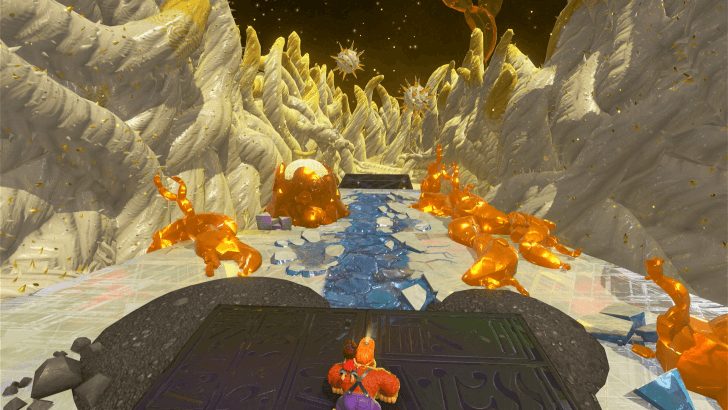 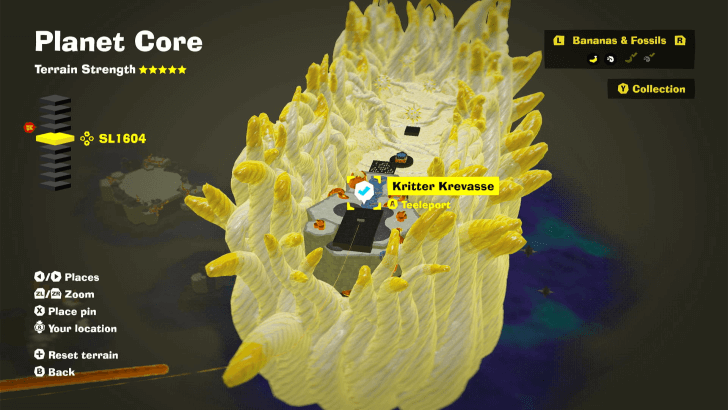 Unlocked after riding the minecart down from Sublayer 1603. (SL 1604) |
| Planet Core |
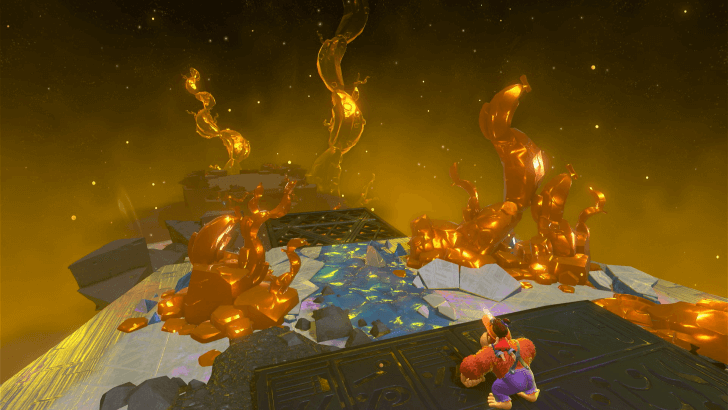 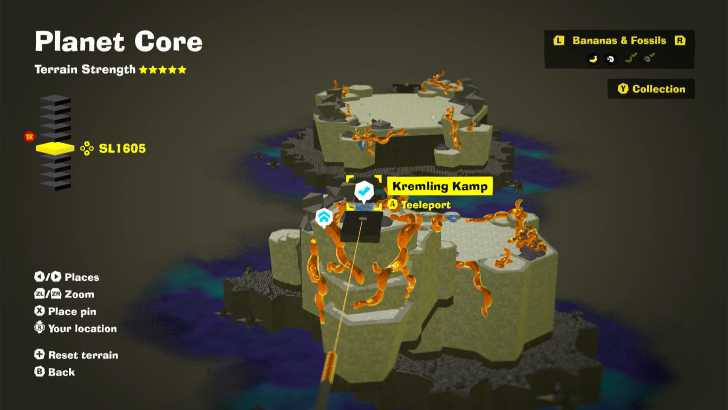 Unlocked after riding the minecart down from Sublayer 1604. (SL 1605) |
| Planet Core |
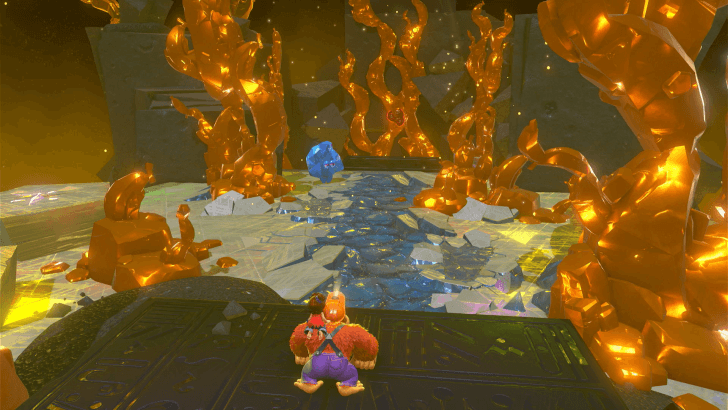 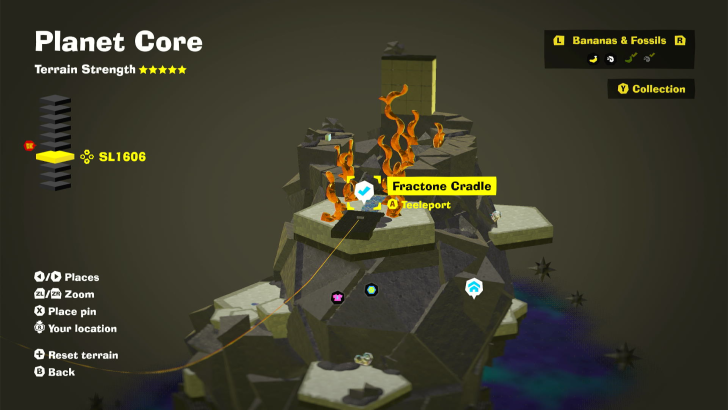 Unlocked after riding the minecart down from Sublayer 1605. (SL 1606) |
| Planet Core |
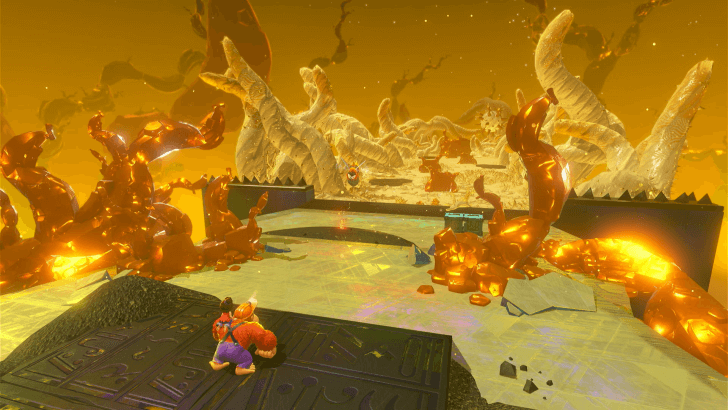 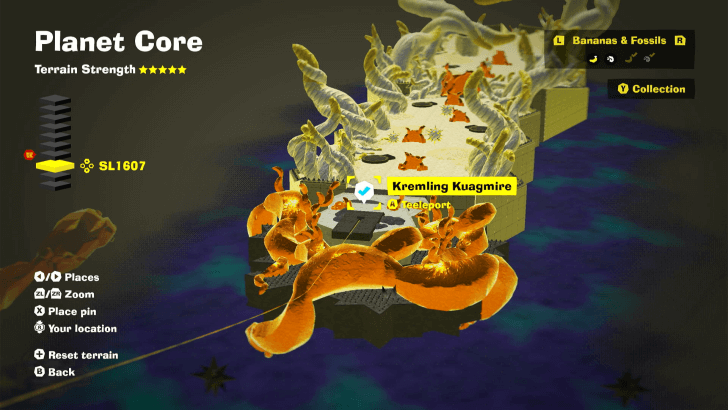 Unlocked after riding the minecart down from Sublayer 1606. (SL 1607) |
| Planet Core |
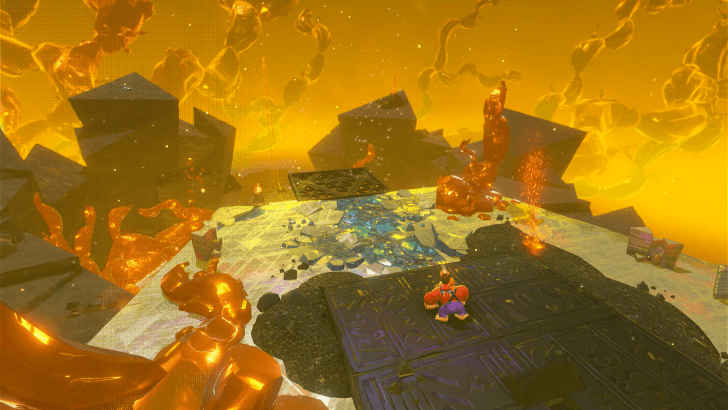 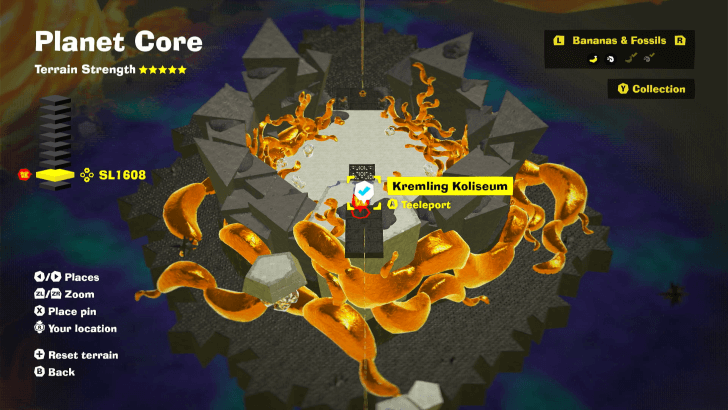 Unlocked after riding the minecart down from Sublayer 1607. (SL 1608) |
| Planet Core |
 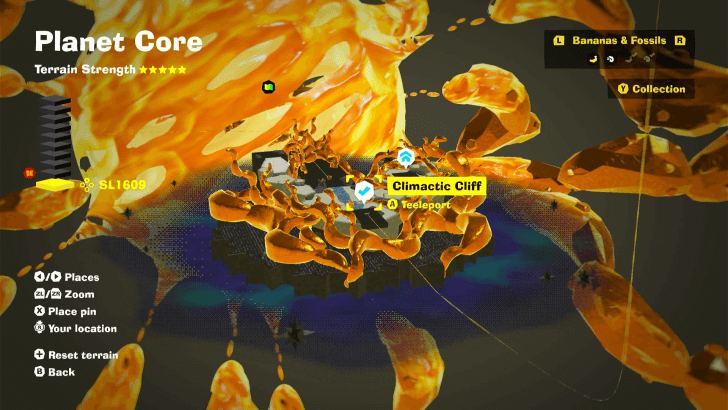 Unlocked after riding the minecart down from Sublayer 1608. (SL 1609) |
| Planet Core |
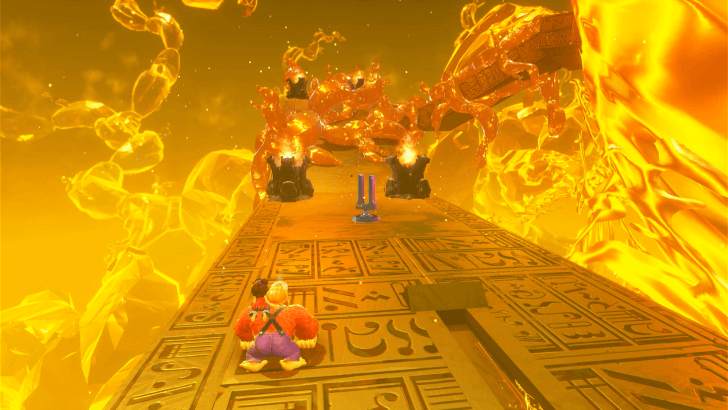 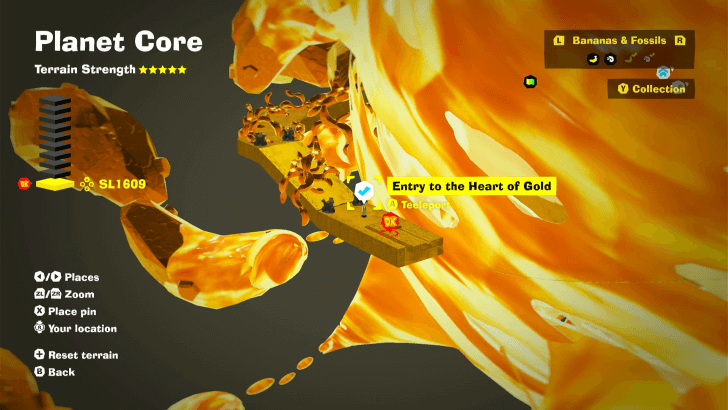 This checkpoint can be found before entering the final boss area. (SL 1609) |
| DK Island |
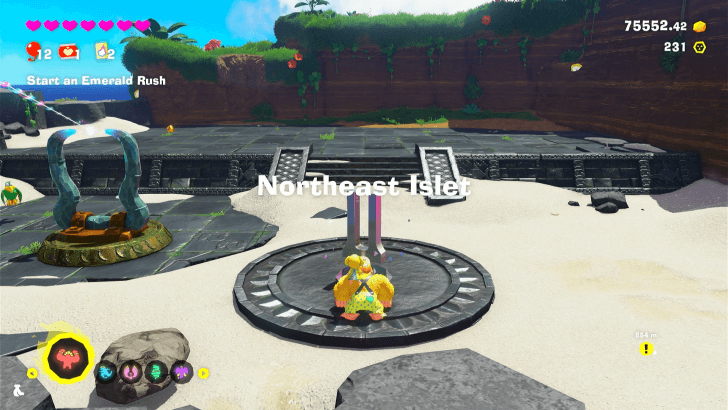 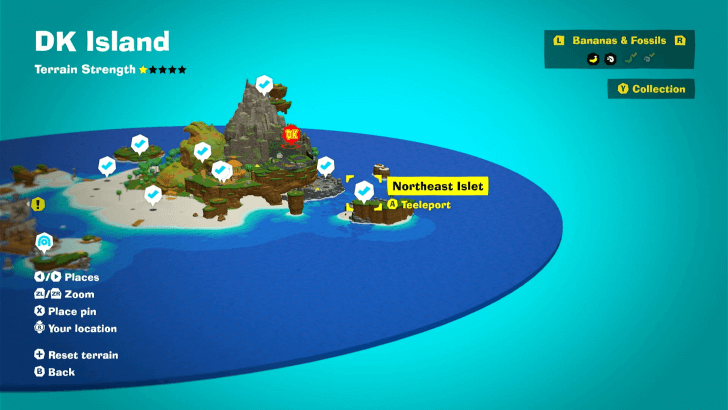 Located on the separate island northeast of the main island. (DLC) |
| DK Island |
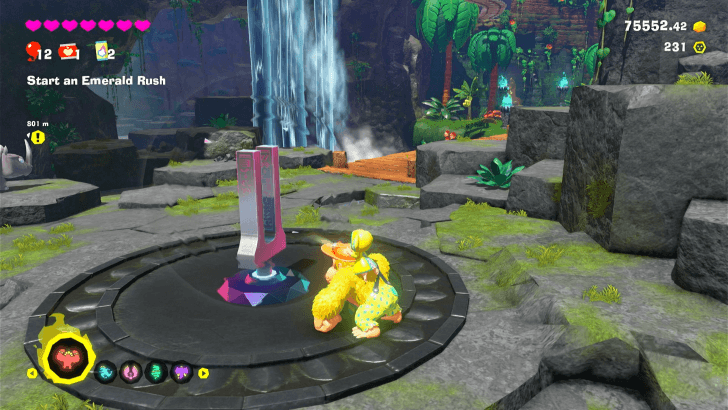 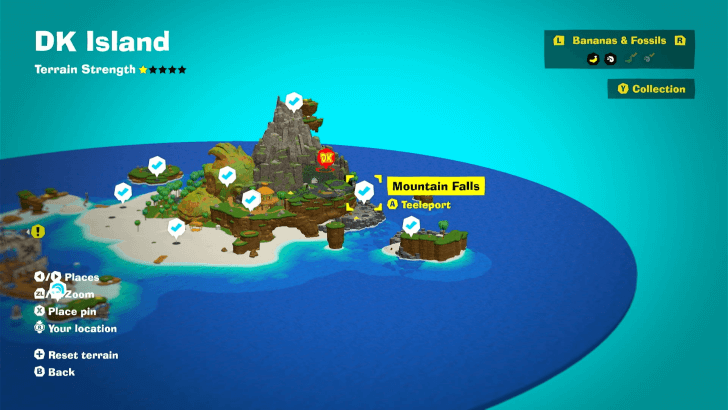 Located on the rocky area across from the Northeast Islet, at the base of the waterfall. (DLC) |
| DK Island |
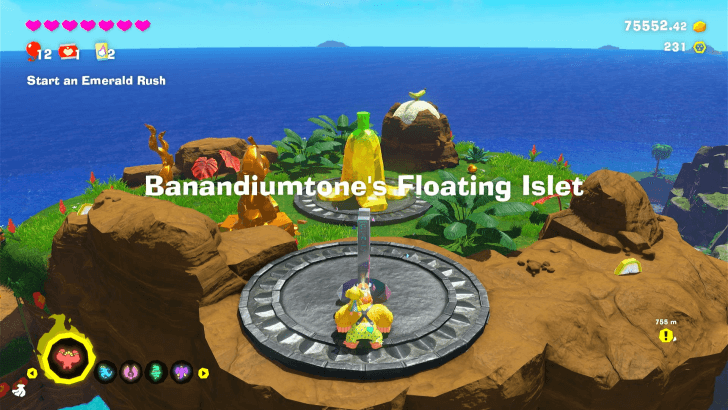 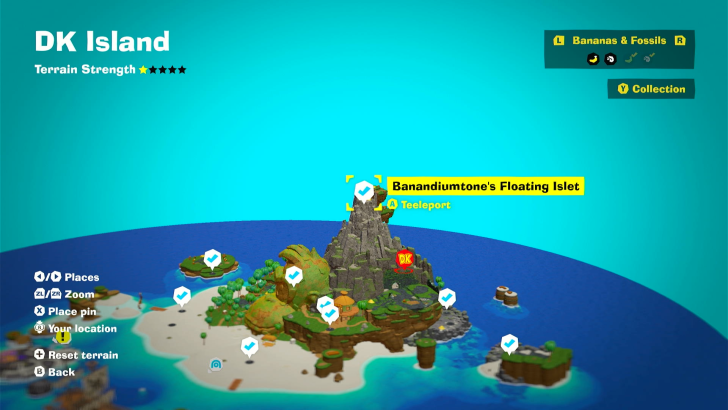 Found on a floating land mass near the summit of DK Island. The Banandiumtone NPC can be found right next to this checkpoint. (DLC) |
| DK Island |
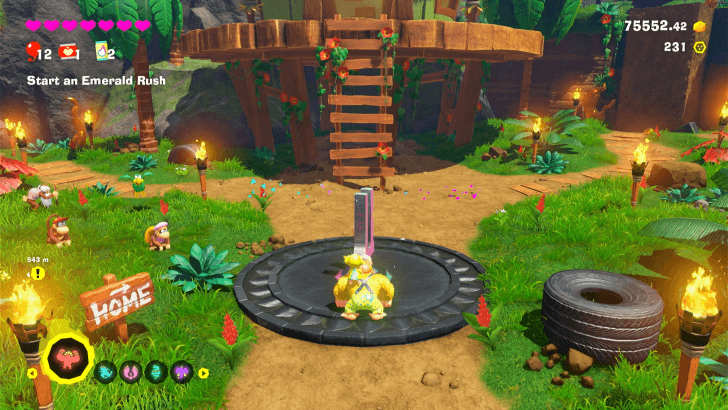 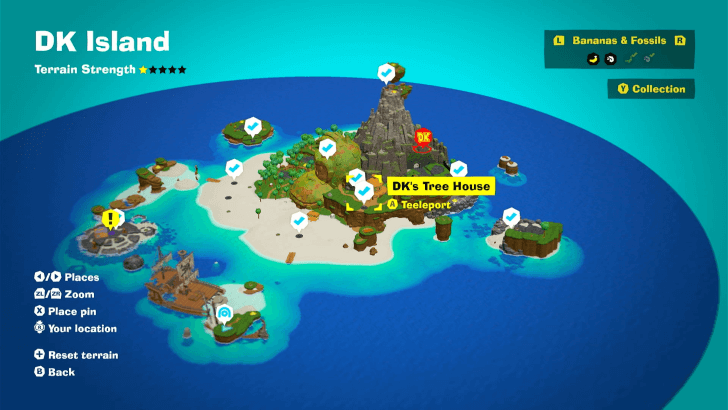 (DLC) |
| DK Island |
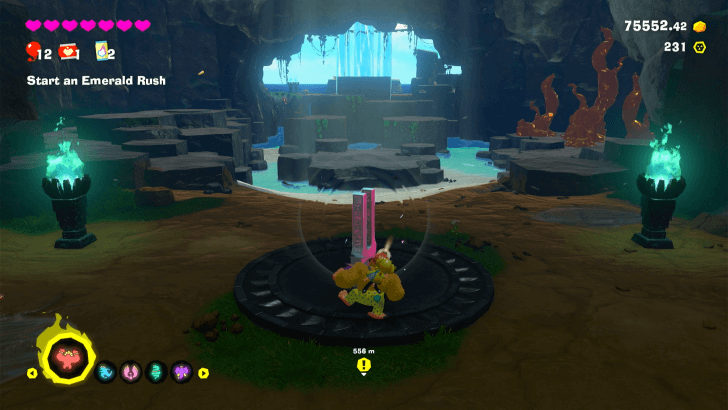 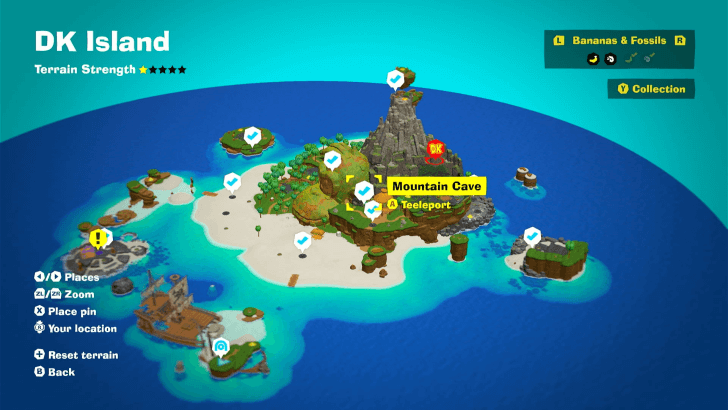 (DLC) |
| DK Island |
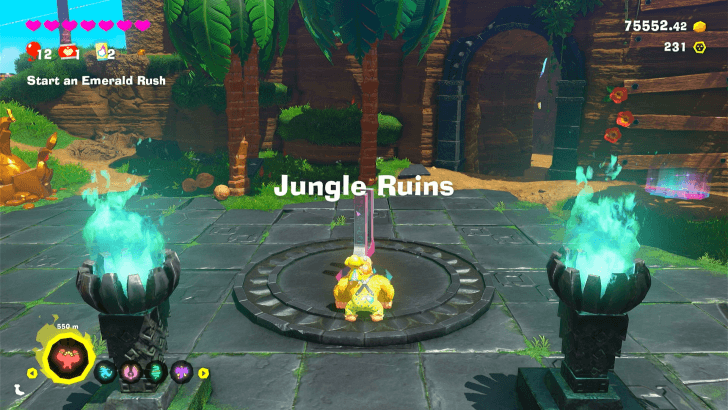 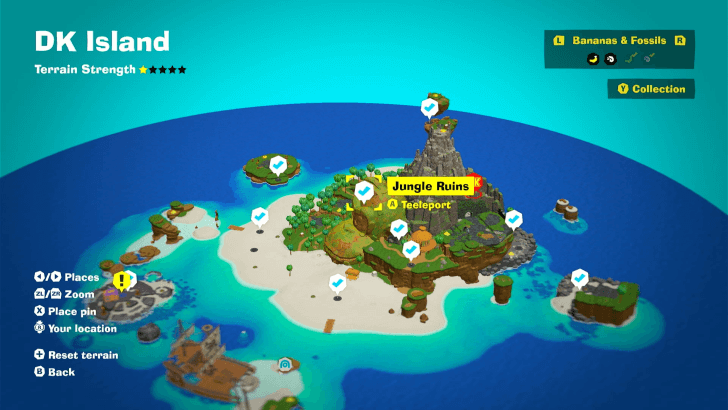 (DLC) |
| DK Island |
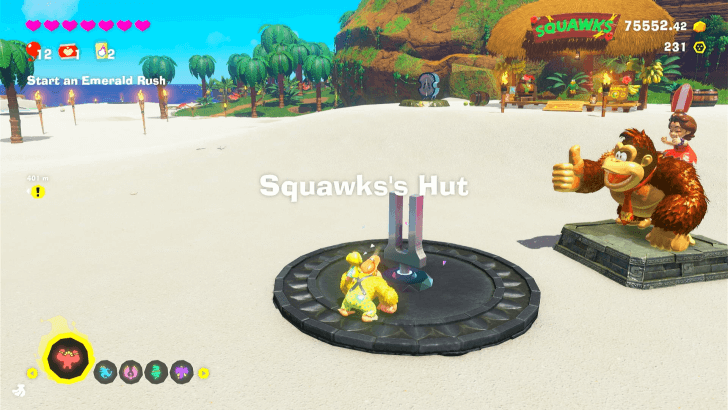 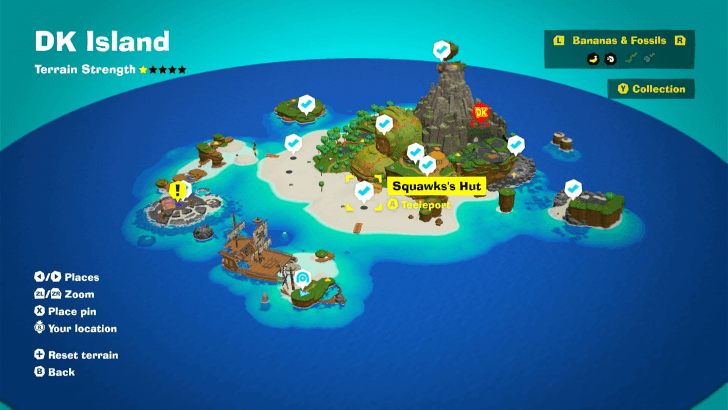 (DLC) |
| DK Island |
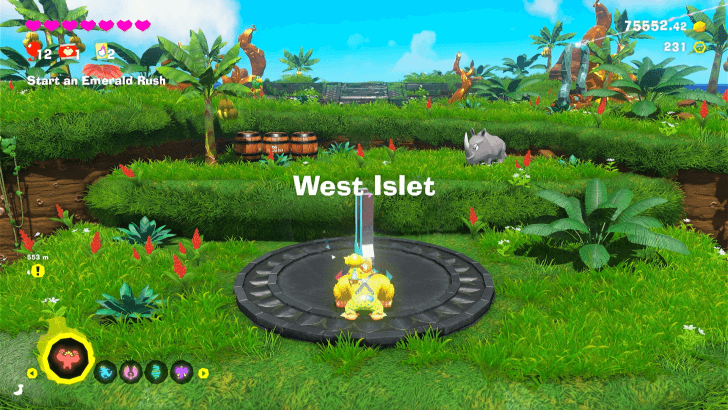 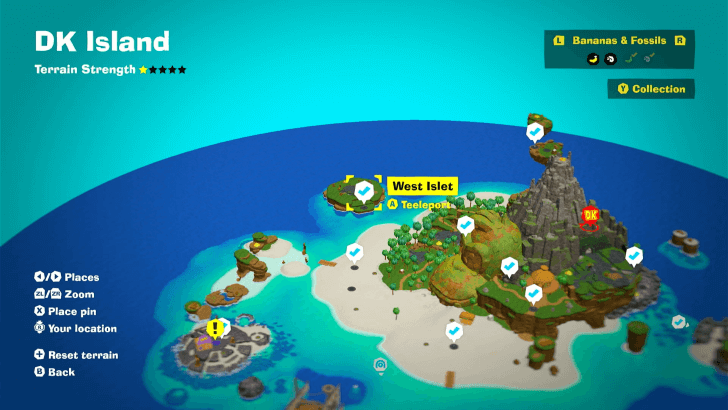 (DLC) |
| DK Island |
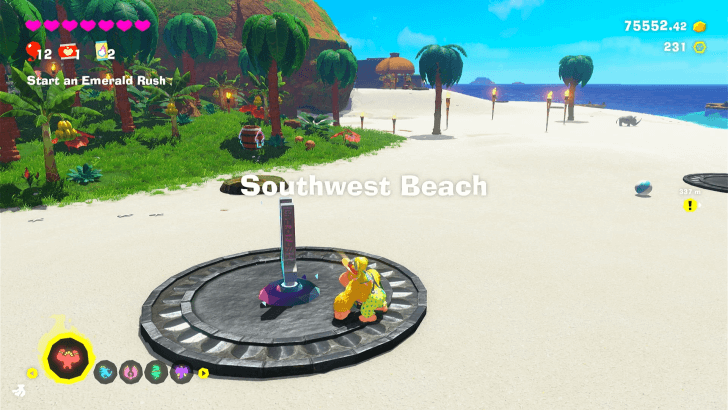 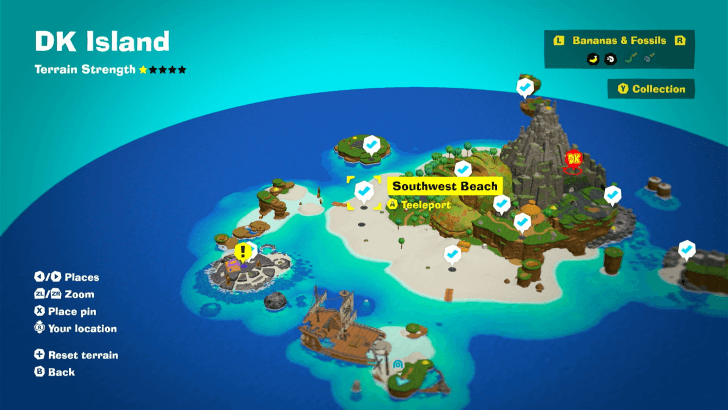 (DLC) |
| DK Island |
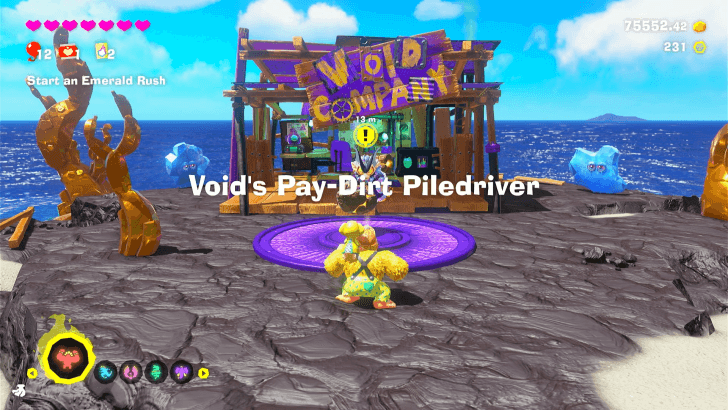 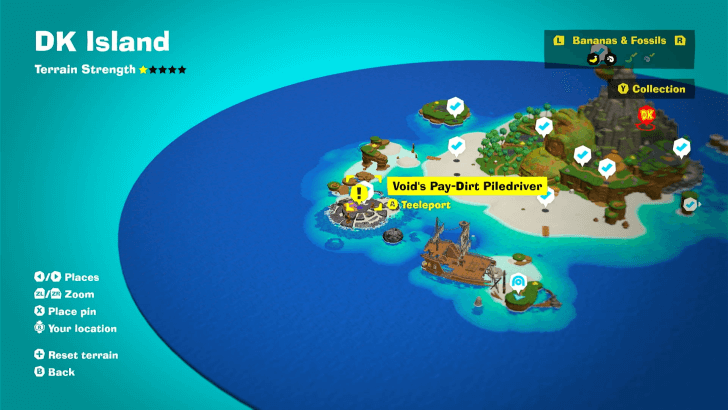 (DLC) |
What are Checkpoints?
Fast Travel Points
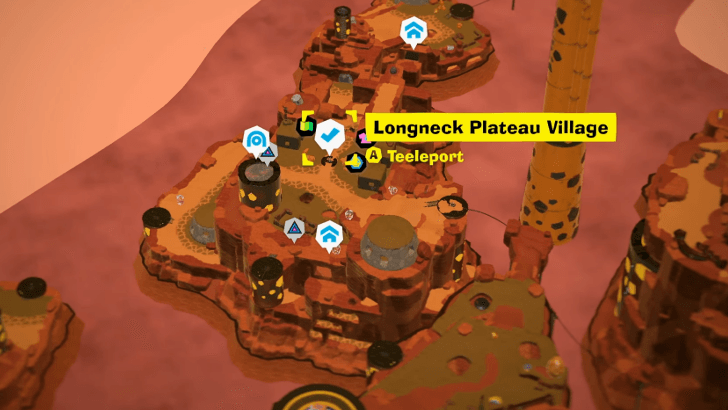
Checkpoints are tuning forks—often found covered in debris while exploring—that can be activated with a punch from Donkey Kong. Activated Checkpoints will be marked on the map and can be used as fast travel points for the Subterranean Eels!
How to Teeleport: Fast Travel Guide
Donkey Kong Bananza Related Guides
Guides by Category
| List of Categories | |
|---|---|
 Walkthrough Walkthrough |
 Layers Layers |
 Banandium Gems Banandium Gems |
 How-To Guides How-To Guides |
 Challenge Ruins Challenge Ruins |
 Bananza Forms Bananza Forms |
 Outfits Outfits |
 Bosses Bosses |
 Fossils Fossils |
 Post-Game Post-Game |
 Music Discs Music Discs |
 Items Items |
 Terrain Types Terrain Types |
 Skills Skills |
 Message Boards Message Boards |
 Latest News Latest News |
Recommended Guides
Comment
Author
All Checkpoint Locations
improvement survey
04/2026
improving Game8's site?

Your answers will help us to improve our website.
Note: Please be sure not to enter any kind of personal information into your response.

We hope you continue to make use of Game8.
Rankings
- We could not find the message board you were looking for.
Gaming News
Popular Games

Genshin Impact Walkthrough & Guides Wiki

Crimson Desert Walkthrough & Guides Wiki

Umamusume: Pretty Derby Walkthrough & Guides Wiki

Honkai: Star Rail Walkthrough & Guides Wiki

Monster Hunter Stories 3: Twisted Reflection Walkthrough & Guides Wiki

Wuthering Waves Walkthrough & Guides Wiki

The Seven Deadly Sins: Origin Walkthrough & Guides Wiki

Pokemon TCG Pocket (PTCGP) Strategies & Guides Wiki

Pokemon Pokopia Walkthrough & Guides Wiki

Zenless Zone Zero Walkthrough & Guides Wiki
Recommended Games

Monster Hunter World Walkthrough & Guides Wiki

Fire Emblem Heroes (FEH) Walkthrough & Guides Wiki

Pokemon Brilliant Diamond and Shining Pearl (BDSP) Walkthrough & Guides Wiki

Super Smash Bros. Ultimate Walkthrough & Guides Wiki

Diablo 4: Vessel of Hatred Walkthrough & Guides Wiki

Cyberpunk 2077: Ultimate Edition Walkthrough & Guides Wiki

Yu-Gi-Oh! Master Duel Walkthrough & Guides Wiki

Elden Ring Shadow of the Erdtree Walkthrough & Guides Wiki

The Legend of Zelda: Tears of the Kingdom Walkthrough & Guides Wiki

Persona 3 Reload Walkthrough & Guides Wiki
All rights reserved
© Nintendo. Games are property of their respective owners. Nintendo of America Inc.
The copyrights of videos of games used in our content and other intellectual property rights belong to the provider of the game.
The contents we provide on this site were created personally by members of the Game8 editorial department.
We refuse the right to reuse or repost content taken without our permission such as data or images to other sites.

 Best Skills to Upgrade
 How to Get the Secret Ending
 List of Characters
 Easter Eggs and References
 Missables and One-Time Events
 Best Outfits
 Completion Reward
 DLC Guide
 Banandiumtone Puzzle Guide (DLC)
 List of Emerald Perks (DLC)
 Emerald Rush Guide (DLC)
 All Style Shop Locations
 All Stuff Shop Locations
 Bonus Stage Locations
 All 17 Cranky Kong Locations
 All Quiztone Answers and Locations
 All Getaway Locations
 All Elder Locations
 Collectibles List
 Void Stakes
 Squawk Statues


![Forza Horizon 6 Review [Preview] | Beautiful Roads With a Whole Lot of Oversteer](https://img.game8.co/4460981/a7254c24945c43fbdf6ad9bea52b5ce9.png/thumb)


