
This survey will take about 1 minute.
Your answers will help us to improve our website.
Donkey Kong Bananza
Radiance Layer Walkthrough
☽ DK Island and Emerald Rush DLC out now!
☽ Learn how to solve Banandiumtone's Puzzles.
☽ All Collectibles: Banandium Gems and Fossils
☽ Learn How to Skip Layers Entirely!
☽ How to Beat the Final Boss
☽ Post-Game: Rehearsal Halls | Secret Ending

This is a walkthrough guide for the Radiance Layer (SL 1200-1204) in Donkey Kong Bananza. Read on for a complete step-by-step on how to complete the layer and progress the story.
| Radiance Layer Guides | |
|---|---|
| Walkthrough | Collectibles |
| Previous and Next Layer | |
| ◀︎ Racing Layer | Groove Layer ► |
List of Contents
Radiance Layer Walkthrough
Shedlight Cave Sublayer 1200
| Step-by-Step Guide | |
|---|---|
| 1 |  Talk to the snake under the cave light. You may need to lure the nearby scorpion enemy to the light and defeat it before the snake NPC will talk to you. |
| * | When brought near a light source, some enemies will have their weakness exposed. Throwing Glow Stones will also have the same effect. ▶︎ All Terrain Types and Interactions |
| 2 |  Lure the Crockoid in front of the Void Stake into the stake's glowing purple light. This will turn the enemy's outer shell into destroyable stone. Defeat it to retrieve the Void Key. |
| * | You can also destroy the concrete pillars to let it more light. Use the Shade Ore left by the scorpion enemies or by using your Kong Bananza form to destroy them. |
| 3 | Destroy the Void Stake and head down. |
Radiance Sublayer 1201
| Step-by-Step Guide | |
|---|---|
| 1 | 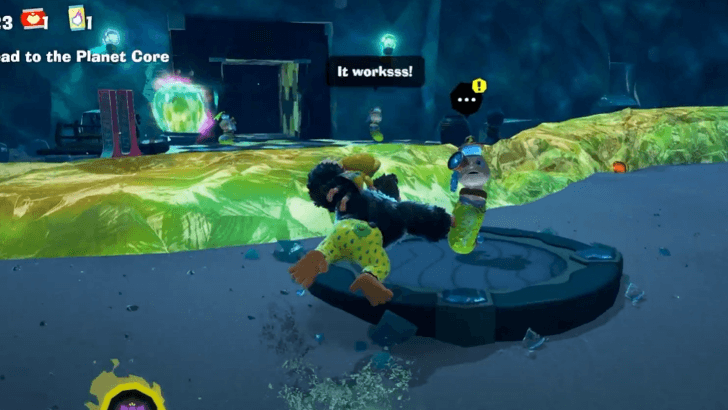 Talk to the snake beside the Glow Stone vein. |
| 2 | 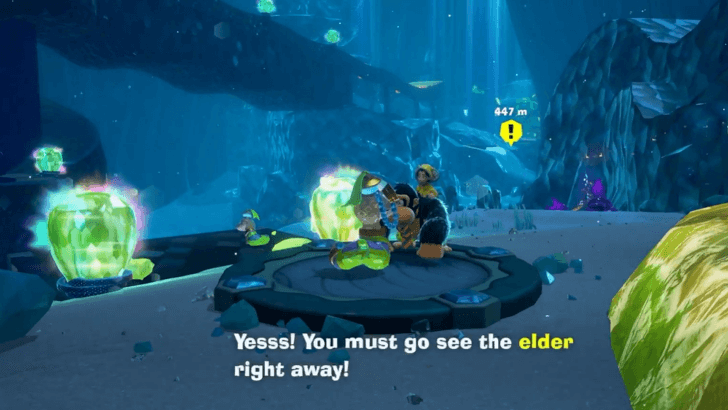 Grab a chunk of Glow Stone to incapacitate enemies in your way as you make your way towards the direction of the Snake Elder. He will be located at the east of Constrictor Corridor. |
| 3 |  Talk to the Snake Elder. You will be tasked with finding 4 Ancient Record pieces in exchange for a new Bananza Form transformation. ▶︎ All Bananza Transformations and Forms |
| 4 |  Go east and talk to the apprentice under the snake head. You will learn that one of the Ancient Record pieces is located near the bottom of Sidewinder Slide, which is pulsing in electricity. |
| 5 |  Go around and grab onto the wall behind the snake head. |
| 6 |  Descend down Sidewinder Slide. Be careful not to touch any of the electric parts. You can push up on the left stick to slow down your descent. |
| 7 | 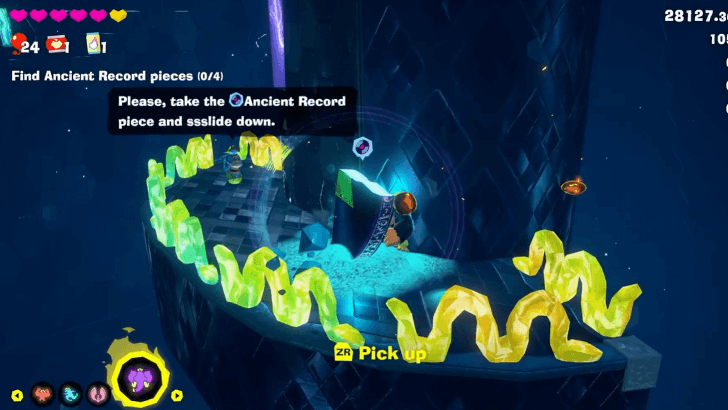 Pick up the Ancient Record piece on a platform, then climb up the wall towards the right to continue descending to the bottom of the slide. |
| 8 |  Go around and punch the metal square at the base of the structure. |
| 9 | Ride the Barrel Cannon back to the top and return the Ancient Record piece. |
| 10 | 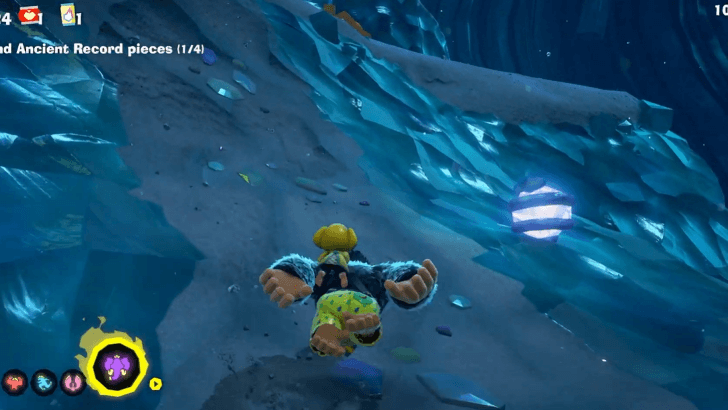 Go up the terrain to the right of the Snake Elder. |
| 11 | 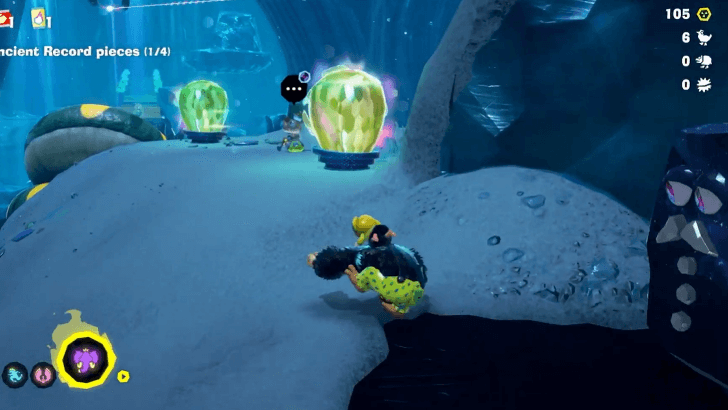 Talk to the apprentice near the Base Getaway. He'll tell you about the zipline and recommend you get a scorpion chunk. ▶︎ How to Build Getaways |
| 12 | 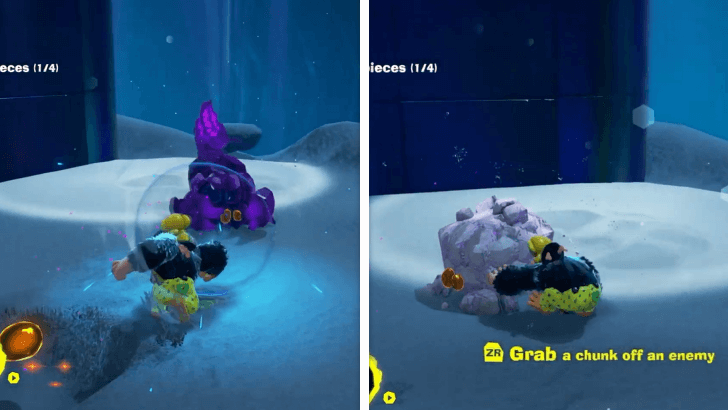 To get a scorpion chunk, expose one of the scorpions to a light source then press ZR to grab it like a chunk. When you retreat into the dark, the scorpion chunk will harden. |
| 13 | 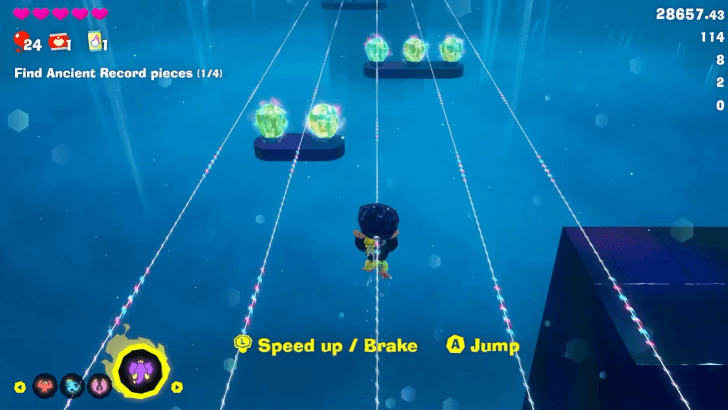 Use the scorpion chunk on the zipline. Avoid touching the Glow Stones or else it will turn the material soft. |
| 15 |  Get the Ancient Record piece on the other end. Punch the blue balloon multiple times to raise the platform you're on, then use the record piece to zipline back to the Snake Elder. |
| 16 |  Go to the left of the Snake Elder and talk to the apprentice standing in front of two Glow Stones. |
| 17 | Go into the Sizzling Sunbath and retrieve the Ancient Record piece. Avoid the enemy in the middle by going around the circle. |
| 18 | 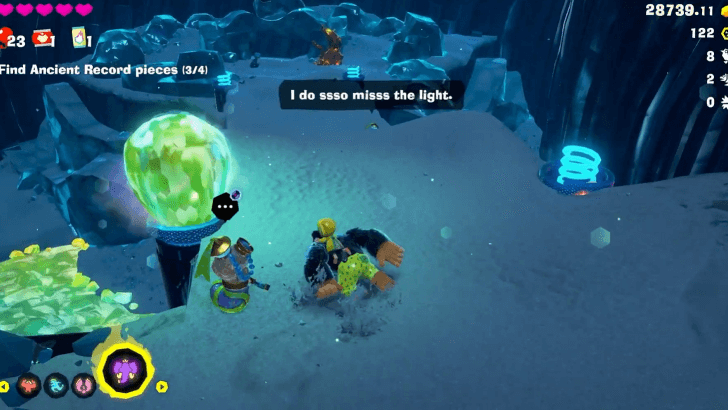 Talk to the apprentice right across the Sizzling Sunbath. |
| 19 | Go into the Pitch-Dark Pit. While inside, your surroundings will turn dark and your vision will become limited. |
| 20 | Use the Elephant Bananza Form or a chunk of Glow Stone to clear away the thorns and the dust blocking passageways and covering the blue coils on the ground. |
| 21 | 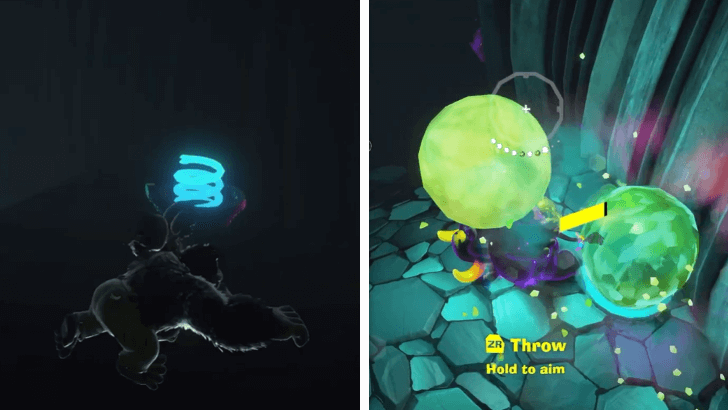 Place Glow Stones on the springs to light your way through the pit. You can get Glow Stone from the surface by using the Barrel Cannon to exit the pit. |
| 22 | 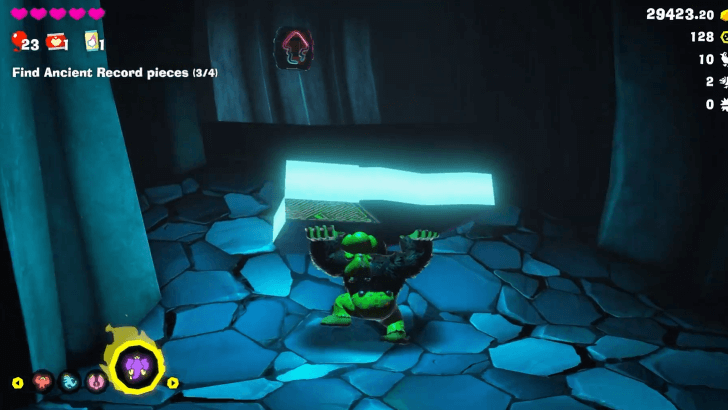 Get the Ancient Record piece then use the Barrel Cannon near the entrance to return to the Snake Elder. |
| 23 |  Once all the pieces have been collected, you will unlock the Snake Bananza Form. ▶︎ How to Use Snake Bananza Form |
| * | Press A twice while in Snake Bananza form to perform a double jump. Hold down A for a charged jump. You can also press Y to glare, slowing down platforms and obstacles for a short amount of time. |
| 24 | 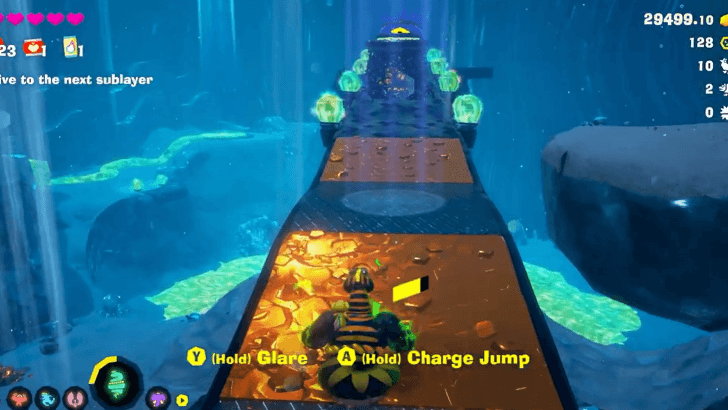 Charge jump to get on top of the Constrictor Corridor. |
| 25 |  Charge jump to get the Void Key floating above the Void Stake. |
| 26 | Destroy the Void Stake and jump down to the next sublayer. |
Radiance Sublayer 1202
| Step-by-Step Guide | |
|---|---|
| 1 |  Talk to the snake standing by a ledge. |
| 2 | Drop down and enter the tower. |
| 3 | 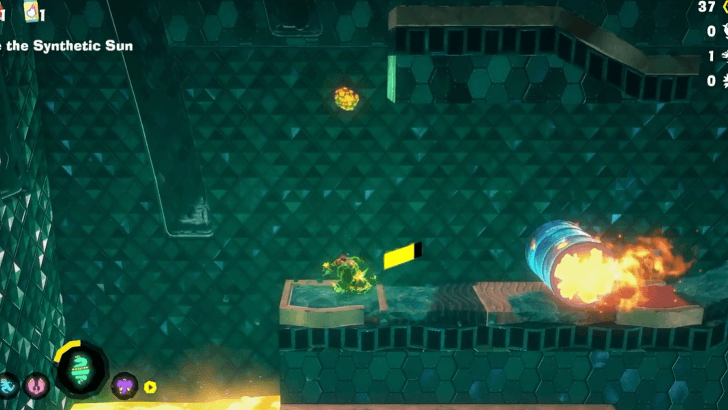 Get to the top floor. Use the Snake Bananza Form to reach higher platforms and slow down flaming barrels and other obstacles. |
| 4 | 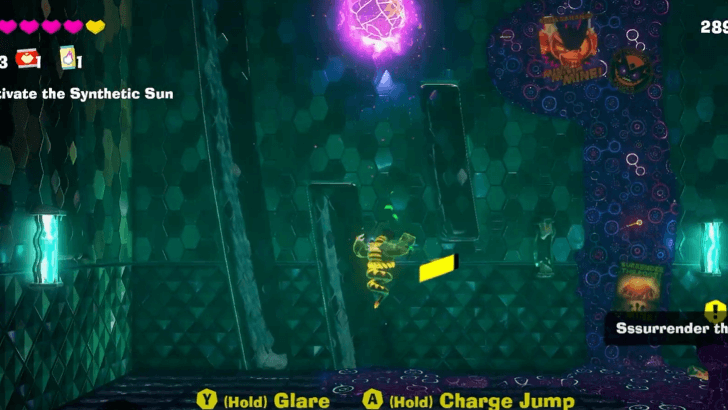 Climb the wall to the side to get close to the Terravoider. Hold down L to sing and destroy the seal. Afterwards, Charge Jump and destroy the Terravoider. |
| 5 | Before you take the Barrel Cannon to the top floor, make sure your Bananergy gauge is full. When you're ready, make your way up to the top. |
| 6 | 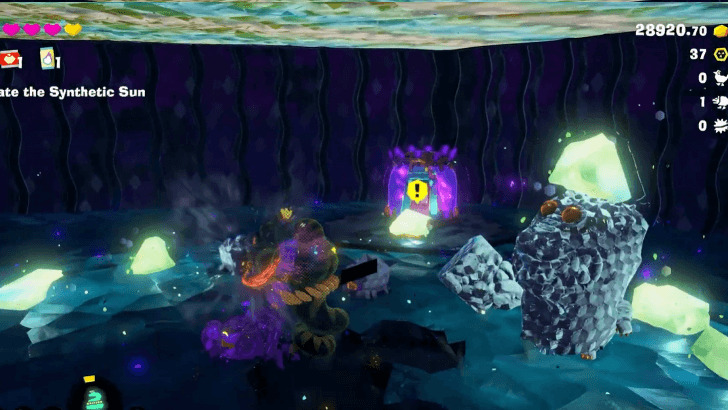 Use the Glow Stone ceiling to defeat the enemies in this room. Break it using the Snake Bananza form so that the pieces will fall on top of the enemies. Defeat the Crockoid to retrieve the Void Key. |
| 7 | Punch the snake switch to turn on the sun. Punch the solar powered door to get out. You can build a bridge back to the starting area of this sublayer by paying the Constructone. |
| 8 | 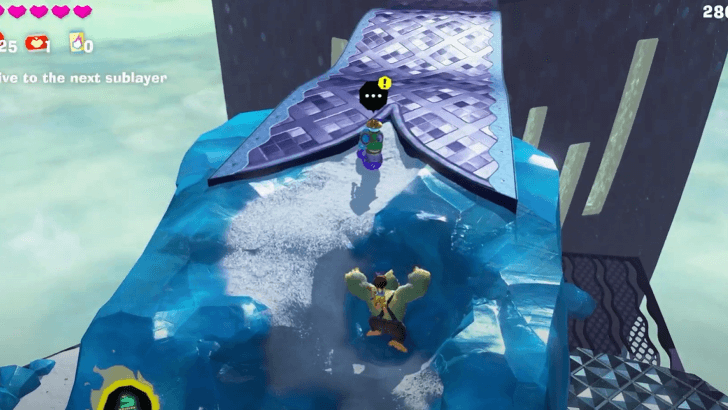 Talk to the snake that was on the ledge again. |
| 9 | 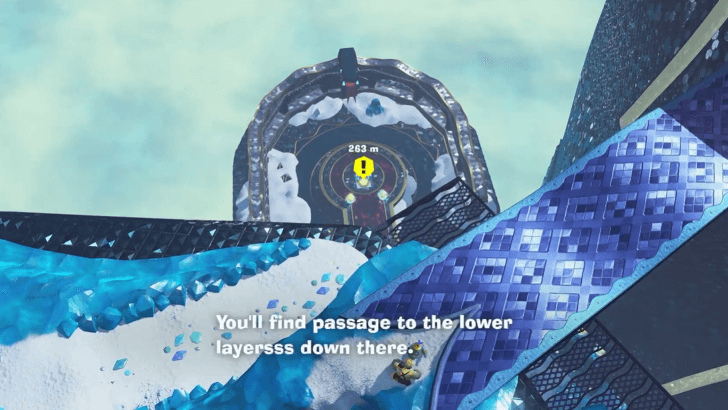 Drop down to the platform and punch down on the glowing center. Be warned that this will trigger a boss fight. |
| 10 |  Defeat Poppy Kong. Use the dust to locate Poppy Kong while she is invisible. You can use the Snake Form in this fight to slow her down and be able to hit her. ▶︎ How to Beat Poppy Kong |
| 11 | After defeating Poppy, break the Voidco platform and descend to the next sublayer. |
Radiance Sublayer 1203
| Step-by-Step Guide | |
|---|---|
| 1 | 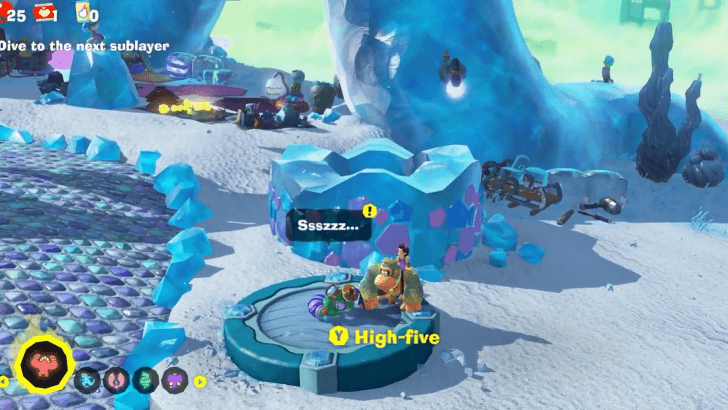 Wake the sleeping snake near the entrance of the Oasis village. |
| 2 | 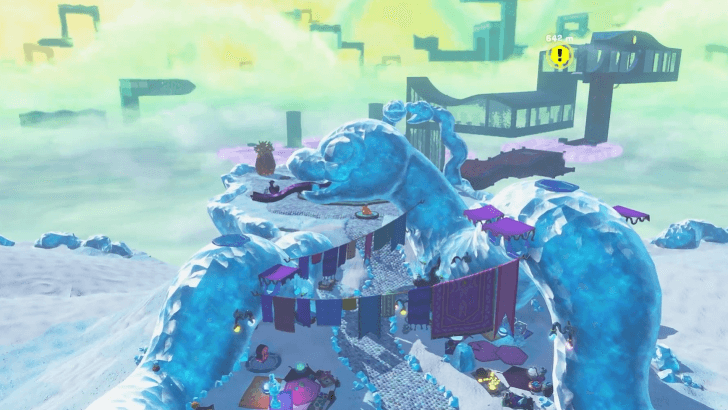 Head towards the structure to the north. |
| 3 | 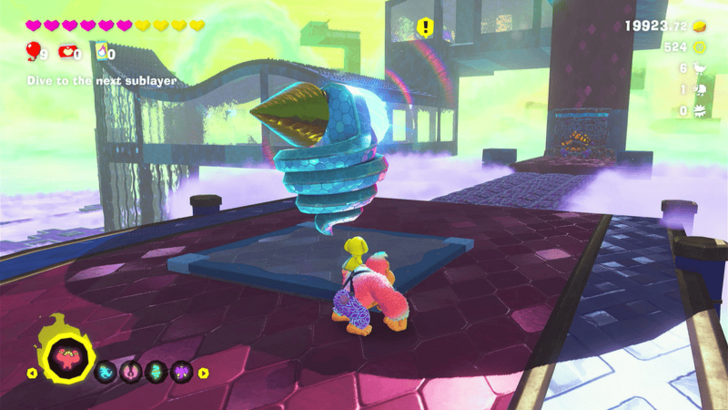 Punch the switch in front of the cloudy area in front of the tall wall to solidify the bridge. Jump past the enemy and up the wall using the Snake Bananza form. |
| 4 | 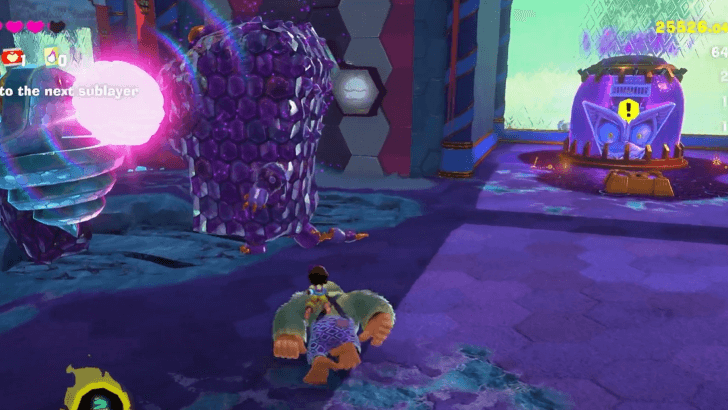 Defeat the Crockoid near the Void Stake to get the Void Key. Lure it in front of the light to make its hide breakable. |
| 5 | Destroy the Void Stake then drop down to the next floor. |
| 6 | 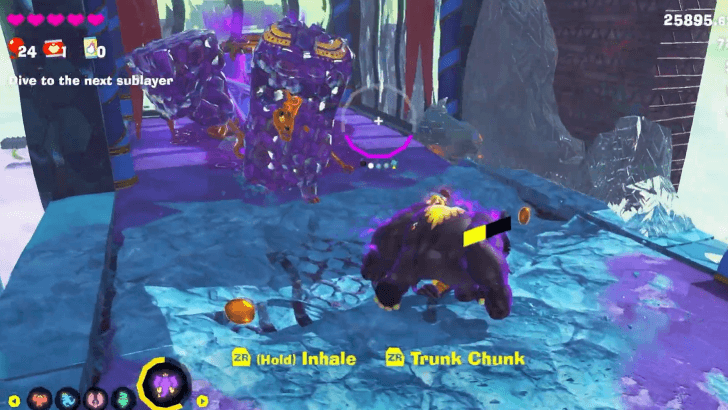 Defeat the Crockoid at the end of the path to gain a Void Key. |
| 7 | Destroy the second Void Stake and drop down. |
| 8 |  Climb up or use the Snake Form to jump up the wall by the Shade Clouds checkpoint. |
| 9 |  Get to the pillar at the farthest end of the Shade Clouds by throwing a chunk at the moving switch floating in the clouds. This should make a path to the right appear. Once this path ends, throw another chunk at the switch to open up another path. Do this until you reach the pillar. |
| * | If your Bananergy meter is full, you can also use the Ostrich Bananza form to cross from the platform near the Getaway to the far pillar. This is the faster method, but you can miss out on some collectibles. |
| 10 | 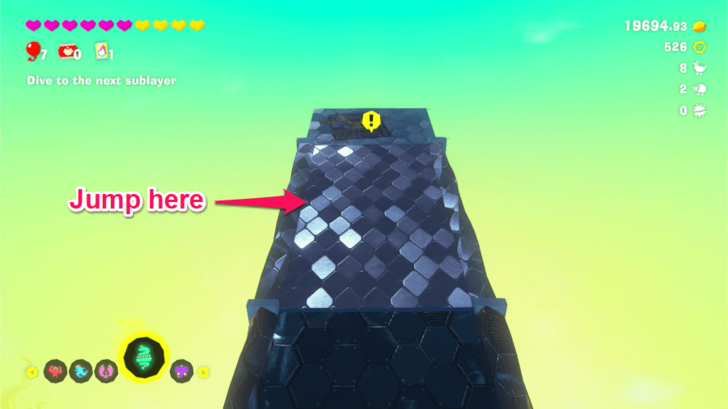 When you reach the pillar, climb to the top by using the Snake Bananza form to Charge Jump up to the non-slippery part of the pillar. Climb up until you reach the top. |
| 11 | 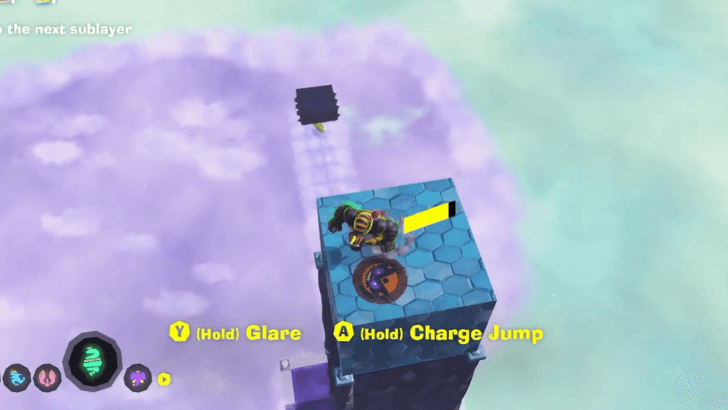 Once you're at the top, punch down on the block with the Voidco symbol. You'll want to destroy enough of this blue block to let in light until a hole appears in the path you came from. |
| 12 |  Head towards the square grid in the path and drop down. |
| 13 | 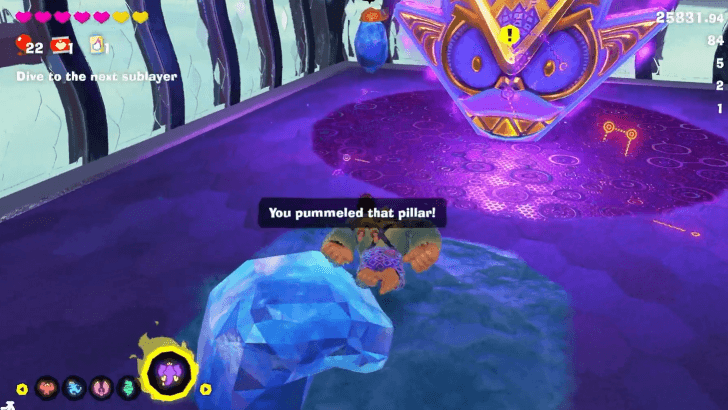 Destroy the Void Stake and drop down to the next sublayer. |
Radiance Sublayer 1204
| Step-by-Step Guide | |
|---|---|
| 1 | 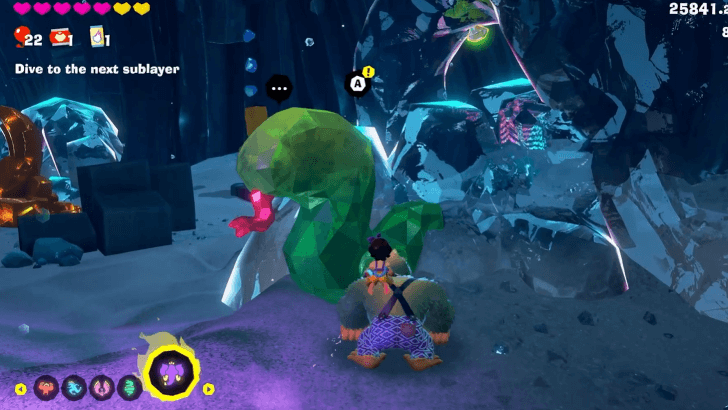 Talk to the snake-shaped fractone next to the Void Stake. It will point you towards a hole in the ground. |
| 2 | 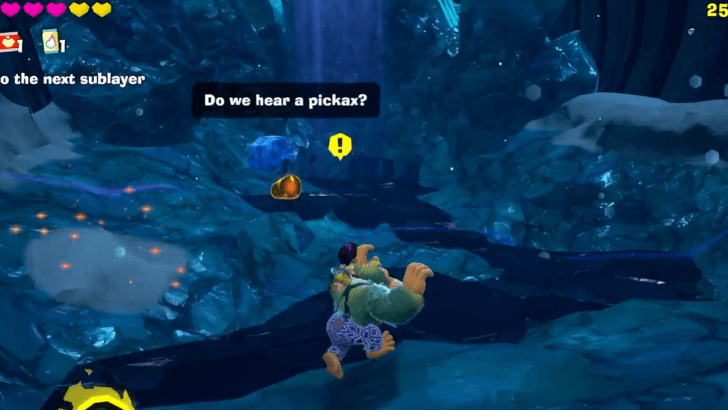 Smash through the crystal covering the hole. Be warned that dropping down will trigger a boss fight. |
| 3 |  Defeat Grumpy Kong. Use the Snake Bananza Form to break holes into the ceiling. This will shine light in the arena, allowing you to destroy Grumpy Kong's body. ▶︎ How to Beat Radiance Grumpy Kong |
| 4 | You will immediately proceed to the next layer after defeating Grumpy Kong. ▶︎ Groove Layer Walkthrough |
Radiance Layer Boss
Poppy Kong
Just like the first time you fought her, Poppy Kong will turn invisible and try to attack you. Use the dust to locate where she is, then use your Snake Bananza Form to slow her down and hit her.
Grumpy Kong
Grumpy Kong is riding a monster made of scales that are indestructible in the dark. Use the Snake Bananza Power to charge jump and create holes in the ceiling where light can pass through. When the scales are exposed to light, you will be able to destroy Grumpy Kong's rock monster.
How to Beat Radiance Grumpy Kong
Donkey Kong Bananza Related Guides
All Walkthrough Guides
| # | Layer |
|---|---|
| SL1 | Ingot Isle |
| SL100 | Lagoon Layer |
| SL200 | Hilltop Layer |
| SL300 | Canyon Layer |
| SL400 | The Divide |
| SL500 | Freezer Layer |
| SL600 | Forest Layer |
| SL700 | The Junction |
| SL800 | Resort Layer |
| SL900 | Tempest Layer |
| SL1000 | Landfill Layer |
| SL1100 | Racing Layer |
| SL1200 | Radiance Layer |
| SL1300 | Groove Layer |
| SL1400 | Feast Layer |
| SL1500 | Forbidden Layer |
| SL1600 | Planet Core |
Comment
Author

Radiance Layer Walkthrough
Please participate in our site
improvement survey
04/2026
improvement survey
04/2026
Would you assist in
improving Game8's site?
improving Game8's site?

×
We are listening to our users' valuable opinions and discussing how to act on them.
The information collected through this survey will be used for the purpose of improving our services. In addition, the information will only be disclosed a part of a statistic in a format that will not allow identification of personal information.
Begin Survey
Not Now
×
Please rate each item regarding Game8.co's Advertisements.
Amount of Ads
Very Dissatisfied
Somewhat Dissatisfied
Fine
Somewhat Satisfied
Highly Satisfied
Placement of Ads
Timing of Ad Display
Ad Loading Speed
Safeness of Ads
Content of Ads
×
Please rate each item regarding Game8.co's Quality of Articles.
Amount of information
Very Dissatisfied
Somewhat Dissatisfied
Fine
Somewhat Satisfied
Highly Satisfied
Frequency of updates
Speed of new information
Accuracy of articles
Understandibility of articles
Readability of sentences
×
Please rate each item regarding Game8.co's Usability of the Site.
Ease of finding information
Very Dissatisfied
Somewhat Dissatisfied
Fine
Somewhat Satisfied
Highly Satisfied
Loading Speed
Use of Color
Font Size
Visibility of Images
Easy to Understand Layout
×
Please rate each item regarding Game8.co's Message Boards, Comments.
Ease of Writing
Very Dissatisfied
Somewhat Dissatisfied
Fine
Somewhat Satisfied
Highly Satisfied
Readability
Ease in Finding Information
Comment Quality
Comment Quantity
Admin Response
×
Please rate each item regarding Game8.co's Site's new design.
Please rate our site's new design
Very Dissatisfied
Somewhat Dissatisfied
Fine
Somewhat Satisfied
Highly Satisfied
Do you think that the website's design change makes the site easier to use?
Has the new design made it easier for you to find information on the site?
Has the new design improved the overall visual appeal of the site?
How would you rate your overall satisfaction with the new design of the site?
×
How likely are you to recommend Game8 to someone you know?
Very Unlikely
0
1
2
3
4
5
6
7
8
9
10
Very Likely
If you have other opinions regarding potential improvement to the website, please share them with us. We would appreciate your honest opinion.
Note: This is a free response section, so you can proceed without entering anything.
Note: Please be sure not to enter any kind of personal information into your response.
Note: Please be sure not to enter any kind of personal information into your response.
×
Thank You
×
Thank you for participating in our survey! Your answers will help us to improve the quality of our website and services.
We hope you continue to make use of Game8.
We hope you continue to make use of Game8.
Close
Rankings
Gaming News


![Forza Horizon 6 Review [Preview] | Beautiful Roads With a Whole Lot of Oversteer](https://img.game8.co/4460981/a7254c24945c43fbdf6ad9bea52b5ce9.png/thumb)
Popular Games

Genshin Impact Walkthrough & Guides Wiki
Crimson Desert Walkthrough & Guides Wiki
Umamusume: Pretty Derby Walkthrough & Guides Wiki
Honkai: Star Rail Walkthrough & Guides Wiki
Monster Hunter Stories 3: Twisted Reflection Walkthrough & Guides Wiki
Wuthering Waves Walkthrough & Guides Wiki
The Seven Deadly Sins: Origin Walkthrough & Guides Wiki
Pokemon TCG Pocket (PTCGP) Strategies & Guides Wiki
Pokemon Pokopia Walkthrough & Guides Wiki
Zenless Zone Zero Walkthrough & Guides Wiki


Recommended Games
Monster Hunter World Walkthrough & Guides Wiki
Fire Emblem Heroes (FEH) Walkthrough & Guides Wiki
Pokemon Brilliant Diamond and Shining Pearl (BDSP) Walkthrough & Guides Wiki
Super Smash Bros. Ultimate Walkthrough & Guides Wiki
Diablo 4: Vessel of Hatred Walkthrough & Guides Wiki
Cyberpunk 2077: Ultimate Edition Walkthrough & Guides Wiki
Yu-Gi-Oh! Master Duel Walkthrough & Guides Wiki
Elden Ring Shadow of the Erdtree Walkthrough & Guides Wiki
The Legend of Zelda: Tears of the Kingdom Walkthrough & Guides Wiki
Persona 3 Reload Walkthrough & Guides Wiki


All rights reserved
© Nintendo. Games are property of their respective owners. Nintendo of America Inc.
The copyrights of videos of games used in our content and other intellectual property rights belong to the provider of the game.
The contents we provide on this site were created personally by members of the Game8 editorial department.
We refuse the right to reuse or repost content taken without our permission such as data or images to other sites.