The Divide Banana and Fossil Locations (SL 400)
☽ DK Island and Emerald Rush DLC out now!
☽ Learn how to solve Banandiumtone's Puzzles.
☽ All Collectibles: Banandium Gems and Fossils
☽ Learn How to Skip Layers Entirely!
☽ How to Beat the Final Boss
☽ Post-Game: Rehearsal Halls | Secret Ending
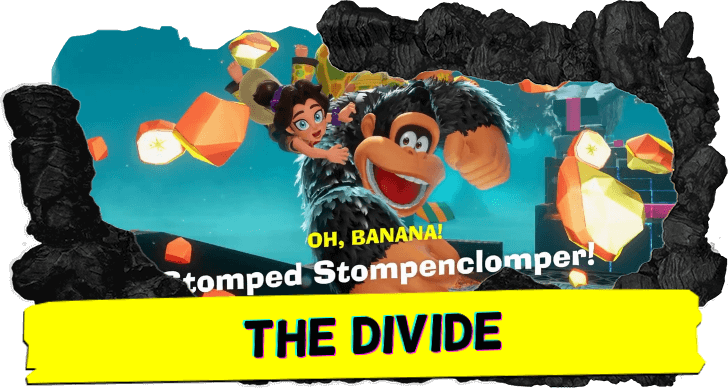
The Divide is the fifth layer in Donkey Kong Bananza. Check out where to find the locations of all The Divide Bananas, fossils, and other collectibles in this level!
| The Divide Guides | |
|---|---|
| Walkthrough | Collectibles |
| Should You Go Left or Right at the Divide? | |
List of Contents
The Divide Collectibles Overview
List of Collectibles
| Banandium Gems | Total: 10 |
|---|---|
| Fossils | Total: 0 |
| Checkpoints | Total: 2 |
| Challenges | Total: 2 |
There are 10 bananas and 0 fossils available in The Divide.
The Divide Bananas
Banandium Gems Map Overview
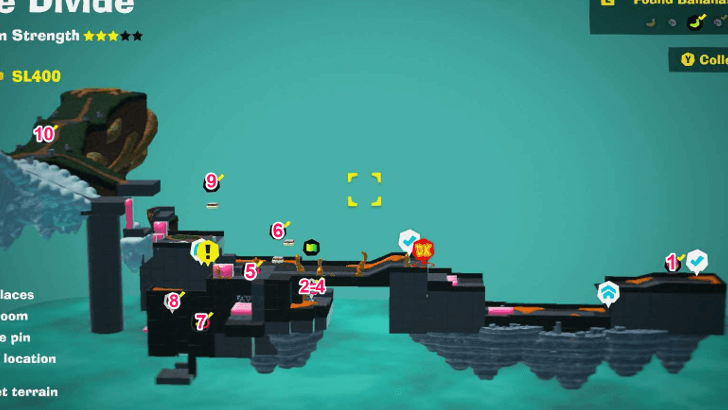 View Full Image |
SL 400 Banana Locations
| Overworld View | Map Location | |
|---|---|---|
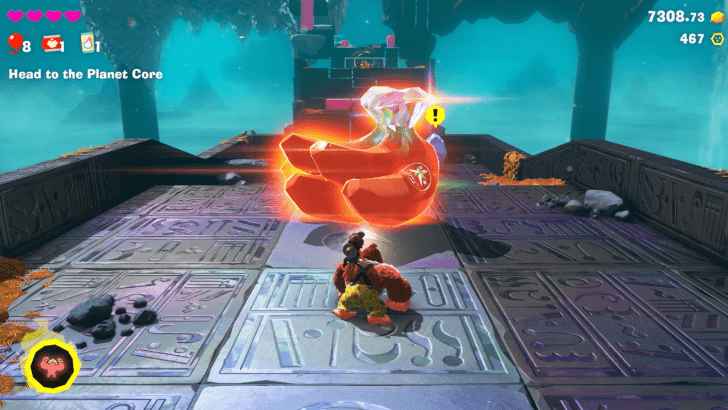
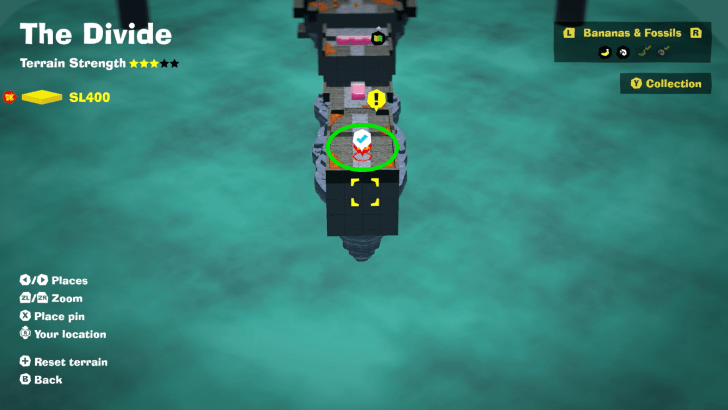
| 01 |
 |
 |
|
Found with story progression. |
||
| 02 |
 |
 |
|
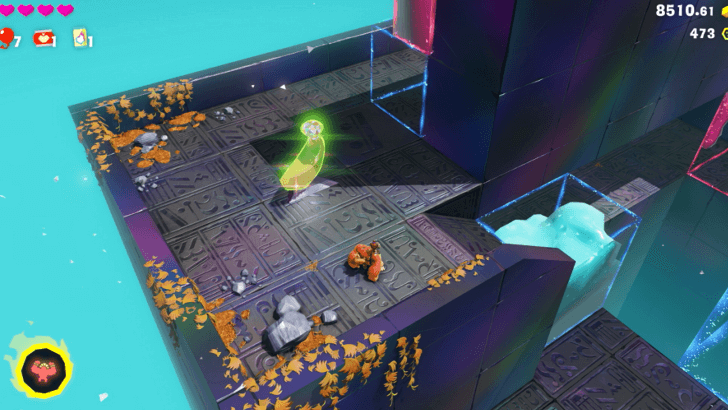
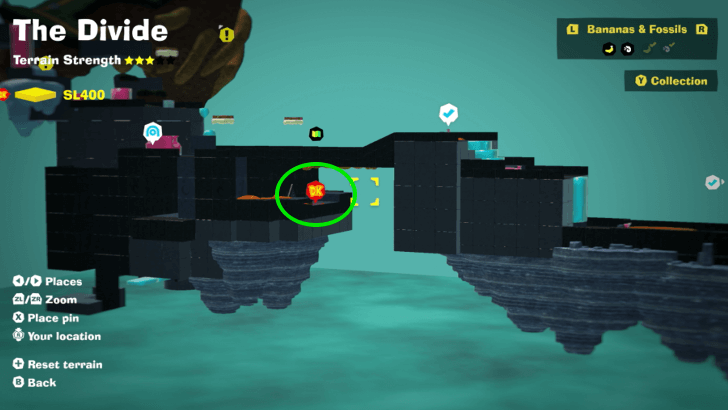
Found inside Great Switcheroo Hall Challenge Course 1. It is located along the course. |
||
| 03 |
 |
|
|
Found inside Great Switcheroo Hall Challenge Course 1. Midway through the course, in the section with a pink block below used to create a narrow blue block above, climb onto the top of the blue block once it has formed and punch down to find an alcove you can enter, with a Banandium Gem inside. |
||
| 04 |
 |
|
|
Found inside Great Switcheroo Hall Challenge Course 1. At the top of the course, you'll find a cage with a pink block of Switcheroo Goo below, which can convert into a blue block directly below the cage. Punch it into a shape which allows you to climb the blue block up and into the cage from below. |
||
| 05 |
 |
 |
|
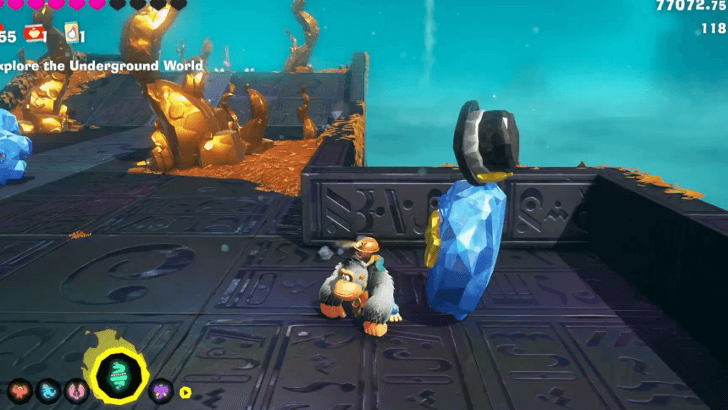
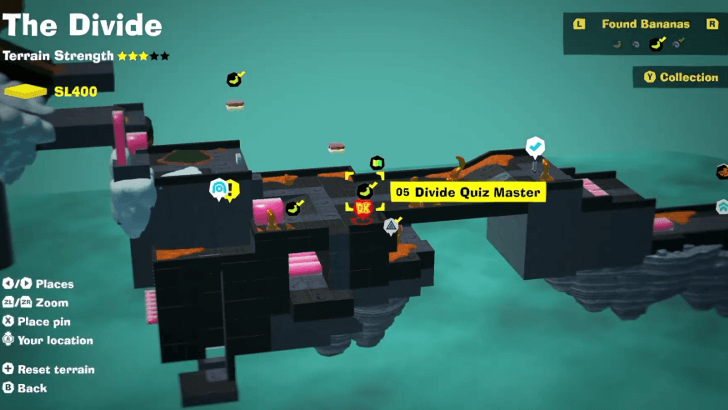
Answer magnet, mixer, and health to the Quiztone to get a Gem. |
||
| 06 |
 |
|
|
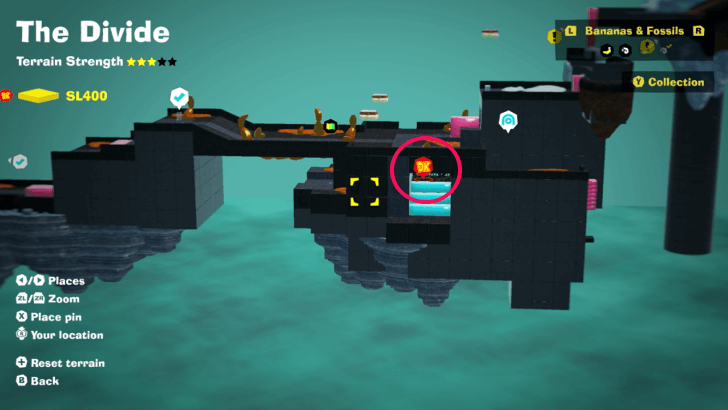
From the area with the Warp Gong, drop down off the left side to find pink Switcheroo Goo blocks which you can punch to make blue blocks appear on the opposite side of a grate. Climb back up and instead drop down off the right side to find the other side of the grate, where you can use the blue blocks as a staircase to grab the Banandium Gem. |
||
| 07 |
 |
|
|
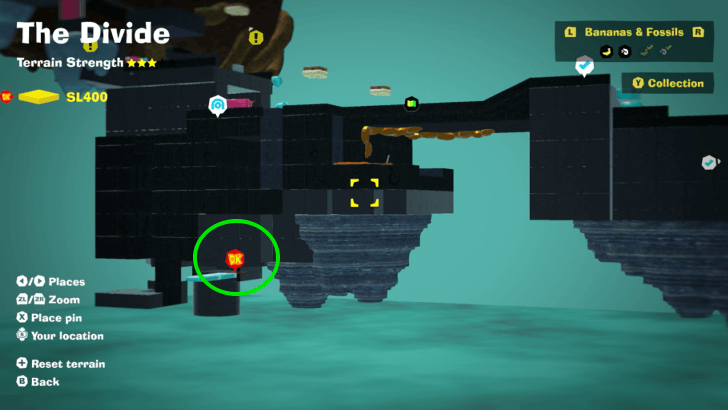
From the area with the Warp Gong, look off the left edge to find a platform you can drop down to. Punch both of the pink blocks of Switcheroo Goo to make blue blocks appear, creating a platform you can walk across to reach the Banandium Gem. |
||
| 08 |
 |
|
|
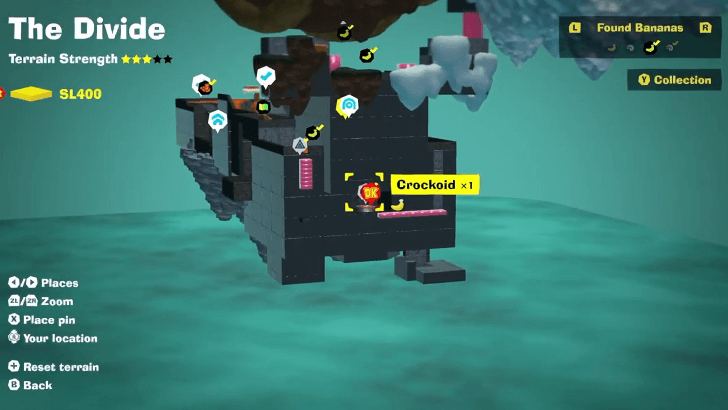
Perform a Dive Punch to remove the red panels and enter the manhole. Head down the area and defeat the Crockoid to get a Gem. |
||
| 09 |
 |
|
|
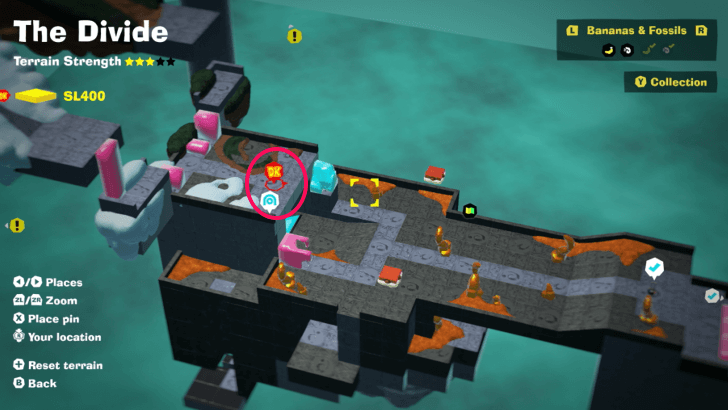
Find Rambi and look up to see a floating platform. Pick up the Snow turf and throw it at the bottom of the platform to make it fall down, revealing Cranky Kong. He'll give you a Banandium Gem. |
||
| 10 |
 |
 |
|
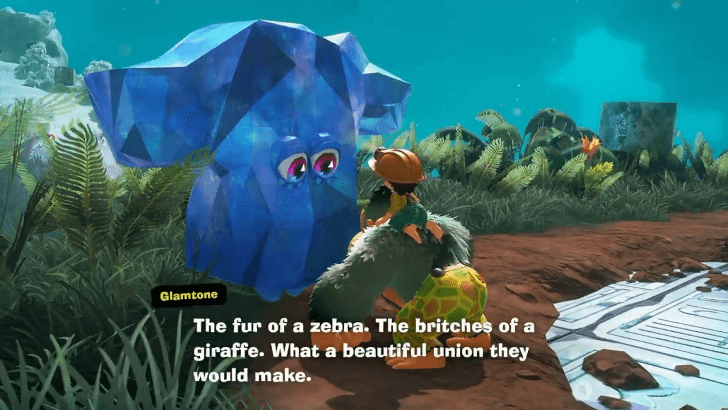
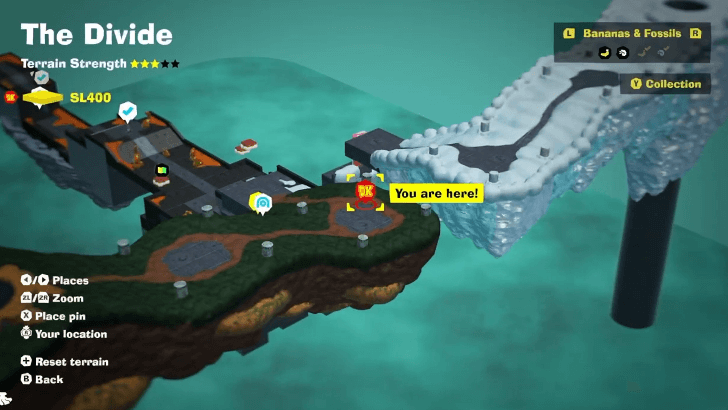
Solve the Glamtone's outfit puzzle by equipping the Monochrome Gradient Fur and Traction Britches on DK. The outfits can be purchased at Grove Layer and Canyon Layer Style Shops respectively. |
||
Banandium Gems List and Locations
The Divide Fossils
No Fossils in The Divide
| There are no fossils in this sublayer. |
The Divide Checkpoints
All Checkpoint Locations
| Overworld View | Map Location | |
|---|---|---|
 |
 |
|
|
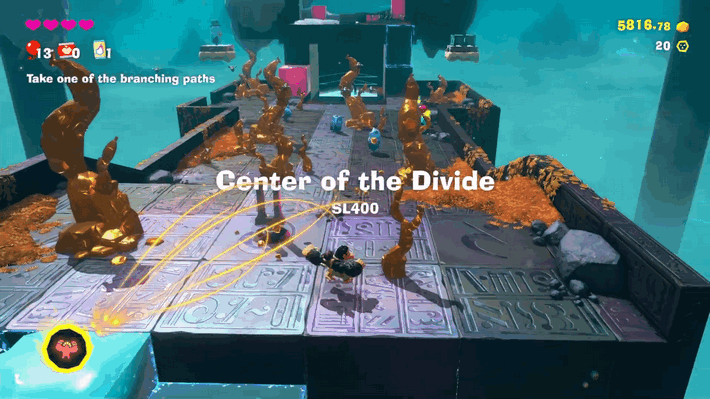
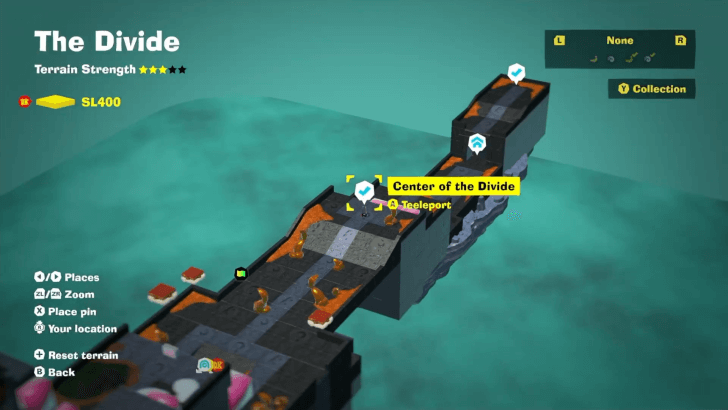
Center of the Divide Checkpoint (SL 400)
This checkpoint is located in the middle of The Divide, near the Stuff Shop. |
||
 |
 |
|
|
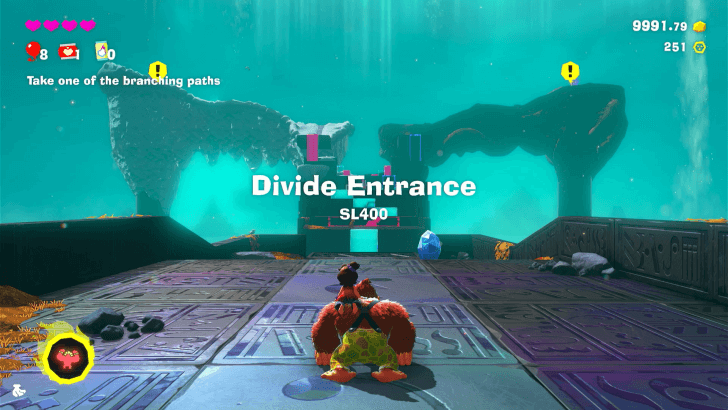
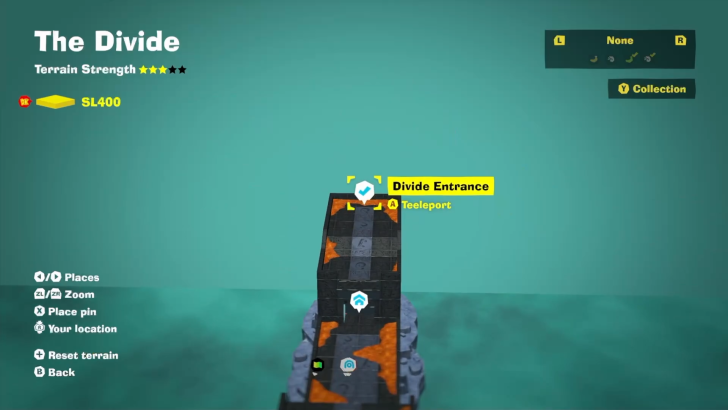
Divide Entrance Checkpoint (SL 400)
This is the starting point of The Divide. |
||
Warp Gong Location
| Layer | Overworld View | Map Location |
|---|---|---|
| SL 400 |
 |
 |
|
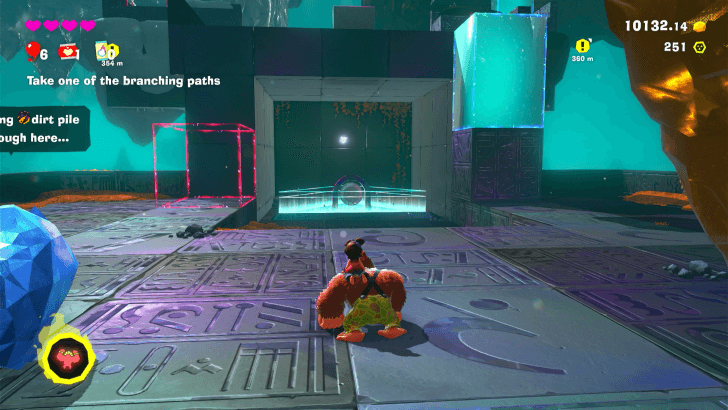
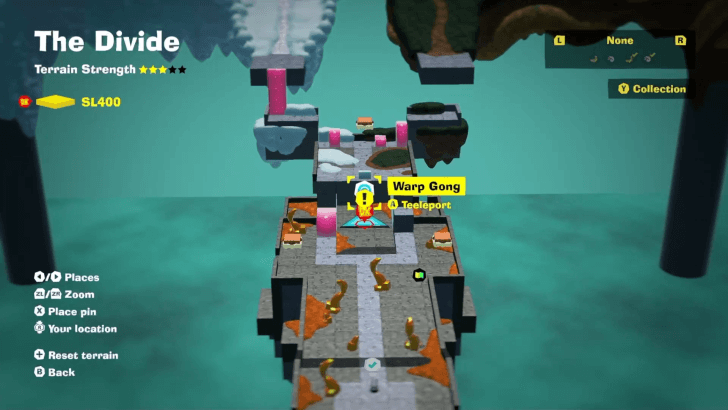
Center of the Divide Warp Gong
Found near the middle of The Divide, before the paths diverge. |
||
How to Teeleport: Fast Travel Guide
The Divide Challenges
All Challenge Locations
| Layer | Overworld View | Map Location |
|---|---|---|
| SL 400 |
 |
 |
|
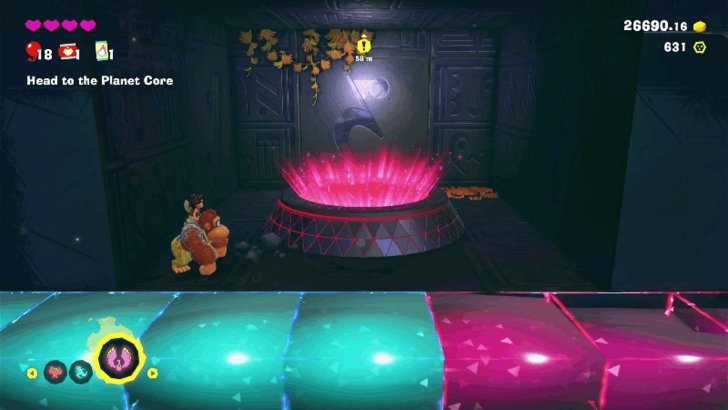
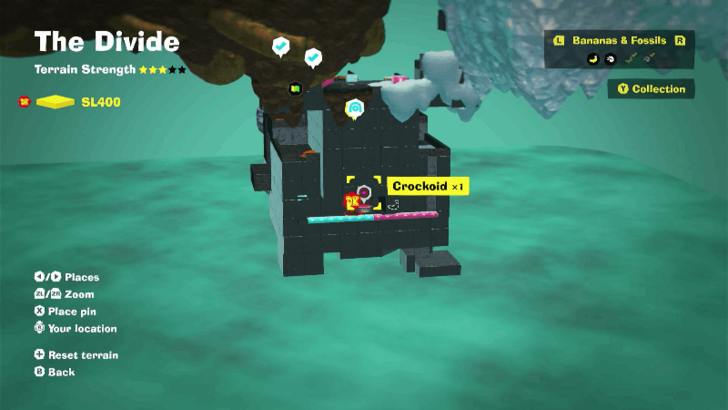
Crockoid x1 The Divide Battle Challenge 1 Located on the lower floor below the Warp Gong. Start from the Warp Gong and look for the goo paths that lead to a hidden area. |
||
| SL 400 |
 |
 |
|
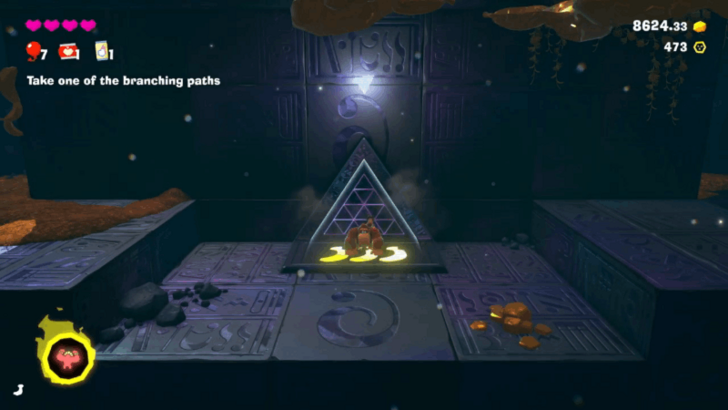
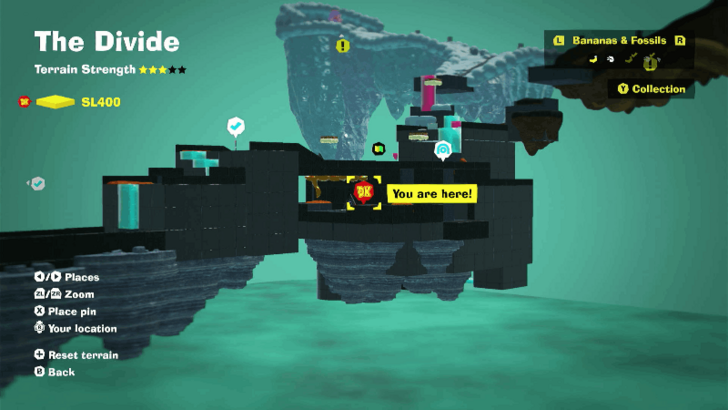
Great Switcheroo Hall The Divide Challenge Course 1 |
||
The Divide Shops
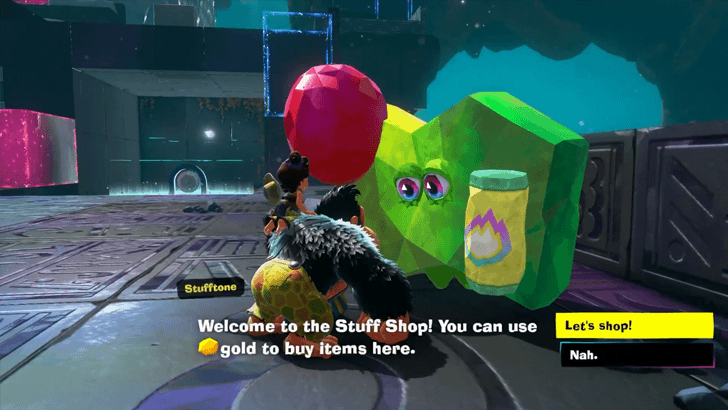
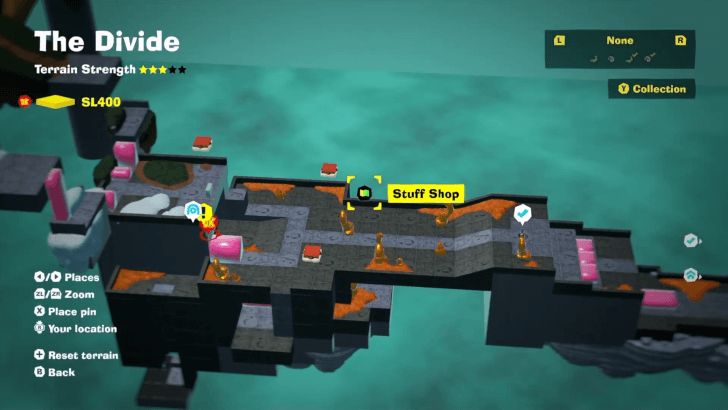
Stuff Shop Location
| Layer | Overworld View | Map Location |
|---|---|---|
| SL 400 |
 |
 |
|
Center of the Divide Stuff Shop
This Stuff Shop is located in the middle of The Divide. |
||
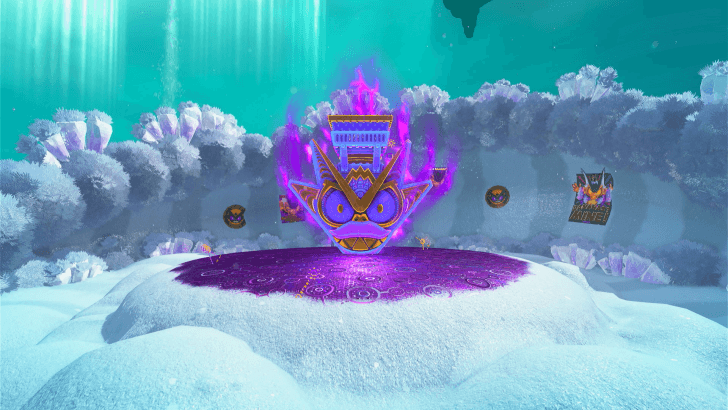
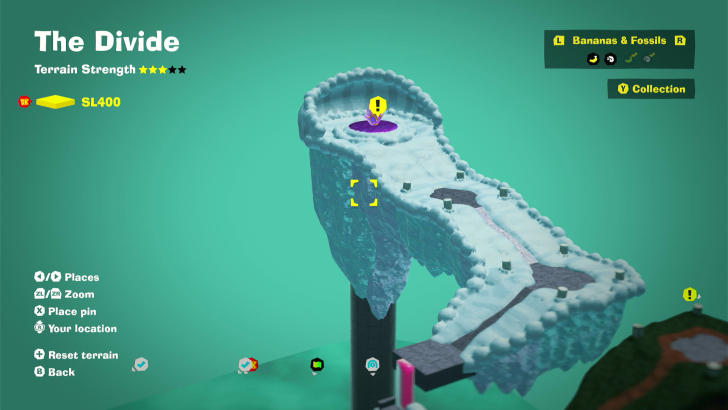
The Divider Void Stakes
Void Stake Locations
| Layer | Overworld View | Map Location |
|---|---|---|
| SL 400 |
 |
 |
|
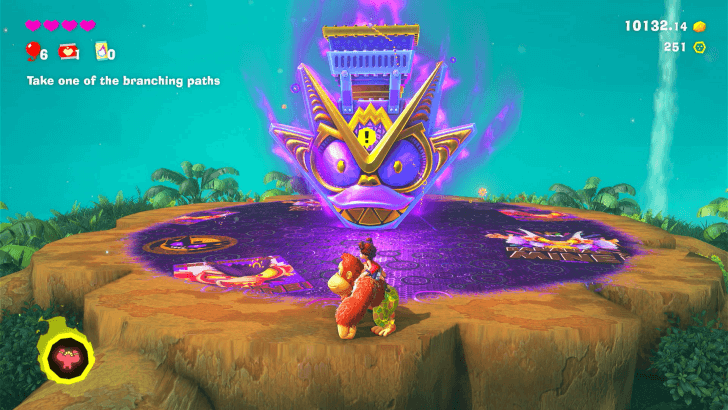
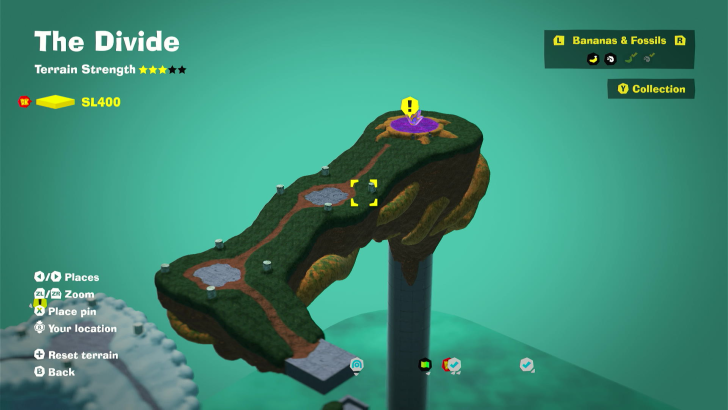
Freezer Path Void Stake
Can be found at the end of the Freezer Path in the Divide |
||
| SL 400 |
 |
 |
|
Forest Path Void Stake
Can be found at the end of the Forest Path in the Divide |
||
Cranky Kong Location
Floating Near the Warp Gong
| Map / Overworld Image | Video Directions |
|---|---|
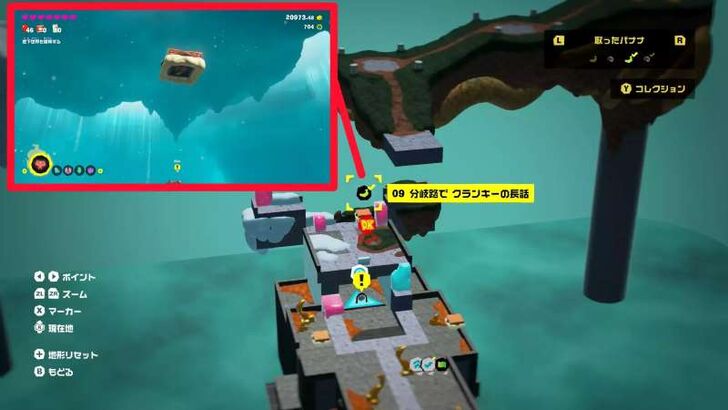 |
In the mid-level area with the blue and pink gel blocks, look above the stone tablet to spot Cranky on a floating cloud platform.
The Divide Getaways
All Getaway Locations
| Map Location | Overworld Image |
|---|---|
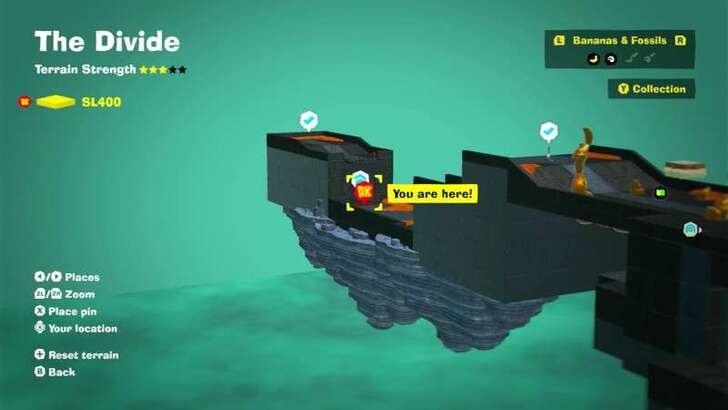 The Divide (SL 400) |
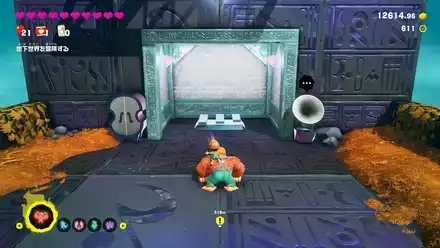 Split-Path Getaway |
Getaway Guide: All Getaway Locations
Donkey Kong Bananza Related Guides
All Layers
Comment
Author
The Divide Banana and Fossil Locations (SL 400)
improvement survey
04/2026
improving Game8's site?

Your answers will help us to improve our website.
Note: Please be sure not to enter any kind of personal information into your response.

We hope you continue to make use of Game8.
Rankings
- We could not find the message board you were looking for.
Gaming News
Popular Games

Genshin Impact Walkthrough & Guides Wiki

Crimson Desert Walkthrough & Guides Wiki

Umamusume: Pretty Derby Walkthrough & Guides Wiki

Honkai: Star Rail Walkthrough & Guides Wiki

Monster Hunter Stories 3: Twisted Reflection Walkthrough & Guides Wiki

Wuthering Waves Walkthrough & Guides Wiki

The Seven Deadly Sins: Origin Walkthrough & Guides Wiki

Pokemon TCG Pocket (PTCGP) Strategies & Guides Wiki

Pokemon Pokopia Walkthrough & Guides Wiki

Zenless Zone Zero Walkthrough & Guides Wiki
Recommended Games

Monster Hunter World Walkthrough & Guides Wiki

Fire Emblem Heroes (FEH) Walkthrough & Guides Wiki

Pokemon Brilliant Diamond and Shining Pearl (BDSP) Walkthrough & Guides Wiki

Super Smash Bros. Ultimate Walkthrough & Guides Wiki

Diablo 4: Vessel of Hatred Walkthrough & Guides Wiki

Cyberpunk 2077: Ultimate Edition Walkthrough & Guides Wiki

Yu-Gi-Oh! Master Duel Walkthrough & Guides Wiki

Elden Ring Shadow of the Erdtree Walkthrough & Guides Wiki

The Legend of Zelda: Tears of the Kingdom Walkthrough & Guides Wiki

Persona 3 Reload Walkthrough & Guides Wiki
All rights reserved
© Nintendo. Games are property of their respective owners. Nintendo of America Inc.
The copyrights of videos of games used in our content and other intellectual property rights belong to the provider of the game.
The contents we provide on this site were created personally by members of the Game8 editorial department.
We refuse the right to reuse or repost content taken without our permission such as data or images to other sites.

 Ingot Isle
 Lagoon Layer
 Hilltop Layer
 Canyon Layer
 The Divide
 Freezer Layer
 Forest Layer
 The Junction
 Resort Layer
 Tempest Layer
 Landfill Layer
 Racing Layer
 Radiance Layer
 Groove Layer
 Feast Layer
 Forbidden Layer
 Planet Core
 DK Island


![Forza Horizon 6 Review [Preview] | Beautiful Roads With a Whole Lot of Oversteer](https://img.game8.co/4460981/a7254c24945c43fbdf6ad9bea52b5ce9.png/thumb)


