Landfill Layer Banana and Fossil Locations (SL 1000-1001)
☽ DK Island and Emerald Rush DLC out now!
☽ Learn how to solve Banandiumtone's Puzzles.
☽ All Collectibles: Banandium Gems and Fossils
☽ Learn How to Skip Layers Entirely!
☽ How to Beat the Final Boss
☽ Post-Game: Rehearsal Halls | Secret Ending
Landfill Layer is the eleventh layer in Donkey Kong Bananza. Check out where to find the locations of all Landfill Layer Bananas, fossils, and other collectibles in this level!
| Landfill Layer Guides | |
|---|---|
| Walkthrough | Collectibles |
List of Contents
Landfill Layer Collectibles Overview
List of Collectibles
| Banandium Gems | Total: 27 |
|---|---|
| Fossils | Total: 30
|
| Checkpoints | Total: 6 |
| Challenges | Total: 6 |
There are 27 bananas and 30 fossils available in Landfill Layer.
Landfill Layer Bananas
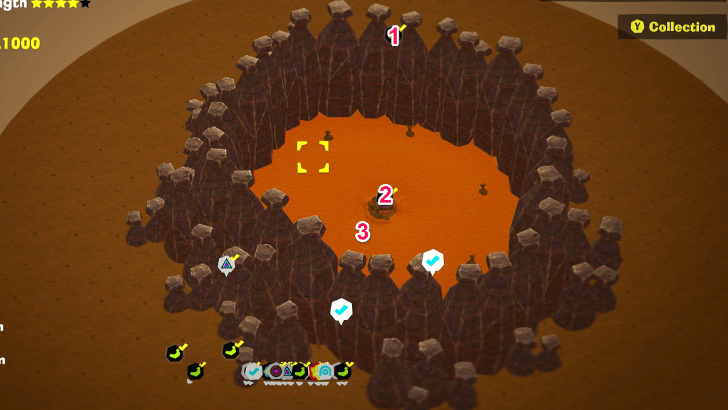
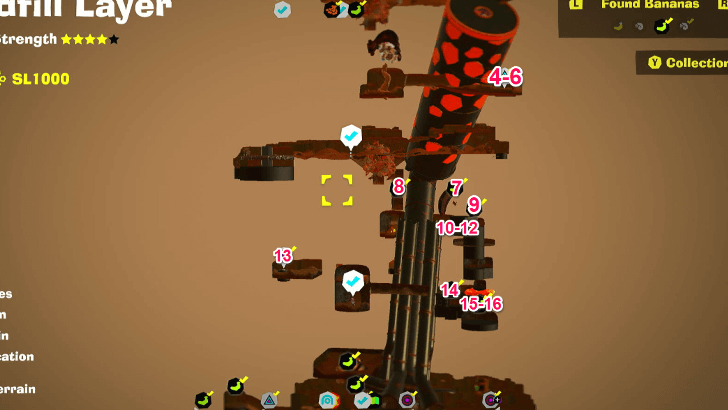
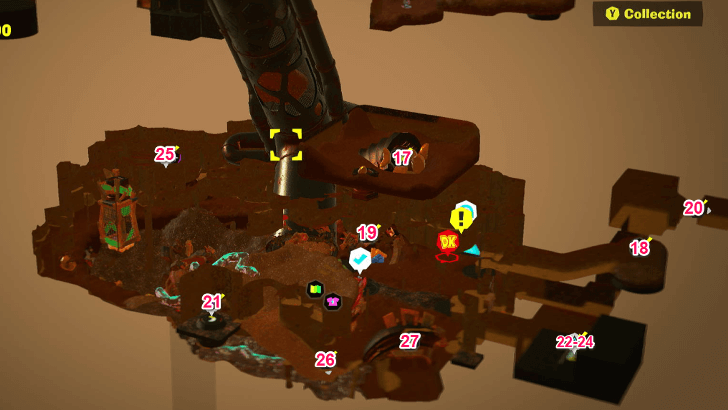
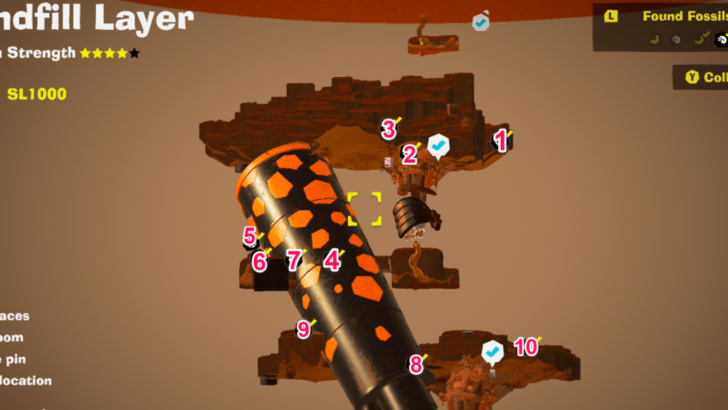
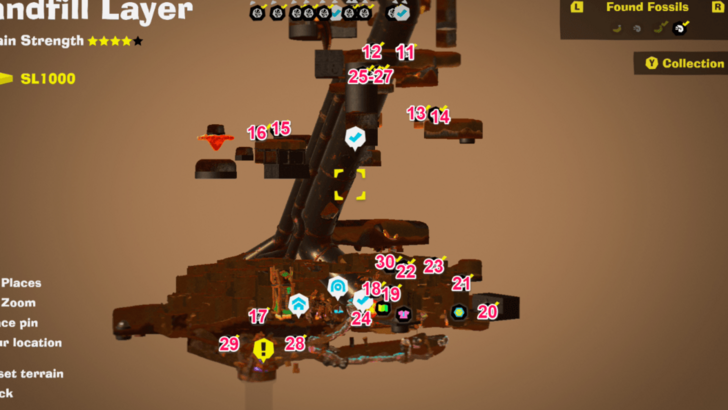
Banandium Gems Map Overview
SL 1000 Banana Locations
| Overworld View | Map Location | |
|---|---|---|
| 01 |
 |
 |
|
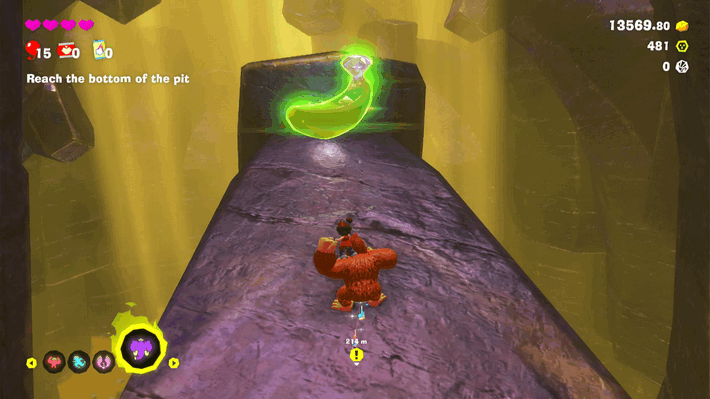
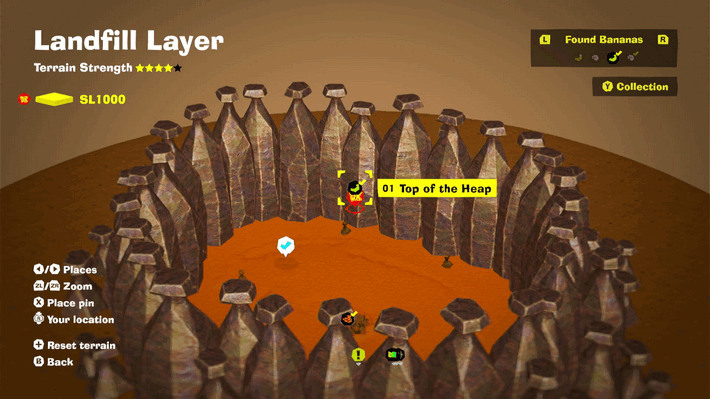
Climb the concrete walls to the left of the initial starting point of Landfill Layer, to find the Gem on a platform above. |
||
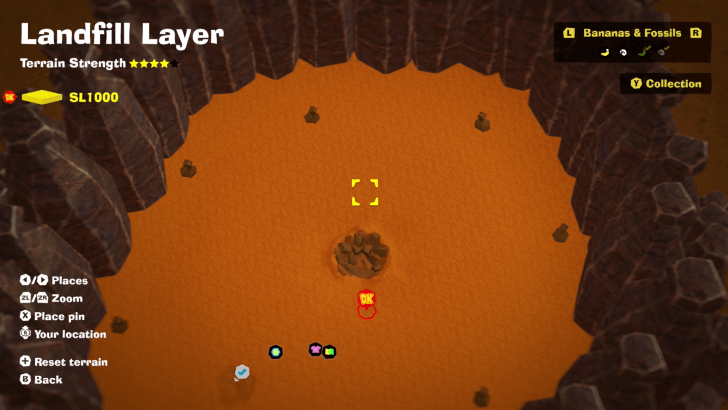
| 02 |
 |
 |
|
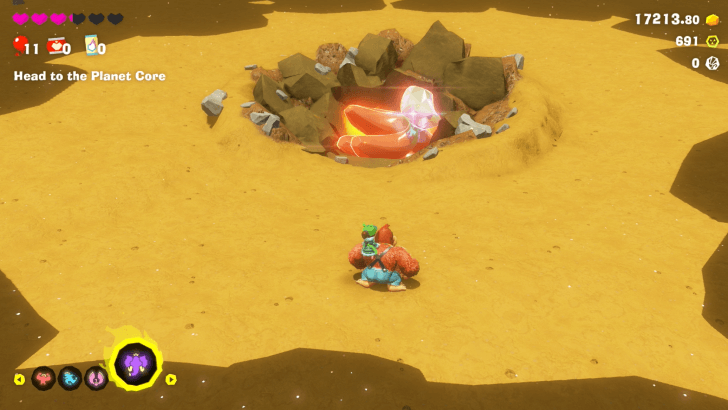
Found with story progression. |
||
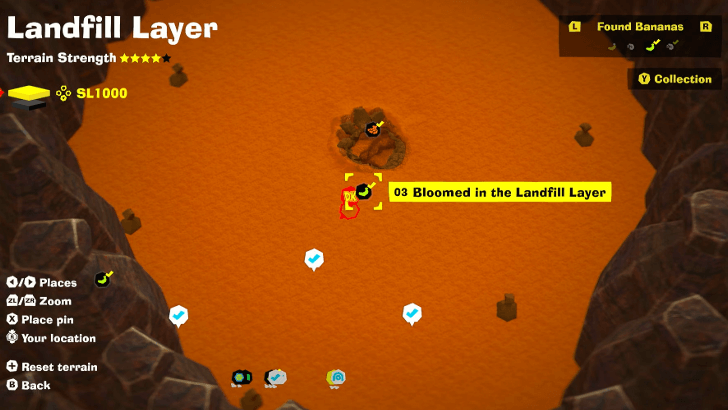
| 03 |
 |
|
|
Teeleport to Forgotten Pit Entry and dig a hole at the center enough to give the Bloomintone some light. |
||
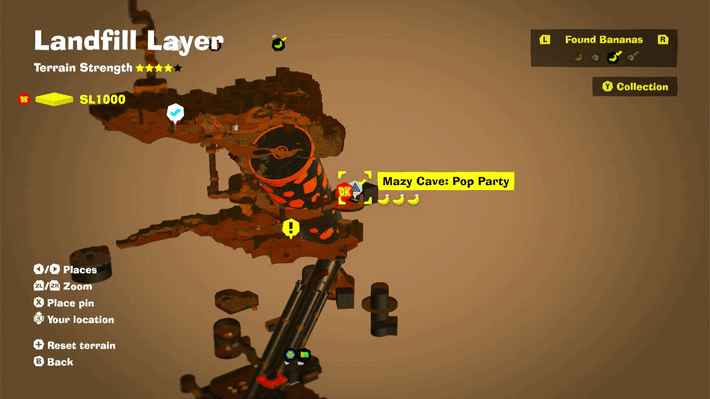
| 04 |
 |
|
|
Found at the end of Mazy Cave Pop Party Challenge Course 1. |
||
| 05 |
 |
|
|
Found inside Mazy Cave Pop Party Challenge Course 1. |
||
| 06 |
 |
|
|
Found inside Mazy Cave Pop Party Challenge Course 1. |
||
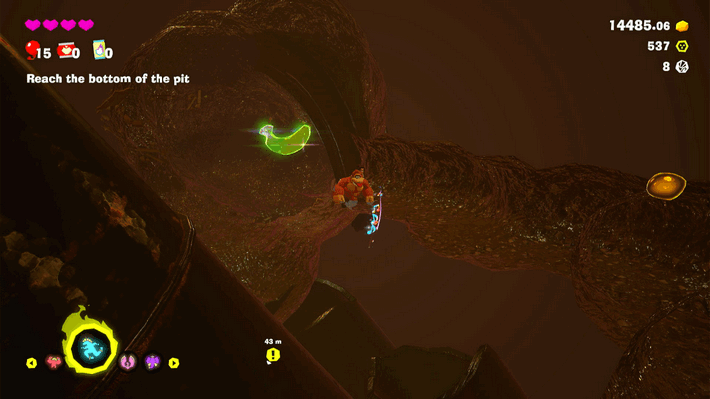
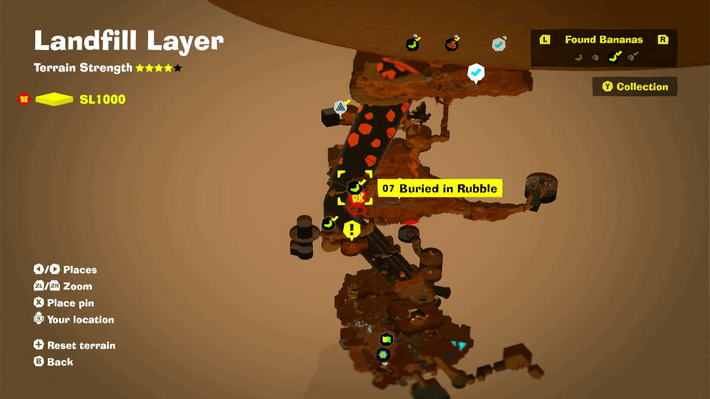
| 07 |
 |
 |
|
Buried near Void bombs. Move away once Void bombs are triggered to avoid taking damage. |
||
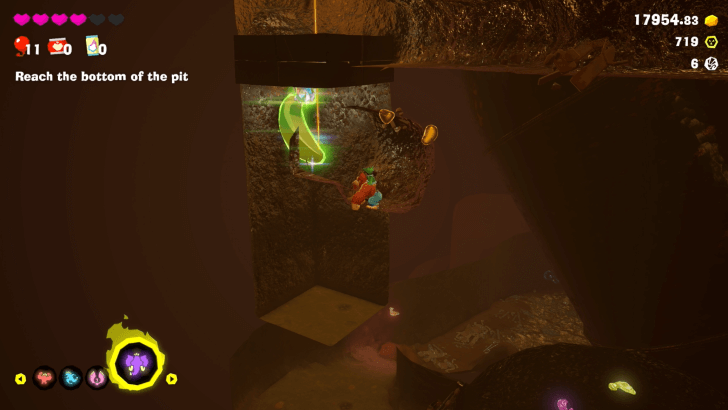
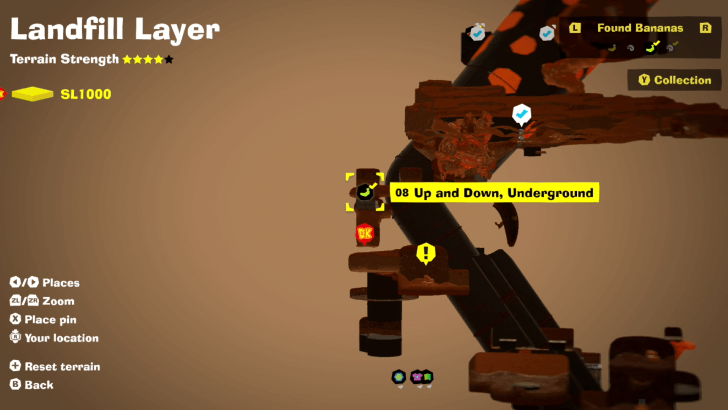
| 08 |
 |
 |
|
Found attached to the bottom of a platform moving up and down. |
||
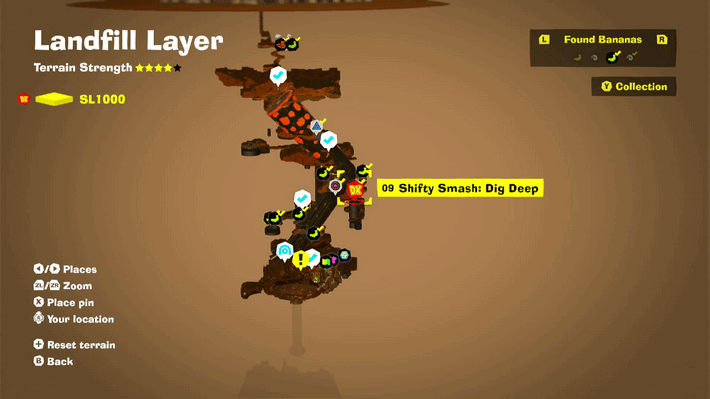
| 09 |
 |
|
|
Complete the Shifty Smash Challenge by digging down, avoiding the rotating lava disc and then destroying the grey block further below. Ride the Barrel back to the Gem once complete. |
||
| 10 |
 |
 |
|
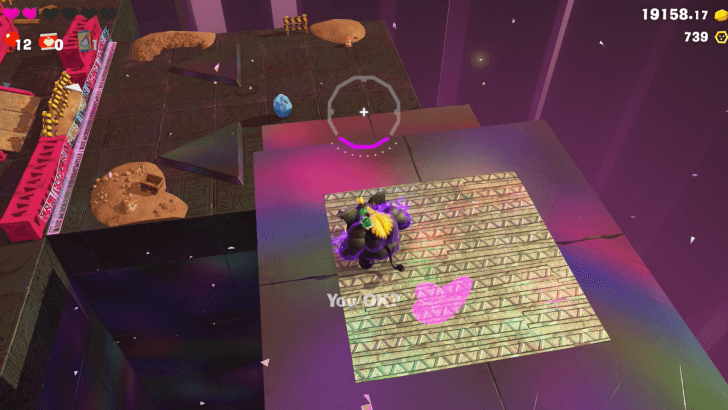
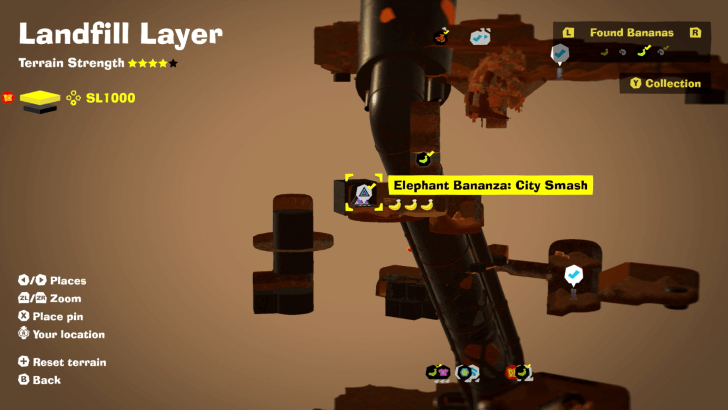
Found inside Elephant Bananza City Smash Challenge Course 2. Inhale a chunk of Boom Rock, and at least one other Turf chunk after. Use the first chunk to Chunk Jump on top of the wall at the entrance, then use the Boom Rock to destroy the concrete floor at the top. Find the Banandium Gem in the hole. |
||
| 11 |
 |
 |
|
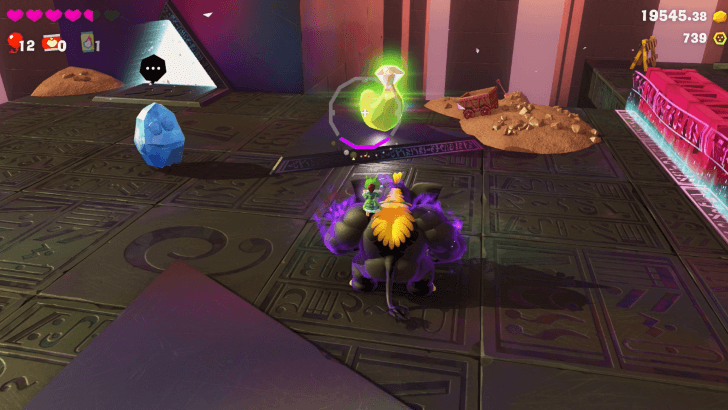
Found inside Elephant Bananza City Smash Challenge Course 2. Reach a 100% score within the time limit. |
||
| 12 |
 |
 |
|
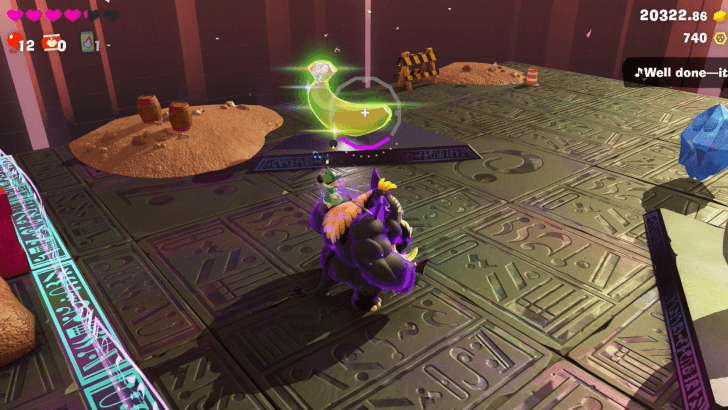
Found inside Elephant Bananza City Smash Challenge Course 2. Reach a 100% score with at least 20 seconds left. To win, throw Turf at the walls and octopus enemies when they appear to save time over Inhaling everything. |
||
| 13 |
 |
 |
|
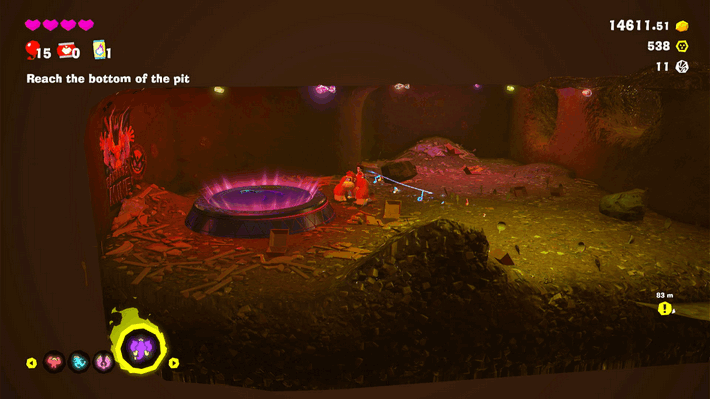
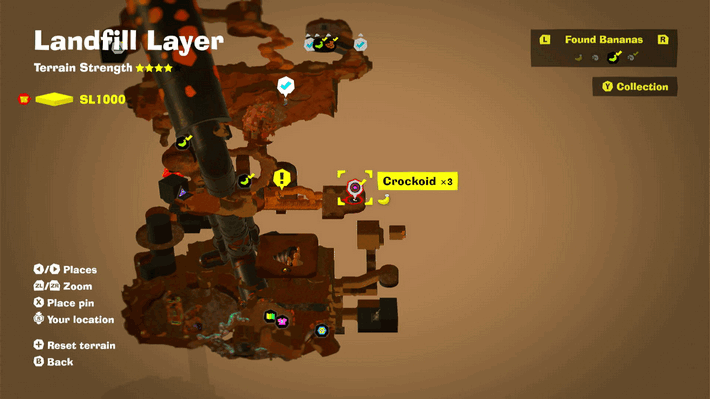
Found opposite of the Elephant Bananza Challenge Course. Follow the direction of the chomping snakes to find the manhole, then defeat three Crockoids. |
||
| 14 |
 |
 |
|
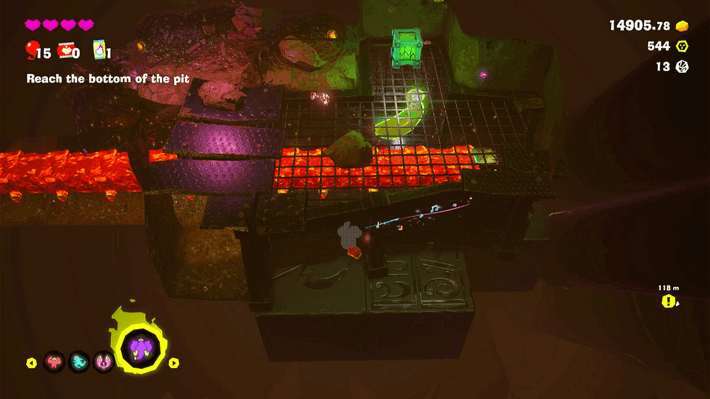
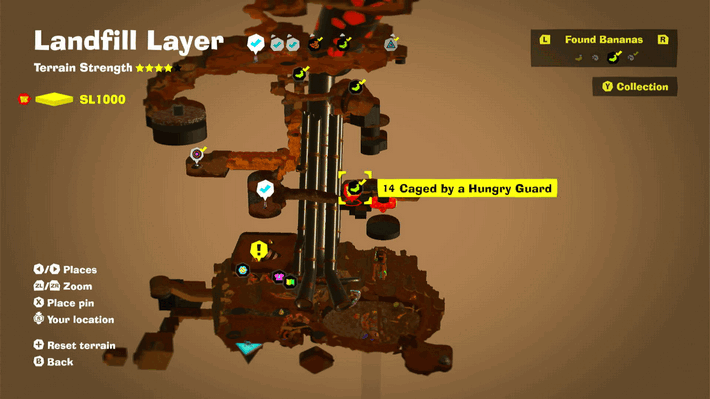
Inside a steel cage, entrance can be reached by digging the ground around the cage. Way to the Gem is blocked by a chomping snake. Either wait for it to retract, or destroy it using Bananza powers. |
||
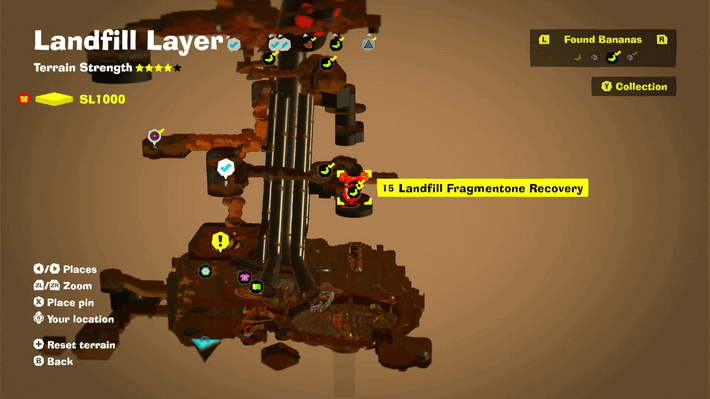
| 15 |
 |
|
|
Find a Fragmentone. The first Fragmentone found before reaching the Fractone. |
||
| 16 |
 |
|
|
Find the rest of the Fragmentones. They are found above the Fractone, surrounded by Lava. Dig above the Lava, then through the room with the Fragmentones to bring them back safely. |
||
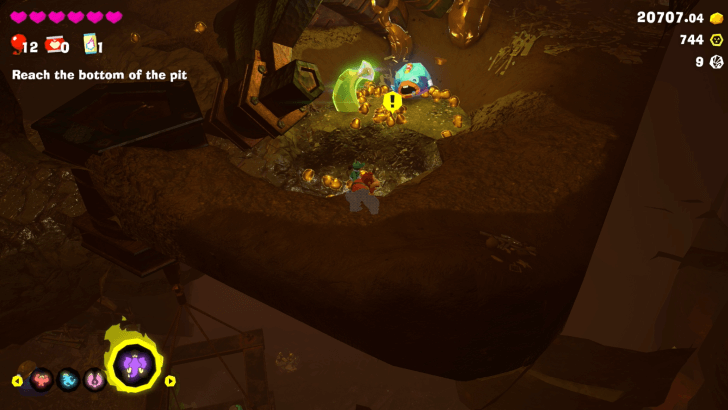
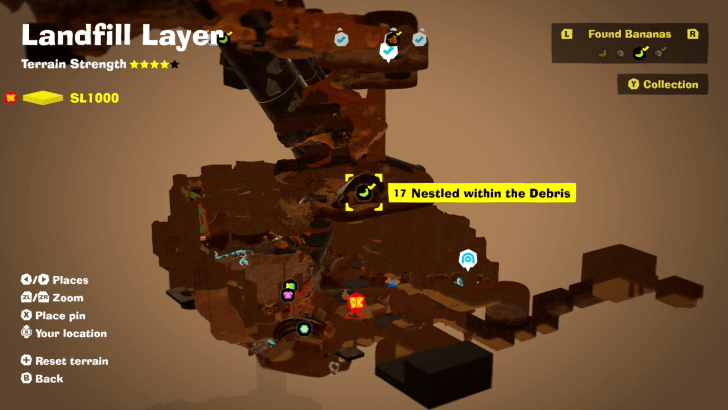
| 17 |
 |
 |
|
Found along the story progression path. |
||
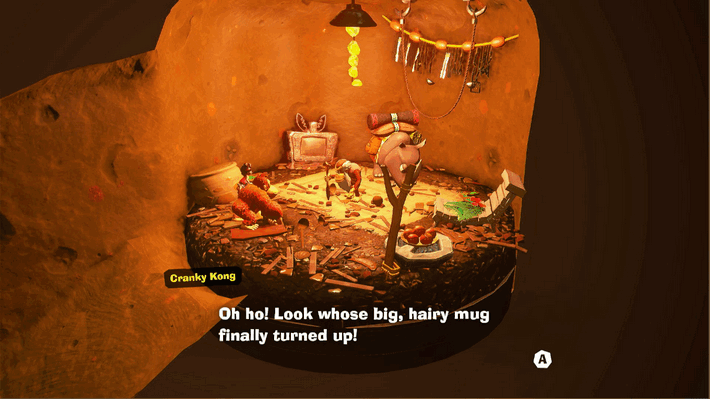
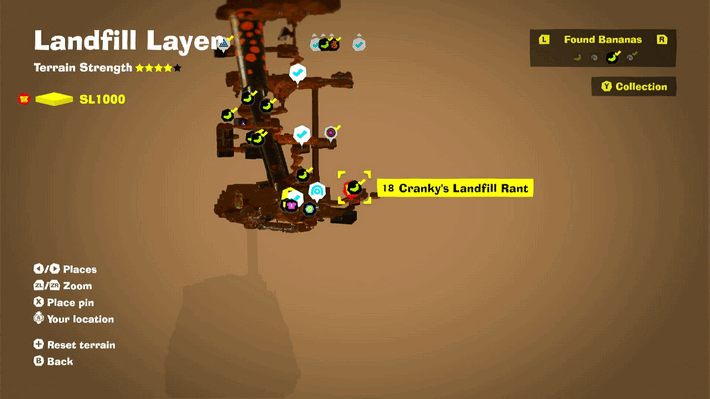
| 18 |
 |
 |
|
Reward for finding Cranky in Landfill Layer. |
||
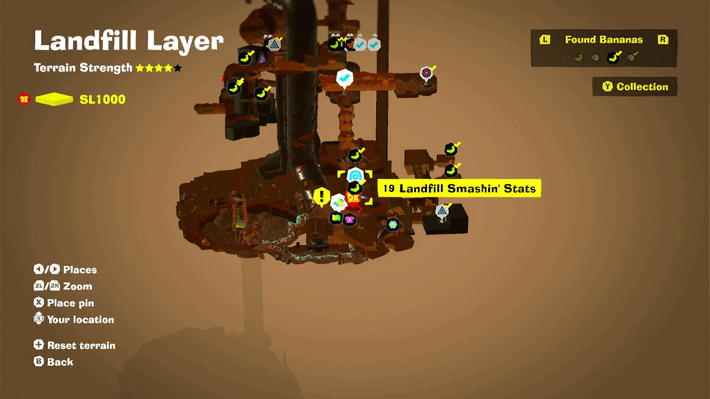
| 19 |
 |
 |
|
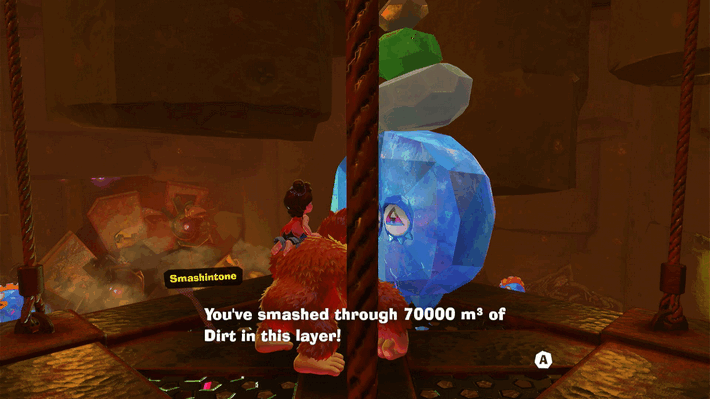
After destroying 70000 m3 of Dirt, talk to the Smashintone above the stores. |
||
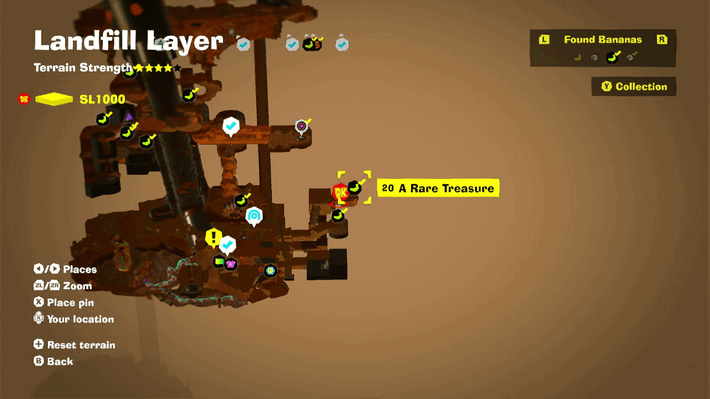
| 20 |
 |
 |
|
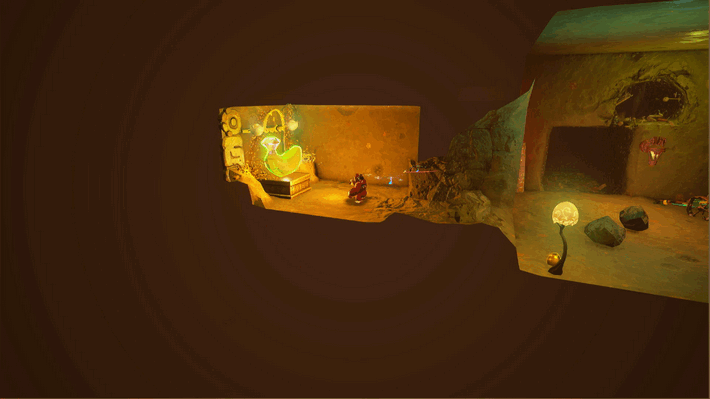
Inside a secret room to the left of Cranky's location. |
||
| 21 |
 |
 |
|
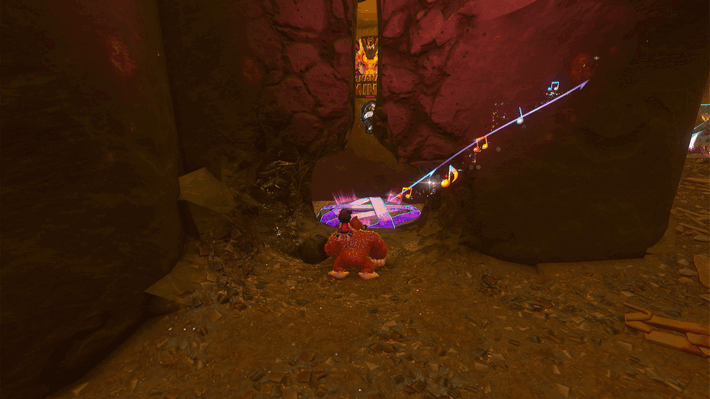
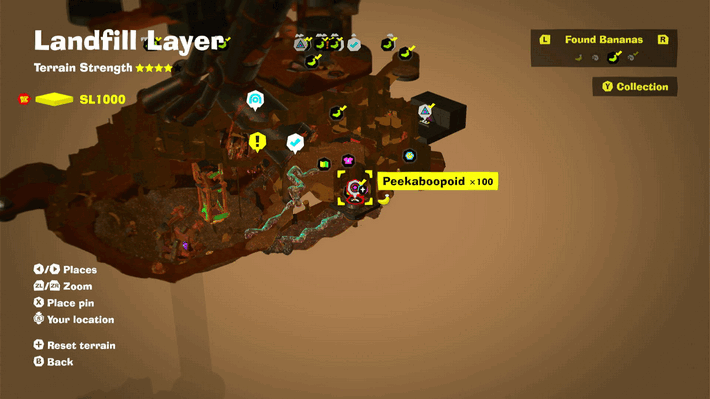
Battle Challenge manhole found in a room behind the stores. Can be cleared easily using Elephant Bananza to defeat 100 Peekaboopoids. |
||
| 22 |
 |
 |
|
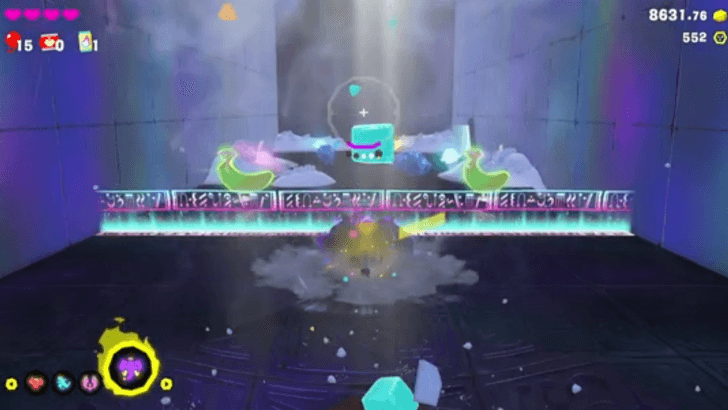
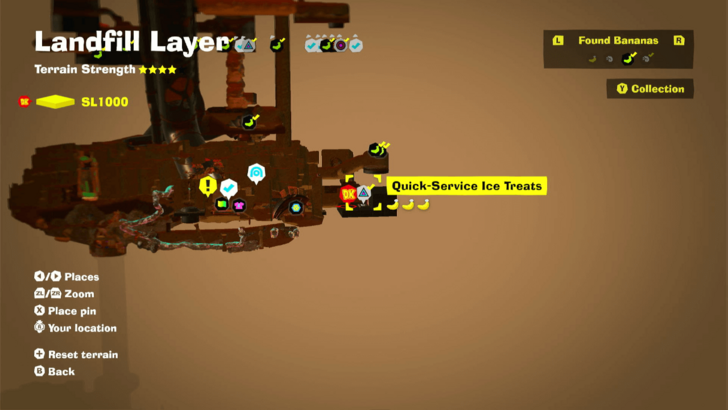
Found at the end of Quick Service Ice Treats Challenge Course 3. |
||
| 23 |
 |
|
|
Found inside Quick Service Ice Treats Challenge Course 3. Obtained for completing course with time to spare. Use Elephant Bananza to clear snow faster. |
||
| 24 |
 |
|
|
Found inside Quick Service Ice Treats Challenge Course 3. Dig to the side of the Bowl, until you find another tunnel. Dig further below to find a secret room with the Gem inside. |
||
| 25 |
 |
 |
|
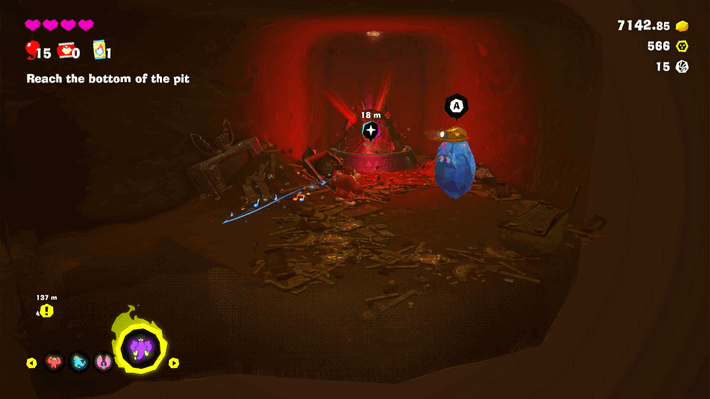
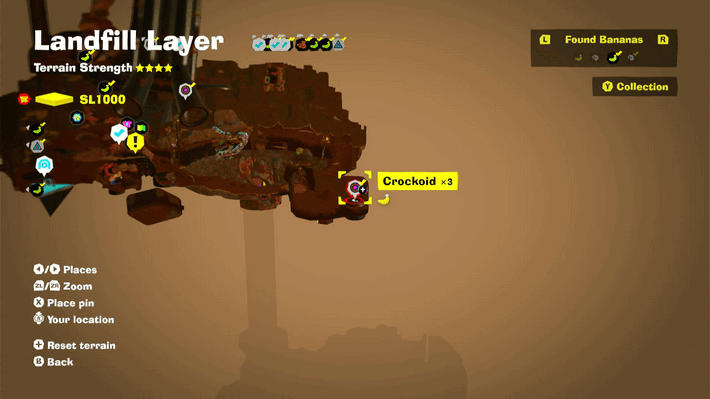
Pay 600 Gold to clear debris and enter the manhole. Use Kong Bananza to clear stage easily and defeat three Crockoids. |
||
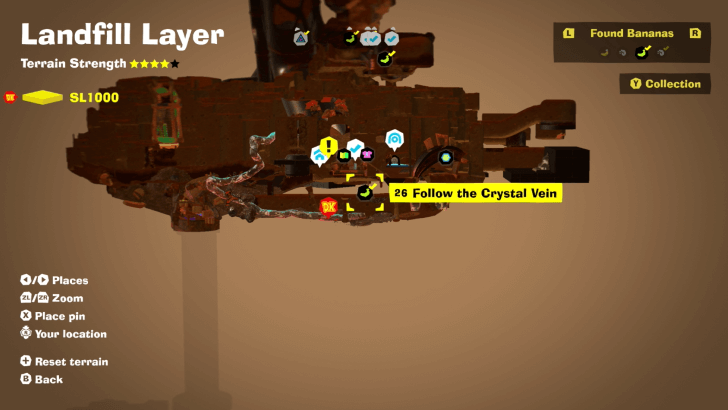
| 26 |
 |
 |
|
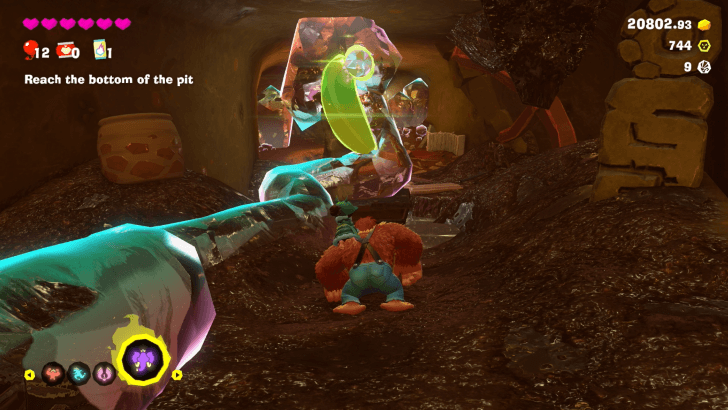
Dig down from Trashtopia to find it in a cave below. |
||
| 27 |
 |
 |
|
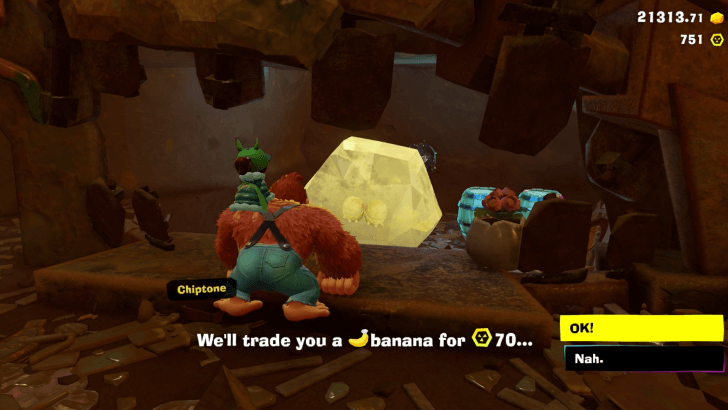
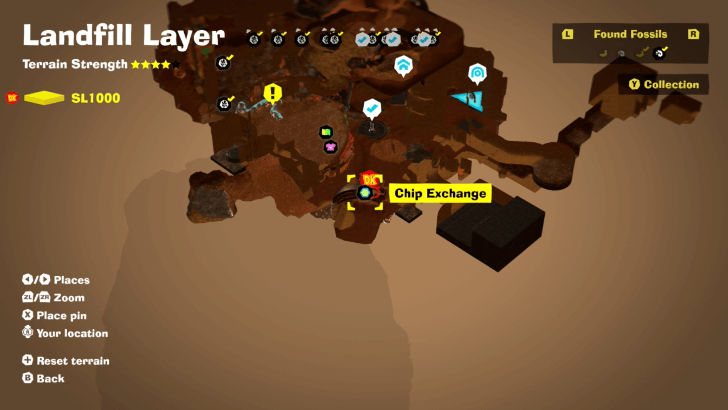
Buy with Banandium Chips to get a Gem. The price will vary depending on how many you have purchased from other layers. You only need to exchange once for the collectible to count. |
||
Banandium Gems List and Locations
Landfill Layer Fossils
Fossils Map Overview
SL 1000 Fossil Locations
| Overworld View | Map Location | |
|---|---|---|
 |
 |
|
|
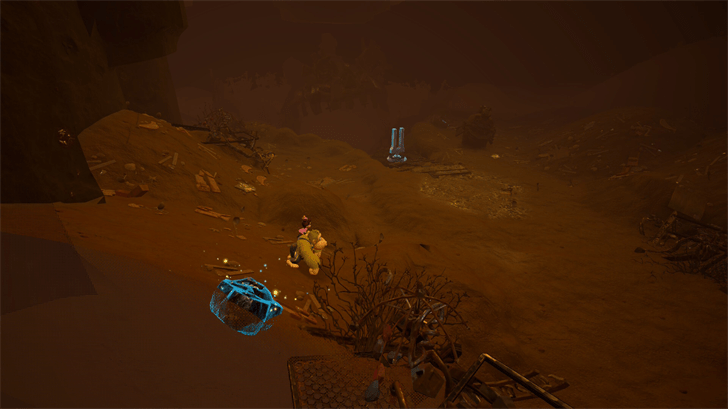
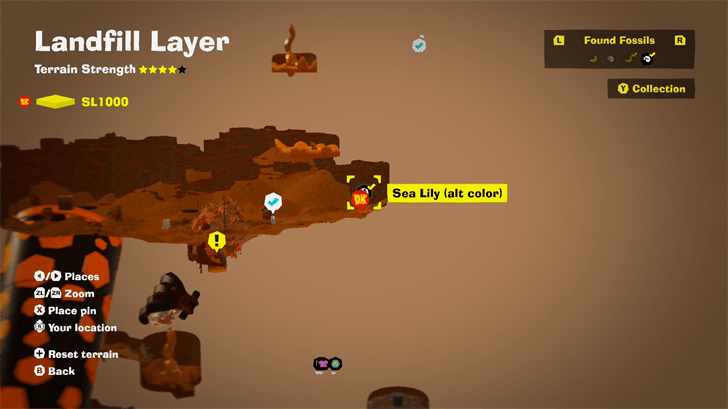
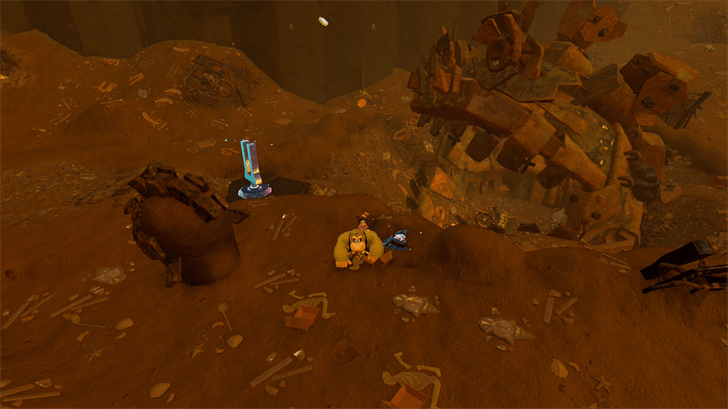
From the Upper Pit Checkpoint, turn around to find this Fossil in the corner. |
||
 |
 |
|
|
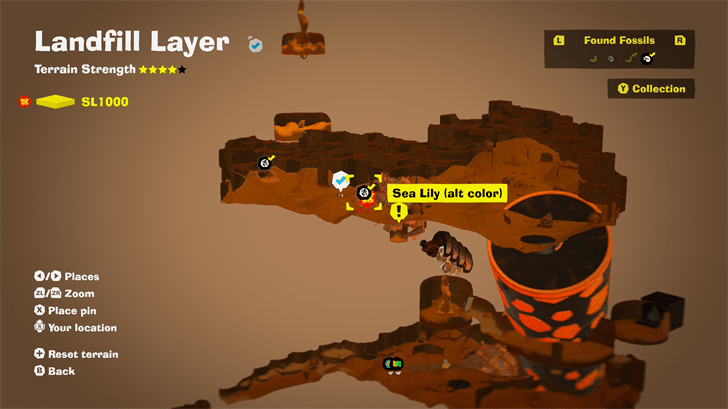
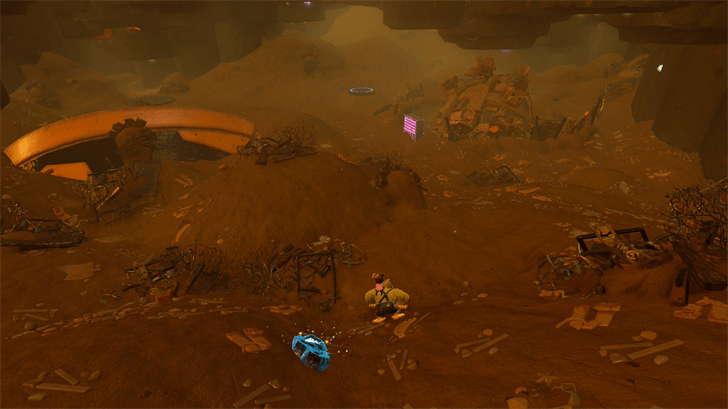
To the right of the Upper Pit Checkpoint. |
||
 |
 |
|
|
Found at the back of the room where the Upper Pit Checkpoint is, near a tablet. |
||
 |
 |
|
|
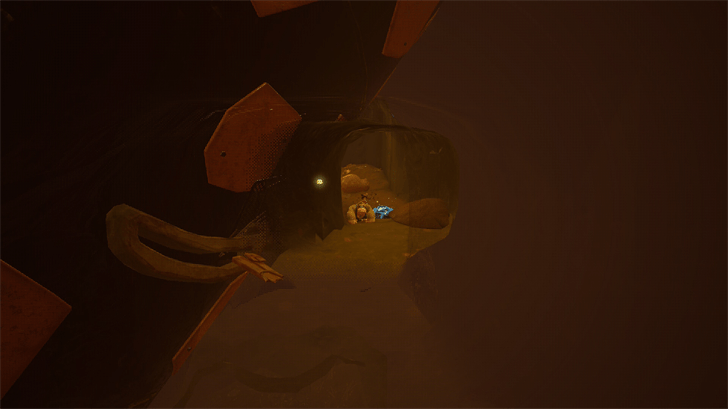
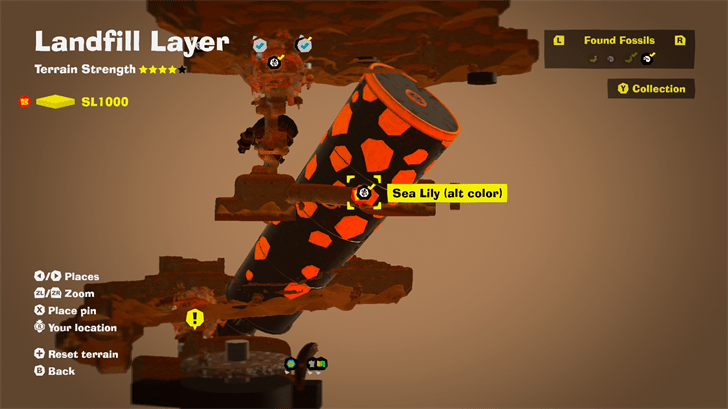
After digging to the lower level from the Upper Pit Checkpoint room, turn around and go through the narrow passage behind you. You will spot this Fossil behind an easily breakable fence. |
||
 |
 |
|
|
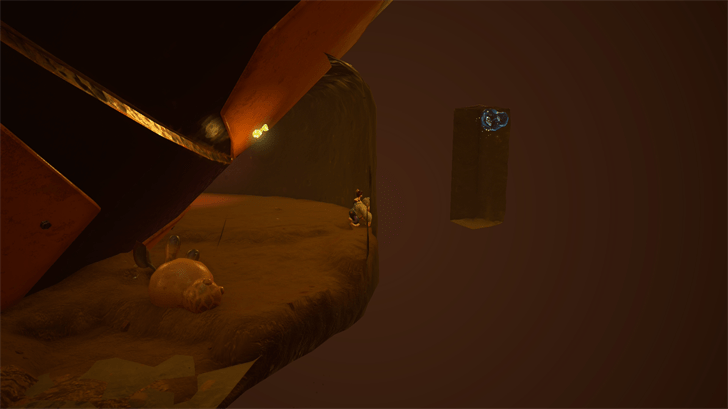
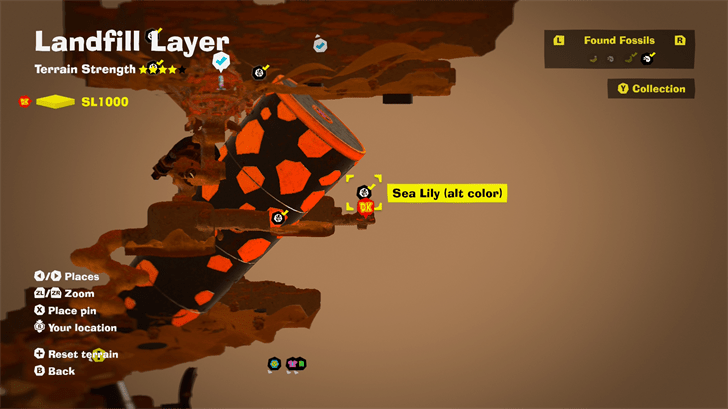
To the right of the narrow passage is a small hidden room that you can see on your screen in the right angle. Dig through the wall and to this room to reach the Fossil. |
||
 |
 |
|
|
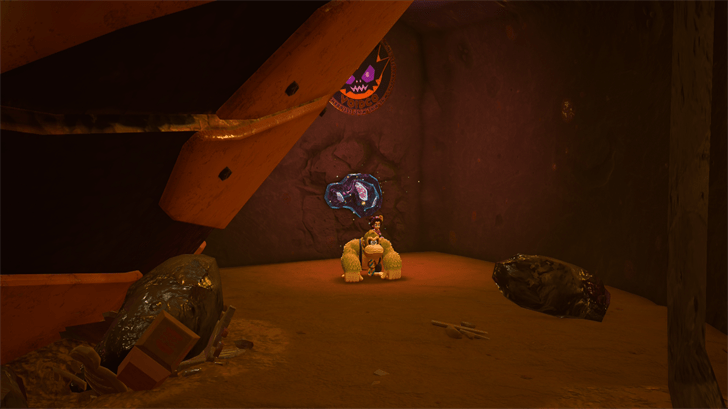
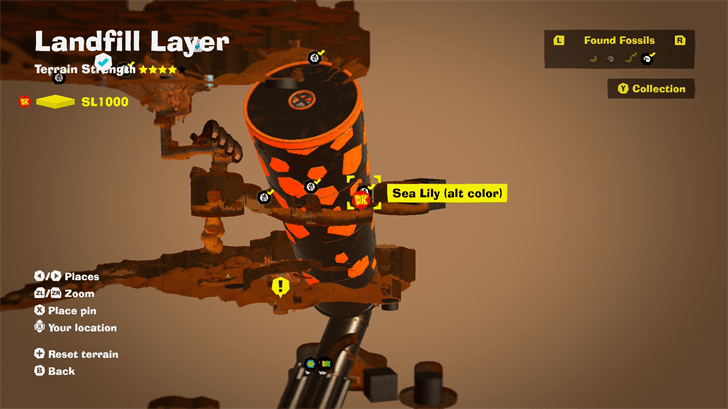
Found on the wall at the end of the narrow passage. |
||
 |
 |
|
|
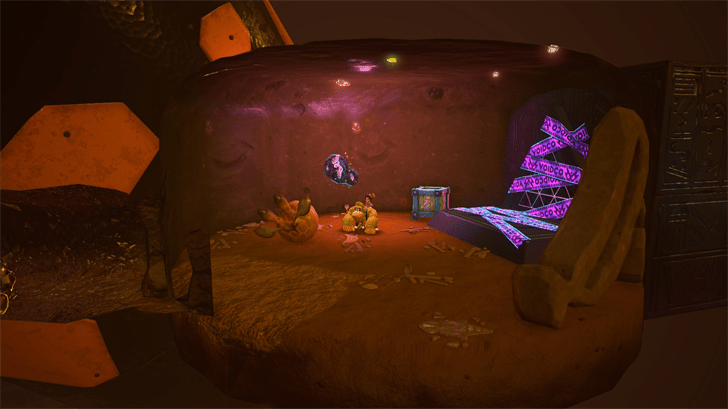
Dig through the wall at the end of the narrow passage to find another hidden room with a Challenge Ruin and another Fossil. |
||
 |
 |
|
|
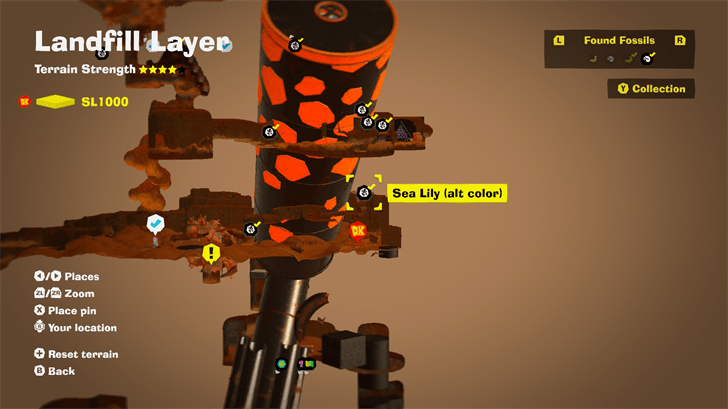
Found between the robot head and the giant pipe in the first floor of Middle Pit. |
||
 |
 |
|
|
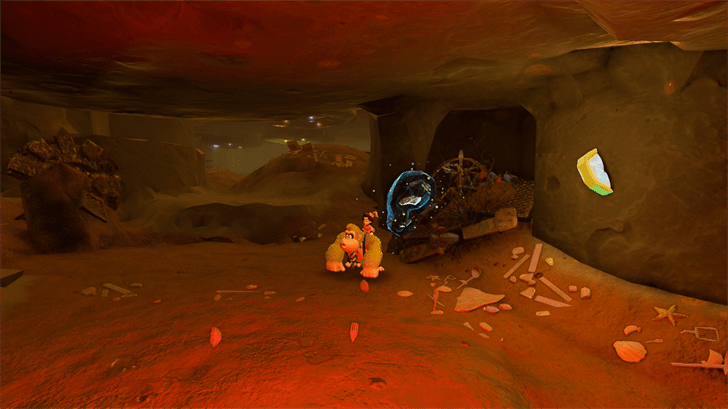
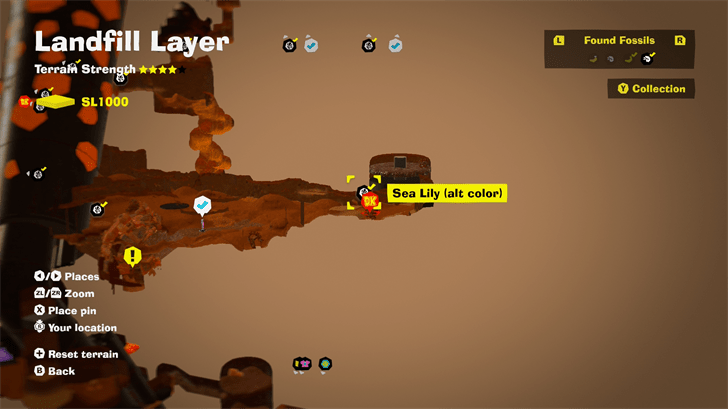
On the same floor as the Middle Pit Checkpoint, go around the back to find this Fossil on a stone on the ceiling. Grab a sturdy chunk to throw at the Fossil to get it. |
||
 |
 |
|
|
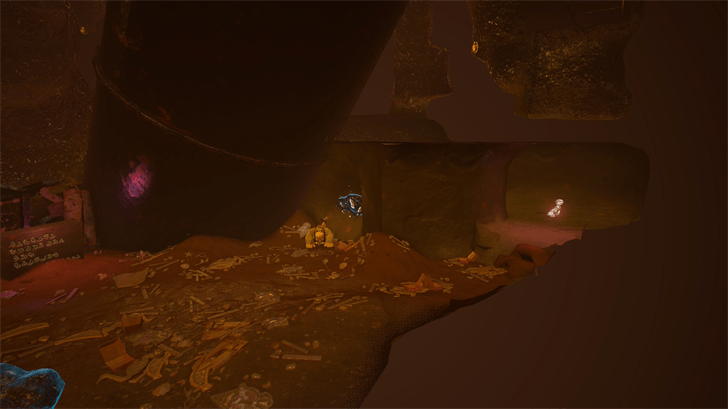
Turn around from the Middle Pit Checkpoint and follow the passage ahead to find the Fossil on the left side. |
||
 |
 |
|
|
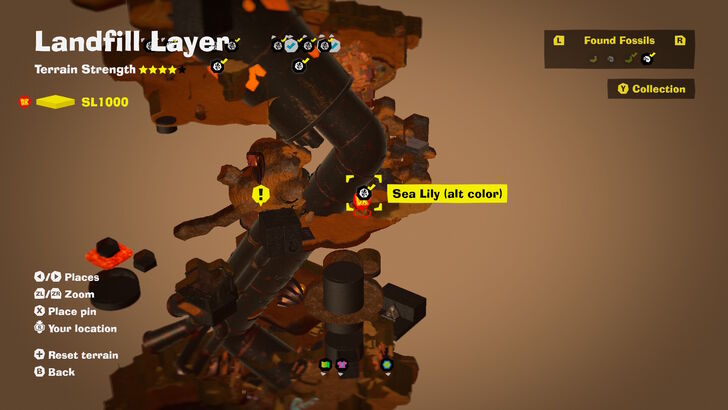
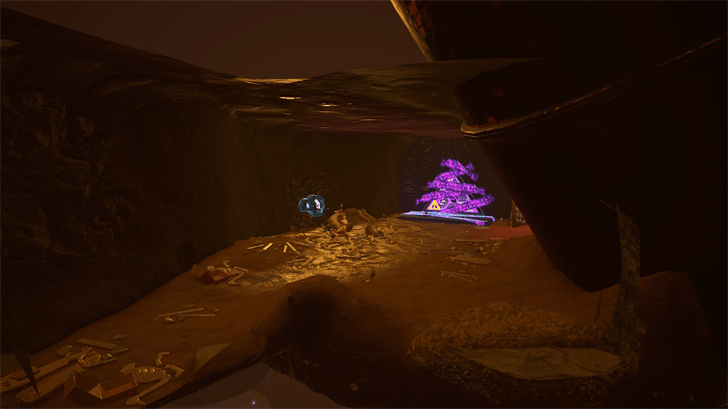
From the Middle Pit Checkpoint, enter the robot head and dig down two levels until you reach a small room with a blocked passage. Smash it open and follow it until you reach a room with a Challenge Ruin. This Fossil is immediately to your right. |
||
 |
 |
|
|
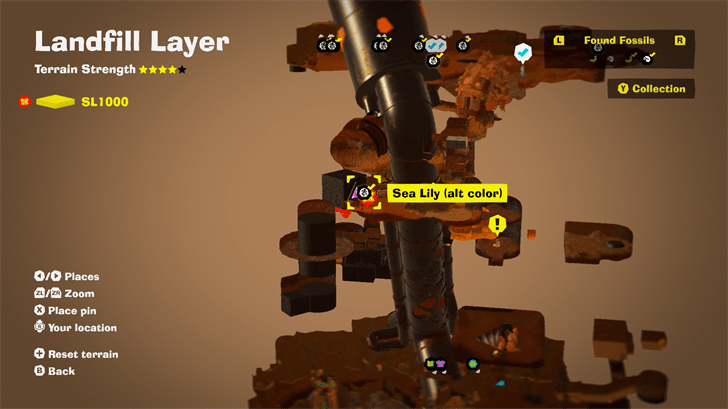
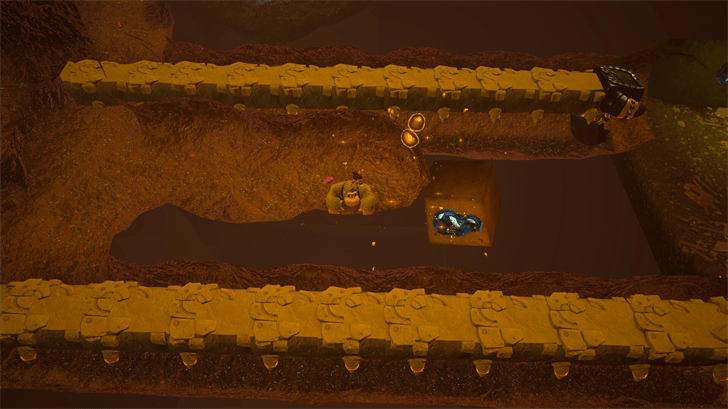
From the Middle Pit Checkpoint, enter the robot head and dig down two levels until you reach a small room with a blocked passage. Smash it open and follow it until you reach a room with a Challenge Ruin. This Fossil is on the left wall, near the ruin door. |
||
 |
 |
|
|
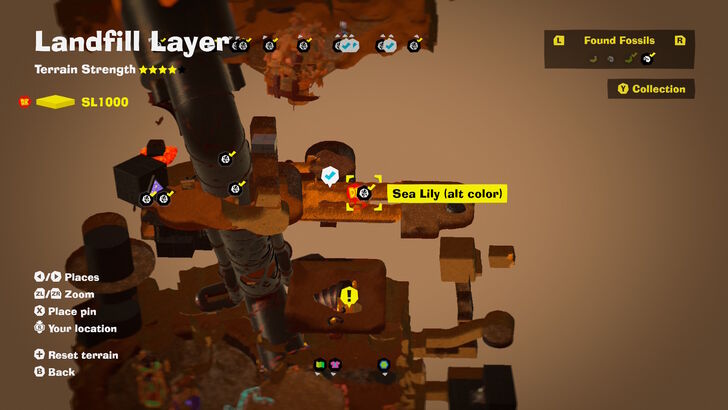
On the level above the Lower Pit Checkpoint, follow the direction the two crawlers are burrowing to find a Fossil between their paths. |
||
 |
 |
|
|
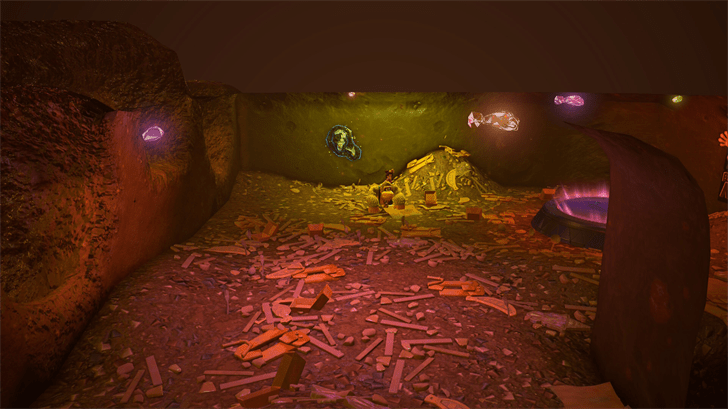
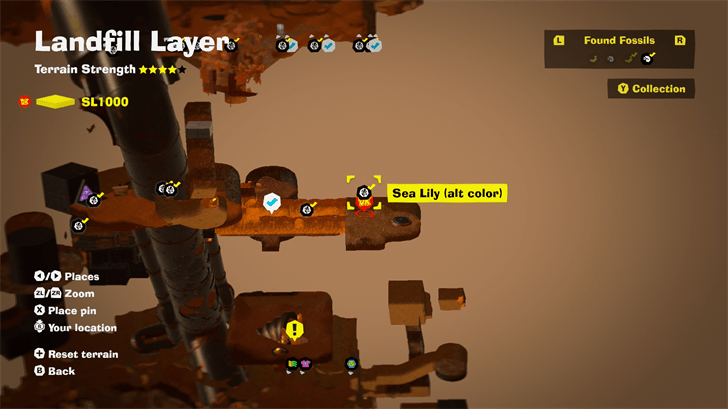
Dig further to the end of the crawlers' paths to find a room with another Fossil. |
||
 |
 |
|
|
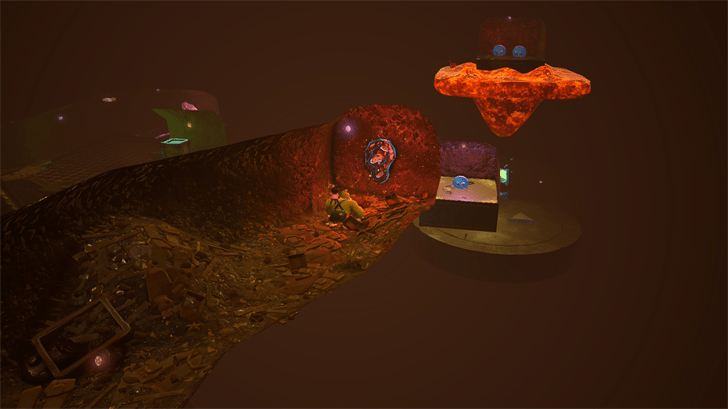
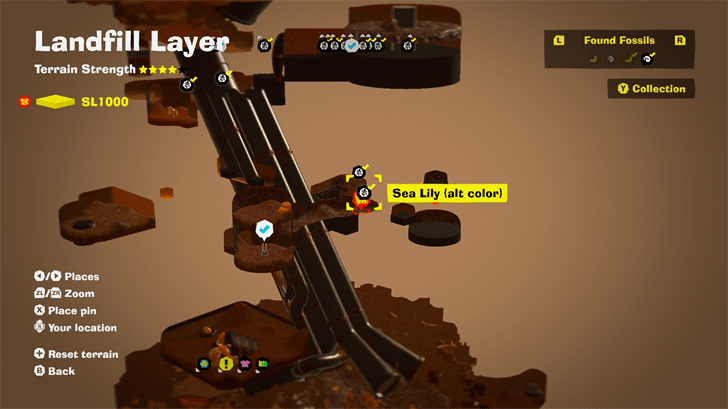
From the Lower Pit Checkpoint, go through the blocked passage and find the Fossil at the end. |
||
 |
 |
|
|
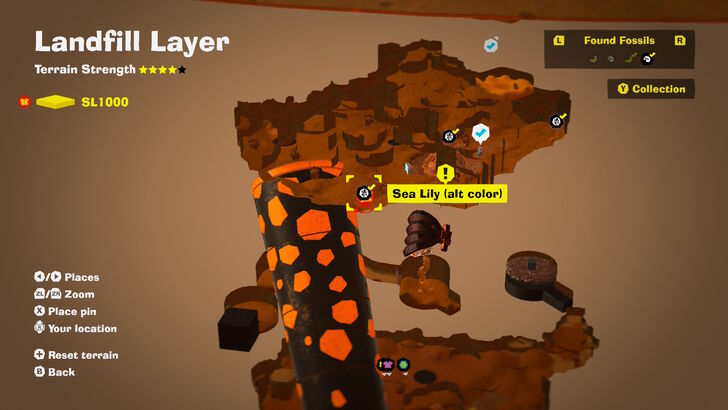
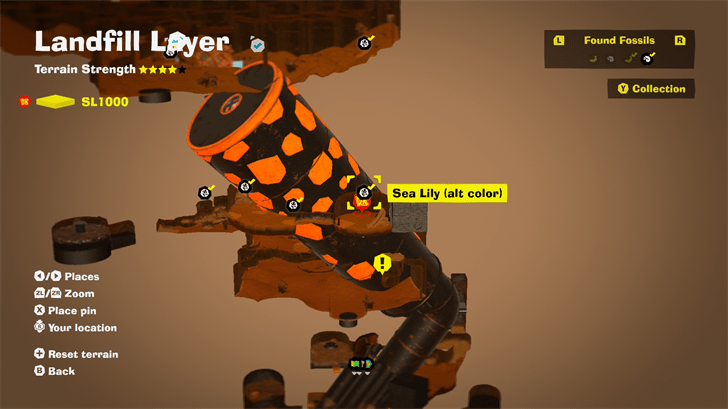
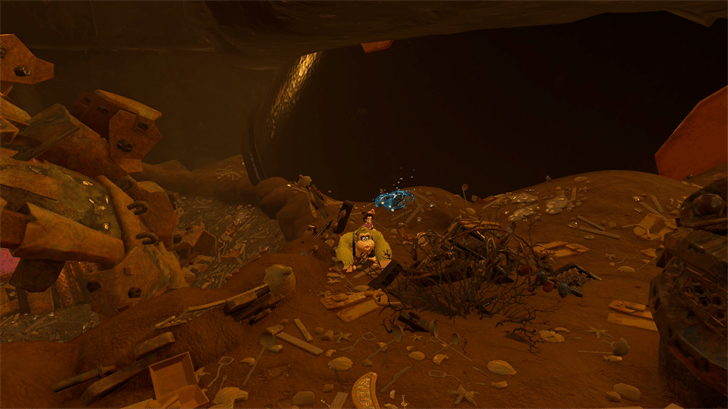
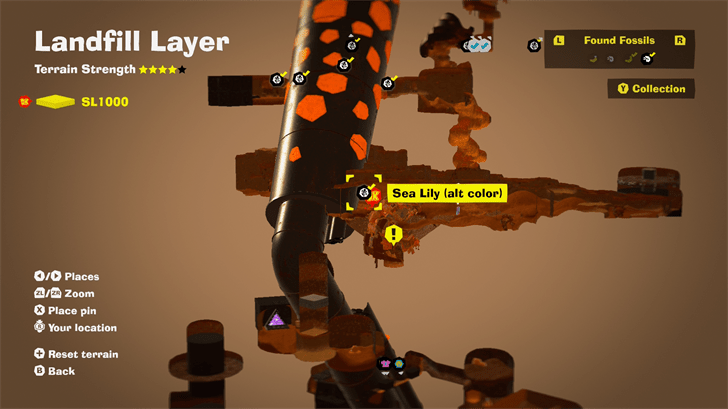
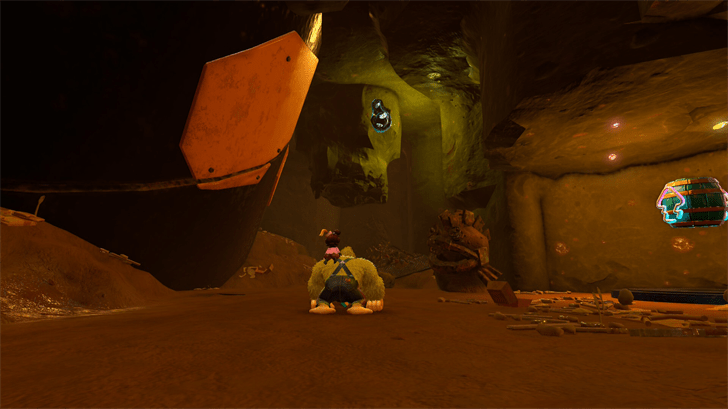
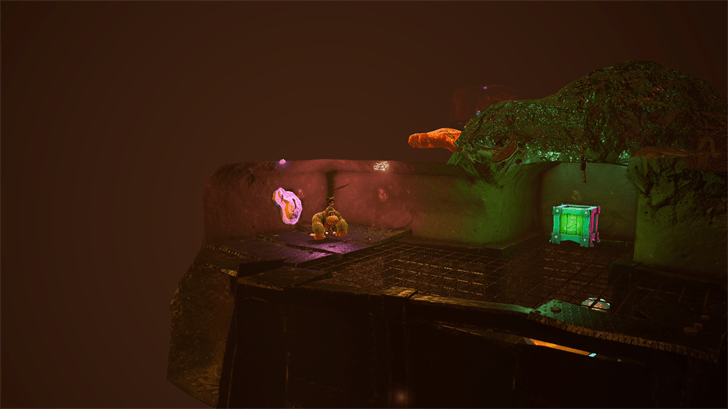
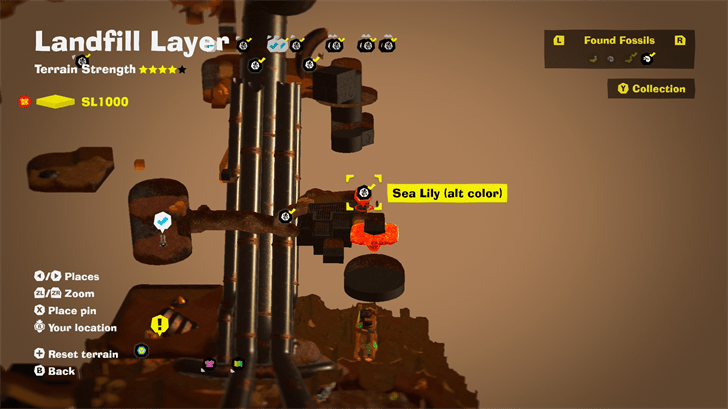
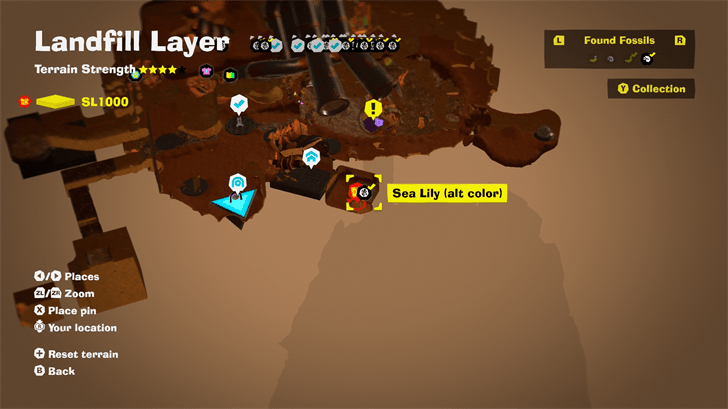
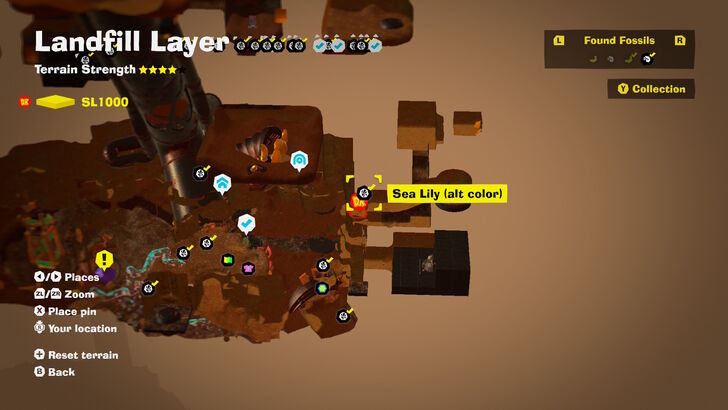
From the spot where you found the Sea Lily (alt color) 13 Fossil, dig a tunnel to your left until you reach the cage with a Banandium Gem. Above the cage is another Fossil. |
||
 |
 |
|
|
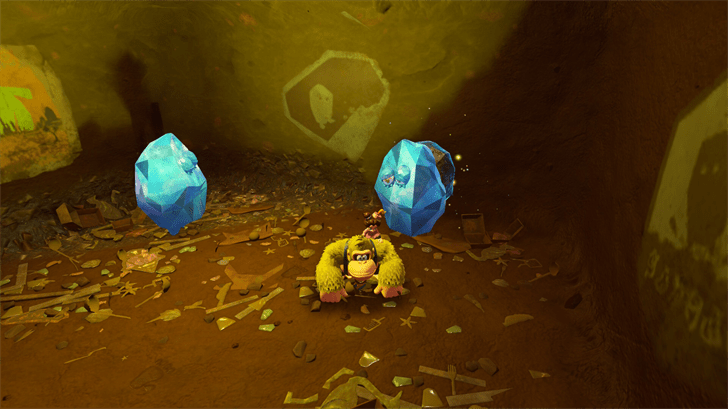
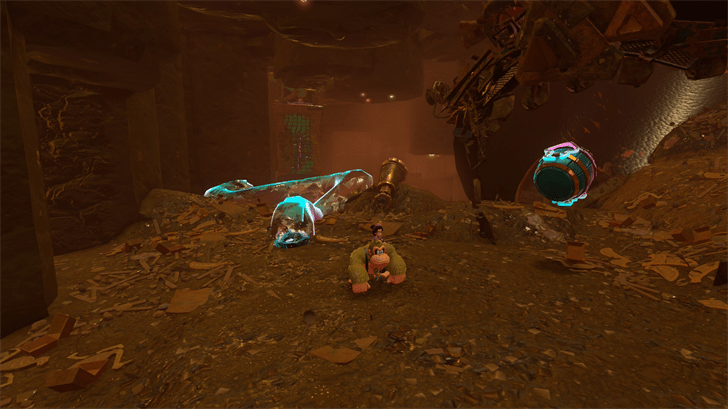
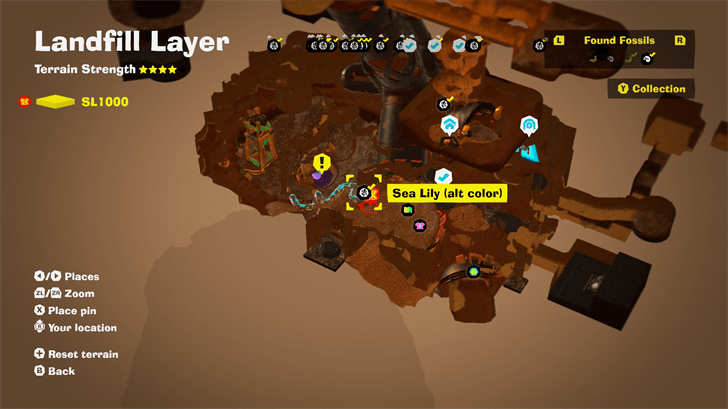
From the Trashtopia Checkpoint, turn right to find an Architectone. Behind it is where the Getaway can be built, and further behind is a room with two Fractones. Smack the second Fractone to get the Fossil. |
||
 |
 |
|
|
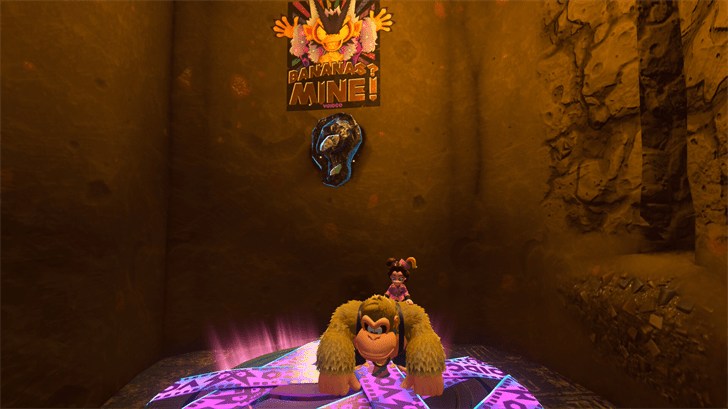
To the left of the Trashtopia Checkpoint, between the Style Shop and Chip Exchange, is a slope that leads to the bottom of the humongous smokestack. The Fossil is found at the smokestack's opening. |
||
 |
 |
|
|
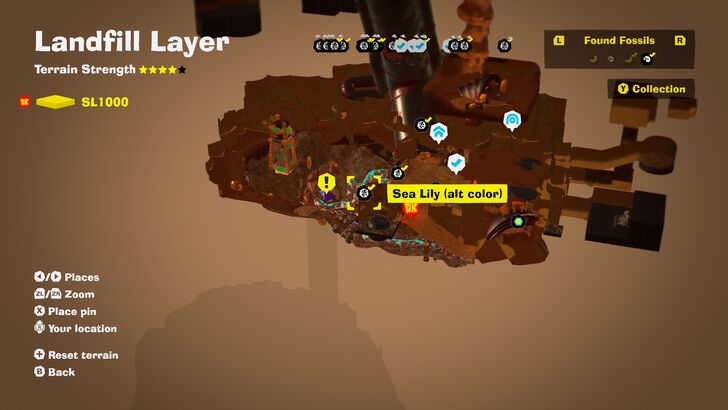
Near the previous Fossil is a gap where you can see a hidden room. Smash an opening on this wall to find another Fossil. |
||
 |
 |
|
|
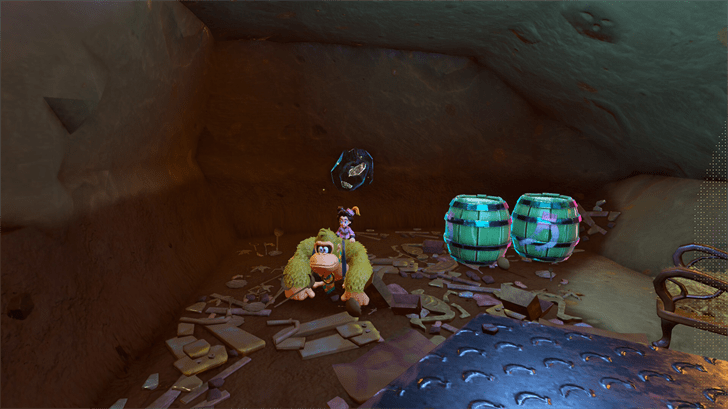
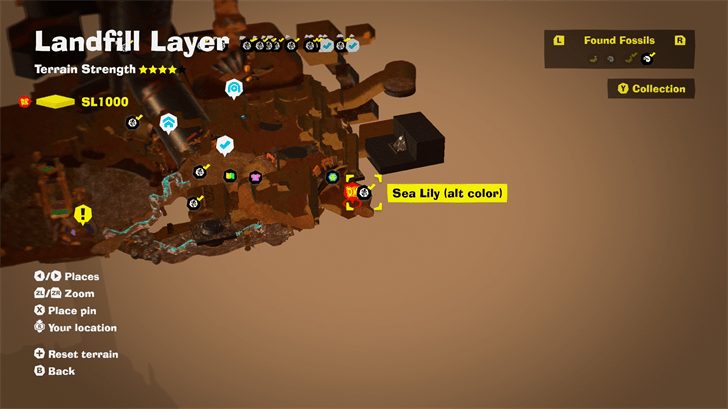
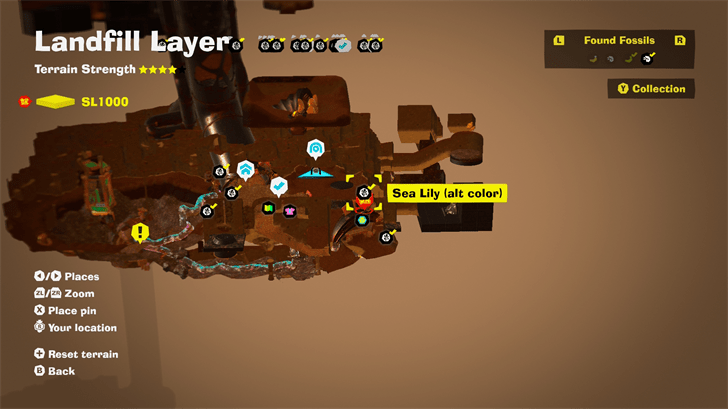
Found inside the Chip Exchange room. |
||
 |
 |
|
|
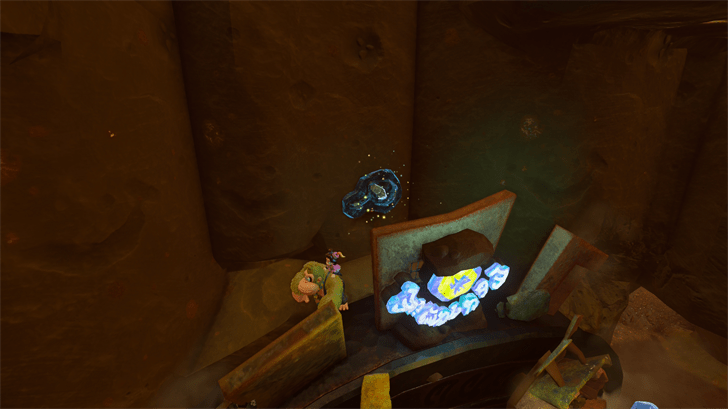
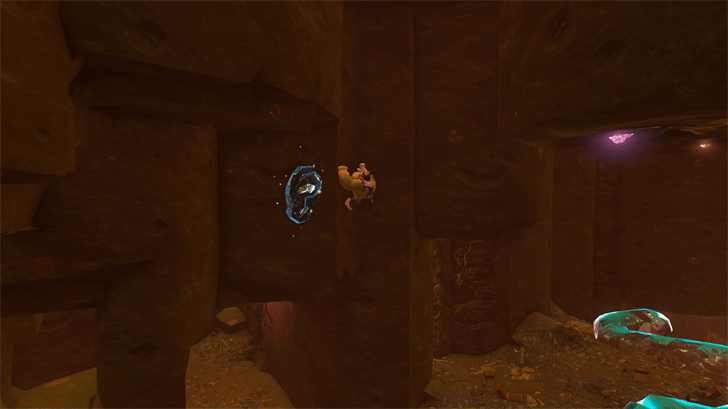
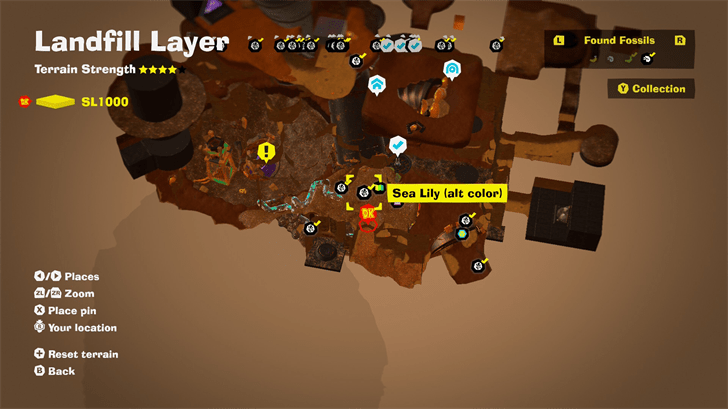
Found above the Chip Exchange room, behind the sign. |
||
 |
 |
|
|
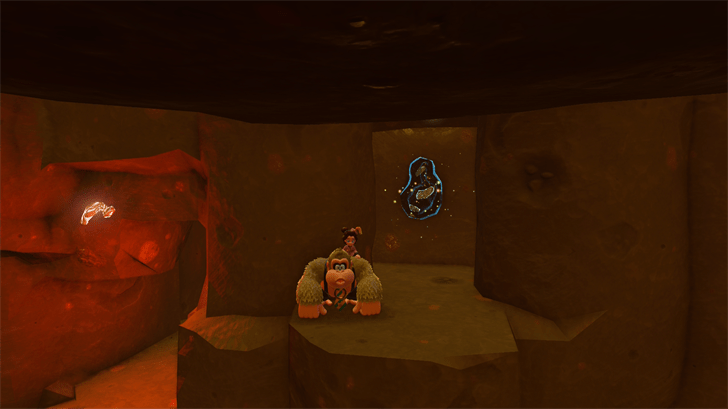
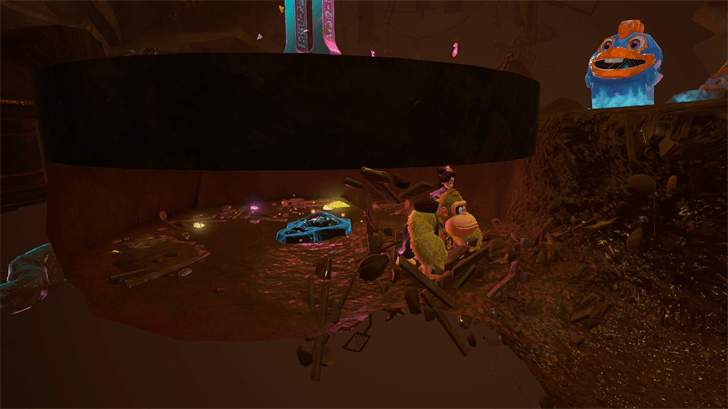
While facing the smokestack opening in Trashtopia, turn around and look up to find the Fossil. |
||
 |
 |
|
|
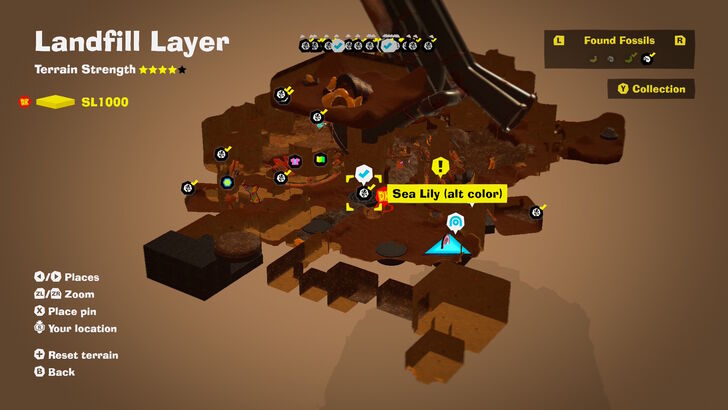
While facing the Warp Gong in Trashtopia, turn right and look up to find an alcove with a Fossil. |
||
 |
 |
|
|
Found right beneath the Trashtopia Checkpoint. |
||
 |
 |
|
|
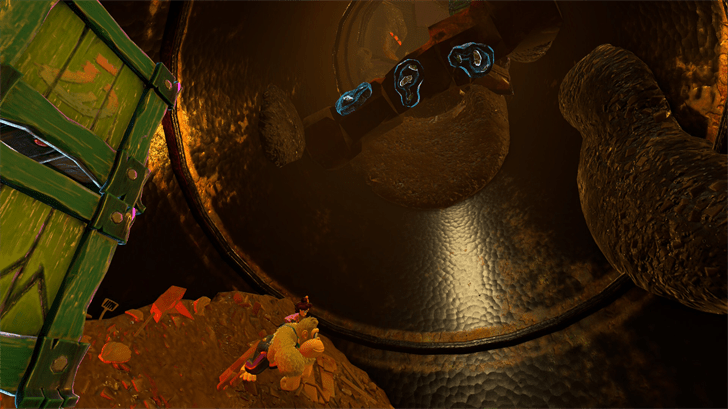
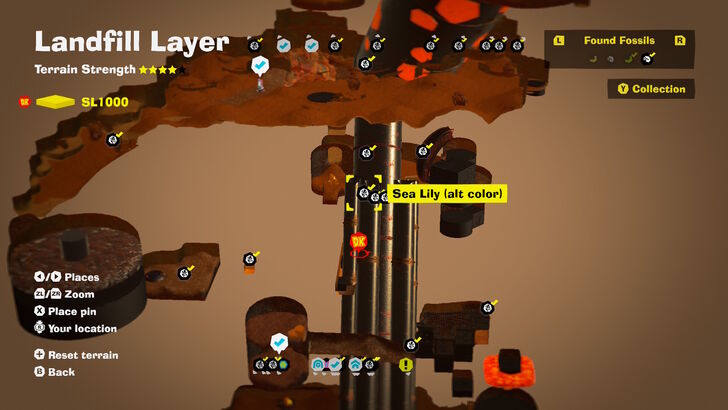
Climb up the smokestack until you find a beam of stone with three Fossils stuck on it. |
||
 |
 |
|
|
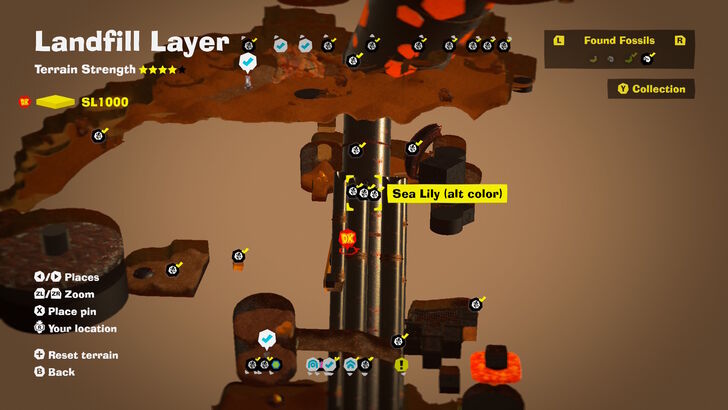
Climb up the smokestack until you find a beam of stone with three Fossils stuck on it. |
||
 |
 |
|
|
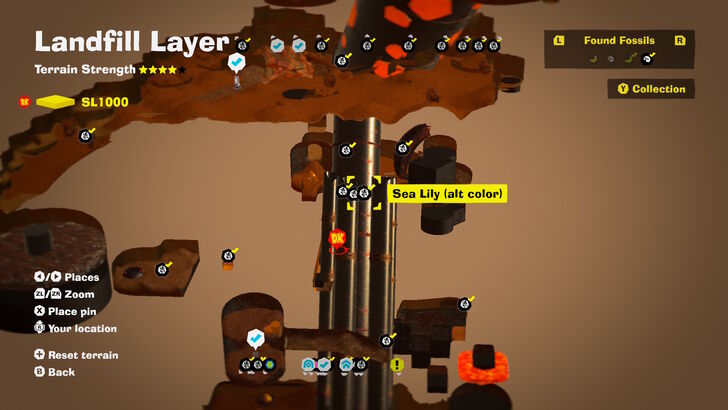
Climb up the smokestack until you find a beam of stone with three Fossils stuck on it. |
||
 |
 |
|
|
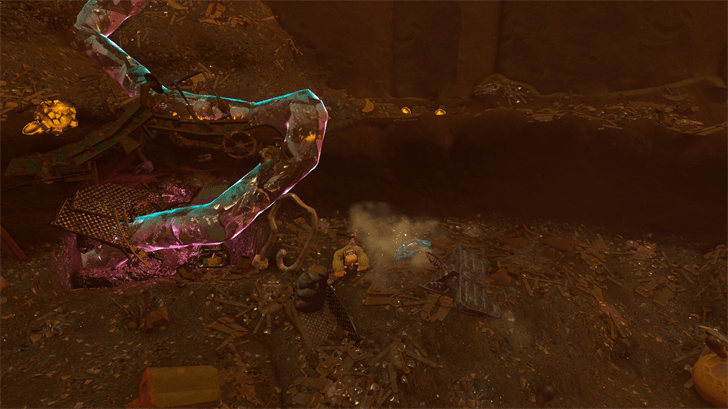
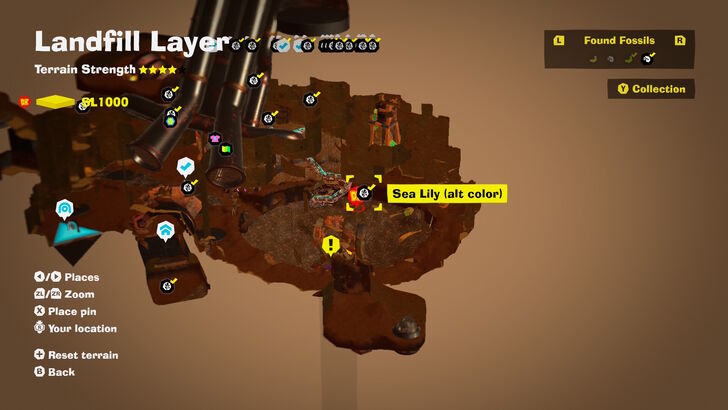
Near the Void Stake at Trashtopia, next to the crystal vein. |
||
 |
 |
|
|
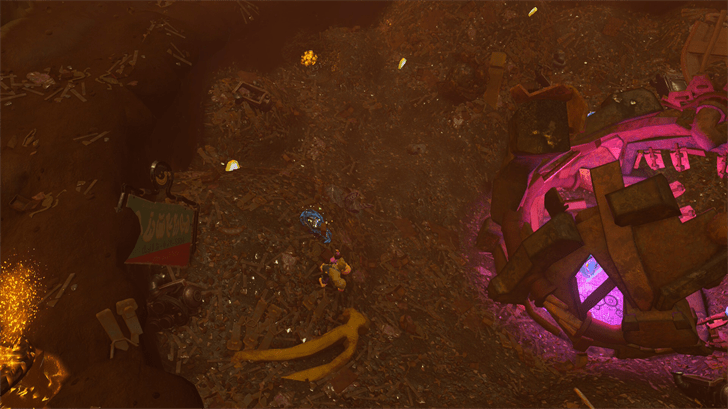
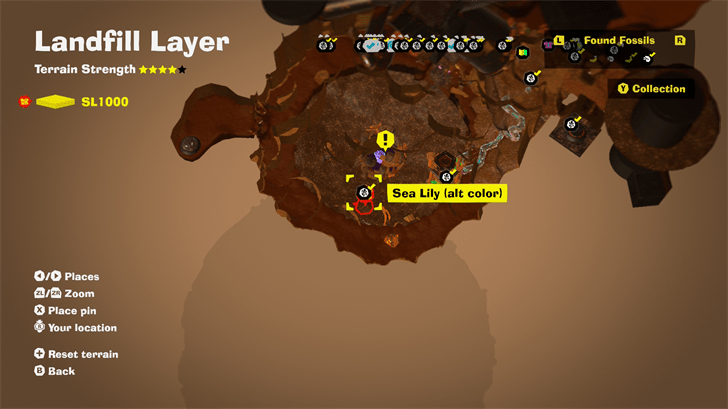
Behind the Void Stake at Trashtopia. |
||
 |
 |
|
|
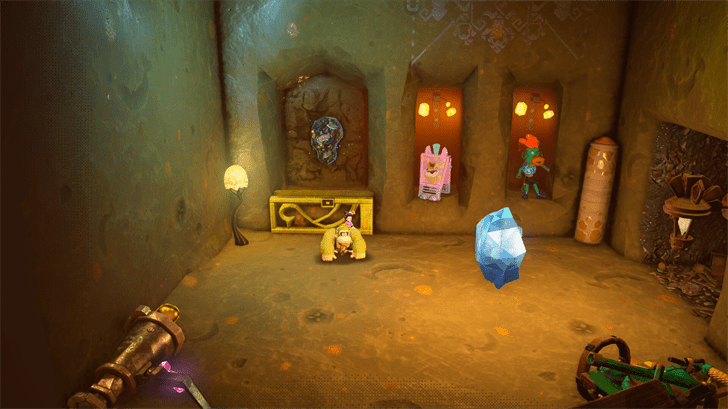
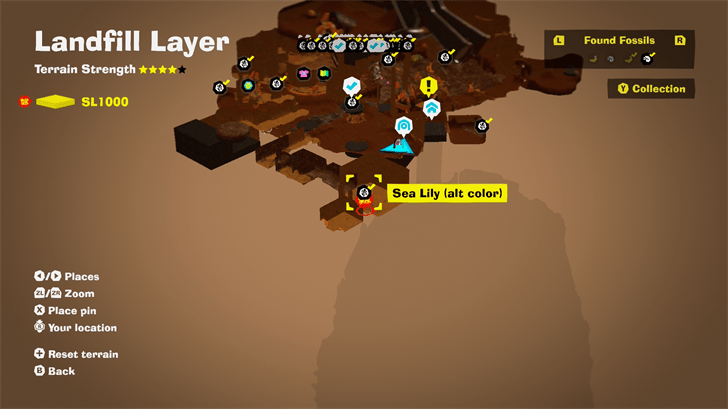
While facing the Warp Gong in Trashtopia, turn right to find a narrow gap on the wall. Follow the Fractone inside until it leads you to a hidden room where you can find the Fossil. |
||
Landfill Layer Checkpoints
All Checkpoint Locations
| Overworld View | Map Location | |
|---|---|---|
 |
 |
|
|
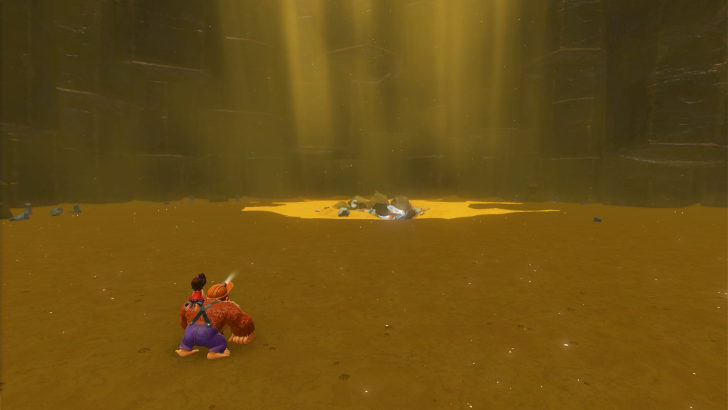
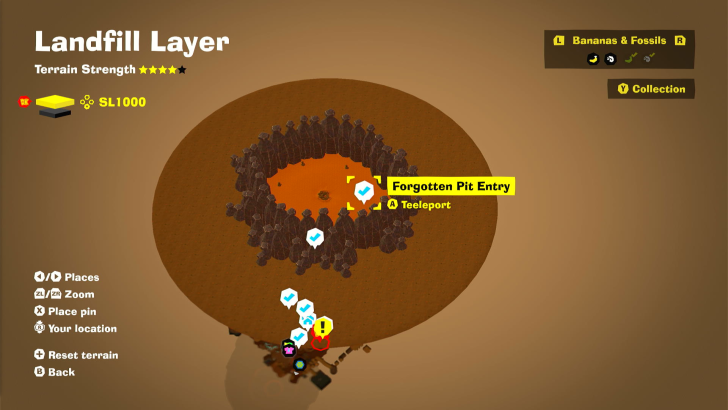
Forgotten Pit Entry Checkpoint (SL 1000)
This is the starting point of the Landfill Layer when you drop down from the Tempest Layer. |
||
 |
 |
|
|
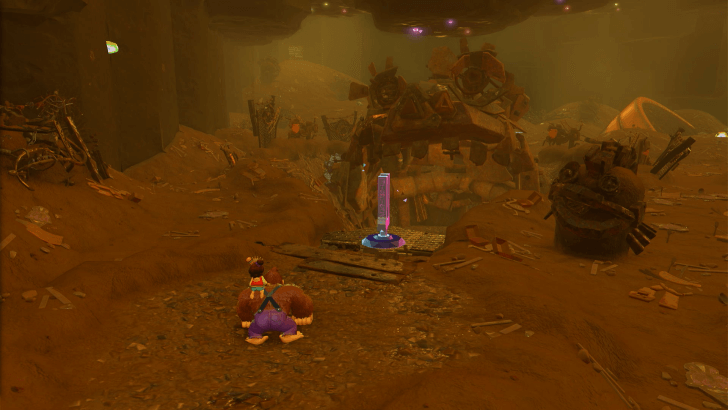
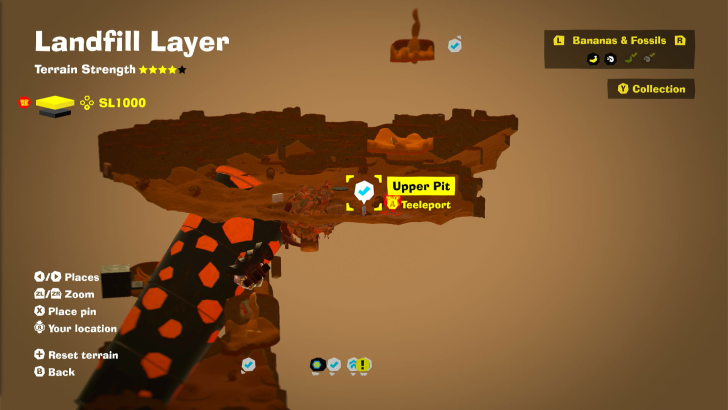
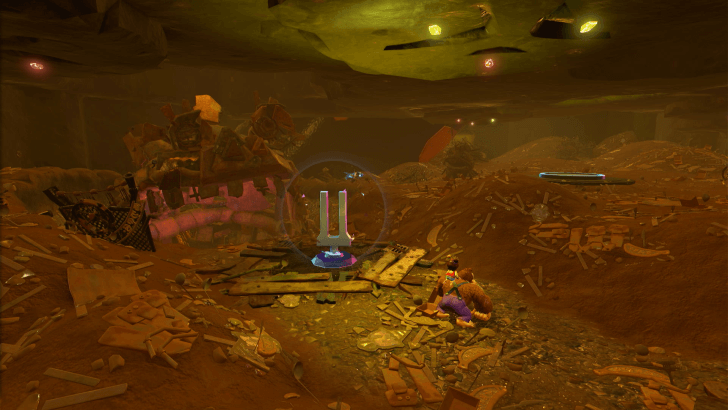
Upper Pit Checkpoint (SL 1000)
Located below the Forgotten Pit Entry. |
||
 |
 |
|
|
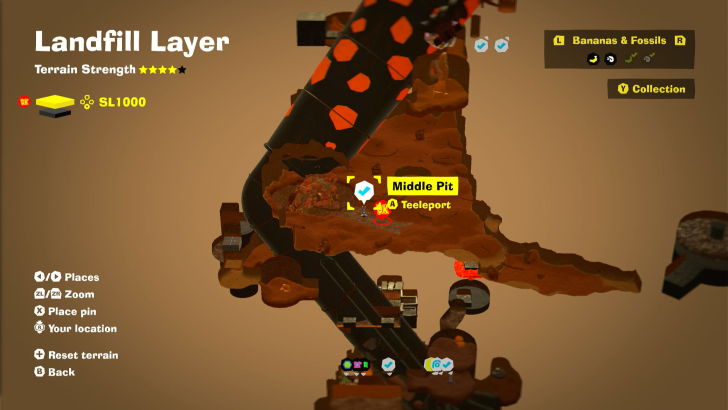
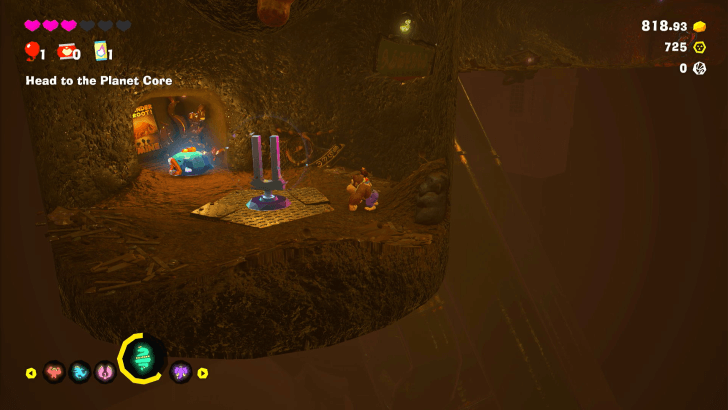
Middle Pit Checkpoint (SL 1000)
Located below the Upper Pit. |
||
 |
 |
|
|
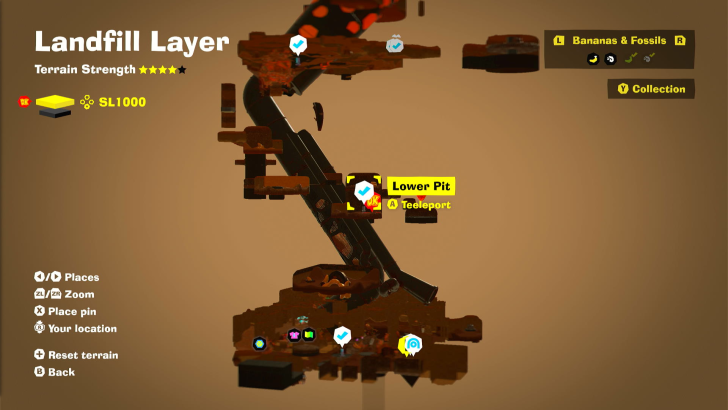
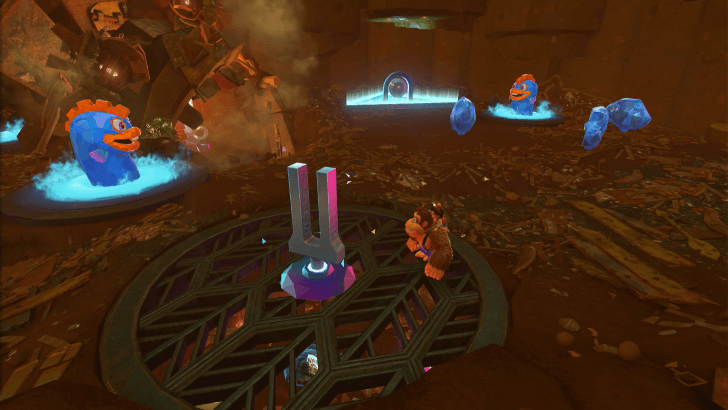
Lower Pit Checkpoint (SL 1000)
Located below the Middle Pit. |
||
 |
 |
|
|
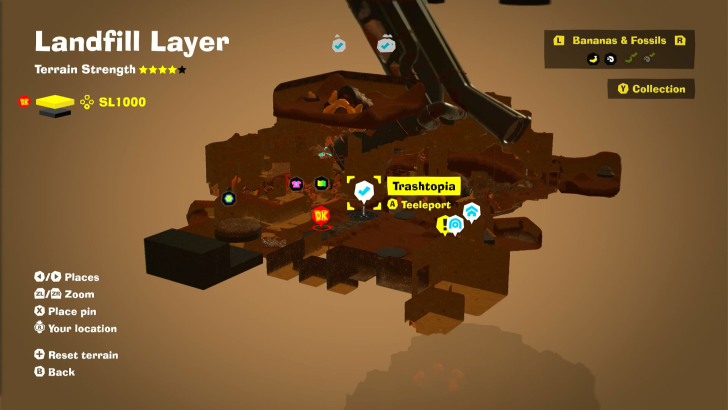
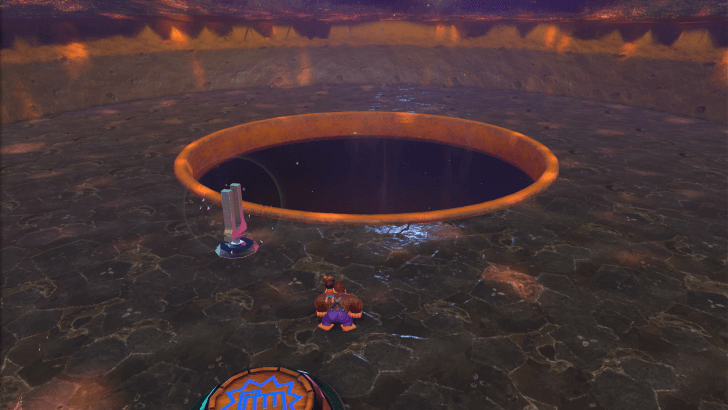
Trashtopia Checkpoint (SL 1000)
Located below the Lower Pit and next to the Warp Gong. |
||
 |
 |
|
|
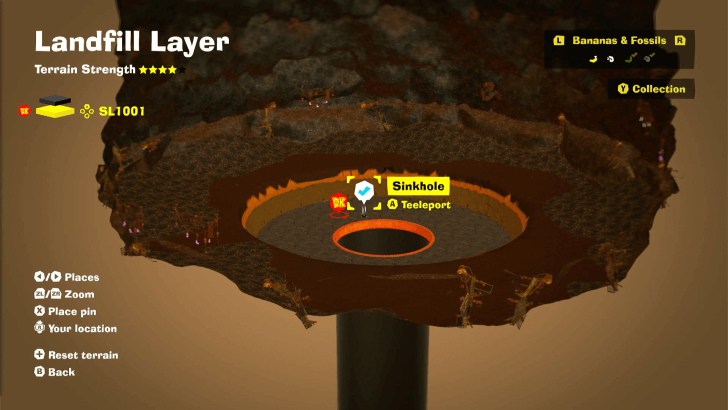
Sinkhole SL1001 Checkpoint (SL 1001)
Revealed after beating Re-Peekabruiser and destroying the Void Stake in Landfill Layer. |
||
Warp Gong Location
| Layer | Overworld View | Map Location |
|---|---|---|
| SL 1000 |
 |
 |
|
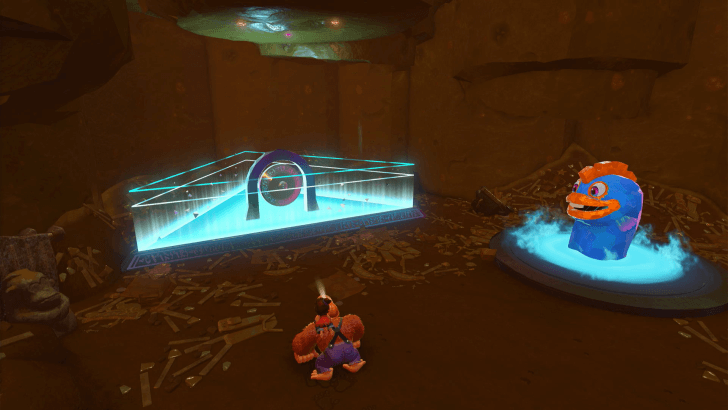
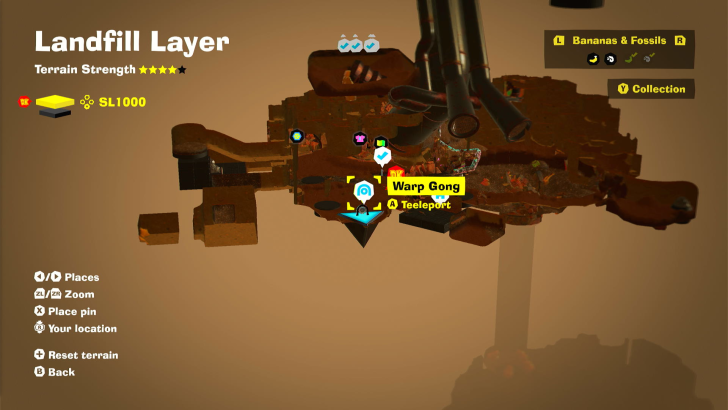
Trashtopia Warp Gong
Found near the shops of Trashtopia. |
||
How to Teeleport: Fast Travel Guide
Landfill Layer Challenges
All Challenge Locations
| Layer | Overworld View | Map Location |
|---|---|---|
| SL 1000 |
 |
 |
|
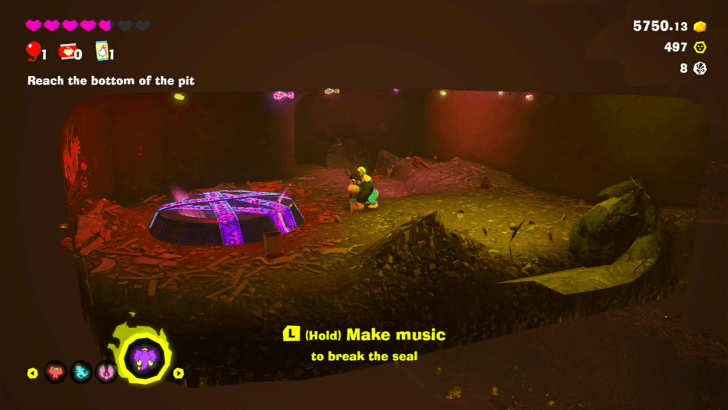
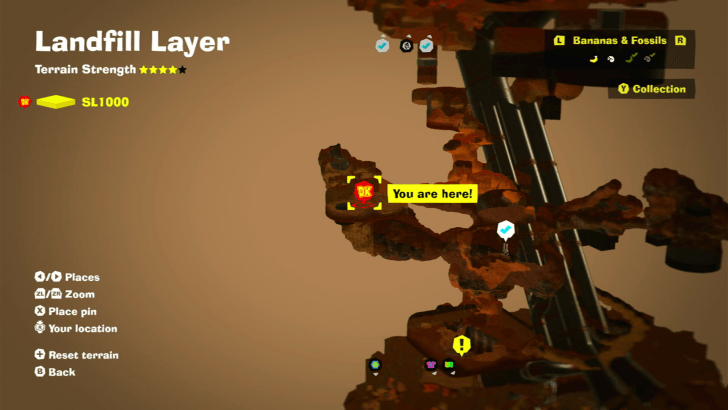
Crockoid x3 Landfill Layer Battle Challenge 1 Dig northwest from the Lower Layer checkpoint to reach a small cave where the challenge ruin is located. |
||
| SL 1000 |
 |
 |
|
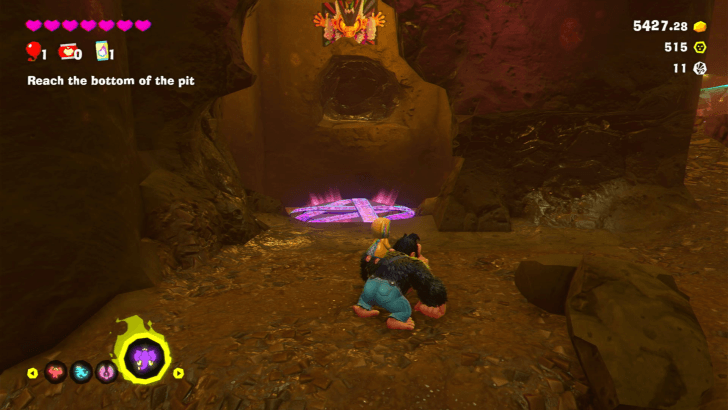
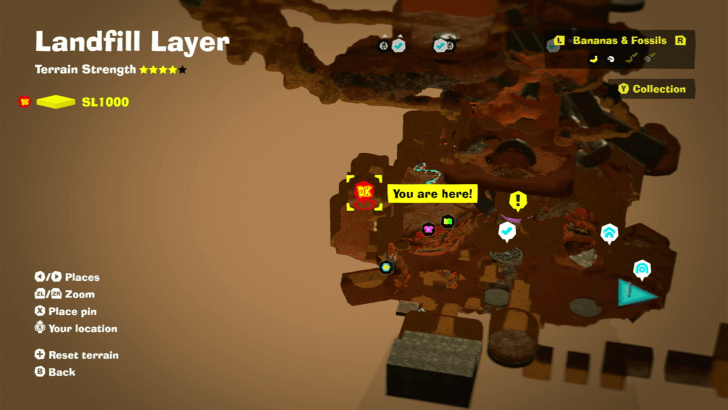
Peekaboopoid x100 Landfill Layer Battle Challenge 2 Follow the right path from the chip exchange where the arrow Fractone is pointing to, and break the northern wall to access the challenge ruins. |
||
| SL 1000 |
 |
 |
|
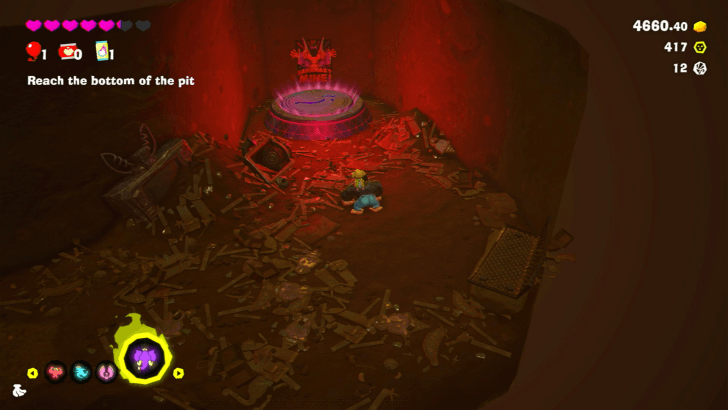
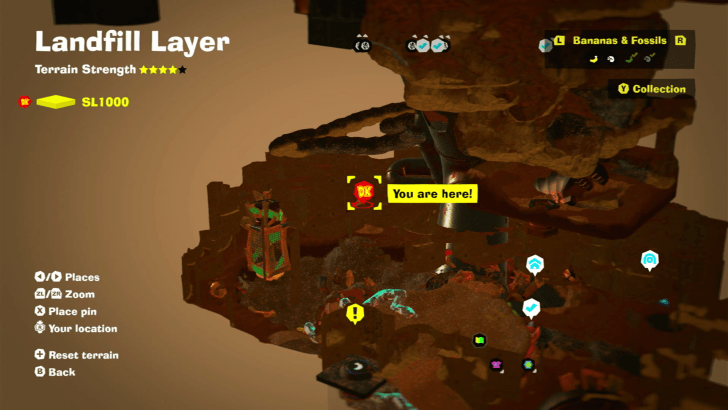
Crockoid x3 Landfill Layer Battle Challenge 3 Head to the northeastern wall from the Void Stake and dig through it, then pay the Constructone 600 gold to clear the debris blocking the ruin's entrance. |
||
| SL 1000 |
 |
 |
|
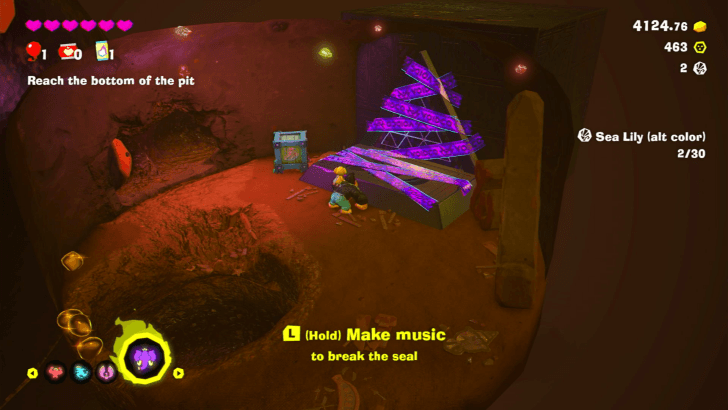
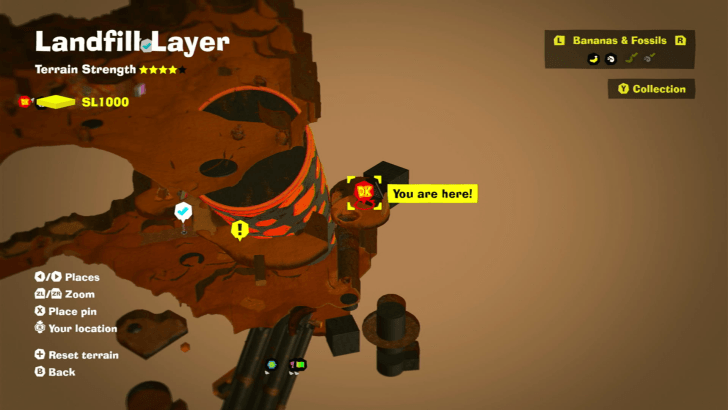
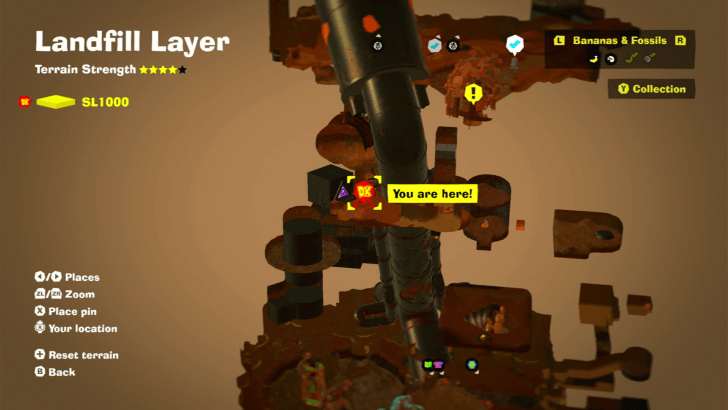
Mazy Cave: Pop Party Landfill Layer Challenge Course 1 Accessed through a barrel that leads upward to a hidden alcove. |
||
| SL 1000 |
 |
 |
|
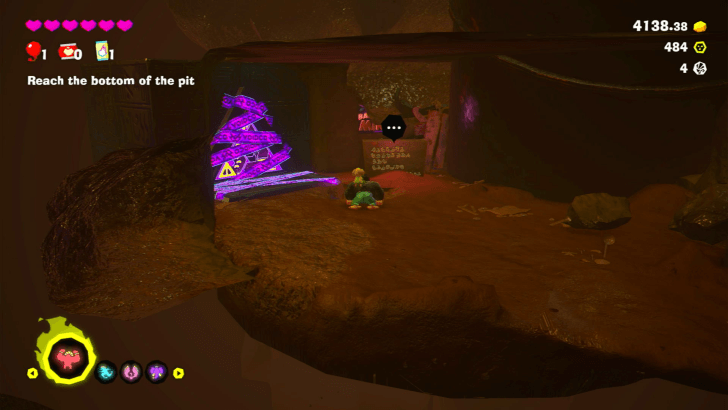
Elephant Bananza: City Smash Landfill Layer Challenge Course 2 Dig next to the large pipe in the Middle Layer until you reach some mines. The challenge ruin is below the mine area next to a readable sign. |
||
| SL 1000 |
 |
 |
|
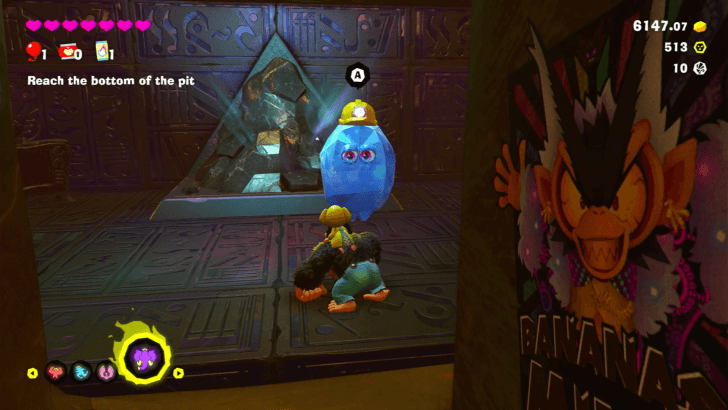
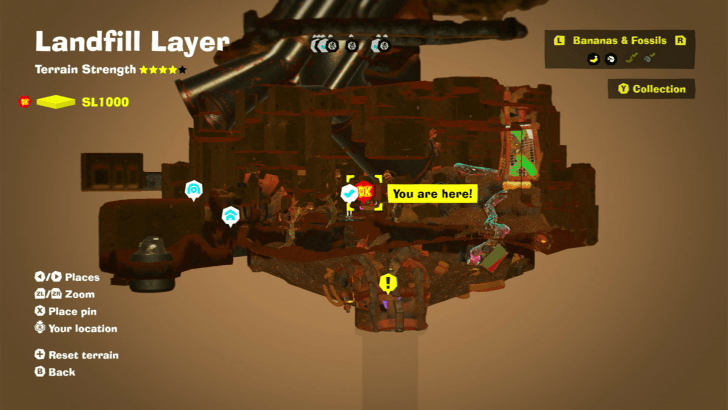
Quick-Service Ice Treats Landfill Layer Challenge Course 3 North of Trashtopia checkpoint. Speak to the Fractone and pay 1000 gold to clear the debris blocking the entrance. |
||
Bonus Stage Location
| Layer | Overworld View | Map Location |
|---|---|---|
| SL 1000 |
 |
|
|
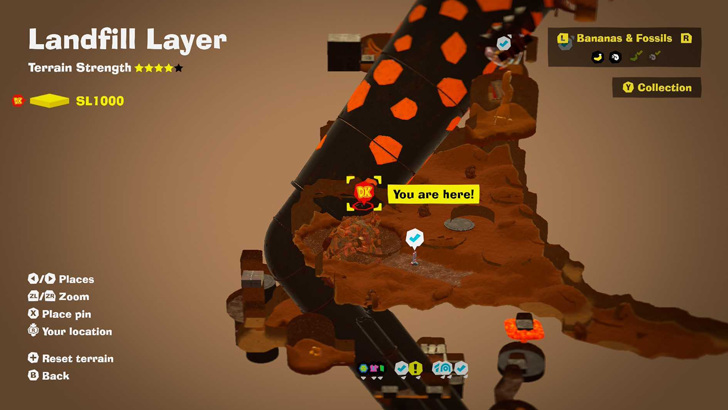
Quaking for Gold
In Trashtopia, pay 500 Gold to the Constructone to build a barrel. Use the barrel to launch to the Middle Pit. When you arrive, turn around and go down the hole to find the Bonus Stage. |
||
Landfill Layer Shops
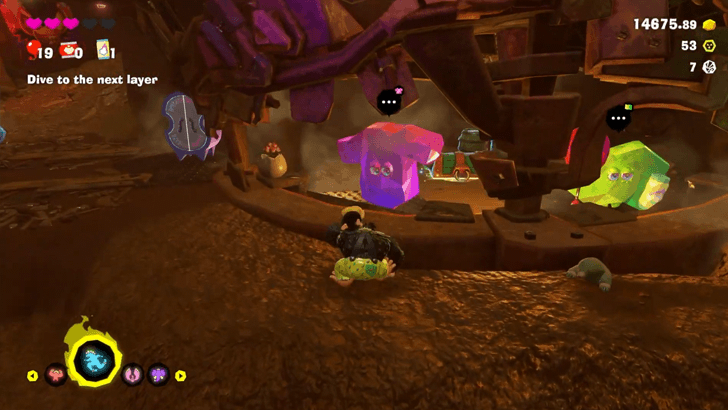
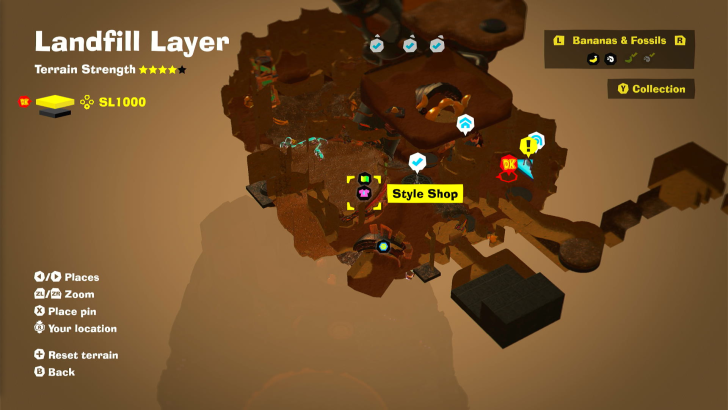
Landfill Layer Style Shop
Style Shop Location
| Layer | Overworld View | Map Location |
|---|---|---|
| SL 1000 |
 |
 |
|
Trashtopia Style Shop
Found in Trashtopia, at the bottom of Sublayer 1000. |
||
Available Outfits
| Name | Type | Cost | Effect | |||||||
|---|---|---|---|---|---|---|---|---|---|---|
|
|
Fur Color |
|
Inspiring and expressive, like the fading light of a setting sun. | |||||||
|
|
Fur Color |
|
Sweet and tart in tandem, like a swirl of candy flavors. | |||||||
|
|
Fur Color |
|
Crisp and bitter, to put some pep in your step. | |||||||
|
|
Fur Color |
|
Sparkly and shiny, like a dazzling ruby. | |||||||
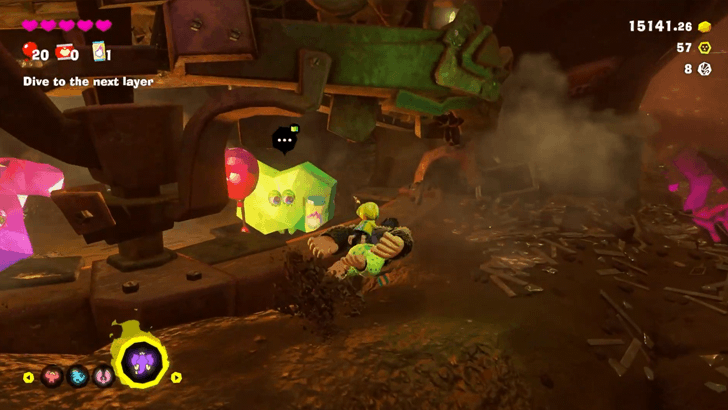
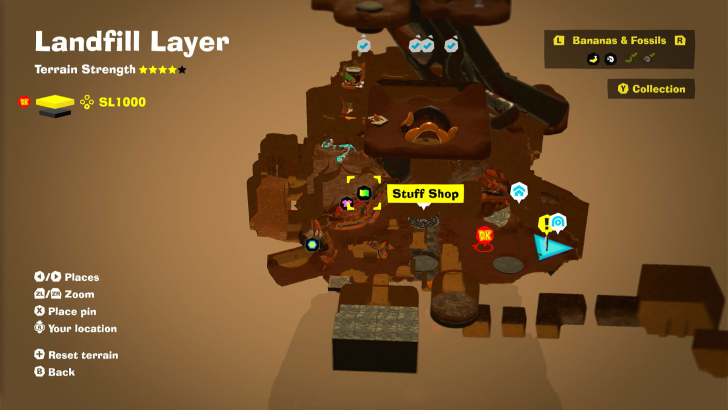
Stuff Shop Location
| Layer | Overworld View | Map Location |
|---|---|---|
| SL 1000 |
 |
 |
|
Trashtopia Stuff Shop
Found in Trashtopia, at the bottom of Sublayer 1000. |
||
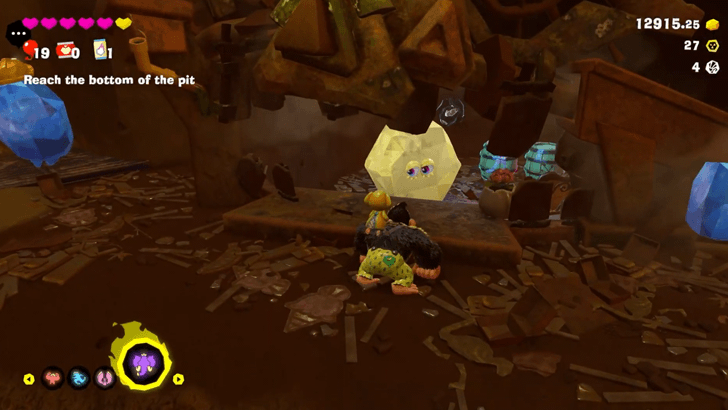
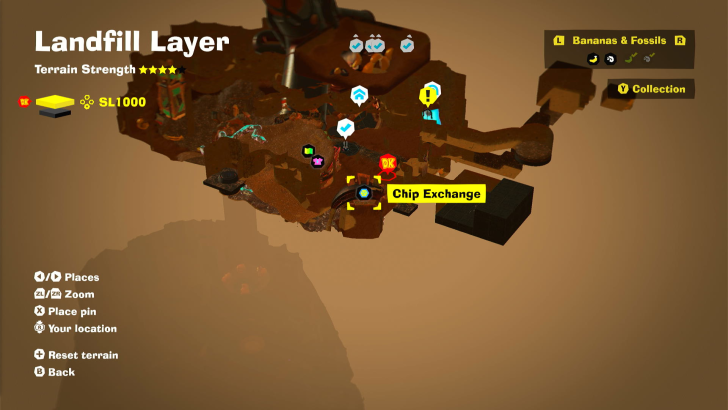
Chip Exchange Location
| Layer | Overworld View | Map Location |
|---|---|---|
| SL 1000 |
 |
 |
|
Trashtopia Chip Exchange
Found in Trashtopia, at the bottom of Sublayer 1000. |
||
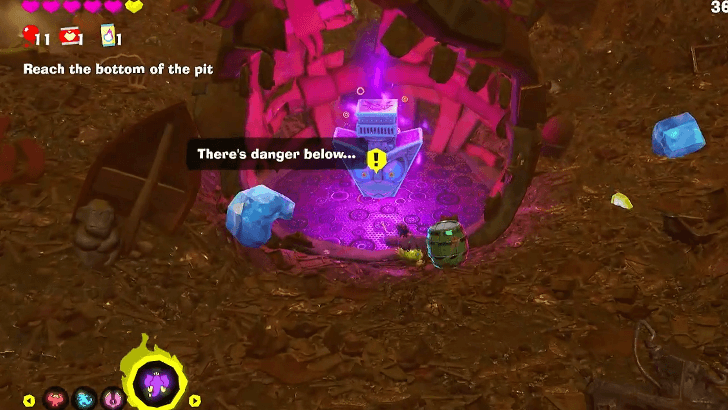
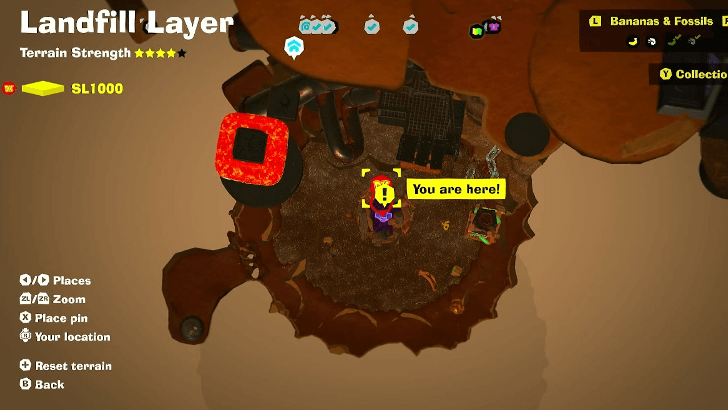
Landfill Layer Void Stakes
Void Stake Locations
| Layer | Overworld View | Map Location |
|---|---|---|
| SL 1000 |
 |
 |
|
Trashtopia Void Stake
Found in Trashtopia |
||
| SL 1001 |
 |
 |
|
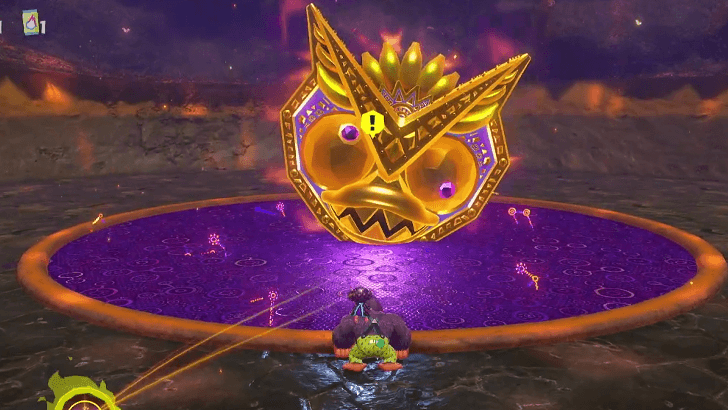
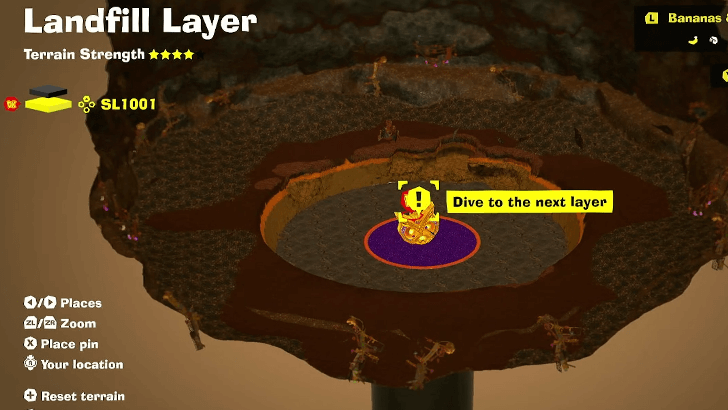
Sinkhole SL1001 Void Stake
Revealed after beating Peekabruiser in Landfill Layer |
||
Cranky Kong Location
Cave Near Trashtopia
| Map / Overworld Image | Video Directions |
|---|---|
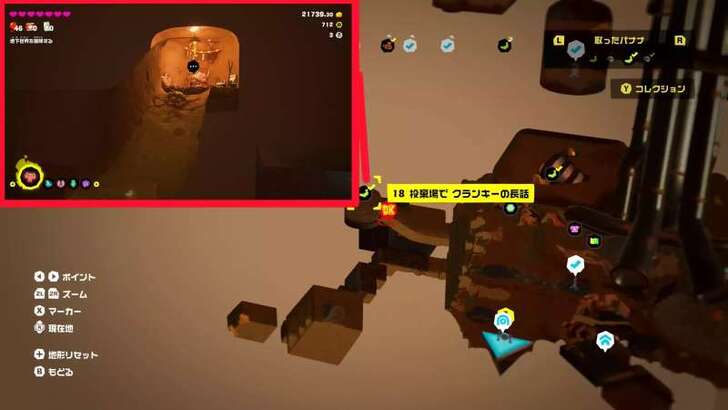 |
In Trashtopia (SL1000), from the central checkpoint, head toward the reddish-lit cave in the far upper-left, near the drum cannon.
Landfill Layer Getaways
All Getaway Locations
| Map Location | Overworld Image |
|---|---|
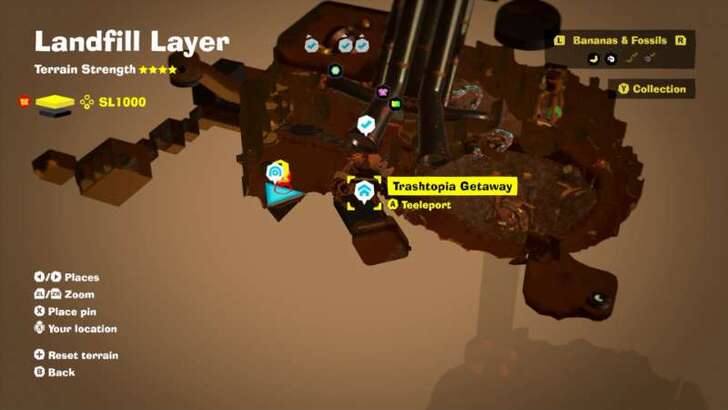 Landfill Layer (SL 1000) |
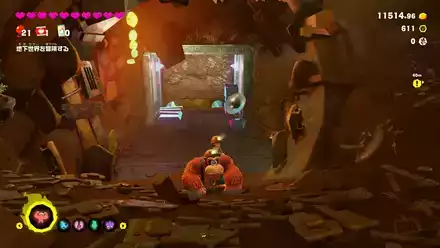 Trashtopia Getaway |
Getaway Guide: All Getaway Locations
Donkey Kong Bananza Related Guides
All Layers
Comment
Author
Landfill Layer Banana and Fossil Locations (SL 1000-1001)
improvement survey
04/2026
improving Game8's site?

Your answers will help us to improve our website.
Note: Please be sure not to enter any kind of personal information into your response.

We hope you continue to make use of Game8.
Rankings
- We could not find the message board you were looking for.
Gaming News
Popular Games

Genshin Impact Walkthrough & Guides Wiki

Crimson Desert Walkthrough & Guides Wiki

Umamusume: Pretty Derby Walkthrough & Guides Wiki

Honkai: Star Rail Walkthrough & Guides Wiki

Monster Hunter Stories 3: Twisted Reflection Walkthrough & Guides Wiki

Wuthering Waves Walkthrough & Guides Wiki

The Seven Deadly Sins: Origin Walkthrough & Guides Wiki

Pokemon TCG Pocket (PTCGP) Strategies & Guides Wiki

Pokemon Pokopia Walkthrough & Guides Wiki

Zenless Zone Zero Walkthrough & Guides Wiki
Recommended Games

Monster Hunter World Walkthrough & Guides Wiki

Fire Emblem Heroes (FEH) Walkthrough & Guides Wiki

Pokemon Brilliant Diamond and Shining Pearl (BDSP) Walkthrough & Guides Wiki

Super Smash Bros. Ultimate Walkthrough & Guides Wiki

Diablo 4: Vessel of Hatred Walkthrough & Guides Wiki

Cyberpunk 2077: Ultimate Edition Walkthrough & Guides Wiki

Yu-Gi-Oh! Master Duel Walkthrough & Guides Wiki

Elden Ring Shadow of the Erdtree Walkthrough & Guides Wiki

The Legend of Zelda: Tears of the Kingdom Walkthrough & Guides Wiki

Persona 3 Reload Walkthrough & Guides Wiki
All rights reserved
© Nintendo. Games are property of their respective owners. Nintendo of America Inc.
The copyrights of videos of games used in our content and other intellectual property rights belong to the provider of the game.
The contents we provide on this site were created personally by members of the Game8 editorial department.
We refuse the right to reuse or repost content taken without our permission such as data or images to other sites.

 Ingot Isle
 Lagoon Layer
 Hilltop Layer
 Canyon Layer
 The Divide
 Freezer Layer
 Forest Layer
 The Junction
 Resort Layer
 Tempest Layer
 Landfill Layer
 Racing Layer
 Radiance Layer
 Groove Layer
 Feast Layer
 Forbidden Layer
 Planet Core
 DK Island


![Forza Horizon 6 Review [Preview] | Beautiful Roads With a Whole Lot of Oversteer](https://img.game8.co/4460981/a7254c24945c43fbdf6ad9bea52b5ce9.png/thumb)


