Feast Layer Walkthrough
☽ DK Island and Emerald Rush DLC out now!
☽ Learn how to solve Banandiumtone's Puzzles.
☽ All Collectibles: Banandium Gems and Fossils
☽ Learn How to Skip Layers Entirely!
☽ How to Beat the Final Boss
☽ Post-Game: Rehearsal Halls | Secret Ending
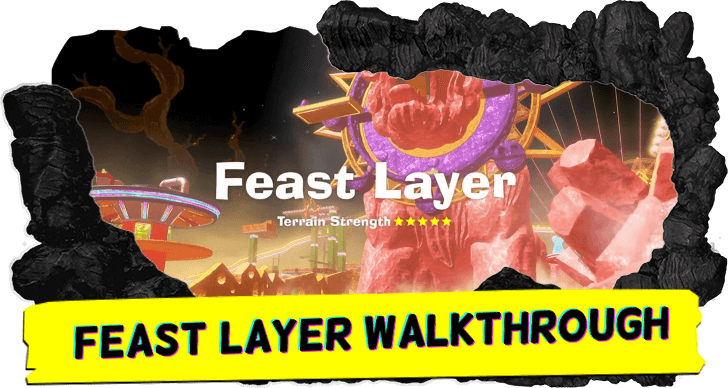
This is a walkthrough guide for the Feast Layer (SL 1400-1401) in Donkey Kong Bananza. Read on for a complete step-by-step on how to complete the layer and progress the story.
| Feast Layer Guides | |
|---|---|
| Walkthrough | Collectibles |
| Previous and Next Layer | |
| ◀︎ Groove Layer | Forbidden Layer ► |
List of Contents
Feast Layer Walkthrough
Feast Sublayer 1400
| Step-by-Step Guide | |
|---|---|
| 1 | 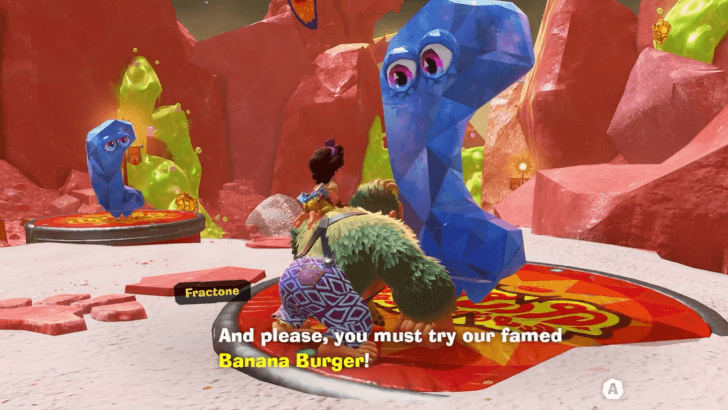 Talk to the banana-shaped Fractone. |
| 2 | 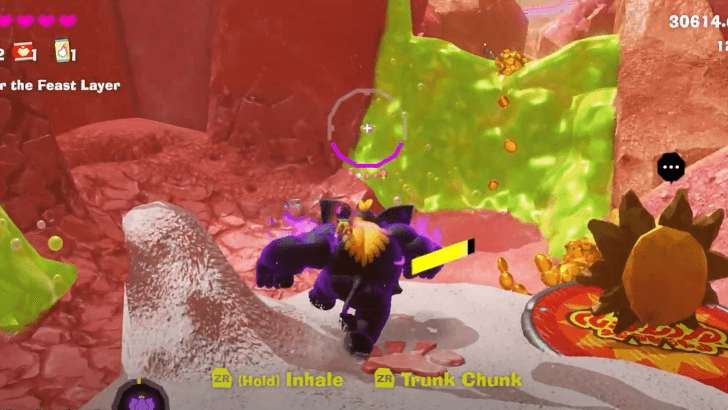 Throw salt—the white, sandy-looking terrain—at the green slime to dissolve it. ► All Terrain Types and Interactions |
| 3 | 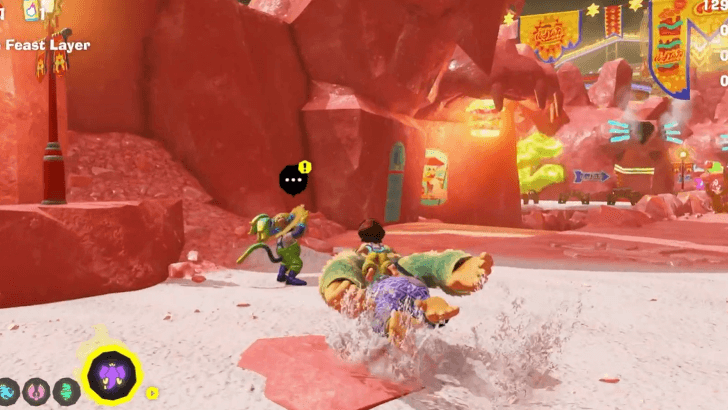 Talk to the monkey in front of the Mane Gate Market. |
| 4 | 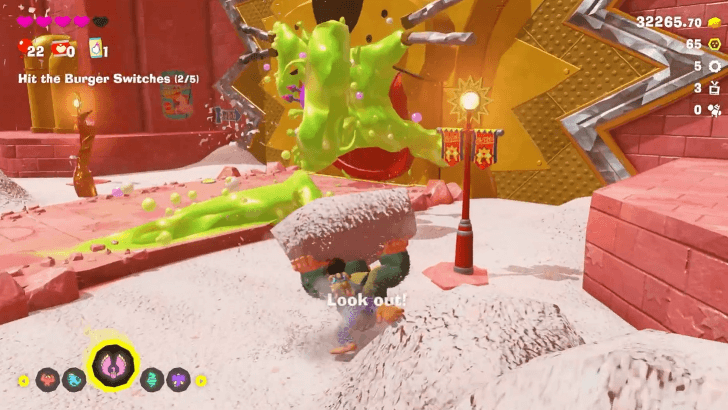 Use salt on the slime blocking the Mane Gate entrance. |
| 5 | 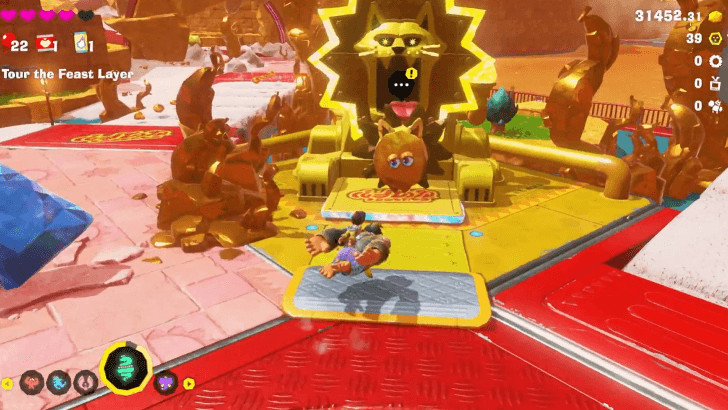 Talk to the lion-shaped fractone. |
| 6 | 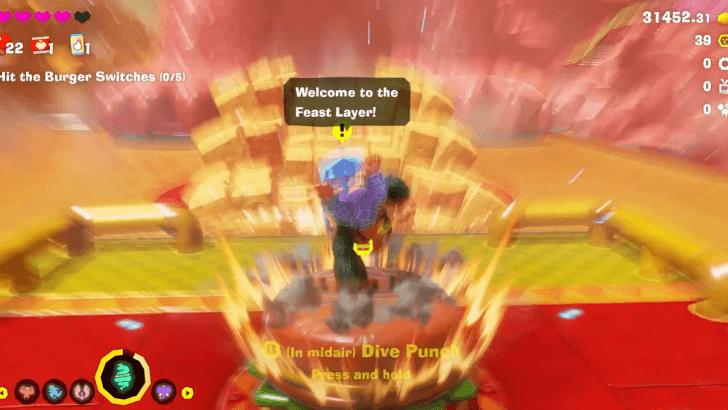 Dive Punch on the burger switch ahead. ► How to Dive Punch |
| 7 | 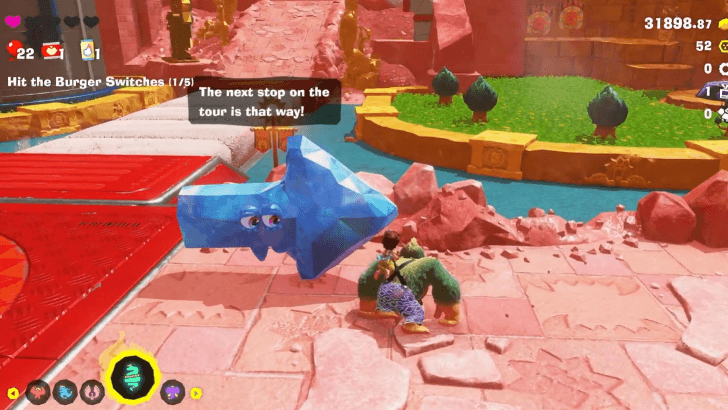 Follow the arrow fractones to the next burger switch location. Throw salt on any muck monsters you encounter along the way. |
| 8 | 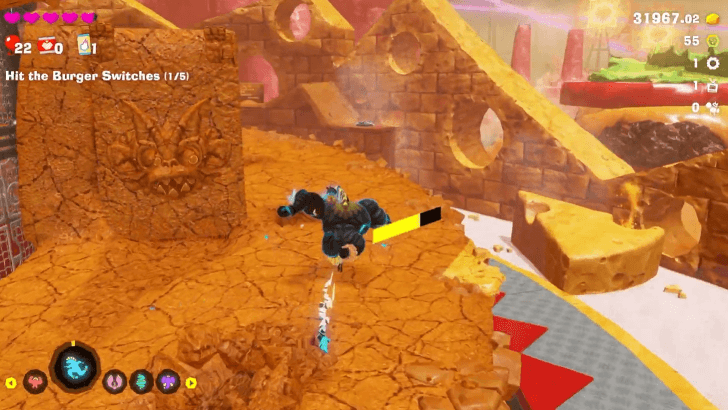 Use the Zebra Bananza Form to go up the Grater-Go-Round. Punch through or avoid any walls that suddenly pop up along the way. ► How to Use Zebra Bananza Form |
| 9 | 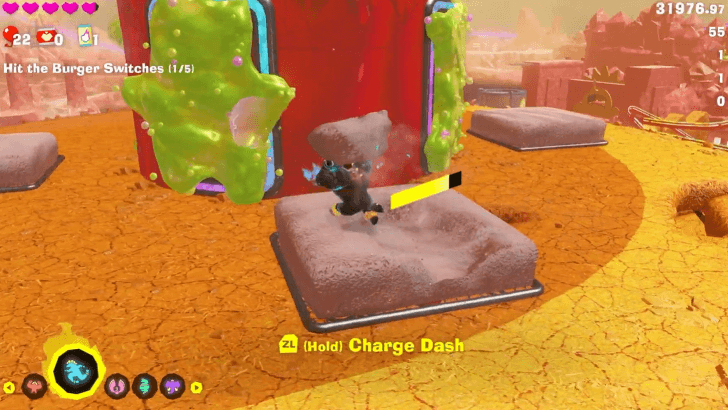 Throw salt to clear the green muck. Going counter-clockwise, the muck-covered openings hide boxes, Banandium Chips, the hole going down to the burger switch, and a fossil. |
| 10 | Once you find the hole, drop and punch down on the burger switch. Get your bananas and punch your way out of the Grater-Go-Round. |
| 11 | 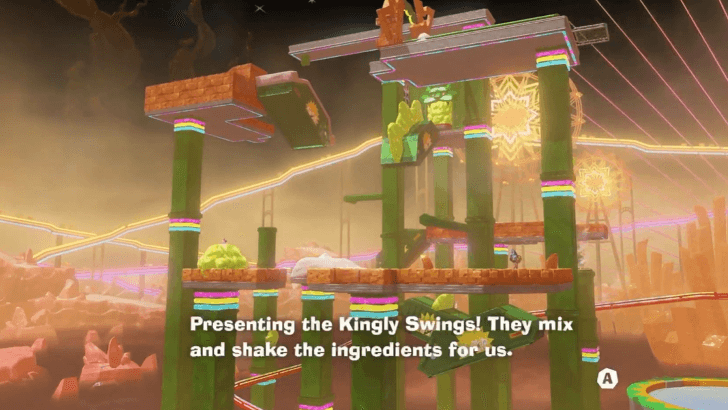 Follow the arrow fractones to the Kingly Swings. |
| 12 | 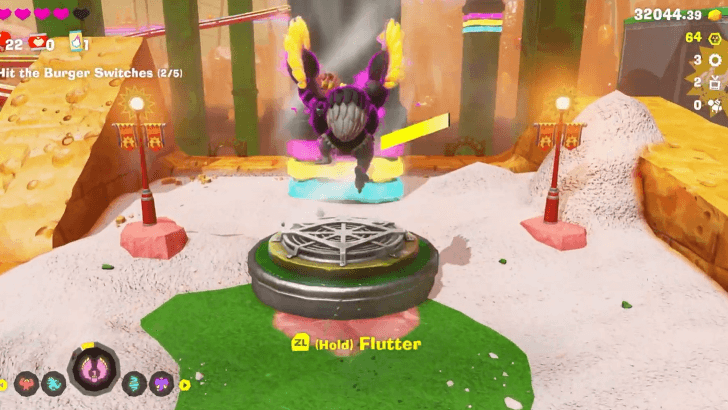 Dissolve the green muck and use the updraft fan while in Ostrich Bananza Form to fly up. ► How to Use Ostrich Bananza Form |
| 13 | Make your way up the Kingly Swings using the swings and updrafts while in Ostrich Bananza form. Use the salt platforms to dissolve the green muck blocking your way. |
| 14 | Punch down the burger switch at the top. Then, get your bananas and dive down into the water below. |
| 15 | 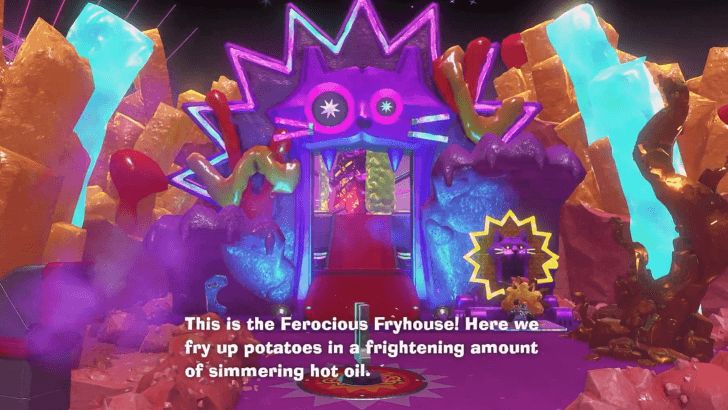 Follow the path through the tunnel until you reach the Ferocious Fryhouse. Entering the Ferocious Fryhouse and jumping into the cart will trigger a boss fight. |
| * | You can also ride the right cart of the Roarcoaster between the Kingly Swings and Grater-Go-Round to get to the Ferocious Fryhouse Station. |
| 16 | 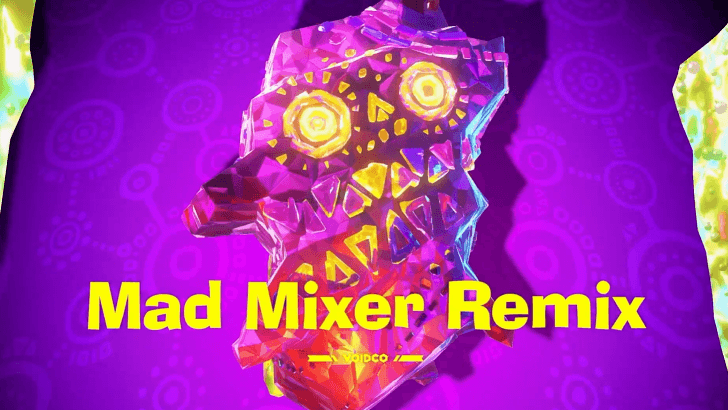 Defeat Mad Mixer Remix. While riding the cart, jump up and collect the salt chunks to throw at the green muck protecting the boss. When there's an opening, collect the boom rocks and aim them at Mad Mixer Remix. |
| 17 | Punch down the burger switch on the platform, then collect your bananas. Exit the Ferocious Fryhouse. |
| 18 | 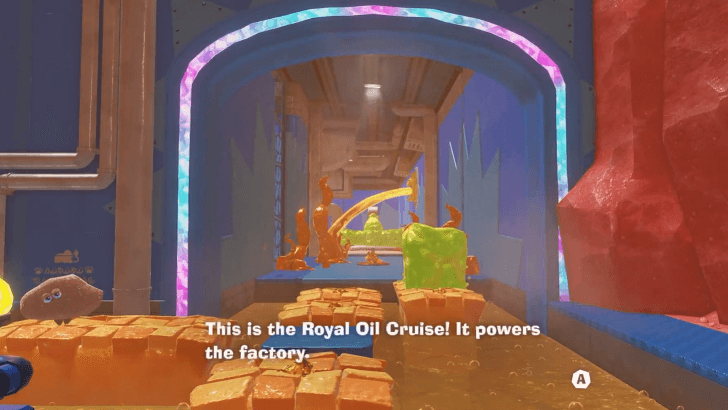 Follow the arrow going left down the purple path until you reach a diving platform. Dive down to the water below, and make your way to the Royal Oil Cruise. |
| * | Time your jumps and throw salt on the muck occupying the platforms. We recommend resting at a Base Getaway before attempting the Royal Oil Cruise. ► How to Build Getaways |
| 19 | 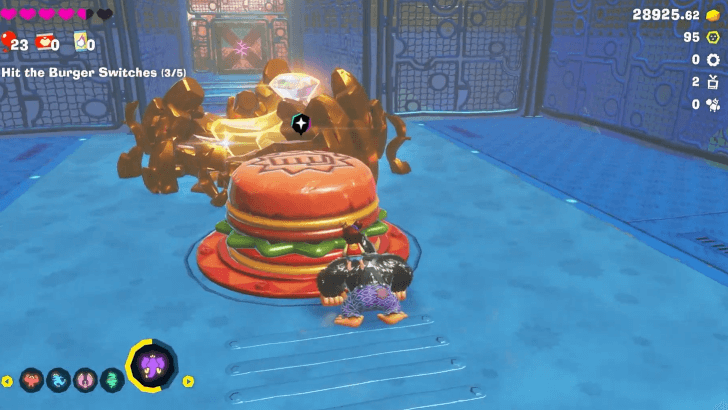 Punch down the burger switch at the end of the ride. After a cutscene, collect your bananas and exit the Royal Oil Cruise. |
| 20 | 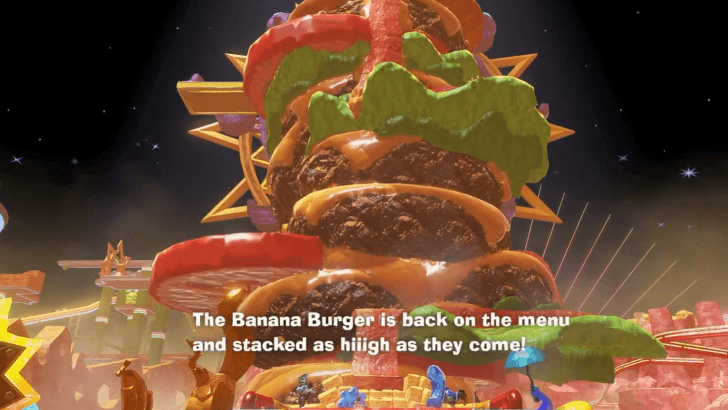 Follow the path to return to Fried Pride Plaza. Go to the platform where the first burger switch was, then make your way to the top of the Banana Burger using the bacon as your road. |
| * | 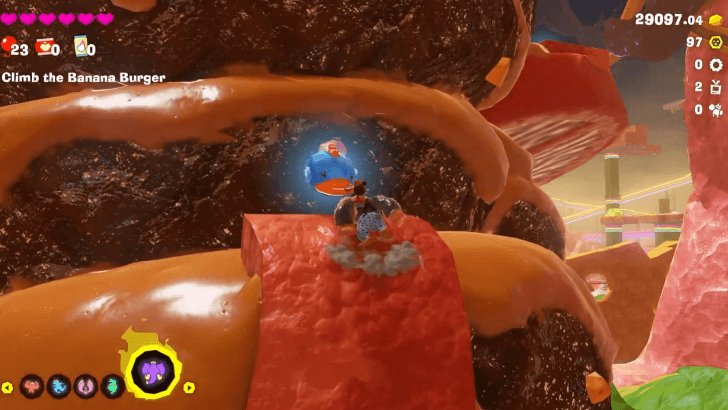 Approach mini-eelevators to create tunnels through the burger. |
| 21 | Once you get to the top, talk to the lion-shaped Fractone near the Void Stake in front of the Feral Wheel. |
| 22 | 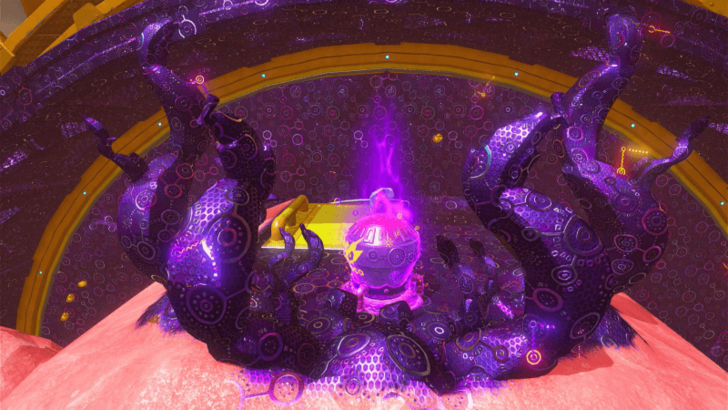 Enter the mouth of the Feral Wheel, and climb up following the Void-covered wall. Break the Terravoider at the top. This will cause the Feral Wheel to move. |
| 23 |  Jump down to the platform with a Fractone to get onto a gondola. Take note that there may be enemies on the ride as well. Ride the Feral Wheel to the top and collect the Void Key. |
| 24 | 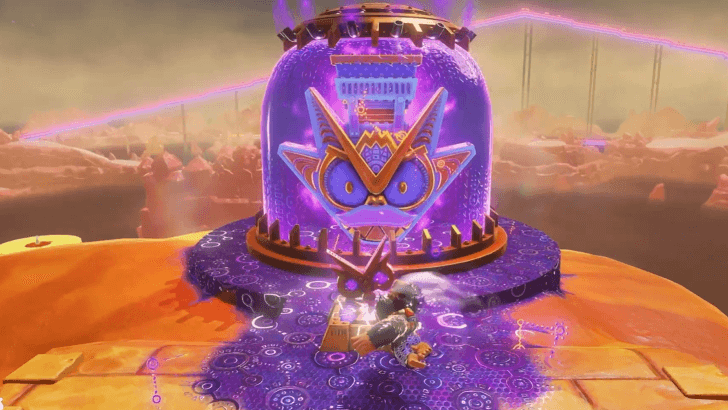 Destroy the Void Stake and drop down to the next sublayer. |
Feast Sublayer 1401
| Step-by-Step Guide | |
|---|---|
| 1 | 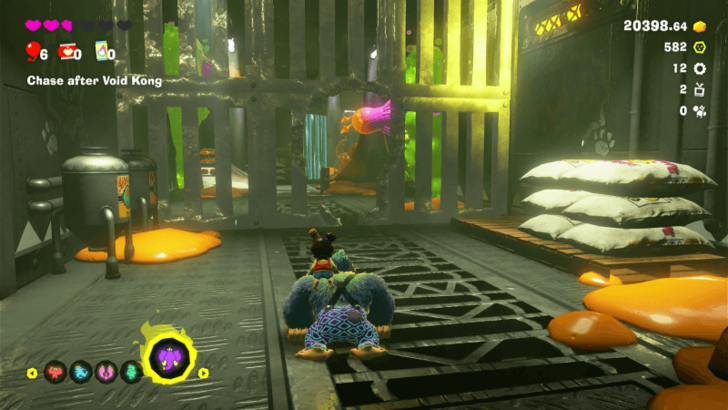 Collect your bananas, then head down the tunnel. Wait for the muck slugs to melt the metal grate blocking the way. Make sure to avoid their attacks as you go through. |
| 2 | 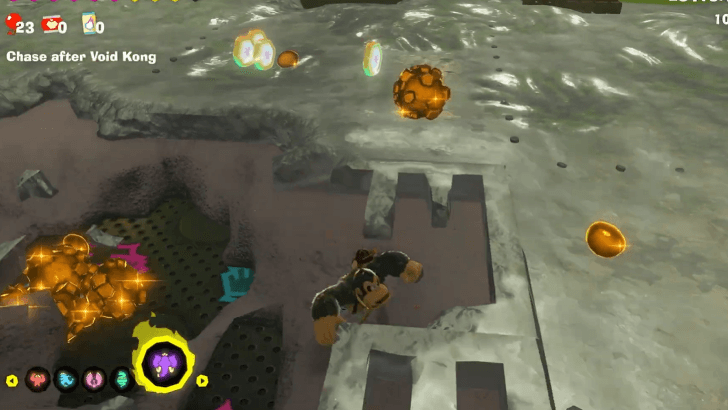 At the salt storage area, get the slugs to melt the ground and reveal the salt hidden underneath. Throw it at the green muck. |
| 3 | 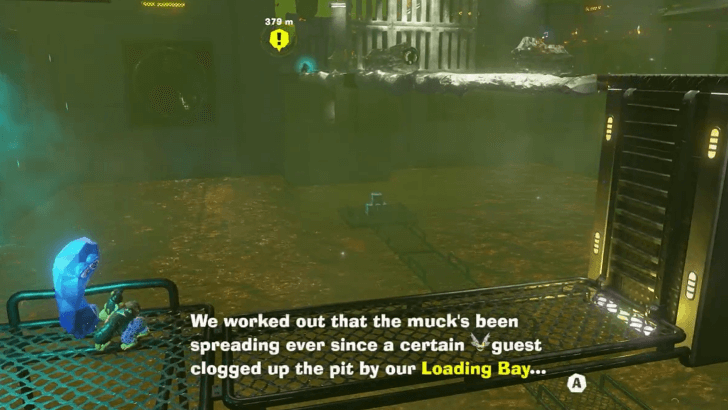 Talk to the fractone by the Waste-Oil Container. |
| 4 | 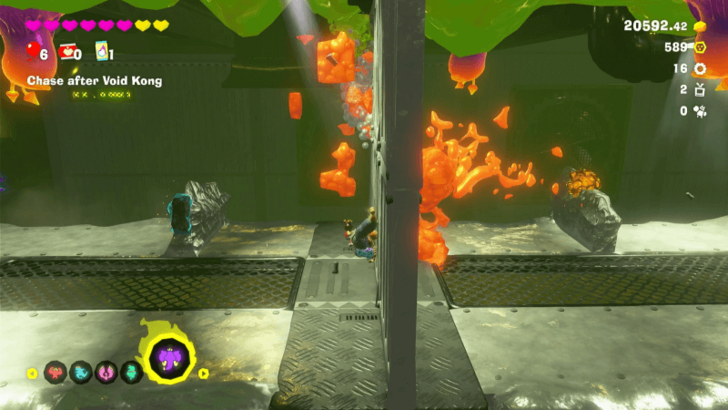 Head to the Loading Bay. Bait the enemies into melting the metal grate blocking the way, but try your best to avoid their attacks. |
| * | A block of salt can be raised at the end of the path to the Loading Bay. You can use this to gather collectibles stuck in the muck in this area. |
| 5 | 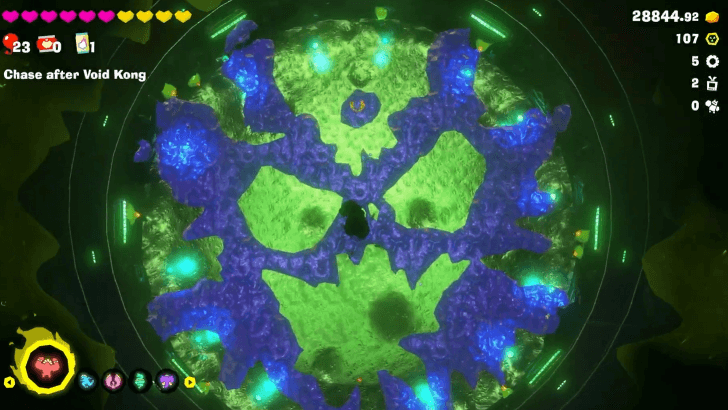 Jump down the pit in the Loading Bay. Be warned that this will trigger a boss fight. |
| 6 | 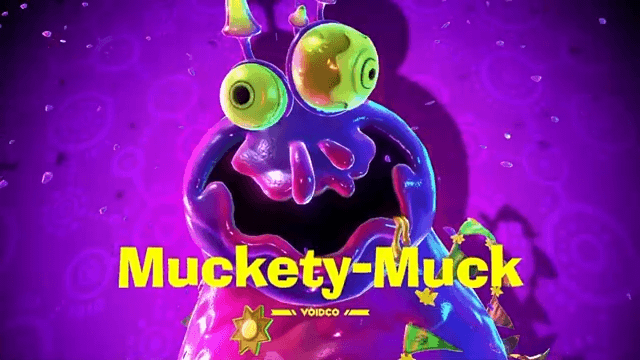 Defeat Muckety-Muck. Bait Muckety-Muck to melt the ground. Get the salt from underneath and aim it at the boss. Once the body is melted, strike the core. ► How to Beat Muckety-Muck |
| 7 | Break the Void Stake to open up the way to the next layer. Before proceeding, it is recommended to gather up gold in case you're running low. You will need to spend around 16,999 Gold to easily get through the next layer. ►Forbidden Layer Walkthrough |
Feast Layer Boss
Mad Mixer Remix

Mad Mixer Remix is a boss you will fight when you enter the Ferocious Fryhouse. Ride the Fryhouse rollercoaster and jump up to collect salt chunks to dissolve the green muck protecting the boss. When you have a clear shot, jump up and collect a boom chunk to throw at Mad Mixer Remix. Do this until the boss is defeated.
Muckety-Muck

Muckety-Muck is the last boss you will face in the Feast Layer. Bait Muckety-Muck into melting the floor with its magma globs. This will give you a source of salt that you can throw at the boss.
Keep throwing salt chunks at Muckety-Muck until it melts. When the core is revealed, strike it before it regains its body.
Donkey Kong Bananza Related Guides
All Walkthrough Guides
| # | Layer |
|---|---|
| SL1 | Ingot Isle |
| SL100 | Lagoon Layer |
| SL200 | Hilltop Layer |
| SL300 | Canyon Layer |
| SL400 | The Divide |
| SL500 | Freezer Layer |
| SL600 | Forest Layer |
| SL700 | The Junction |
| SL800 | Resort Layer |
| SL900 | Tempest Layer |
| SL1000 | Landfill Layer |
| SL1100 | Racing Layer |
| SL1200 | Radiance Layer |
| SL1300 | Groove Layer |
| SL1400 | Feast Layer |
| SL1500 | Forbidden Layer |
| SL1600 | Planet Core |
Author
Feast Layer Walkthrough
improvement survey
04/2026
improving Game8's site?

Your answers will help us to improve our website.
Note: Please be sure not to enter any kind of personal information into your response.

We hope you continue to make use of Game8.
Rankings
- We could not find the message board you were looking for.
Gaming News
Popular Games

Genshin Impact Walkthrough & Guides Wiki

Crimson Desert Walkthrough & Guides Wiki

Umamusume: Pretty Derby Walkthrough & Guides Wiki

Honkai: Star Rail Walkthrough & Guides Wiki

Monster Hunter Stories 3: Twisted Reflection Walkthrough & Guides Wiki

Wuthering Waves Walkthrough & Guides Wiki

The Seven Deadly Sins: Origin Walkthrough & Guides Wiki

Pokemon TCG Pocket (PTCGP) Strategies & Guides Wiki

Pokemon Pokopia Walkthrough & Guides Wiki

Zenless Zone Zero Walkthrough & Guides Wiki
Recommended Games

Monster Hunter World Walkthrough & Guides Wiki

Fire Emblem Heroes (FEH) Walkthrough & Guides Wiki

Pokemon Brilliant Diamond and Shining Pearl (BDSP) Walkthrough & Guides Wiki

Super Smash Bros. Ultimate Walkthrough & Guides Wiki

Diablo 4: Vessel of Hatred Walkthrough & Guides Wiki

Cyberpunk 2077: Ultimate Edition Walkthrough & Guides Wiki

Yu-Gi-Oh! Master Duel Walkthrough & Guides Wiki

Elden Ring Shadow of the Erdtree Walkthrough & Guides Wiki

The Legend of Zelda: Tears of the Kingdom Walkthrough & Guides Wiki

Persona 3 Reload Walkthrough & Guides Wiki
All rights reserved
© Nintendo. Games are property of their respective owners. Nintendo of America Inc.
The copyrights of videos of games used in our content and other intellectual property rights belong to the provider of the game.
The contents we provide on this site were created personally by members of the Game8 editorial department.
We refuse the right to reuse or repost content taken without our permission such as data or images to other sites.


![Forza Horizon 6 Review [Preview] | Beautiful Roads With a Whole Lot of Oversteer](https://img.game8.co/4460981/a7254c24945c43fbdf6ad9bea52b5ce9.png/thumb)


Banana 01?