
This survey will take about 1 minute.
Your answers will help us to improve our website.
Donkey Kong Bananza
Ingot Isle Walkthrough
☽ DK Island and Emerald Rush DLC out now!
☽ Learn how to solve Banandiumtone's Puzzles.
☽ All Collectibles: Banandium Gems and Fossils
☽ Learn How to Skip Layers Entirely!
☽ How to Beat the Final Boss
☽ Post-Game: Rehearsal Halls | Secret Ending
This is a walkthrough guide for Ingot Isle (SL 1-10) in Donkey Kong Bananza. Read on for a complete step-by-step on how to complete the layer and progress the story.
| Ingot Isle Guides | |
|---|---|
| Walkthrough | Collectibles |
| Previous and Next Layer | |
| - | Lagoon Layer ► |
List of Contents
Ingot Isle Walkthrough
Ingot Isle Tutorial
| Step-by-Step Guide | |
|---|---|
| 1 | 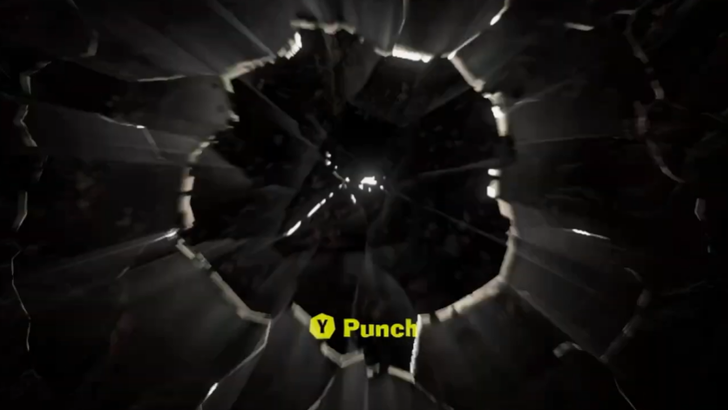 Press Y to punch through the wall. |
| * | Y is the default button for Punching. Punch through dirt and terrain to uncover gold and collectibles hidden in the walls.
▶︎ Controls and Movement |
| 2 | 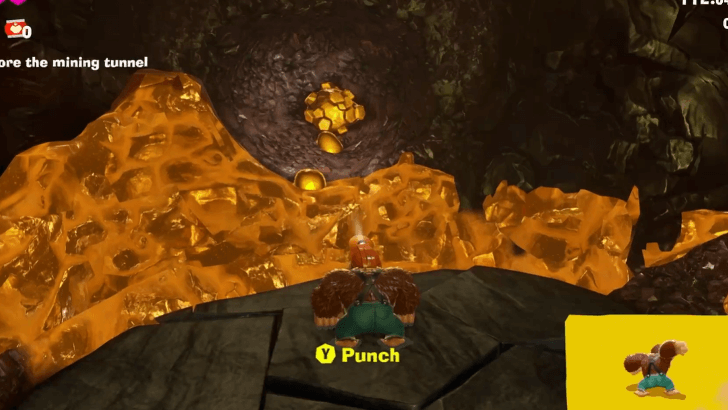 Punch the Banandium Gem to consume it, and punch the wall beyond to progress. |
| 3 |  In the next area, you will learn that you can Jump with A. When you are ready to continue, proceed through the tunnel. |
| 4 | 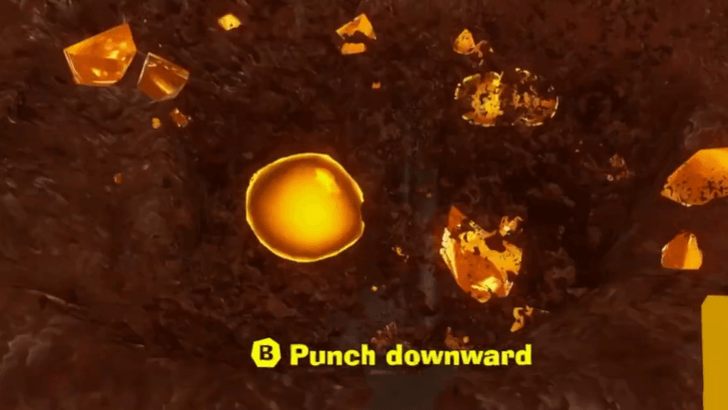 Collect the Banandium Gem at the end of the mining belt then punch the ground below. Continue punching downwards until you fall to an opening. |
| 5 | 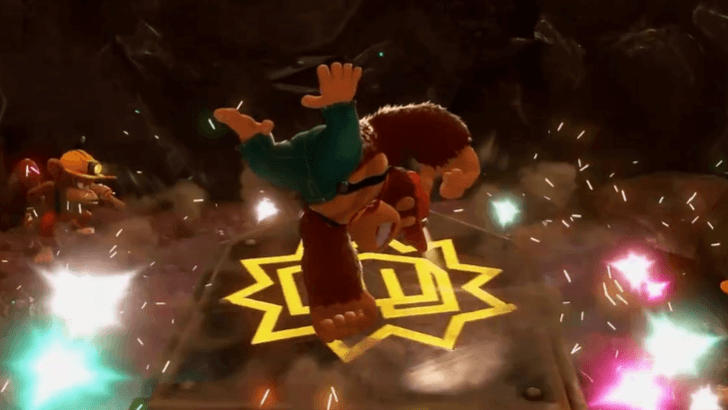 Climb onto the pressure plate device and perform a Dive Punch. To Dive Punch, jump with A then press B while mid-air. This will cause the wall in front to collapse. |
| 6 | Use R to perform a Hand Slap and collect all the fallen gold. You can also use R to momentarily reveal hidden items within a terrain. Take note that gold may disappear if you don't pick it up after a period of time. |
| 7 | 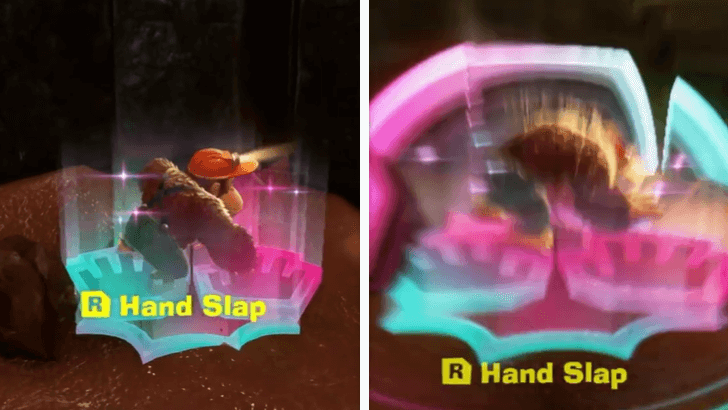 Perform a Hand Slap near the colorful handprints on the ground. This will cause platforms to rise, and allow you to reach a Checkpoint. Checkpoints are activated by punching them. ▶︎ All Checkpoint Locations |
| 8 | 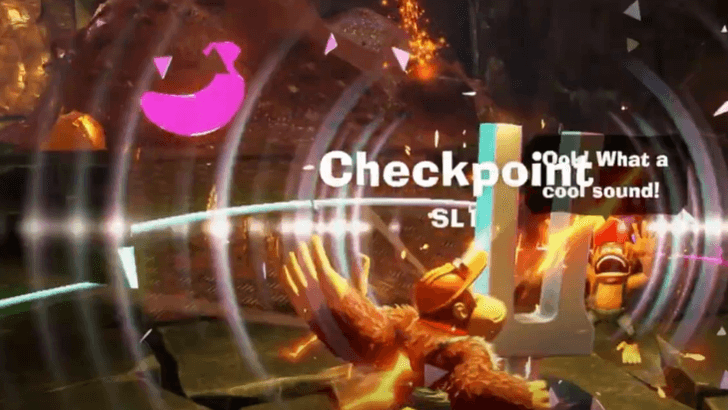 Use the Hand Slap to find the Banandium Gem hidden in a pile of mud. Punching checkpoints will also reveal hidden items. |
| 9 | 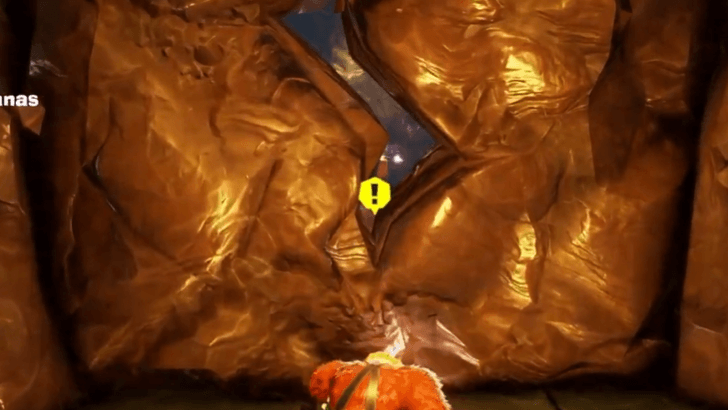 Break the wall to access the next area. Perform a Dive Punch on the pressure plate across the mining belt to continue ahead. |
| 10 | 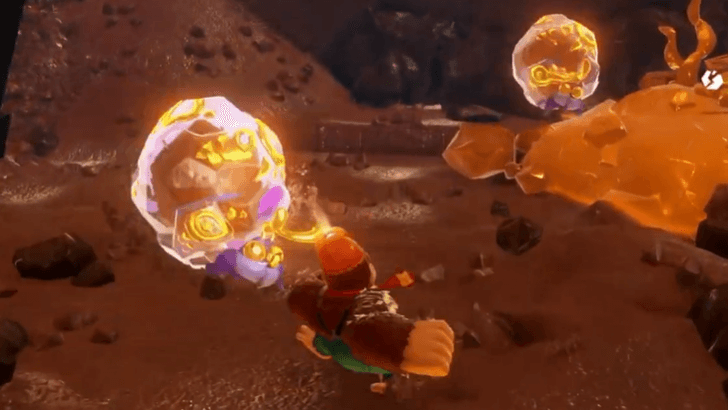 Defeat the monsters in the cave by punching them. You can also pick up the debris they drop by pressing ZR and launching them to cause explosive damage. ▶︎ How to Throw Chunks |
| 11 | 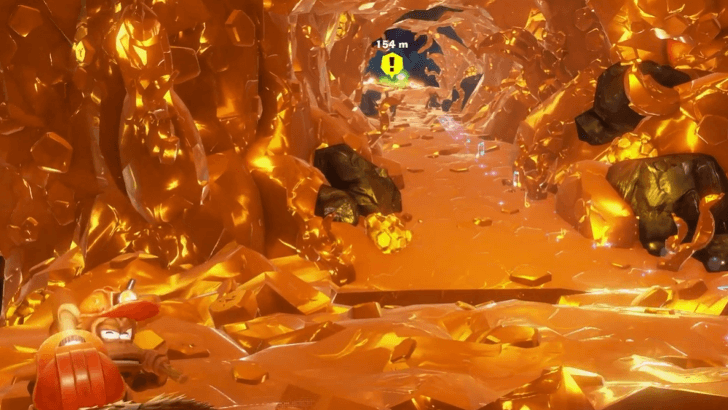 Go up the gold tunnel until you reach the Banandium Gem at the top. |
Ingot Isle Cave-In Tutorial
| Step-by-Step Guide | |
|---|---|
| 1 | 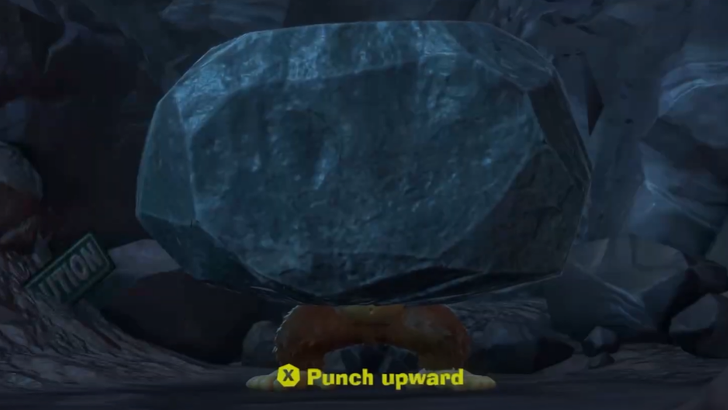 Press X to punch upwards. |
| 2 | 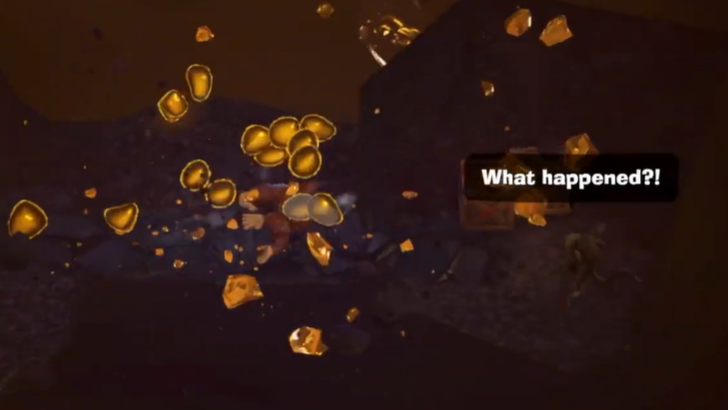 Go forward and punch through the dirt. Use the gold pieces and speech bubbles from the trapped monkeys to guide your way out. |
| 3 | 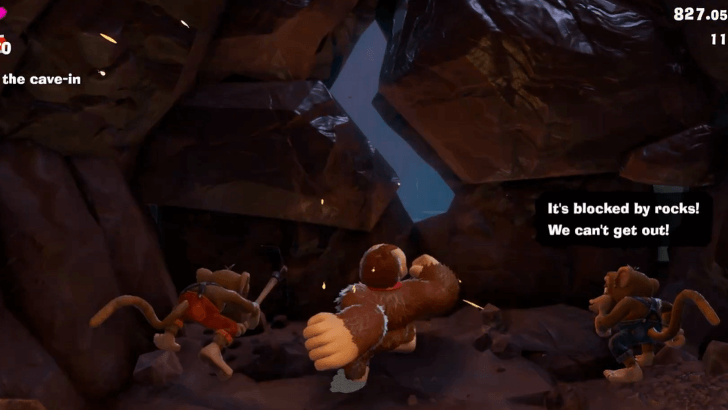 Punch the cracked wall several times to break it. Talk to the monkey here before dropping down. |
| * | Feel free to explore this area. Pay attention to the dialogue boxes of the monkeys, since they may lead you to Banandium Chips or gold. Turnips are also available in this area, which you can pull out for gold. Crates can be destroyed to give you gold or items such as Balloons. |
| 4 | 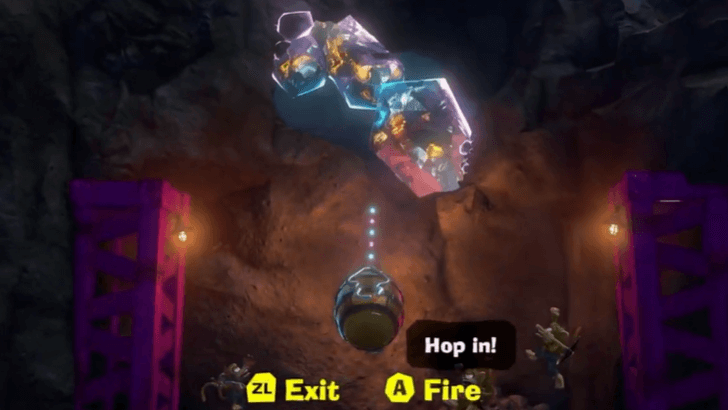 When you're ready, go into the Barrel Cannon on the platform surrounded by monkeys. Press A to launch yourself upwards. |
| 5 | 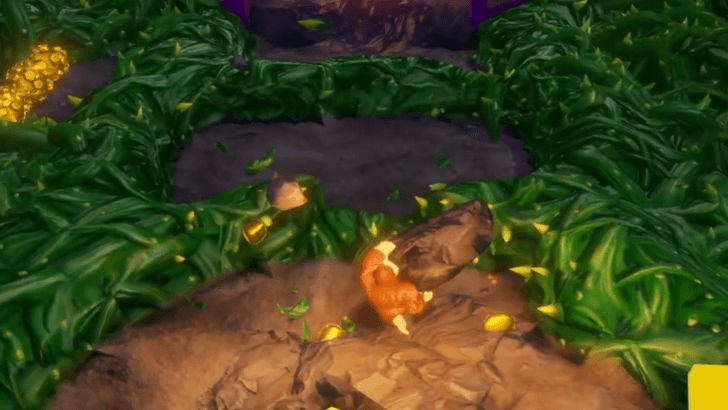 Press ZR to tear off a chunk of rock then swing it at the thorns blocking your way. Head up using the Barrel Cannon once the path is cleared. ▶︎ How to Tear Off Chunks |
| 6 | Talk to the monkey in front of the purple-covered Barrel Cannon. Then, go to the right through the tunnel to investigate what landed in the crater. Keep in mind that you will not be able to break any Voided terrain. |
| 7 | 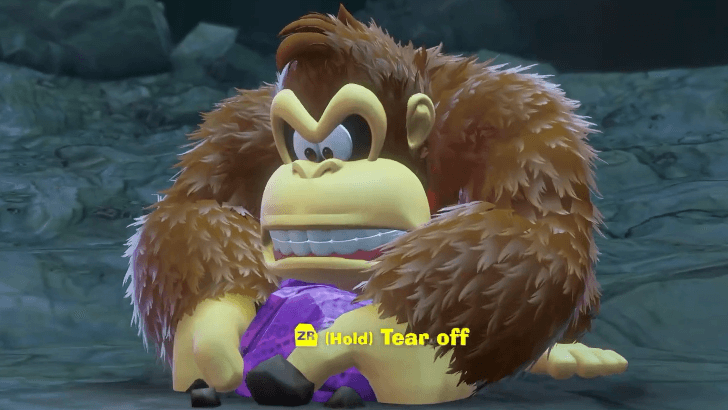 Drop down and hold down ZR to free the talking rock. |
| 8 | 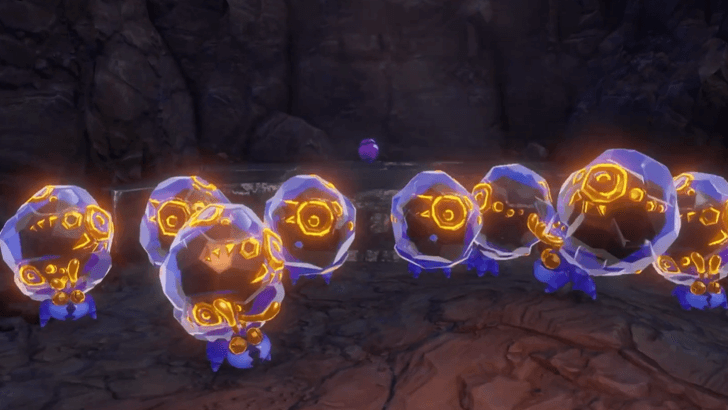 Follow the talking rock into a tunnel. Tear off a chunk of terrain, and hit the monsters trapping it in the back to quickly defeat them. |
| 9 | 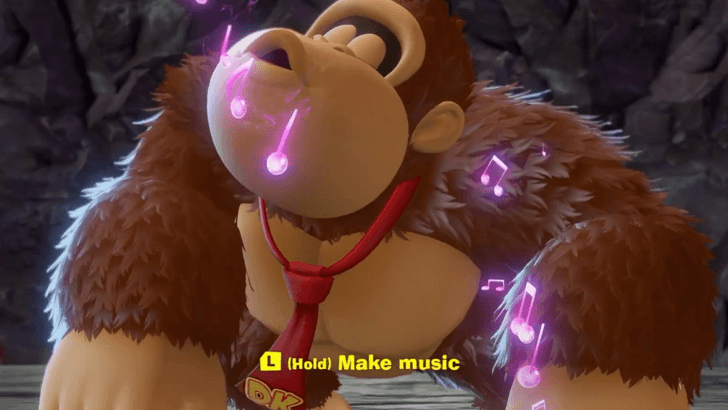 Hold the L shoulder button to make music and calm the talking rock. ▶︎ How to Whistle and Make Music |
| * | Whenever you get lost, hold L to create a musical trail to guide you to your next objective. |
| 10 | 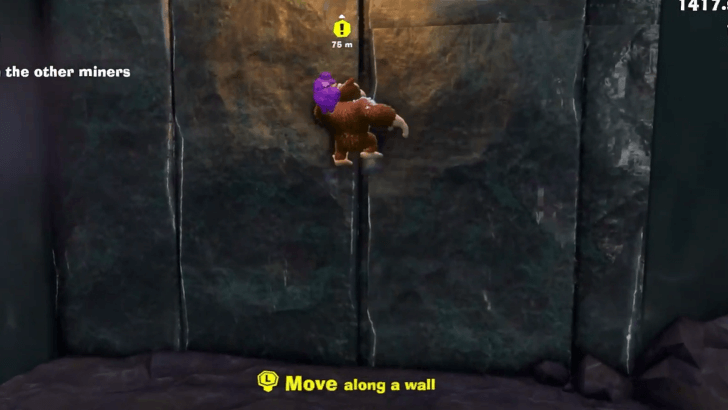 Exit the cave and head straight ahead. Climb up the wall using the Left stick. |
| 11 | 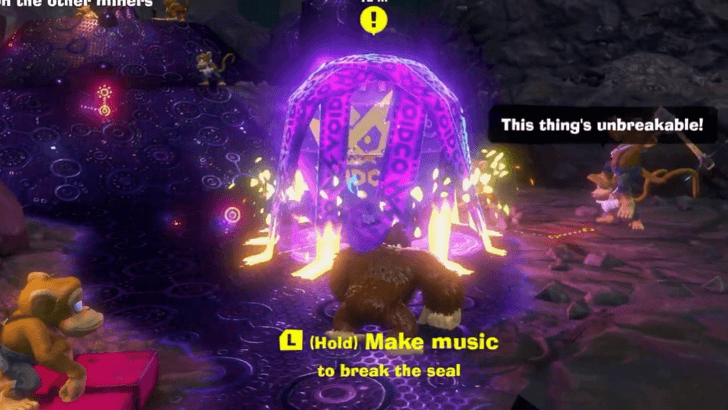 Hold down L to break the seal on the mysterious gizmo. Once the seal is broken, punch the gizmo to break it and restore the terrain. |
| 12 | 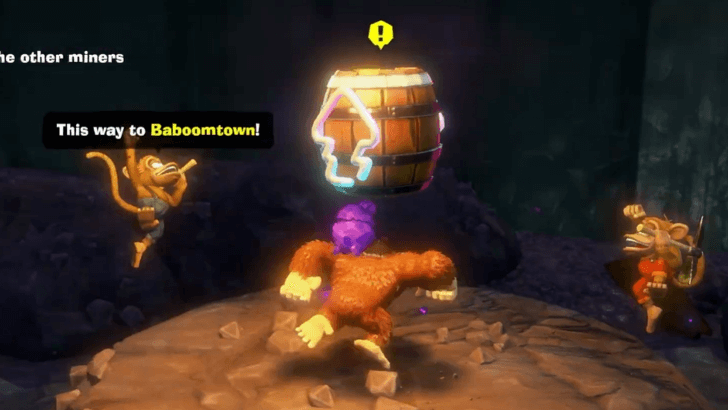 Jump into the Barrel Cannon to reach the Baboomtown Entrance. |
| 13 | 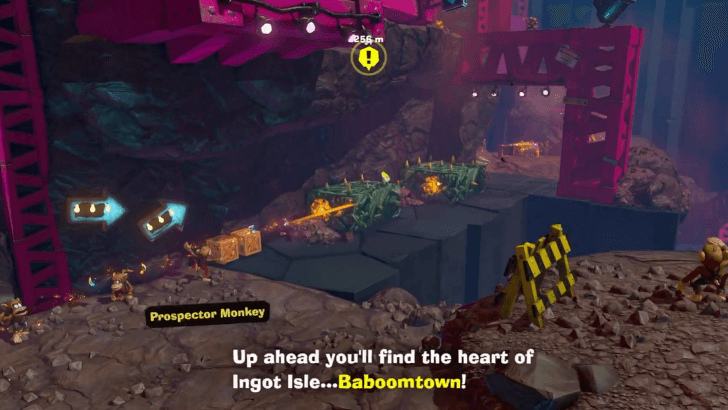 Make your way to Baboomtown Square by going through the path on the right. Tear off a chunk of terrain, and hit the thorny moving blocks in your way. |
| 14 | There will be enemies on the path that burrow in the ground. Defeat them by using Dive Punch when they're underground or by throwing a chunk of terrain at them when they're above ground. |
| 15 | 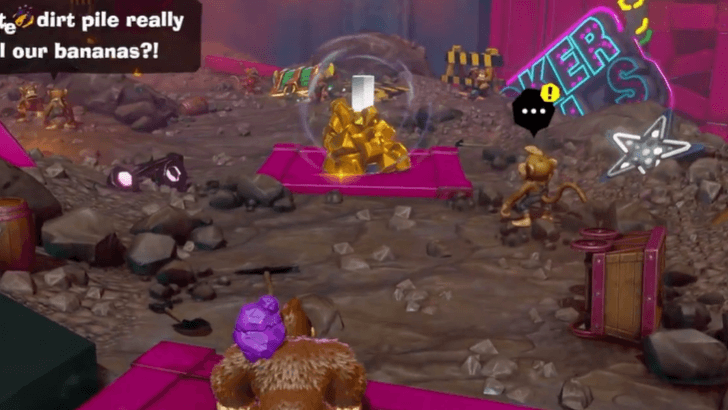 Talk to the monkey with a yellow exclamation point near the Baboomtown Square checkpoint. |
| * | 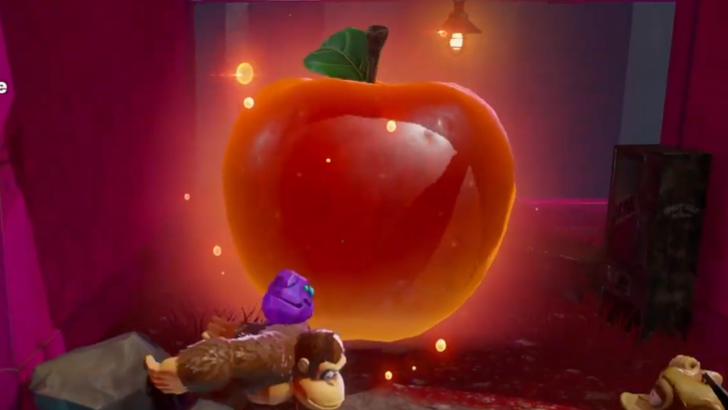 If you need healing, go to the right of the checkpoint to find a large apple. Eating apples restores health. ▶︎ How to Heal and Increase Max Health |
| 16 | 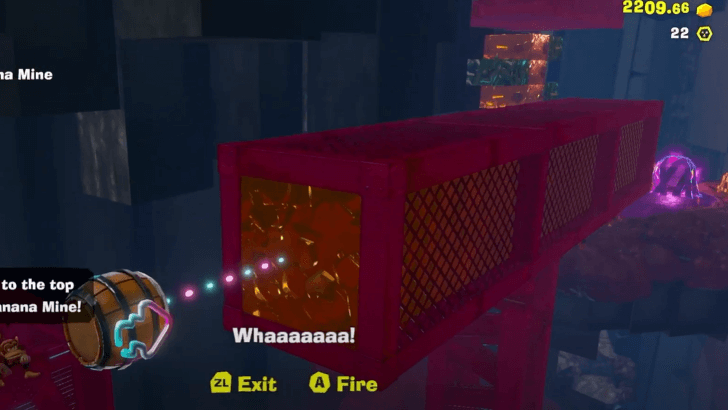 Ride the Barrel Cannon ahead to reach the Banana Mine Climb. Destroy the Terravoider gizmo found here, then use another Barrel Cannon to go up. Make sure to only fire when the gold sections are aligned in the middle. |
| 17 | Tear off a chunk of terrain, and use it as a weapon to clear the thorns and the Molevoloid enemies. Head to the top of the Banana Mine. |
| * | 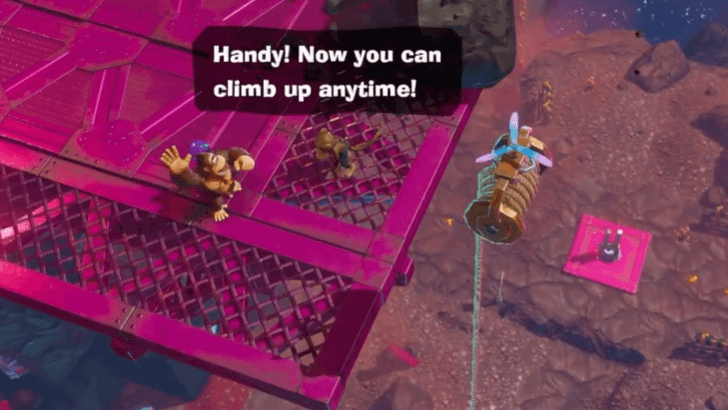 A rope is available along the way, which you can activate to create a shortcut in case you fall to the bottom. |
| 18 | 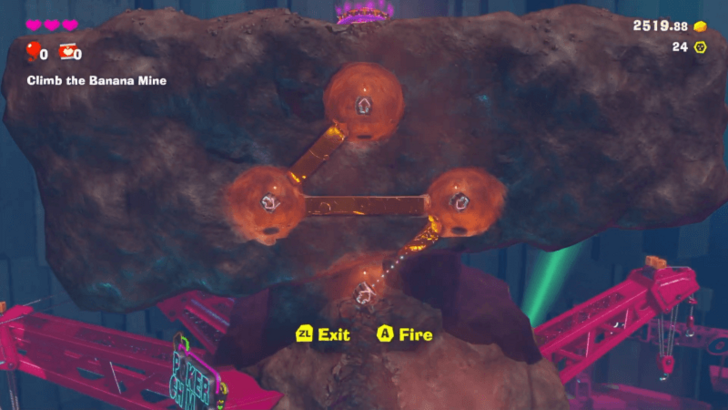 Jump into the Barrel Cannon and launch yourself up. For the second Barrel Cannon, wait until it points diagonally to the right before pressing A. Make sure to only fire the Barrel Cannons when they point in the direction you need to go. |
| 19 | 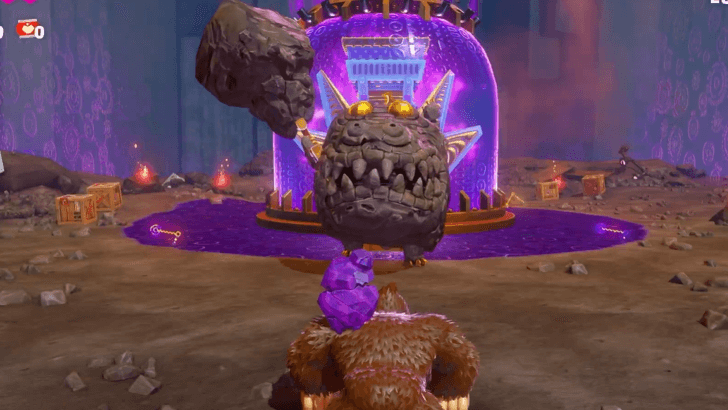 Defeat the Rock Monster guarding the Void Stake by destroying its rock armor then punching the gold creature underneath. |
| 20 | 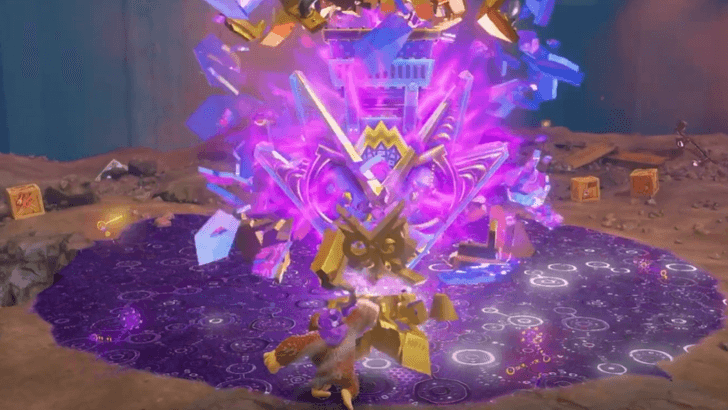 After its defeat, you will obtain a Void Key which is used to break the seal. Punch the Void Key then destroy the Void Stake. |
| 21 | 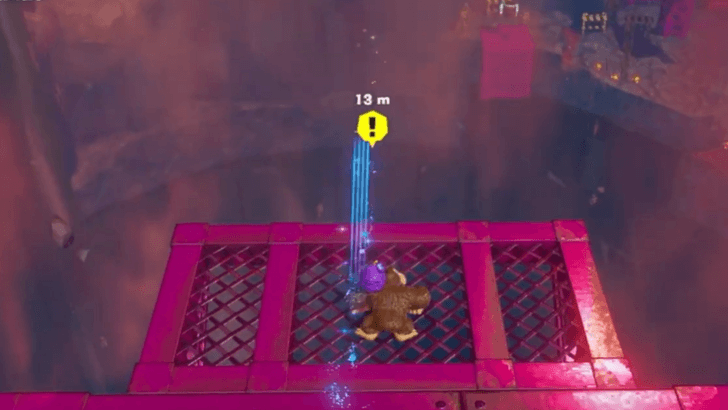 Dive into the hole to go to the next layer. ▶︎ Lagoon Layer Walkthrough |
Donkey Kong Bananza Related Guides
All Walkthrough Guides
| # | Layer |
|---|---|
| SL1 | Ingot Isle |
| SL100 | Lagoon Layer |
| SL200 | Hilltop Layer |
| SL300 | Canyon Layer |
| SL400 | The Divide |
| SL500 | Freezer Layer |
| SL600 | Forest Layer |
| SL700 | The Junction |
| SL800 | Resort Layer |
| SL900 | Tempest Layer |
| SL1000 | Landfill Layer |
| SL1100 | Racing Layer |
| SL1200 | Radiance Layer |
| SL1300 | Groove Layer |
| SL1400 | Feast Layer |
| SL1500 | Forbidden Layer |
| SL1600 | Planet Core |
Comment
Author

Ingot Isle Walkthrough
Please participate in our site
improvement survey
04/2026
improvement survey
04/2026
Would you assist in
improving Game8's site?
improving Game8's site?

×
We are listening to our users' valuable opinions and discussing how to act on them.
The information collected through this survey will be used for the purpose of improving our services. In addition, the information will only be disclosed a part of a statistic in a format that will not allow identification of personal information.
Begin Survey
Not Now
×
Please rate each item regarding Game8.co's Advertisements.
Amount of Ads
Very Dissatisfied
Somewhat Dissatisfied
Fine
Somewhat Satisfied
Highly Satisfied
Placement of Ads
Timing of Ad Display
Ad Loading Speed
Safeness of Ads
Content of Ads
×
Please rate each item regarding Game8.co's Quality of Articles.
Amount of information
Very Dissatisfied
Somewhat Dissatisfied
Fine
Somewhat Satisfied
Highly Satisfied
Frequency of updates
Speed of new information
Accuracy of articles
Understandibility of articles
Readability of sentences
×
Please rate each item regarding Game8.co's Usability of the Site.
Ease of finding information
Very Dissatisfied
Somewhat Dissatisfied
Fine
Somewhat Satisfied
Highly Satisfied
Loading Speed
Use of Color
Font Size
Visibility of Images
Easy to Understand Layout
×
Please rate each item regarding Game8.co's Message Boards, Comments.
Ease of Writing
Very Dissatisfied
Somewhat Dissatisfied
Fine
Somewhat Satisfied
Highly Satisfied
Readability
Ease in Finding Information
Comment Quality
Comment Quantity
Admin Response
×
Please rate each item regarding Game8.co's Site's new design.
Please rate our site's new design
Very Dissatisfied
Somewhat Dissatisfied
Fine
Somewhat Satisfied
Highly Satisfied
Do you think that the website's design change makes the site easier to use?
Has the new design made it easier for you to find information on the site?
Has the new design improved the overall visual appeal of the site?
How would you rate your overall satisfaction with the new design of the site?
×
How likely are you to recommend Game8 to someone you know?
Very Unlikely
0
1
2
3
4
5
6
7
8
9
10
Very Likely
If you have other opinions regarding potential improvement to the website, please share them with us. We would appreciate your honest opinion.
Note: This is a free response section, so you can proceed without entering anything.
Note: Please be sure not to enter any kind of personal information into your response.
Note: Please be sure not to enter any kind of personal information into your response.
×
Thank You
×
Thank you for participating in our survey! Your answers will help us to improve the quality of our website and services.
We hope you continue to make use of Game8.
We hope you continue to make use of Game8.
Close
Rankings
- We could not find the message board you were looking for.
Gaming News


![Forza Horizon 6 Review [Preview] | Beautiful Roads With a Whole Lot of Oversteer](https://img.game8.co/4460981/a7254c24945c43fbdf6ad9bea52b5ce9.png/thumb)
Popular Games

Genshin Impact Walkthrough & Guides Wiki
Crimson Desert Walkthrough & Guides Wiki
Umamusume: Pretty Derby Walkthrough & Guides Wiki
Honkai: Star Rail Walkthrough & Guides Wiki
Monster Hunter Stories 3: Twisted Reflection Walkthrough & Guides Wiki
Wuthering Waves Walkthrough & Guides Wiki
The Seven Deadly Sins: Origin Walkthrough & Guides Wiki
Pokemon TCG Pocket (PTCGP) Strategies & Guides Wiki
Pokemon Pokopia Walkthrough & Guides Wiki
Zenless Zone Zero Walkthrough & Guides Wiki


Recommended Games
Monster Hunter World Walkthrough & Guides Wiki
Fire Emblem Heroes (FEH) Walkthrough & Guides Wiki
Pokemon Brilliant Diamond and Shining Pearl (BDSP) Walkthrough & Guides Wiki
Super Smash Bros. Ultimate Walkthrough & Guides Wiki
Diablo 4: Vessel of Hatred Walkthrough & Guides Wiki
Cyberpunk 2077: Ultimate Edition Walkthrough & Guides Wiki
Yu-Gi-Oh! Master Duel Walkthrough & Guides Wiki
Elden Ring Shadow of the Erdtree Walkthrough & Guides Wiki
The Legend of Zelda: Tears of the Kingdom Walkthrough & Guides Wiki
Persona 3 Reload Walkthrough & Guides Wiki


All rights reserved
© Nintendo. Games are property of their respective owners. Nintendo of America Inc.
The copyrights of videos of games used in our content and other intellectual property rights belong to the provider of the game.
The contents we provide on this site were created personally by members of the Game8 editorial department.
We refuse the right to reuse or repost content taken without our permission such as data or images to other sites.