Tempest Layer Walkthrough
☽ DK Island and Emerald Rush DLC out now!
☽ Learn how to solve Banandiumtone's Puzzles.
☽ All Collectibles: Banandium Gems and Fossils
☽ Learn How to Skip Layers Entirely!
☽ How to Beat the Final Boss
☽ Post-Game: Rehearsal Halls | Secret Ending
This is a walkthrough guide for Tempest Layer (SL 900-902) in Donkey Kong Bananza. Read on for a complete step-by-step on how to complete the layer and progress the story.
| Tempest Layer Guides | |
|---|---|
| Walkthrough | Collectibles |
| Previous and Next Layer | |
| ◀︎ Resort Layer | Landfill Layer ► |
List of Contents
Tempest Layer Walkthrough
Mount Gusty Tusk Sublayer 900
| Step-by-Step Guide | |
|---|---|
| 1 | 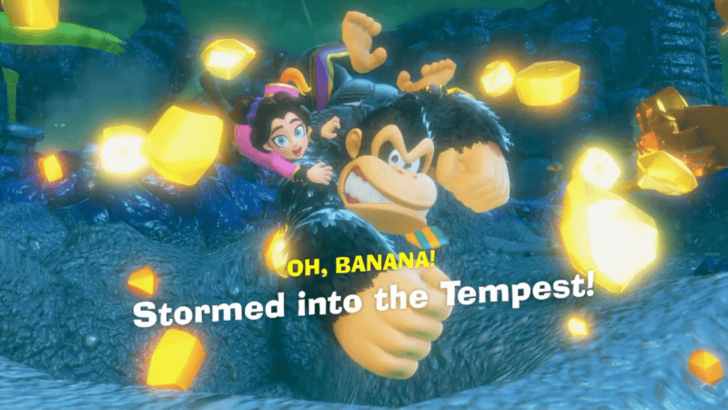 Before anything else, get your Banandium Gem welcome gift. |
| 2 | 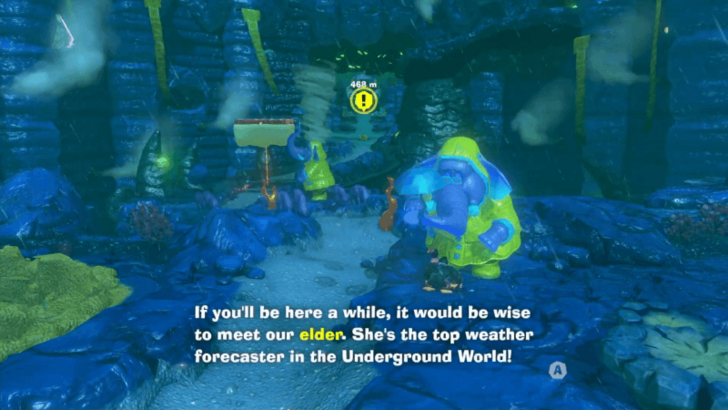 Talk to the nearest elephant NPC, and you'll be directed towards the Elephant Elder. |
| 3 | 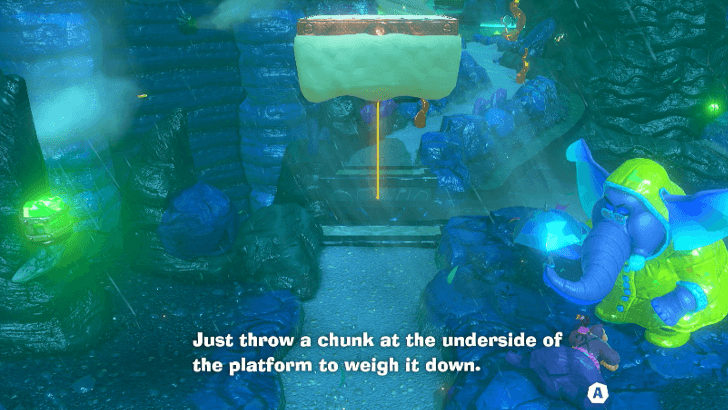 Throw chunks at Gloo Gum platforms to get them to drop down. Follow the path, and you should end up directly in front of the Elephant Elder. Use the microphone to talk to her. |
| 4 | 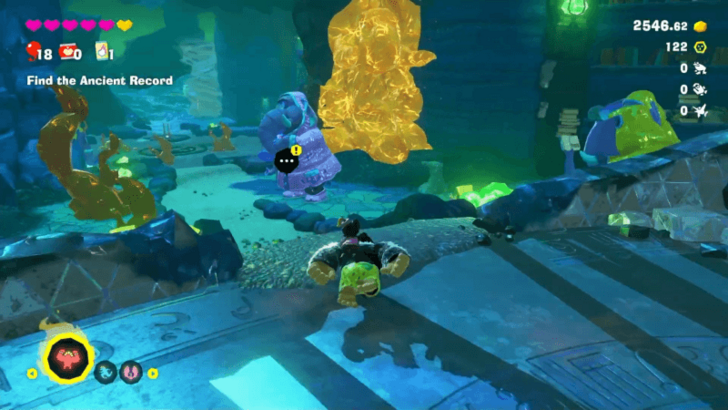 Talk to the elephant behind you to find the Ancient Record's whereabouts. You'll be directed to a nearby tunnel. |
| 5 | Go through the tunnel. Throw any chunk of terrain onto the Gloo Gum of the elevated platforms so that they drop down and let you cross. |
| * | 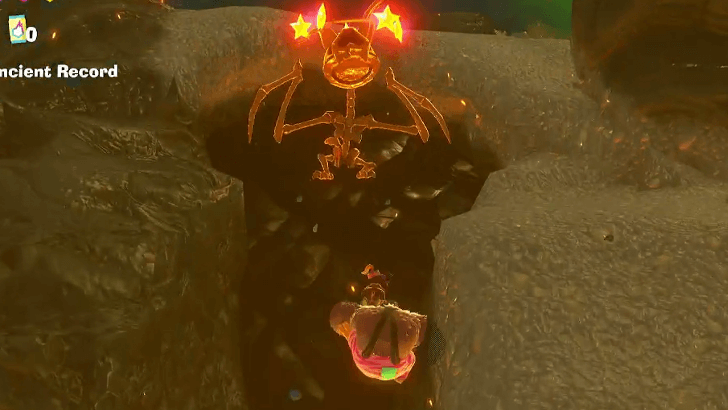 Just like with platforms, throw chunks at Gloo Gum bats so that they fall to the ground. You will not be able to punch Gloo Gum Bats until they have already fallen. |
| 6 | 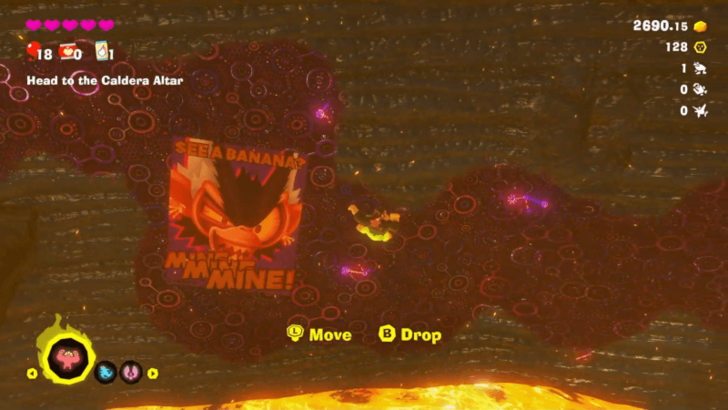 An elephant in the area will direct your attention to the Void device blocking the way to the Caldera Altar. Climb on the Voided wall to reach this device, avoiding enemies along the way. |
| 7 | 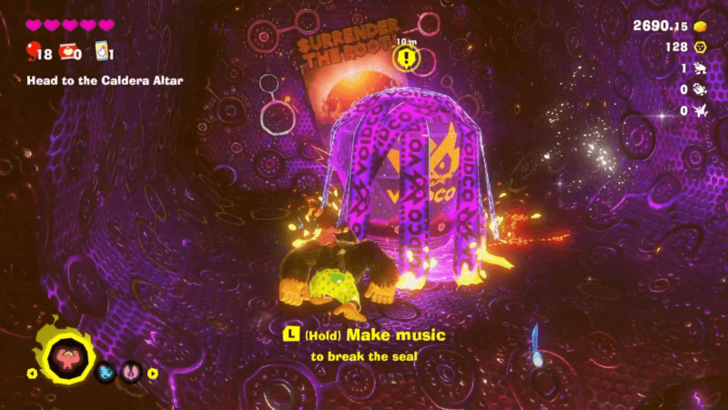 Hold L to make music to break the seal of the device. Then punch it until it's destroyed. |
| 8 | 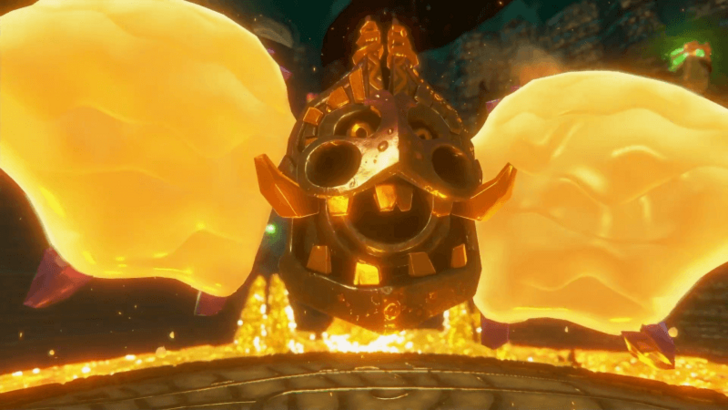 Head to the middle of the altar to start a boss battle against Sinister Blusterwing. You can beat it by throwing chunks at its wings and hitting it when it's down. ▶︎ How to Beat Sinister Blusterwing |
Tempest Sublayer 901
| Step-by-Step Guide | |
|---|---|
| 1 | 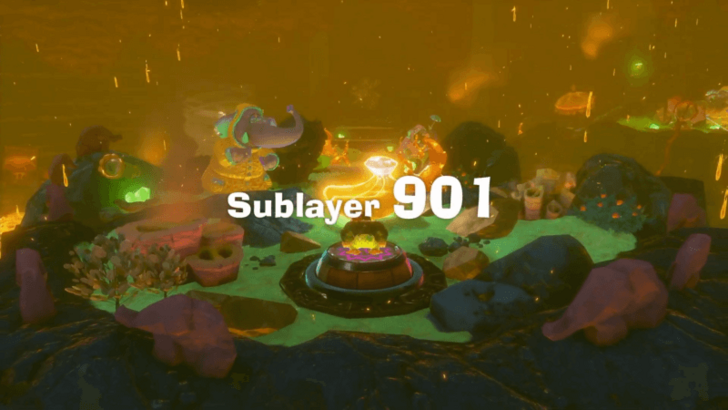 Jump down the hole left by Sinister Blusterwing, and get your Banandium Gem reward. |
| 2 | 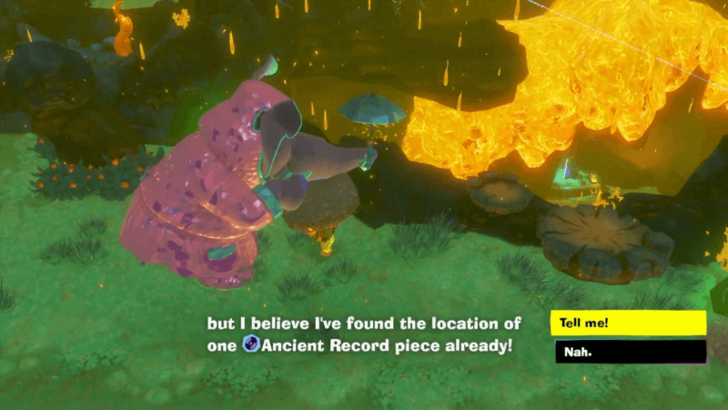 Follow the path. Talk to the elephants along the way to get directions for the Ancient Record locations. |
| * | 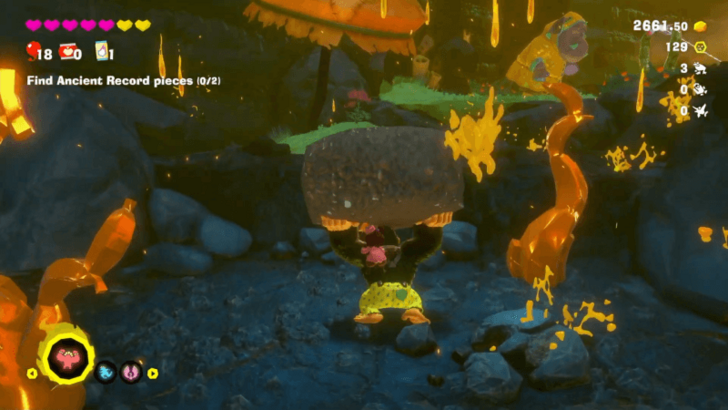 Watch out for the fiery rain as you go through this area! Tear off a chunk of the terrain to serve as your umbrella. You can go without any cover in grassy areas, which are safe spaces. |
| 3 | 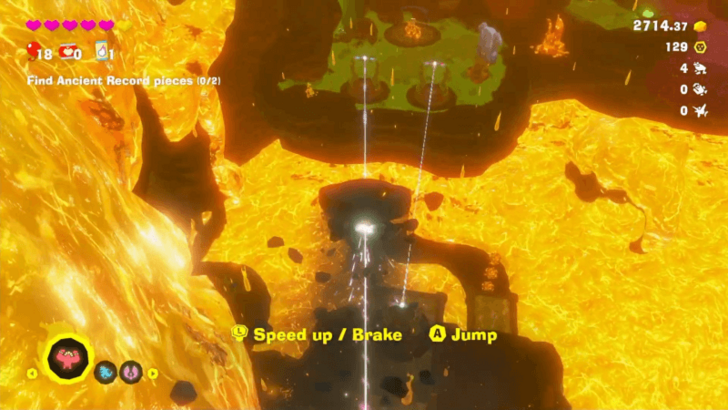 While holding a chunk of sturdy terrain, go down the zipline at the end of the path. Go down another zipline beside it to reach the first record piece. |
| 4 | 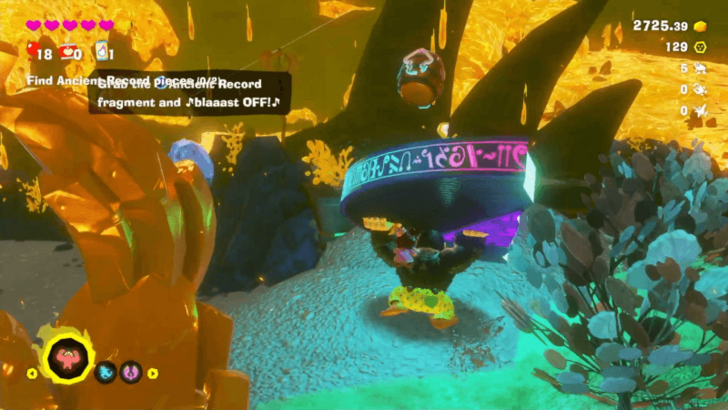 With the record piece in hand, use the Barrel Cannon to shoot up to a higher platform. Afterwards, jump into the Barrel Cannon next to the Getaway to return to Sublayer 900. |
| 5 | 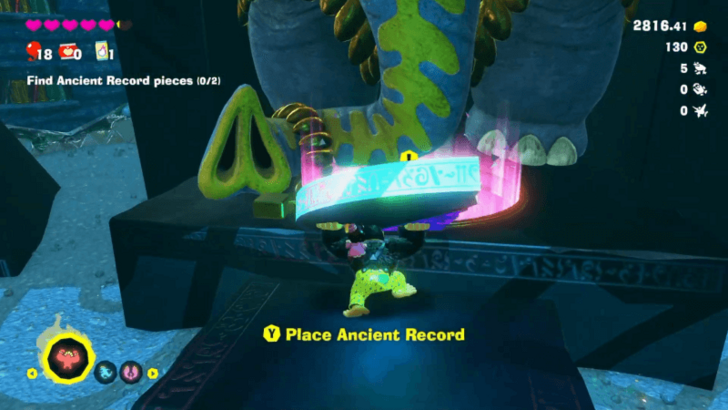 Go back to the Elephant Elder, and place the record piece onto the record player by her feet. |
| 6 | 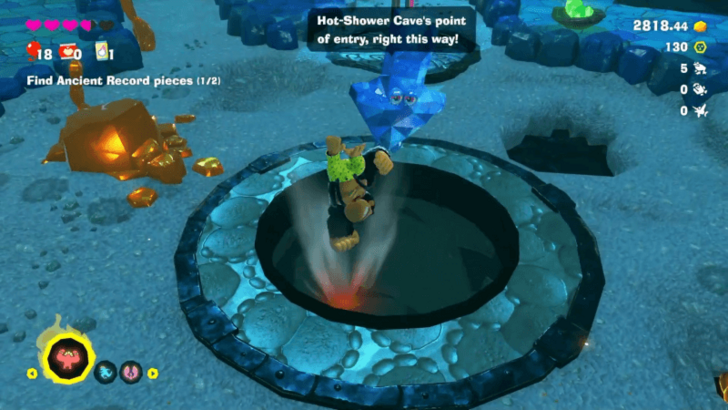 Jump back down the hole you came from to return to Sublayer 901. This hole has a down-arrow-shaped Fractone standing beside it, so it's easy to see where you're supposed to go. |
| 7 | 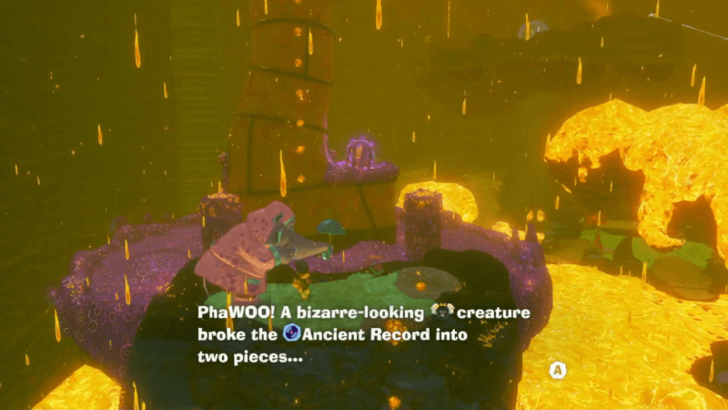 Go back to Ancient Record Crossroads, but this time, head to the grassy platform on the right instead of the second zipline. You should end up in Voided Terrain if you keep going straight from here. |
| 8 | 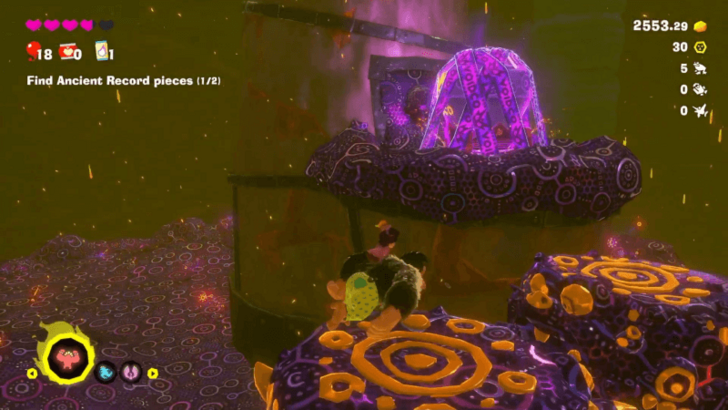 Wait for the tall enemies to pop up from the ground, then use them to climb up onto the VoidCo device. Make music using L, then destroy it to clear the Voided Terrain. ▶︎ How to Clear Voided Terrain |
| 9 | 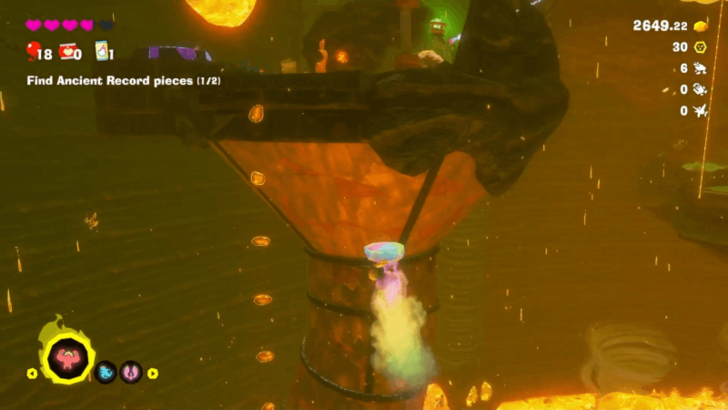 With the terrain clear, you can see that the moving enemies are made of rainbow-colored Liftoff Ore. Tear off a chunk of this ore to reach the higher platform. |
| 10 | 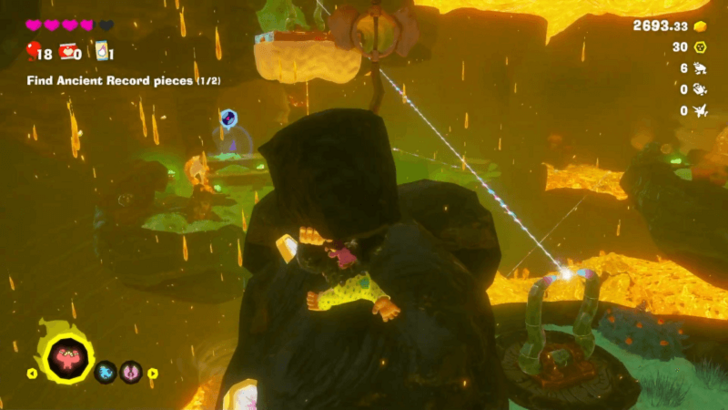 Throw a chunk of terrain onto Gloo Gum beneath the platform connected to the zipline. This should bring the platform down. |
| 11 | Tear off another chunk of terrain and zipline down to the second record piece. |
| 12 | 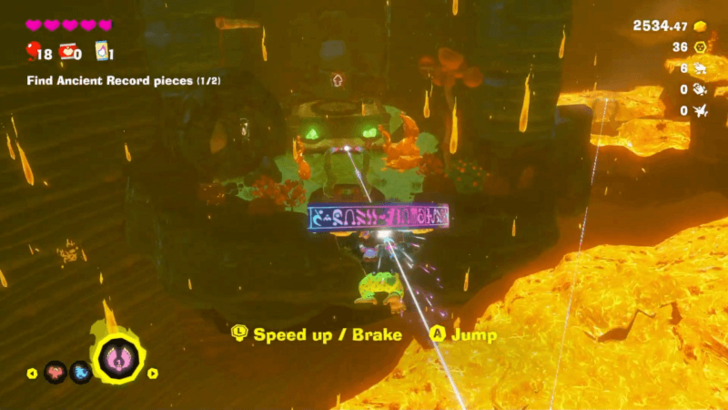 Pick up the record piece and use it on the zipline on the side. A Barrel Cannon should be nearby, which you can use to head straight back up to Sublayer 900. |
Elephant Bananza
| Step-by-Step Guide | |
|---|---|
| 1 | 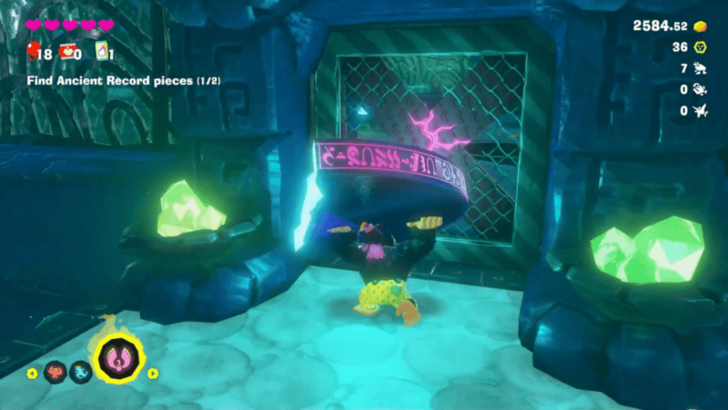 Avoid the tornado in this area, and head to the entryway with a cracked X. Swing the record piece you're carrying to break open the doorway. |
| 2 |  Carry the record piece back to the Elephant Elder, and place it alongside the first record piece. You will then learn the Elephant Bananza transformation. ▶︎ How to Use Elephant Bananza Form |
| 3 | Jump back down to Hot-Shower Cave in Sublayer 901. |
| 4 | 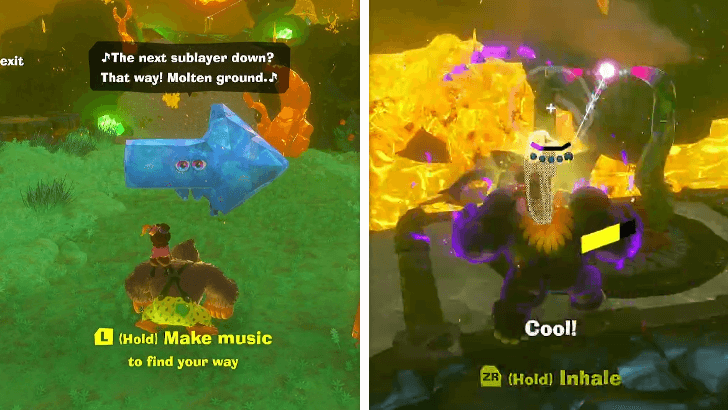 Follow the Fractone pointing to the right, and transform into the Elephant Bananza form. While in this form, suck up the lava along the path to clear the way until you reveal a zipline going down. |
| 5 | 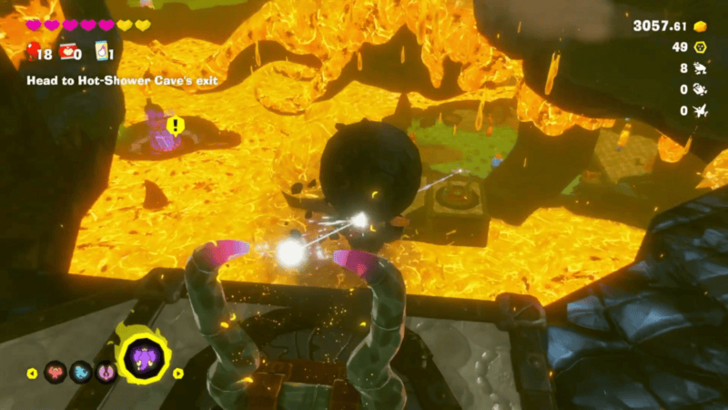 Press ZR to hold the chunk of terrain that you inhaled. Use this to zipline downward. |
| 6 | 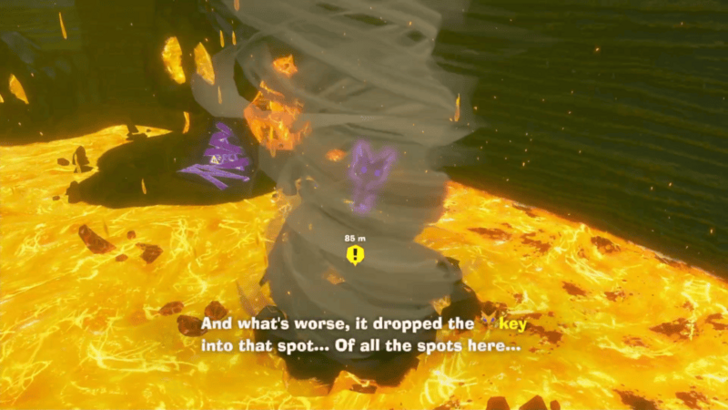 A Void Stake is locked in this area. Get the key from one of the tornadoes by inhaling with your Elephant Bananza form. Once free, the key will automatically slot into the lock. |
| 7 | 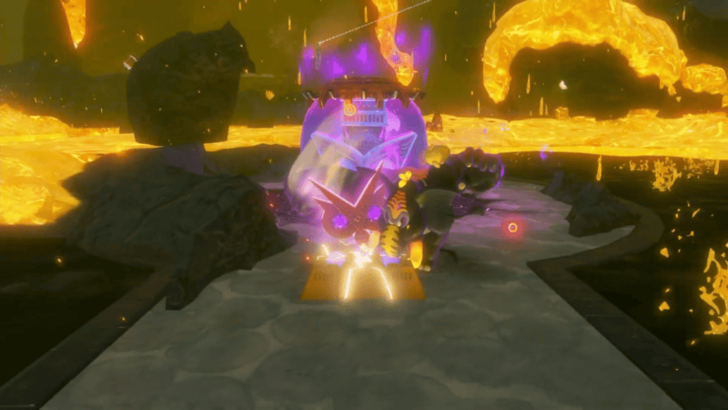 Clear a path to the key and Void Stake by inhaling the lava. Then, punch the key to unlock the Void Stake. |
| 8 | 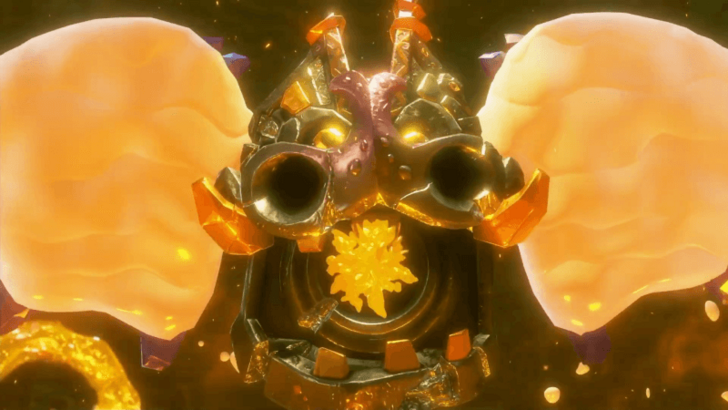 Destroy the Void Stake to open up the path to an arena below. Jump down, and you will be greeted immediately by Sinister Blusterwing, the boss you fought earlier. |
| 9 | Fight Sinister Blusterwing again, this time using your Elephant Bananza form to inhale the lava it brings to the field. Once defeated, the path to Sublayer 902 will open up. |
Tempest Sublayer 902
| Step-by-Step Guide | |
|---|---|
| 1 |  Dive down to Sublayer 902, and get your Banandium Gem reward for fighting Sinister Blusterwing. |
| 2 | 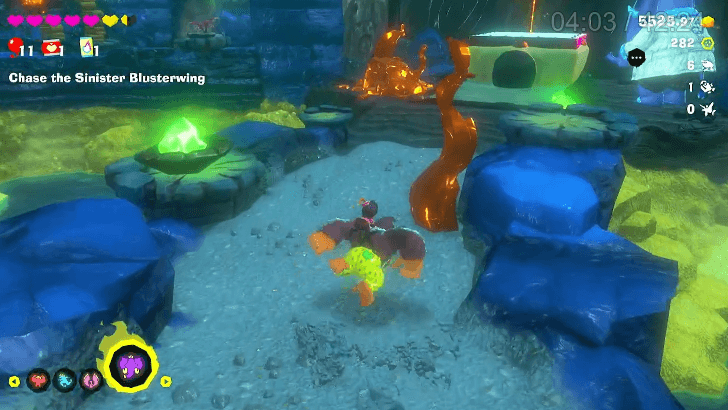 Follow the path where you can see a Gloo Gum platform weighed down by a rock at the end. Use Hand Slap while on top of the platform to shake off the chunk. |
| 3 | 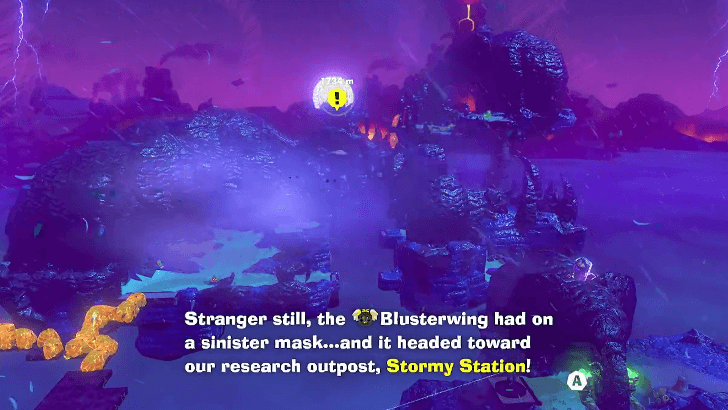 Talk to the elephant at the top. They will inform you that the Blusterwing is heading to the Stormy Station. |
| 4 | 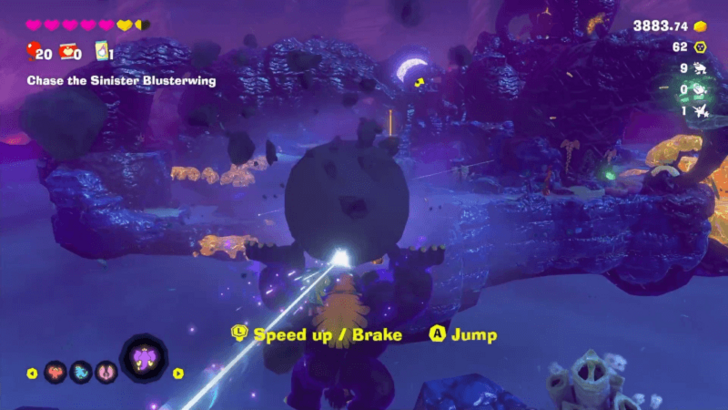 Tear off a chunk of sturdy terrain, then go down the zipline. Keep following the path until you reach an area with lava. |
| * | Beware of lightning strikes in the area. If you stay in one place too long, electricity will start to charge at your spot. Either roll out of the way or grab a chunk to use it as a shield. |
| 5 | 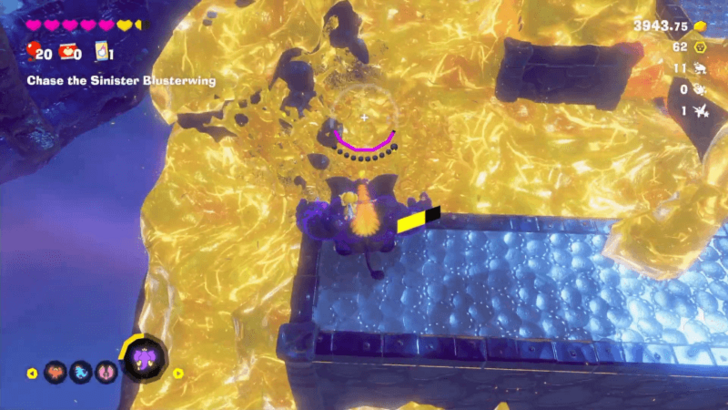 Use the Elephant Bananza form to inhale the lava. Once you've cleared the way, climb up to the other side. |
| 6 | 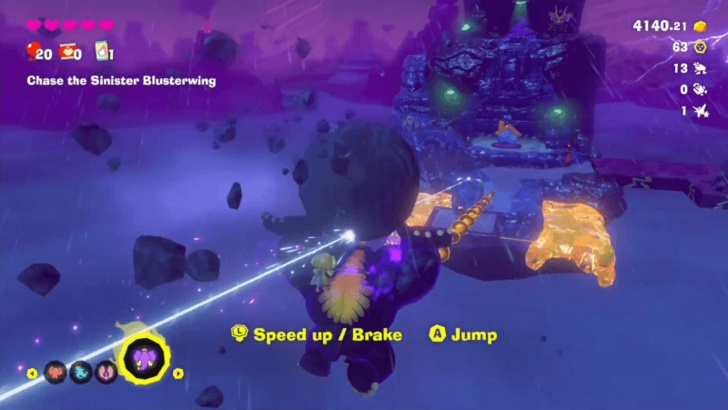 Another zipline can be found along the path. Tear off a chunk of terrain to go down this zipline. Try to time it so that the moving platform aligns with the fixed platform at the bottom to avoid getting hurt by the lava. |
| 7 | 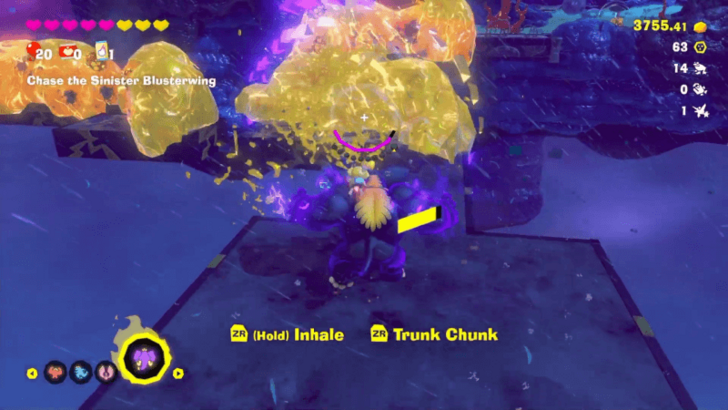 Use Elephant Bananza to clear off more lava along the way. |
| 8 | 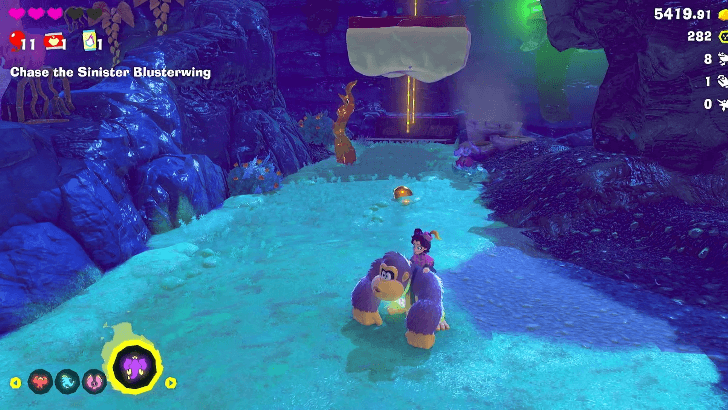 When you reach the grassy area, turn right towards the Gloo Gum platforms. Throw chunks of terrain both platforms, so that you can get on. When you are on the second platform, use Hand Slap to remove the chunk, and raise you to the top |
| 9 | 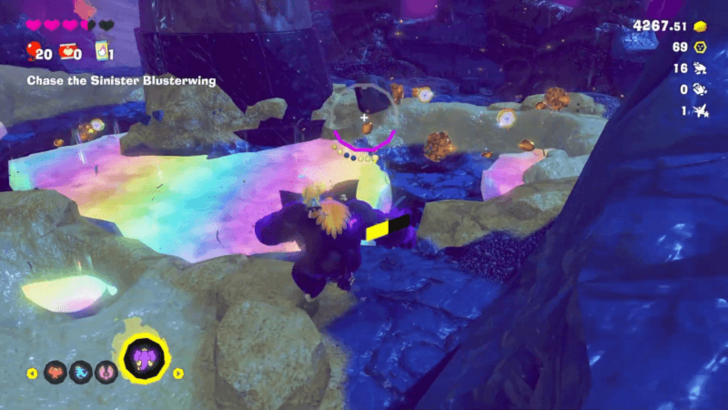 Use Elephant Bananza to inhale the muddy terrain and reveal the Liftoff Ore hidden underneath. Use it to float up to the top. |
| 10 | Get a chunk of terrain, and zipline down. |
| 11 | 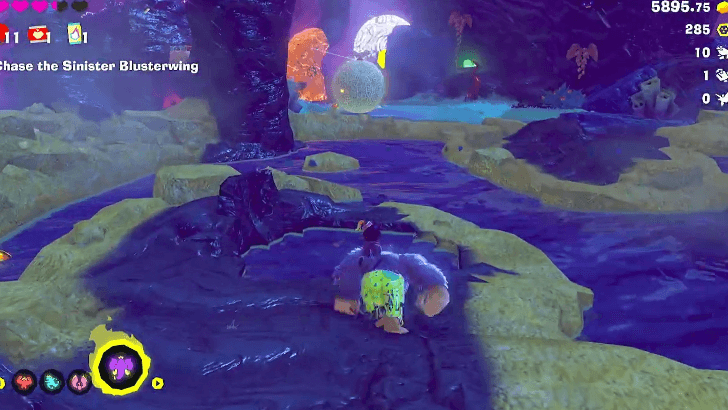 Cross the swampy area to reach the grassy area on the other side. Beware of Gloo Gum bats and lightning strikes. If lightning strikes water, it will electrify the entire pool. |
| 12 | 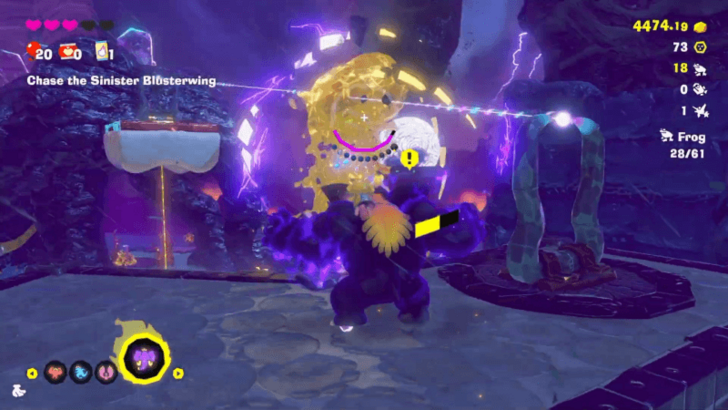 Transform into the Elephant Bananza form again to inhale the lava blocking the next zipline. |
| 13 | 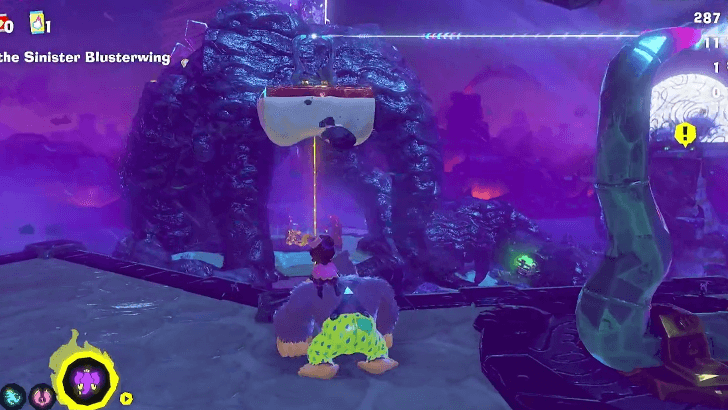 Afterwards, throw a chunk of terrain at the Gloo Gum platform on the other side. |
| 14 | Zipline down to the Clifftop Shelter. Afterwards, jump off the platform ahead. |
| 15 | 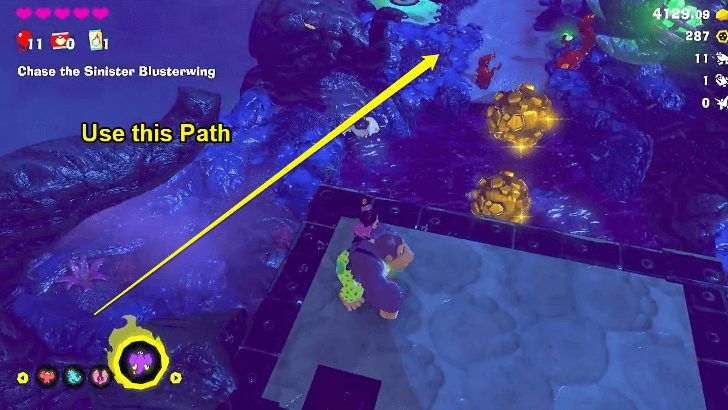 Use the rock formations to the left to avoid touching the water and get to the other side. If you stay too long in the water, you will get electrified by lightning. |
| 16 | Ride the zipline ahead to get to Stormy Station. |
| 17 | 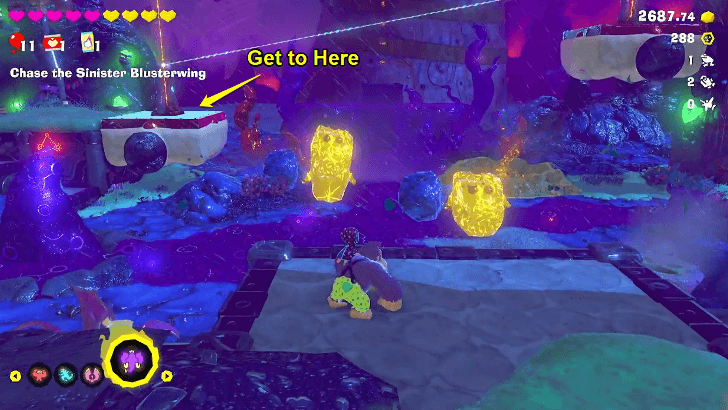 Go to the Gloo Gum platform on the left. Transform into the Elephant Bananza form, and store a chunk in your trunk. Dislodge the chunk stuck on the platform you're on using a Hand Slap. |
| 18 | 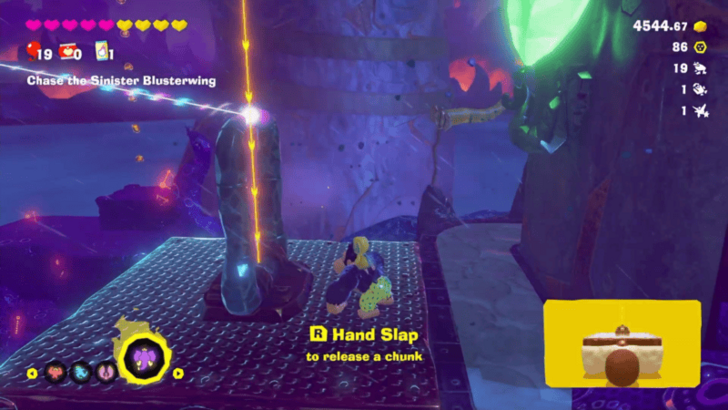 Use Trunk Chunk to zipline to the other side. Dislodge the chunk on this second platform with a Hand Slap. |
| 19 | 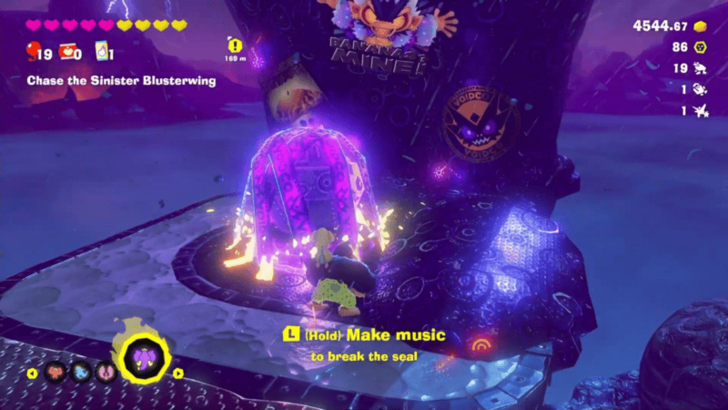 Break the seal on the Void device, then destroy it to remove the Voided Terrain. |
| 20 |  Jump down, then transform into the Elephant Bananza form. Inhale some of the Liftoff Ore before tearing off a chunk yourself and floating to a higher platform. Once that runs out, use Trunk Chunk to get a new chunk of Liftoff Ore to take you to an even higher platform. |
| 21 | 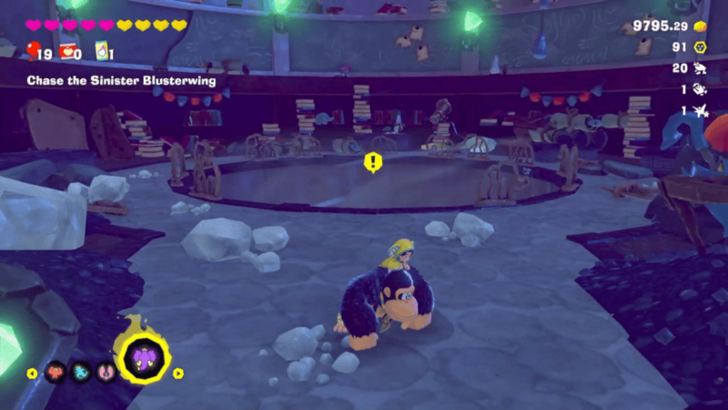 Once you're ready for the final boss battle, enter Stormy Station, and Dive Punch your way down the windy hole. When you land, you will face off against the Sinister Blusterwing one last time. |
| 22 | 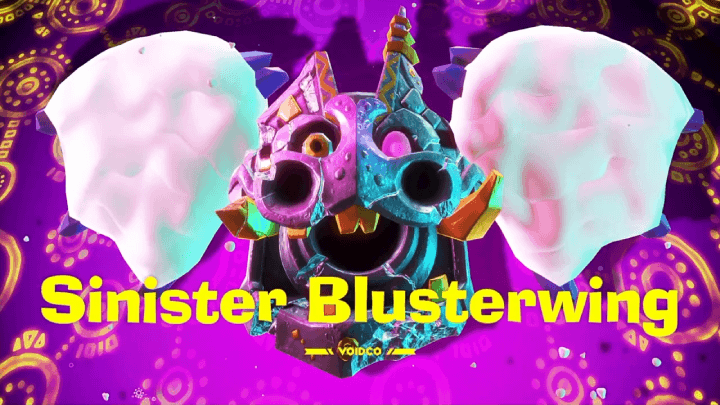 Defeat Sinister Blusterwing. Use the Elephant Bananza Form to inhale the magma cubes flying in the wind around you. Do this while avoiding Blusterwing's lightning and wind attacks. When you have collected enough, use the Trunk Chunk and throw chunks at its wings to get it to the ground. |
| 23 | Punch the Void trinket to open up the way to the next layer. ▶︎ Landfill Layer Walkthrough |
Tempest Layer Boss
Sinister Blusterwing

You fight against Sinister Blusterwing three times in the Tempest Layer. Each time, this enemy will have a different type of terrain to use against you.
However, the strategy to defeat it is similar for each battle. Throw chunks of terrain at it until it crashes down. For the second and third battles, you may need to use the Elephant Bananza form to safely obtain the surrounding terrain.
How to Beat Sinister Blusterwing
Donkey Kong Bananza Related Guides
All Walkthrough Guides
| # | Layer |
|---|---|
| SL1 | Ingot Isle |
| SL100 | Lagoon Layer |
| SL200 | Hilltop Layer |
| SL300 | Canyon Layer |
| SL400 | The Divide |
| SL500 | Freezer Layer |
| SL600 | Forest Layer |
| SL700 | The Junction |
| SL800 | Resort Layer |
| SL900 | Tempest Layer |
| SL1000 | Landfill Layer |
| SL1100 | Racing Layer |
| SL1200 | Radiance Layer |
| SL1300 | Groove Layer |
| SL1400 | Feast Layer |
| SL1500 | Forbidden Layer |
| SL1600 | Planet Core |
Comment
Author
Tempest Layer Walkthrough
improvement survey
04/2026
improving Game8's site?

Your answers will help us to improve our website.
Note: Please be sure not to enter any kind of personal information into your response.

We hope you continue to make use of Game8.
Rankings
- We could not find the message board you were looking for.
Gaming News
Popular Games

Genshin Impact Walkthrough & Guides Wiki

Crimson Desert Walkthrough & Guides Wiki

Umamusume: Pretty Derby Walkthrough & Guides Wiki

Honkai: Star Rail Walkthrough & Guides Wiki

Monster Hunter Stories 3: Twisted Reflection Walkthrough & Guides Wiki

Wuthering Waves Walkthrough & Guides Wiki

The Seven Deadly Sins: Origin Walkthrough & Guides Wiki

Pokemon TCG Pocket (PTCGP) Strategies & Guides Wiki

Pokemon Pokopia Walkthrough & Guides Wiki

Zenless Zone Zero Walkthrough & Guides Wiki
Recommended Games

Monster Hunter World Walkthrough & Guides Wiki

Fire Emblem Heroes (FEH) Walkthrough & Guides Wiki

Pokemon Brilliant Diamond and Shining Pearl (BDSP) Walkthrough & Guides Wiki

Super Smash Bros. Ultimate Walkthrough & Guides Wiki

Diablo 4: Vessel of Hatred Walkthrough & Guides Wiki

Cyberpunk 2077: Ultimate Edition Walkthrough & Guides Wiki

Yu-Gi-Oh! Master Duel Walkthrough & Guides Wiki

Elden Ring Shadow of the Erdtree Walkthrough & Guides Wiki

The Legend of Zelda: Tears of the Kingdom Walkthrough & Guides Wiki

Persona 3 Reload Walkthrough & Guides Wiki
All rights reserved
© Nintendo. Games are property of their respective owners. Nintendo of America Inc.
The copyrights of videos of games used in our content and other intellectual property rights belong to the provider of the game.
The contents we provide on this site were created personally by members of the Game8 editorial department.
We refuse the right to reuse or repost content taken without our permission such as data or images to other sites.


![Forza Horizon 6 Review [Preview] | Beautiful Roads With a Whole Lot of Oversteer](https://img.game8.co/4460981/a7254c24945c43fbdf6ad9bea52b5ce9.png/thumb)


