Canyon Layer Walkthrough
☽ DK Island and Emerald Rush DLC out now!
☽ Learn how to solve Banandiumtone's Puzzles.
☽ All Collectibles: Banandium Gems and Fossils
☽ Learn How to Skip Layers Entirely!
☽ How to Beat the Final Boss
☽ Post-Game: Rehearsal Halls | Secret Ending
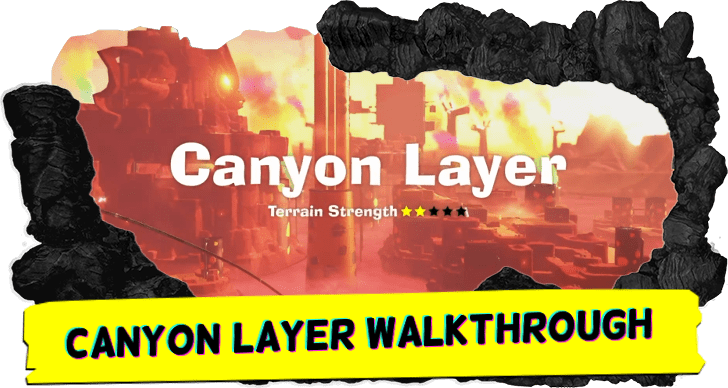
This is a walkthrough guide for Canyon Layer (SL 300-301) in Donkey Kong Bananza. Read on for a complete step-by-step on how to complete the layer and progress the story.
| Canyon Layer Guides | |
|---|---|
| Walkthrough | Collectibles |
| Previous and Next Layer | |
| ◀︎ Hilltop Layer | The Divide ► |
List of Contents
Canyon Layer Walkthrough
Canyon Sublayer 300
| Step-by-Step Guide | |
|---|---|
| 1 | 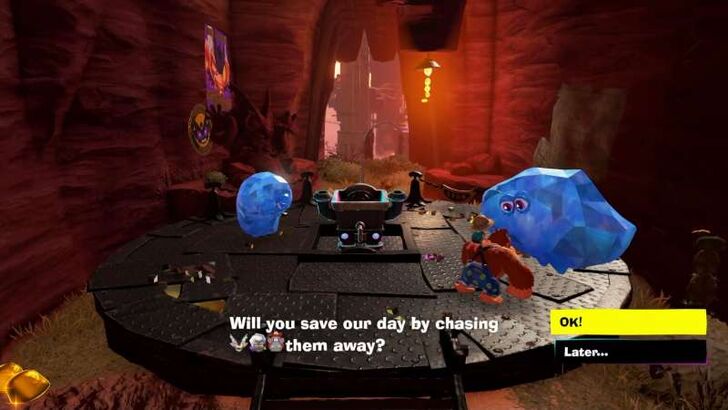 After landing in the Canyon Layer, head straight and punch through the walls ahead until you spot two NPCs near a mine cart. Talk to the one with the exclamation mark. |
| 2 | 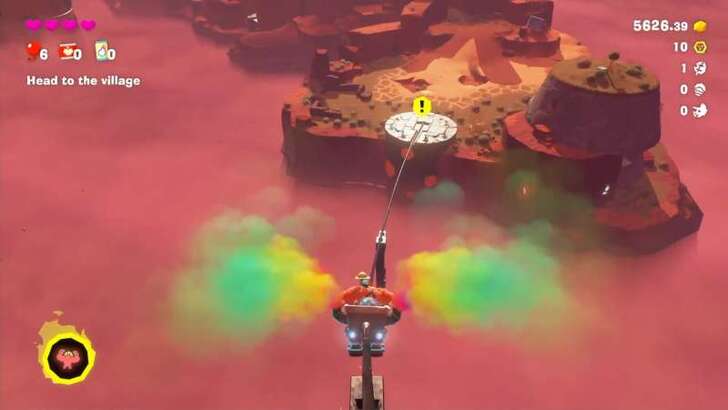 Ride the cart to Longneck Plateau. Before moving on, you can set up a Getaway nearby by speaking to Architectone. |
| 3 | 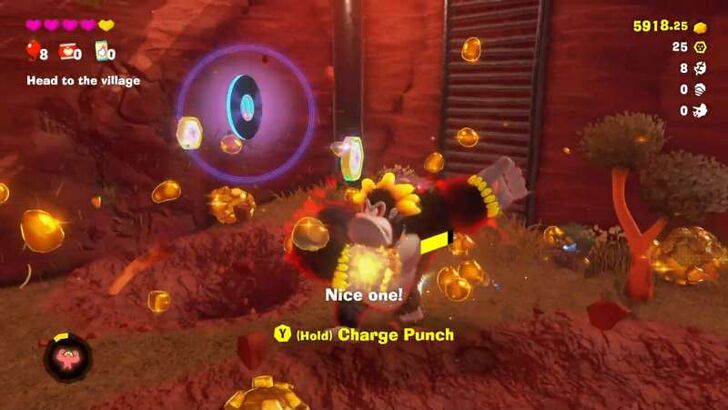 Continue forward, battling enemies along the way. When you defeat enemies, there is a chance they will drop a Music Disc which you can play via the record player in your Getaway. Keep going until you arrive at Longneck Plateau Village. |
| * | 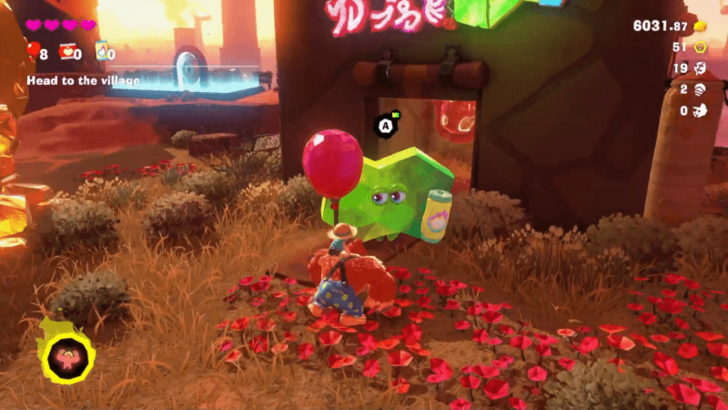 In the village, you can buy Outfits, Items, or trade Banandium Chips for Banandium Gems by speaking with the shopkeepers. It’s a good idea to stock up on consumables, as enemies become more frequent ahead. The Stuff Shop also starts offering Rare Fossil Maps and Extra-Rare Fossil Maps. |
| 4 | 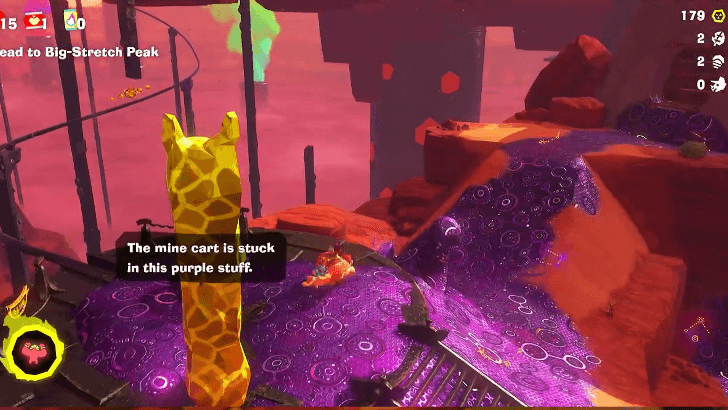 From the village, look for a trail of Void Terrain. Track down the source and destroy it to clear the mine cart. |
| 5 | 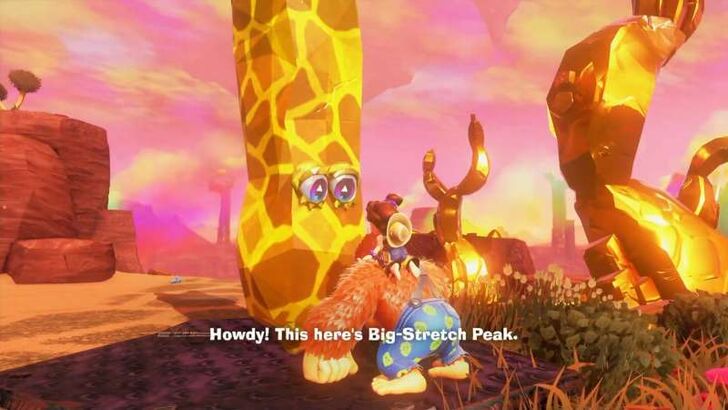 Ride the mine cart to Big-Stretch Peak. |
| 6 | 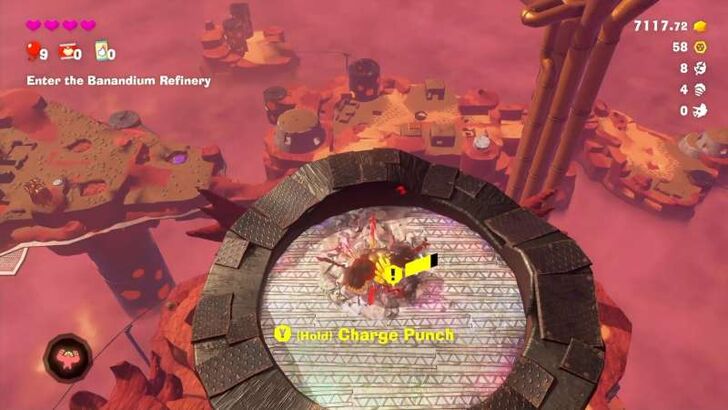 Climb to the top of the Banandium Refinery, the tall tower in the center of the area. Use the Kong Bananza Form to smash through the roof and drop inside. Be warned that dropping down will lead to a boss fight. ▶︎ How to Use Kong Bananza Form |
| 7 |  Defeat Grumpy Kong. Destroy the base of the monster's body then punch Grumpy Kong when he's within reach. Use the Kong Bananza Form to make quick work of this boss fight. ▶︎ How to Beat Grumpy Kong |
| 8 | 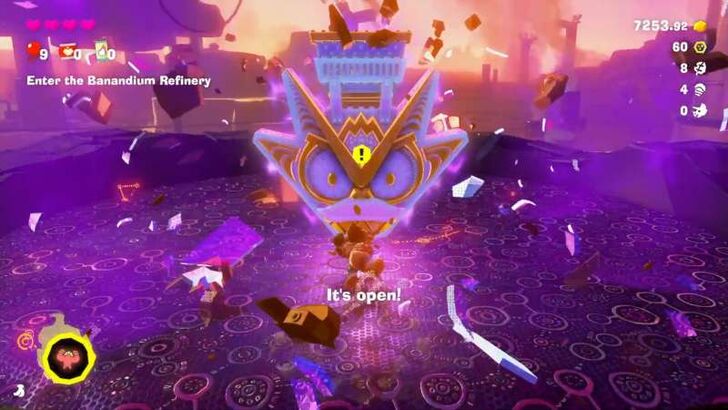 After defeating Grumpy Kong, destroy the nearby Void Stake. You’ll then drop into the Banandium Refinery. ▶︎ All Void Stake Locations |
Banandium Refinery Sublayer 301
| Step-by-Step Guide | |
|---|---|
| 1 | 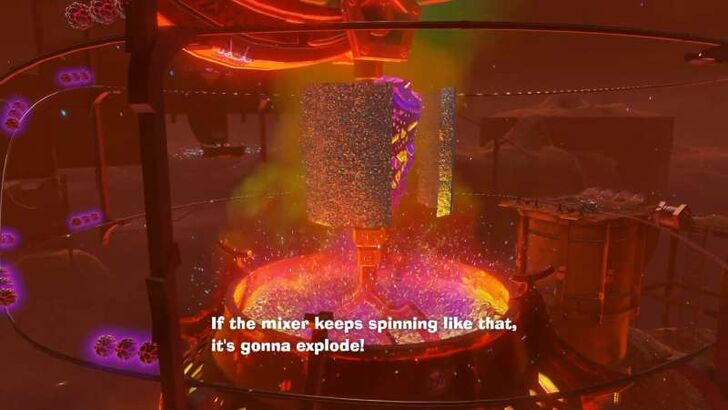 Talk to the nearby NPC. He’ll ask for your help in defeating the Mad Mixer located at the center of the area. |
| 2 | 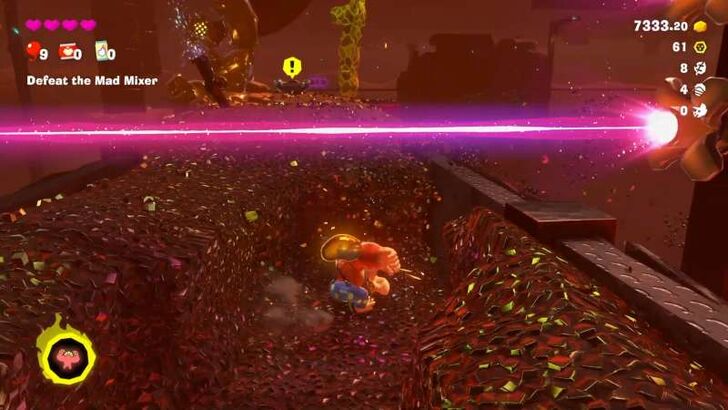 Head up until you reach another mine cart that leads to the Banandium Refinery Offices. Avoid the lasers by jumping over them or digging below to bypass them entirely. |
| * | 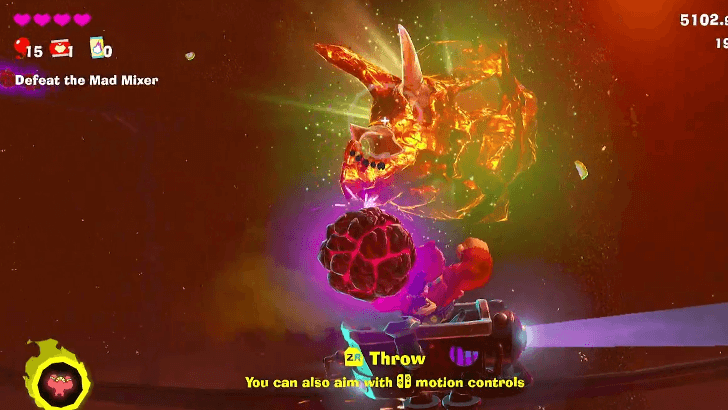 While riding the cart, throw boom rocks at the Triceratops Fossil stuck to the canyon wall as you pass by. It will take at least 3 hits before it is destroyed. |
| 3 | 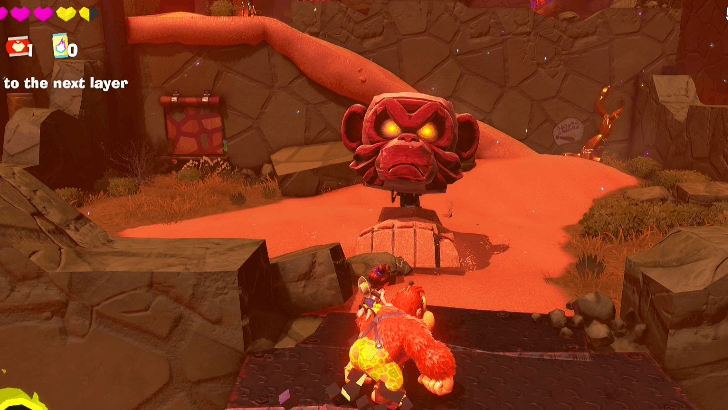 When you arrive at the Banandium Refinery Offices, you will encounter stomping enemies. Defeat them by destroying their base or throwing soft chunks at their eyes before hitting them. |
| * | 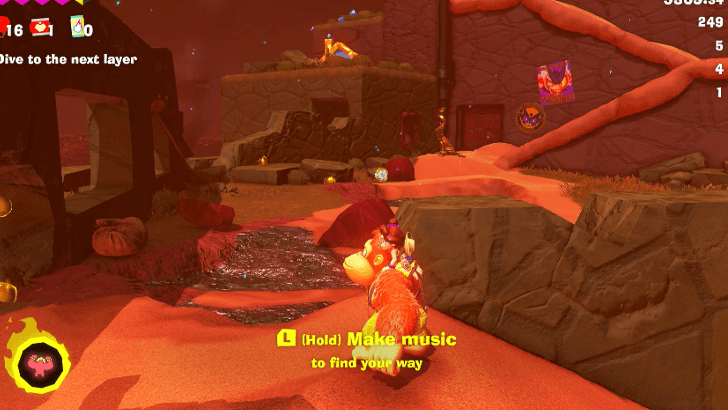 After going up the first slope, climb the small house to the left to find Architectone. You can use it to set up a Getaway and rest. Your Getaways now also grant access to the Stuff Shop and Style Shop, so it’s a good time to stock up before moving on. |
| 4 | 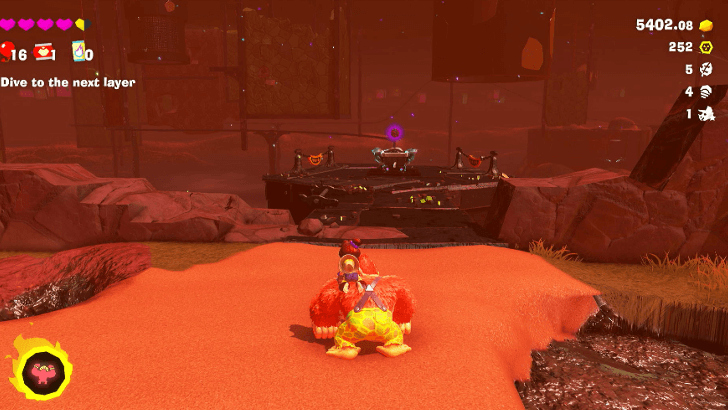 Continue up the slopes until you reach the end of the offices where you will find a mine cart towards the right. Ride it to reach the Banandium Refinery Staff Dorms. |
| 5 | 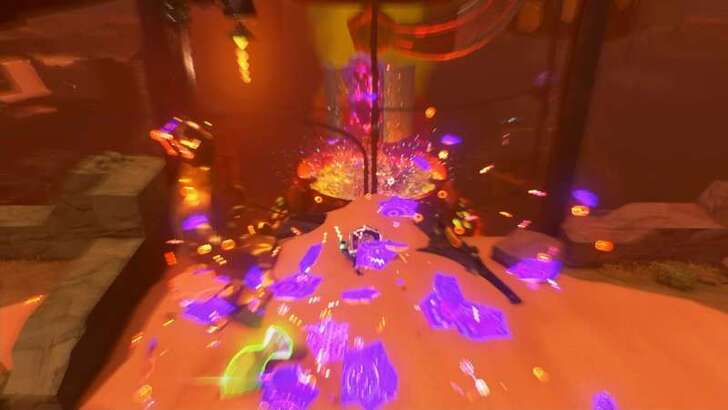 After getting to the dorms, you will need to clear out the Voided Path blocking your way. Follow the trail and destroy the source behind a wall of lasers. Afterward, another cart will be waiting that takes you straight to the Banandium Refinery Mixer. |
| 6 | 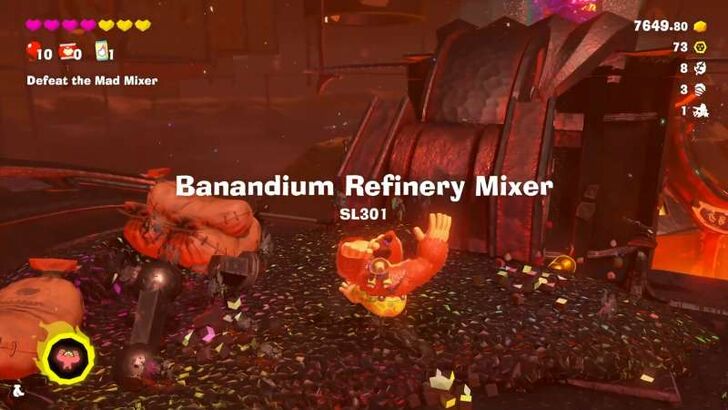 Ride the cart to the Banandium Refinery Mixer. Head straight ahead to trigger the Mad Mixer boss battle. |
| 7 |  Defeat the Mad Mixer. Throw boom rocks at the walls protecting the boss. Once you get a clear view, aim directly at Mad Mixer. |
| 8 | 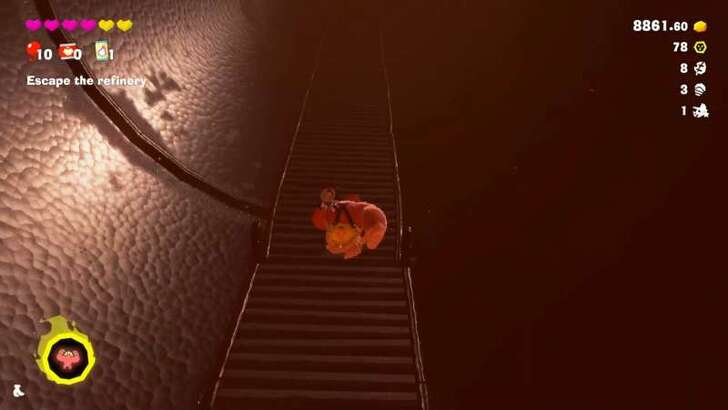 Once Mad Mixer is defeated, climb up the Banandium Refinery Mixer and return to the surface of the Canyon Layer. |
Canyon Sublayer 300 Part 2
| Step-by-Step Guide | |
|---|---|
| 1 | 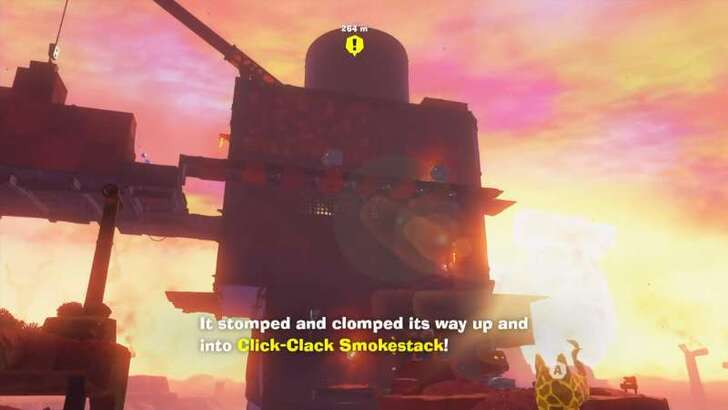 After reaching the surface, head straight and talk to a nearby NPC. They will point you toward your next destination, the Click-Clack Smokestack. |
| 2 | 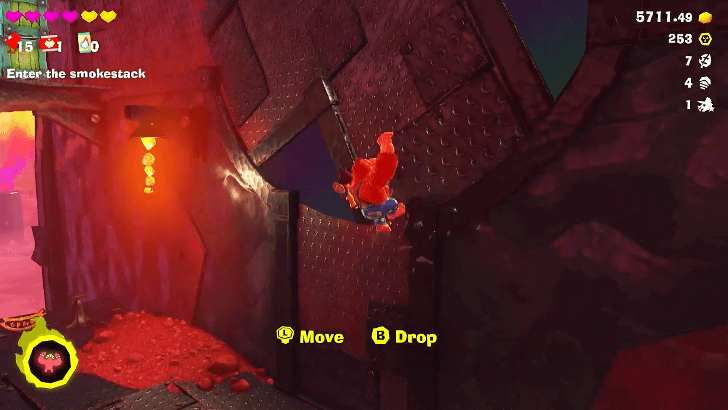 Climb towards the Click-Clack Smokestack. As you climb up, you will be met with rotating platforms that you need to time carefully or else you will slide back down to the ground. |
| 3 | 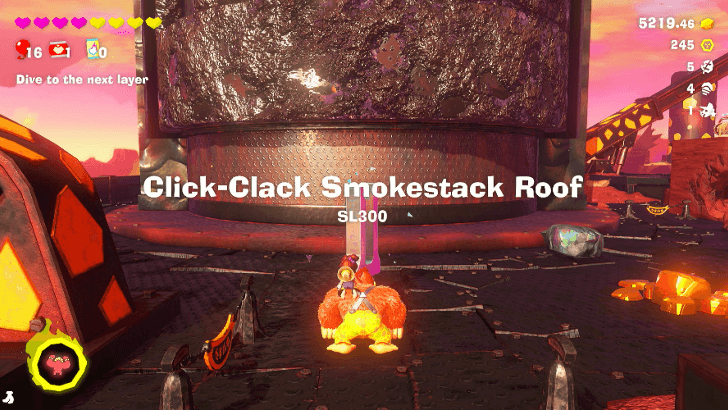 When you reach the Click-Clack Smokestack Roof, you will need to climb up the Smokestack to destroy the Void Stake on top. |
| * | 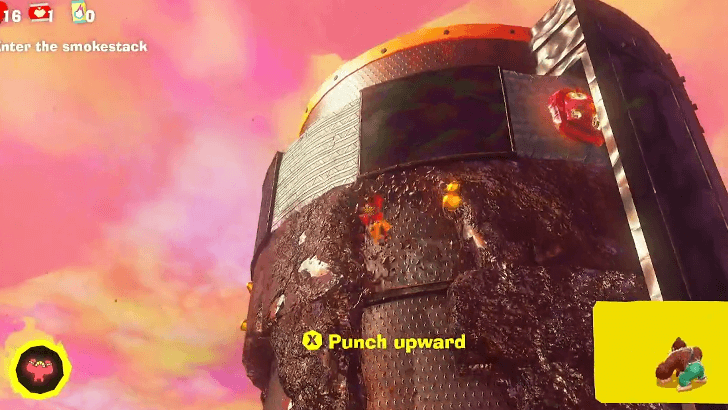 As you climb, punch upward on the dirt walls blocking your way. When you are near the top, use the Kong Bananza Form to destroy the concrete block. |
| 4 | 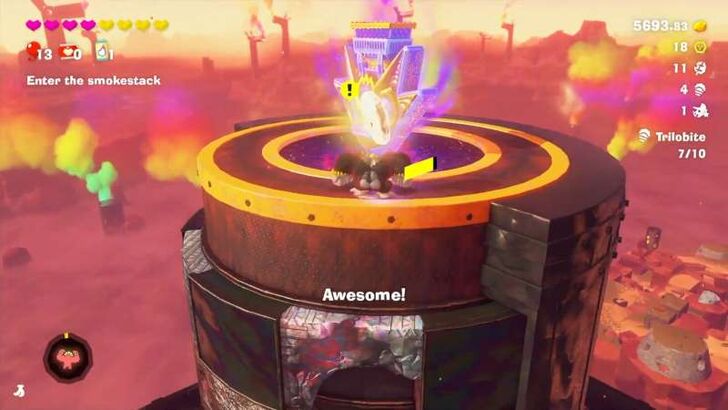 Destroy the Void Stake on the roof, then jump through the hole to enter the Click-Clack Smokestack Depths. |
Click-Clack Smokestack Depths Sublayer 301
| Step-by-Step Guide | |
|---|---|
| 1 | 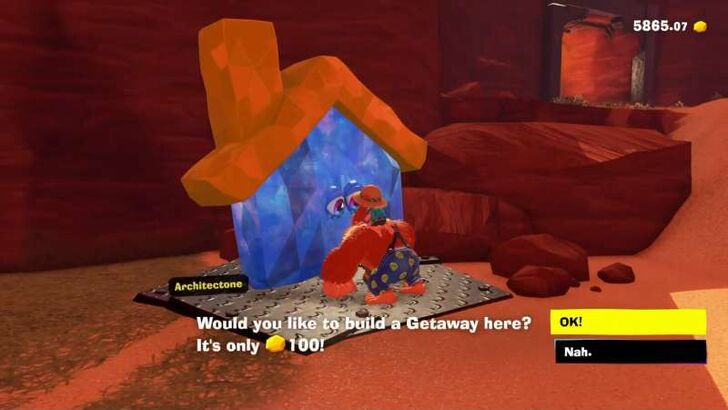 After landing inside, speak to the nearby Architectone to set up a Getaway and rest. You’ll want to be prepared, as another boss fight is coming up. |
| 2 |  Head to the center of the area and jump in. You’ll face Stompenclomper, the final boss of this layer. Be warned as it enters a second phase once its HP drops to half. ▶︎ How to Beat Stompenclomper |
| 3 | After defeating Stompenclomper, you can dive into the next layer and officially finish this one. ▶︎ The Divide Walkthrough |
Canyon Layer Boss
Grumpy Kong

Grumpy Kong is the first boss you'll face before entering the Banandium Refinery.
To defeat him, perform a Kong Bananza transformation and focus your attacks on the base of his armor. Once the armor breaks apart, you’ll be able to reach Grumpy Kong at the top. Jump up and land hits directly on him until he goes down.
Mad Mixer

Mad Mixer is the second boss in this layer, located inside the Banandium Refinery.
The fight is fairly straightforward. Throw rocks to break the rotating walls protecting the mixer. Once they’re down, rush in and deal damage. Repeat the process until the mixer is toast.
Stompenclomper

Stompenclomper is the final boss of the Canyon Layer, found deep inside the Click-Clack Smokestack Depths .
This boss has two phases and transforms into a more aggressive form once its health drops below half. To bring it down, attack its legs when it stomps to knock it off balance. While it’s vulnerable, move in and unleash a flurry of hits to finish the job.
Donkey Kong Bananza Related Guides
All Walkthrough Guides
| # | Layer |
|---|---|
| SL1 | Ingot Isle |
| SL100 | Lagoon Layer |
| SL200 | Hilltop Layer |
| SL300 | Canyon Layer |
| SL400 | The Divide |
| SL500 | Freezer Layer |
| SL600 | Forest Layer |
| SL700 | The Junction |
| SL800 | Resort Layer |
| SL900 | Tempest Layer |
| SL1000 | Landfill Layer |
| SL1100 | Racing Layer |
| SL1200 | Radiance Layer |
| SL1300 | Groove Layer |
| SL1400 | Feast Layer |
| SL1500 | Forbidden Layer |
| SL1600 | Planet Core |
Comment
Author
Canyon Layer Walkthrough
improvement survey
04/2026
improving Game8's site?

Your answers will help us to improve our website.
Note: Please be sure not to enter any kind of personal information into your response.

We hope you continue to make use of Game8.
Rankings
- We could not find the message board you were looking for.
Gaming News
Popular Games

Genshin Impact Walkthrough & Guides Wiki

Crimson Desert Walkthrough & Guides Wiki

Umamusume: Pretty Derby Walkthrough & Guides Wiki

Honkai: Star Rail Walkthrough & Guides Wiki

Monster Hunter Stories 3: Twisted Reflection Walkthrough & Guides Wiki

Wuthering Waves Walkthrough & Guides Wiki

The Seven Deadly Sins: Origin Walkthrough & Guides Wiki

Pokemon TCG Pocket (PTCGP) Strategies & Guides Wiki

Pokemon Pokopia Walkthrough & Guides Wiki

Zenless Zone Zero Walkthrough & Guides Wiki
Recommended Games

Monster Hunter World Walkthrough & Guides Wiki

Fire Emblem Heroes (FEH) Walkthrough & Guides Wiki

Pokemon Brilliant Diamond and Shining Pearl (BDSP) Walkthrough & Guides Wiki

Super Smash Bros. Ultimate Walkthrough & Guides Wiki

Diablo 4: Vessel of Hatred Walkthrough & Guides Wiki

Cyberpunk 2077: Ultimate Edition Walkthrough & Guides Wiki

Yu-Gi-Oh! Master Duel Walkthrough & Guides Wiki

Elden Ring Shadow of the Erdtree Walkthrough & Guides Wiki

The Legend of Zelda: Tears of the Kingdom Walkthrough & Guides Wiki

Persona 3 Reload Walkthrough & Guides Wiki
All rights reserved
© Nintendo. Games are property of their respective owners. Nintendo of America Inc.
The copyrights of videos of games used in our content and other intellectual property rights belong to the provider of the game.
The contents we provide on this site were created personally by members of the Game8 editorial department.
We refuse the right to reuse or repost content taken without our permission such as data or images to other sites.


![Forza Horizon 6 Review [Preview] | Beautiful Roads With a Whole Lot of Oversteer](https://img.game8.co/4460981/a7254c24945c43fbdf6ad9bea52b5ce9.png/show)


![Forza Horizon 6 Review [Preview] | Beautiful Roads With a Whole Lot of Oversteer](https://img.game8.co/4460981/a7254c24945c43fbdf6ad9bea52b5ce9.png/thumb)


